Tag Archives: short nails
A rather lovely friend of mine went on holiday to Japan last year, and brought back some nail varnish! Seven bottles and a dot artist kit! 😀 Much better than a postcard!
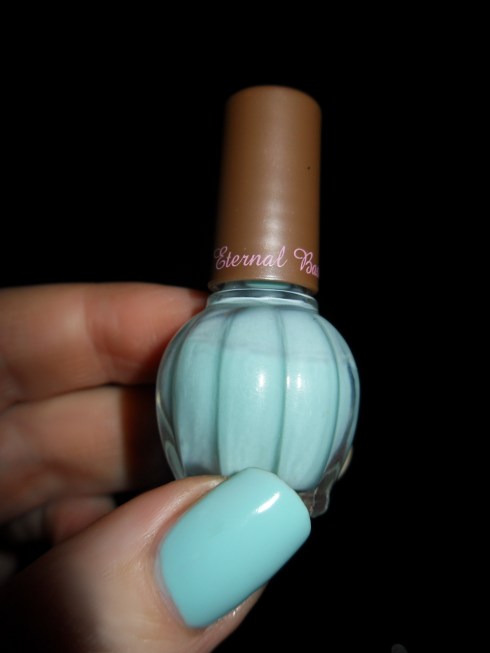
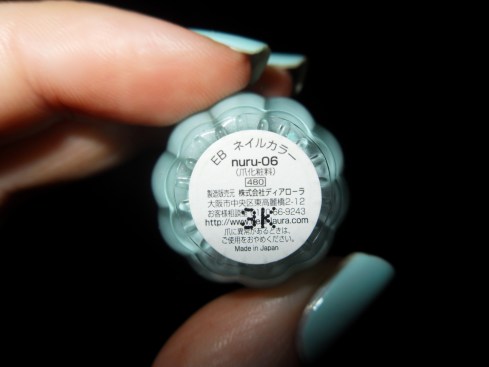
The first polish I’m going to show you is from a company called Dear Laura, the range is Eternal Basic and the colour is Nuru 06. you can find the website (in English) Here
Nuru 06 is a pale turquoise creme polish, this really isn’t a colour I would have chosen myself, it’s good to try new things! After wearing it for a couple of days I’m starting to think it’s not that bad lol!

Eternal Basic Nuru 06
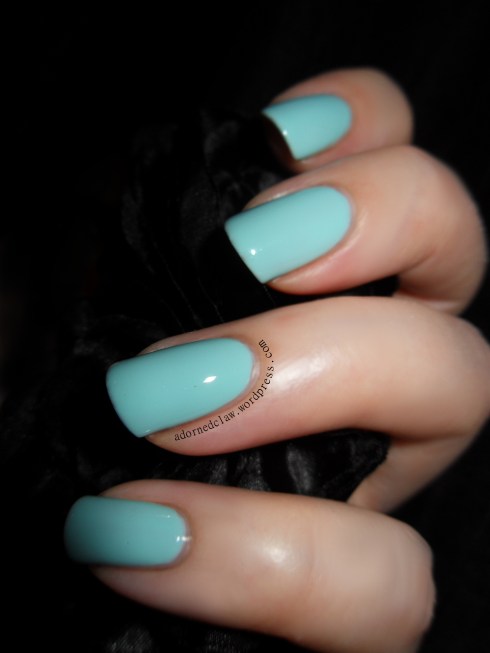
I found the formula for this polish to be on the thin side, and there was a bit of dragging and streaking while I was applying the second coat, but luckily the third coat built up the colour really well, and with the fourth coat it’s not noticeable at all.
The polish is really glossy, a lot more than my pictures are showing!
Eternal Basic Nuru 06
I have to say. How cute is this tiny bottle? I keep thinking it looks like a tiny blue pumpkin!
Eternal Basic Nuru 06
(And while I was painting my nails I may, or may not have been pretending to be a giant…)
Eternal Basic Nuru 06
This polish really didn’t smell too bad and it dried really quickly even with having to apply four coats!
I think I would like to try a some other colours from this polish range… but it’s very unlikely at the moment… One day tho 🙂
4 Comments | tags: blue, Eternal Basic, Eternal Basic 06, Green, High Gloss, Japan, Japanese Nail Polish, Nail polish, Nail Varnish, short nails, swatches | posted in Swatches

Foil Peacock
I started this with a base of two coats of Black Magic from Revlon. For the stamping I used a combination, of Cold Metal (blue), Perfect Mol-Ten (green), Hot Like Lava (pink) and Antiquated (gold) all from the foil range from Color Club.
I put a drop of each polish on the image and and poked them all around with my scraper until the stamping image was covered, before removing the excess, I did mess up a couple of times as I wasn’t quick enough transferring the image to my nail. The Color Club Foil polishes dry really fast, I didn’t even have the chance to line up the image 
This is the first time I have tried stamping with more than two colours! I really like how it turned out 😀 even tho it was a pain to do!
The stamping plate I used is Messy Mansion Birdie plate MM14, which is available here.
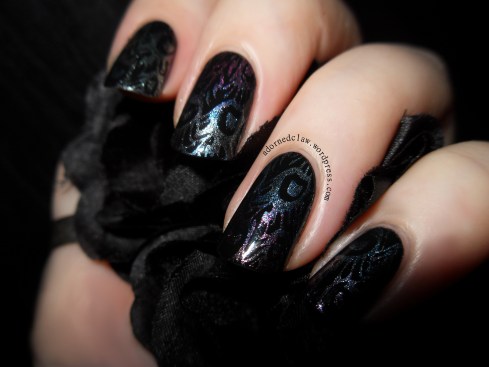
Foiled again Peacock
I finished it off with a coat of color club top coat, The top coat is not too bad, it applied nicely and importantly didn’t mess up my stamping and it didn’t shrink…
After writing this I’m starting to think that this top coat might actually be rather good rather than not too bad! Lol.
It’s just I’m so used to using Seche Vite now that any other top coat lacks the thick glassy finish and seems to take for ever to dry! Maybe I should start trying out other brands of topcoat, so is Poshe any good? What about HKgirl? 🙂
2 Comments | tags: Black, blue, color club, Color Club Antiquated, Color Club Cold Metal, Color Club Hot Like Lava, Color Club Perfect Mol-Ten, Gold, Green, Messy Mansion, Messy Mansion MM14, Nail Art, Nail polish, Nail Stamping, Nail Varnish, nailpolish, Peacock Feathers, Pink, Revlon, Revlon Black Magic, short nails | posted in Nail Art, Nail Stamping
Has it really been over a week since my last post? Ooops! I guess I was so wrapped up in Christmas and other stuff that I didn’t even notice!
Anyway I hope your Christmas has been wonderful and filled with shiny things!

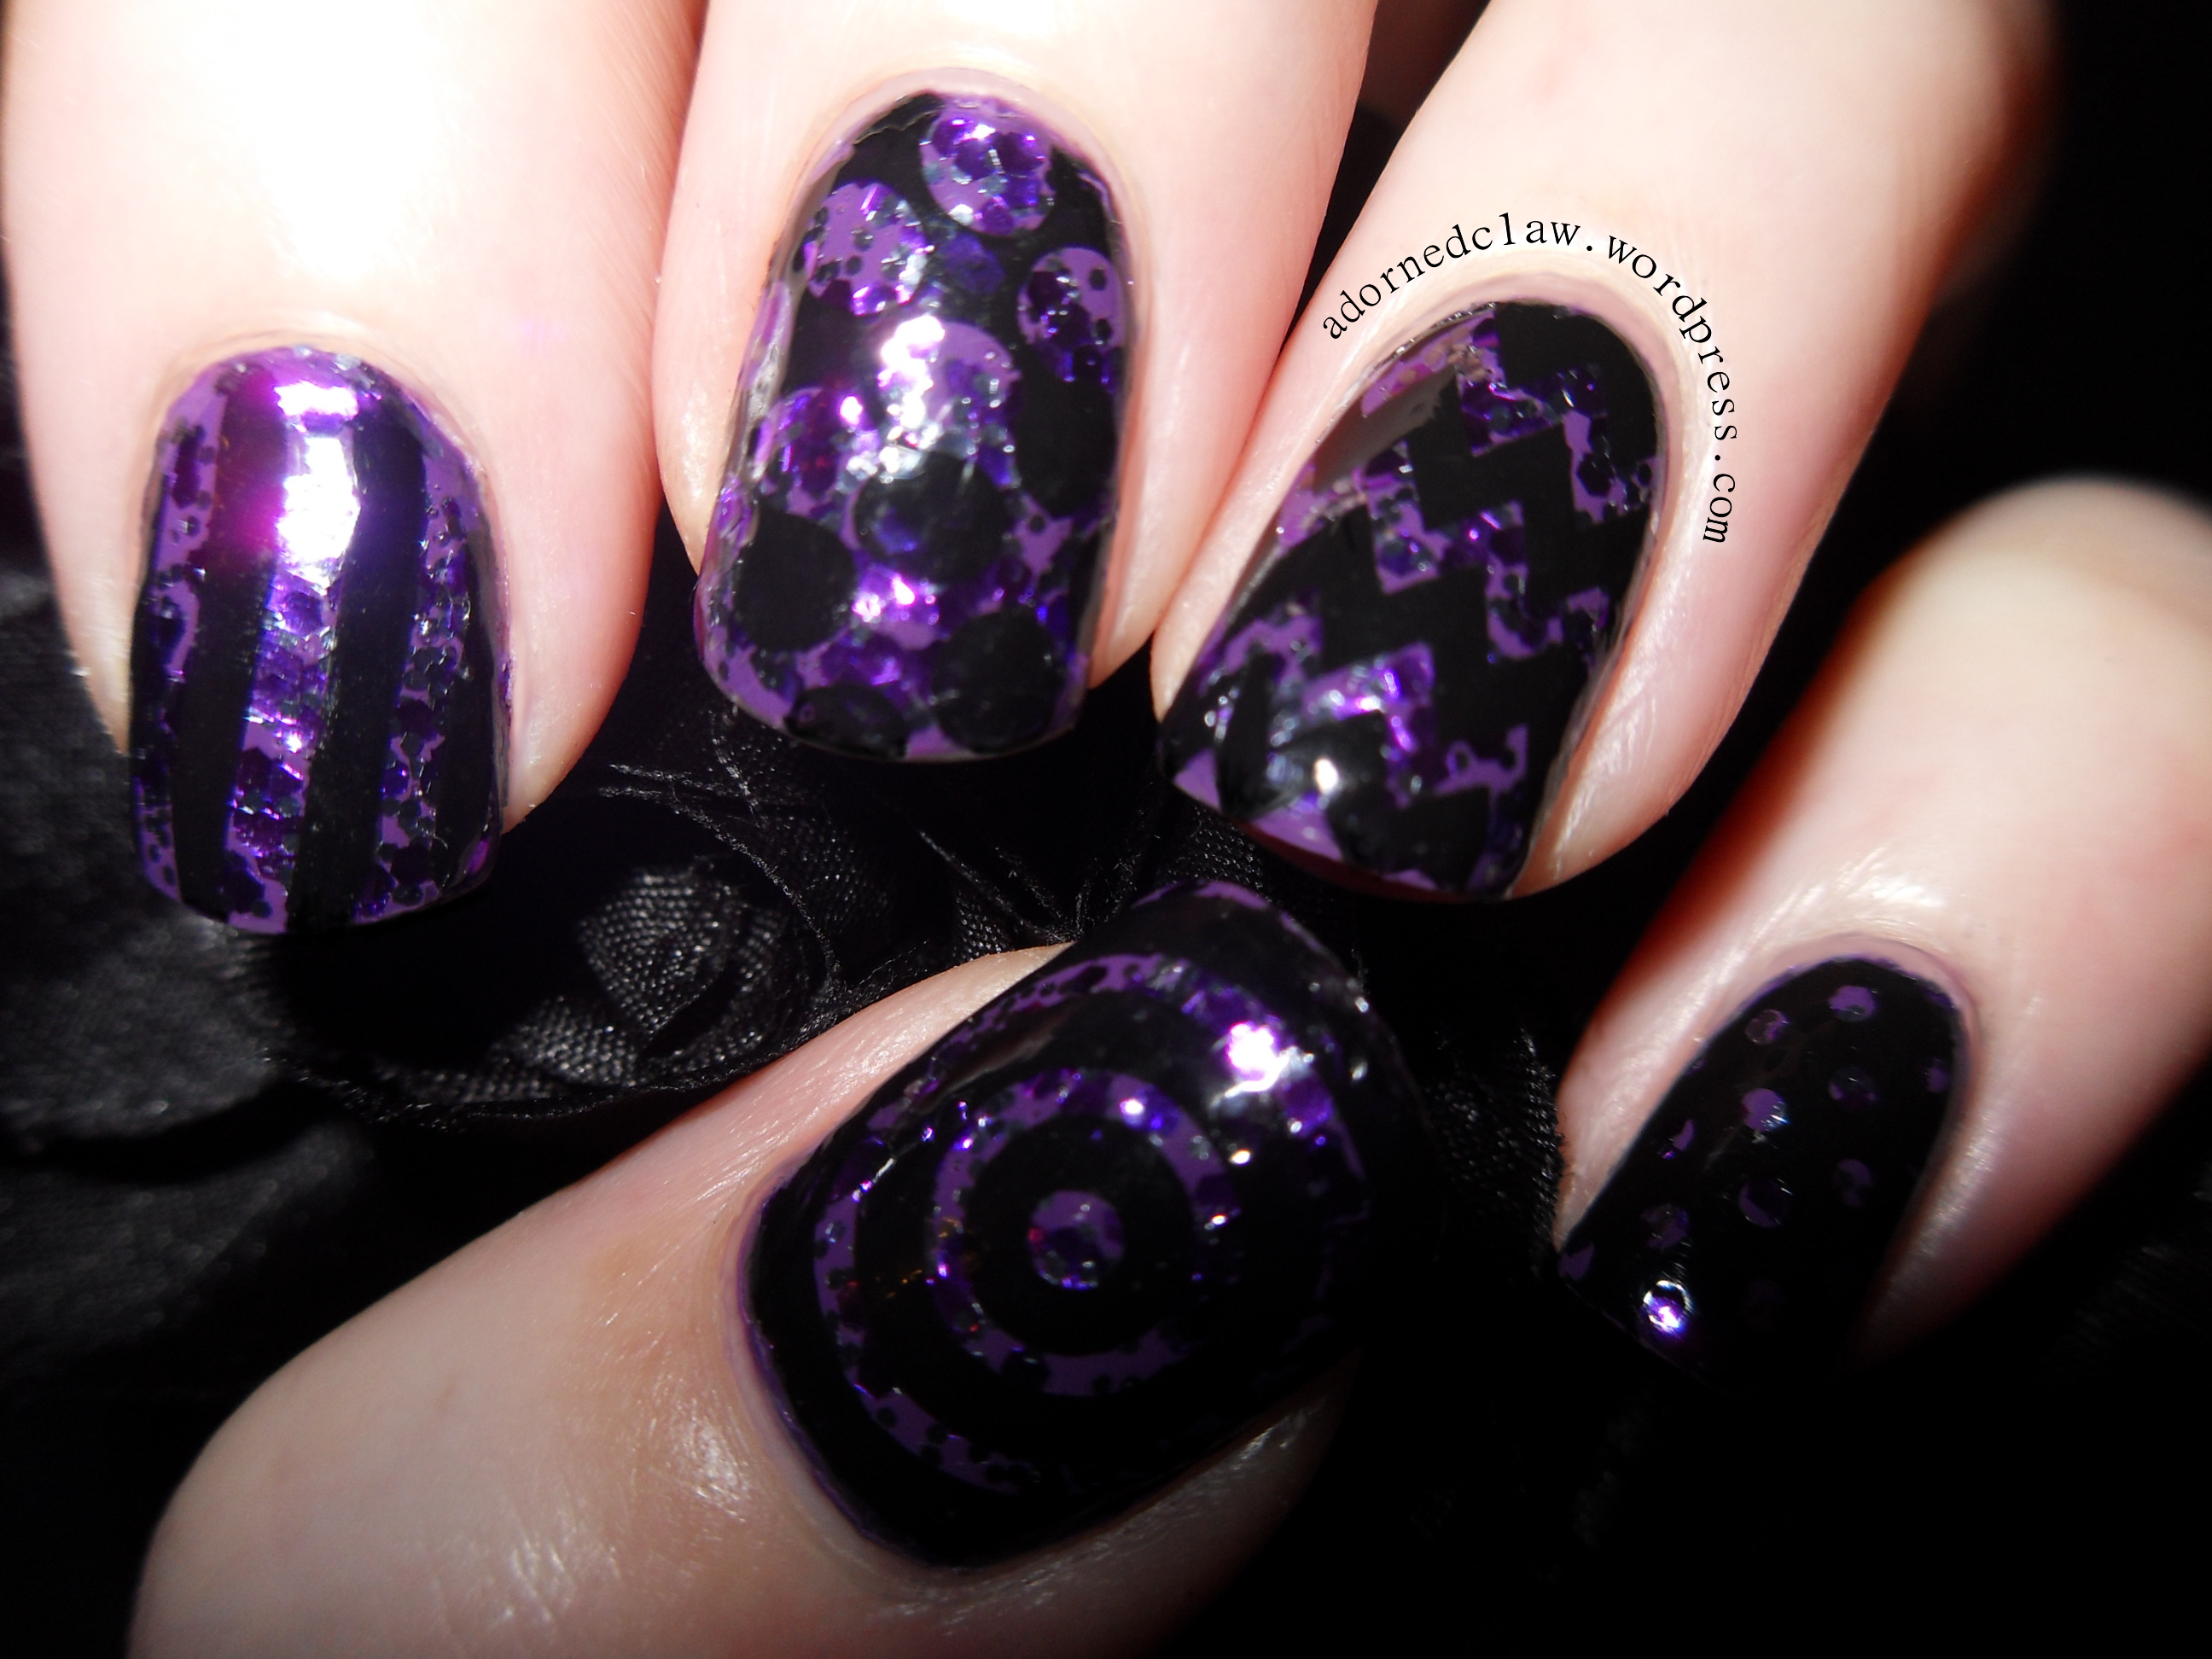
For this I started with two coats of Barielle Shades Grape Escape, which is a lovely purple creme followed by two coats of Orly Can’t Be Tamed, Large purple hex and smaller silver hex glitter in a clear base. It’s a really pretty polish but I found that it needed a lot of dabbing to get an even coat of the glitter.
This ended up as a stamped skittle mani because I just couldn’t decide on what I wanted to do!
I used Bundle Monster CYO set, BM-408 for my Thumb, BM-412 on my Middle Finger, BM-411 for the index finger (mutters about the image not being straight) and BM-423 for my ring and pinky fingers! and finished it off with a thick coat of Seche Vite.
Comments Off on If In Doubt Add Some Glitter! Purple Stamped Skittle Nails. | tags: Barielle Shades, Barielle Shades Grape Escape, BM-408, BM-411, BM-412, BM-423, Bundle Monster, Bundle Monster CYO, Glitter, Konad special polish, Nail Art, Nail polish, Nail Stamping, Nail Varnish, nailpolish, Orly, Orly Can't Be Tamed, purple, Seche Vite, short nails, silver | posted in Nail Art, Nail Stamping
I got a bit carried away with the filing and now I have rather stubby nails! But I have to say it is great to be able to type, use my phone properly and do everything else! 😀
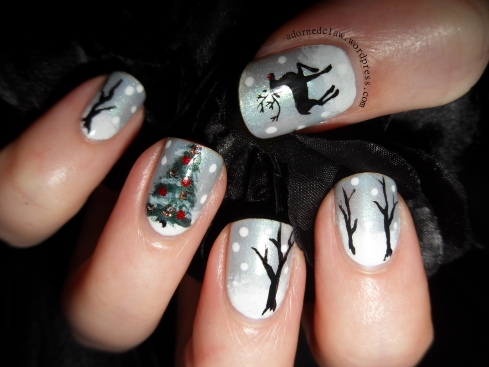
Christmas Nails
For the Background colour I used a gradient of Sally Hansen – Dive Deeper, Nina Ultra Pro – French White and Revlon – Calla lily.
For the winter trees I used Revlon – Black Magic and a thin nail art brush.
I used Revlon Matte Suede – Emerald City For the Christmas tree with a little bit of the french white for the snow, the little ornaments I used Barry M – Red Glitter and China Glaze – Glitter Goblin, along with my smallest dotting tool.
The snowflakes are a small dotting tool and some more french white.
For the reindeer I used stamping plate HD05 and Konad SP In Black, with a tiny bit of red glitter for his nose, I finished it off with a coat of Seche Vite.
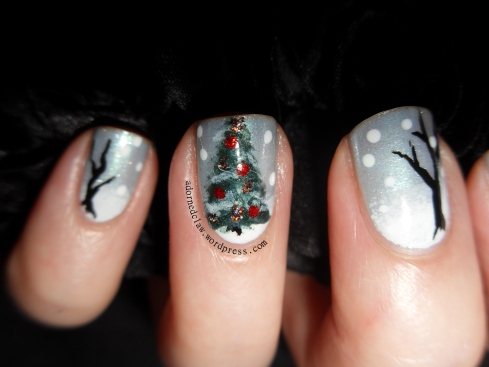
Christmas Tree Close up
I don’t do much free hand nail art, I should probably practice a bit 🙂
14 Comments | tags: Barry M, Barry M Red Glitter, China Glaze, China Glaze Glitter Goblin, Christmas, Glitter, gradient, HD05, Holographic, Konad special polish, Konad special polish Black, Nail Art, Nail polish, Nail Stamping, Nail Varnish, nailpolish, Nina Pro, Nina Ultra Pro French White, Revlon, Revlon Black Magic, Revlon Calla Lily, Revlon Emerald City, Sally Hansen, Sally Hansen Dive Deeper, Seche Vite, short nails | posted in Nail Art, Nail Stamping

Flame Nail Art
Seeing as it is coming up to bonfire night, here are some fire inspired nails! I started with 3 coats of The Uptown from Color Club, which is a lovely purple jelly with Multi-chrome flakies! Then using Black on Black from Sinful Colors and a thin brush I painted on the flame pattern.

Flame Nails
1 Comment | tags: Black, color club, Color Club The Uptown, Fire nails, Jelly, Nail Art, Nail Varnish, nailpolish, purple, short nails, Sinful Colors Black on Black, SinfulColors | posted in Nail Art
I’m really enjoying trying out new (to me) nail art techniques, I realized that by only doing nail stamping I was missing out on loads of other fun nail art stuff! So here is another first for me, Waterfall nails!
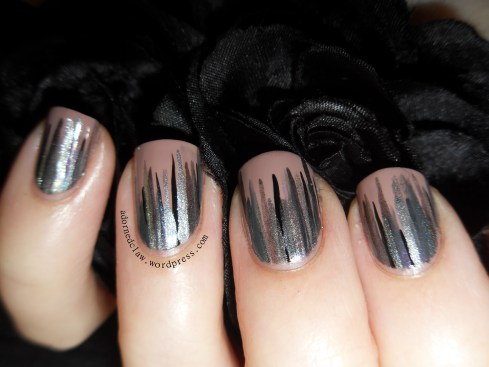
Silver Waterfall Nails
I used, Deborah Lippmann – Modern Love, Deborah Lippmann – Hit Me With Your Best shot, Sinfulcolors – Time Off, Illamasqua – Snap, Nails Inc – Old Bond Street, Barielle Shades – Night Moves and China glaze – Cosmic Dust.
I started with a base colour of Modern Love from Deborah Lippmann, starting with the darkest colour using a fine brush, I painted on the stripes, making sure that each colour has stripes of different lengths.
It took quite a while to finish but I really love how this turned out! and I’m going to be trying this again with different colours! 😀
2 Comments | tags: Barielle Shades, Barielle Shades Night Moves, Black, China Glaze, China Glaze Cosmic Dust, color club, Deborah Lippmann Hit me With Your Best Shot, Deborah Lippmann Modern Love, grey, Holographic, Illamasqua, Illamasqua Snap, Nail Art, nailpolish, Nails Inc Old Bond Street, short nails, silver, Sinful Colors Time Off, SinfulColors, waterfall nails | posted in Nail Art