Tag Archives: iridescent

Born Pretty Nail Foil and Glue!

*Press Sample*

Hallo!

Born Pretty Nail Foil and Glue Review

I have finally recovered from another fit of the ills! Yay!

So here are a couple of products from Born Pretty Store that have been kindly sent to me for review!

Born Pretty Nail Foil and Glue Review

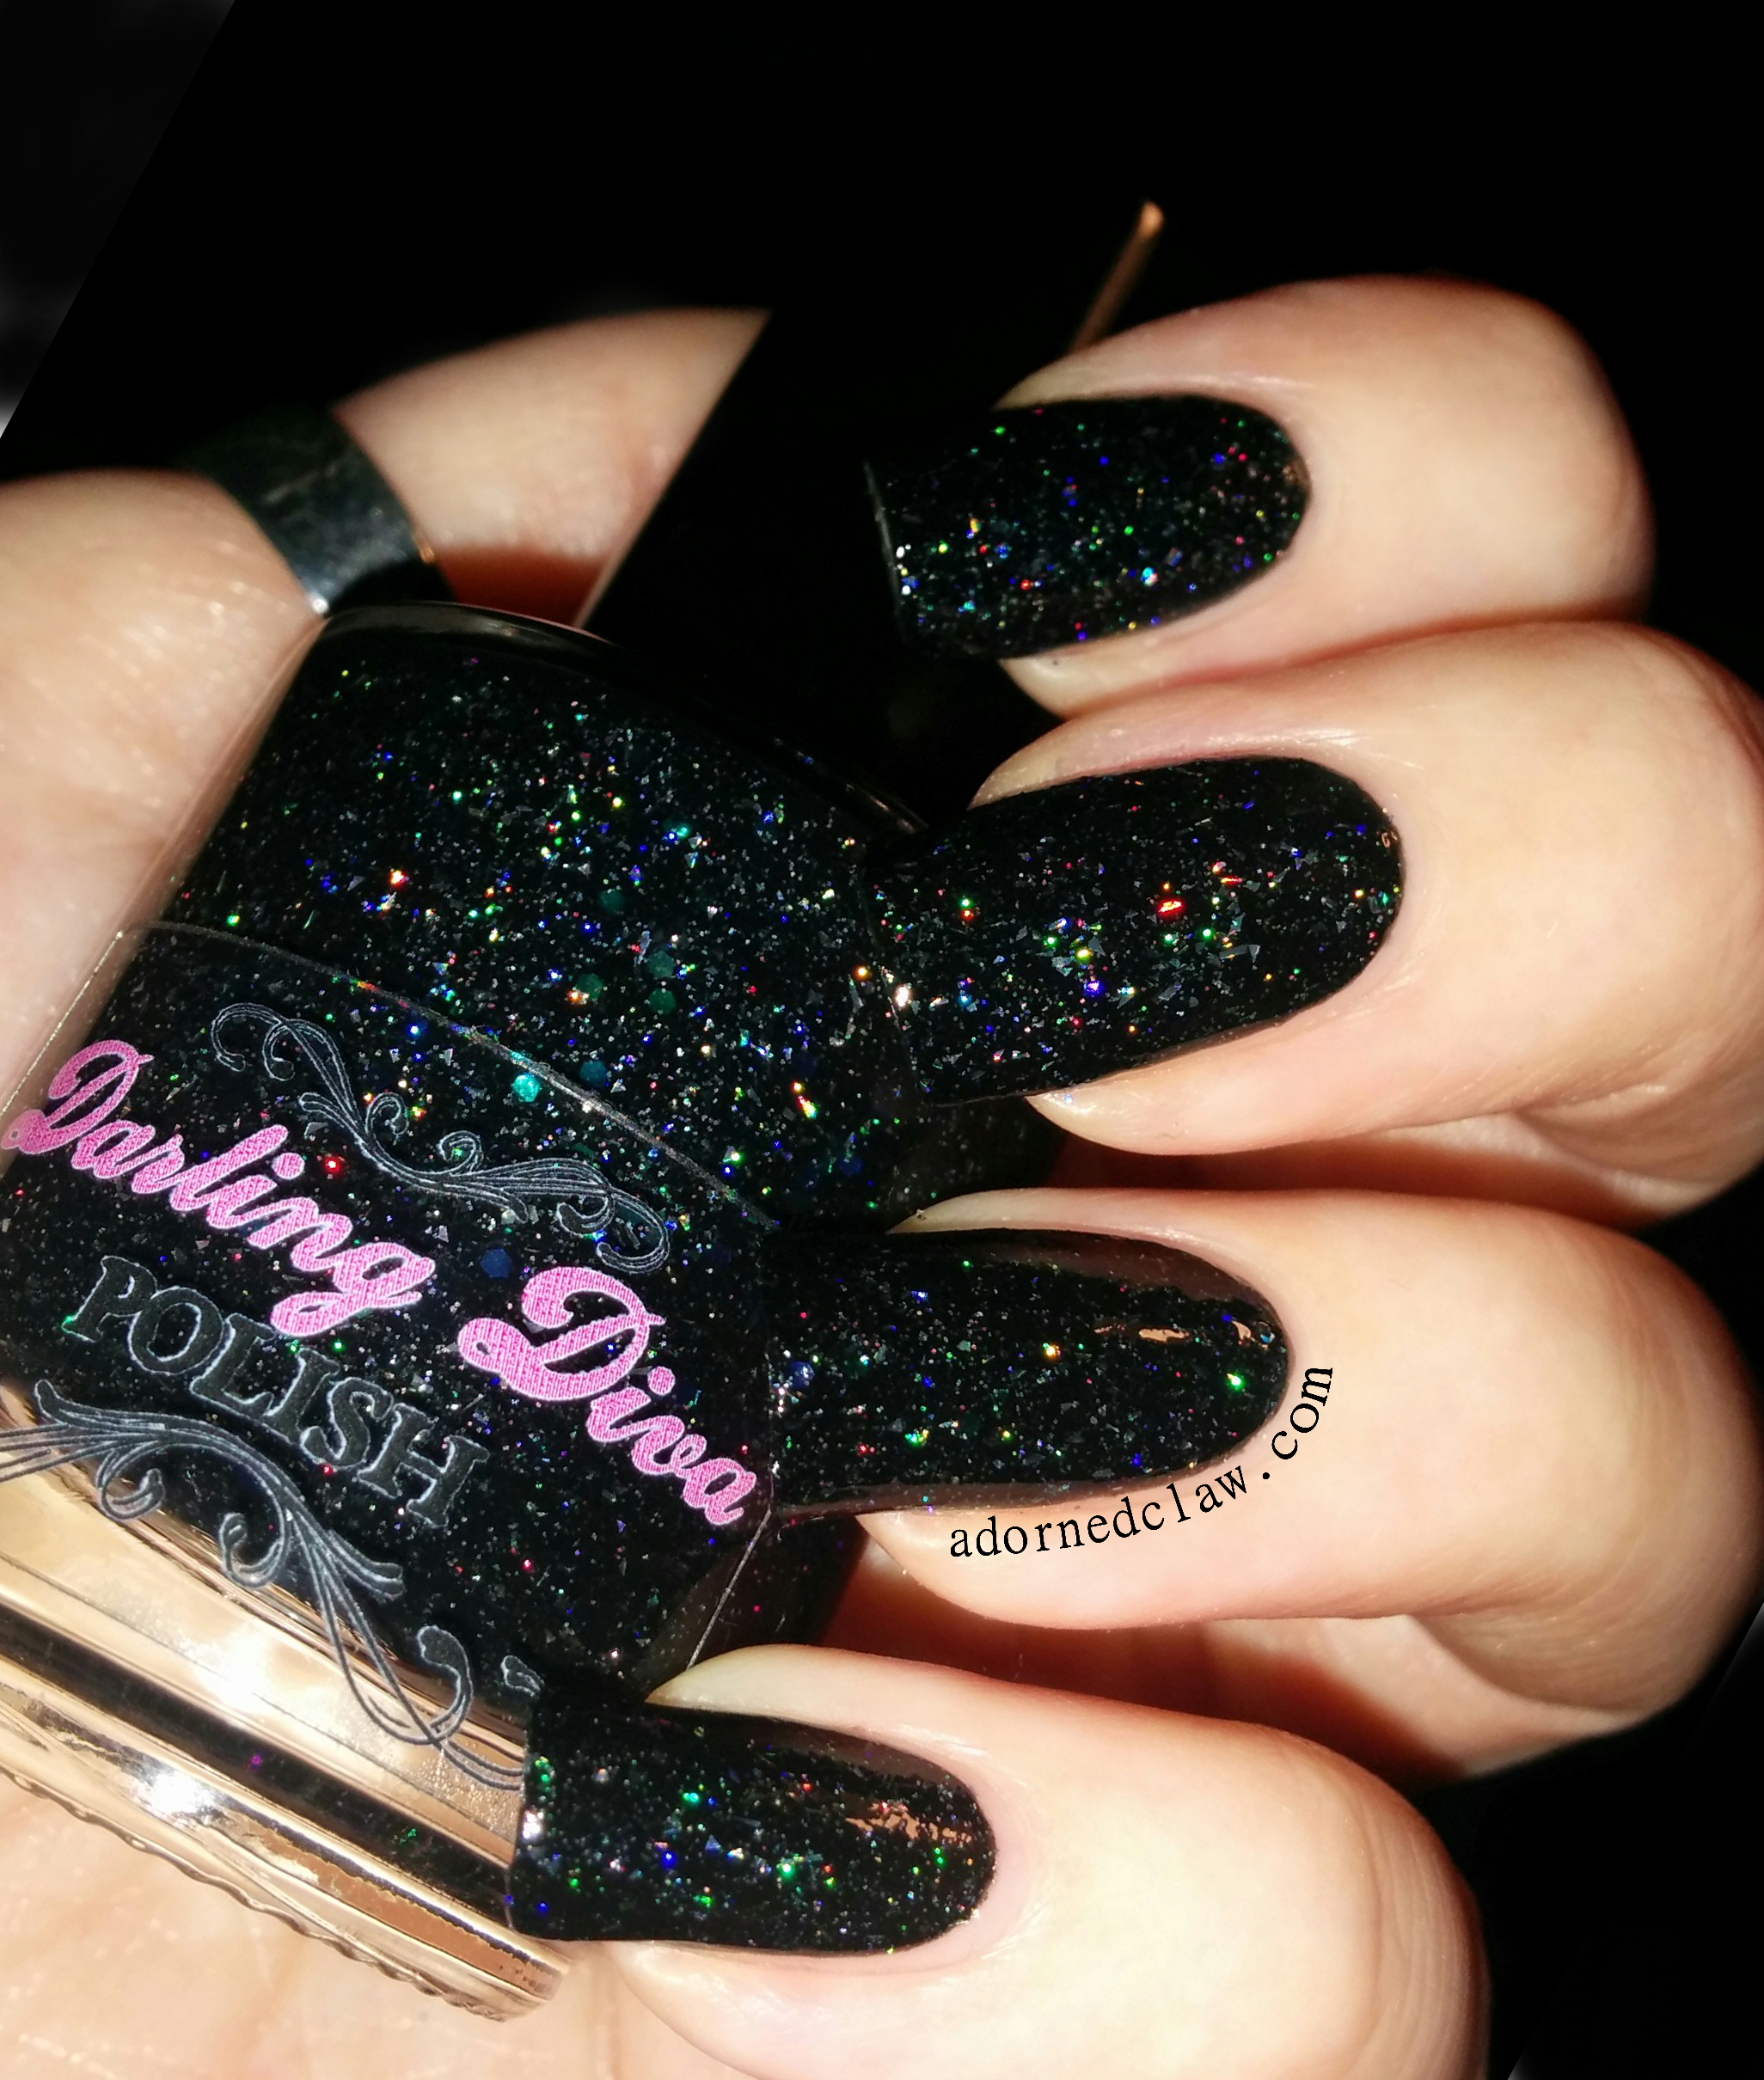
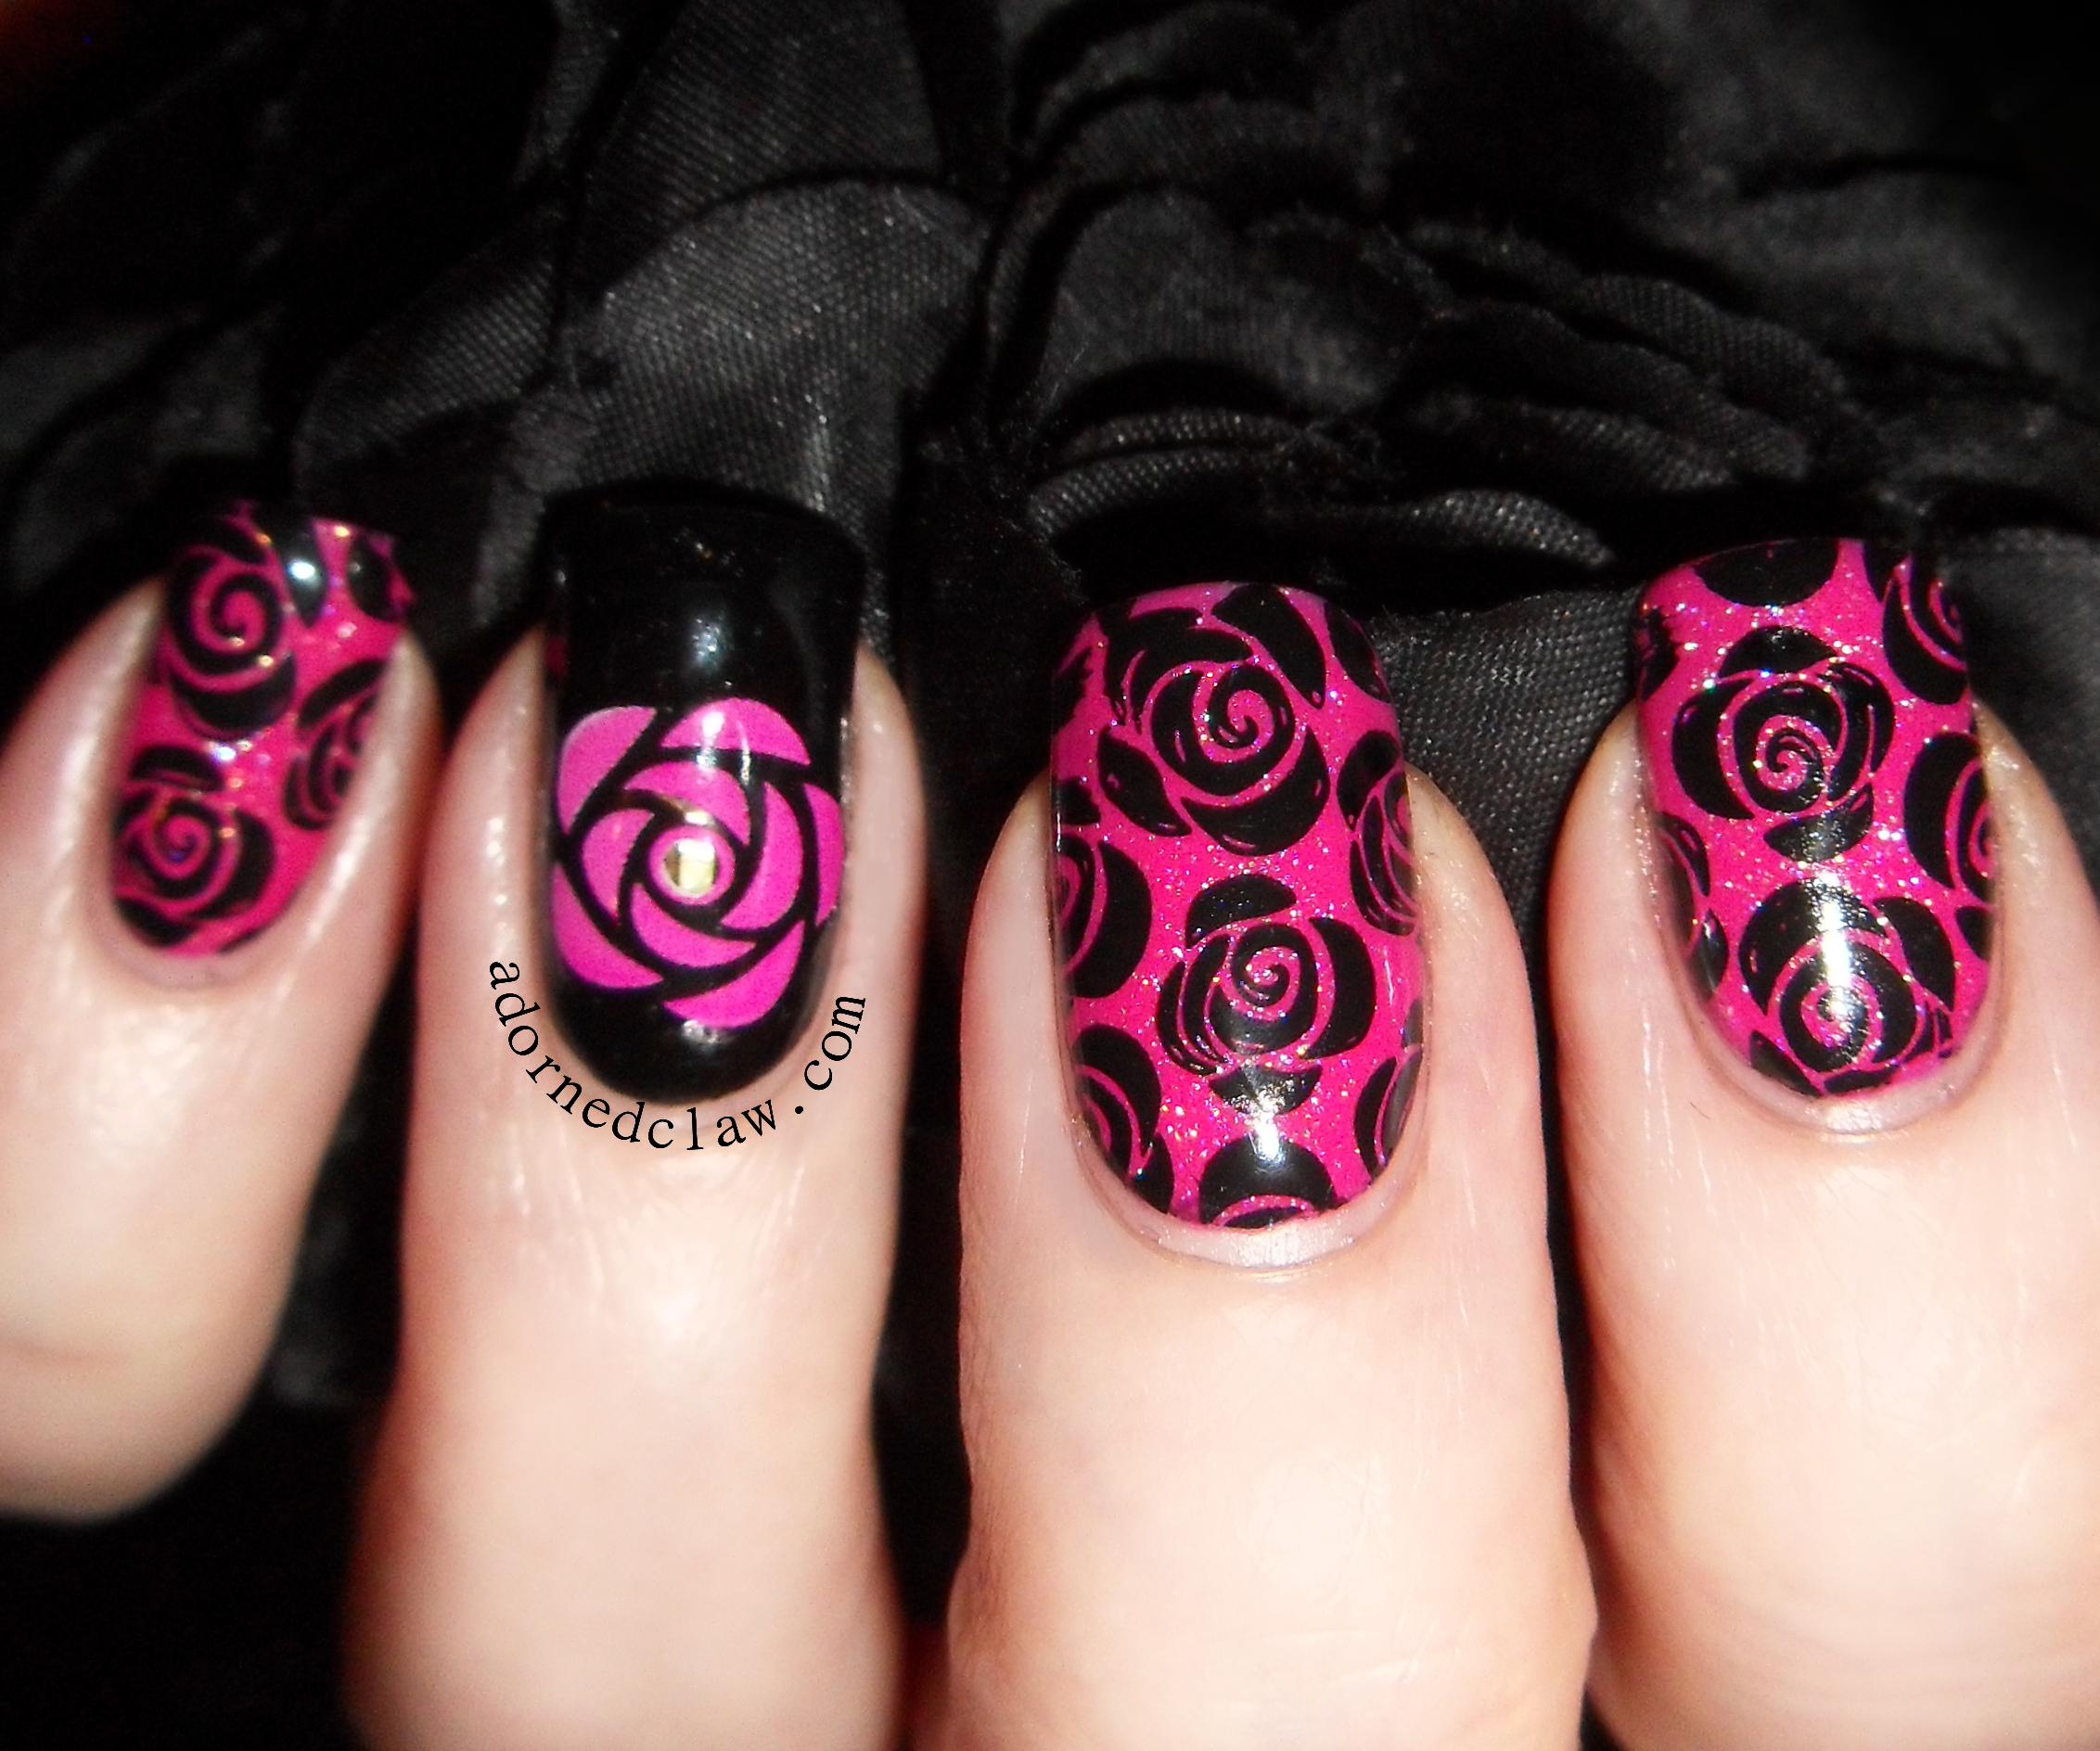
The Foils are available here for this review I am using pattern number 165. And the glue is available here.

If you use the code RPG10 over at Born Pretty Store you’ll get 10% off all non sale items! 😀

Born Pretty Nail Foil and Glue Review

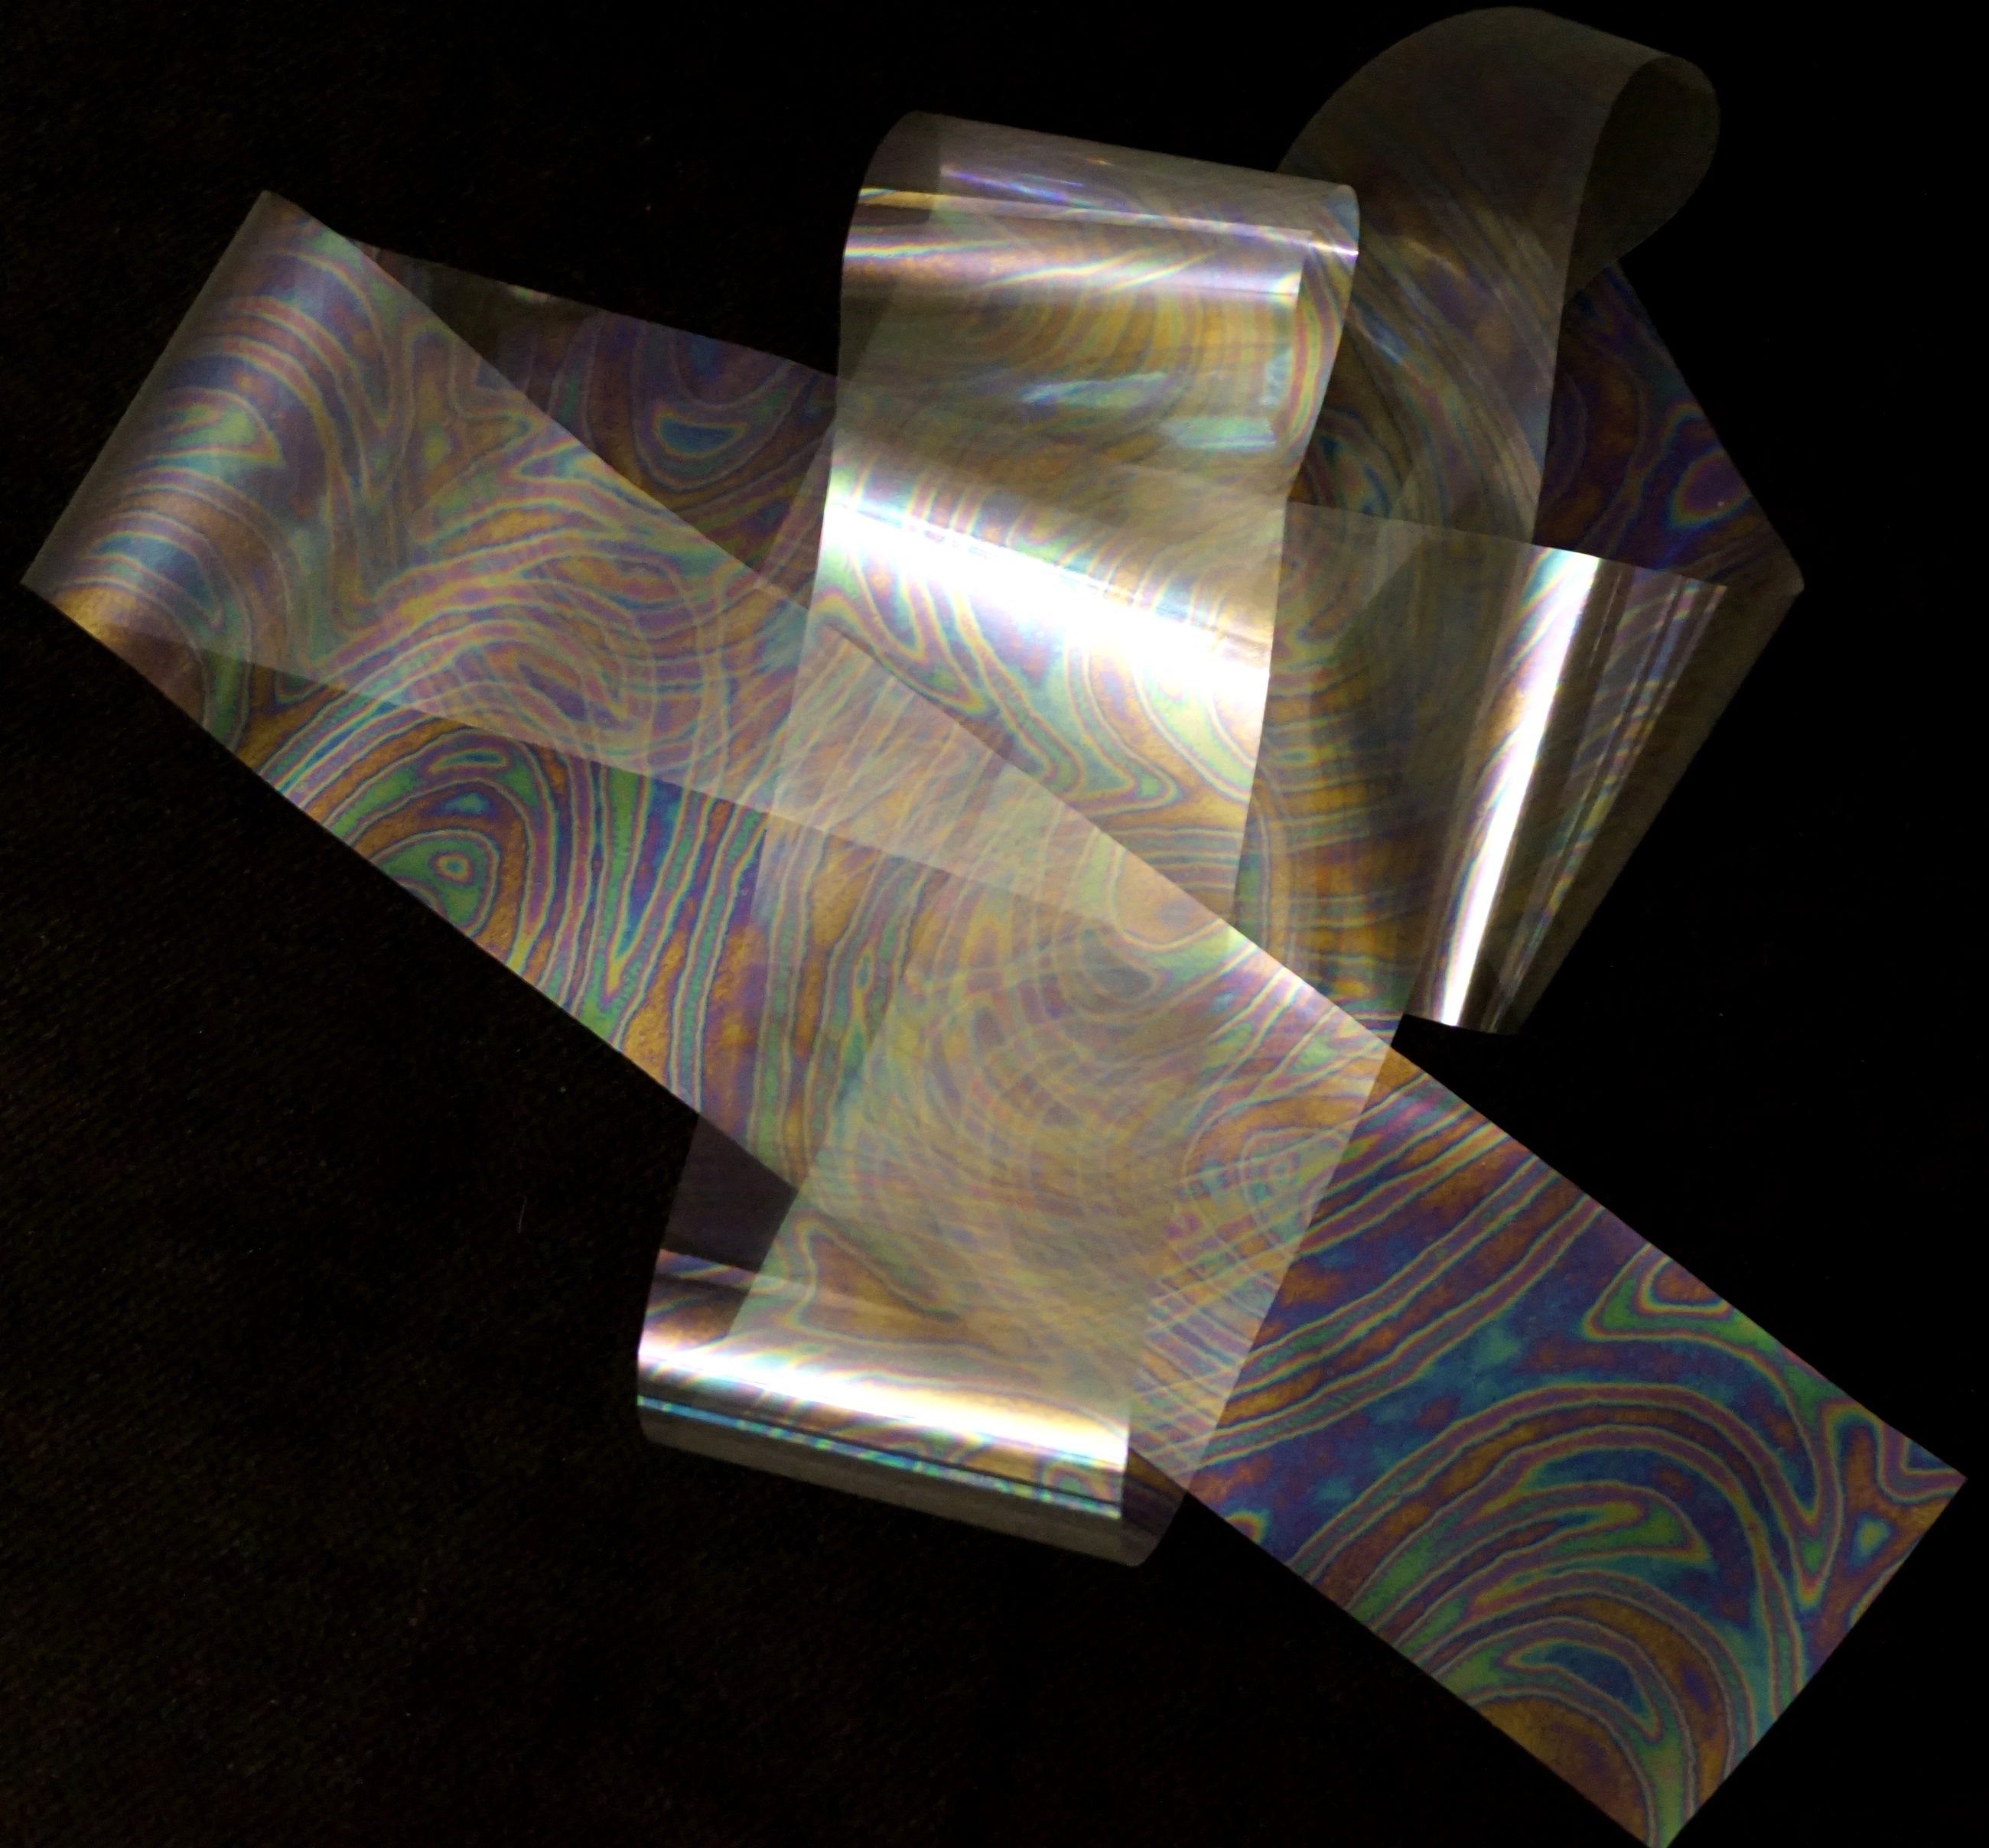
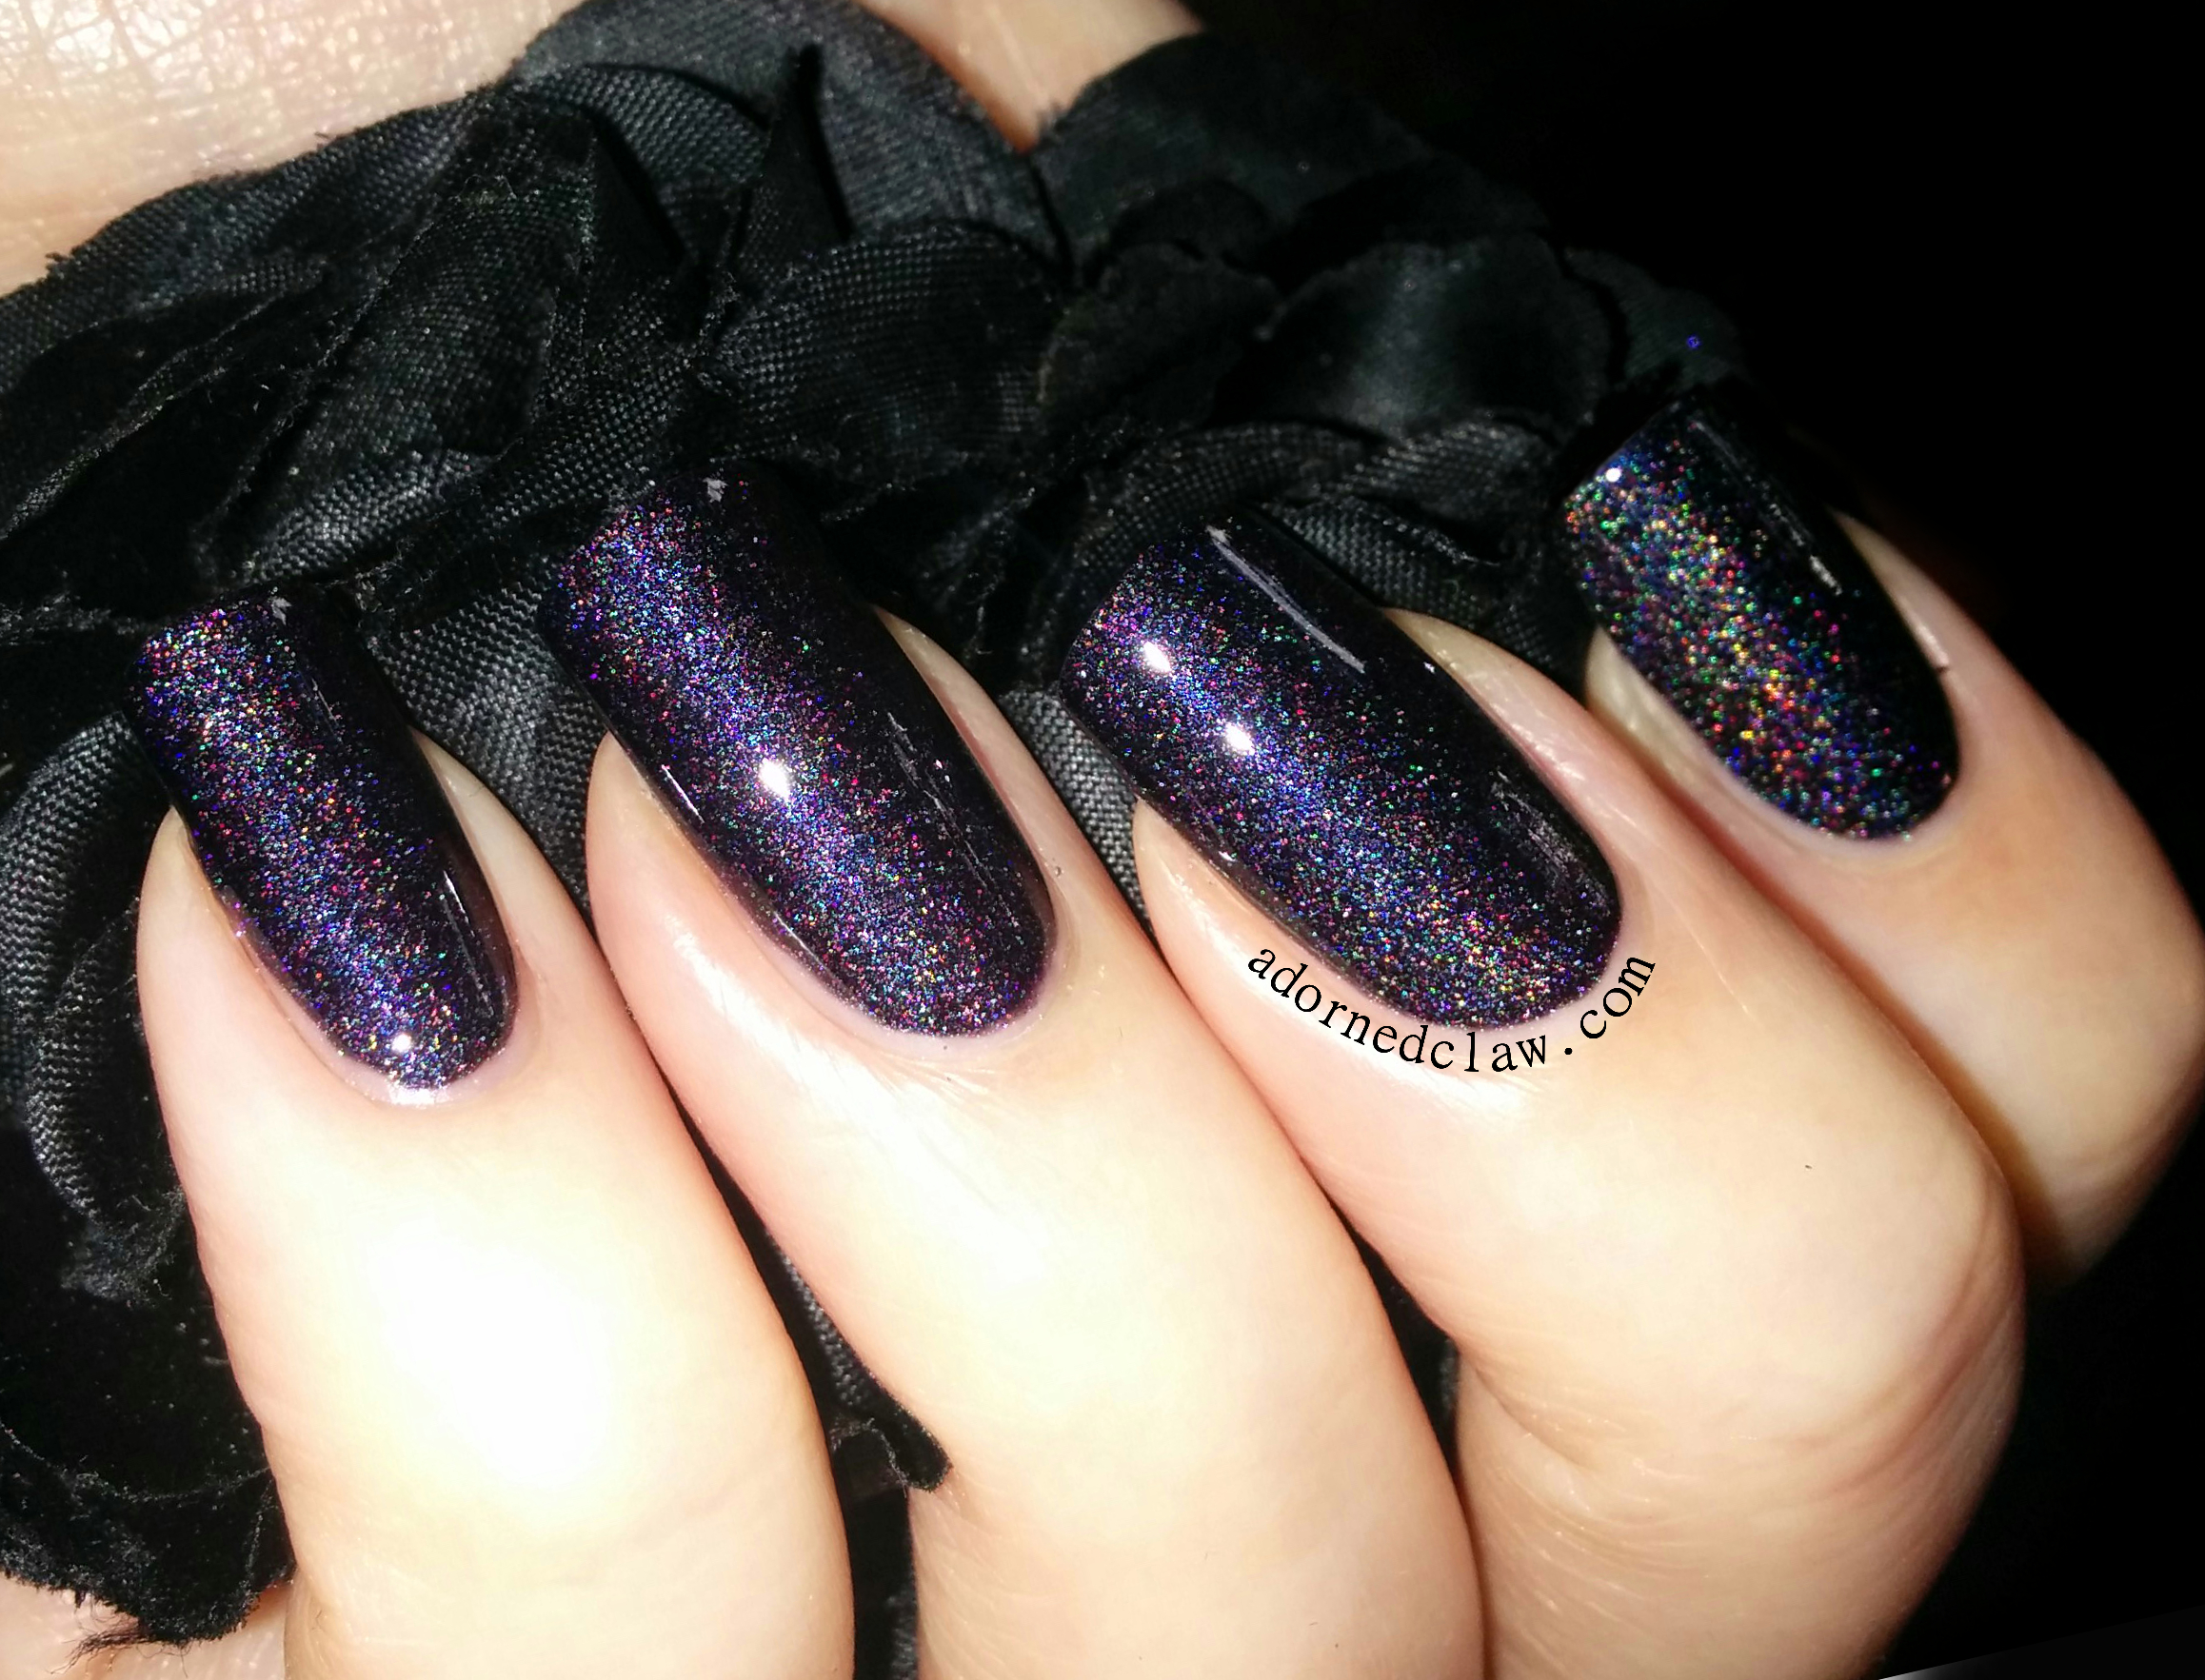
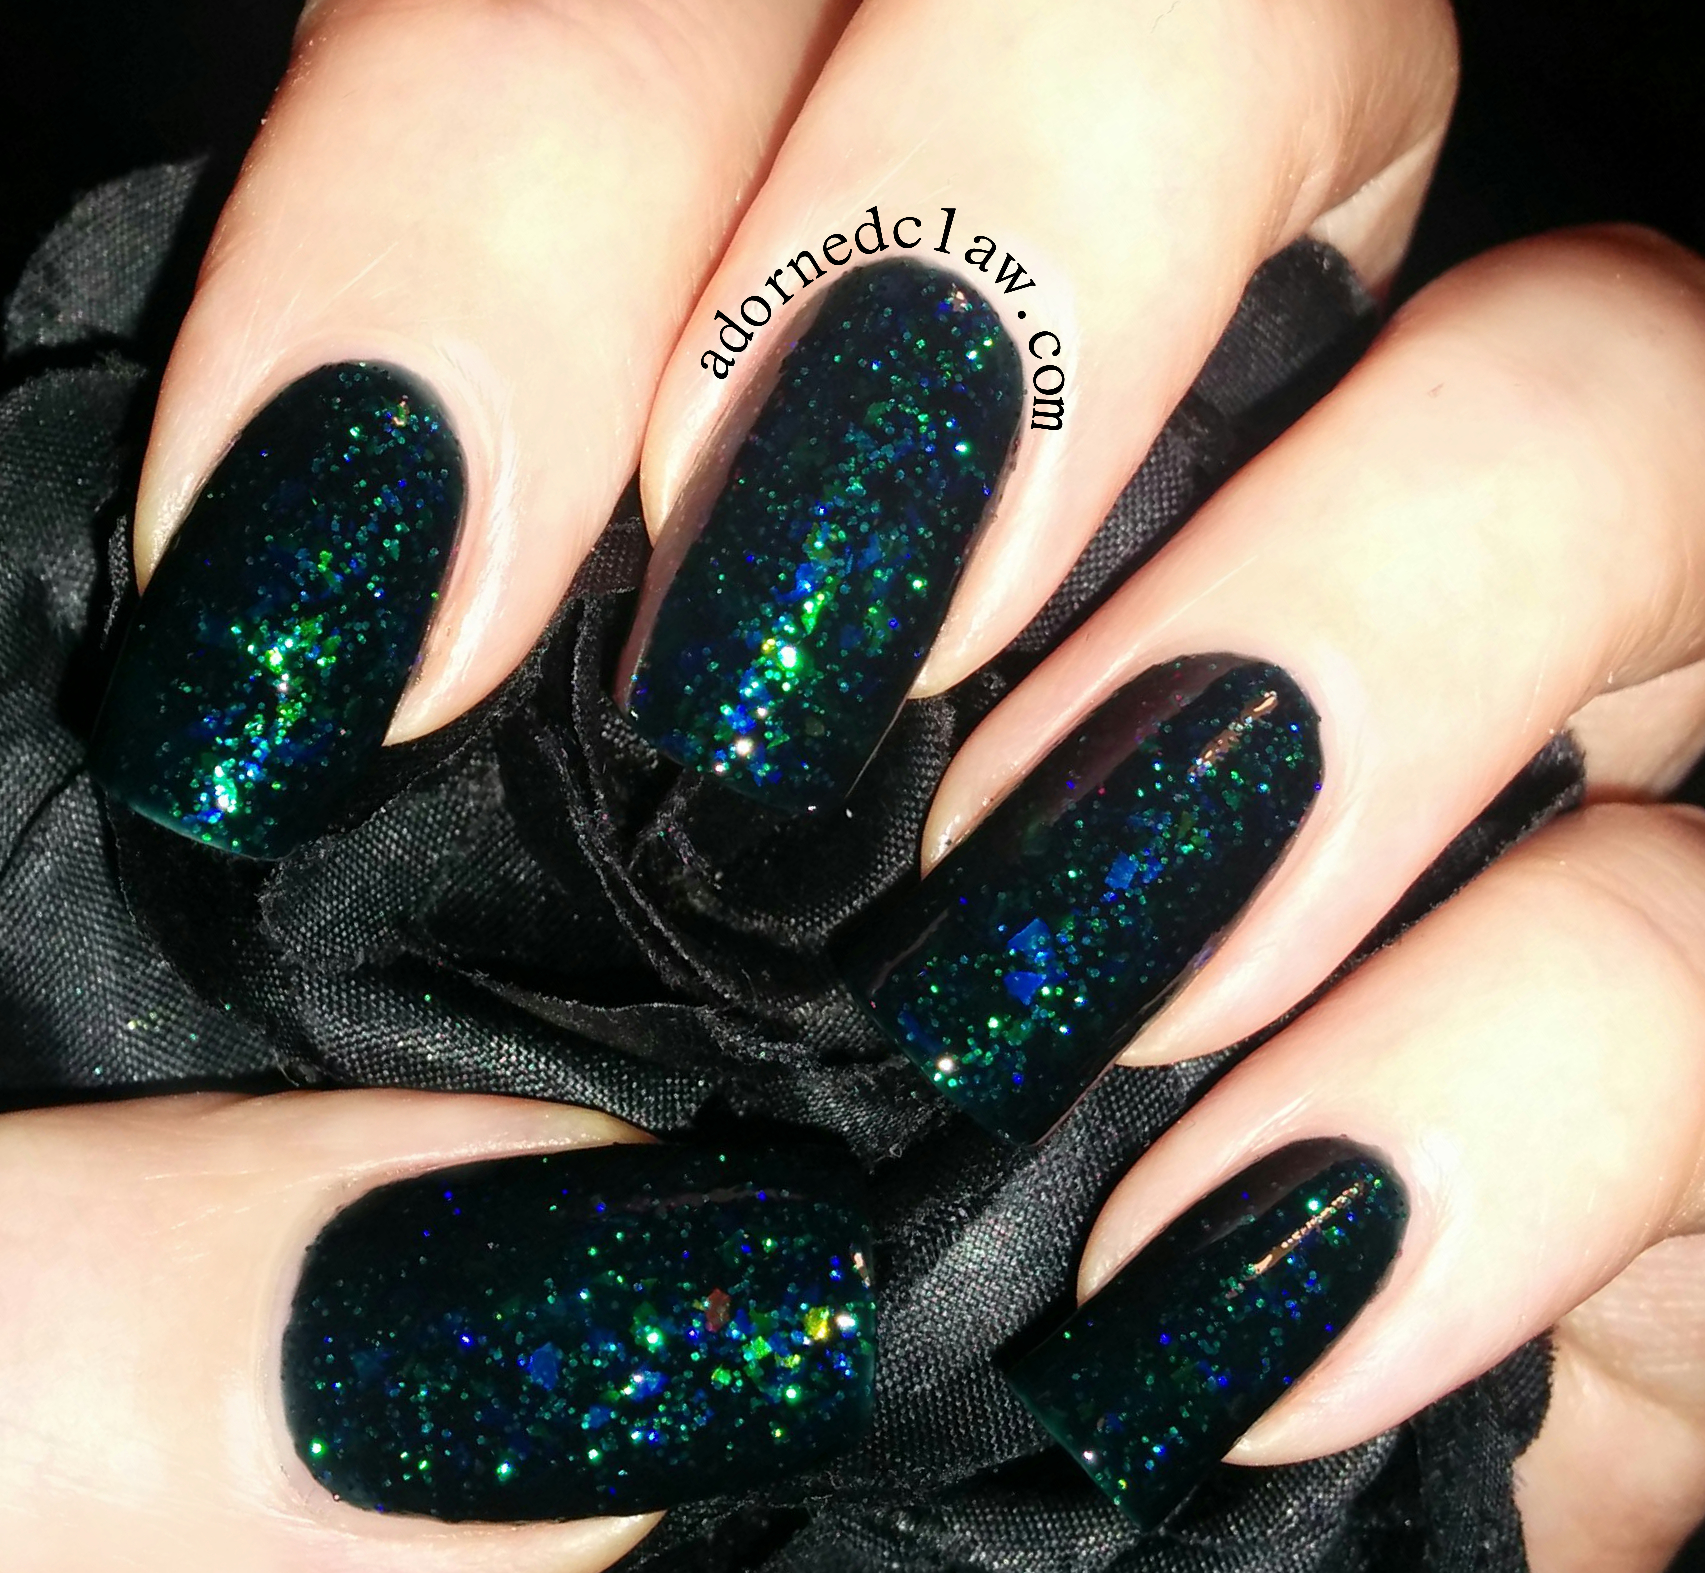
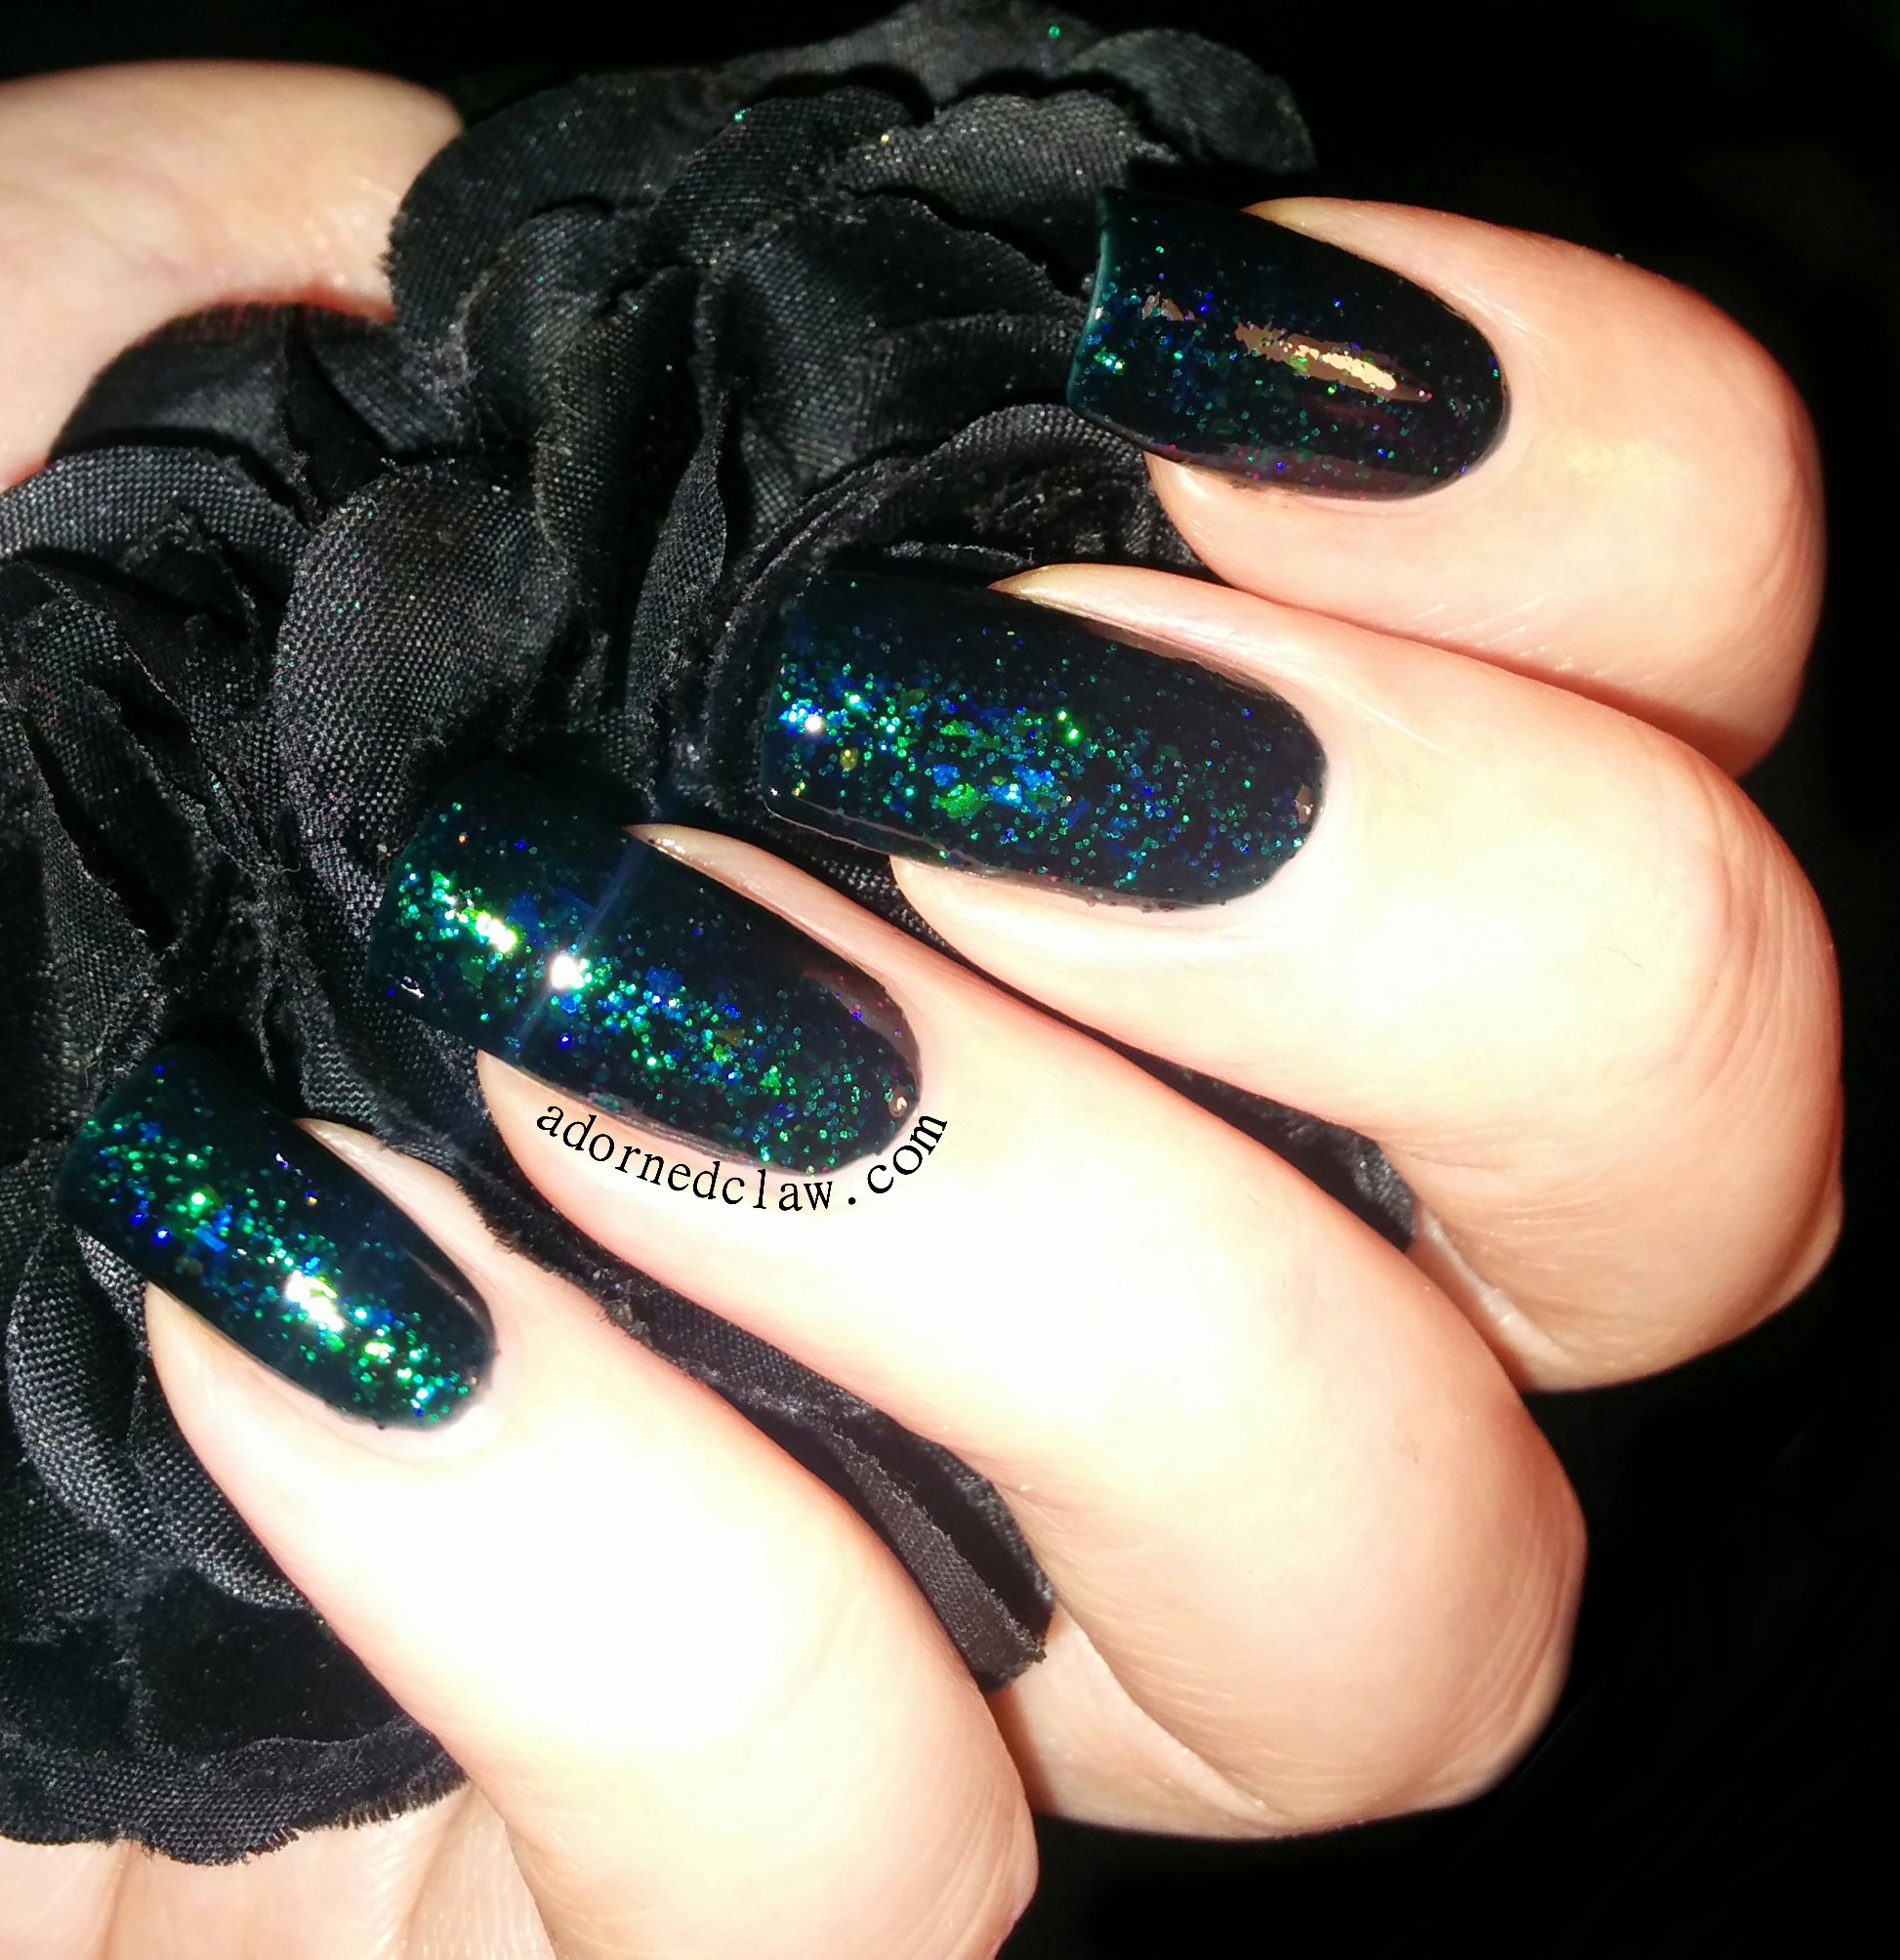
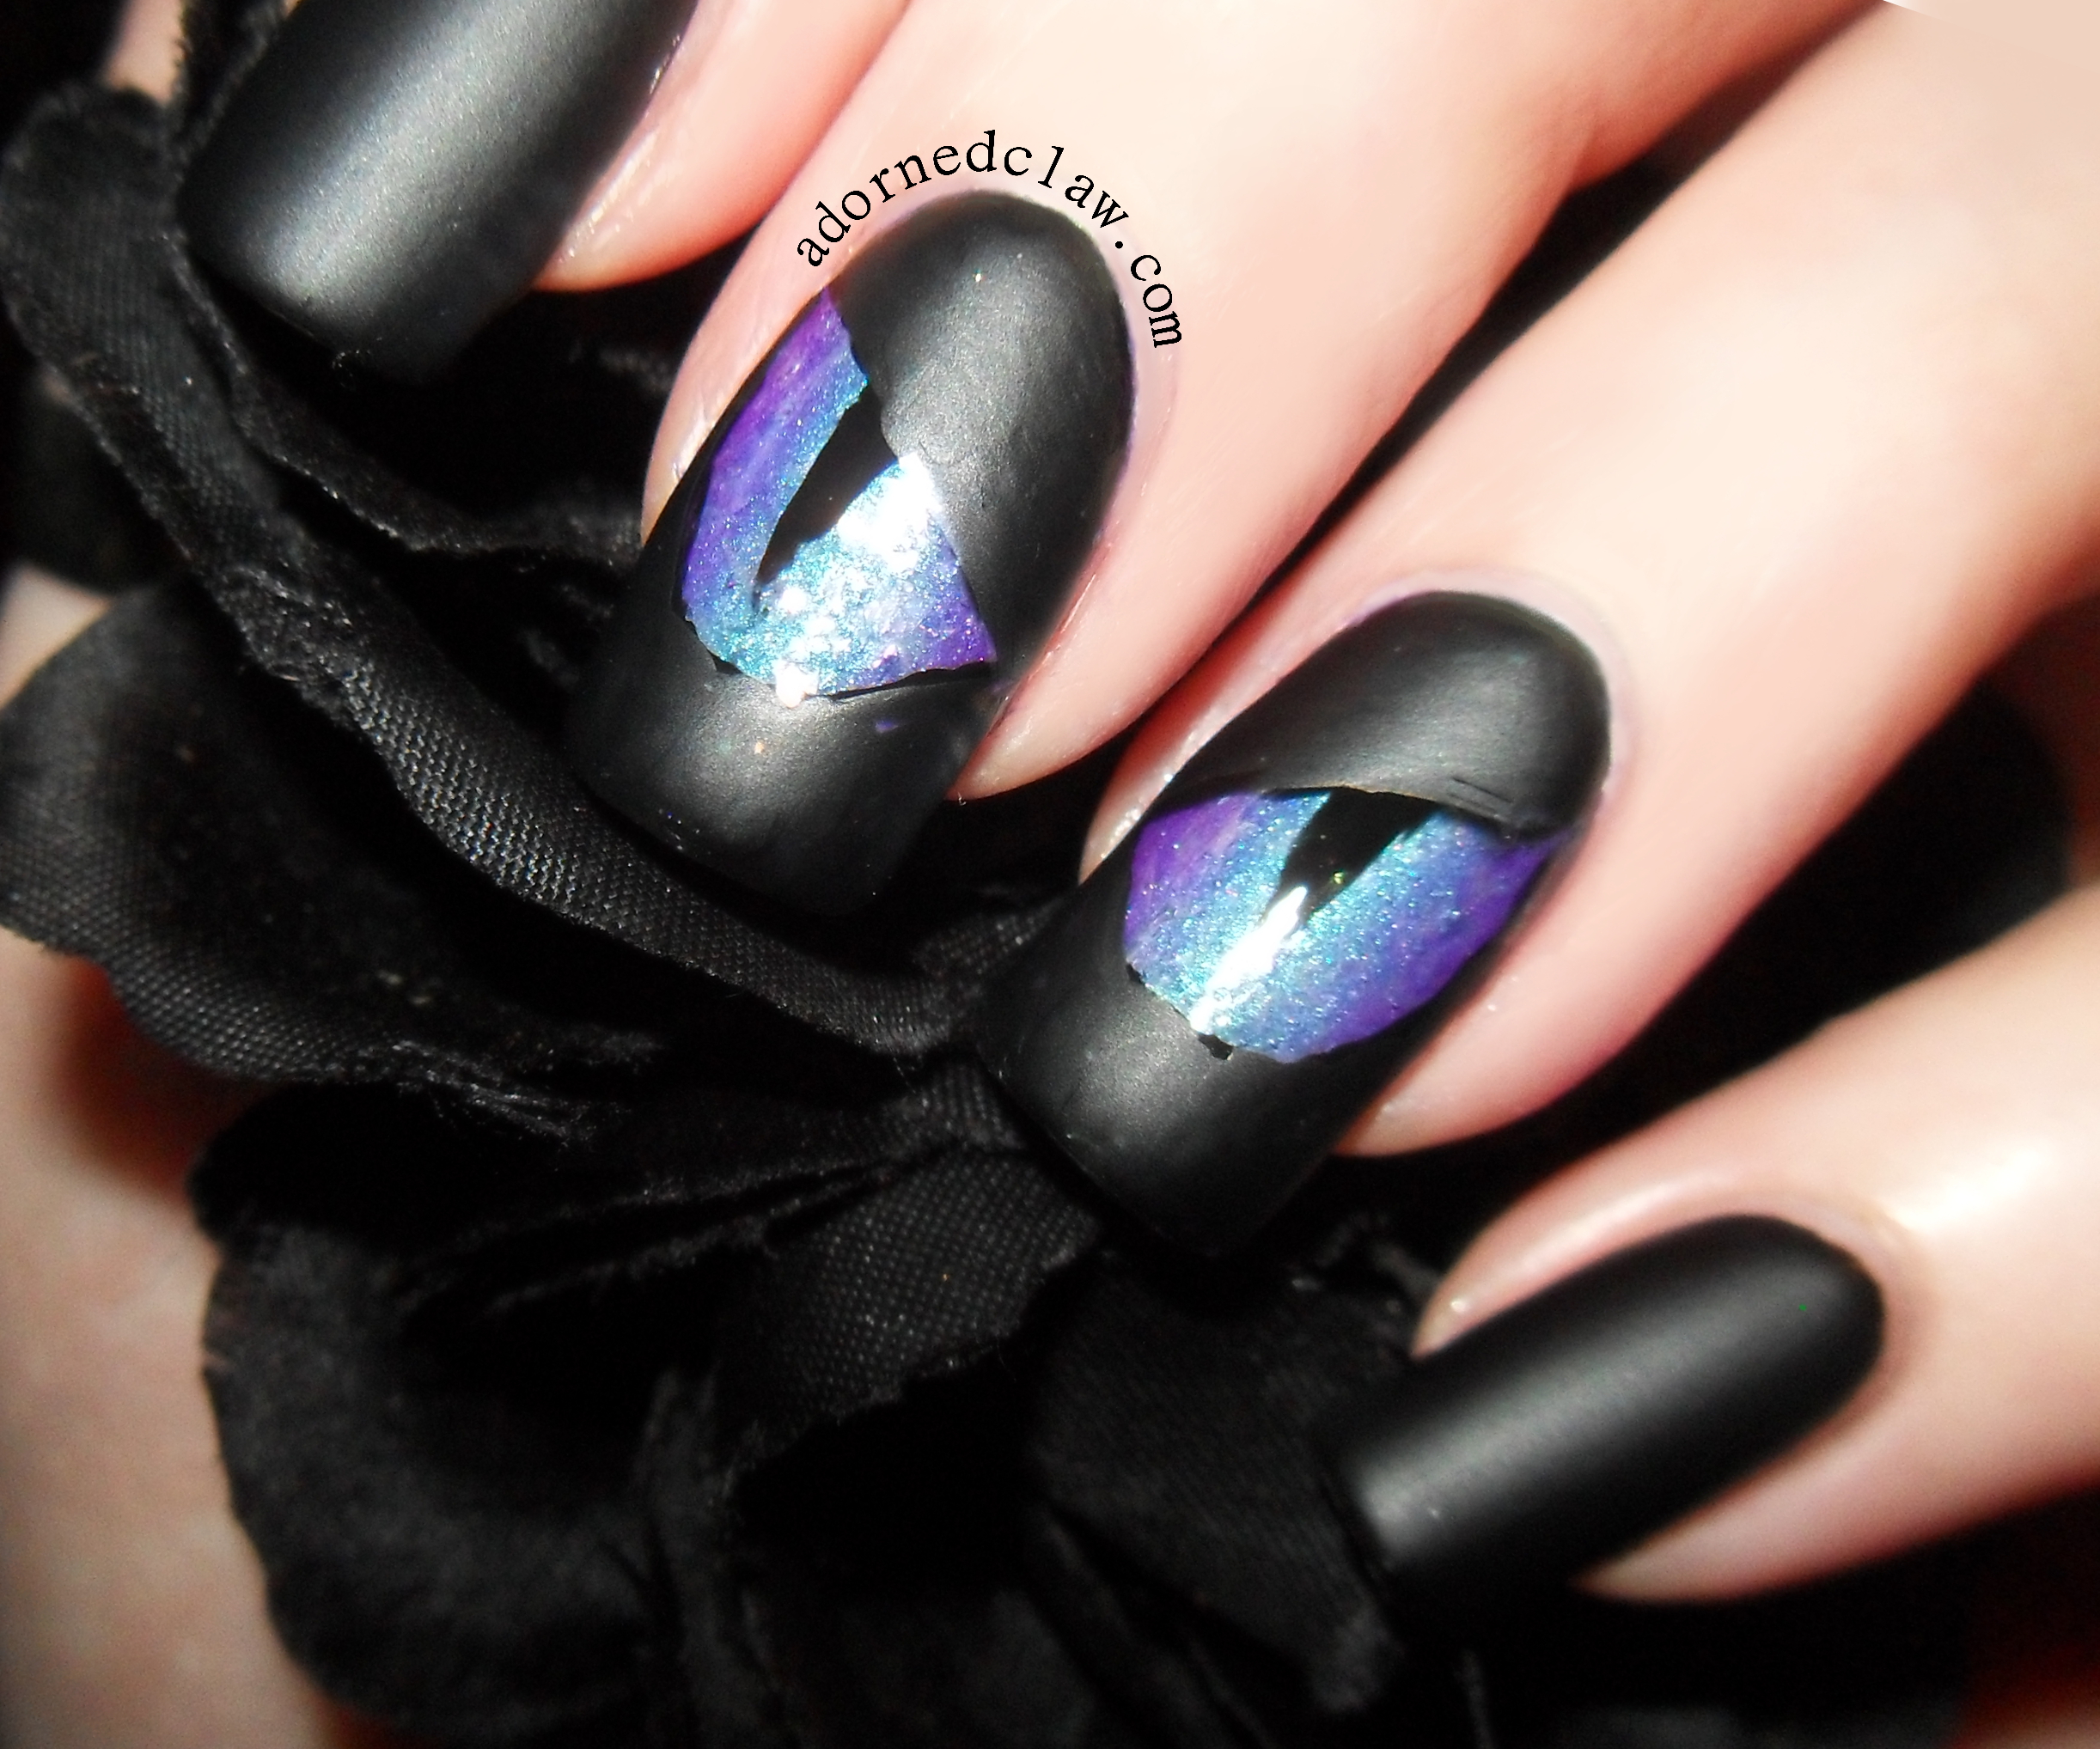
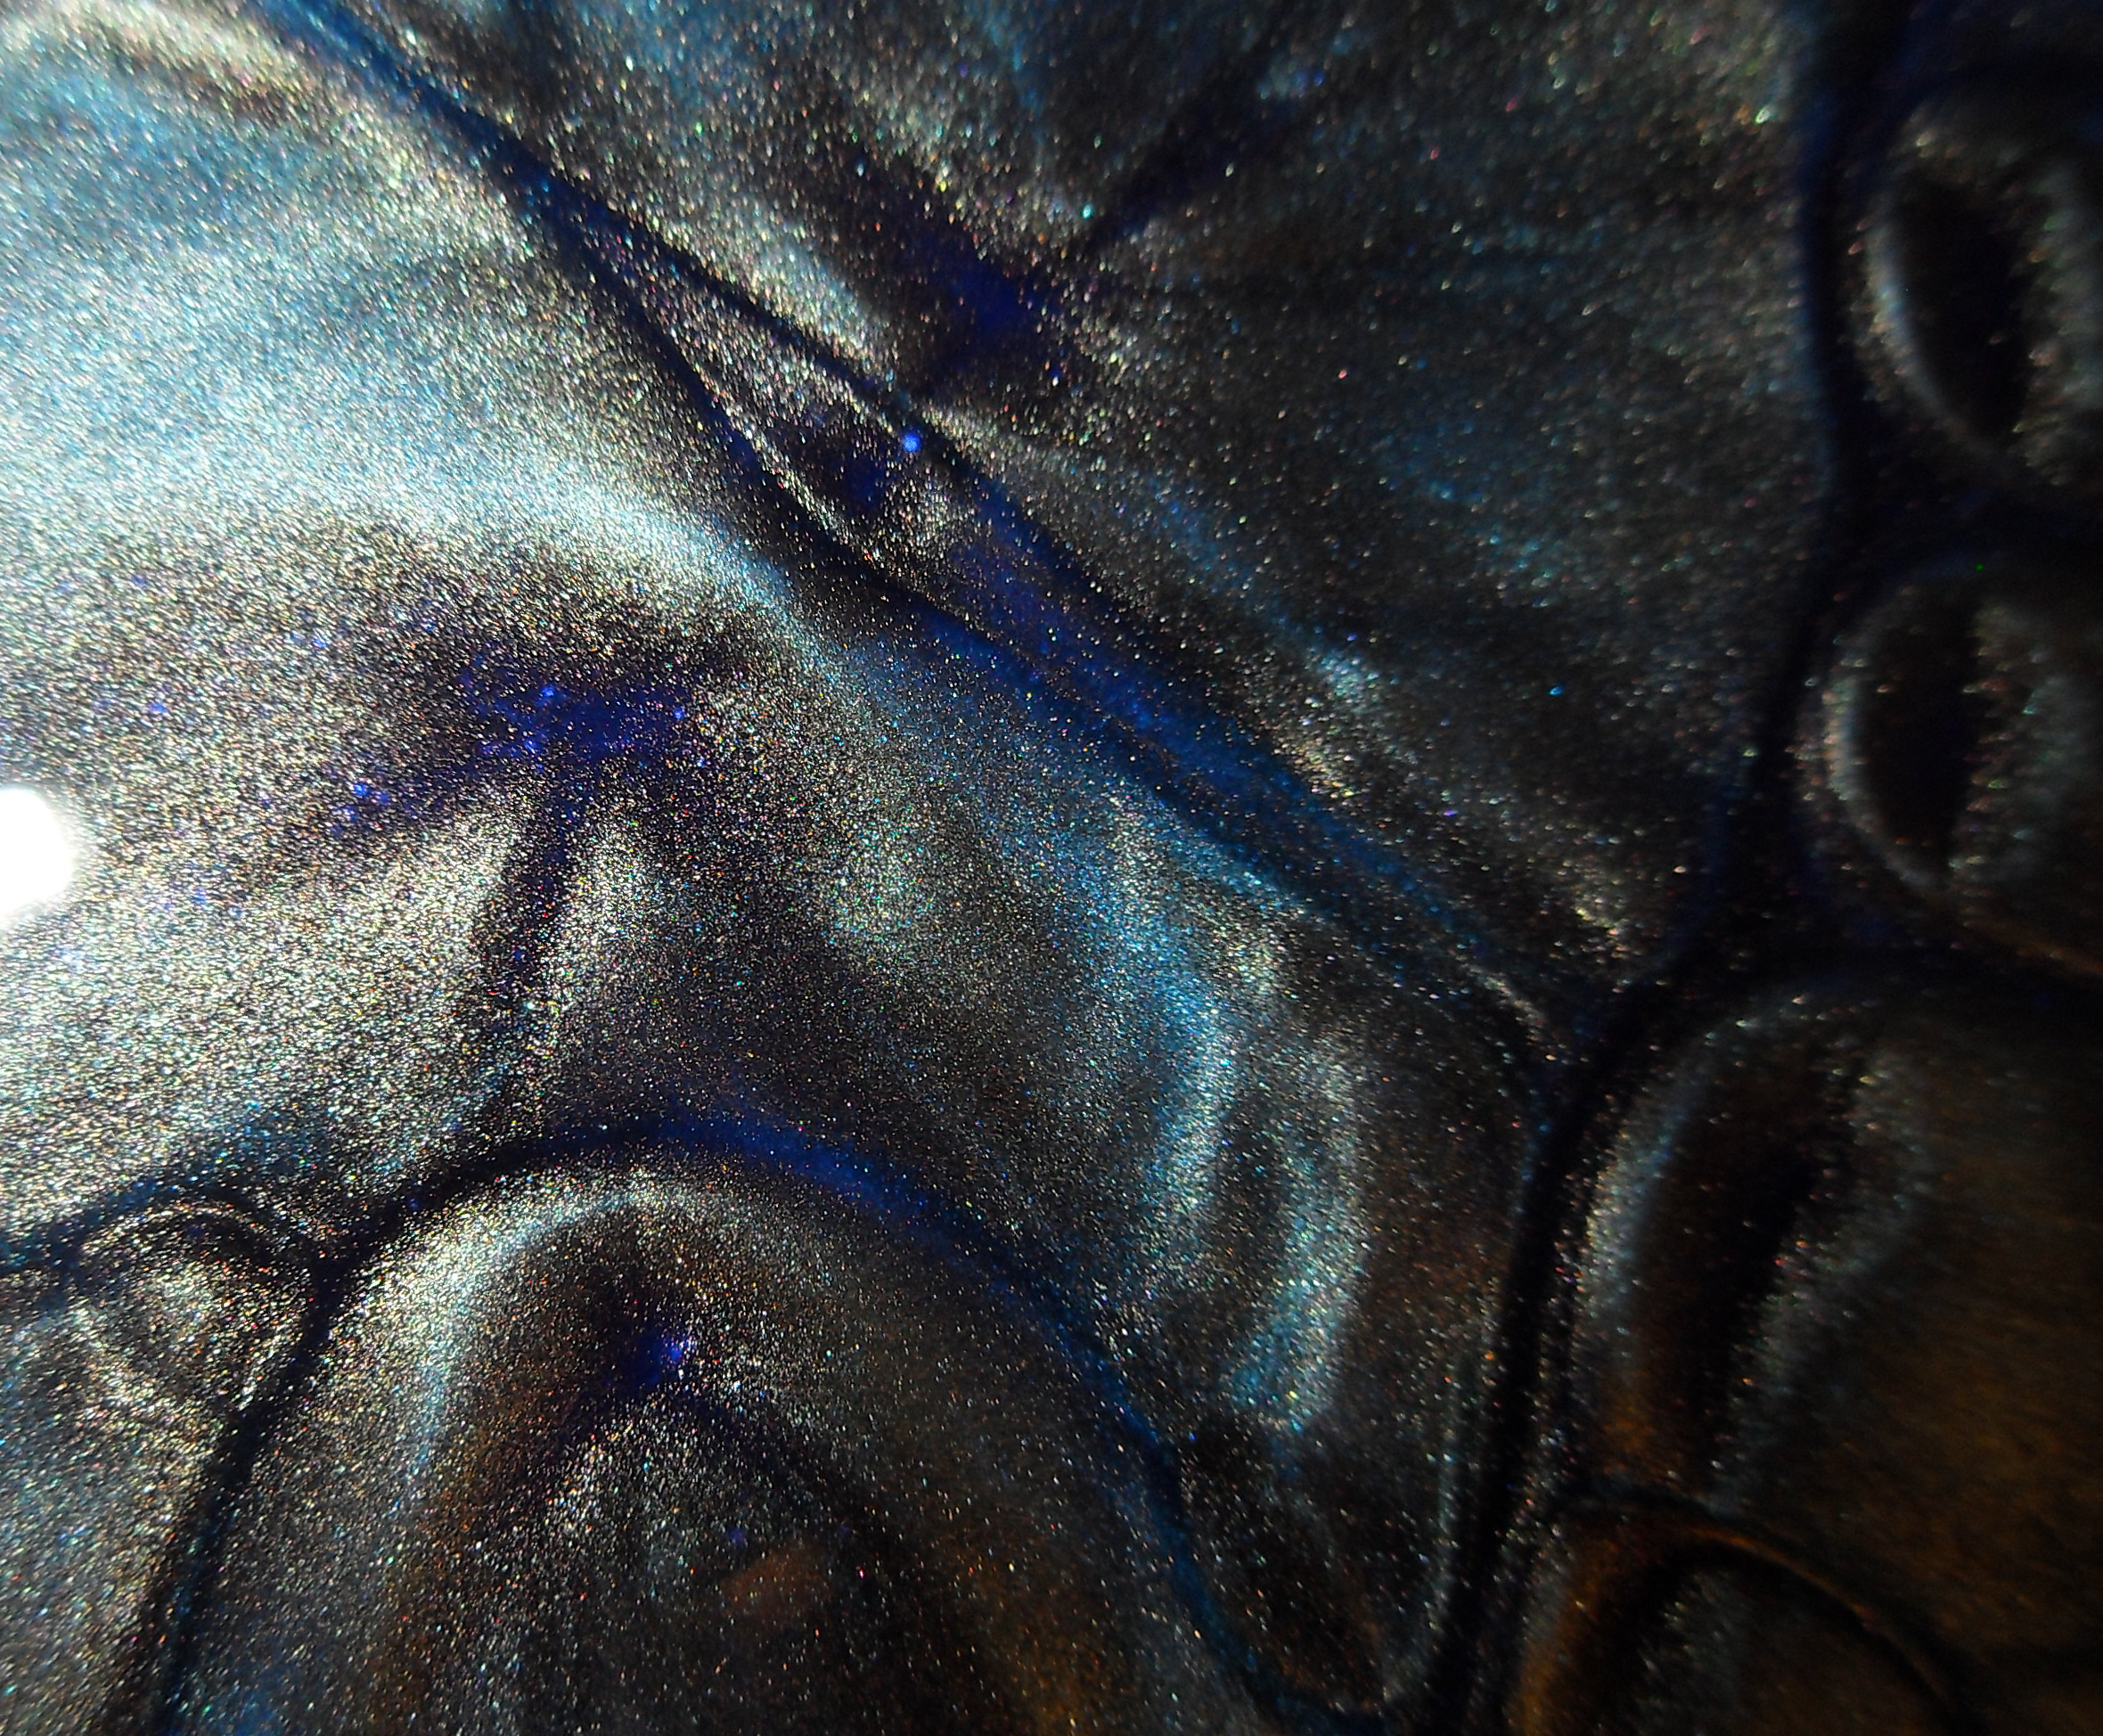
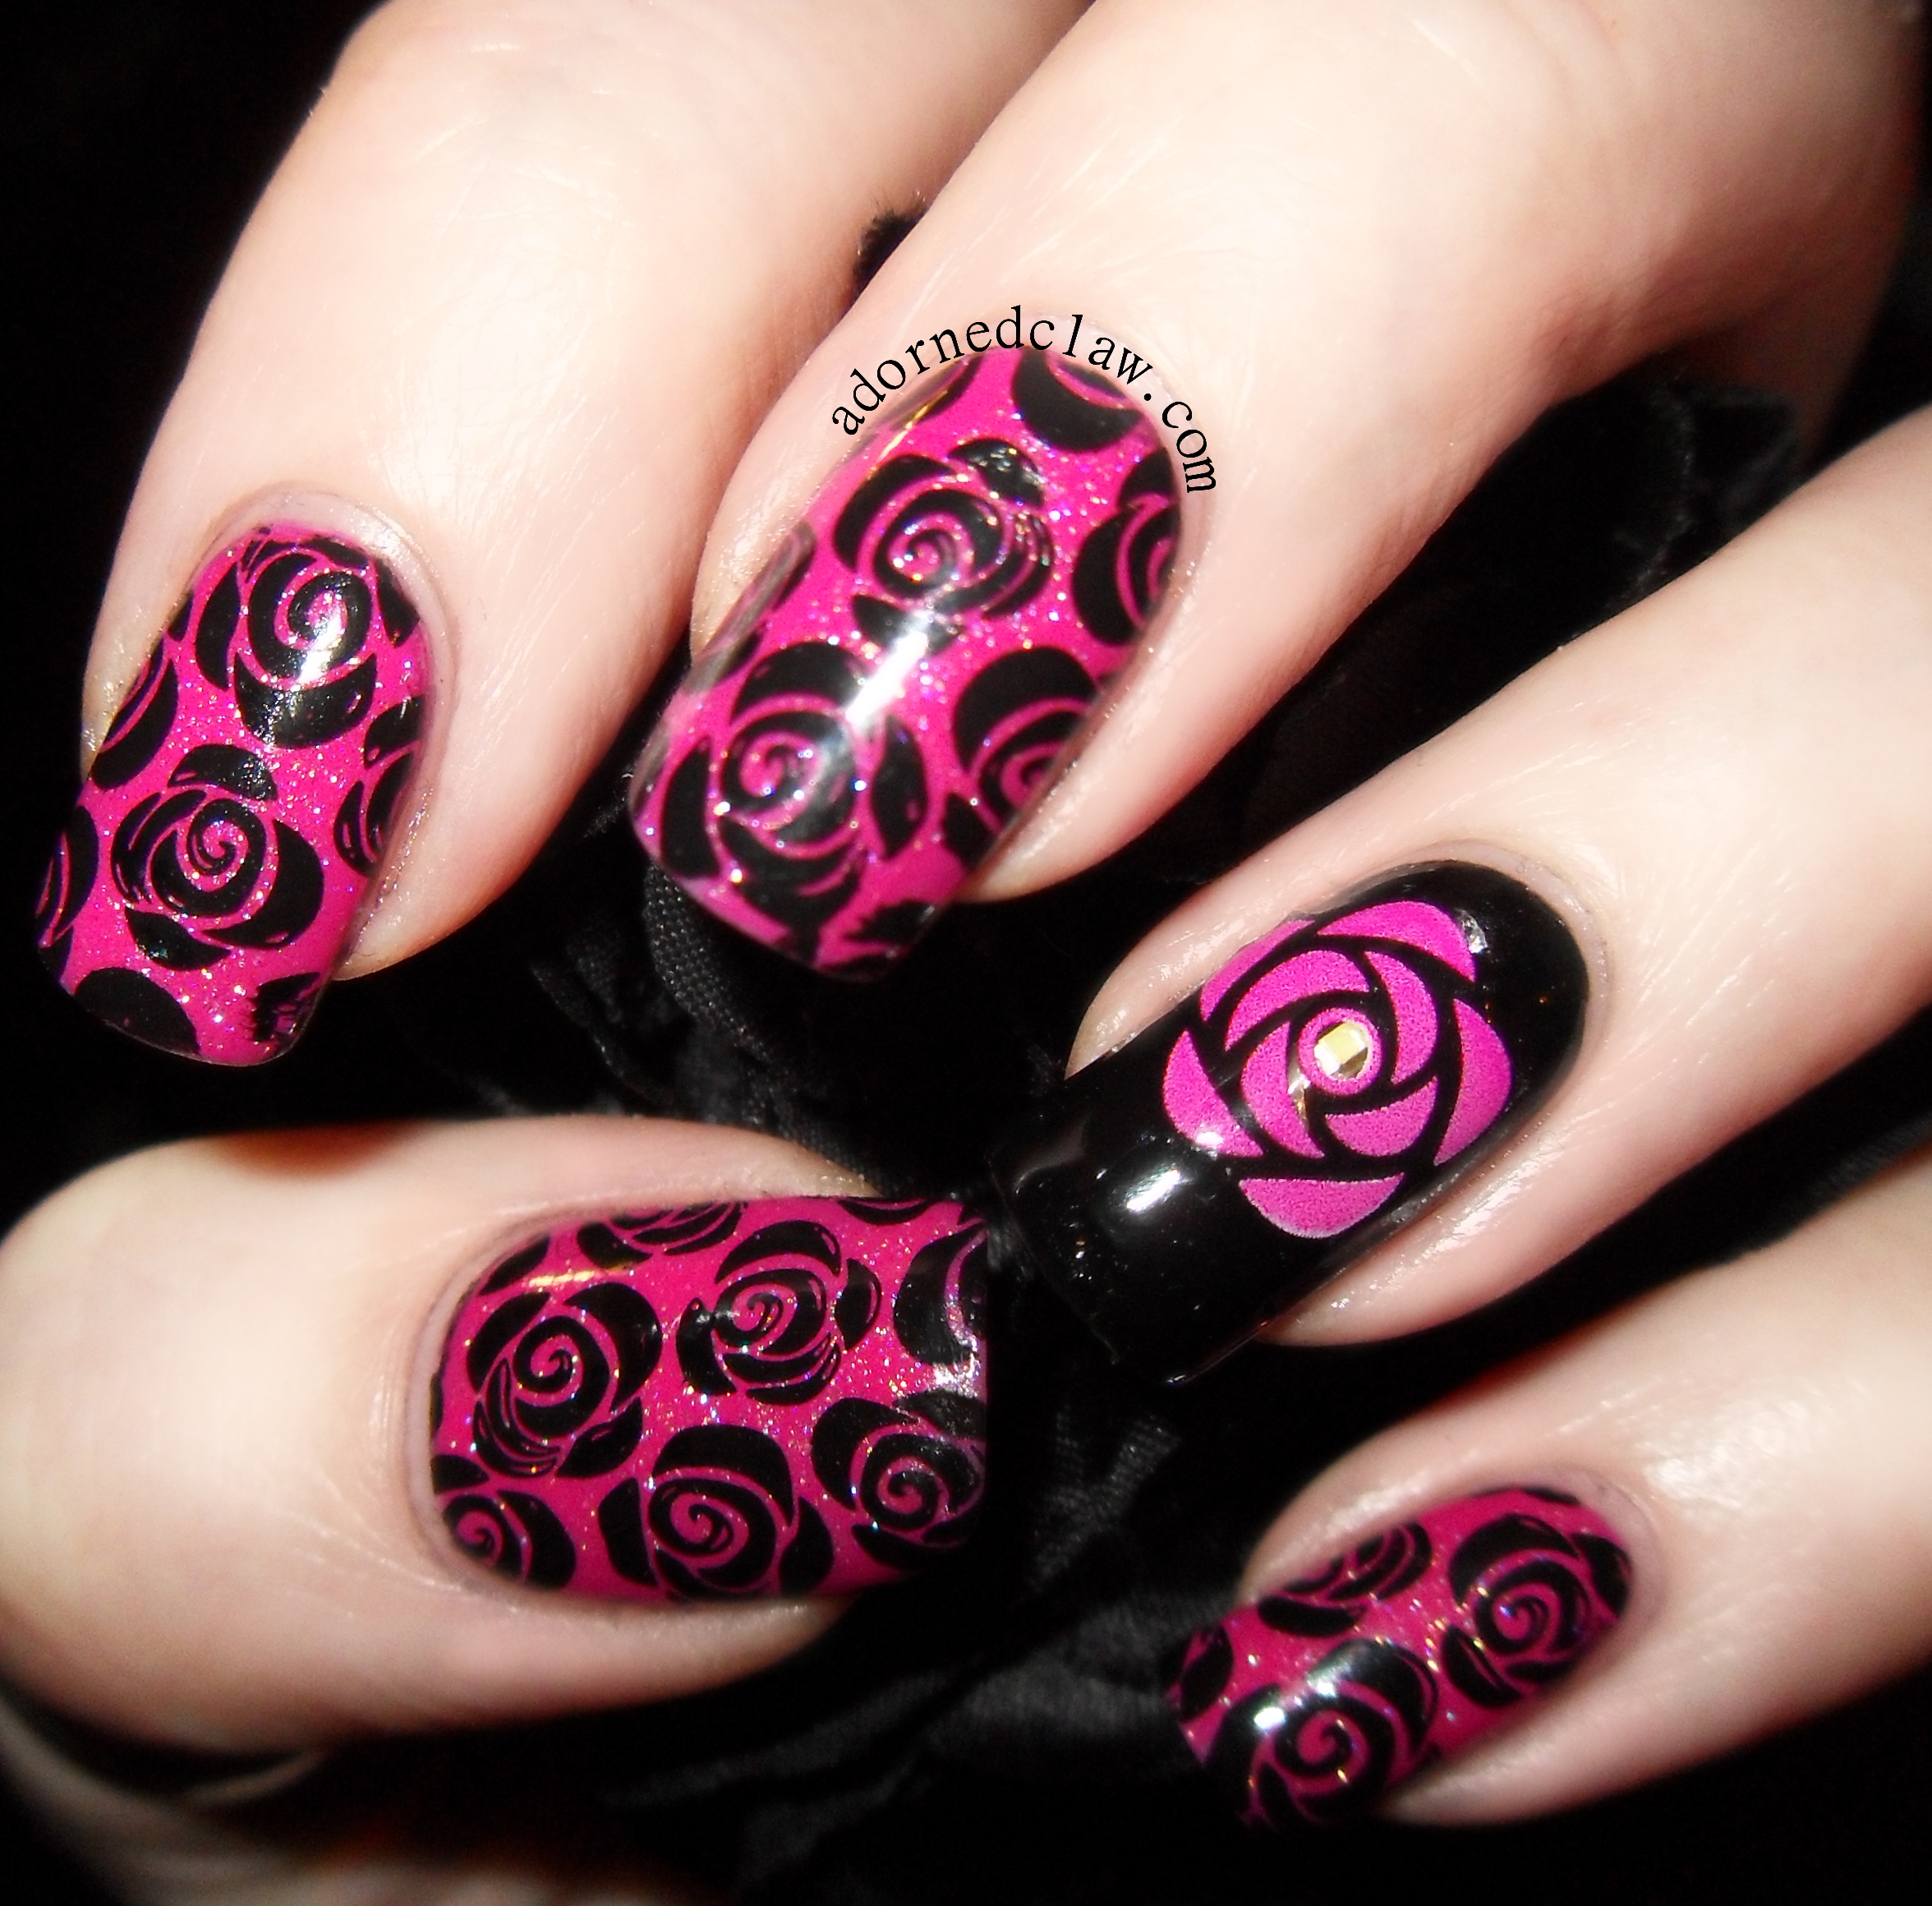
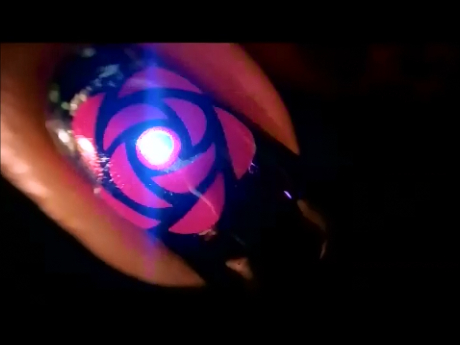
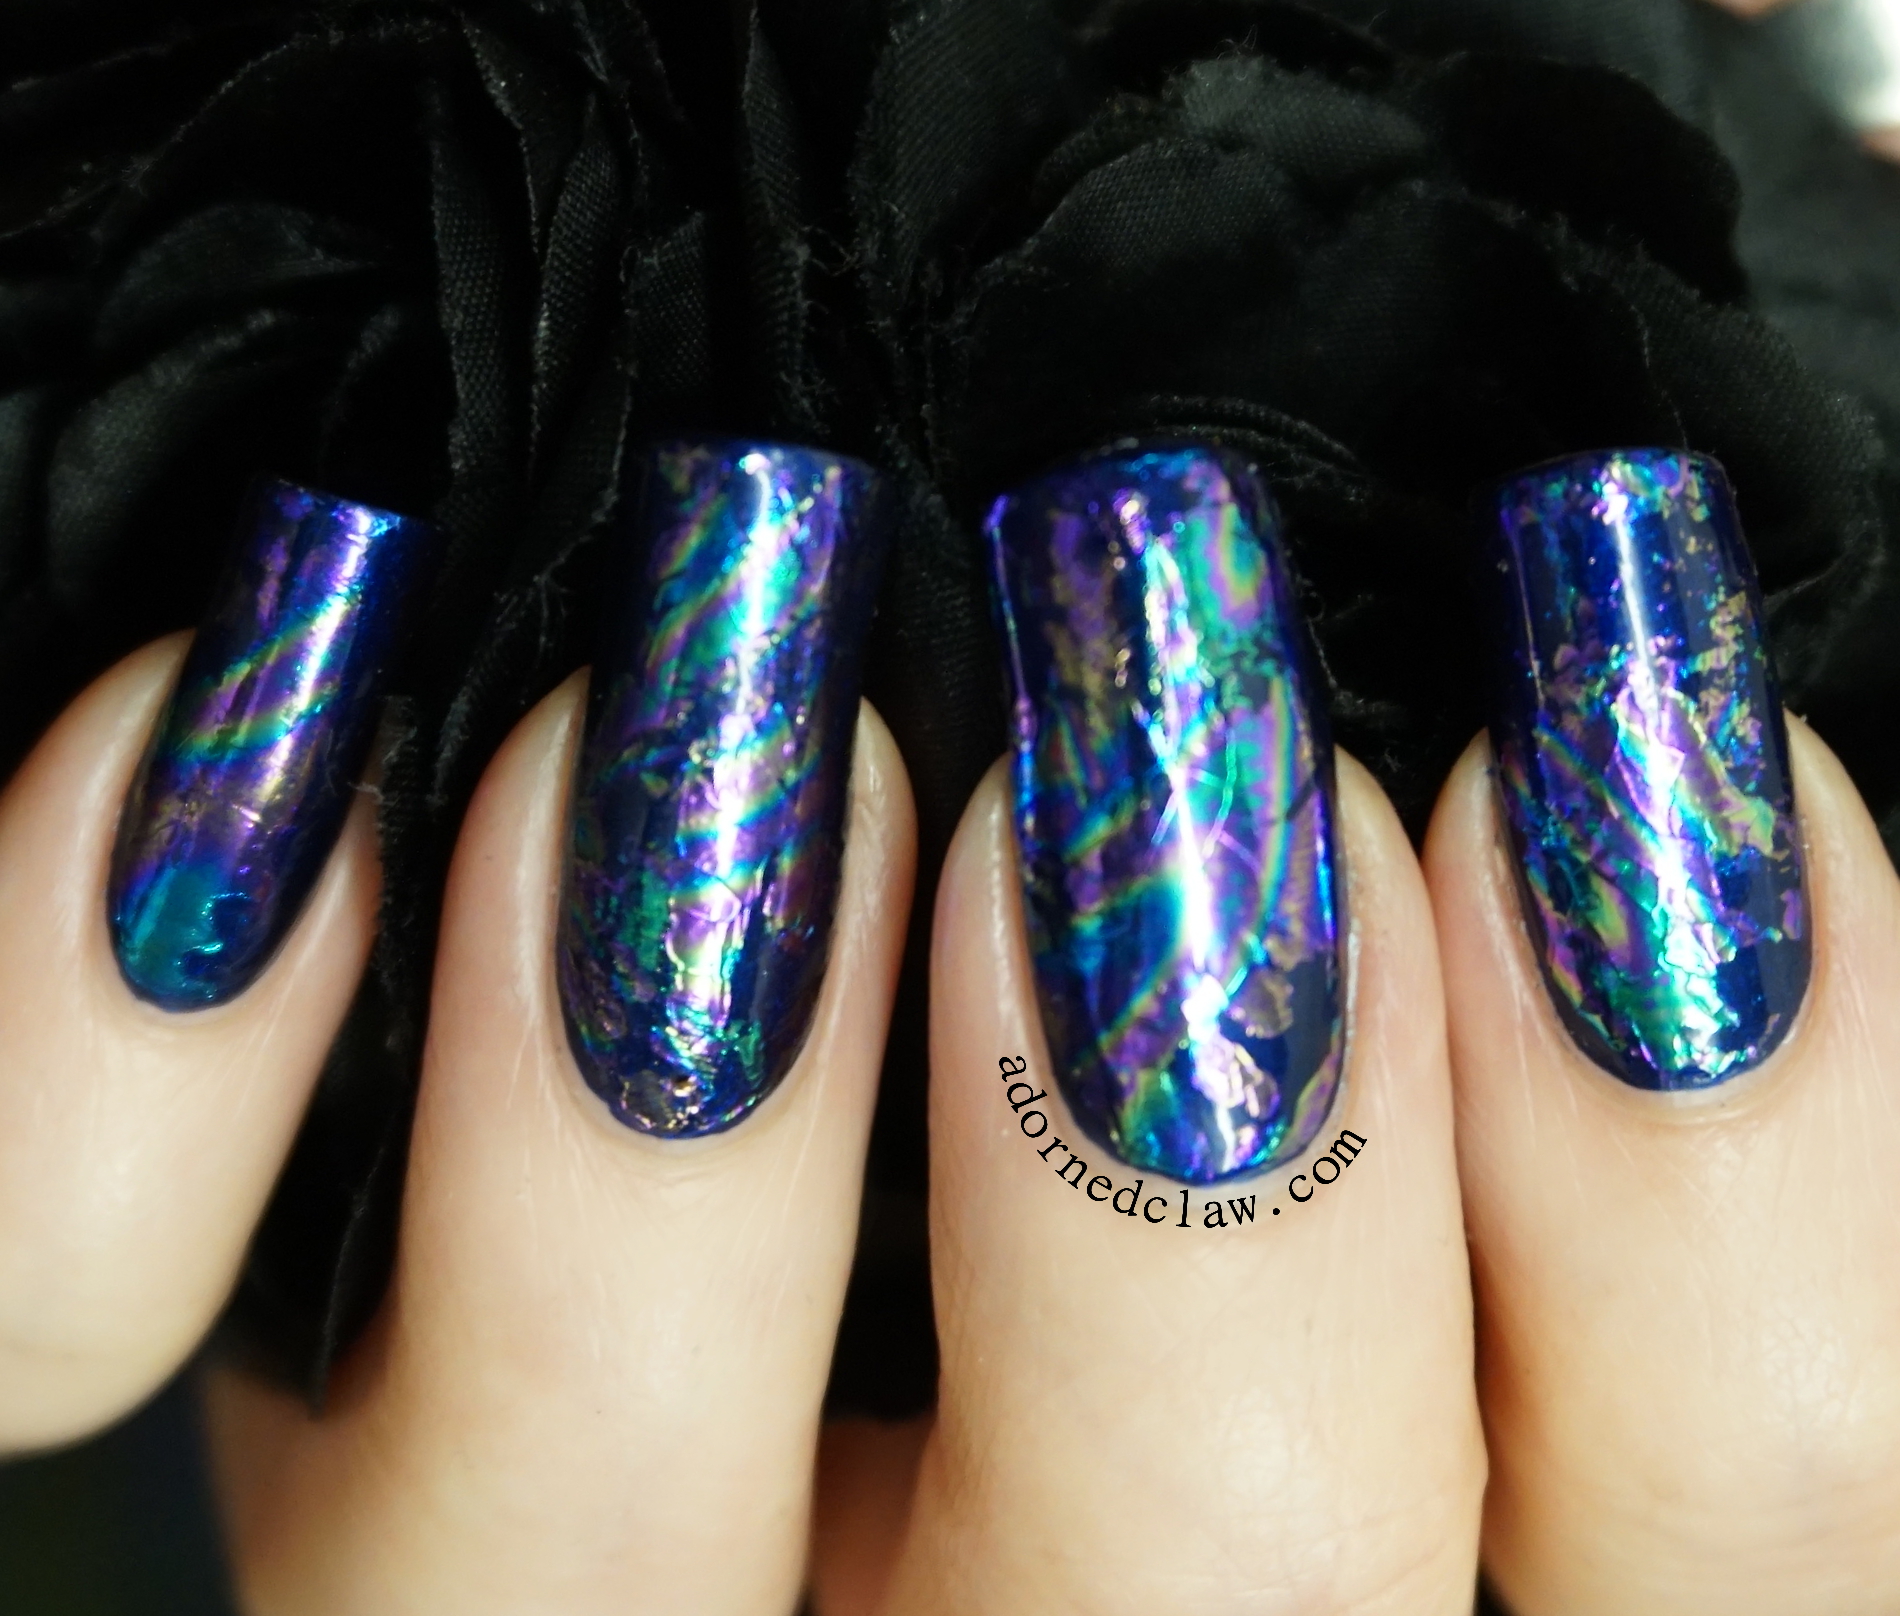
Look at those colours! It’s so pretty!

This is the first time I have ever tried using nail foils and I’m hoping that with some practice I’ll get better at applying them!

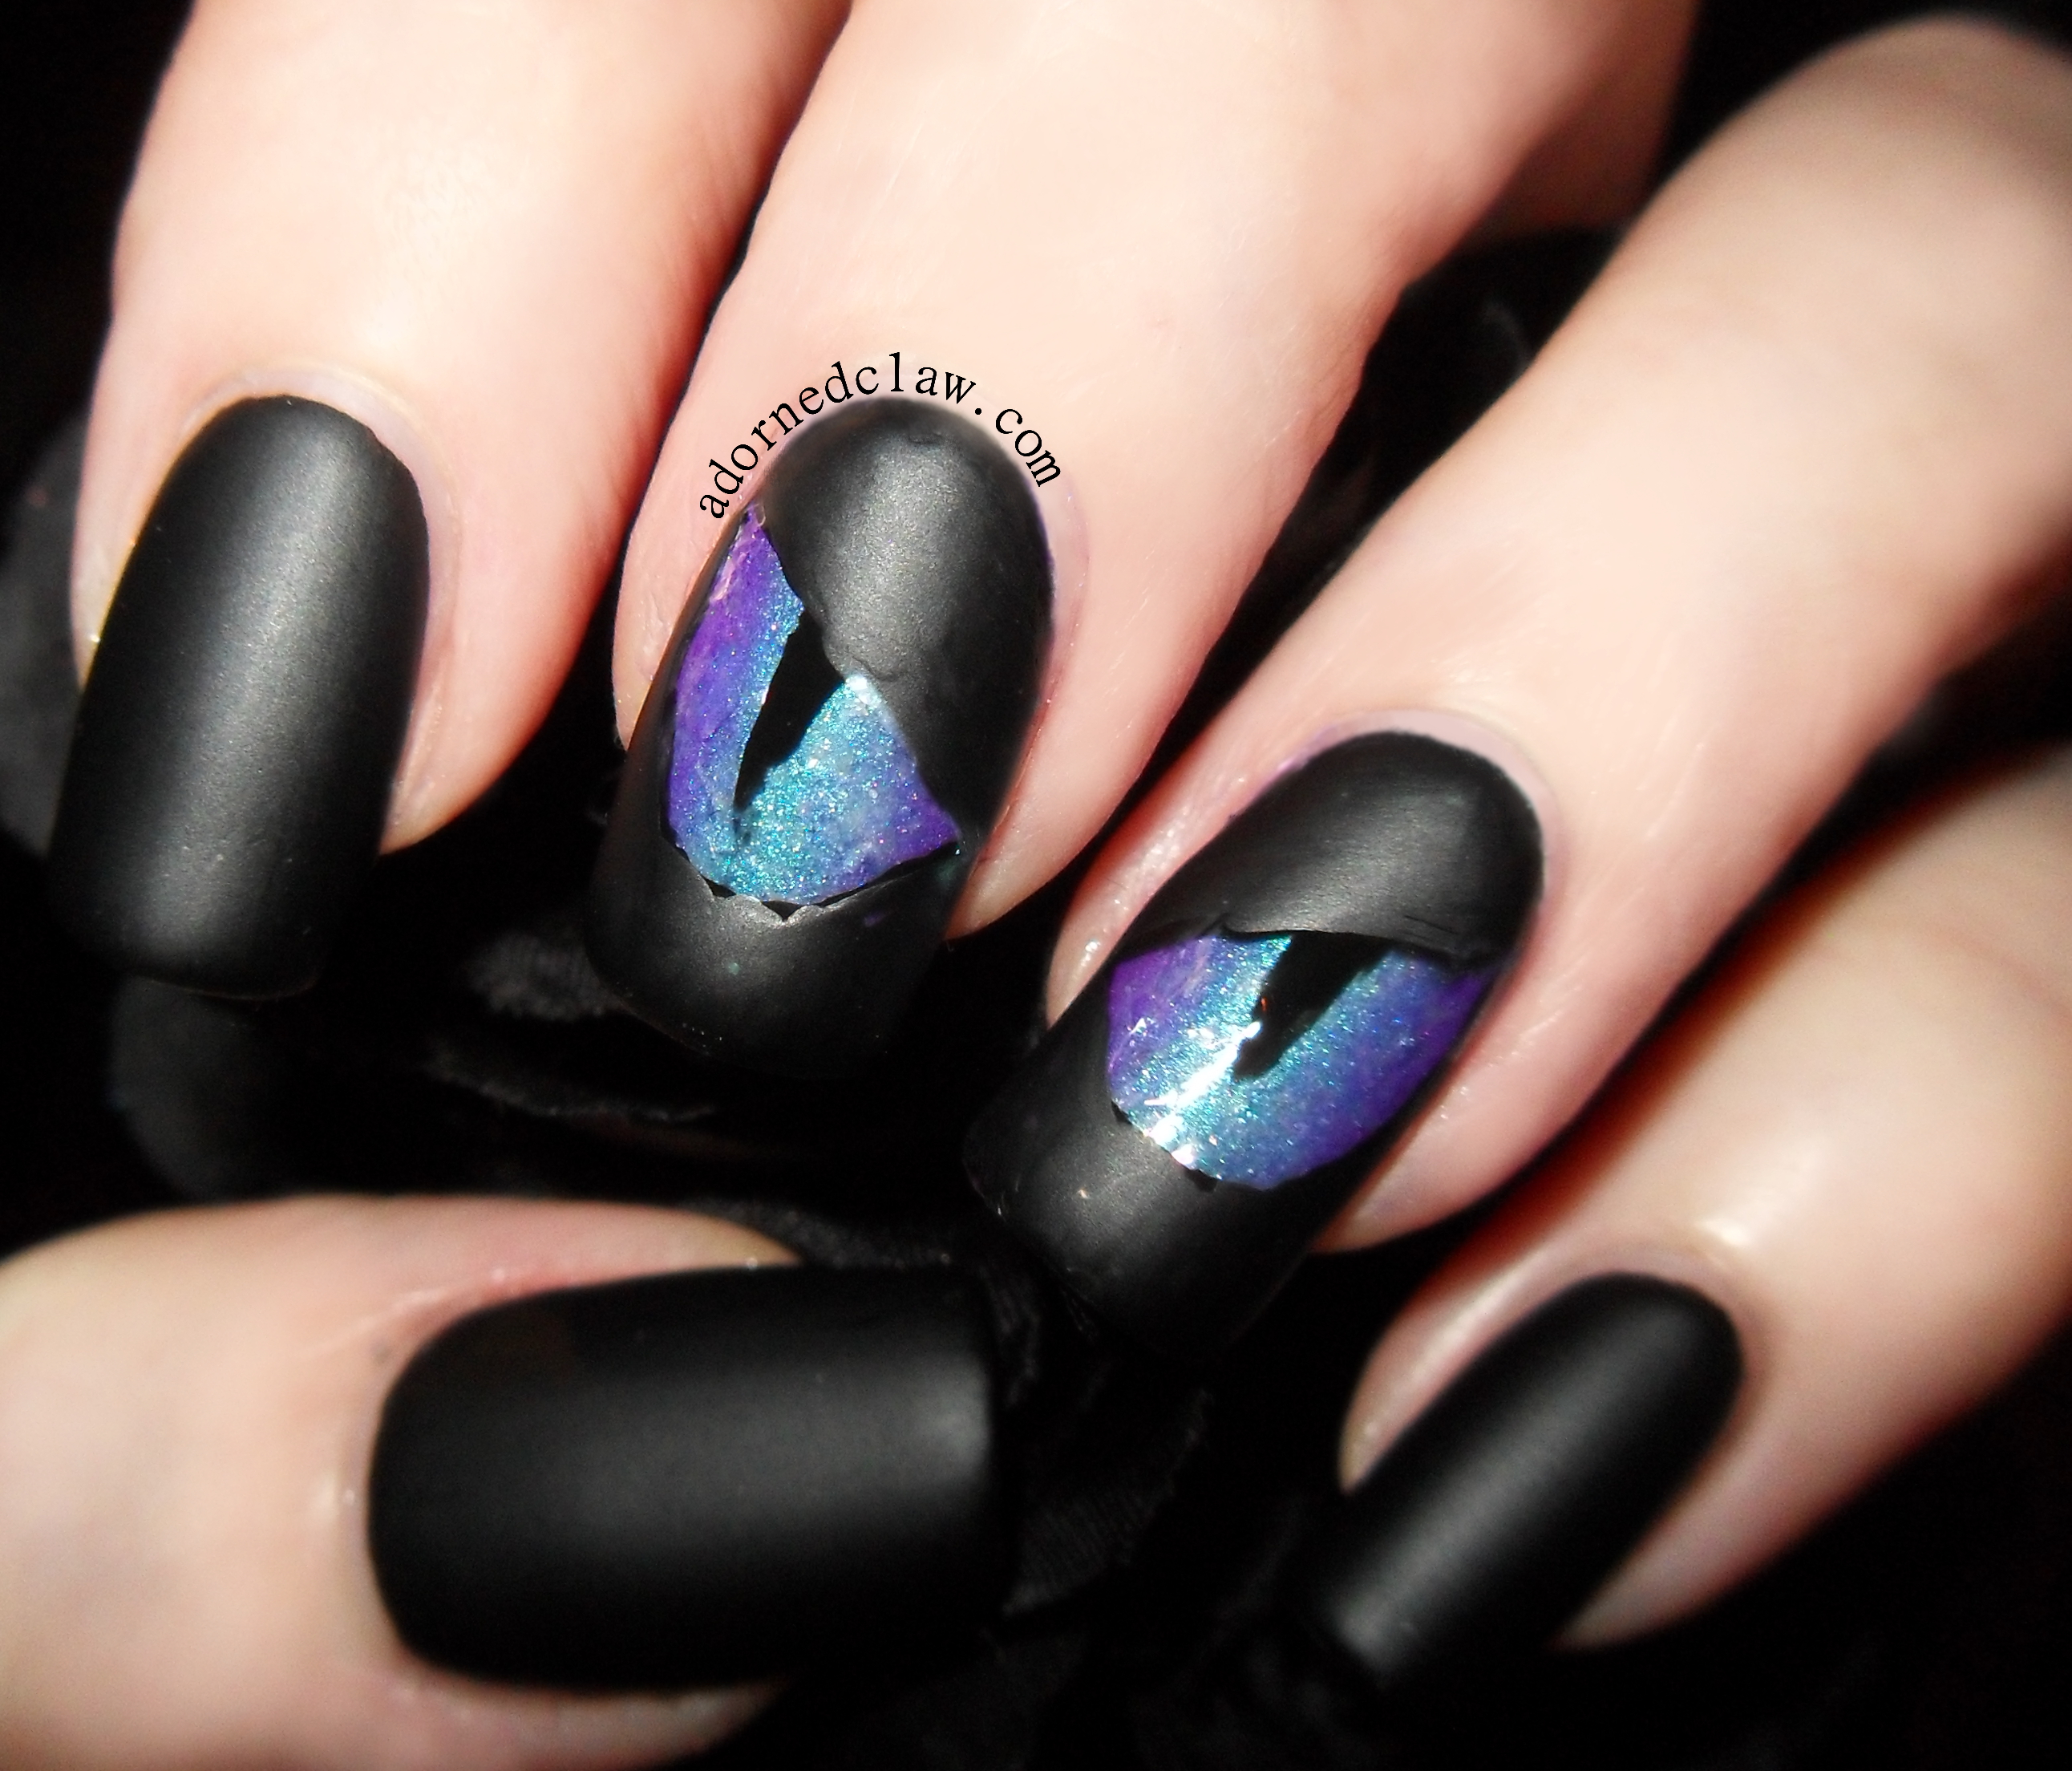
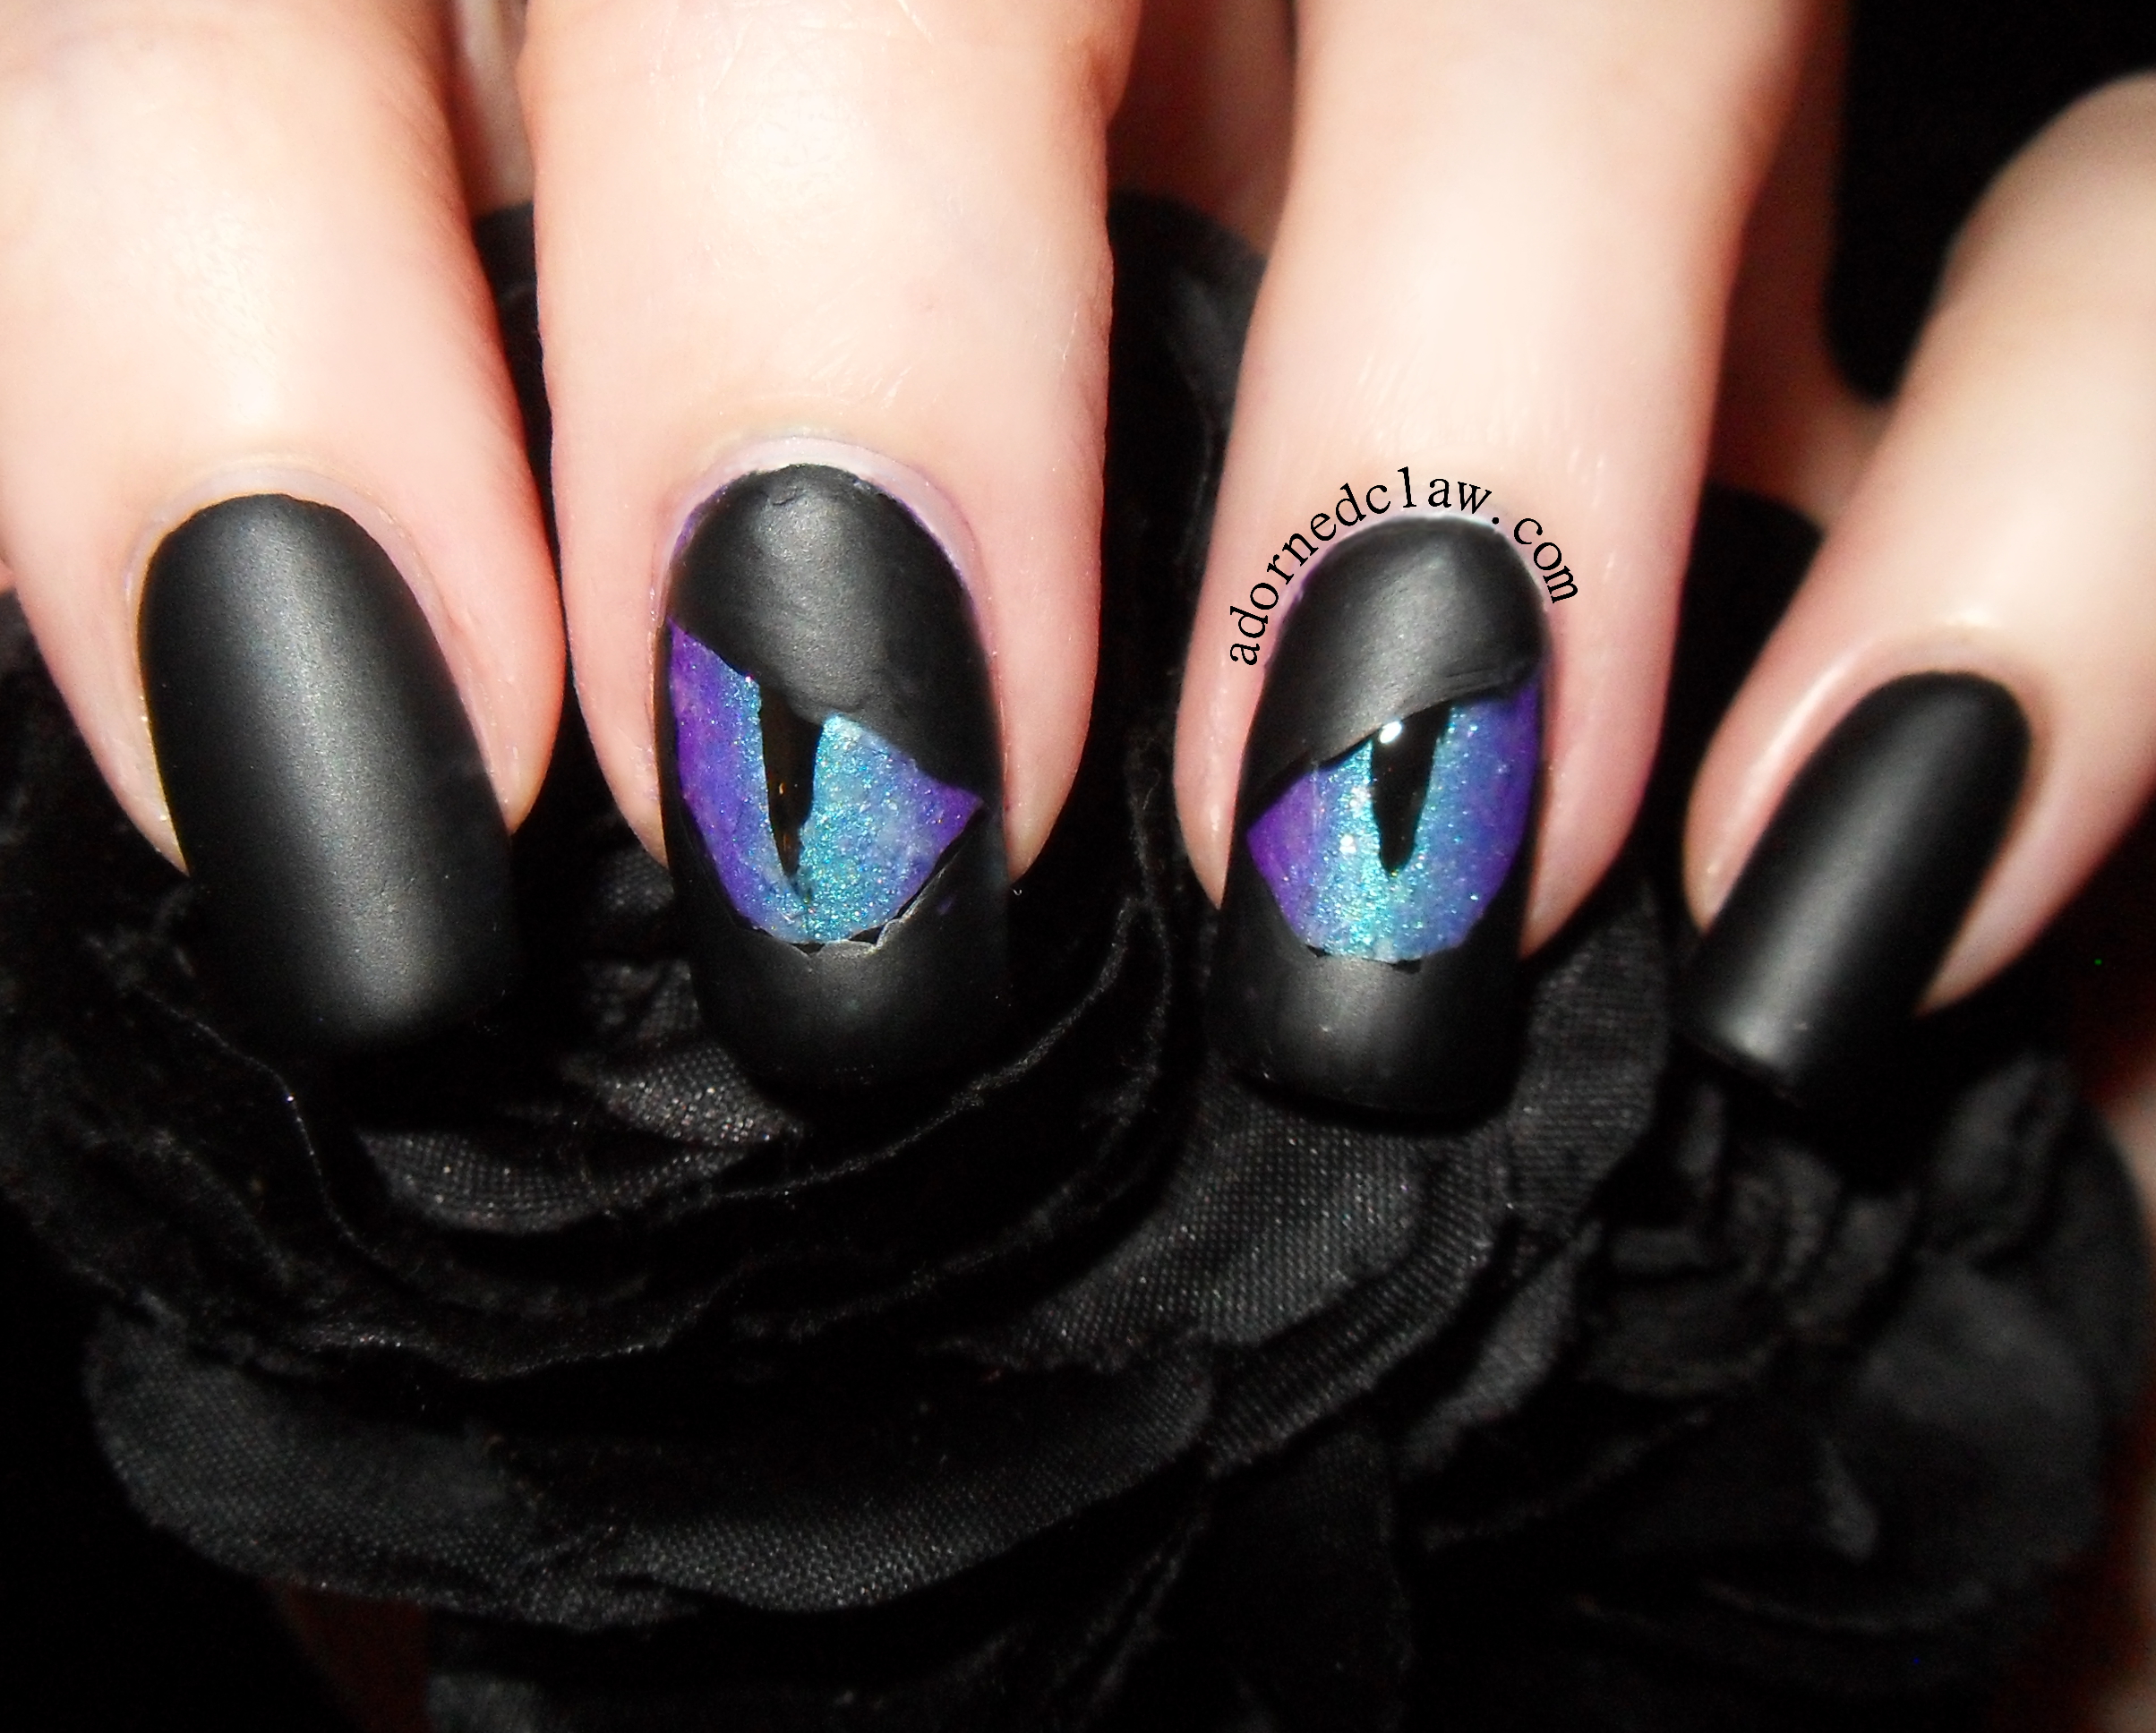
The glue was a bit of a challenge, it kept pooling up and not drying evenly, after applying it, re applying it, swearing, sticking my fingers together then swearing some more, I came to the conclusion that the glue needed something to adhere to. I found Matte topcoat worked surprisingly well!

I also found that I needed to leave the glue a little longer than it suggested on the bottle, it was closer to 1.30/2 minutes rather than the suggested 30 seconds to one minute, I think the humidity and temperature had a lot to do with it.

Born Pretty Nail Foil and Glue Review

I was really surprised about how much of the nail foil you get in the little plastic pot, I don’t think I’ll be running out any time soon. 🙂

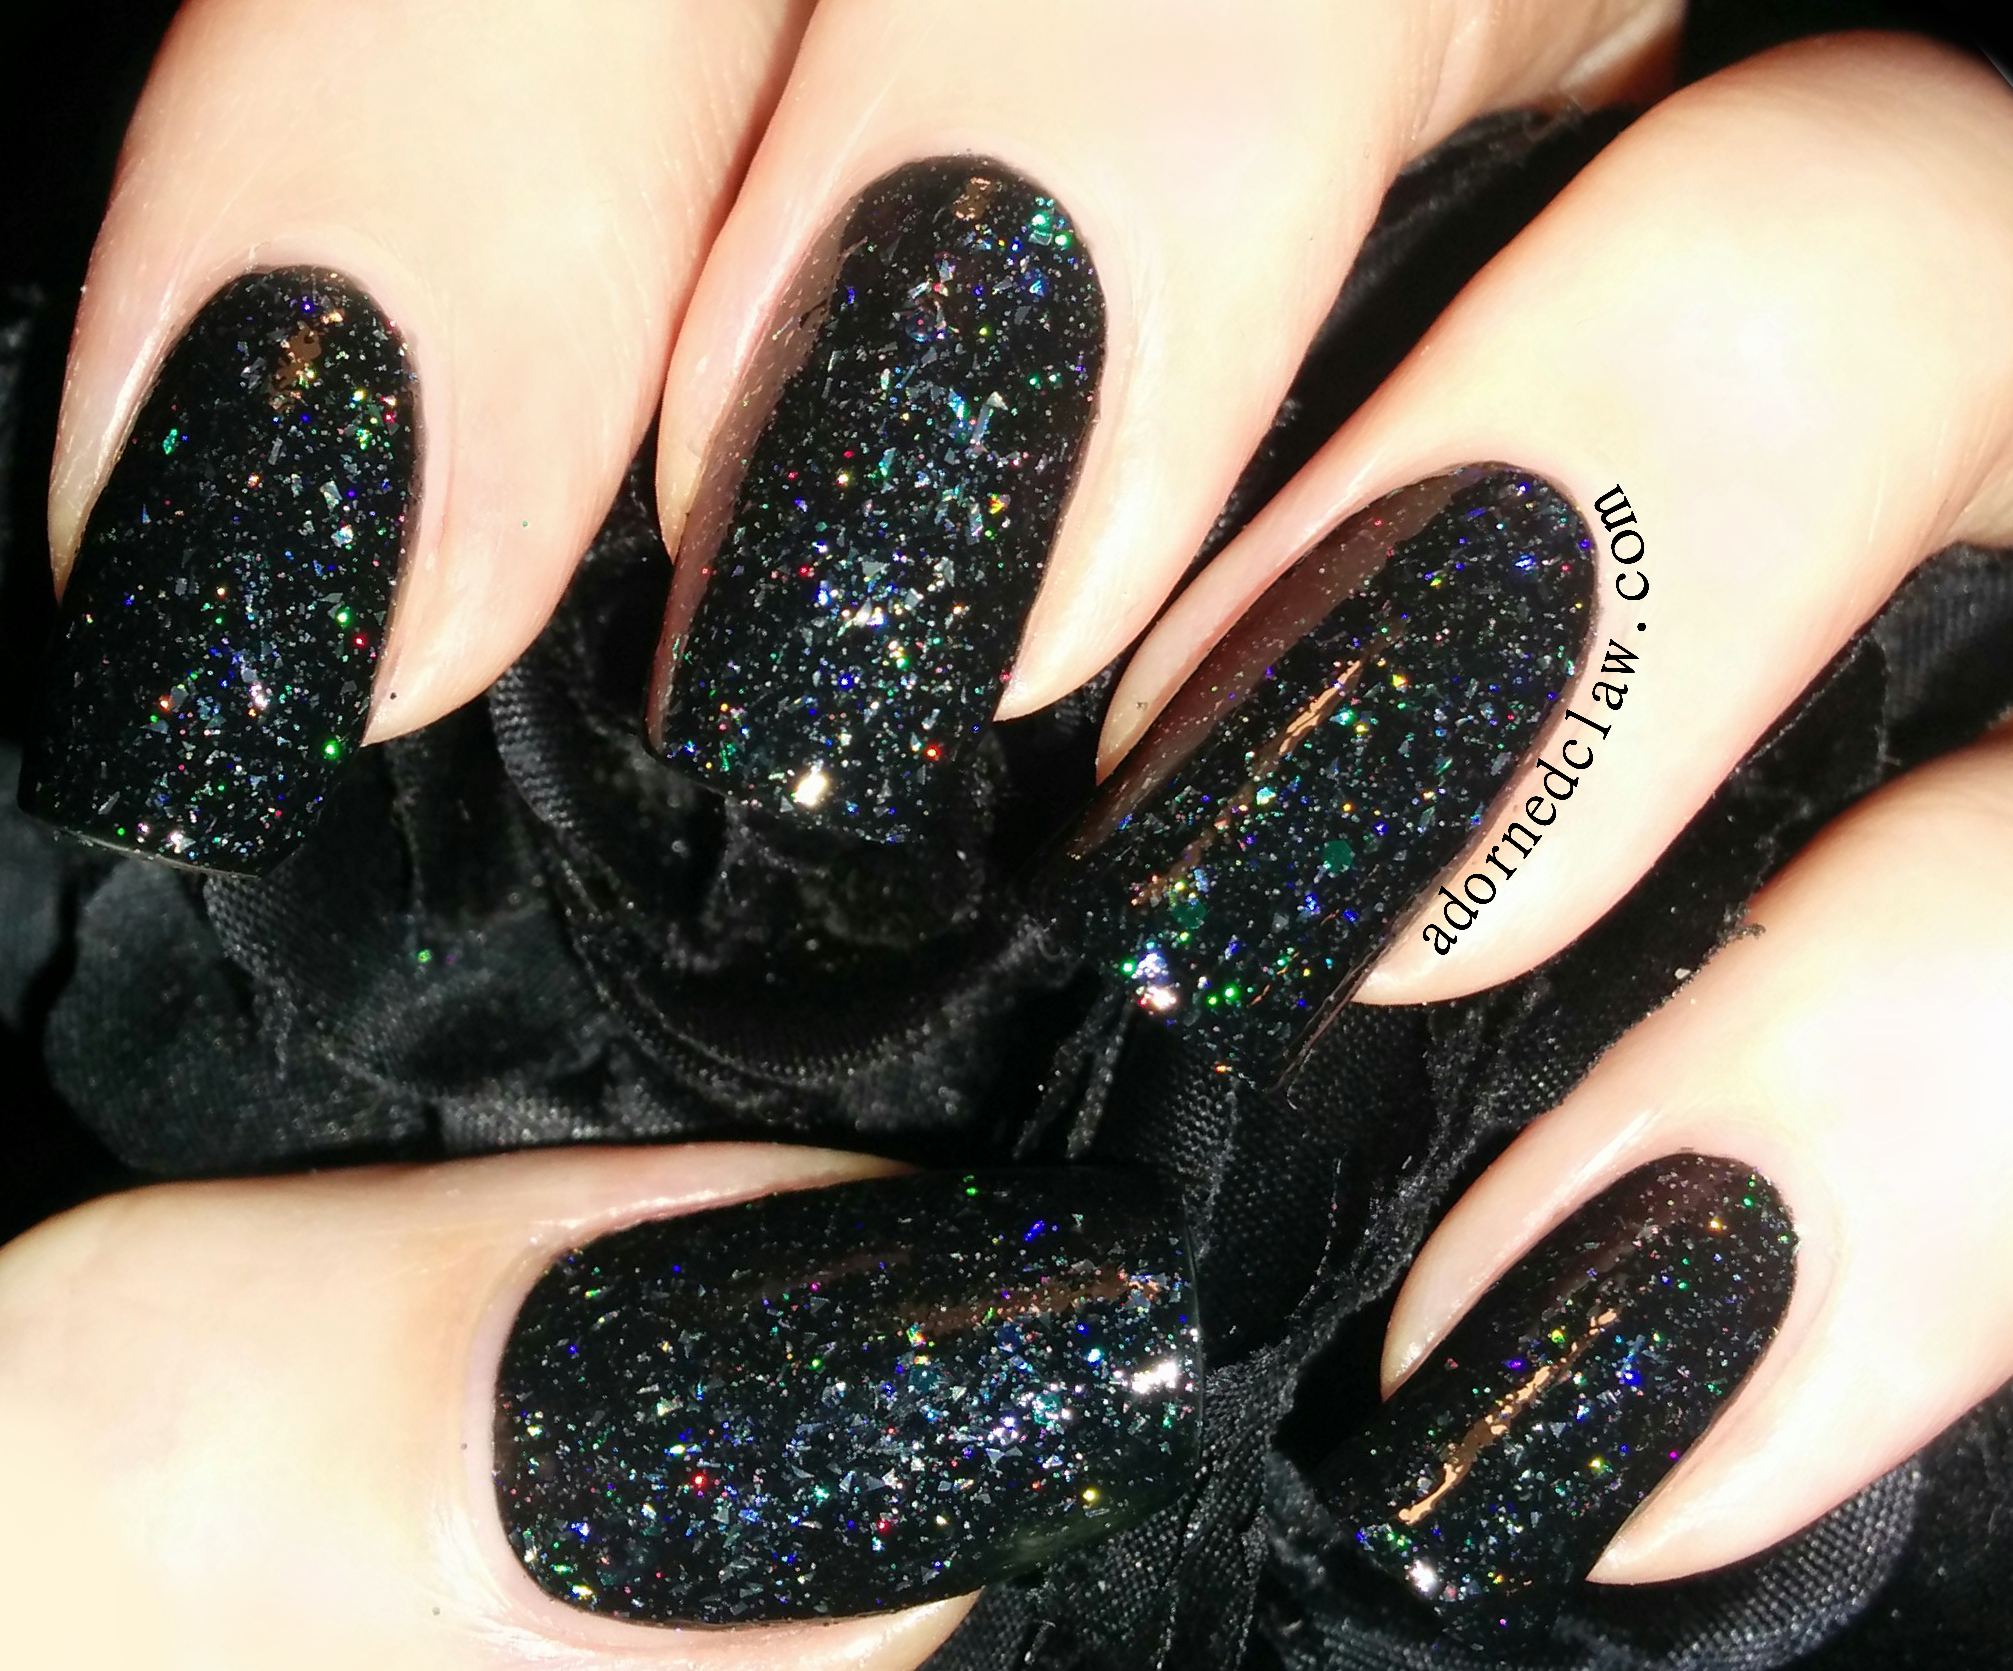
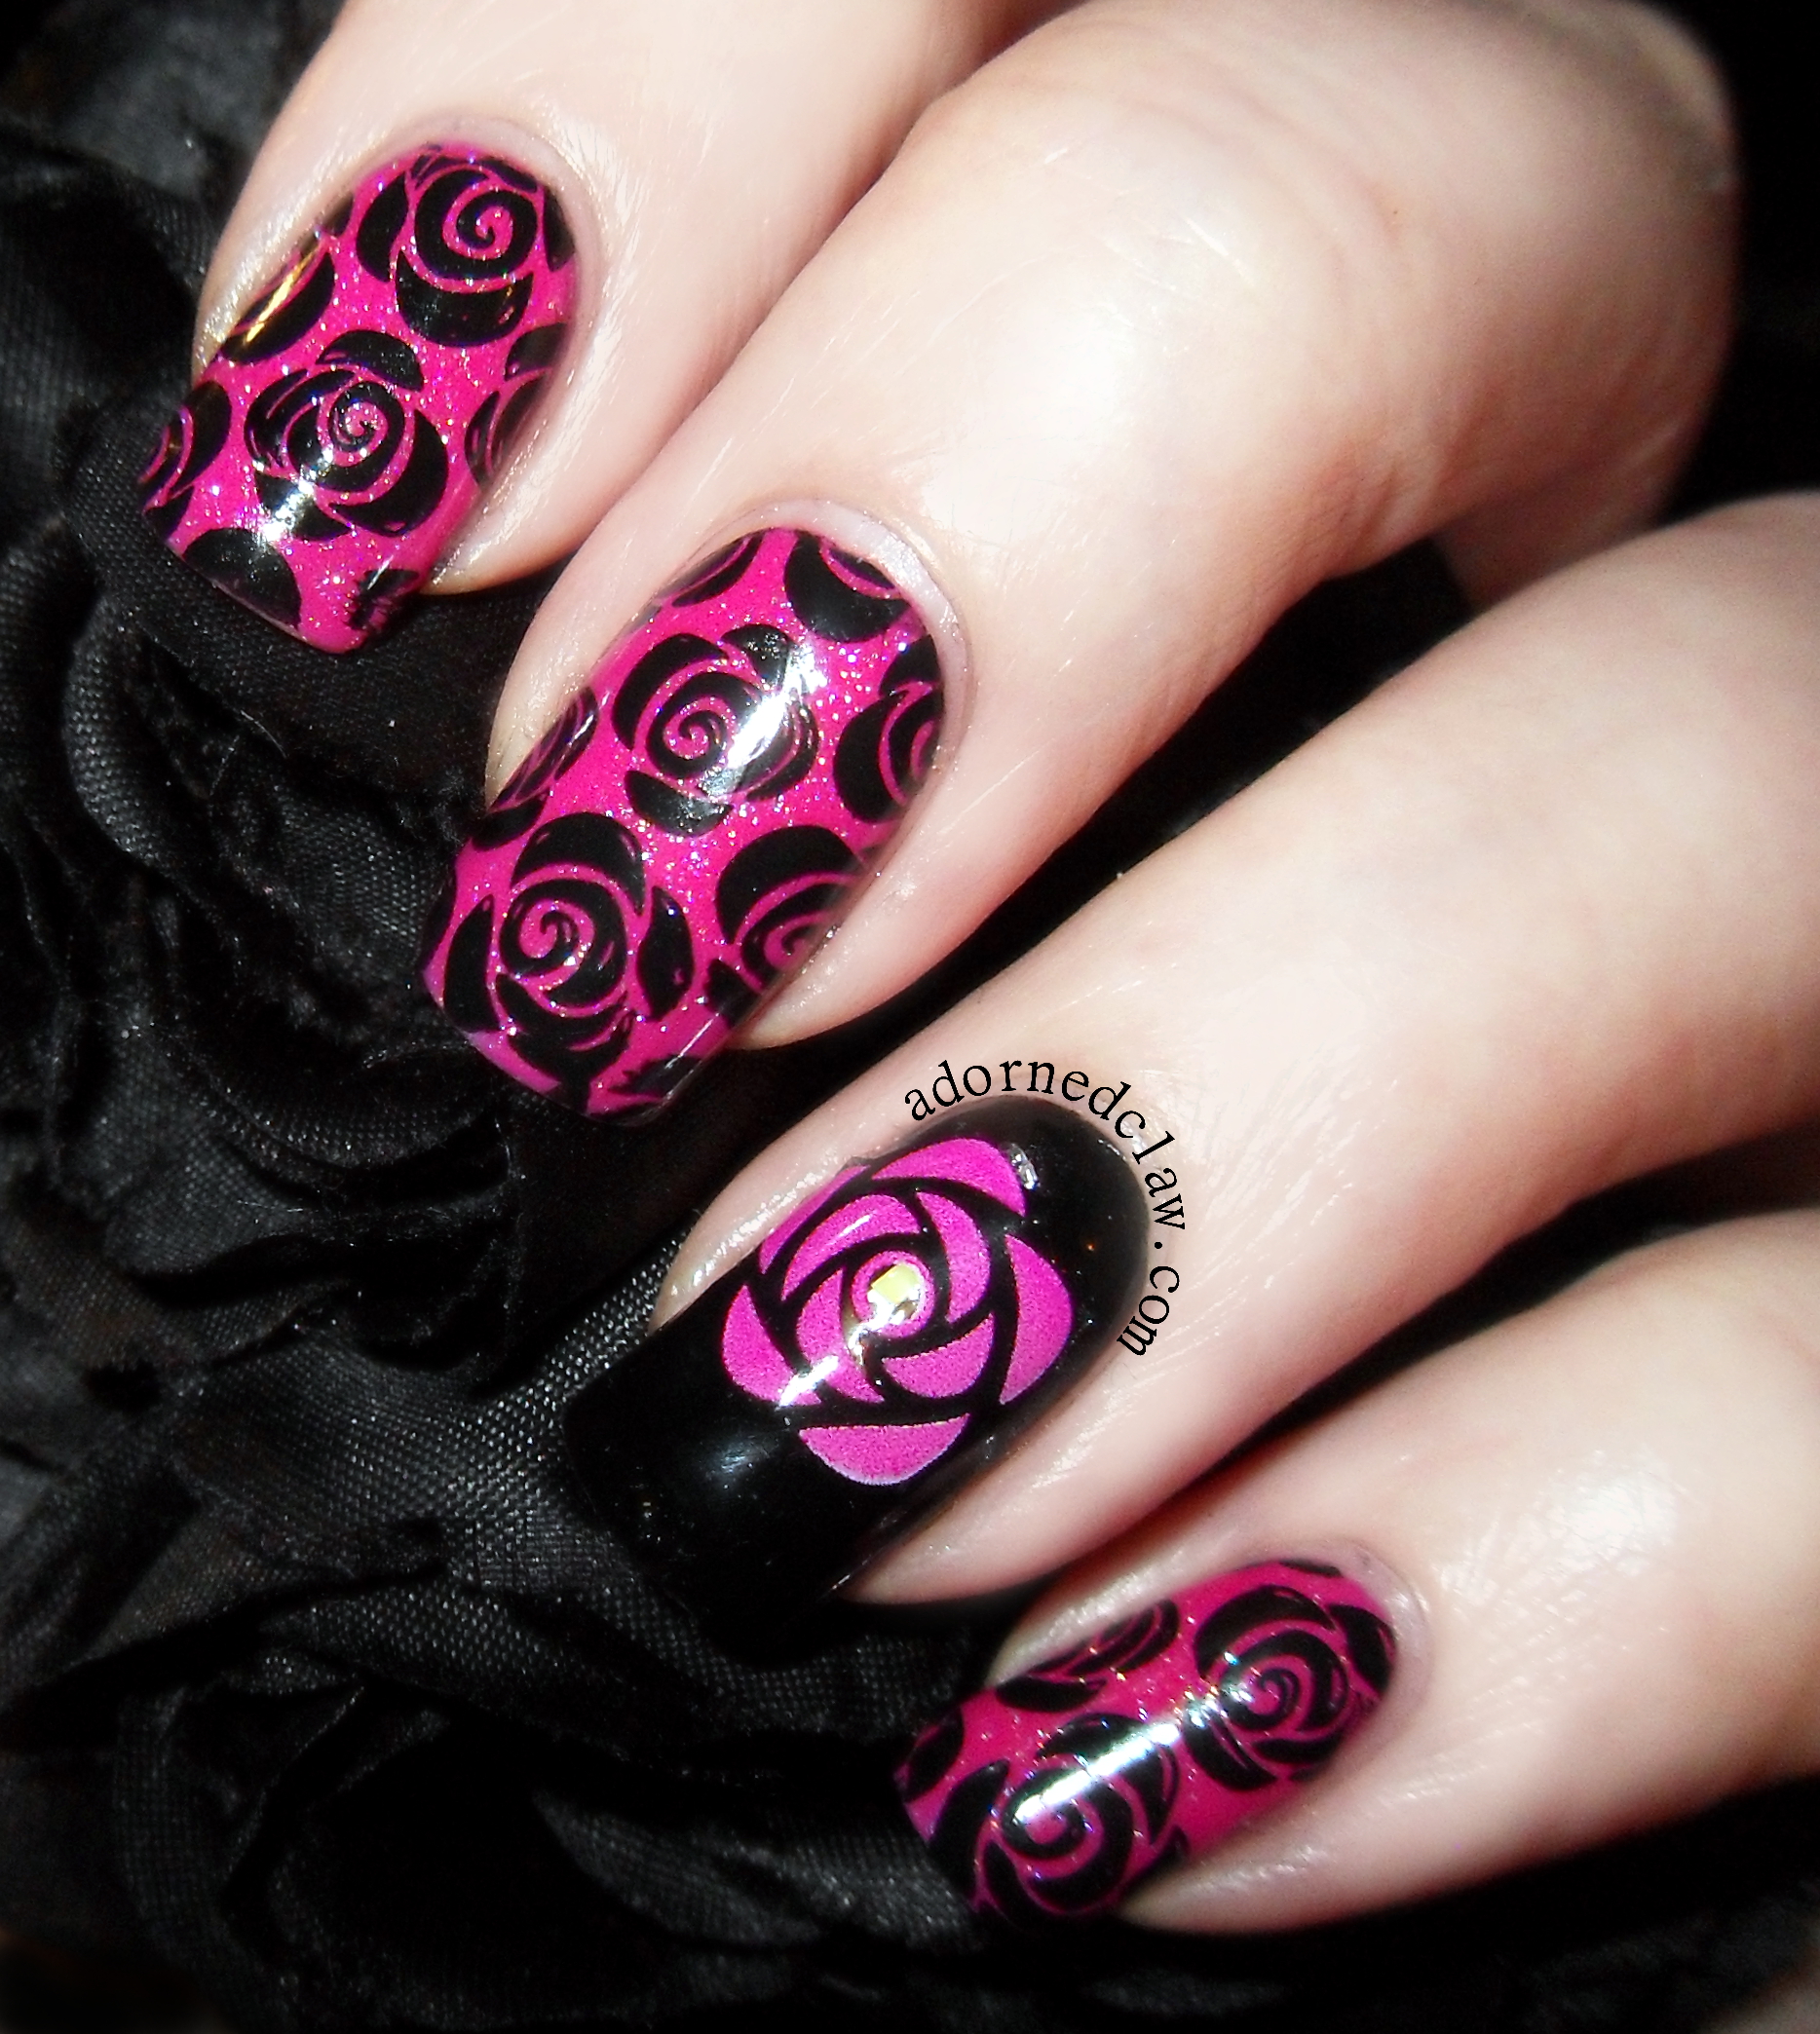
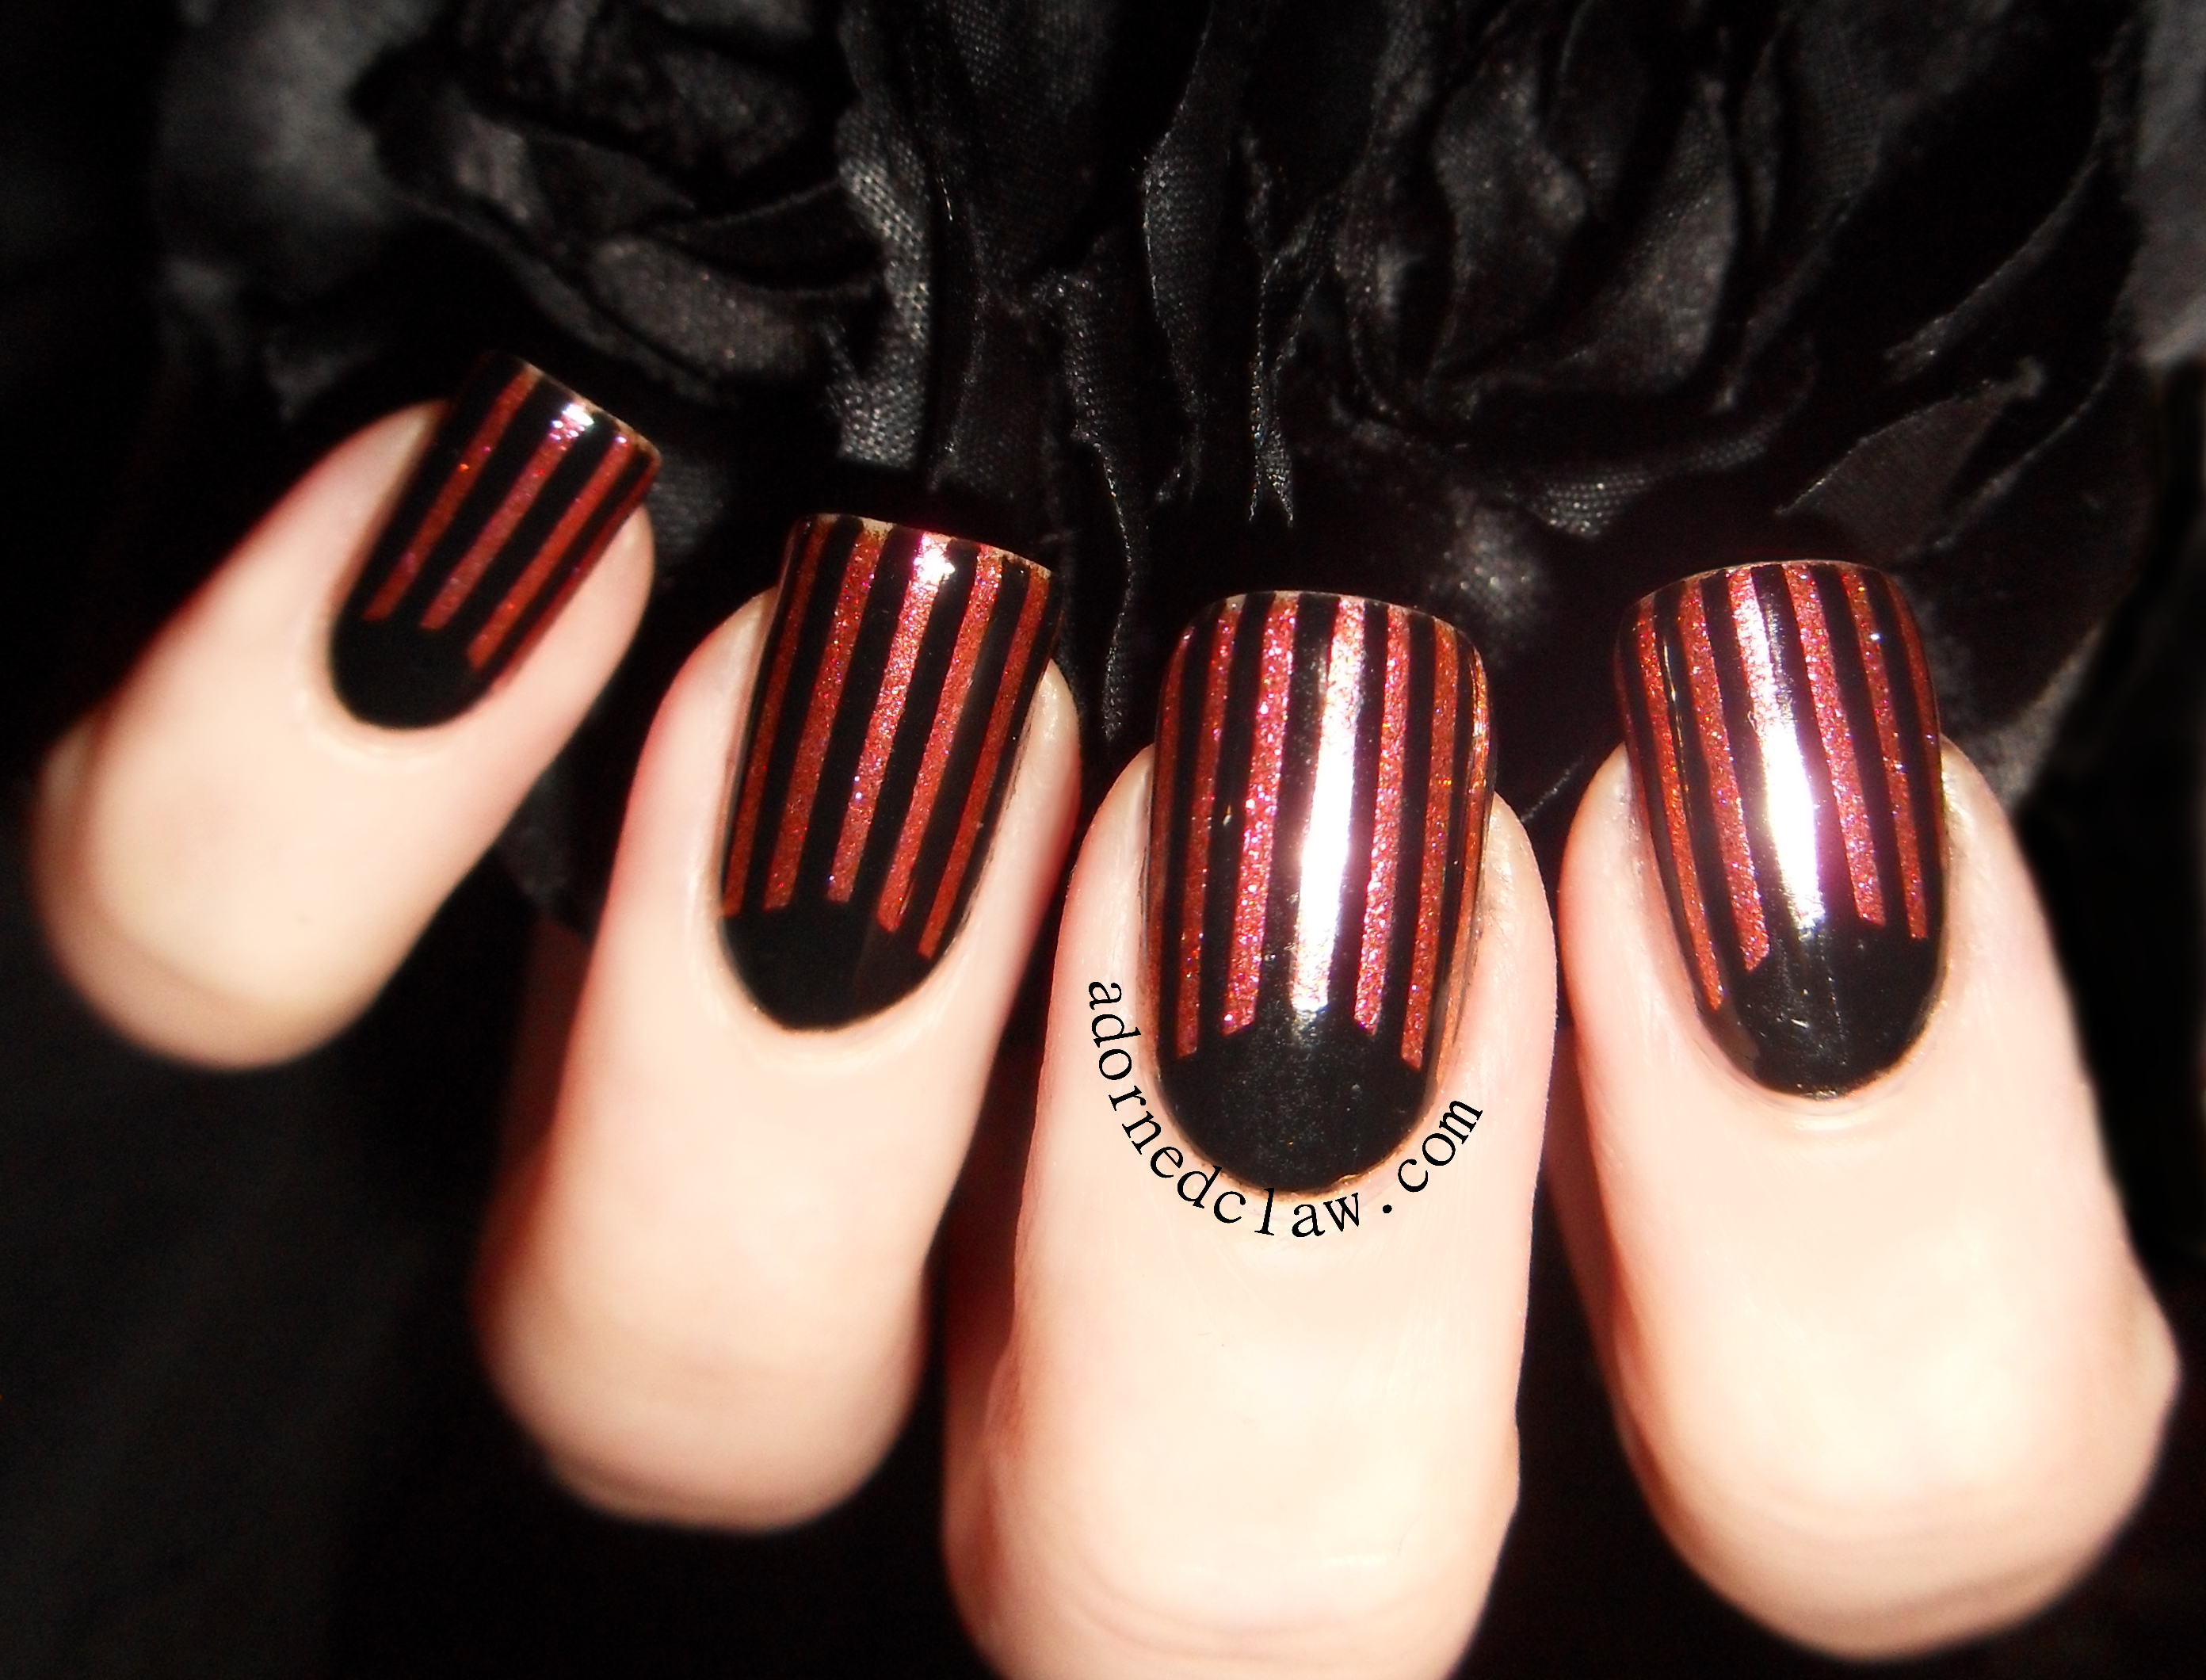
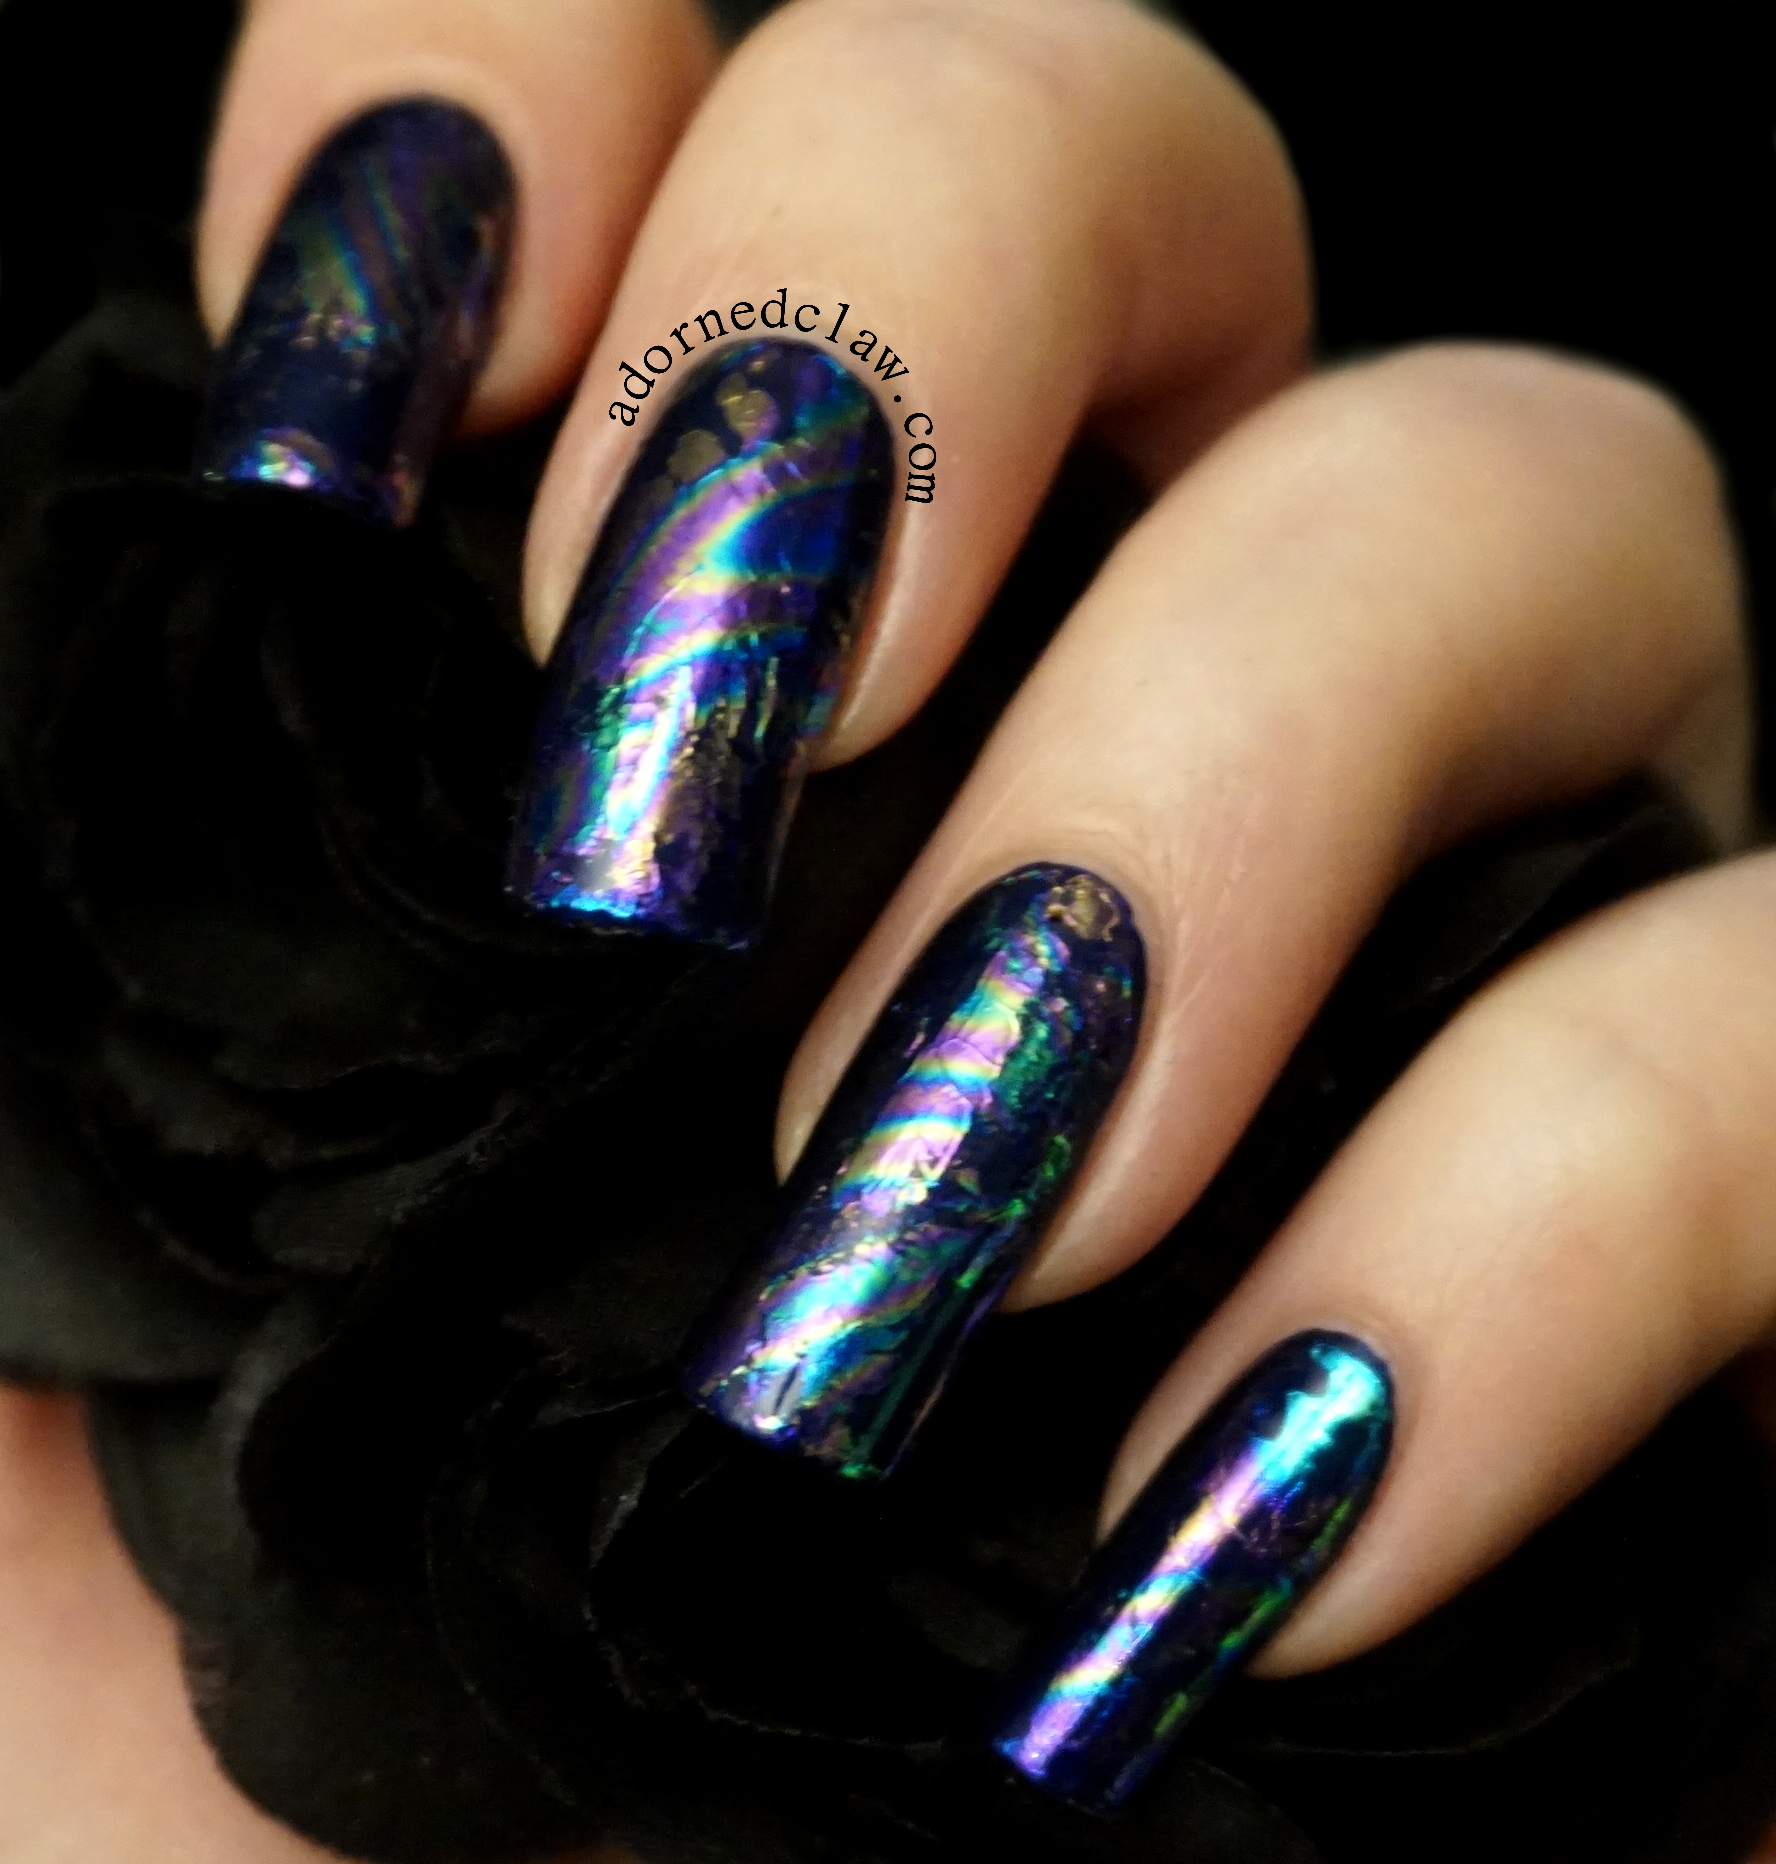
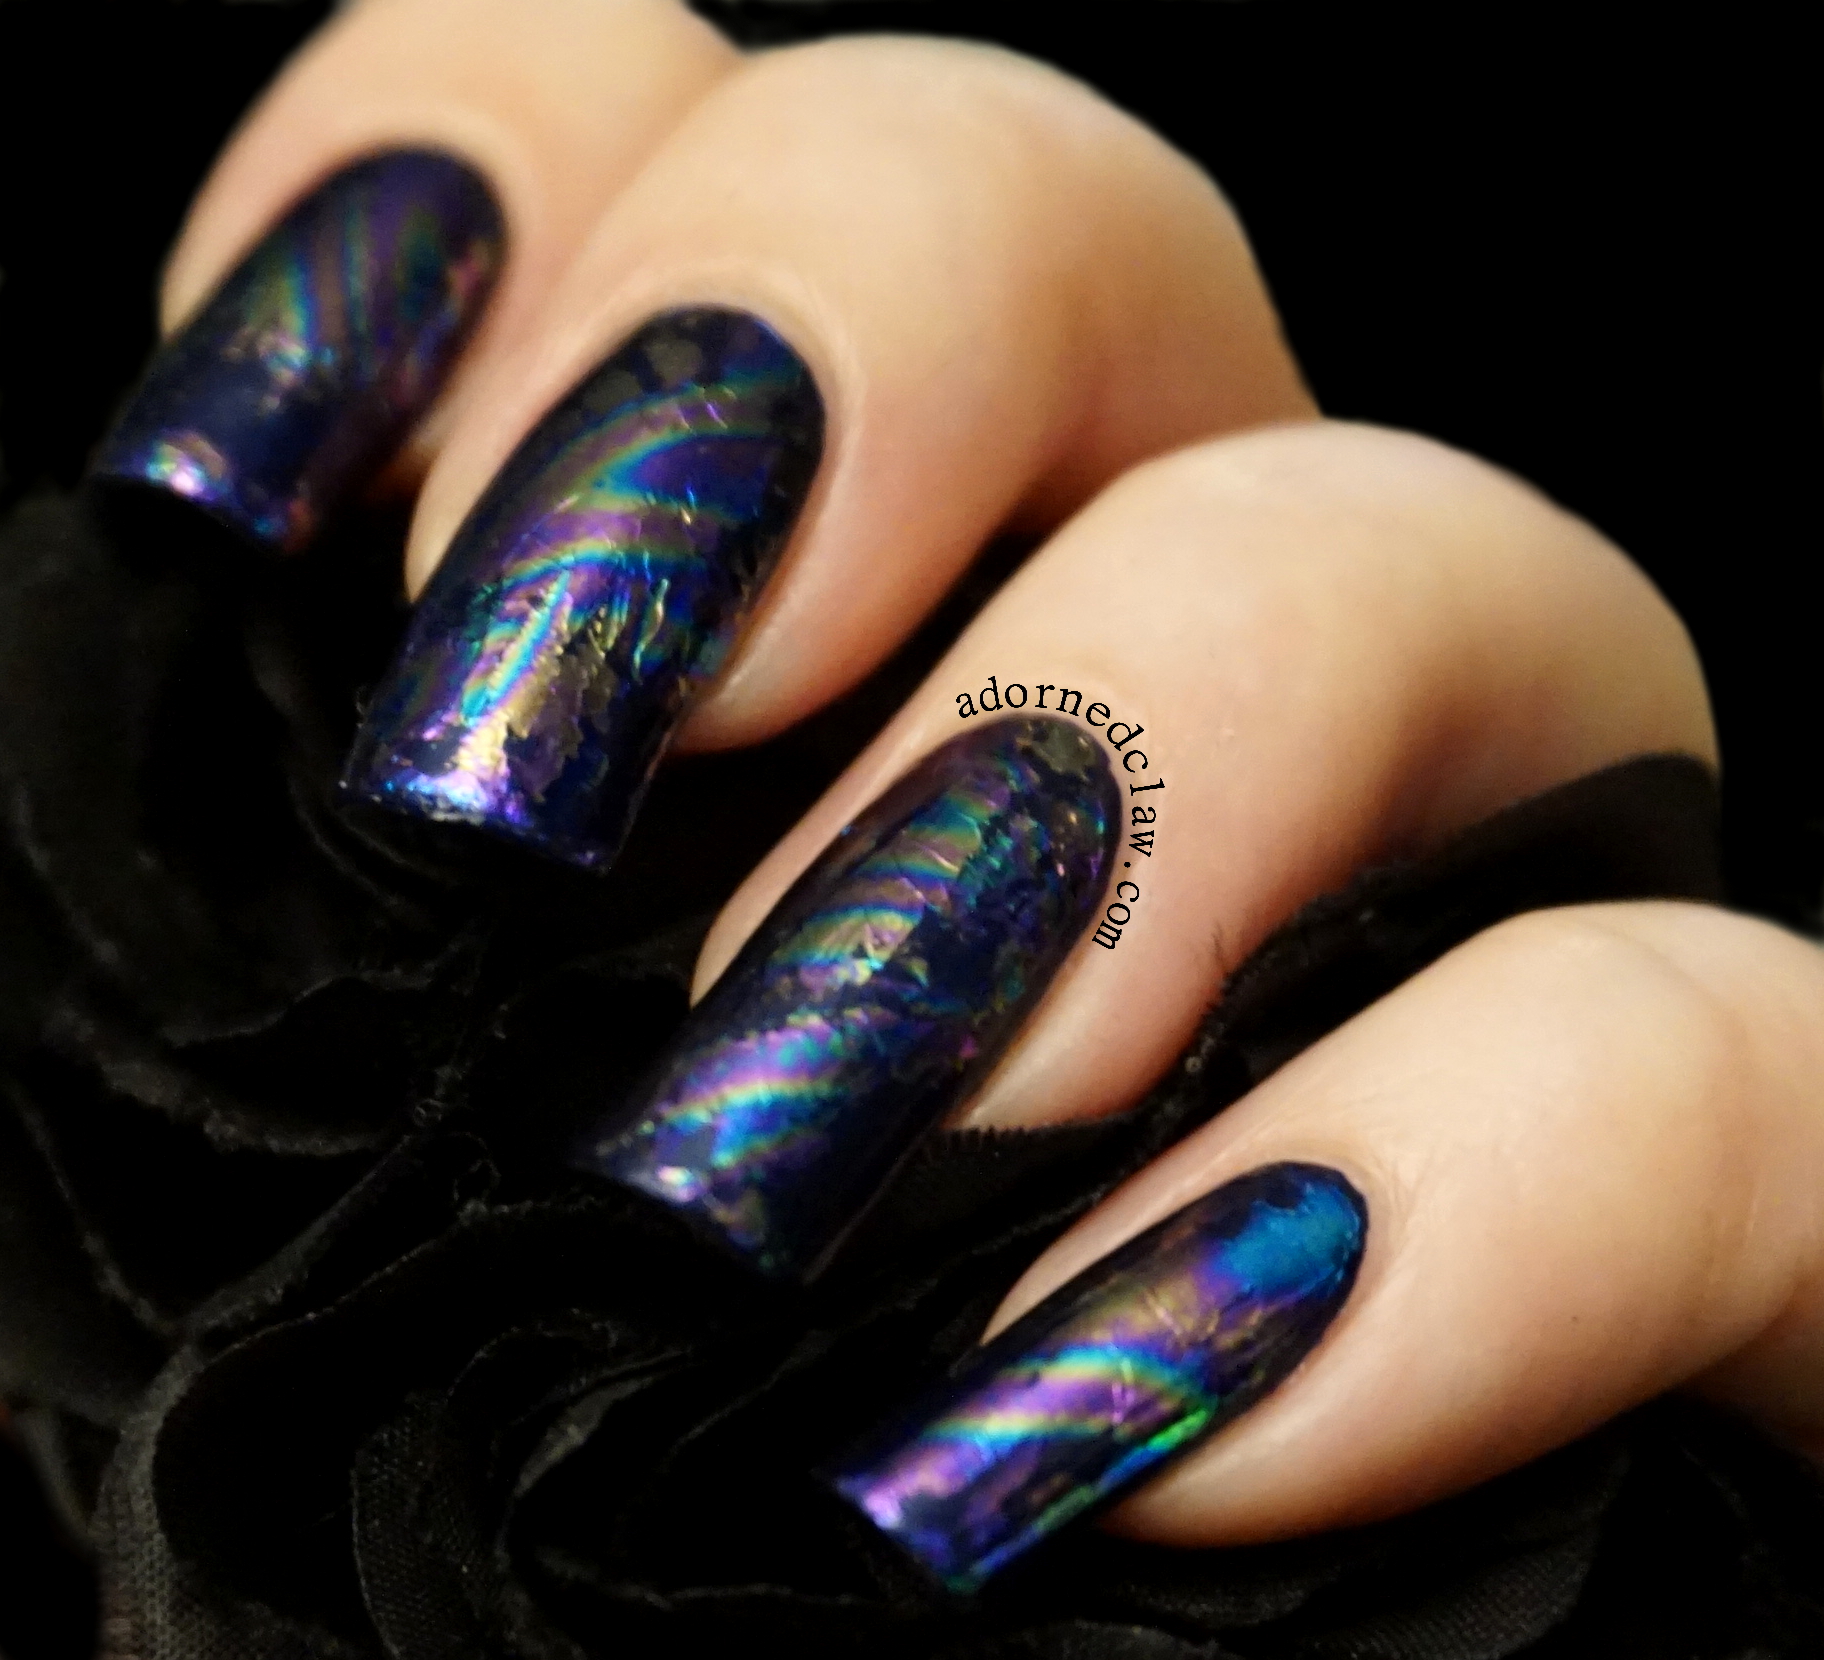
Something I do feel like I have to mention is that the foil (number 165) is not holographic, it’s iridescent!

Born Pretty Nail Foil and Glue Review

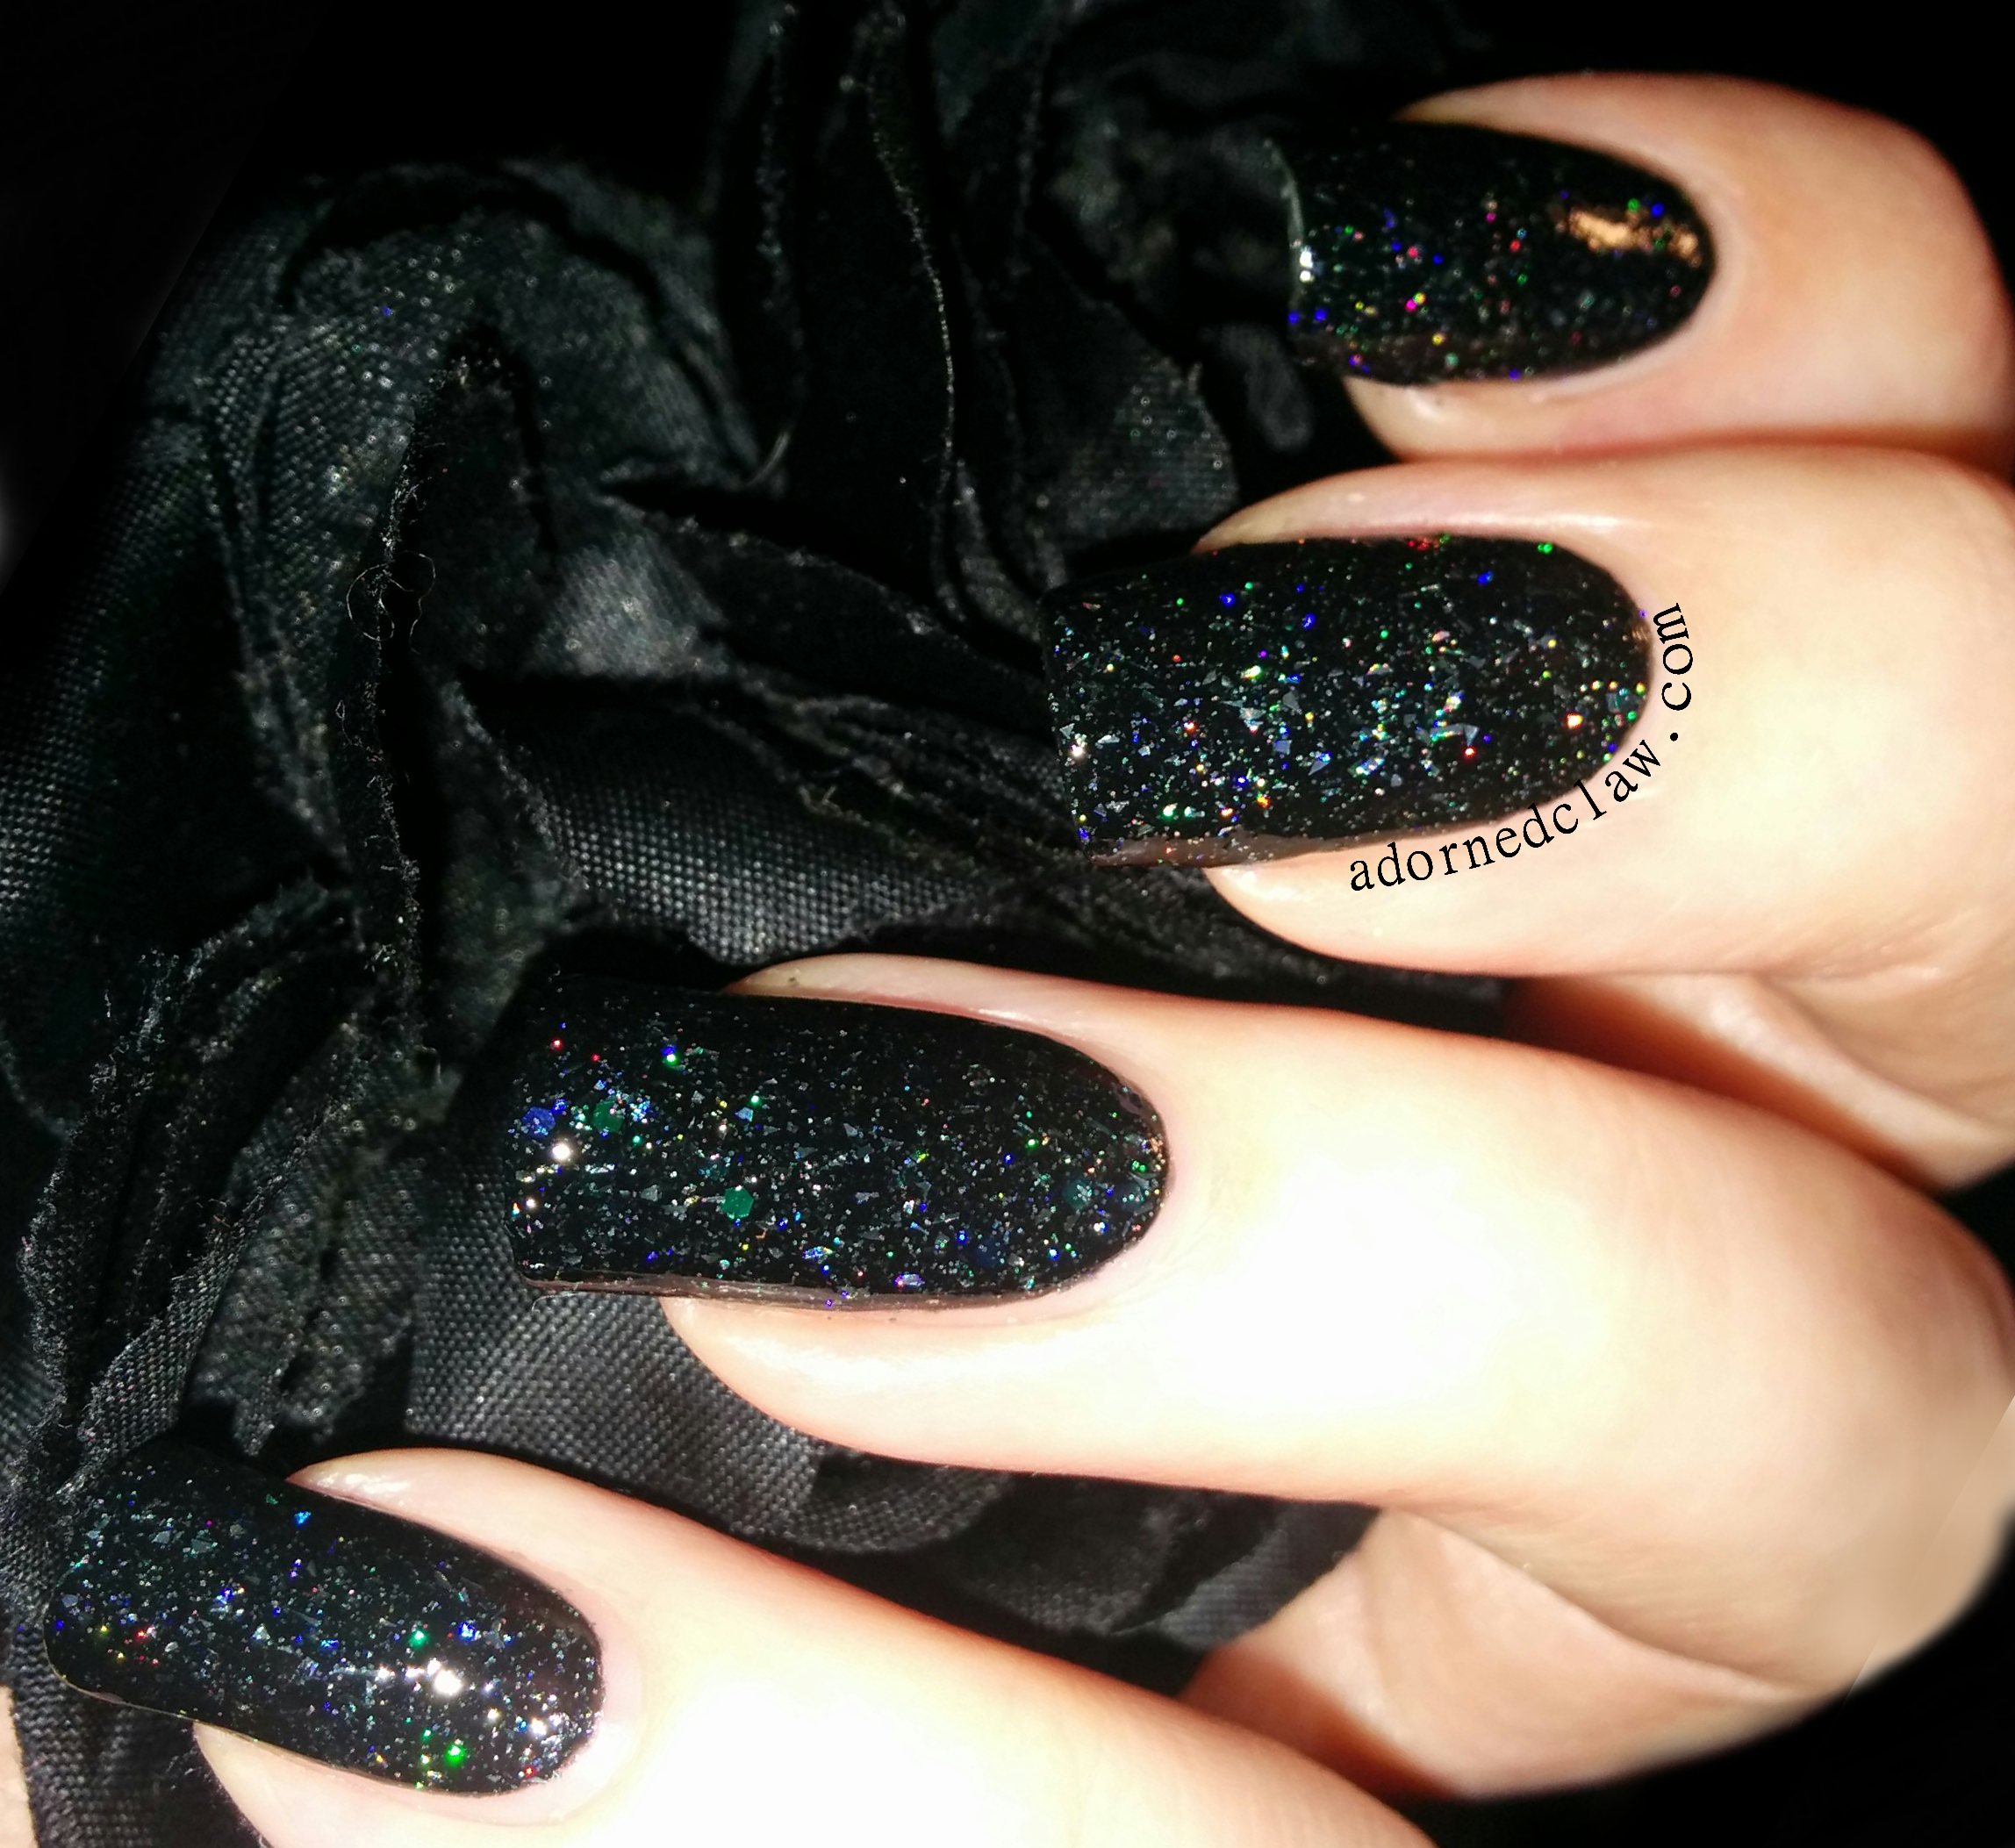
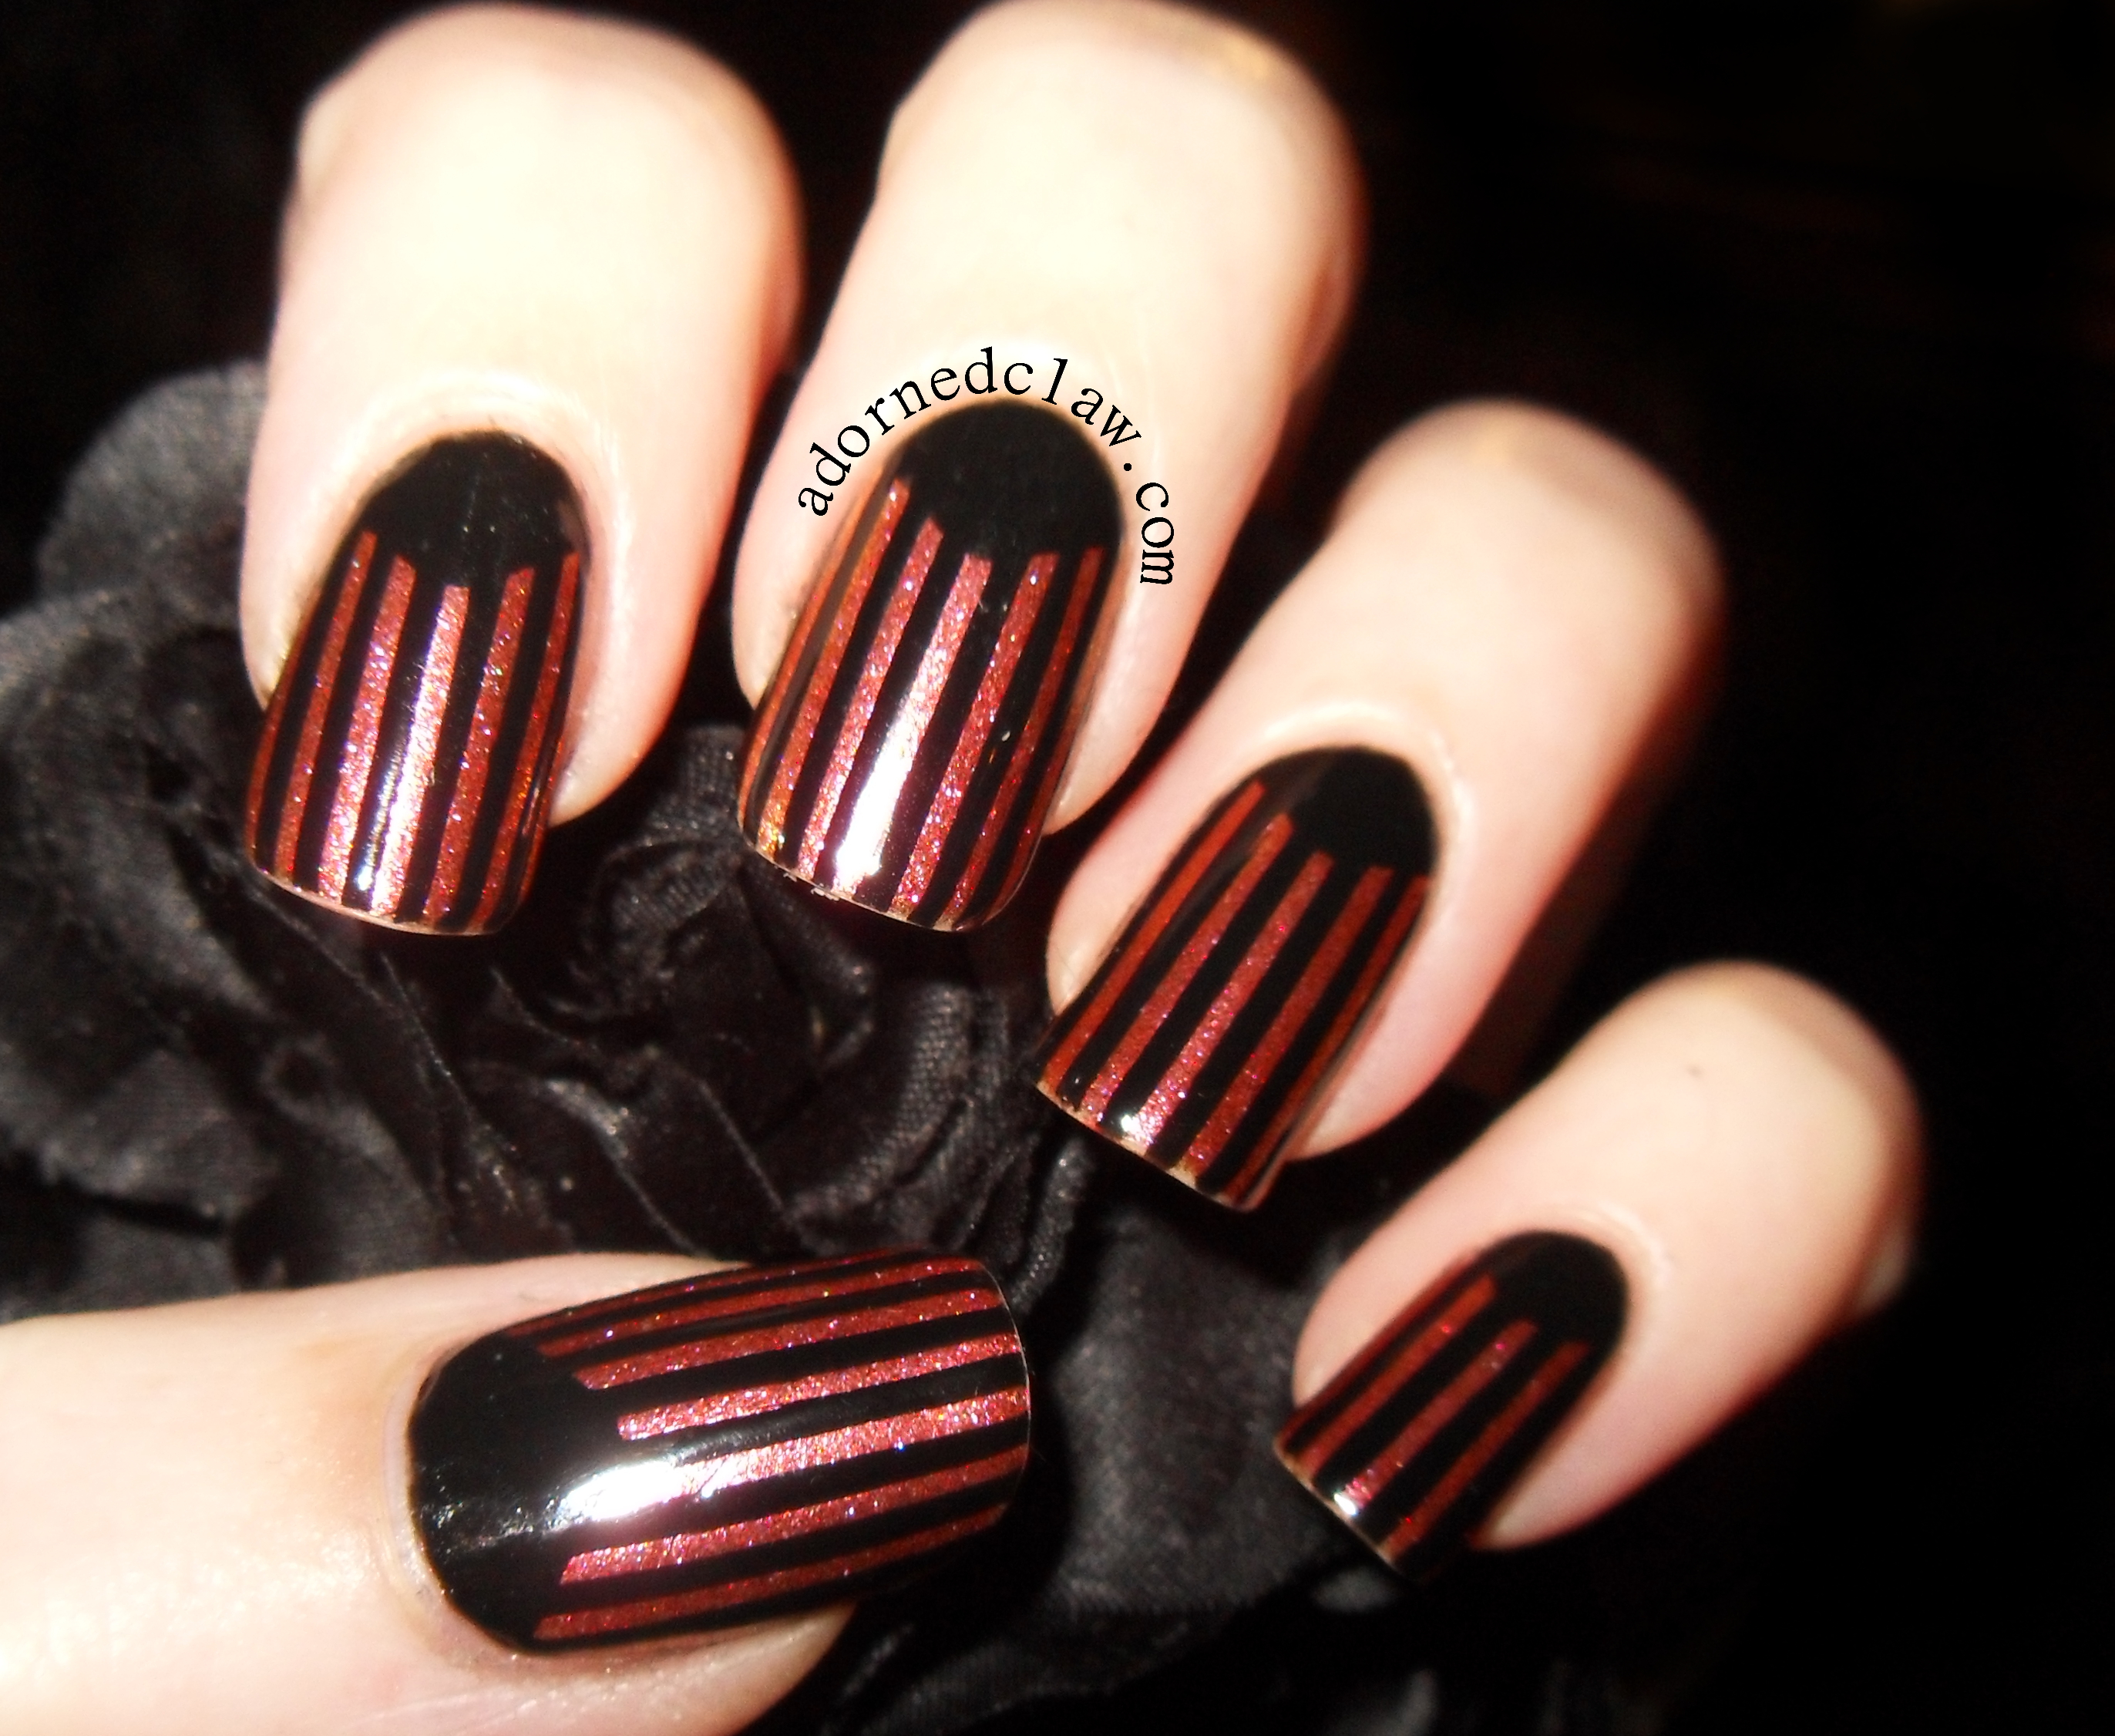
I applied the matte topcoat, glue and foil starting with my little finger, (which was pretty much perfect) as I worked towards my thumb it got more and more patchy, I really don’t know why, I was doing exactly the same thing on each nail!

Born Pretty Nail Foil and Glue Review

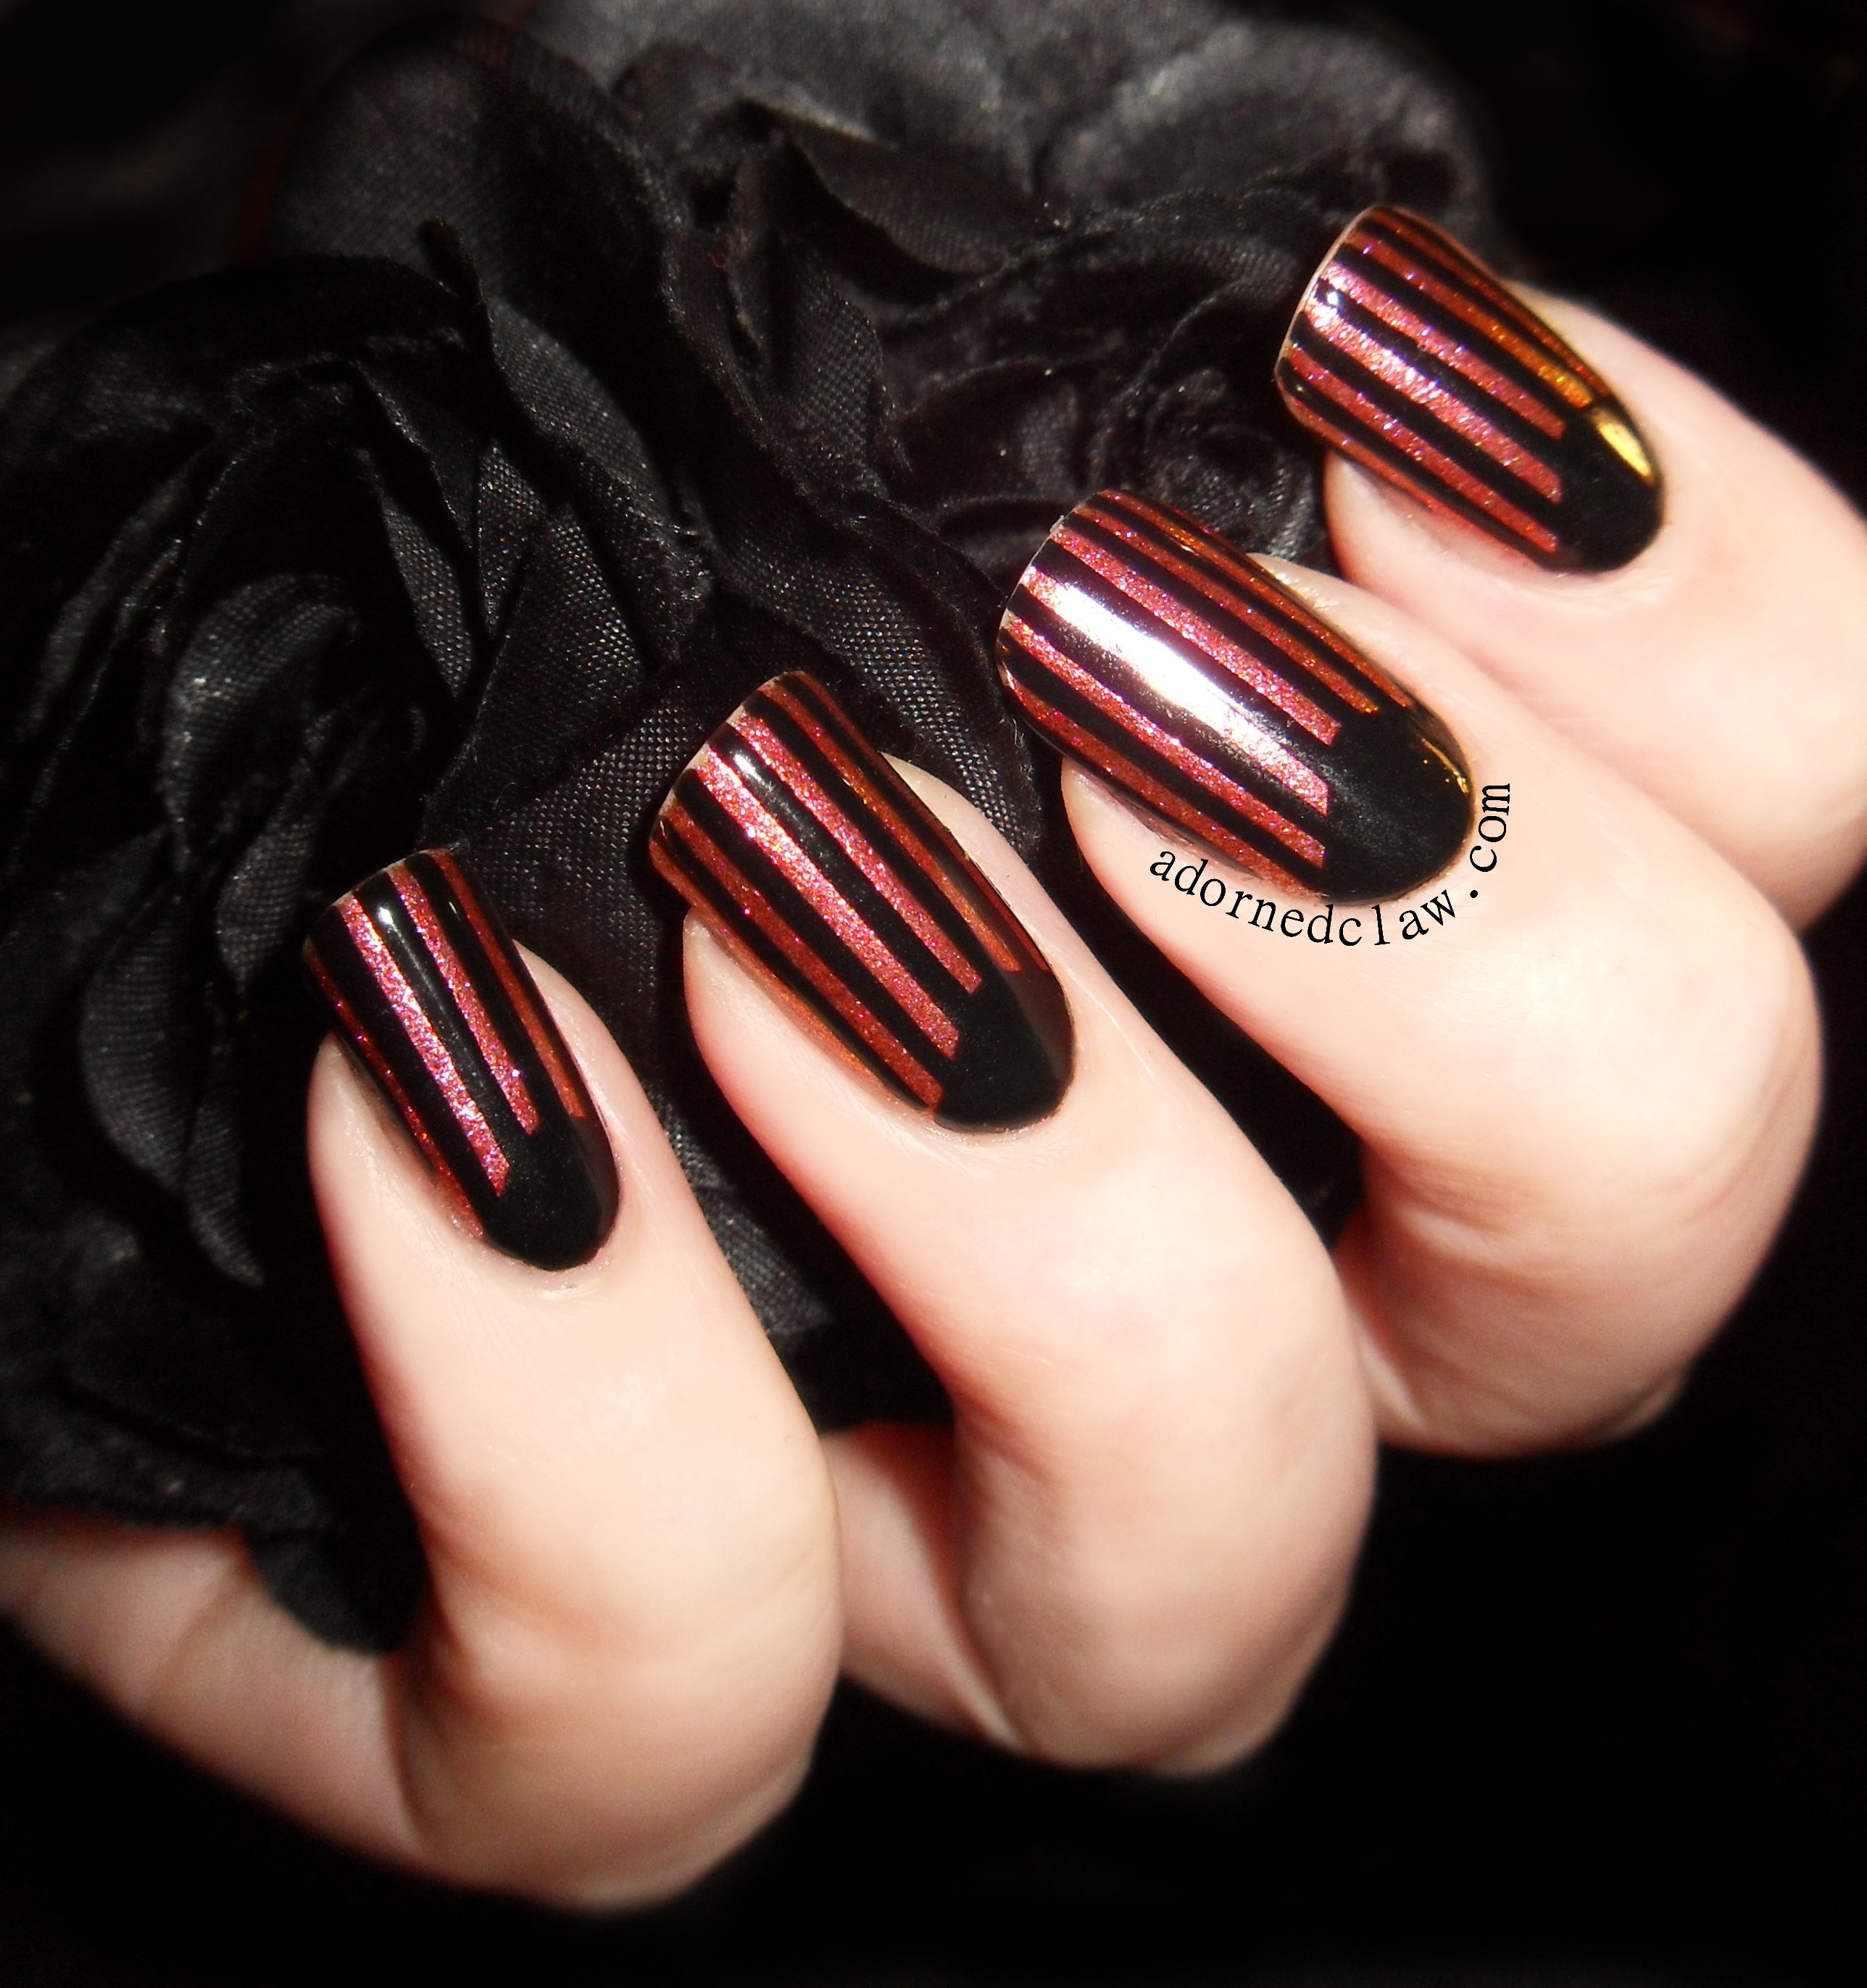
The base colour I used for this mani is the lovely dark blue Queen Of Scots from A England, and the topcoat is Nails Inc 2 in 1.

Born Pretty Nail Foil and Glue Review

I’m definitely going to practice with this nail foil a bit more! 🙂


Morgan Taylor Pretty Wild, Little Misfit and Rebel With a Cause.

Hello! 🙂

Today I have three very pretty polishes from Morgan Taylor to share with you. Pretty Wild, Little Misfit and Rebel With a Cause.

Pretty Wild

morgan taylor pretty wild swatch

Pretty Wild Is a really lovely greyed out lilac. The formula is really nice, it has a very rich and creamy  consistency and dried really quickly.

I have to say the colour is extremely similar to Sally Hansen Greige Gardens although Pretty wild is a touch warmer. I should probably do a comparison post of all my purpley grey polishes, I’m starting to get quite a collection!

This is two coats Pretty Wild with no topcoat!

Little Misfit

morgan taylor little misfit

Little Misfit is a very sheer multi chrome polish, it is very pretty! looks like a silvery rainbow in a bottle!

On my ring finger is one coat of Little Misfit over black, on the rest of my nails four coats!

The flash did make the sheerness a little more apparent, there definitely is very noticeable VNL!

But as a topper this polish is really lovely. it dries quickly and the application is really smooth., and it’s shiny enough to not need a top coat.

Rebel With a Cause

morgan taylor rebel with a cause

Out of these three polishes this one is my favorite. Rebel With a Cause is a stunning deep wine/berry red, with a slight gold shimmer and iridescent micro glitter.

All of the glitters and shimmers in this polish make it look like a metallic finish but without all the pesky brushstrokes!

The coverage with this polish is amazing, with careful application this could be opaque in one coat, this is two coats, because I wasn’t very careful lol

😀


Hug My Face!

Hey!

Today I have four polishes from the Darling Diva Hug My Face collection to show you! 😀

Bad Ass, In Space No One Can Hear You Scream, Long Live The Queen, and Xenomorph.

darling diva bad ass

Bad Ass

Bad Ass is black with a very slight purple tone, scattered holographic polish.

darling diva bad ass nail polish swatch

Look at that holo flare! In the bottle this polish really didn’t look too exciting… This really is a case of not judging a book by it’s cover! But when it’s on the nails this polish is lovely! but then I may be a little bias, seeing as my favorite polishes are black/purple and holographic lol

I found Bad Ass has an average drying time, it dried slightly matte, and it two coats to be opaque. The formula is creamy and self leveling and the application was a breeze!

darling diva bad ass nail polish swatch

In Space No One Can Hear You Scream

Darling Diva In Space No One Can Hear You Scream Nail Polish Swatch

In Space No One Can Hear You Scream is packed with Micro holographic shards iridescent hex glitter and holographic glitter all wrapped in a black jelly polish!

Darling Diva In Space No One Can Hear You Scream Nail Polish Swatch

This is a really complex glitter polish, it has so many different types of glitter in every drop!

On the nail it doesn’t look that OTT! The Iridescent hex glitters add a lot of depth!

This is three coats and it has a slightly longer drying time, it was dry in less than five minutes.

This is a thicker polish so the application was a little bit more tricky, but by no means difficult.

I have found that some shard glitter polishes can be scratchy with the little bits of glitter poking out all over the place, but that’s not the case with this one, it dried completely smooth!

Darling Diva In Space No One Can Hear You Scream Nail Polish Swatch

Long Live The Queen

Darling Diva Long Live The Queen Nail Polish Swatch

Long live the queen is a dark teal holographic polish packed with multi chrome flakies and glitter.

Darling Diva Long Live The Queen Nail Polish Swatch

The base colour of this polish is a really pretty blackened teal, and it really is packed with holographic glitter, unfortunately when it’s applied I couldn’t really see much of the multi coloured flakie glitter.

This is three coats and it has a similar drying time to In Space.

This is a thicker polish so the application was a little bit more tricky. it was slightly patchy on the first couple of coat but the subsequent coats evened everything out.

This polish is so pretty I didn’t want to take it off!

Darling Diva Long Live The Queen Nail Polish Swatch

Xenomorph

Darling Diva Xenomorph Nail Polish Swatch

Xenomorph is a dark teal/green polish filled with both multi chrome flakie and regular glitters, holographic micro glitter, and iridescent glitter.

Darling Diva Xenomorph Nail Polish Swatch

This really is a stunning polish, it’s so squishy and sparkly! some the multi-chrome glitters shift through red to blue while others are blue to red, unfortunately my pictures only show the green and blue, there is so much colour changing goodness going on in this polish!

the first coat was a little patchy but Xenomorph builds really nicely.

Darling Diva Xenomorph Nail Polish Swatch

These polishes are available here at Darling Diva 🙂

I really have to get the rest of this collection, no, I need the rest of this collection in my life right now!

In all these pictures I have used my usual base coat and top coat.

😀


Halloween Monster Eyes and Some Candlewick Greens Waxy Goodness!

Hello! 🙂

Halloween Monster Eyes

Sorry about the lack of posts last week, I managed to cut my finger :/ don’t worry, it’s on my dominant hand so there won’t be any gory pictures! And I’ve also have a cold (ugh, stoopid germs).

But now that I have dragged myself out of my sofa cocoon and polish remover isn’t really painful to use. I can share with you a two part post starting with these Monster Eyes! 🙂

halloween monster eyes

For my monster eye nails I used

  • Revlon – Stiletto
  • Illamasqua – poke
  • Sally Hansen – Blue Streak
  • Barry M – Crystal Glaze
  • Seche Vite
  • Illamasqua – Matte Top Coat

Thinking about it I didn’t really think through the steps for making the eyes. So I think they do look a little messy round the edges.

halloween monster eyes

The gradient is Poke and Blue Streak with a coat of Crystal Glaze over the top, then with a thin brush I added the eye shape using Stiletto.

In hindsight I should have used tape or something to mask off the eyes, It would have made the edges of the matte topcoat look a lot cleaner.

candlewick green sandalwood vanilla wax melt

A quick question… Have you seen a nail polish that looks like the picture above? If you have please let me know, as I want something like this on my nails right now 🙂

As I’m sure you can tell the photograph isn’t nail polish, its wax! Which brings me on to the second part of my post!

I want to show you some wax melts from a really lovely little company here in the UK. It’s not often that I come across wax melts that I’m really impressed with, but these honestly are amazing! Before I carry on I should let you know that I purchased these myself!

I have pet rats, at the moment I have 8 of the whiskery critters in my living room, and like any pets they can get really rather stinky, so I do end up looking for lovely room fragrances quite often.

These wax melts are so loaded with fragrance that one quarter of a pot is enough to scent the whole of my apartment all day!

If my nostrils could sing with happiness they would be, and not in a creepy old man nose whistle way!

The Candlewick Greens Shop is right here if you would like to have a look 🙂  http://www.candlewick-greens.appspot.com/index.html

candlewick green wax tart melt autumn wreath

Autumn Wreath is the melt I have in my warmer right now, it’s so nice, slightly spiced apples and crunchy leaves!

There is a facebook group here https://www.facebook.com/groups/740123009371304/?fref=ts

it’s the best place to fins out about the restocks and upcoming new scents 😀

candlewick green wax melt tart gingerbread latte

Gingerbread Latte smells just like the drink, I have found that some coffee/creamy scented candles and melts (from a well known brand that happens to start with the letter Y) have this nasty chemical plastic smell. But not these, they smell heavenly!

Another wonderful thing about these wax melts is that most of them are covered in glitter and shimmers! Yay for glitter 😀

The best way to order these lovely melts is through the ready to ship page. http://www.candlewick-greens.appspot.com/readytoship.html

candlewick green wax melt sticky toffee pumpkin waffle

Sticky Toffee Pumpkin Waffle smells so amazing I want to eat it! But I’m sure it wouldn’t taste nearly as good lol!

Out of all the different scent collections on offer at candlewick Greens I have to say my favorite is the Mystical ones!

But I have found one little problem with the bakery scents… Being surrounded by wonderful cake smells makes me really hungry! 😀

Oh if you do make an order for some of this lovely wax (you really won’t be disappointed) if you could leave a note with your order about finding out about them here that would be amazing! 😀


OMG Japanese LED Nail Decal Review!

*PRESS SAMPLE*

Hello! I have a really fun product to show you today! 😀

These Japanese LED Nail Decals that have been kindly been sent to me from www.omgnailstrips.com.

omg led nail decal

omg led nail decal

From the OMG website – “The LED light chip is powered by NFC fields given off by most Android phones, Point of Sale Machines, Apple Pay and many other electronics, meaning when in the presence of these NFC fields your nail will light up and blink.”

And OMG are also in the process of designing an App for Android that would allow the nail to light up when you get different types of notifications on your phone. How amazing is that!?

OMG supply two types of led stickers, one specifically for Gel polish which is the chip on it’s own and the set with stickers is for use with regular nail polish.

omg led nail decal

The Decals are $5.99 per pack with free international shipping and are available in White, Green and Blue, for Gel and White, Red and Blue for regular polish!

Both chips I have to show you today are white ones!

Here is a little video (be nice, I don’t do videos often lol) of the chip for Gel polish directly on the back of my phone.

The LEDs for Acrylic and Gel are available Here

omg led nail decal

Pink Roses

Applying the chip was really simple, the clear part of the decal is really easy to trim to size, I used a couple of coats of black polish to hide the chip, being very careful not to cover the LED.

Flash!

Flash!

I decided to use the pink rose accent sticker from the set. I found that the adhesive on the stickers is very strong, so repositioning it is a bit of a challenge.

I used Seche Vite topcoat and I did find that the Accent sticker went a little bit crinkly as the polish dried. I don’t know if a non quick dry topcoat would have the same effect on the accent stickers, unfortunately I don’t have any on hand to try!

Here’s another little video of it in action. This time on my nail 🙂

The decals for using with regular polish are available Here

The other products I used for this look are

  • Barry M – Shocking Pink
  • Butter London – Frilly Knickers
  • Illamasqua – Scorn
  • Moyou – Pro collection XL 07
  • Konad – Special Polish Black
  • Seche Vite Topcoat
omg led decal review

omg led decal review

I found that to get the best and brightest flashes I had to be holding my phone close to where the NFC chip is located. Unfortunately these won’t work with iphones.

Make sure that NFC setting is turned on on your phone or the LED won’t work!

I really do like these LED decals, they are so fun to wear!


Black and Glitter Stripes Half Moon Mani!

Hello! 🙂

black and glittery half moon nails

Black and Glittery Half Moon Nails

Today I wanted stripey sparkly nails! 😀

black and glittery half moon nails

Lava and Twilight

For this I used two coats of Sally Hansen Lava from the Lustre Shine collection, Filthy Gorgeous Twilight, quite a lot of striping tape and some french tip guides (I used the pointy shaped ones rather than the round ones!)

black and glittery half moon nails

so sparkly!

Even though this took a quite a while, the striping tape was not cooperating, I really like this look, and I’ll definitely have to try this with different colours! 😀