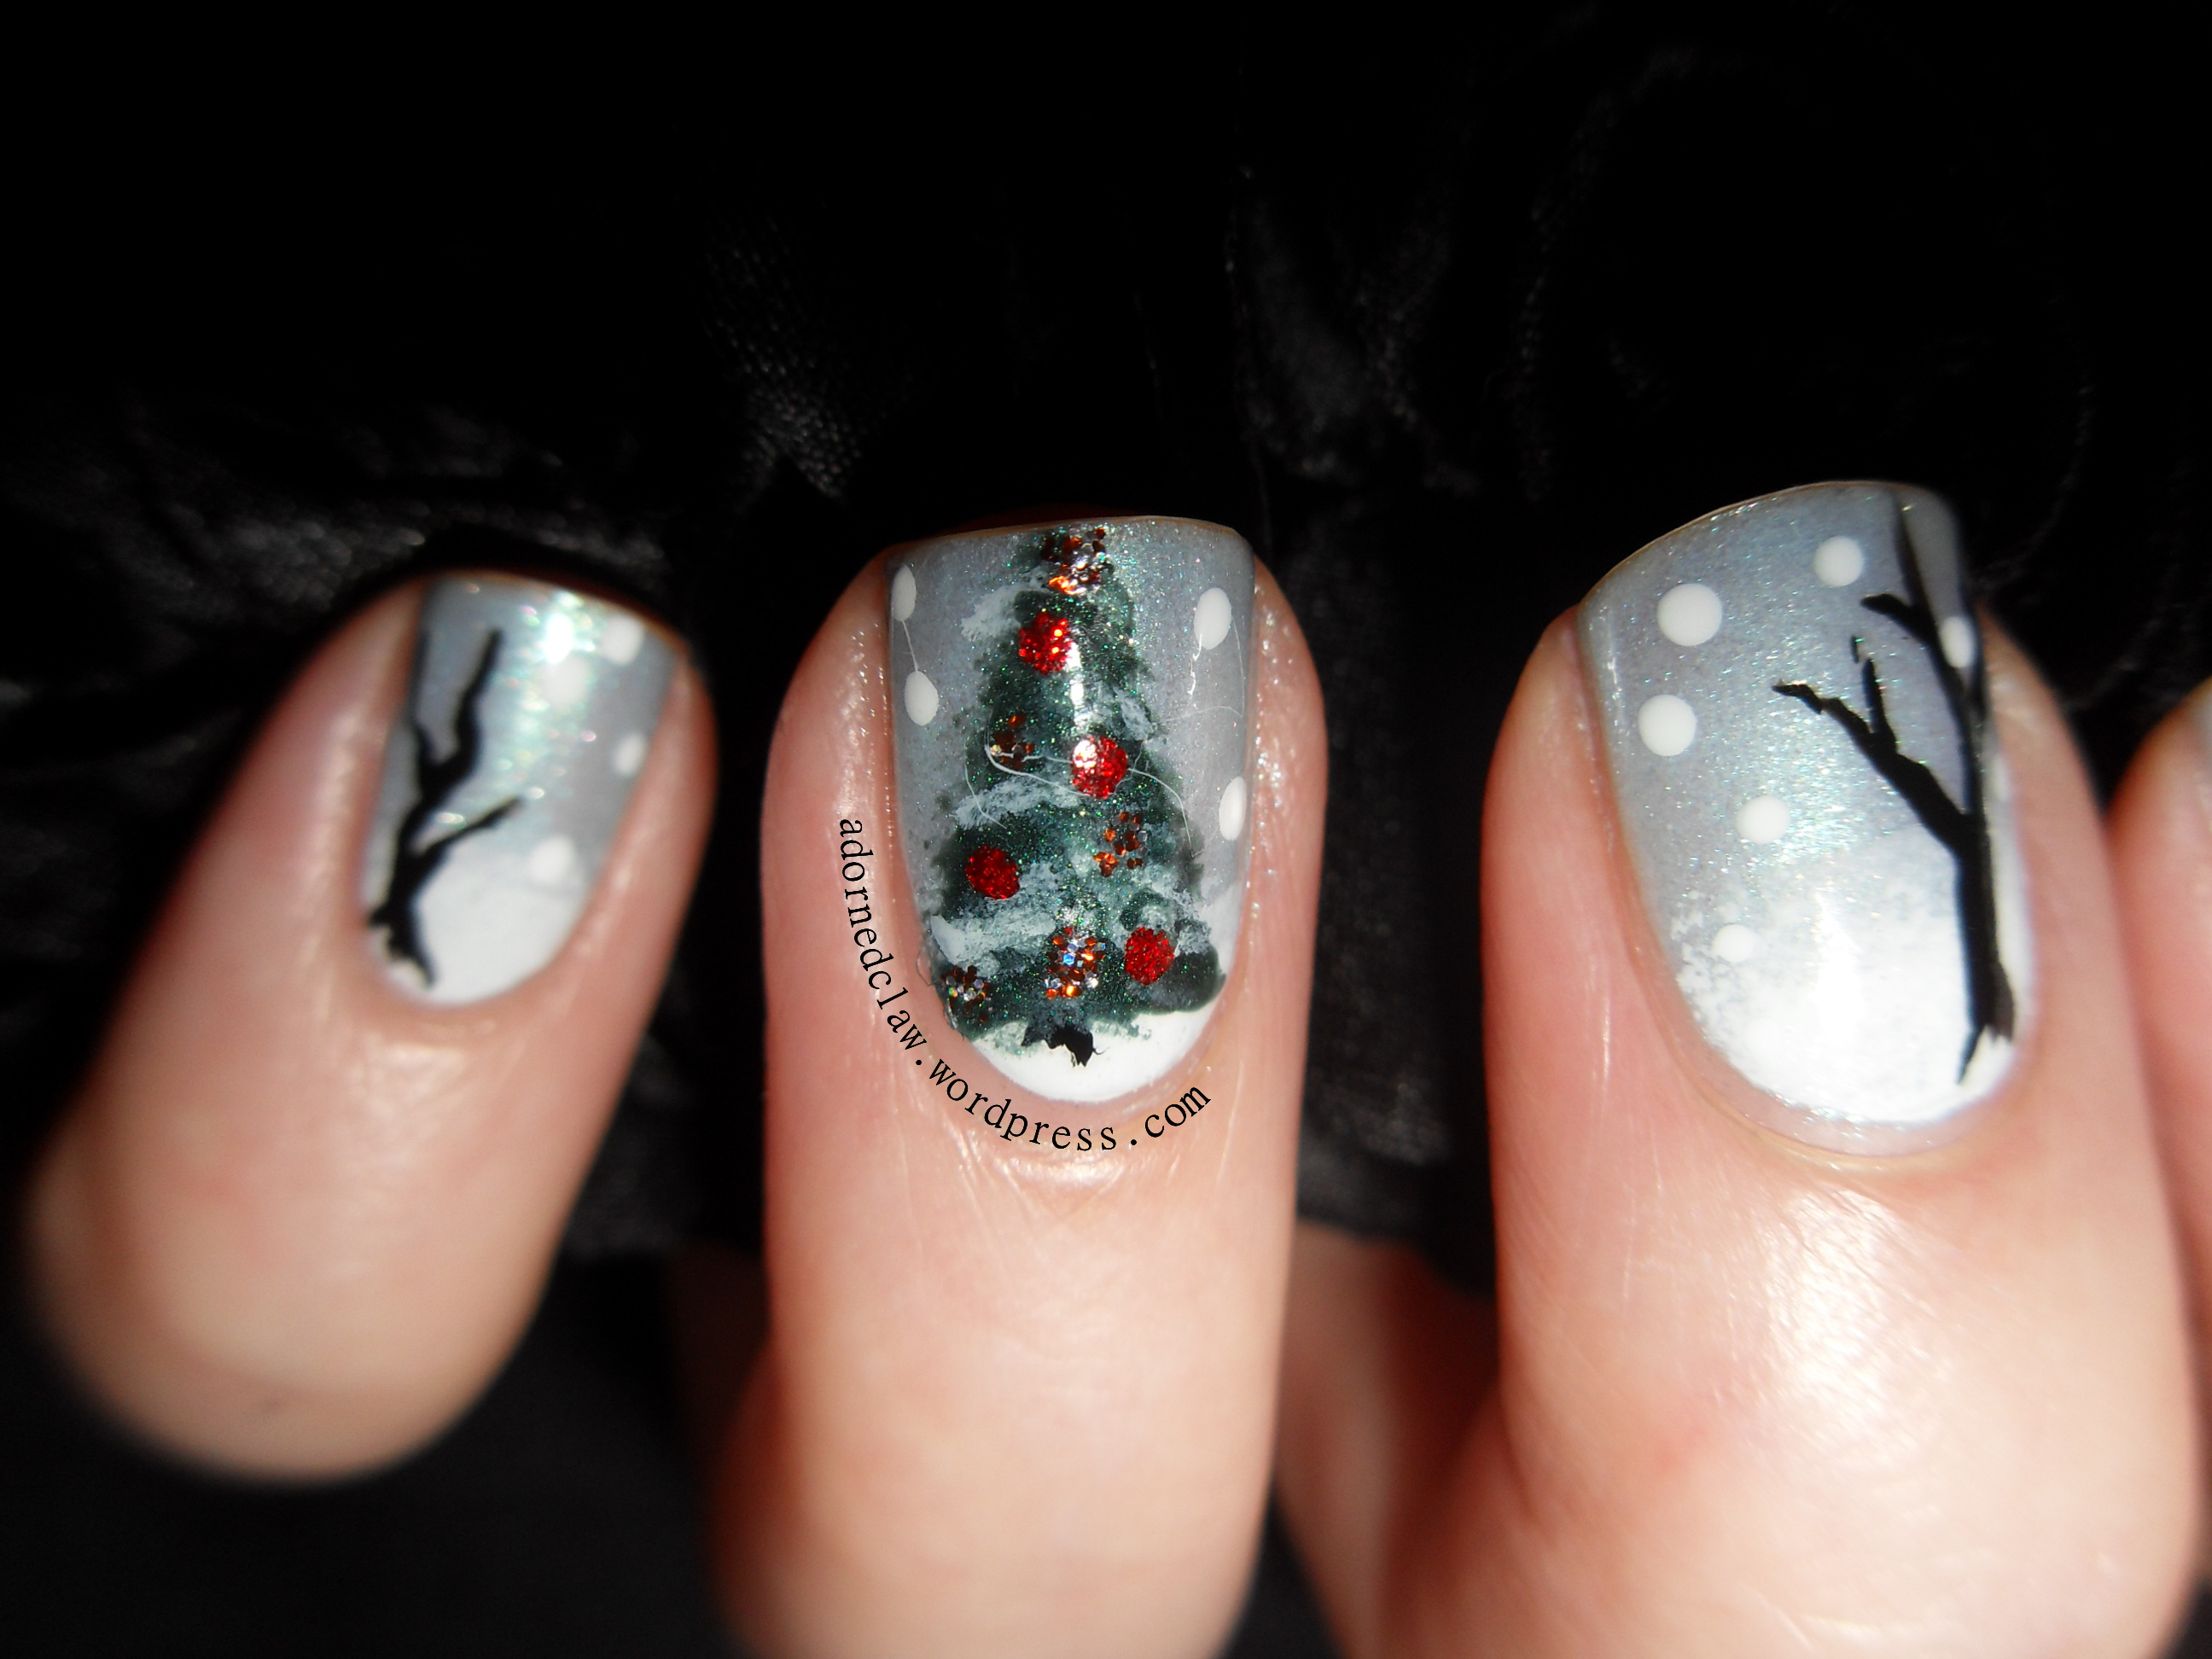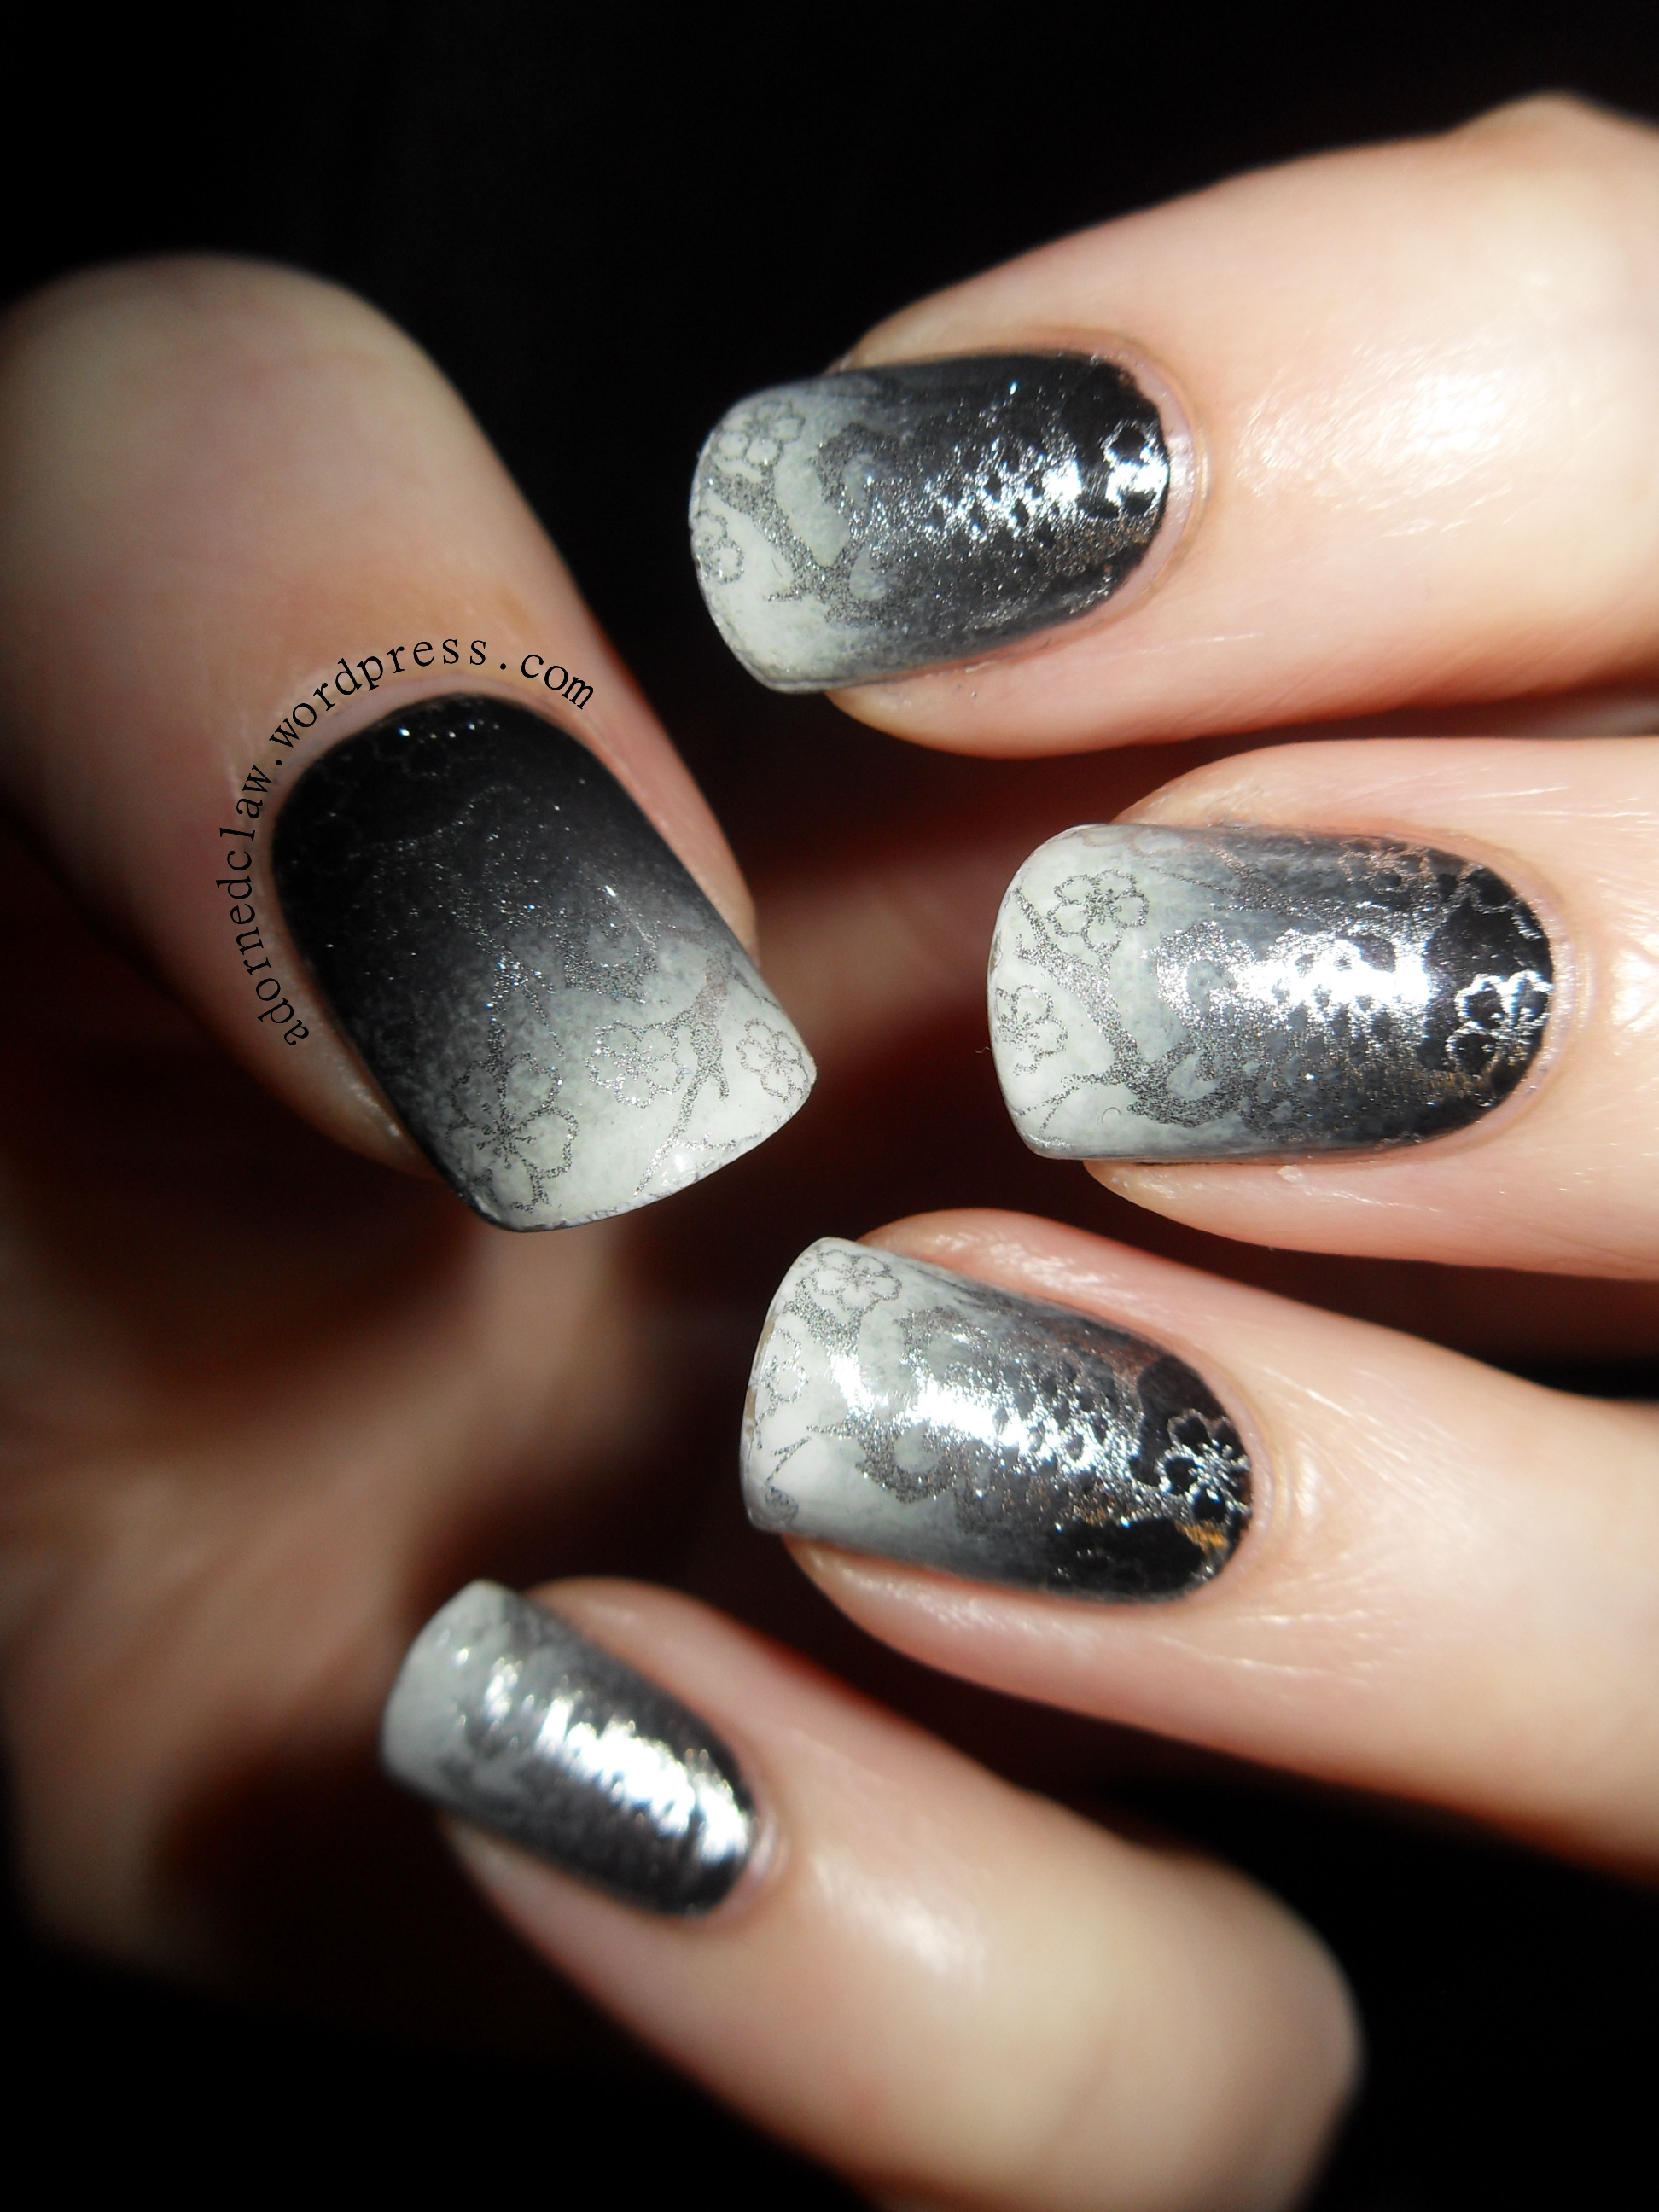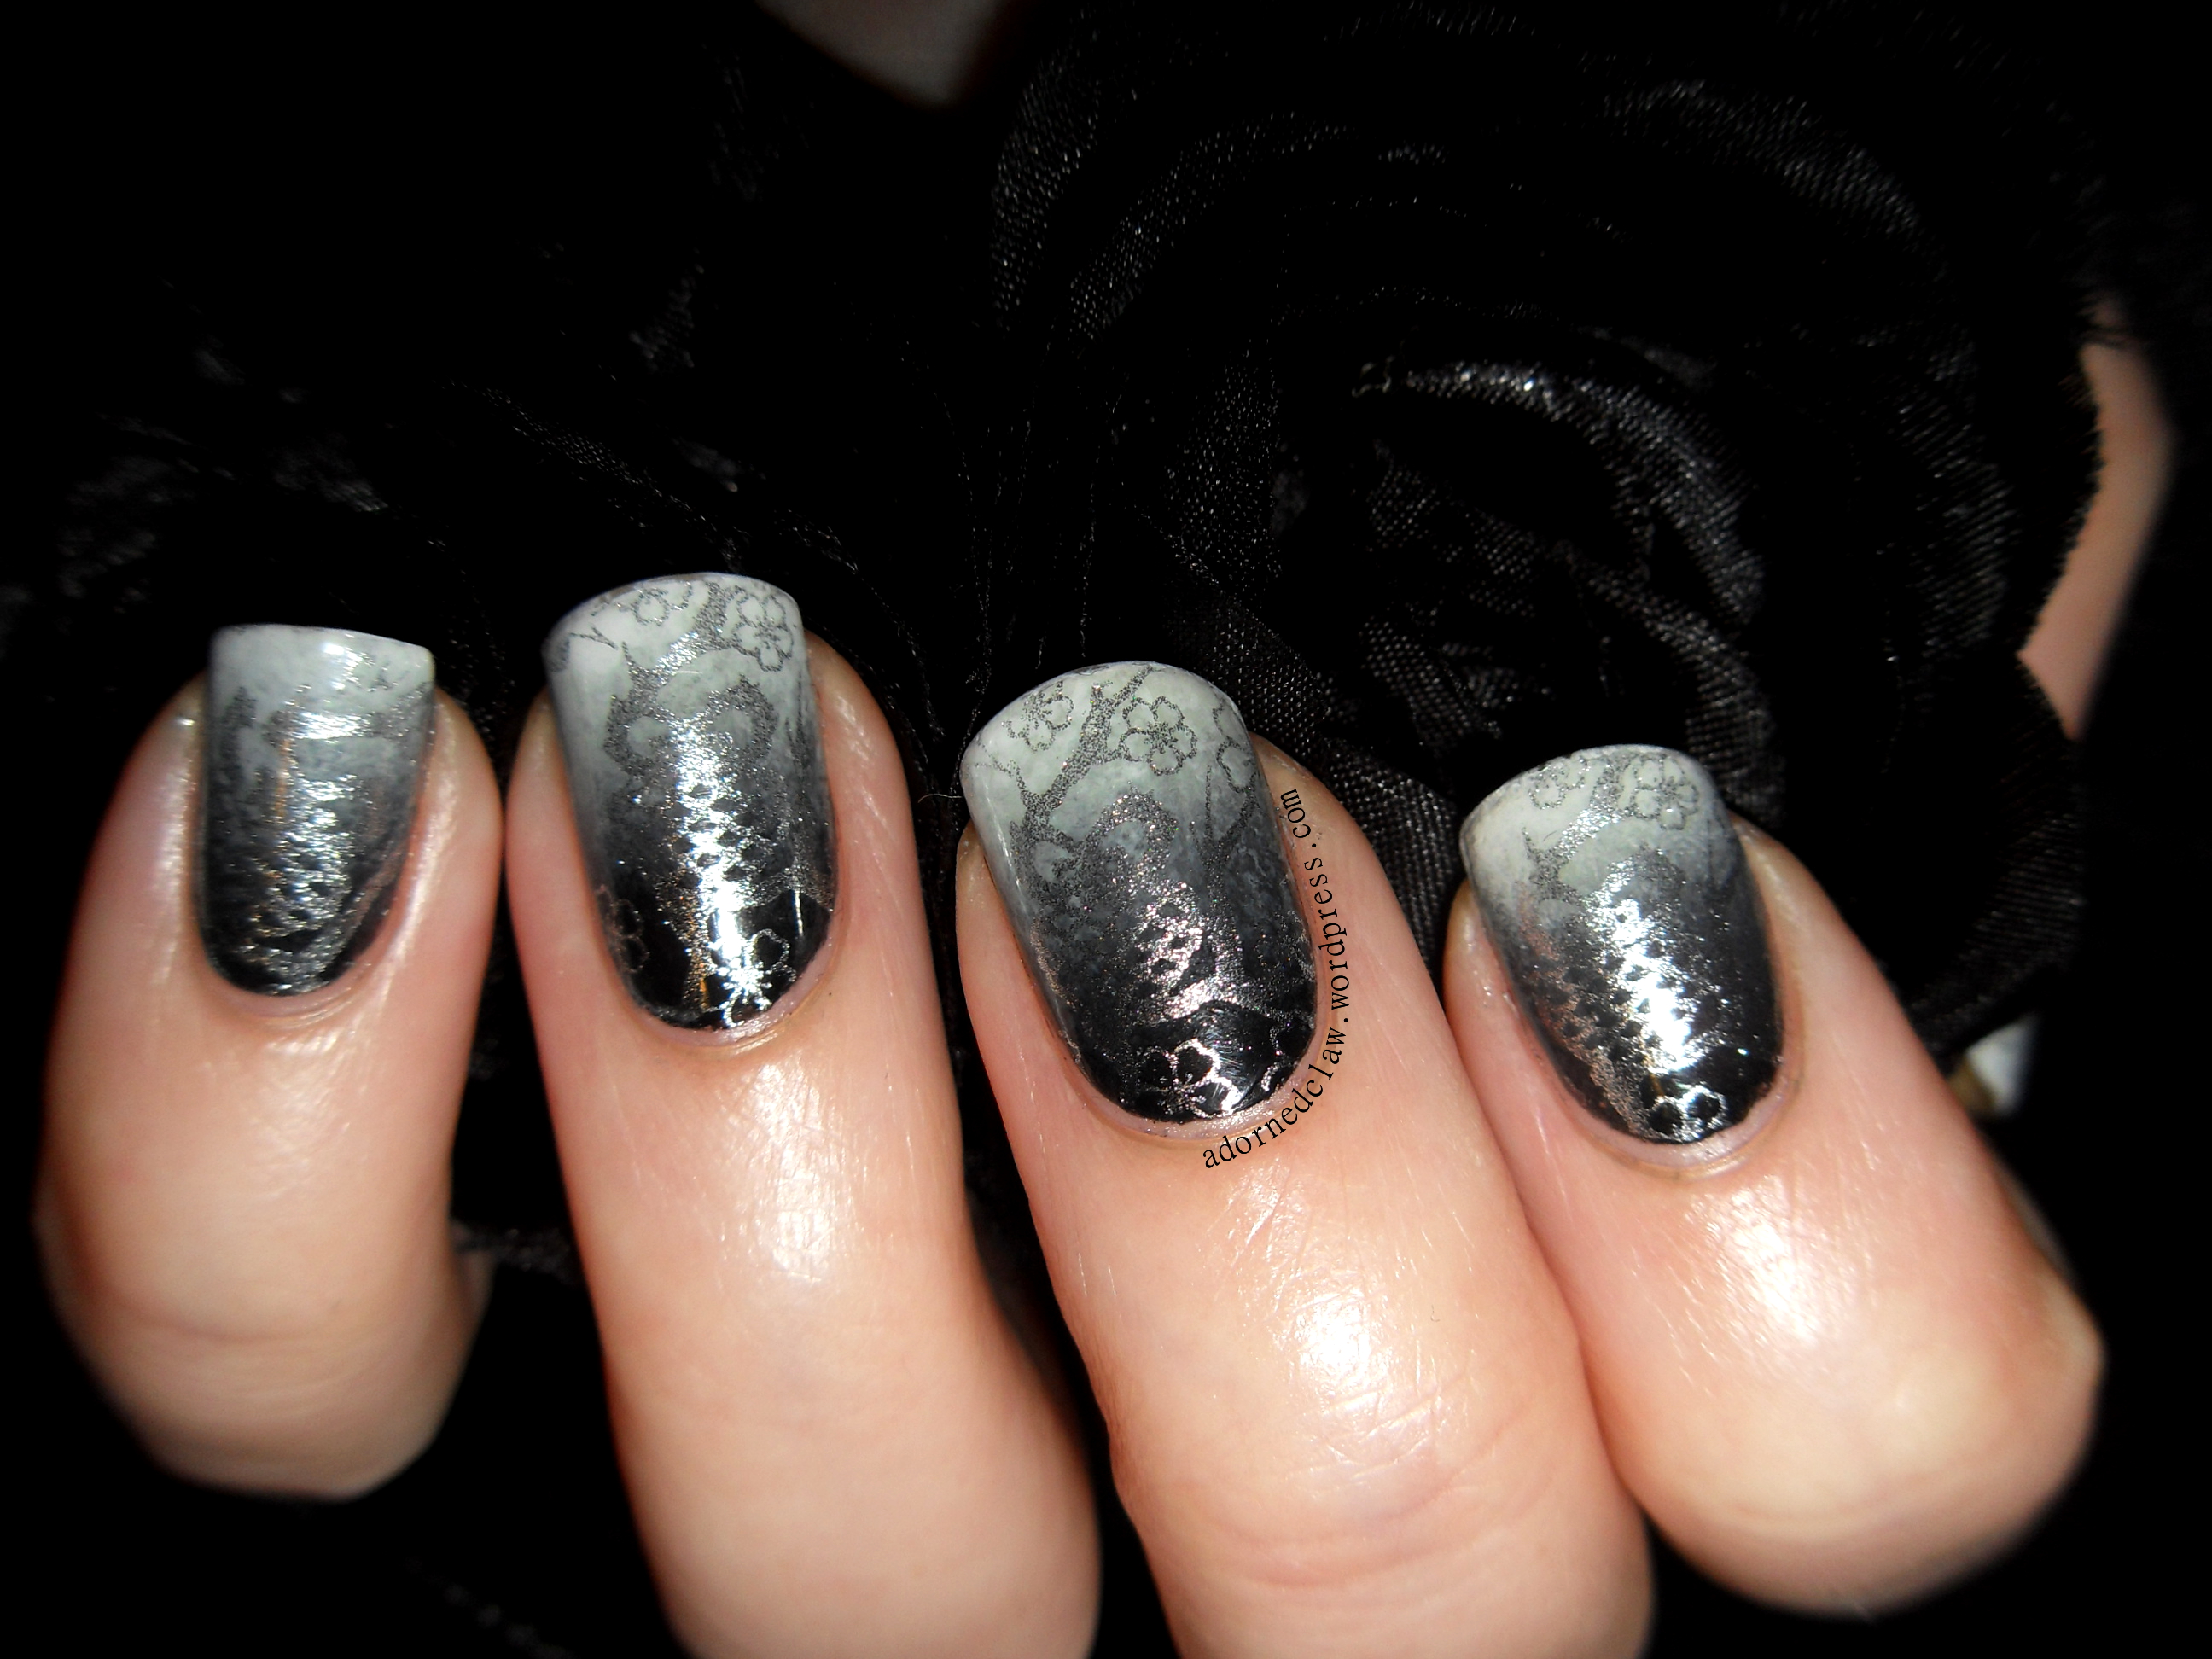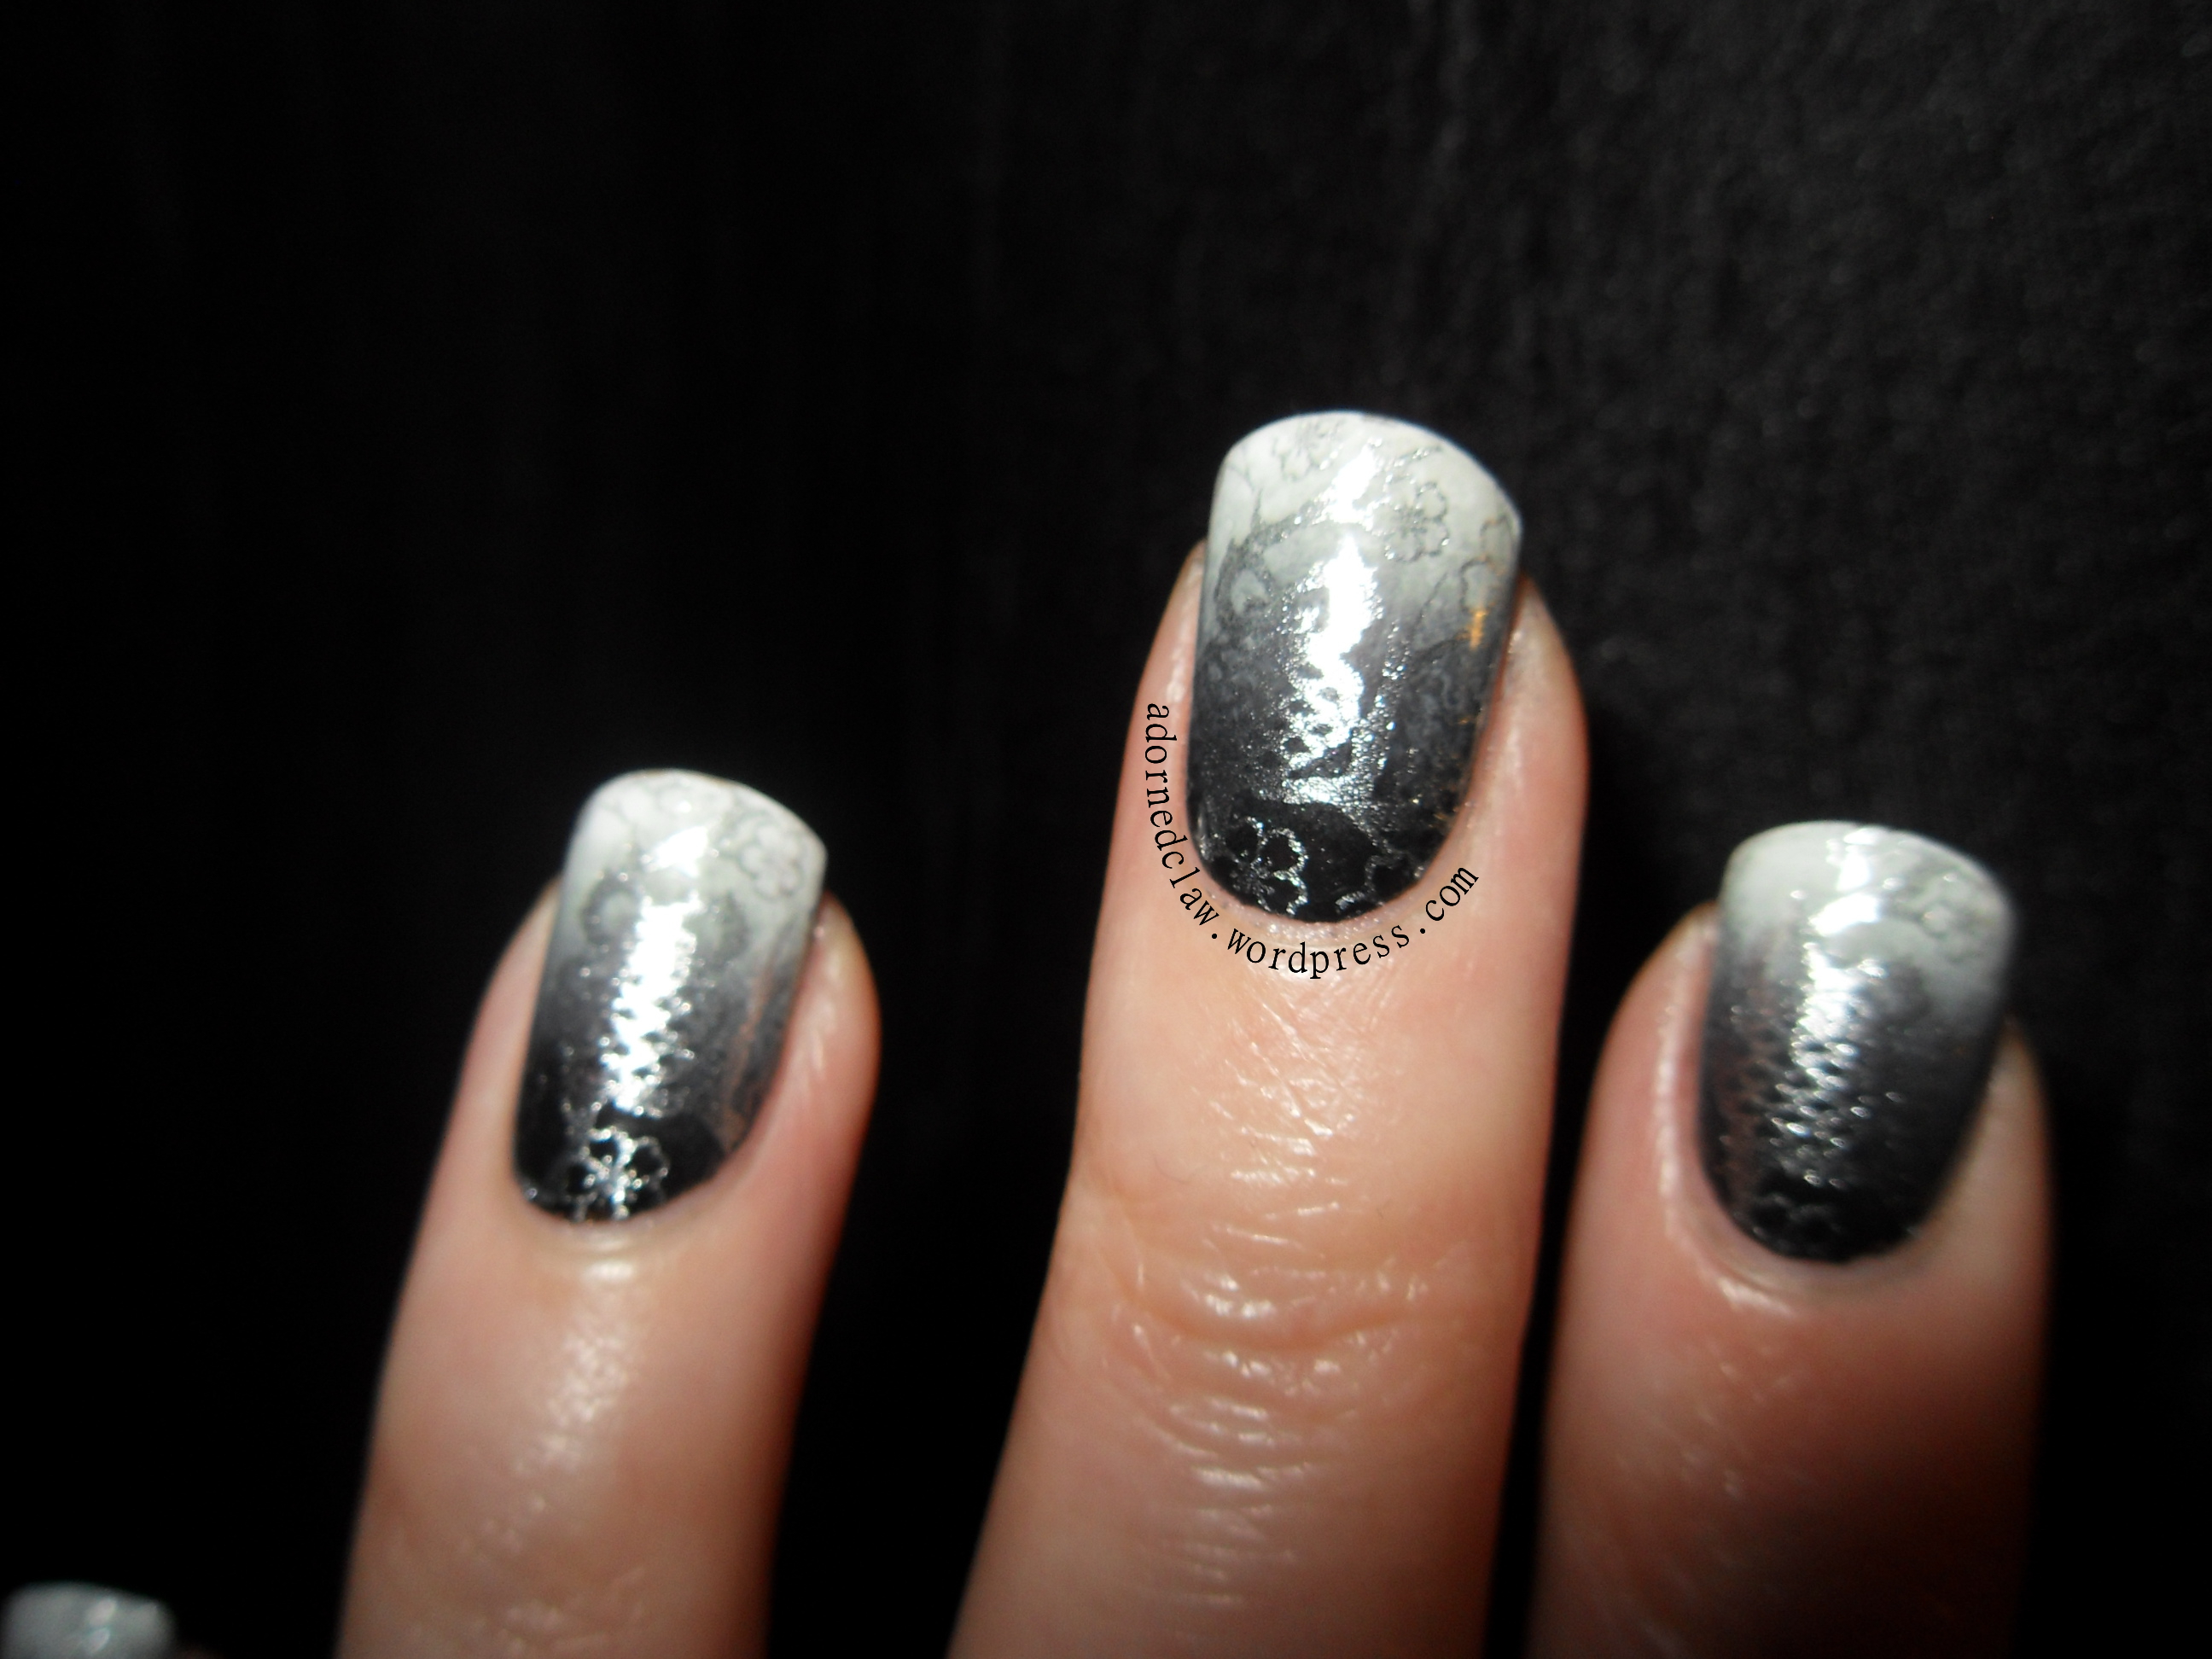
Ombre Nails
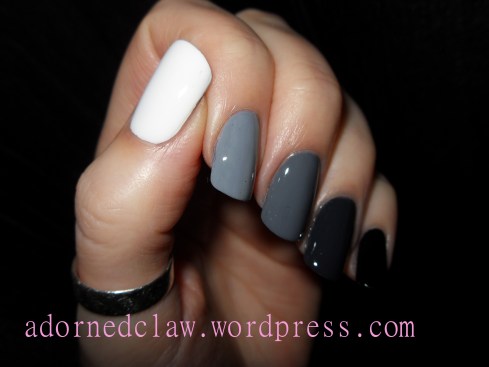
An Ombre Manicure Is a really easy! It is a gradient from nail to nail with five nail polishes which are applied each on one full nail (rather than a gradient over one nail, which is a gradient manicure).
I have been wanting to an Ombre tutorial for a little while now but I haven’t found three shades of grey polish that would work… Madness!
So with the polish I already own I decided to mix my own shades!
Ombre Nails Tutorial Equipment
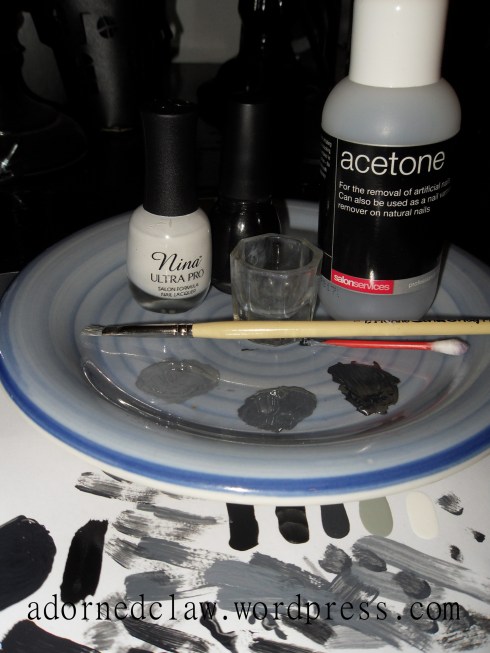
This is what I used!
- one cotton bud (q tip) with one end cut off.
- a paint brush/nail art brush.
- Nina Ultra Pro – French White.
- Sinfulcolors -Black on Black.
- Acetone.
- A Dapen Dish or small container. (Just make sure it’s not plastic)
- An old Plate
- some paper
Begin by painting two coats of white on your thumb nails and black on your little finger nails. It’s best to wait until they have dried before continuing.
Then pour little acetone into the Dapen dish or small container this is to rinse the brush in later.
To start with put three drops of black polish with one drop of white together on the plate, using the cotton bud (with the end cut off) as a mixing tool, combine the two polishes until it is an even shade, you’ll have to be quite fast with mixing so the polish doesn’t dry to much. Then using the brush apply it to your ring finger nails, use the paper to wipe the extra polish from the brush before rinsing it in Acetone.
On another part of the plate mix two drops of black with two drops of white. This shade is for the middle finger nails. after you have applied the polish remember to clean the brush to remove the extra polish
And for your pointer finger nails use a ratio of three drops of white to one drop of black.
If you need to apply a second coat, wait until the first coat has dried and follow the steps again! 🙂 Then apply some topcoat.
This technique can be used with lots of different colours, you just have to make sure that the amount of pigment in the individual polishes you choose to use is roughly the same!