Not Another Springtime Mani!

Hey Everyone!

Gothic Gradient Nail Art

I am so thoroughly not in the mood for “spring” nails! Pastel, pastel shades everywhere!

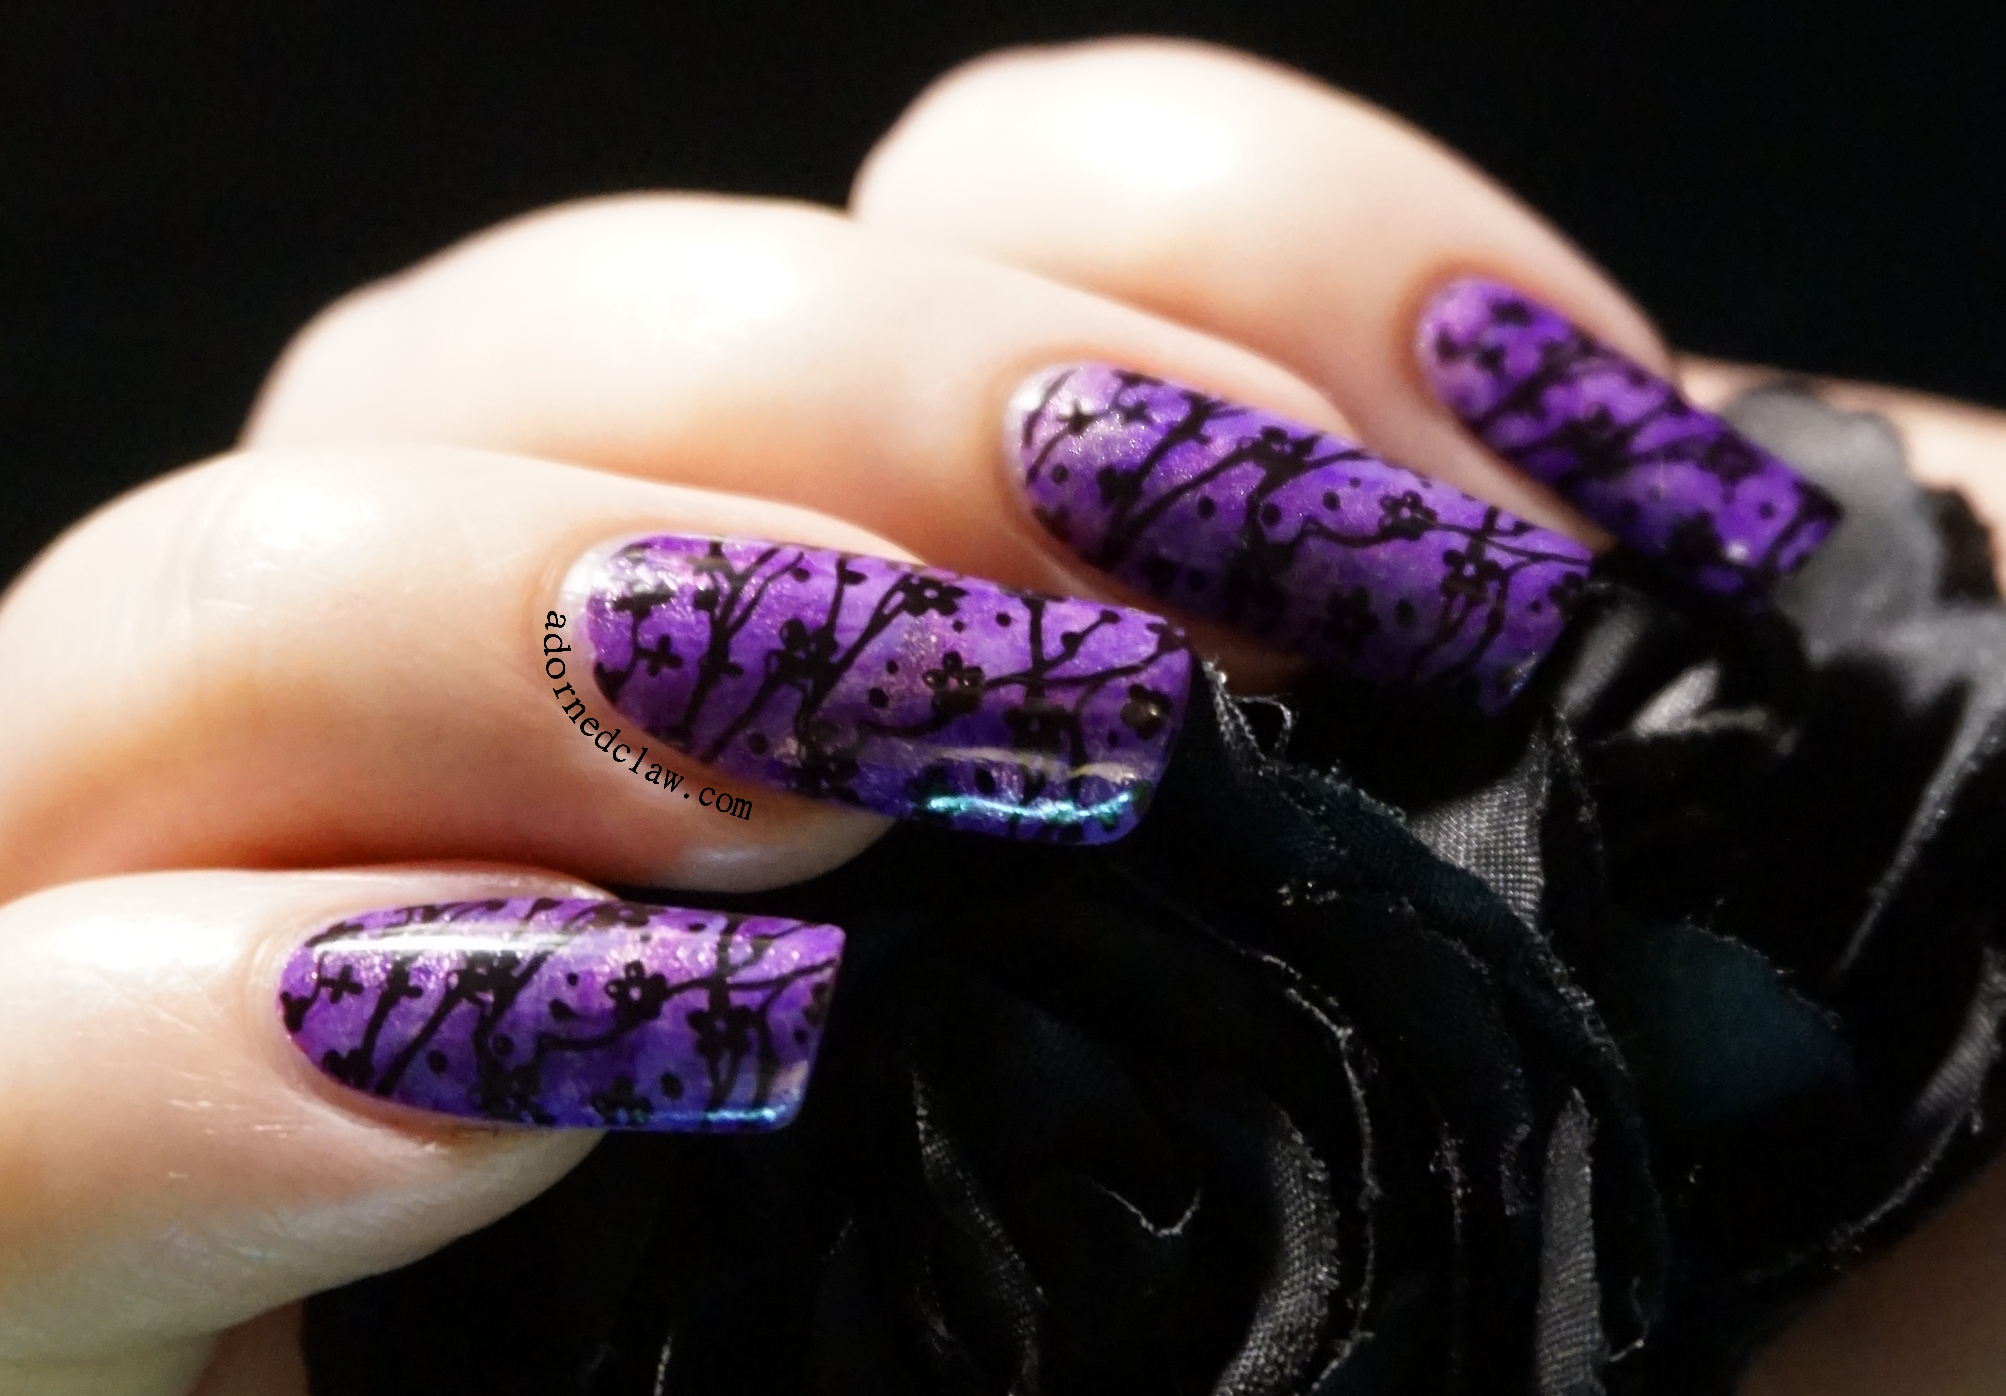
It’s definitely Spring, the plants are growing, the birds are singing and my cherry tree is covered in lovely flowers.

But I still want to paint my nails black! 🙂

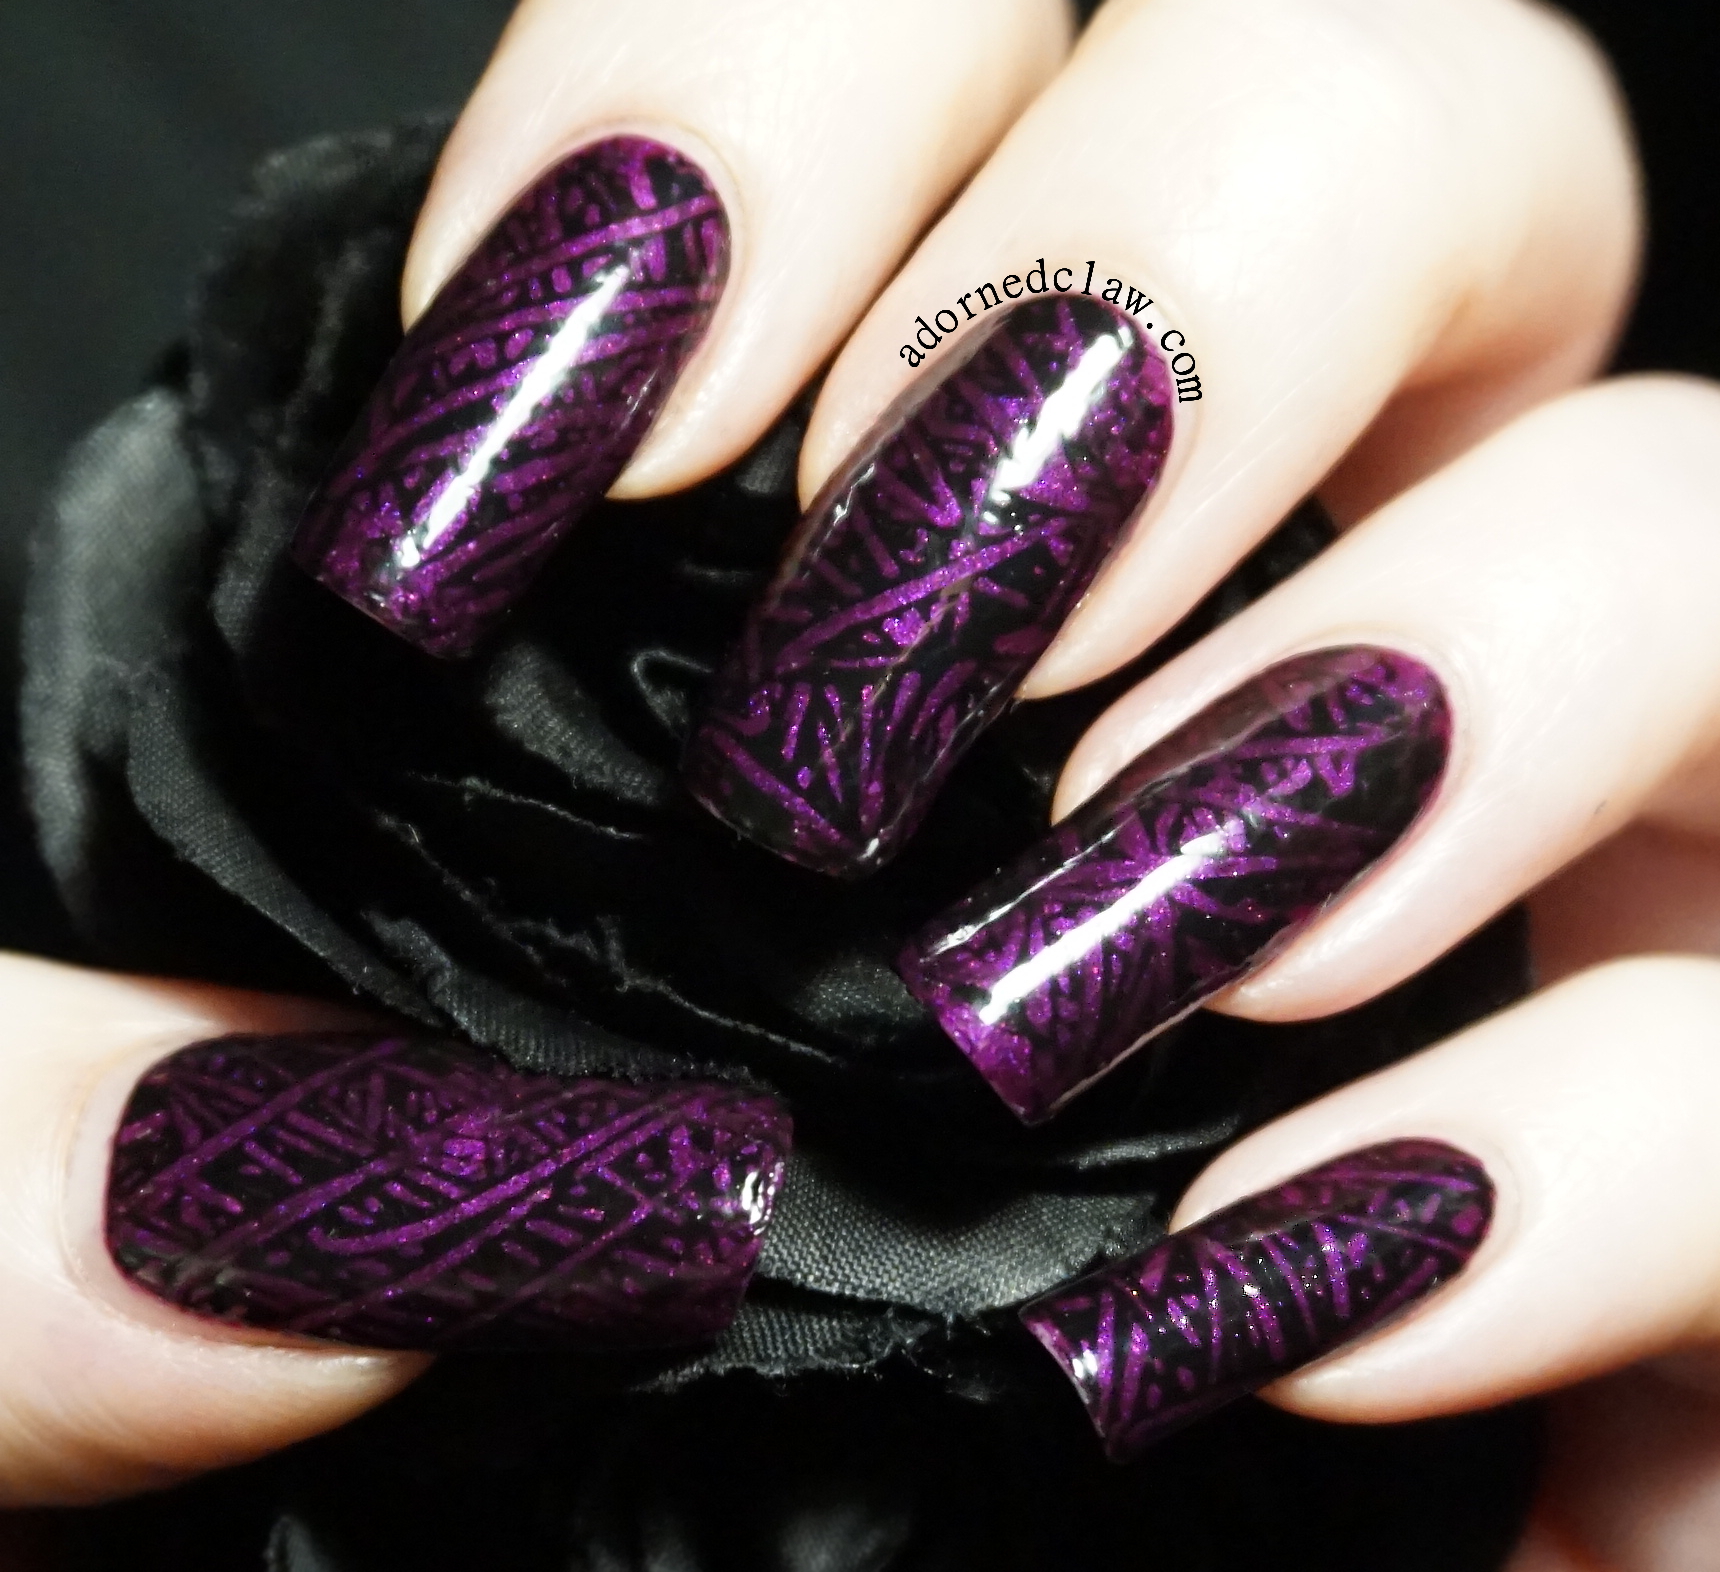
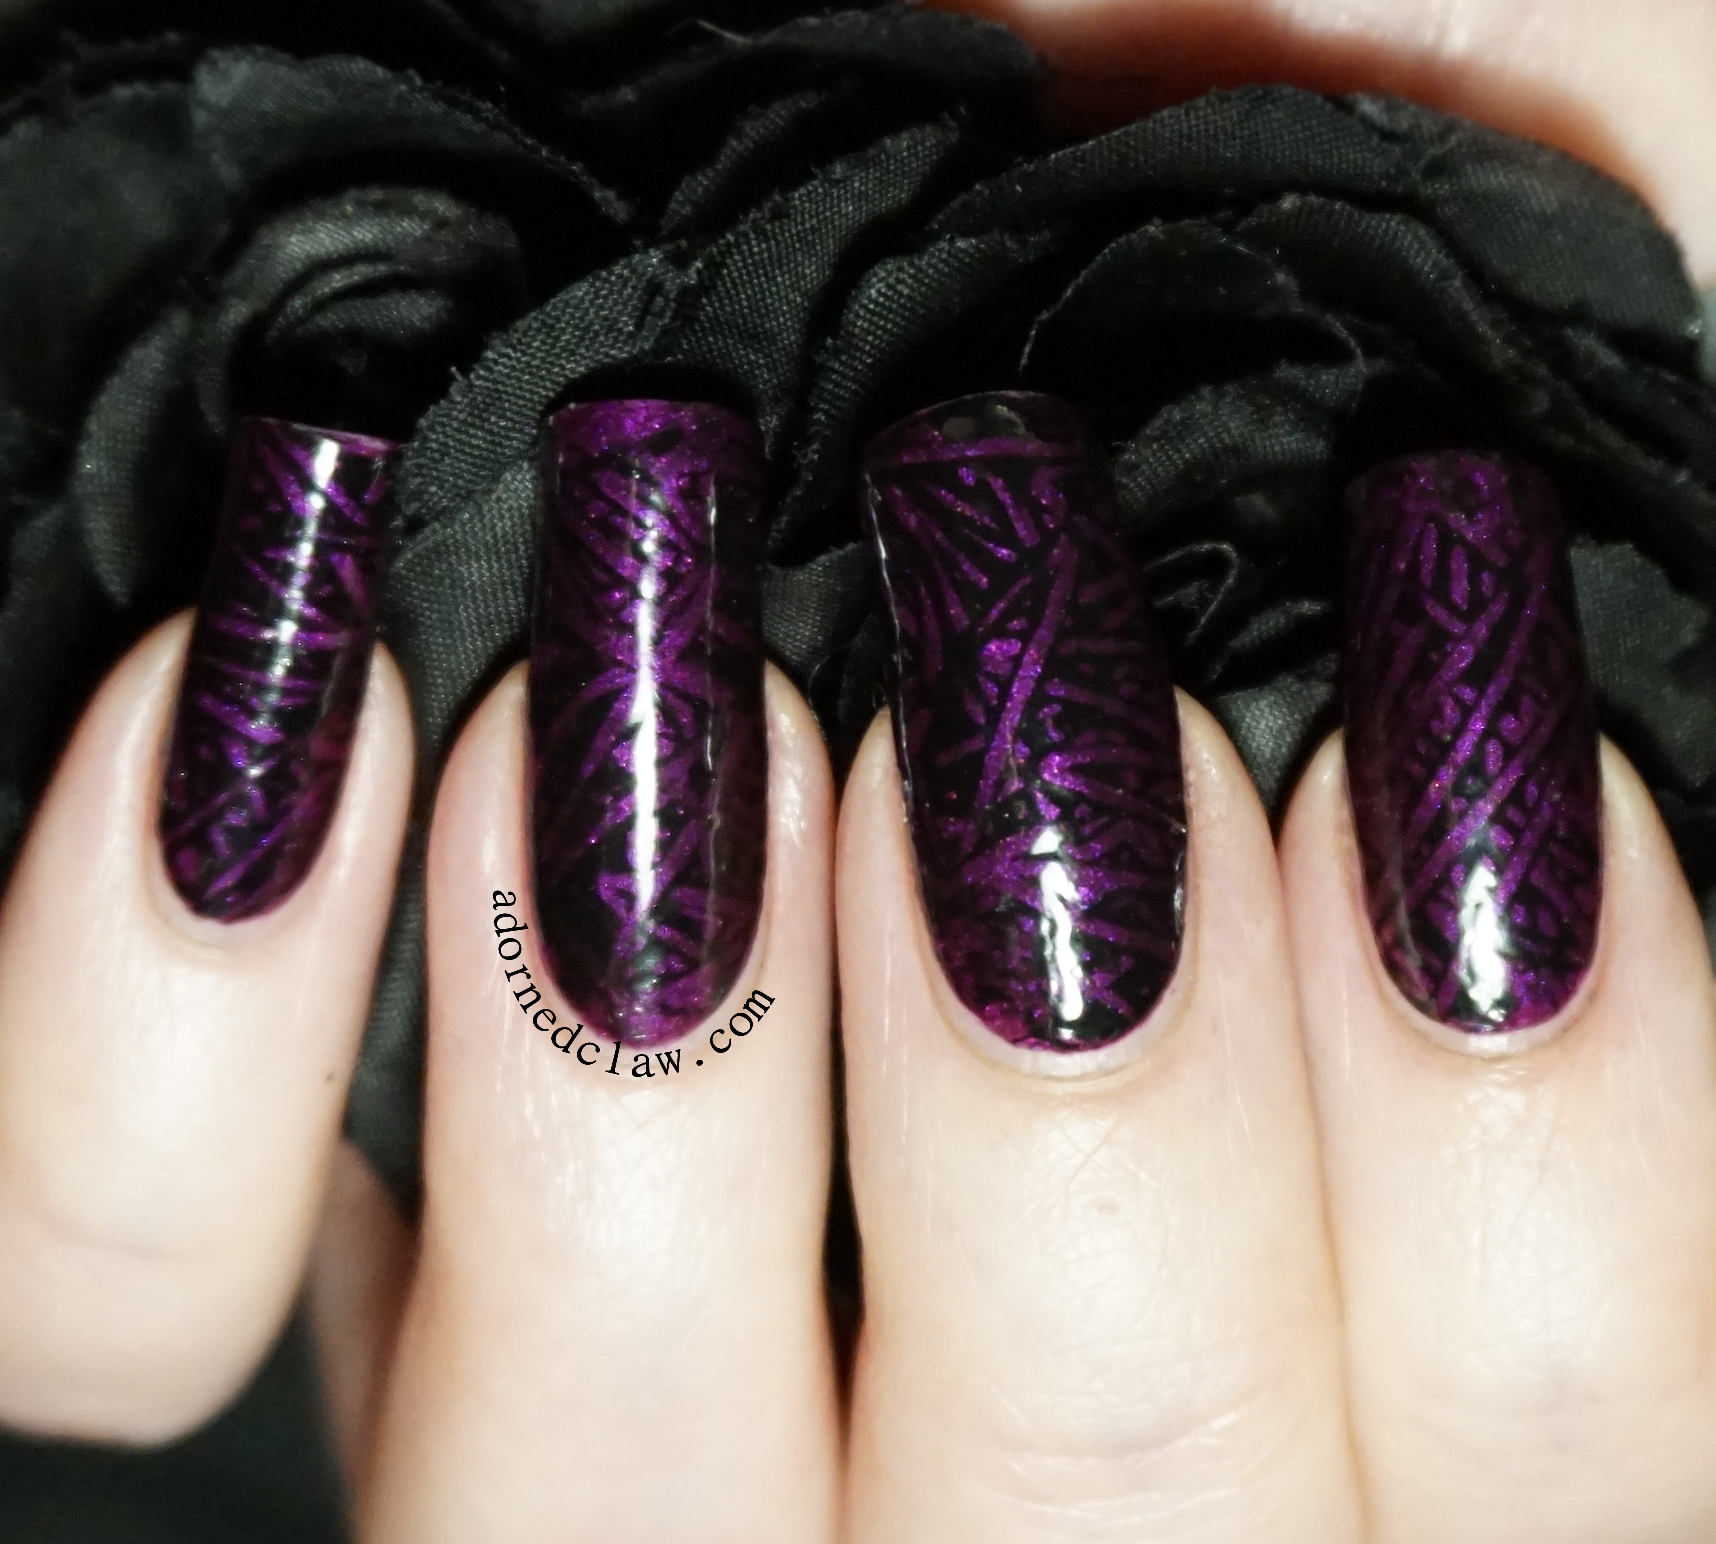
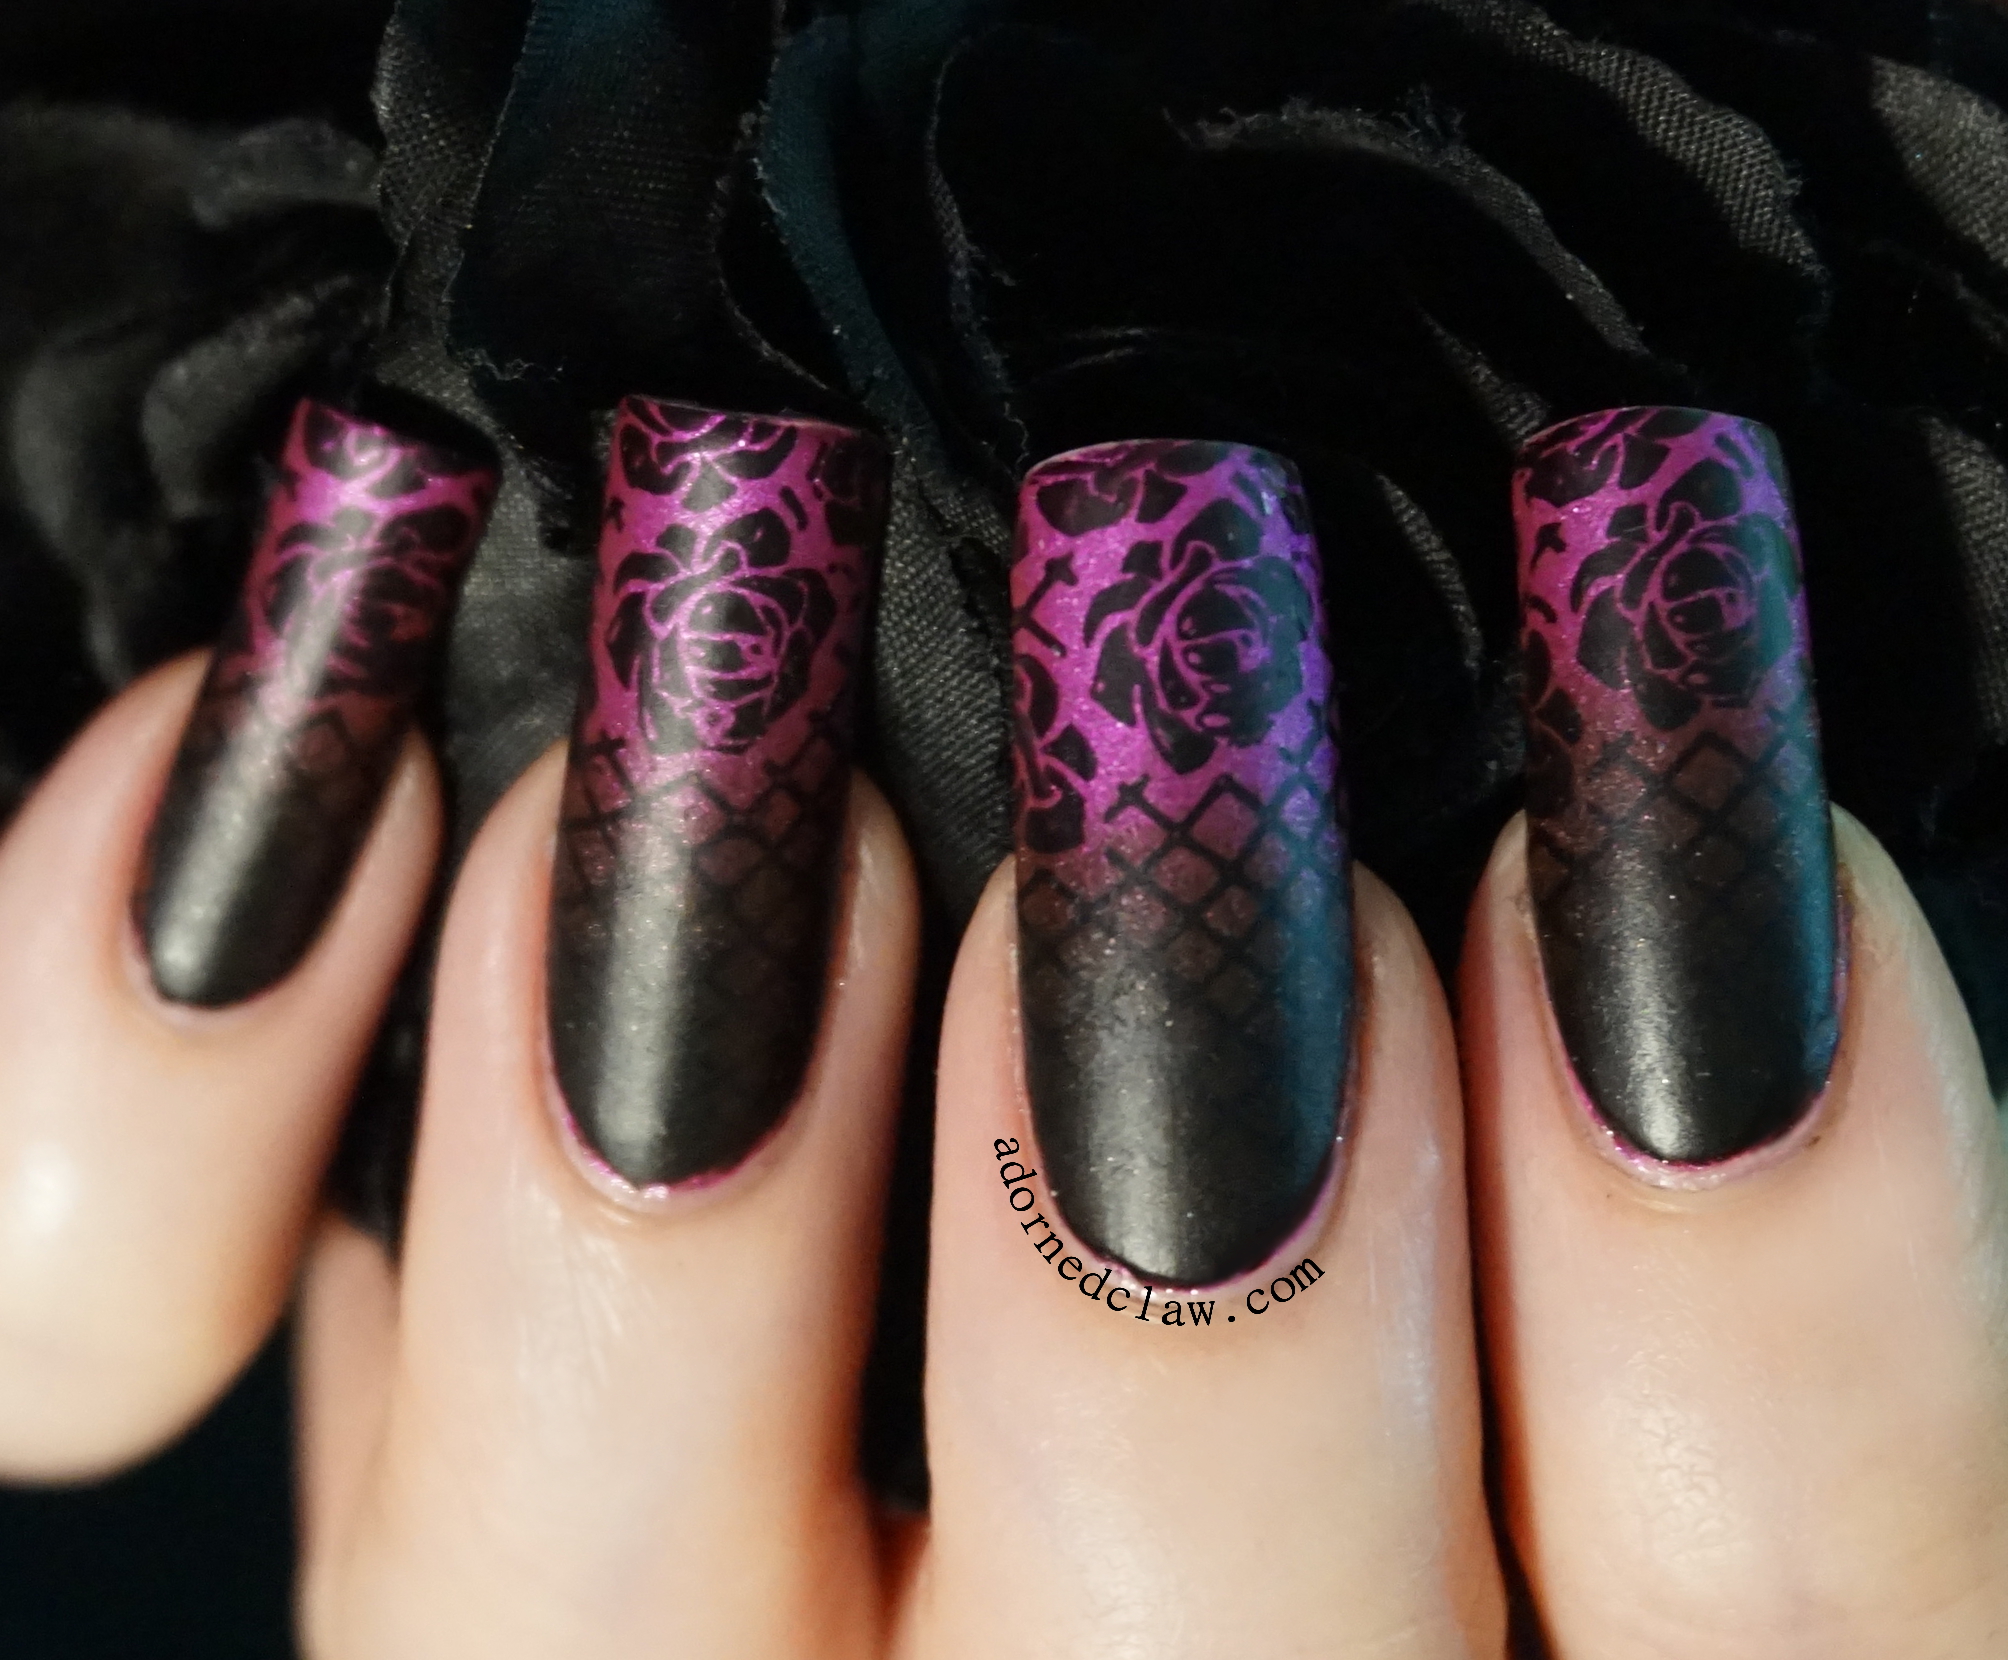
This mani has roses, that’s kind of springtime(ish) yeah?

Gothic Gradient Nail Art

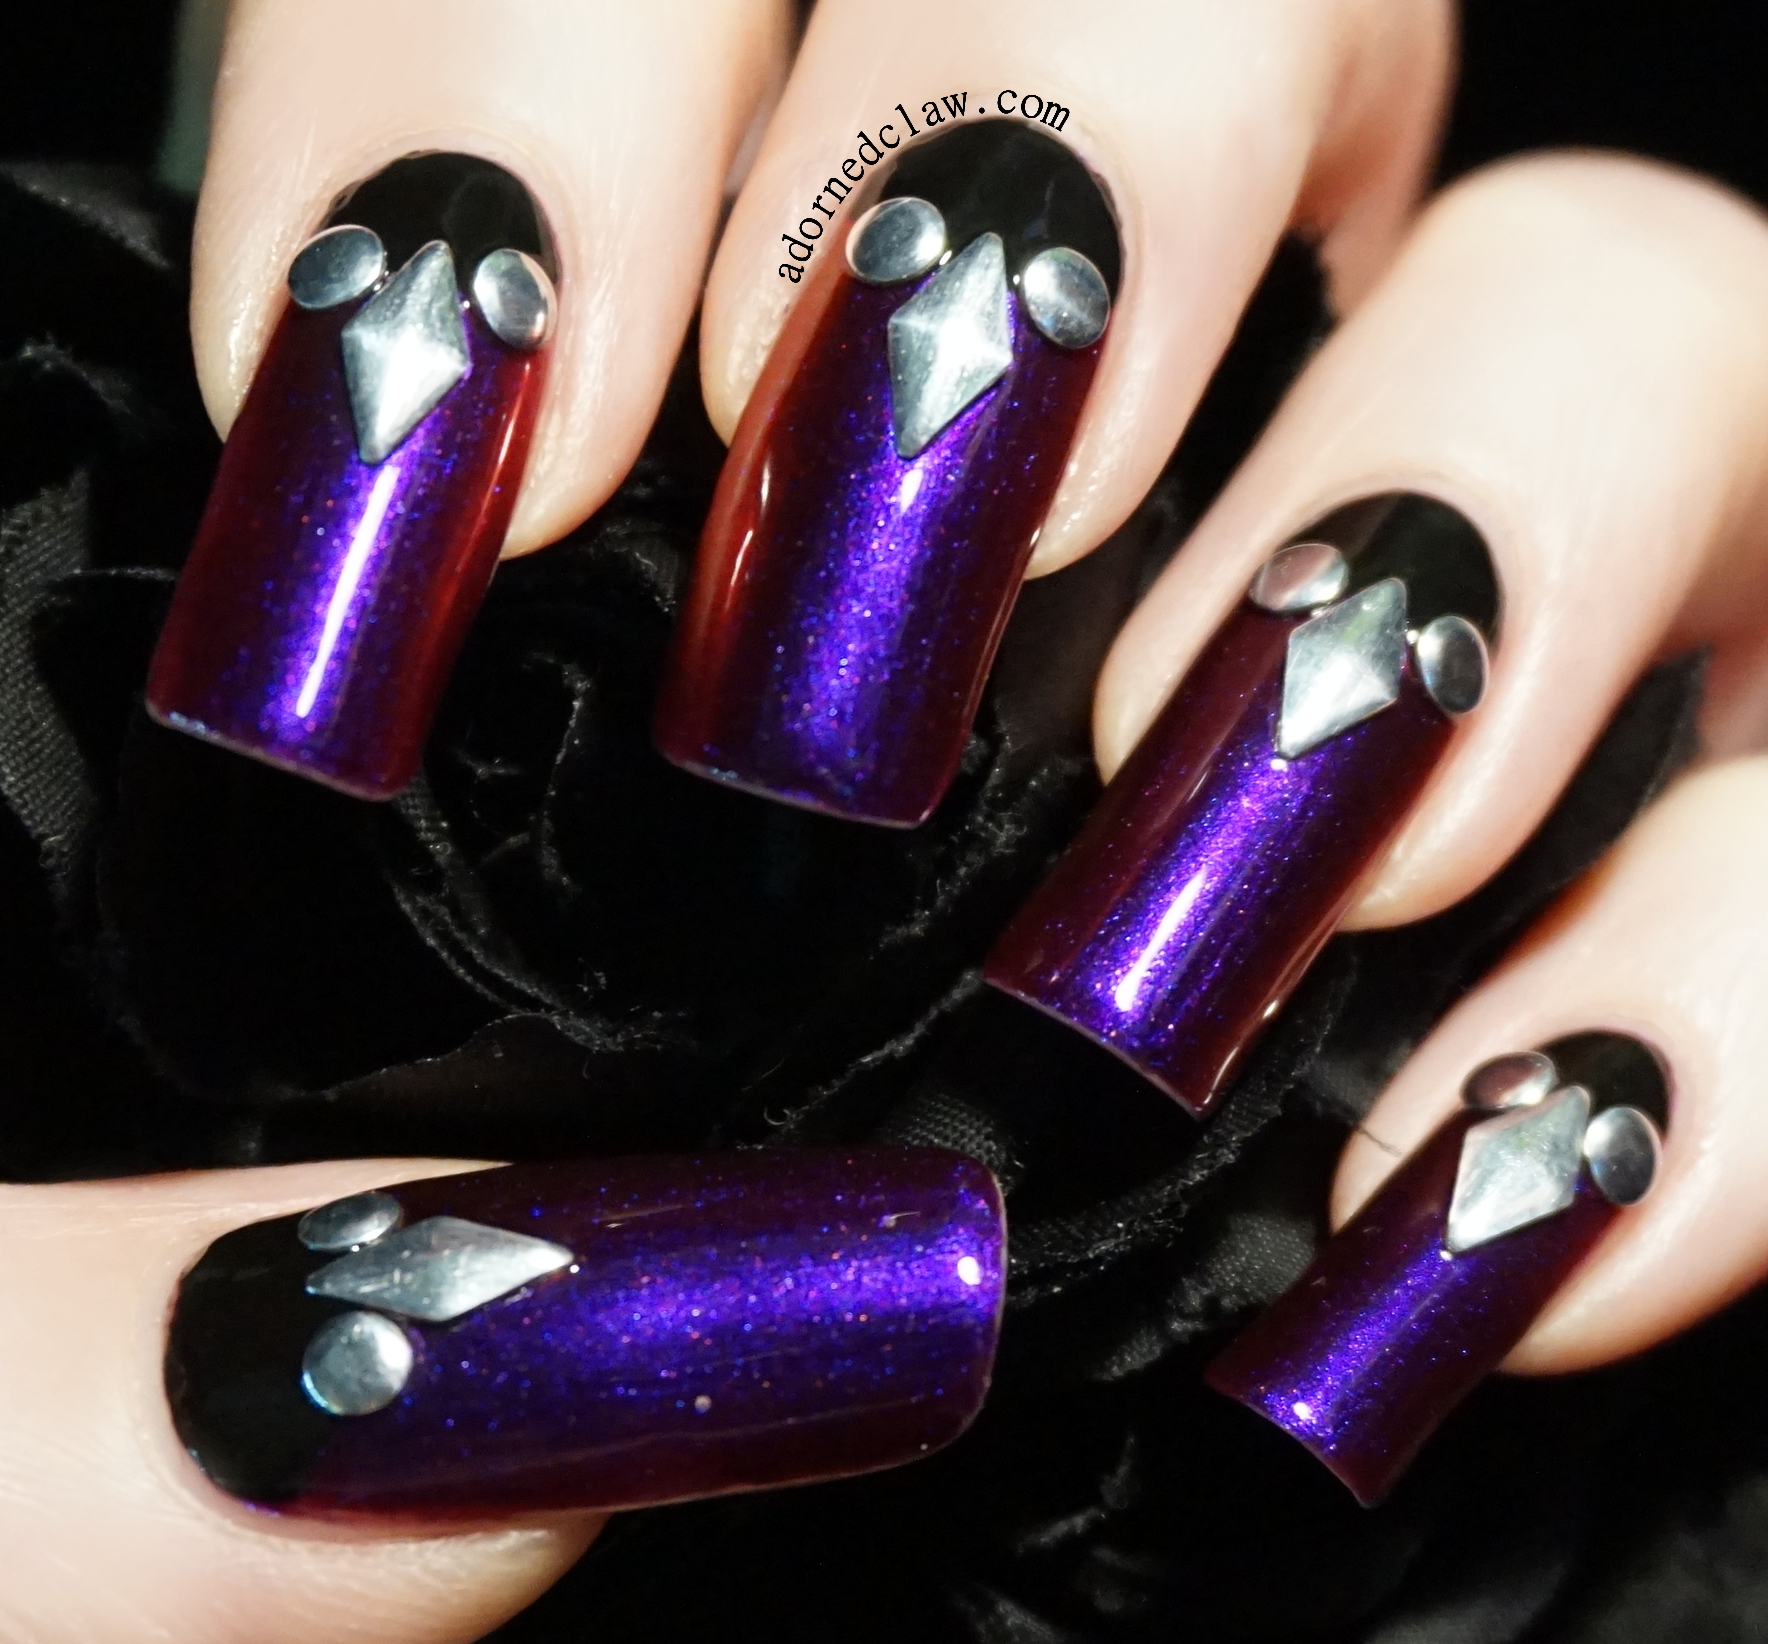
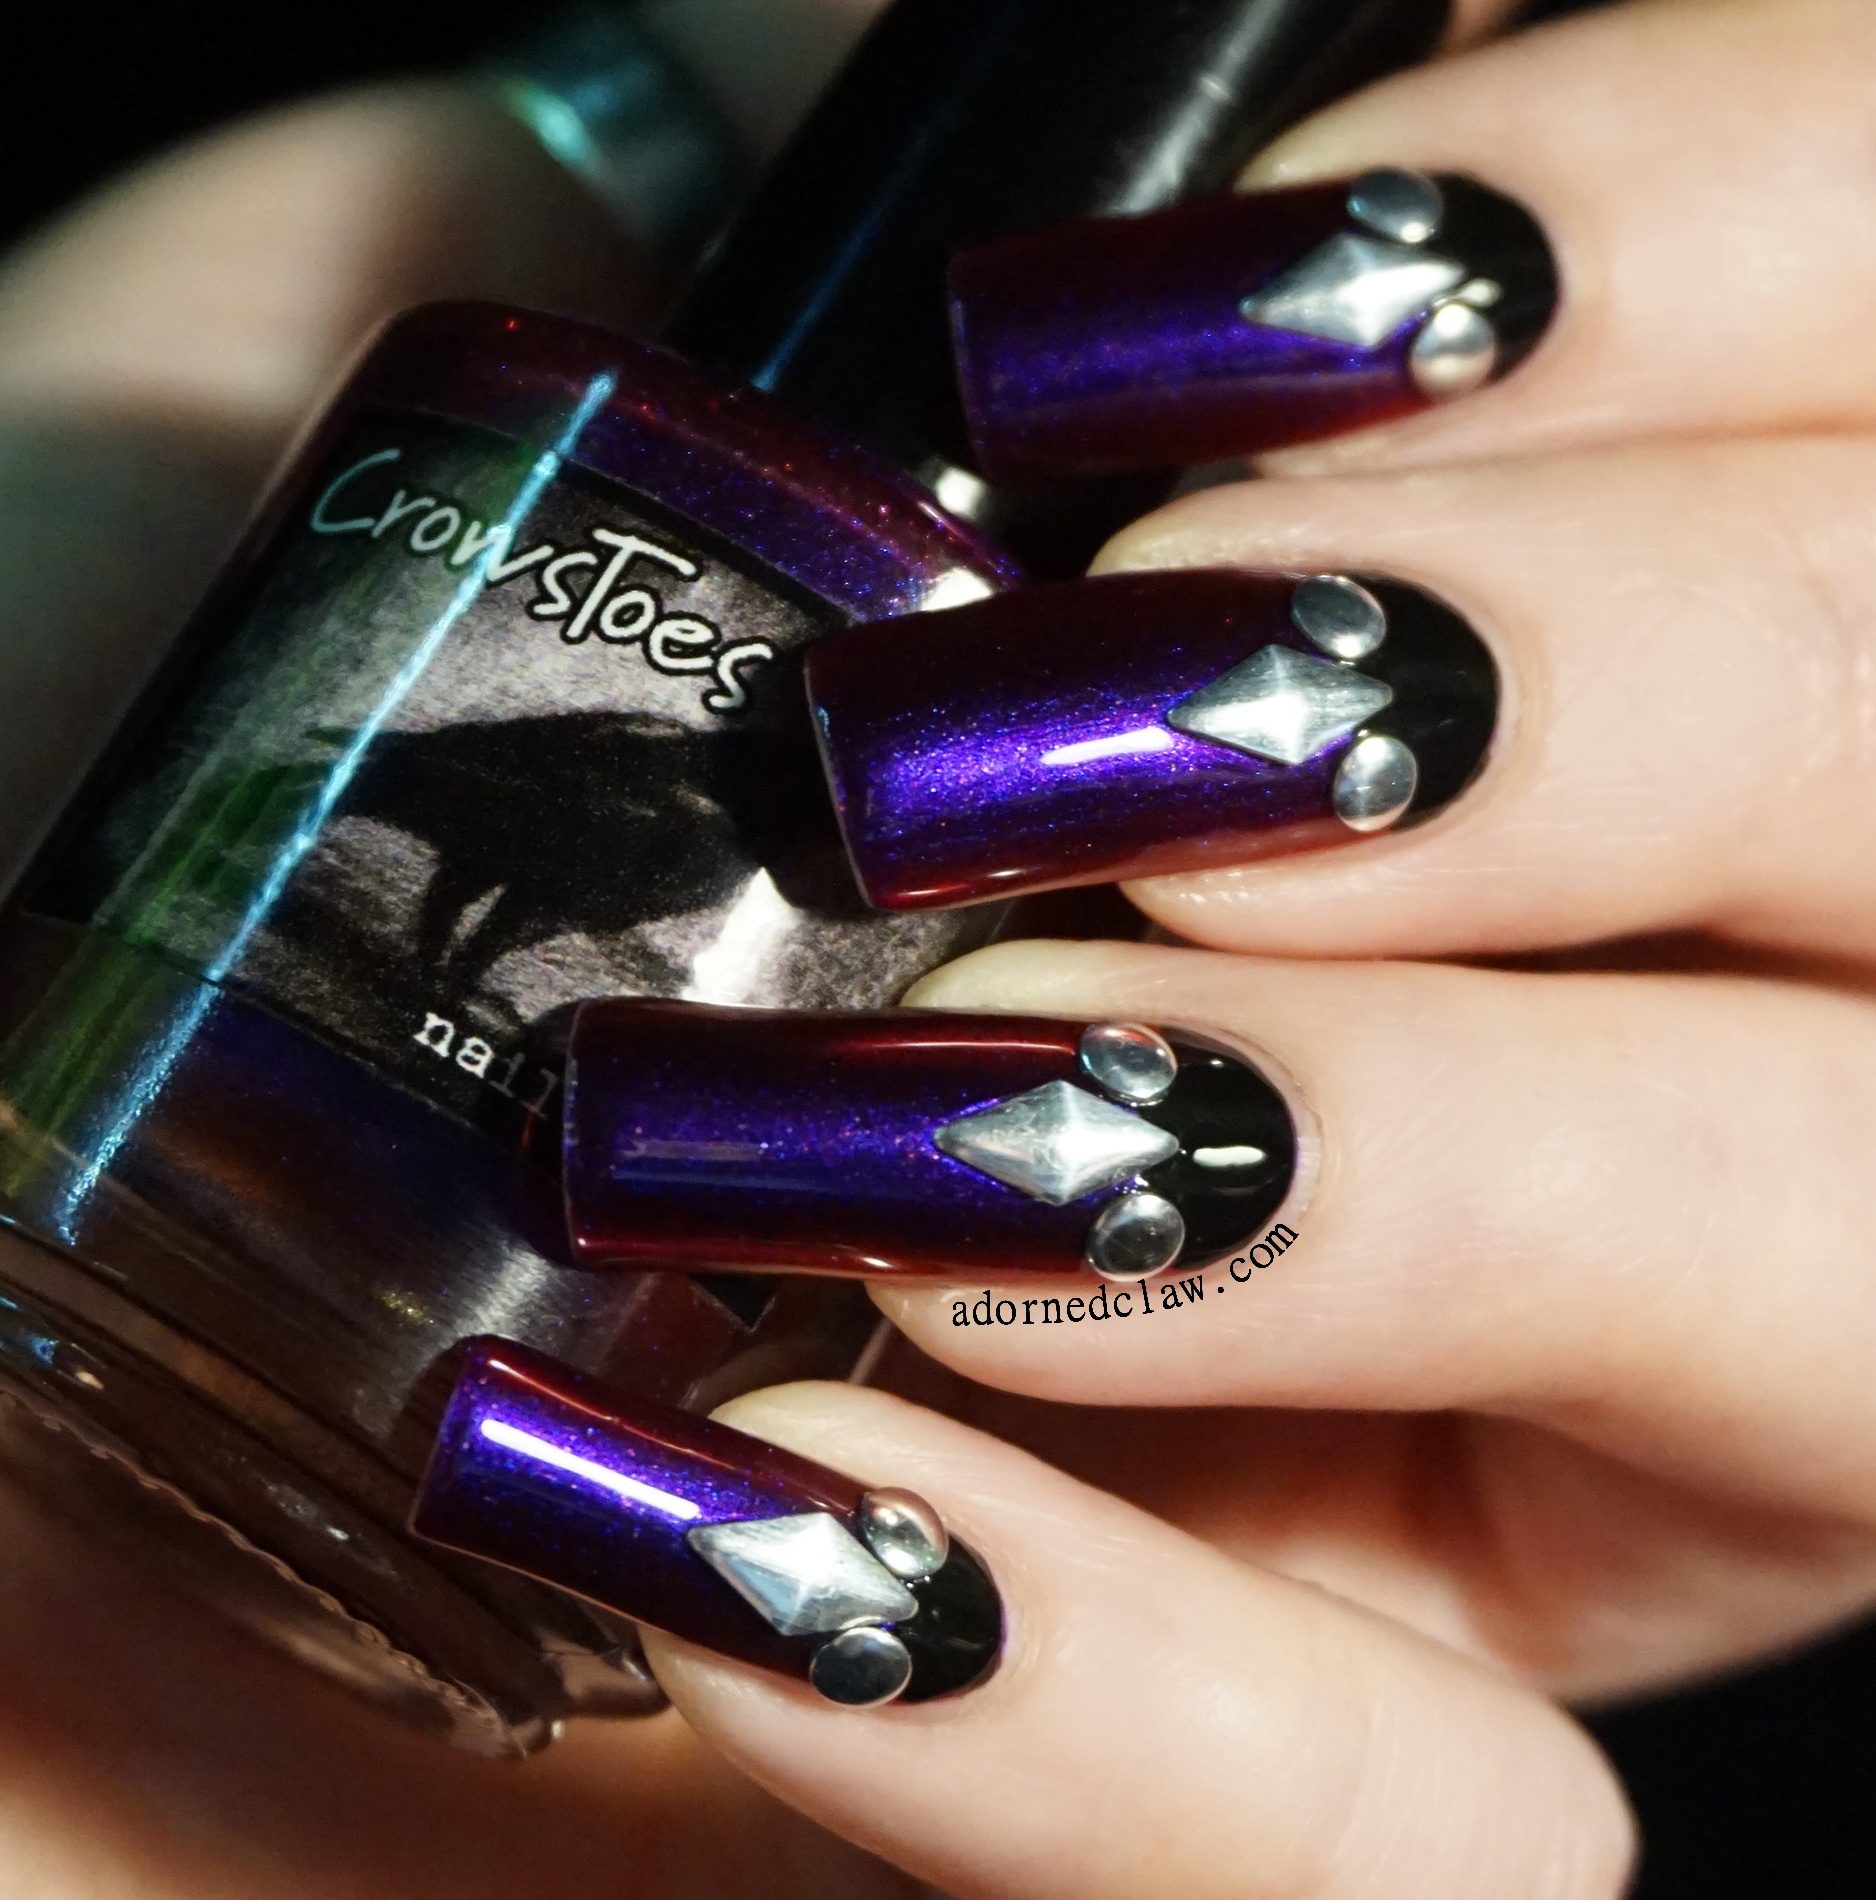
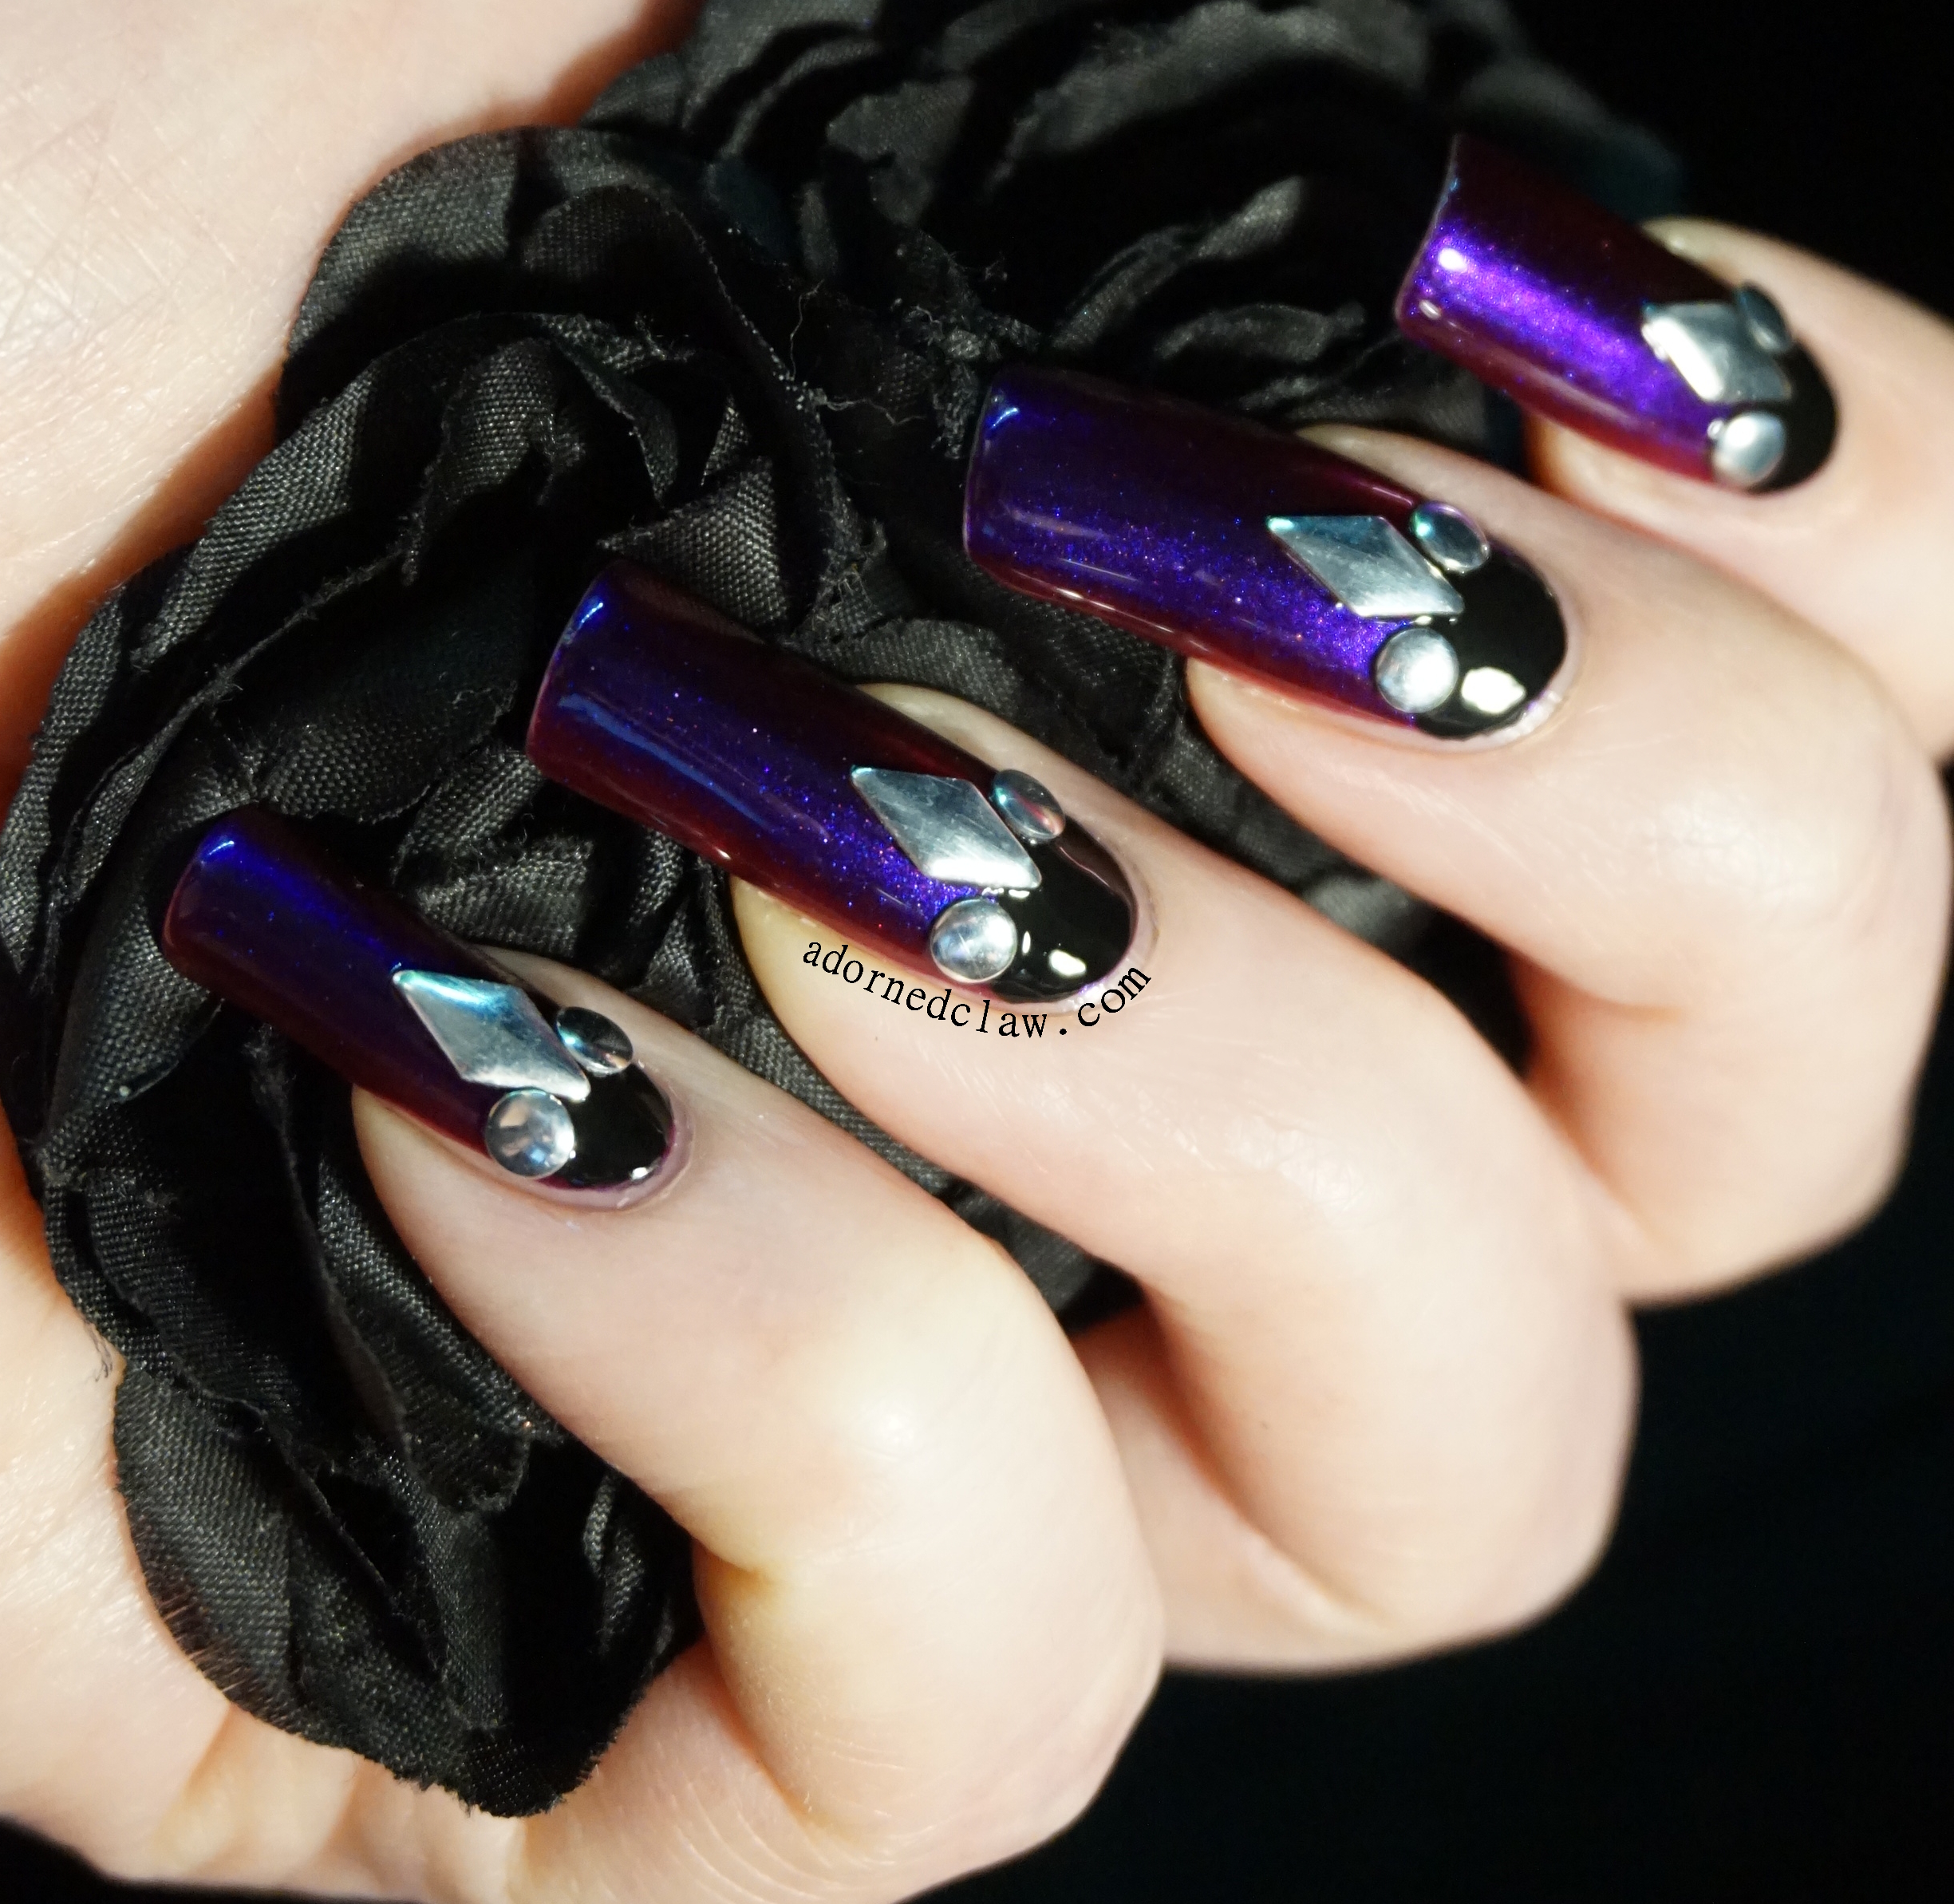
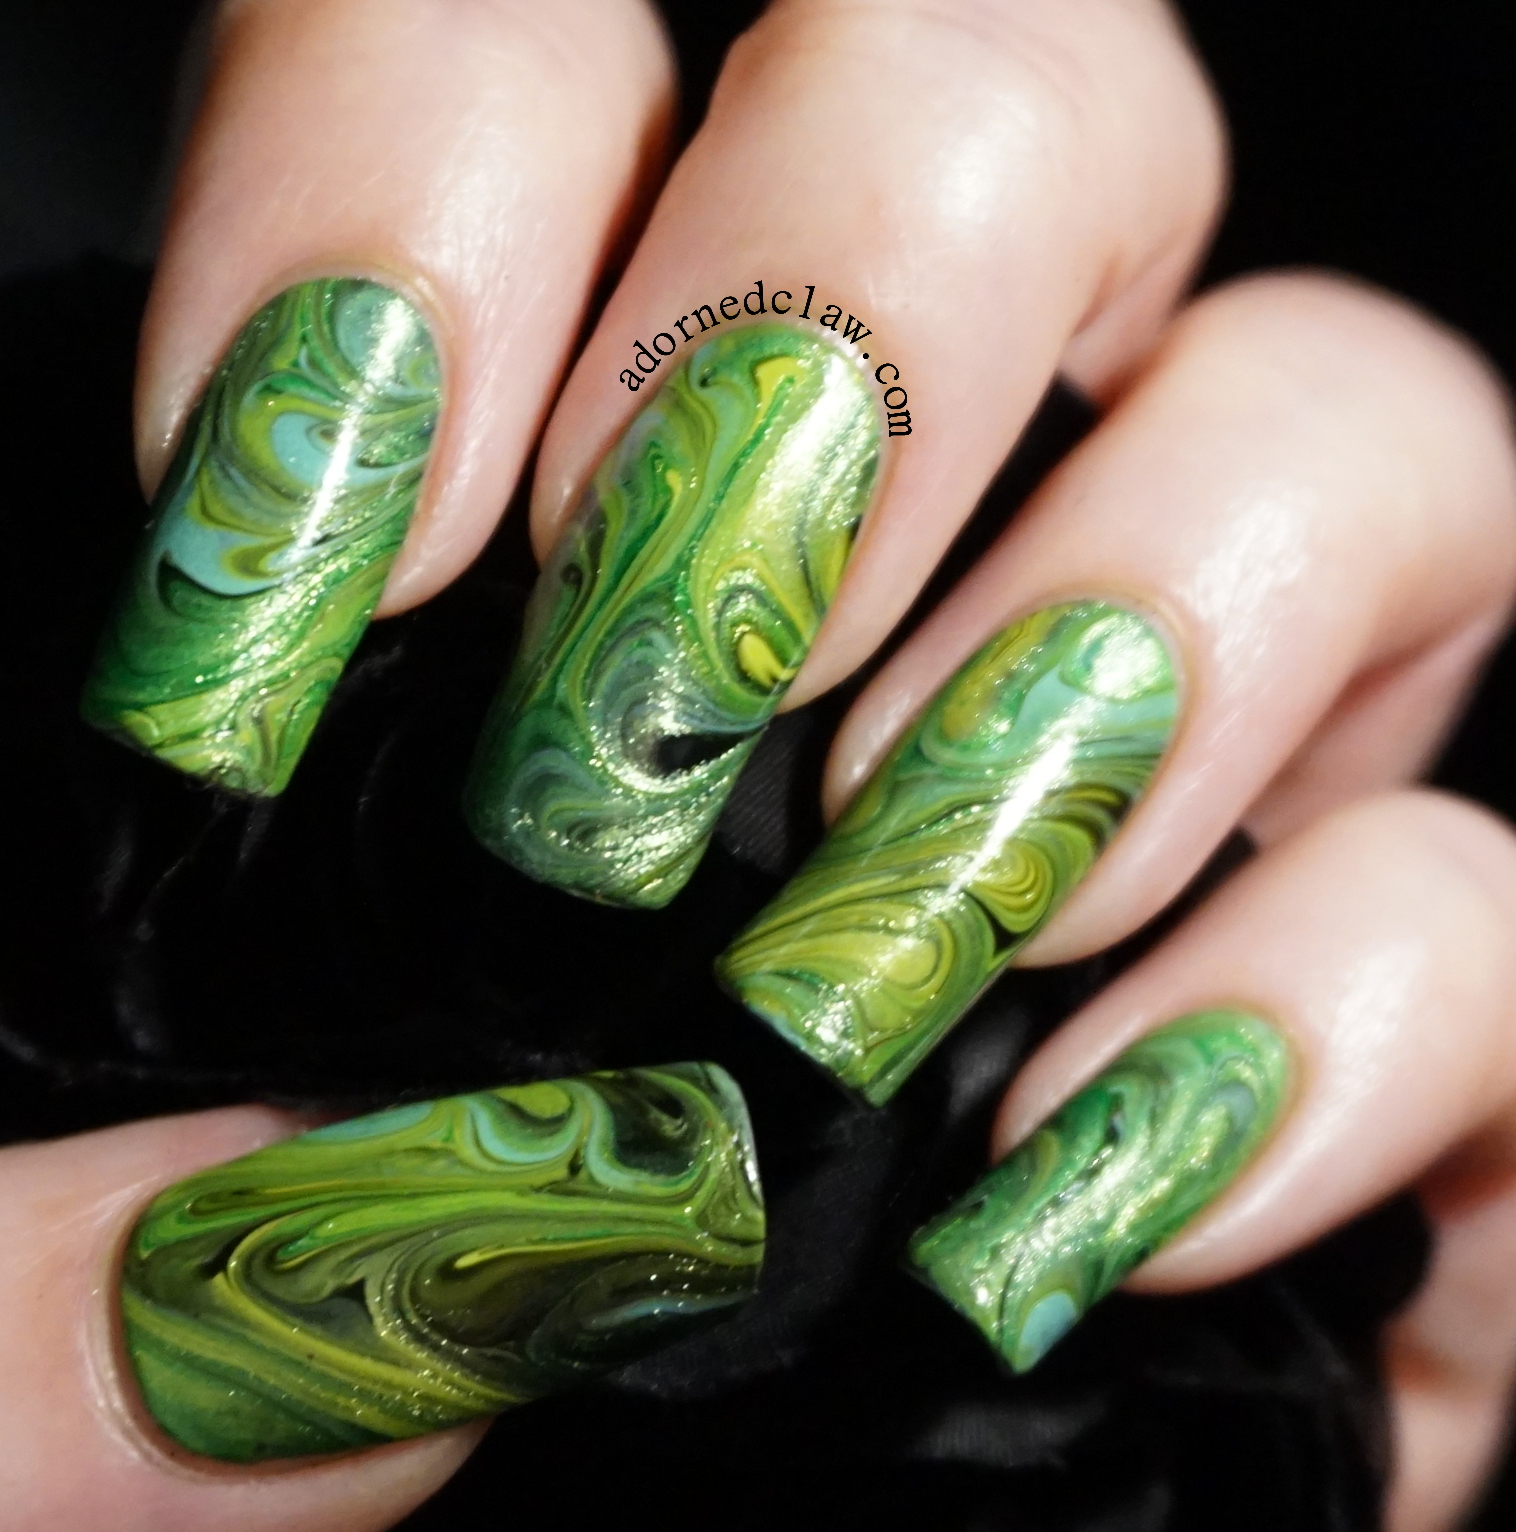
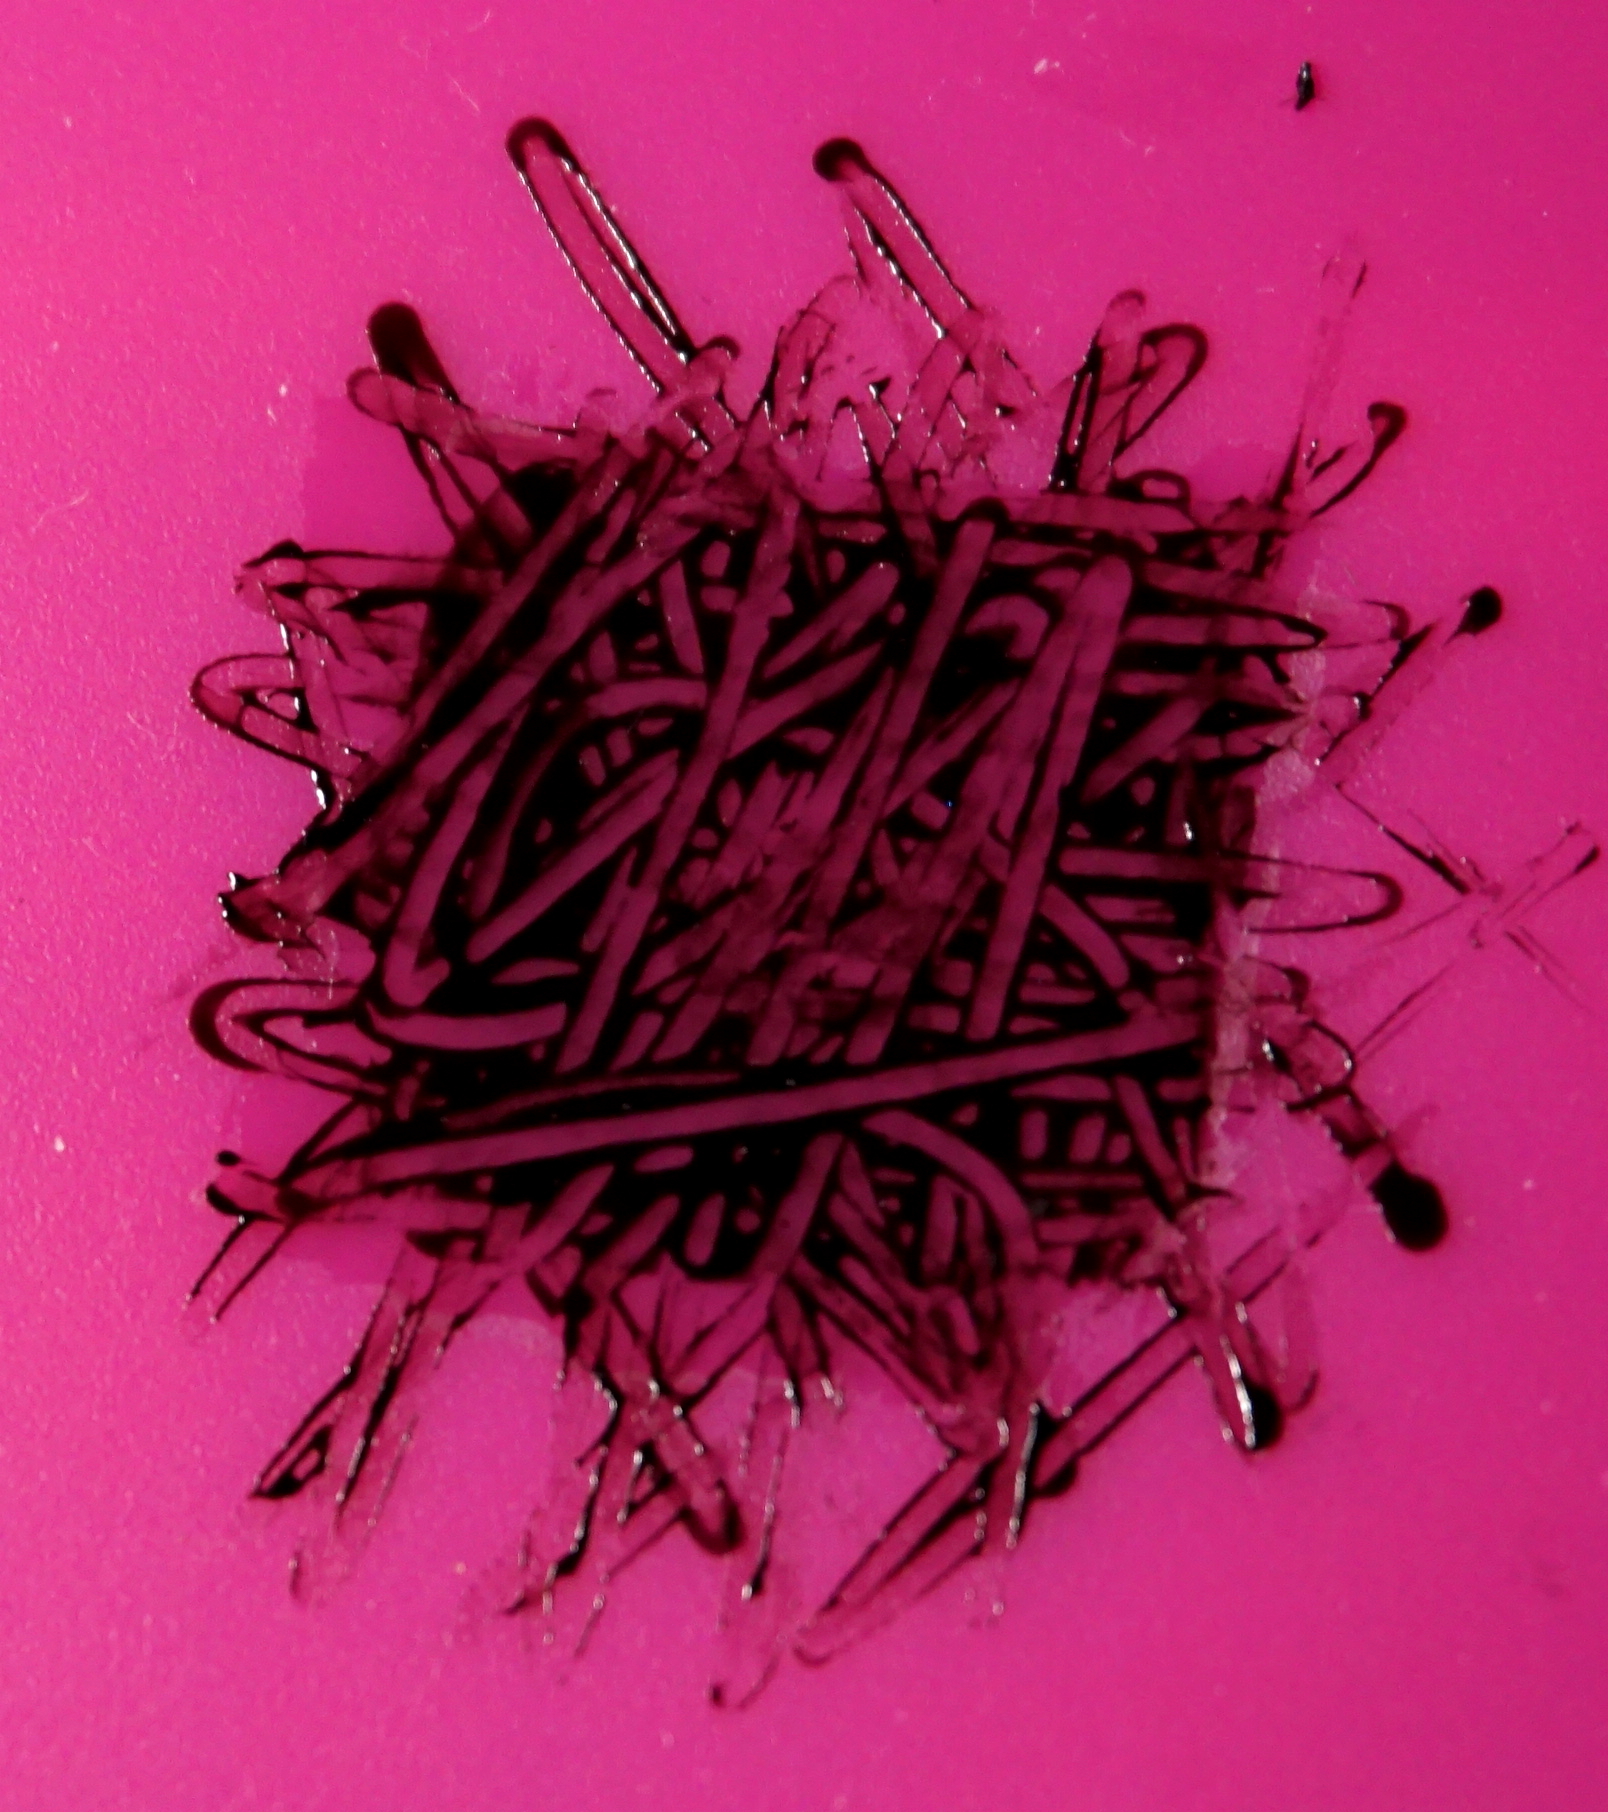
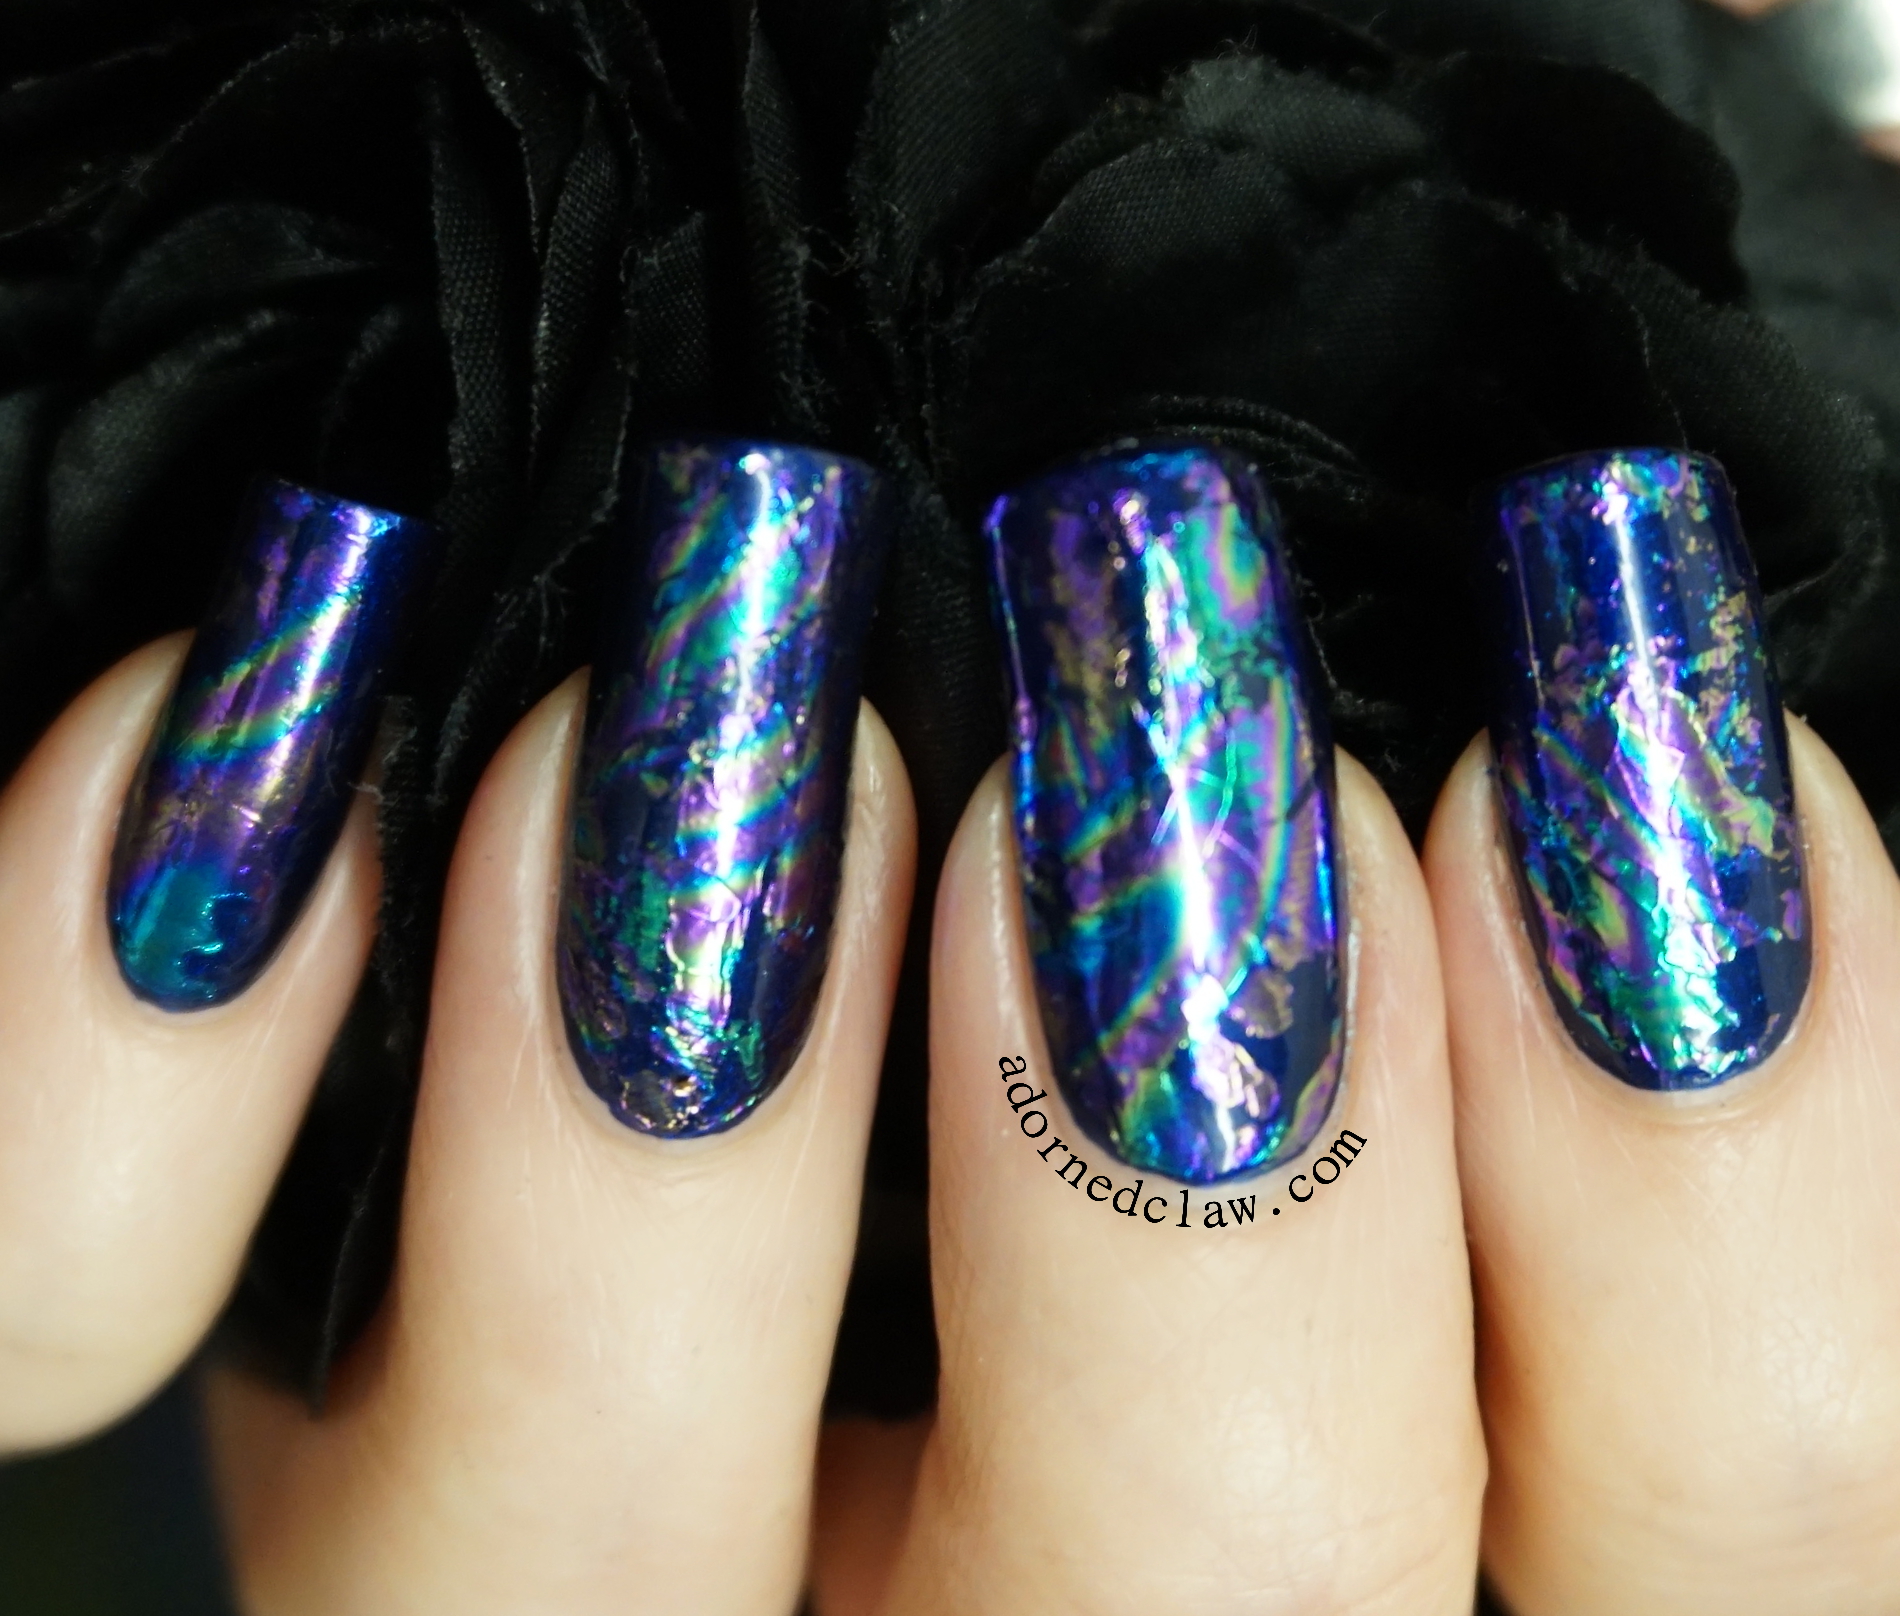
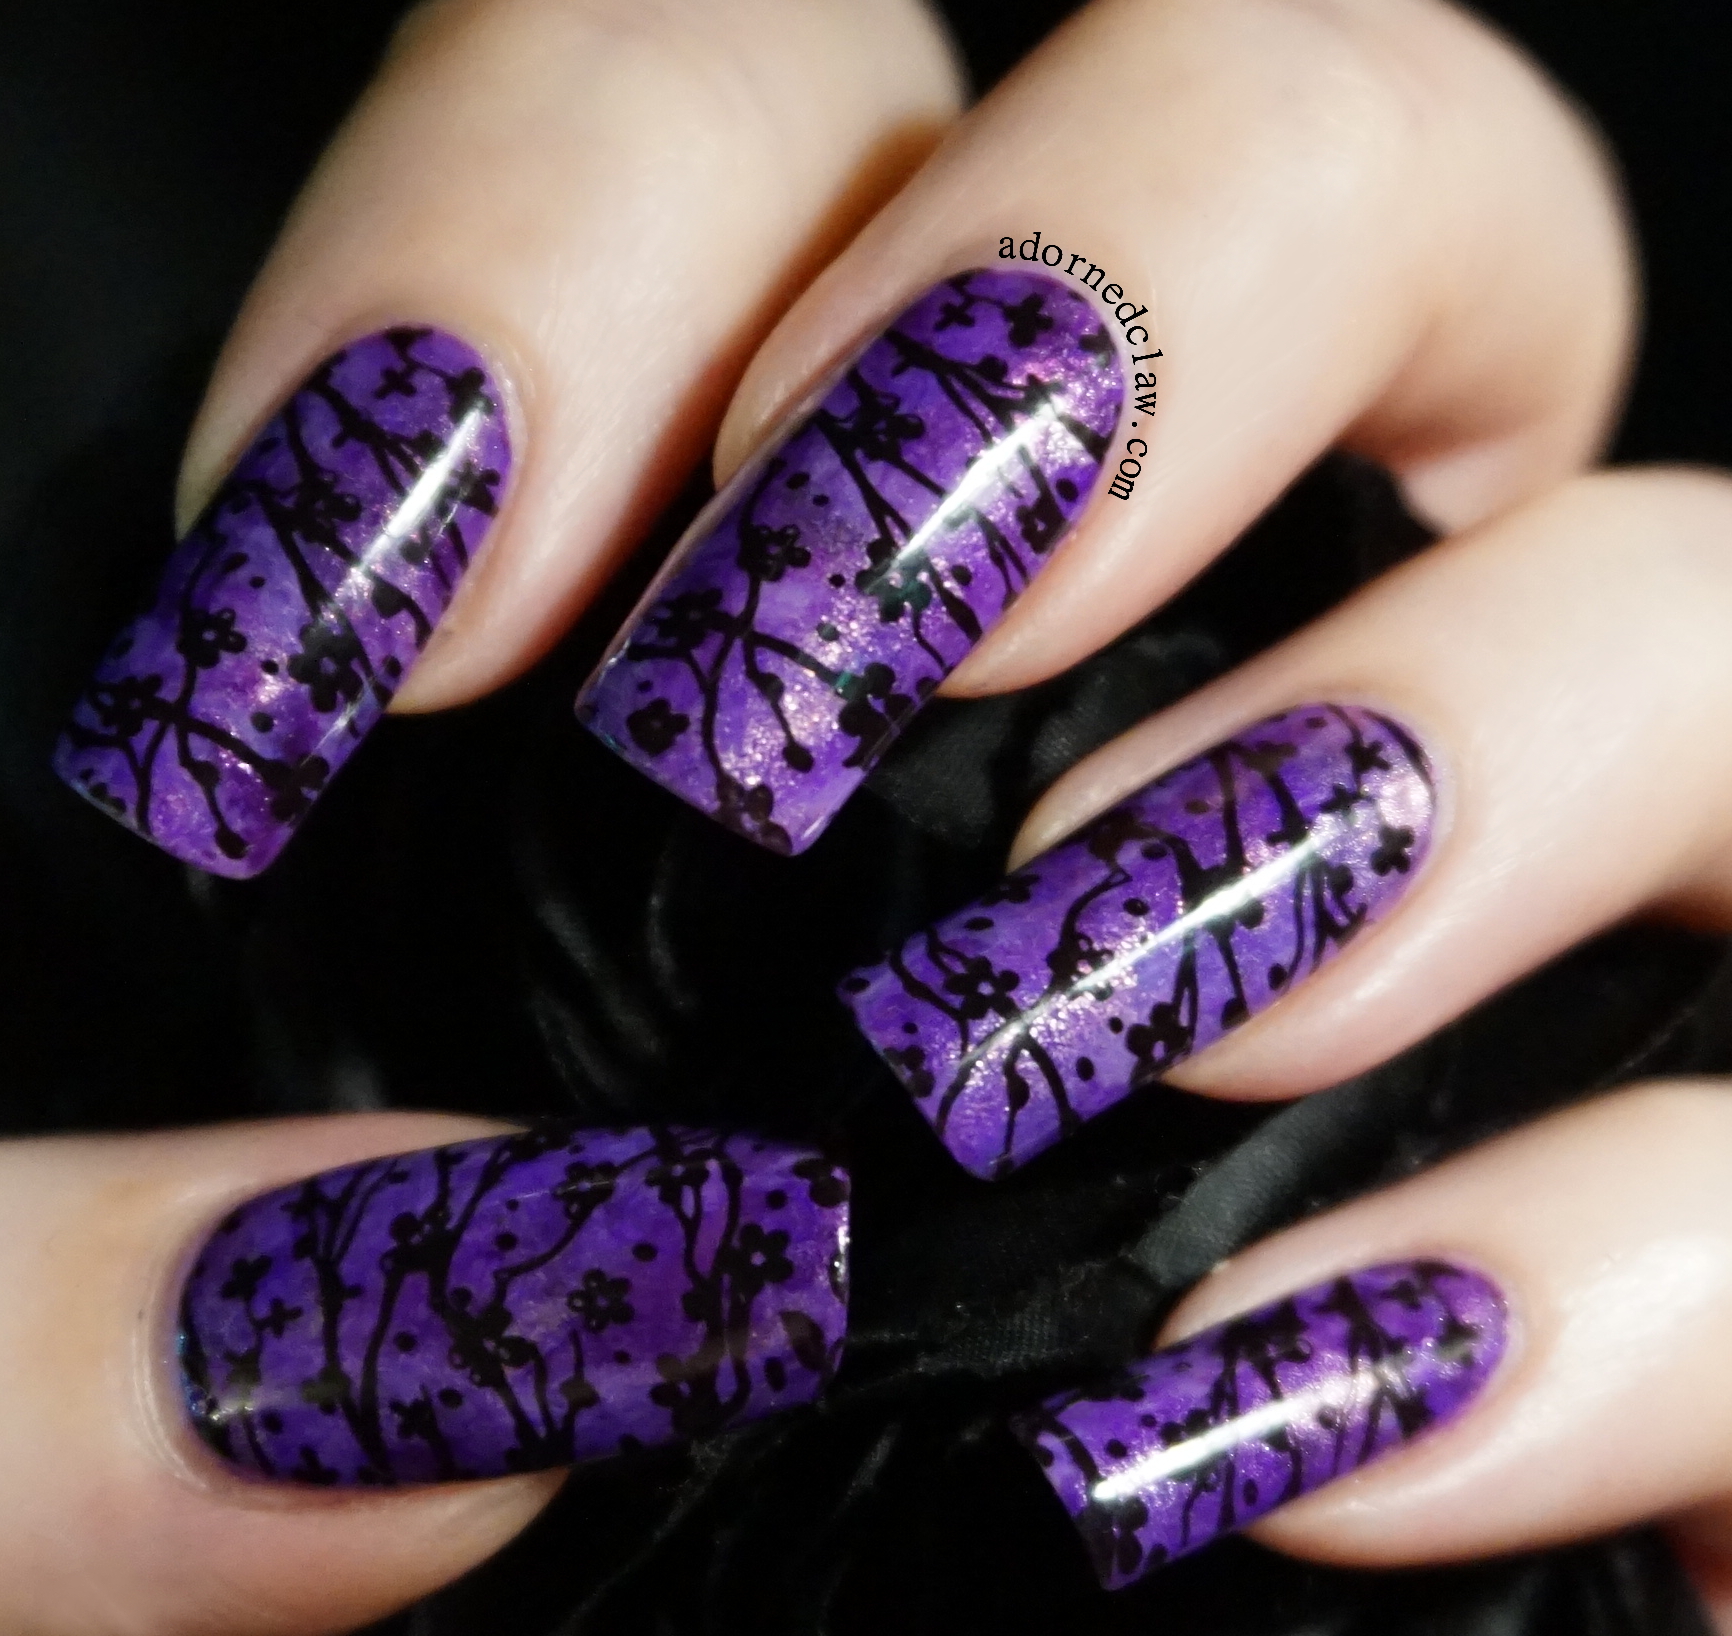
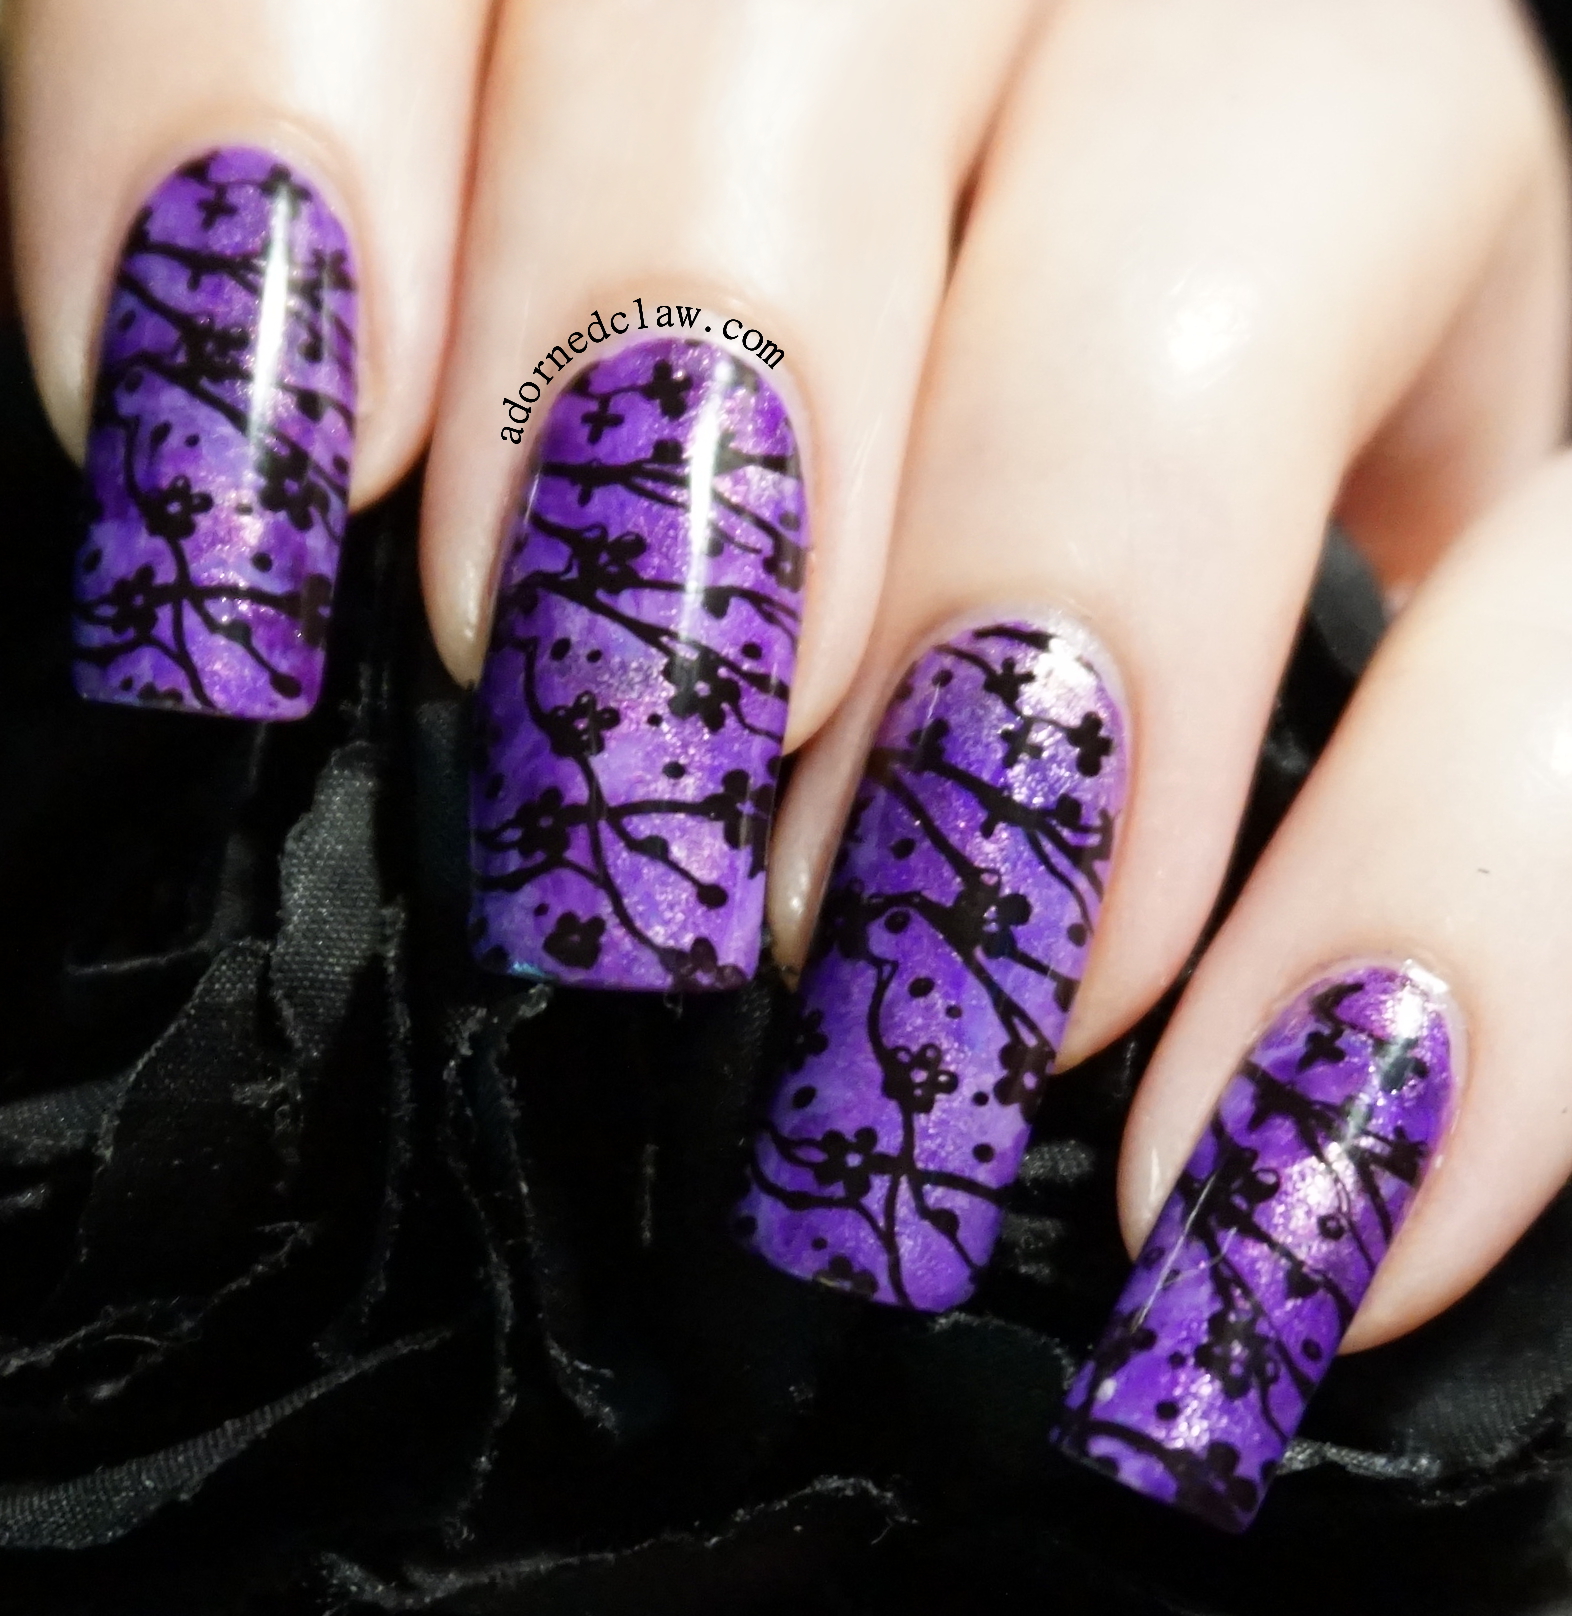
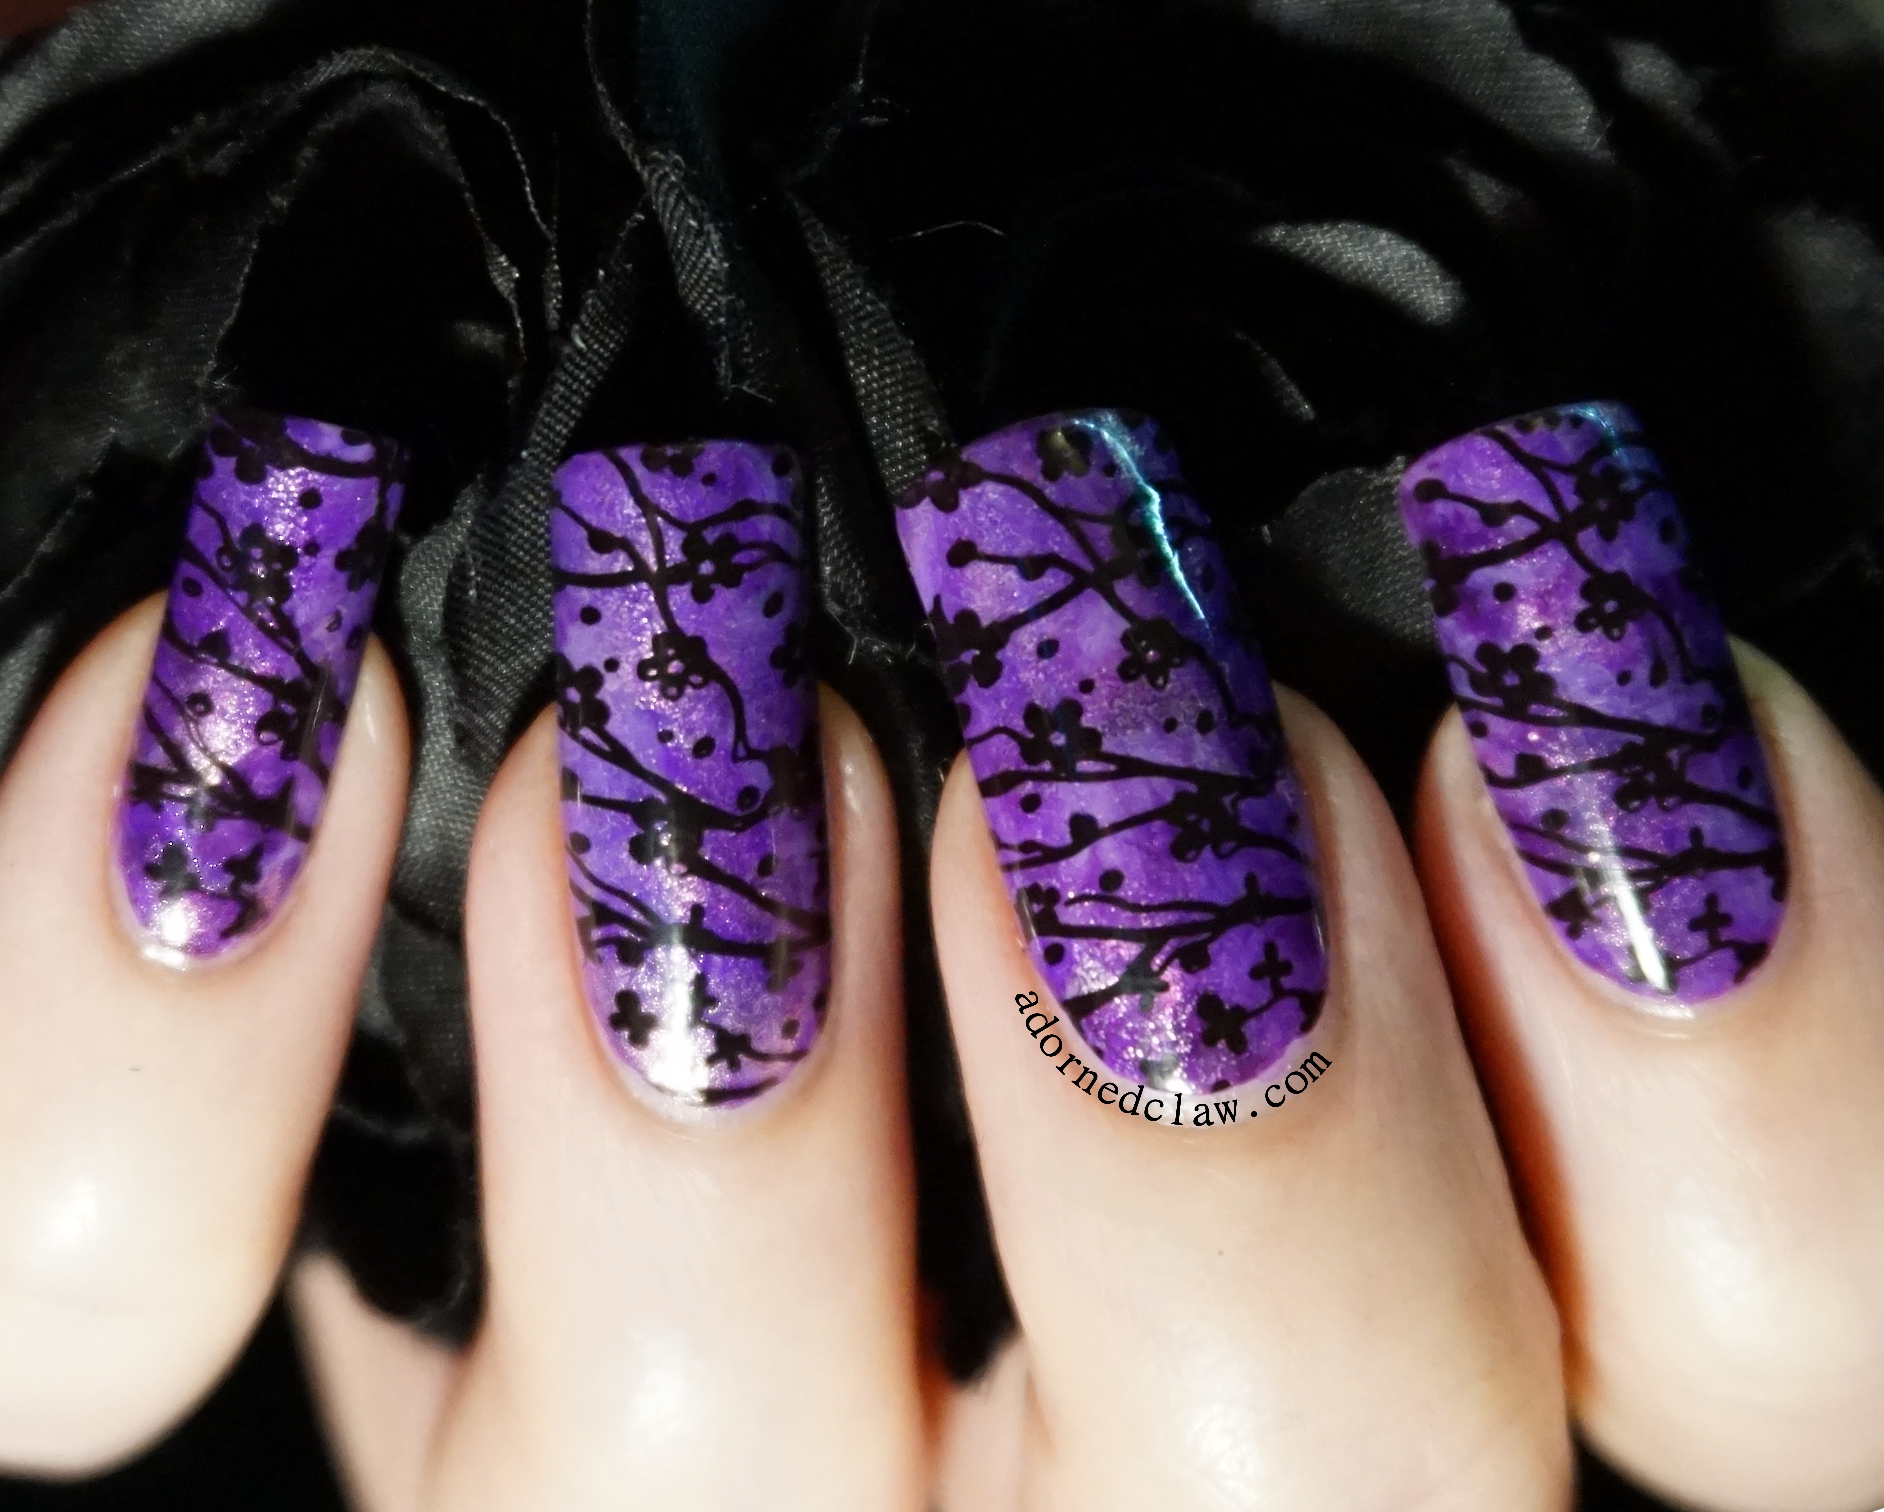
The gradient is Seance from Illamasqua, and Evil from NYC, the image is from Moyou stamping plate Gothic 03 and Hit The Bottle Black as Night.

I finished it off with a coat of Seche Vite then a layer of Illamasqua matte topcoat.

Gothic Gradient Nail Art

I realized earlier (while I was doing a spot of gardening) That my nails are to long! This is a bit gross but I could probably grow a decent sized potato from the amount of soil I had to clear out from under them! It’s also becoming increasingly challenging to pick up small things lol!

I almost chopped them all off earlier, but, I thought it would be fun to try some other nail shapes before I do! 😀


Indian Summer Half Moon Mani

Hello! 🙂

CrowsToes Indian Summer Nail Art

I have had the most horrible episode (for lack of a better word) of dare I say it, writers block. It’s honestly been horrendous :/ Every time I have tried to write it’s as though the words all fall out of my brain, it’s been like looking for black cats in a dark room!

After two weeks of trying to write I realized that I should just stop trying and getting myself all stressed out about it, and take a bit of a break. I think it worked!

CrowsToes Indian Summer Nail Art

So to celebrate my brain no longer being filled with pocket lint I have this delightful half moon mani to show you 🙂

I wanted a design that would complement the stunning Indian Summer without overwhelming it.

and yeah, in hindsight I think I did go a bit overboard with the nail studs 😀

CrowsToes Indian Summer Nail Art

Oh this polish is glorious! Just look at the shift in colour, it’s so pretty!

CrowsToes Indian Summer Nail Art

I’m so glad that I finally got myself a bottle of this wonderful polish!

CrowsToes Indian Summer Nail Art


Green Swirly Dry Marble Nail Art!

*Press Sample*

Hey! 🙂

Green Dry Marble Nail Art

The Lovely people from Born Pretty Store have sent me a marbling comb to play with!

After a few attempts to get it to work, this is what I came up with!

Green Dry Marble Nail Art

It’s so swirly and green! Perfect for Spring! 😀

dry marble nail art comb

This is the comb and you can find it right here Born Pretty Comb

By using the code RPG10 you can get 10% off non sale items in your cart! 😀

green nail art decal

The polishes I used for this are

  • China Glaze – Near Dark
  • Illamasqua – Radium
  • Revlon – Topaz
  • Sally Hansen – Grass Slipper
  • Illamasqua – Omen
  • Color Club – New Bohemian

I started out by using stripes of polish on my mat, but it really didn’t work well, the polish kept bunching up, I realized this was happening because I wasn’t being fast enough and I wasn’t using enough polish :/

So to get this to marble nicely I had to use a huge amount of polish! The bottle of Near Dark was practically full when I started!

Instead of painting stripes I painted A big rectangle of the darkest polish then dripped the other colours onto it, and then used the comb to make the swirly patterns!

green nail art decal

This took such a long time to dry! Around 8 hours!

green nail art decal

Then all I had to do was to carefully remove it from my mat, which was slightly more challenging than I was expecting, I think that because the edges where so jagged and uneven thickness it kept tearing :/

But because the decal was so huge I had more than enough to cut to size!

green nail art decal

I don’t know if I’ll be using the comb often just because of the amount of polish I had to use to get it to work, But when I had figured out how to get great results from it, the comb really is a product that’s really fun to use!

green nail art decal


Scribbled Nails!

Hey! 🙂

scribble nail art

Today I have another new to me technique to share with you all 🙂

scribble nail art

This really was incredibly easy to do! I started by painting a square of polish (on my lovely pink silicone baking sheet) then scribbling over it with my smallest dotting tool, you could probably use a toothpick or folded hair slide and get the same effect.

When it had dried I added a layer of topcoat to make the decal!

scribble nail art

The polish I used as the base for this nail art look is Barry M – Orchid, and for the scribbled decals I used NYC – Evil and Seche Vite.

scribble nail art

I came across this technique from catching a few seconds of a nail art compilation video I saw in a facebook group, I don’t know if the post was removed as when I went back to look I couldn’t find it again :/

So if by any chance you know who came up with this please let me know so I can properly give them credit! 😀


Born Pretty Nail Foil and Glue!

*Press Sample*

Hallo!

Born Pretty Nail Foil and Glue Review

I have finally recovered from another fit of the ills! Yay!

So here are a couple of products from Born Pretty Store that have been kindly sent to me for review!

Born Pretty Nail Foil and Glue Review

The Foils are available here for this review I am using pattern number 165. And the glue is available here.

If you use the code RPG10 over at Born Pretty Store you’ll get 10% off all non sale items! 😀

Born Pretty Nail Foil and Glue Review

Look at those colours! It’s so pretty!

This is the first time I have ever tried using nail foils and I’m hoping that with some practice I’ll get better at applying them!

The glue was a bit of a challenge, it kept pooling up and not drying evenly, after applying it, re applying it, swearing, sticking my fingers together then swearing some more, I came to the conclusion that the glue needed something to adhere to. I found Matte topcoat worked surprisingly well!

I also found that I needed to leave the glue a little longer than it suggested on the bottle, it was closer to 1.30/2 minutes rather than the suggested 30 seconds to one minute, I think the humidity and temperature had a lot to do with it.

Born Pretty Nail Foil and Glue Review

I was really surprised about how much of the nail foil you get in the little plastic pot, I don’t think I’ll be running out any time soon. 🙂

Something I do feel like I have to mention is that the foil (number 165) is not holographic, it’s iridescent!

Born Pretty Nail Foil and Glue Review

I applied the matte topcoat, glue and foil starting with my little finger, (which was pretty much perfect) as I worked towards my thumb it got more and more patchy, I really don’t know why, I was doing exactly the same thing on each nail!

Born Pretty Nail Foil and Glue Review

The base colour I used for this mani is the lovely dark blue Queen Of Scots from A England, and the topcoat is Nails Inc 2 in 1.

Born Pretty Nail Foil and Glue Review

I’m definitely going to practice with this nail foil a bit more! 🙂


Smooshed Blossom!

Hey! 🙂

Purple Smoosh Stamped Blossom Nail Art

I hope you are having a lovely start to your week! 🙂

I decided to start this week off with some pretty blossom nail art!

Purple Smoosh Stamped Blossom Nail Art

The background is a Smoosh of

  • Rimmel – Ultra violet
  • Color Club – Foil Me Once
  • Illamasqua – Prosperity
  • O.P.I – Purple Perspective

Purple Smoosh Stamped Blossom Nail Art

I really do love the Smoosh technique, it’s so easy to do (if a little messy) and it always works, unlike the cling film (saran wrap) technique, for some reason I seem to mess that up more often than I get it to work!

The stamping image is on plate 14 from Moyou’s Mother Nature collection!

Purple Smoosh Stamped Blossom Nail Art

😀