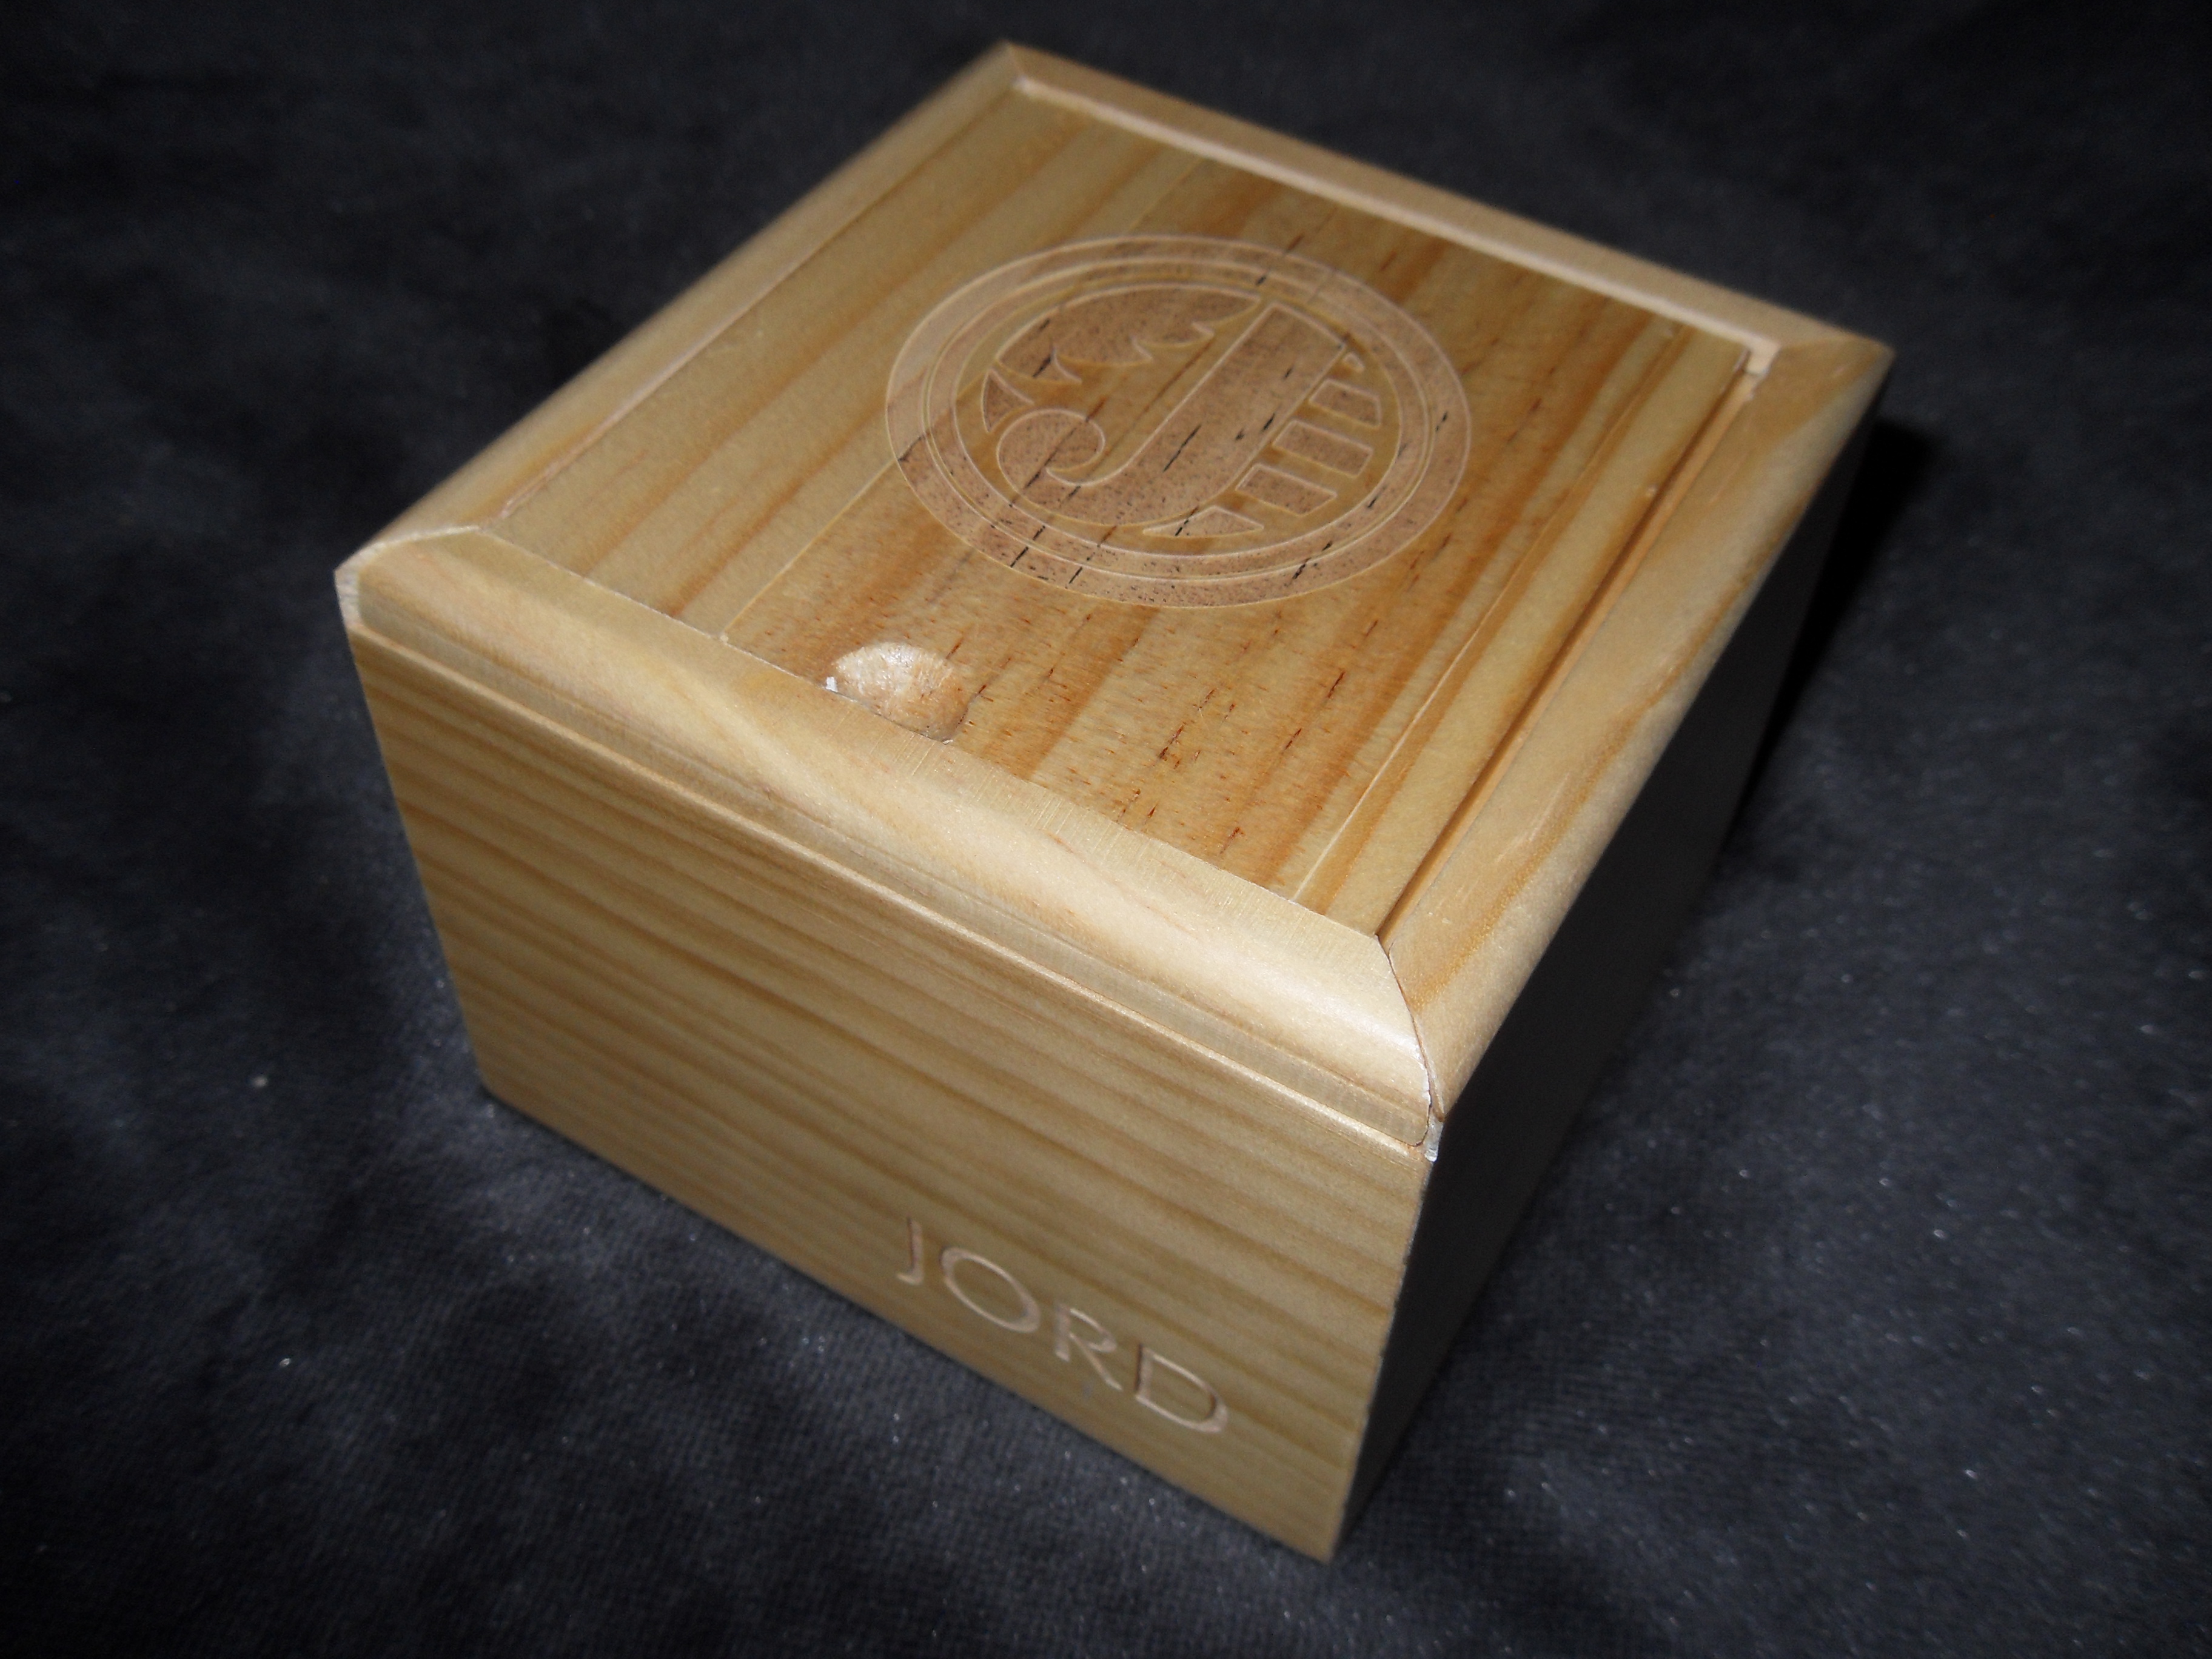
The wooden box it arrived in is so cute! (I do have a weakness for well designed packaging)
But more importantly. What’s in the box?!
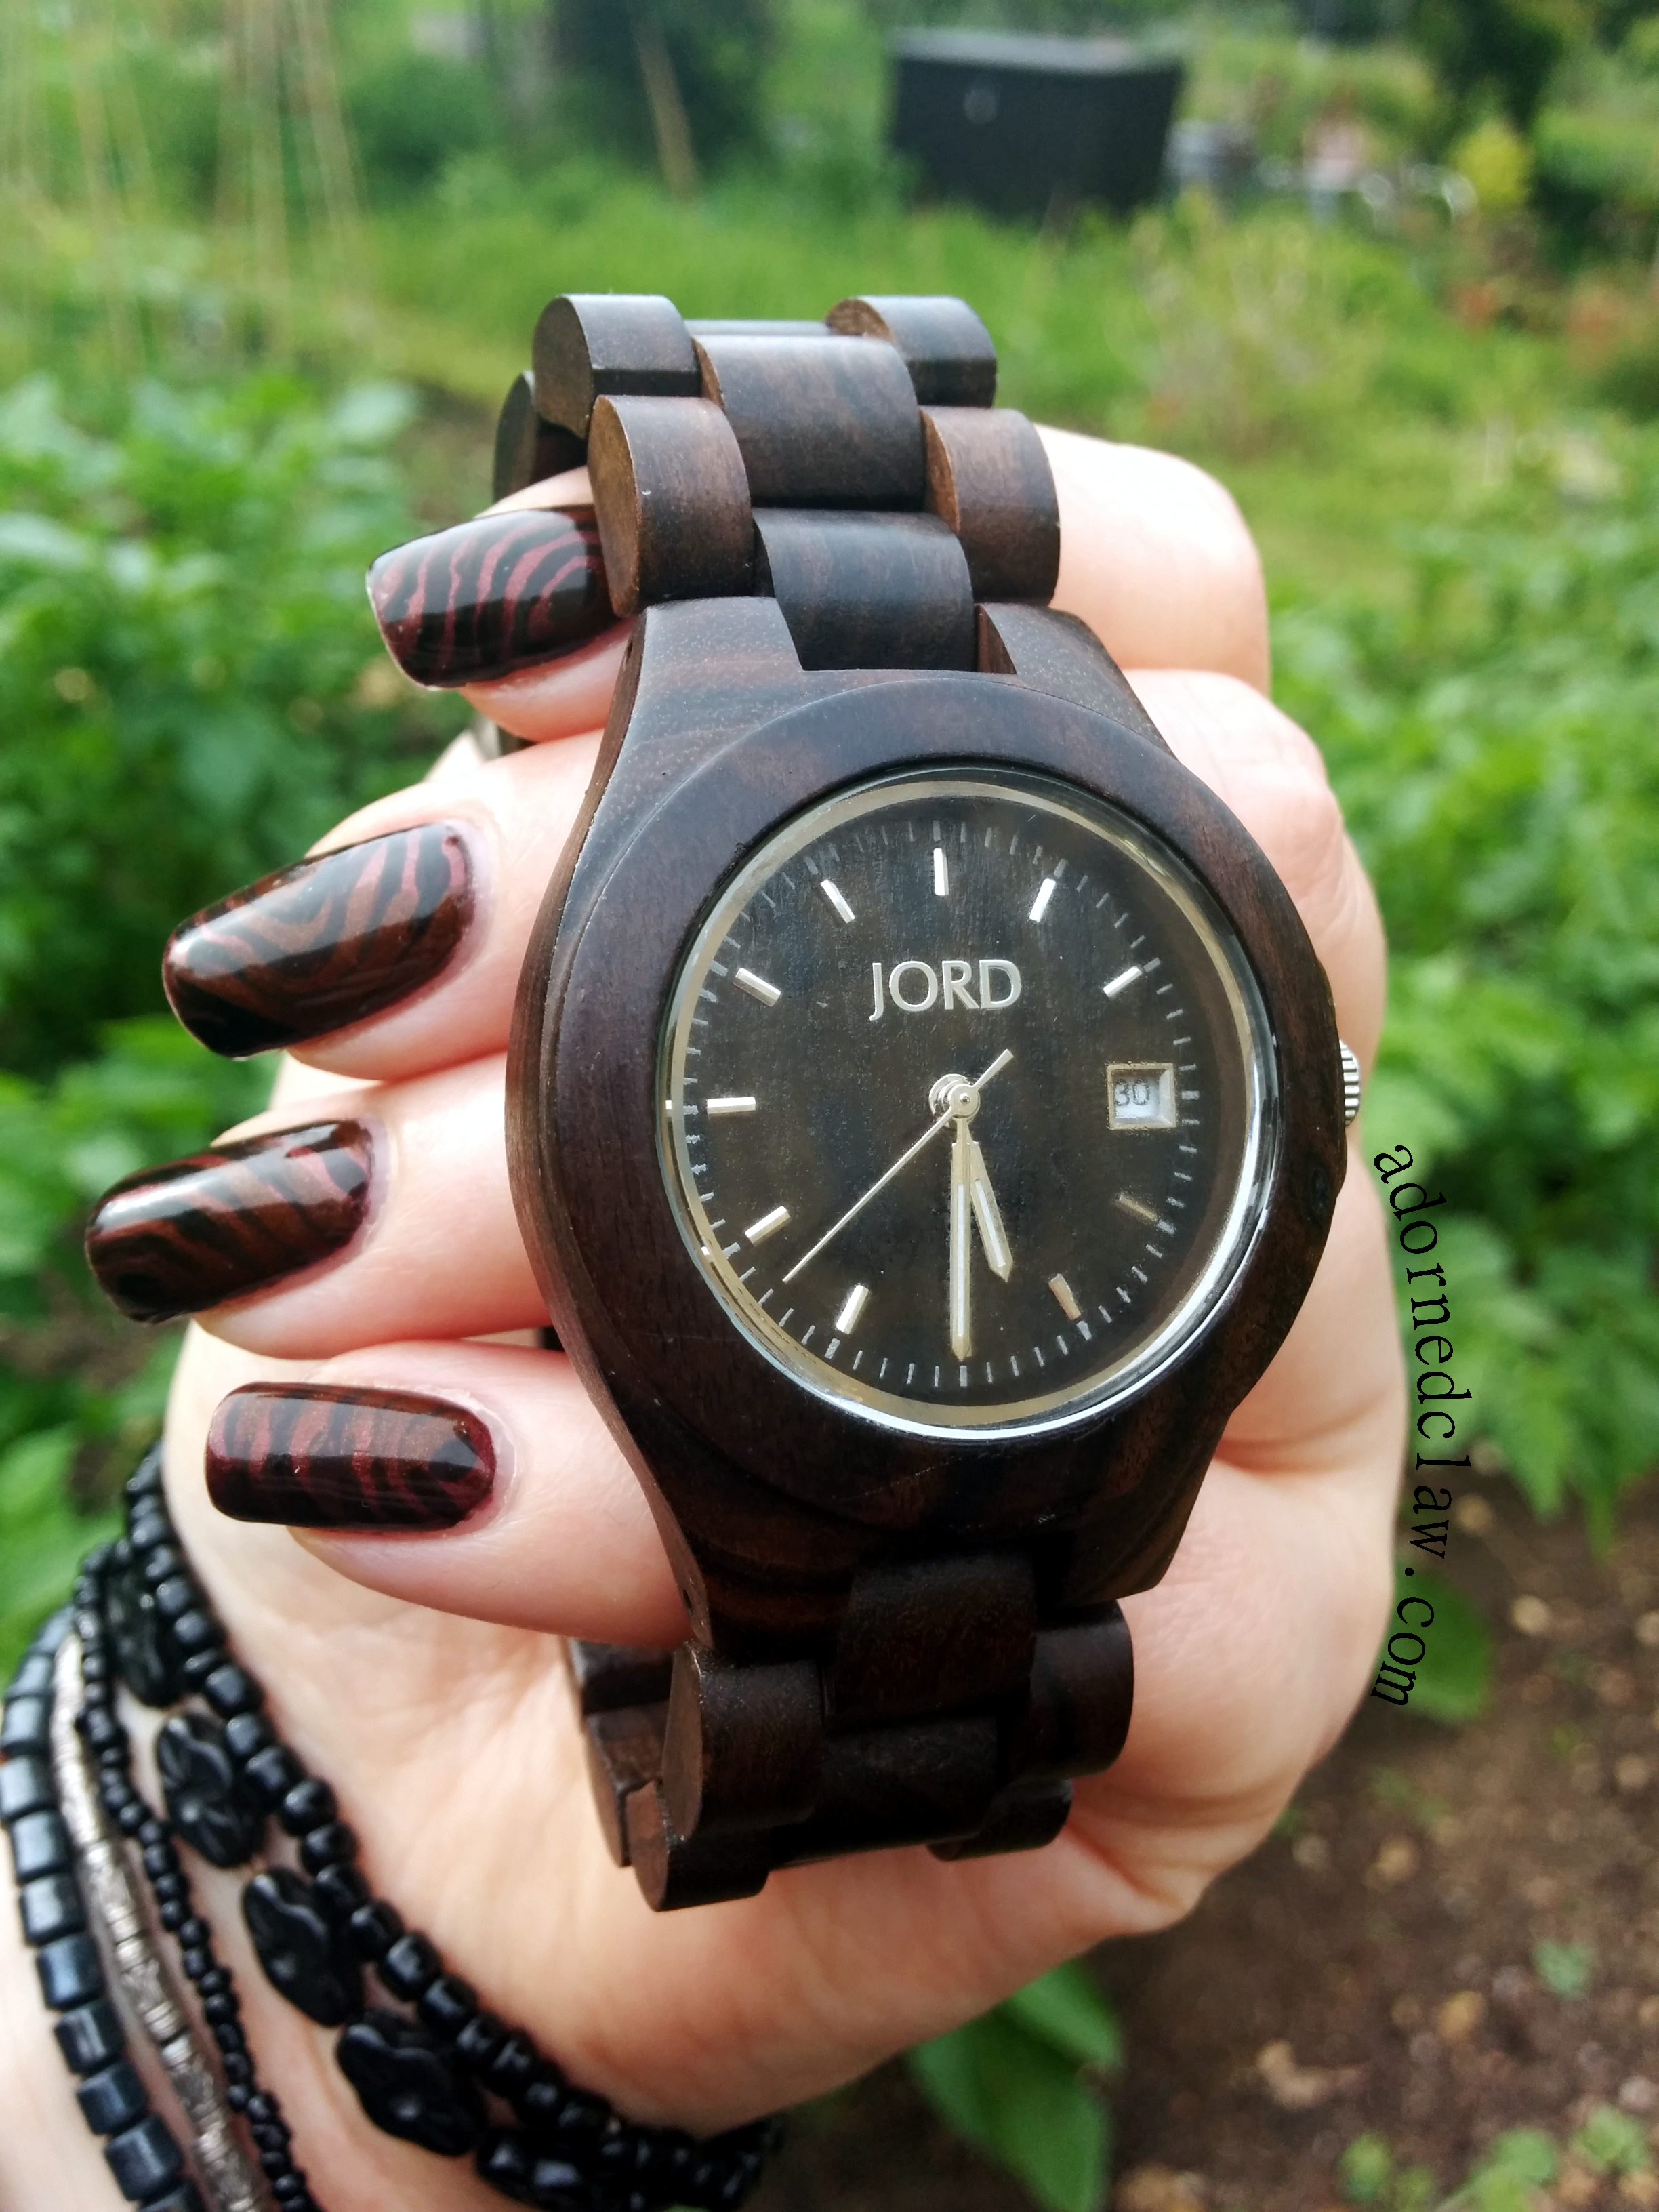
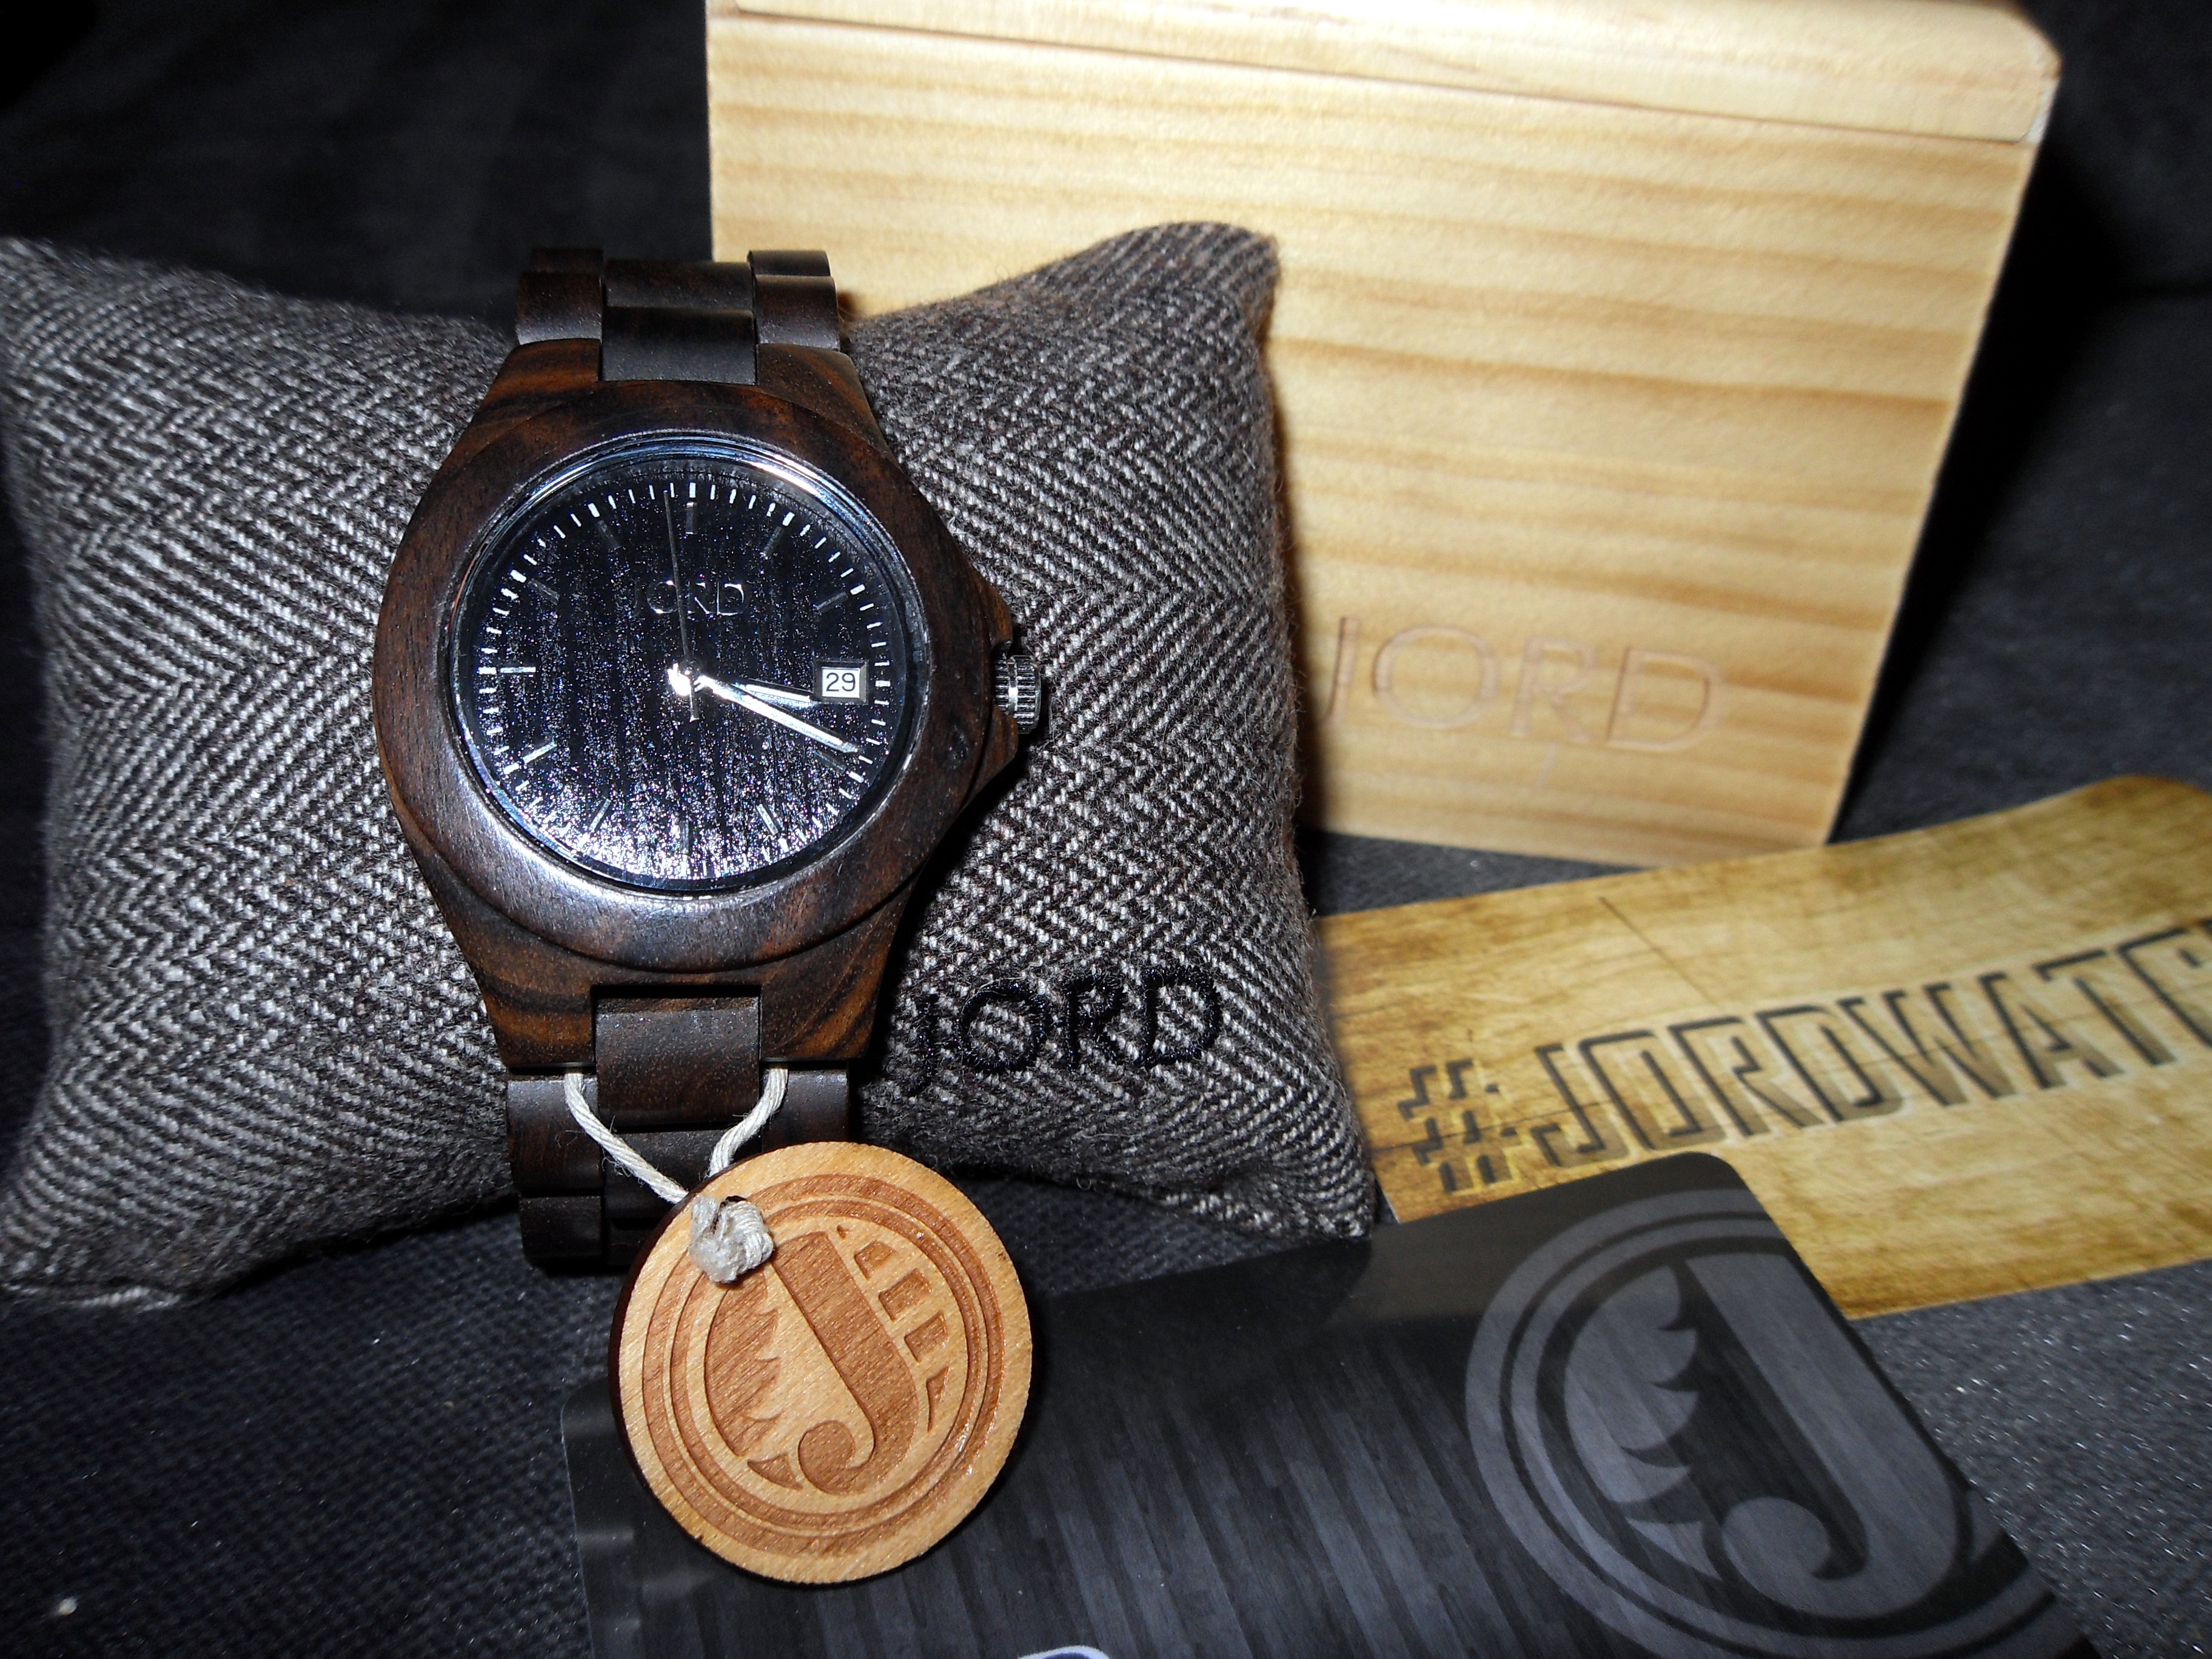
JORD Ely Wooden Watch
The Ely watch is on it’s own branded pillow with a little engraved wooden tag, a warranty card and a card with social media information along with a couple of extra links for the strap.
It all arrived carefully packed inside and out with bubble wrap, and made it all the way from America with out a single scratch!
The Ely retails at $129 which is around £83 and JORD ship internationally.
The Ely is available in four different types of wood, each one a different colour, Black (my one), Cherry (a warm red), Natural Green with Maple (green toned light wood) and Maple (pale honey shade).
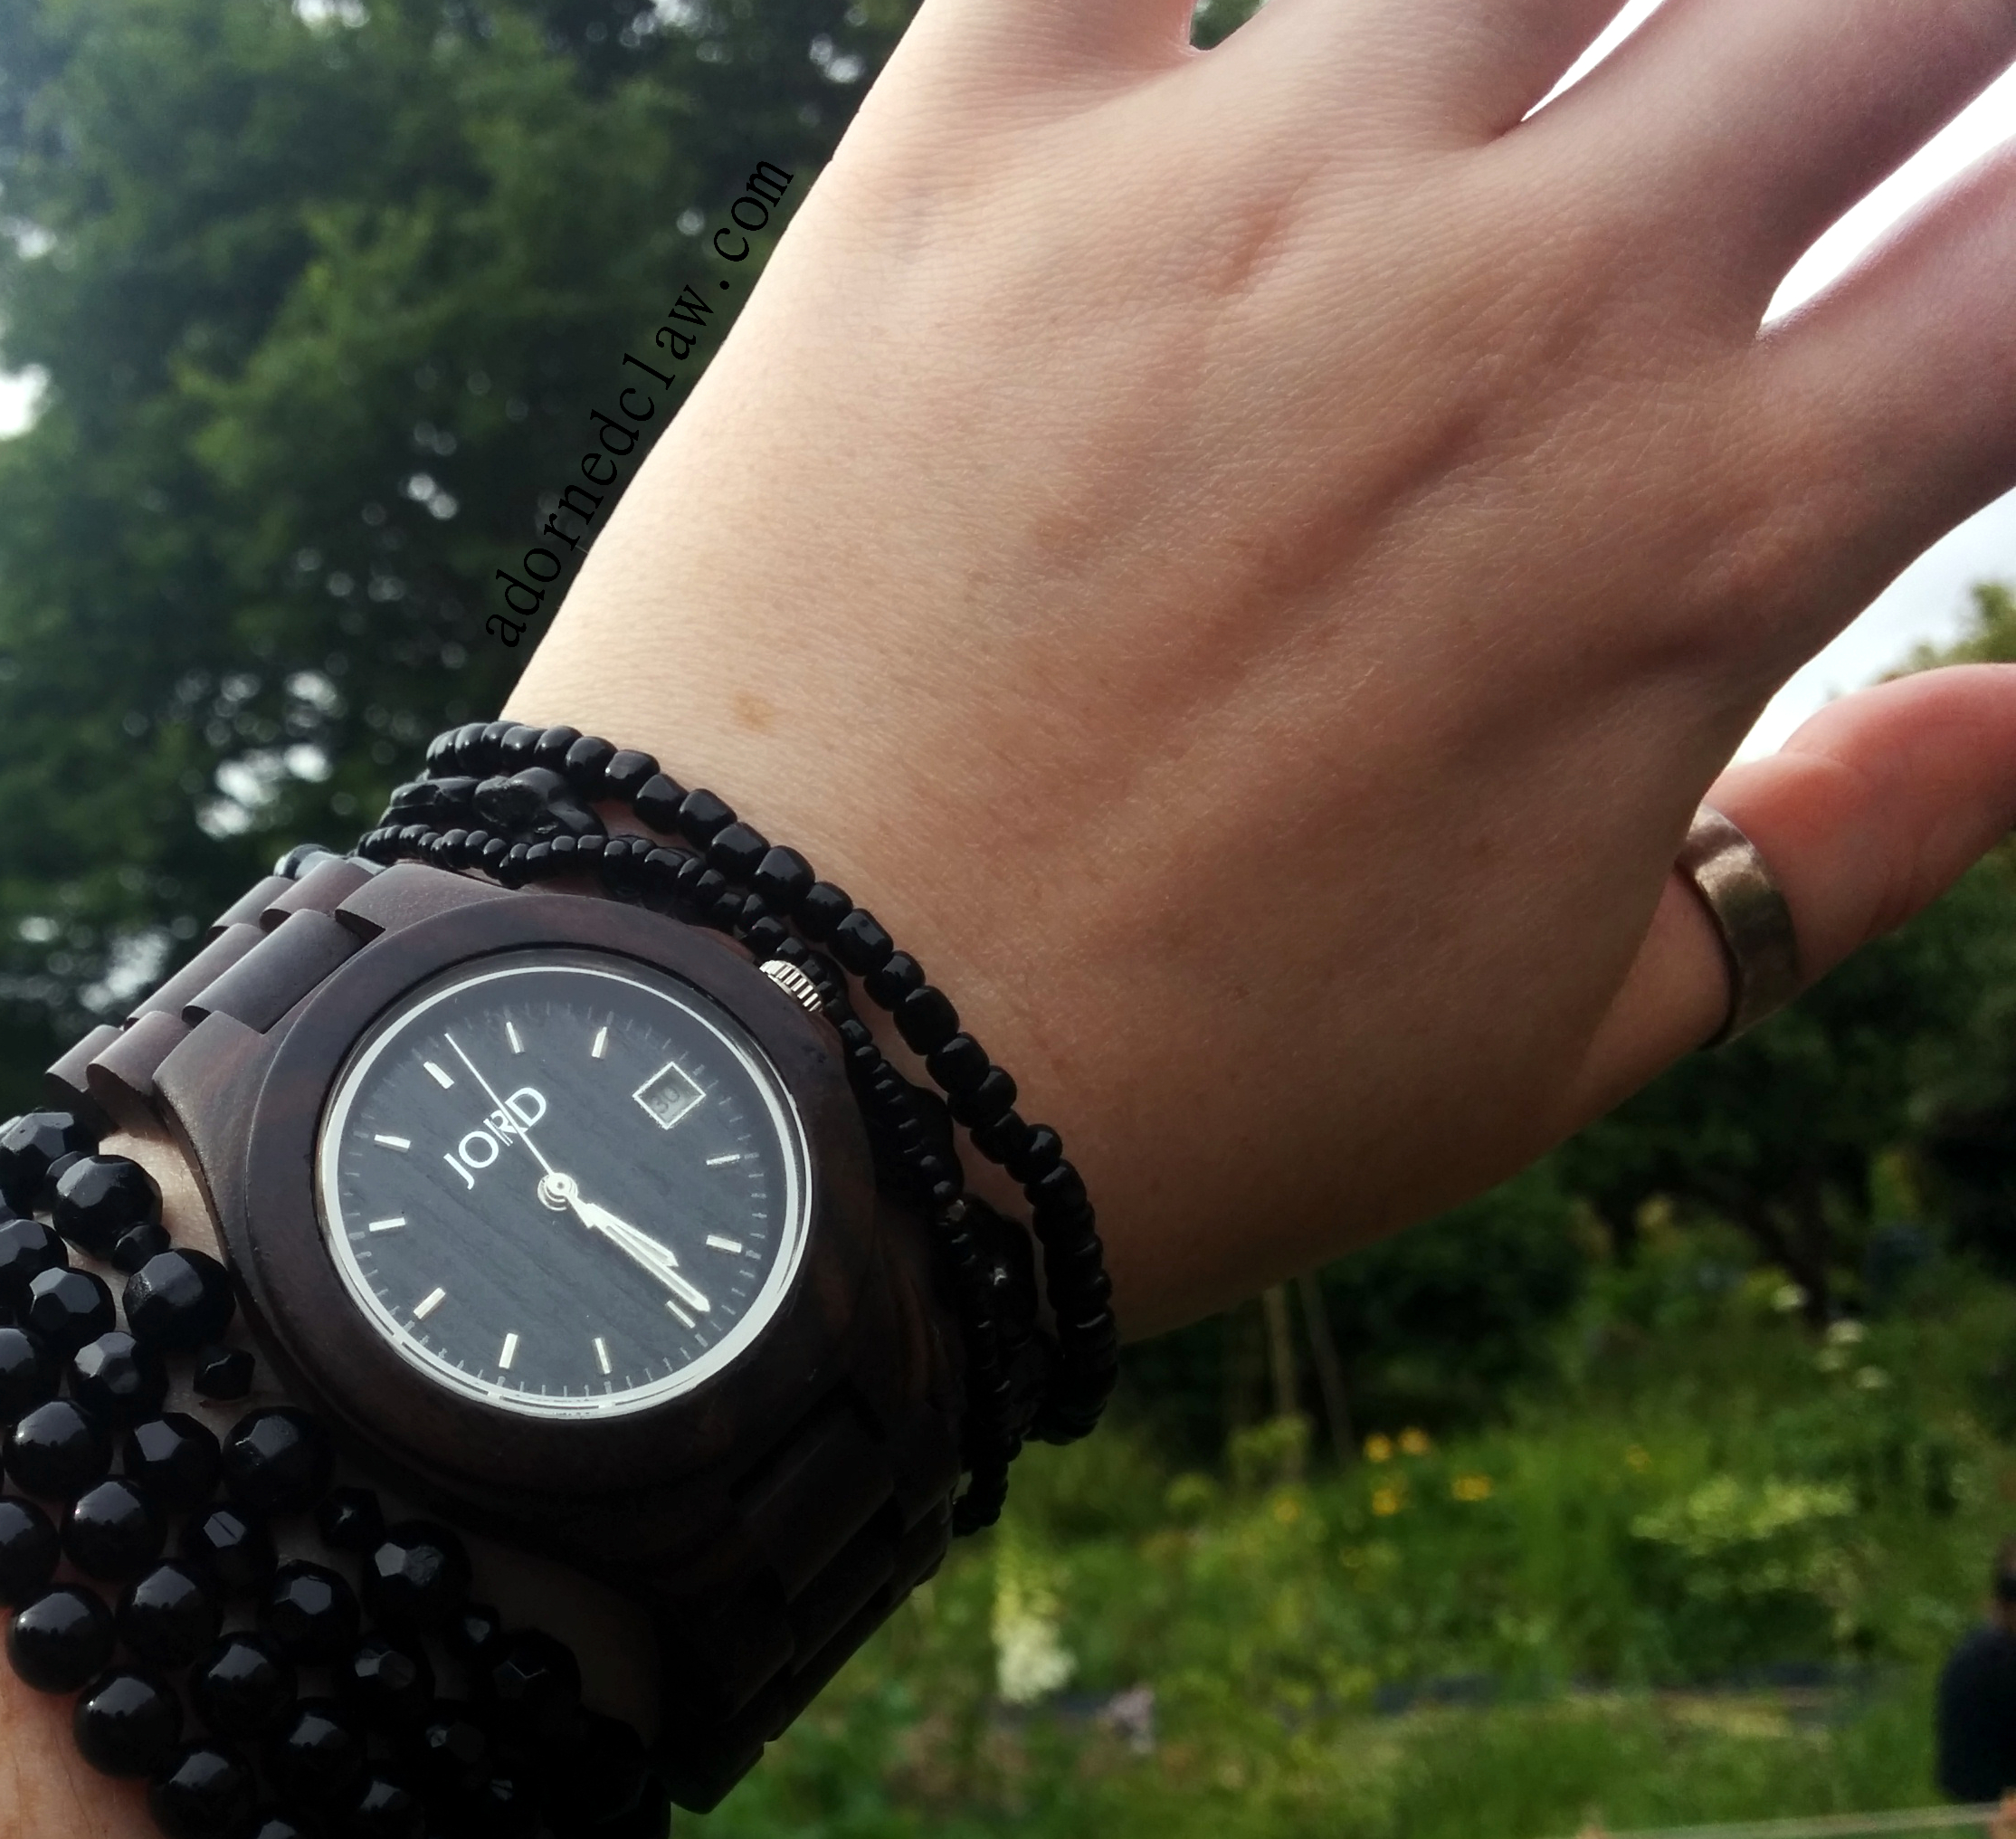
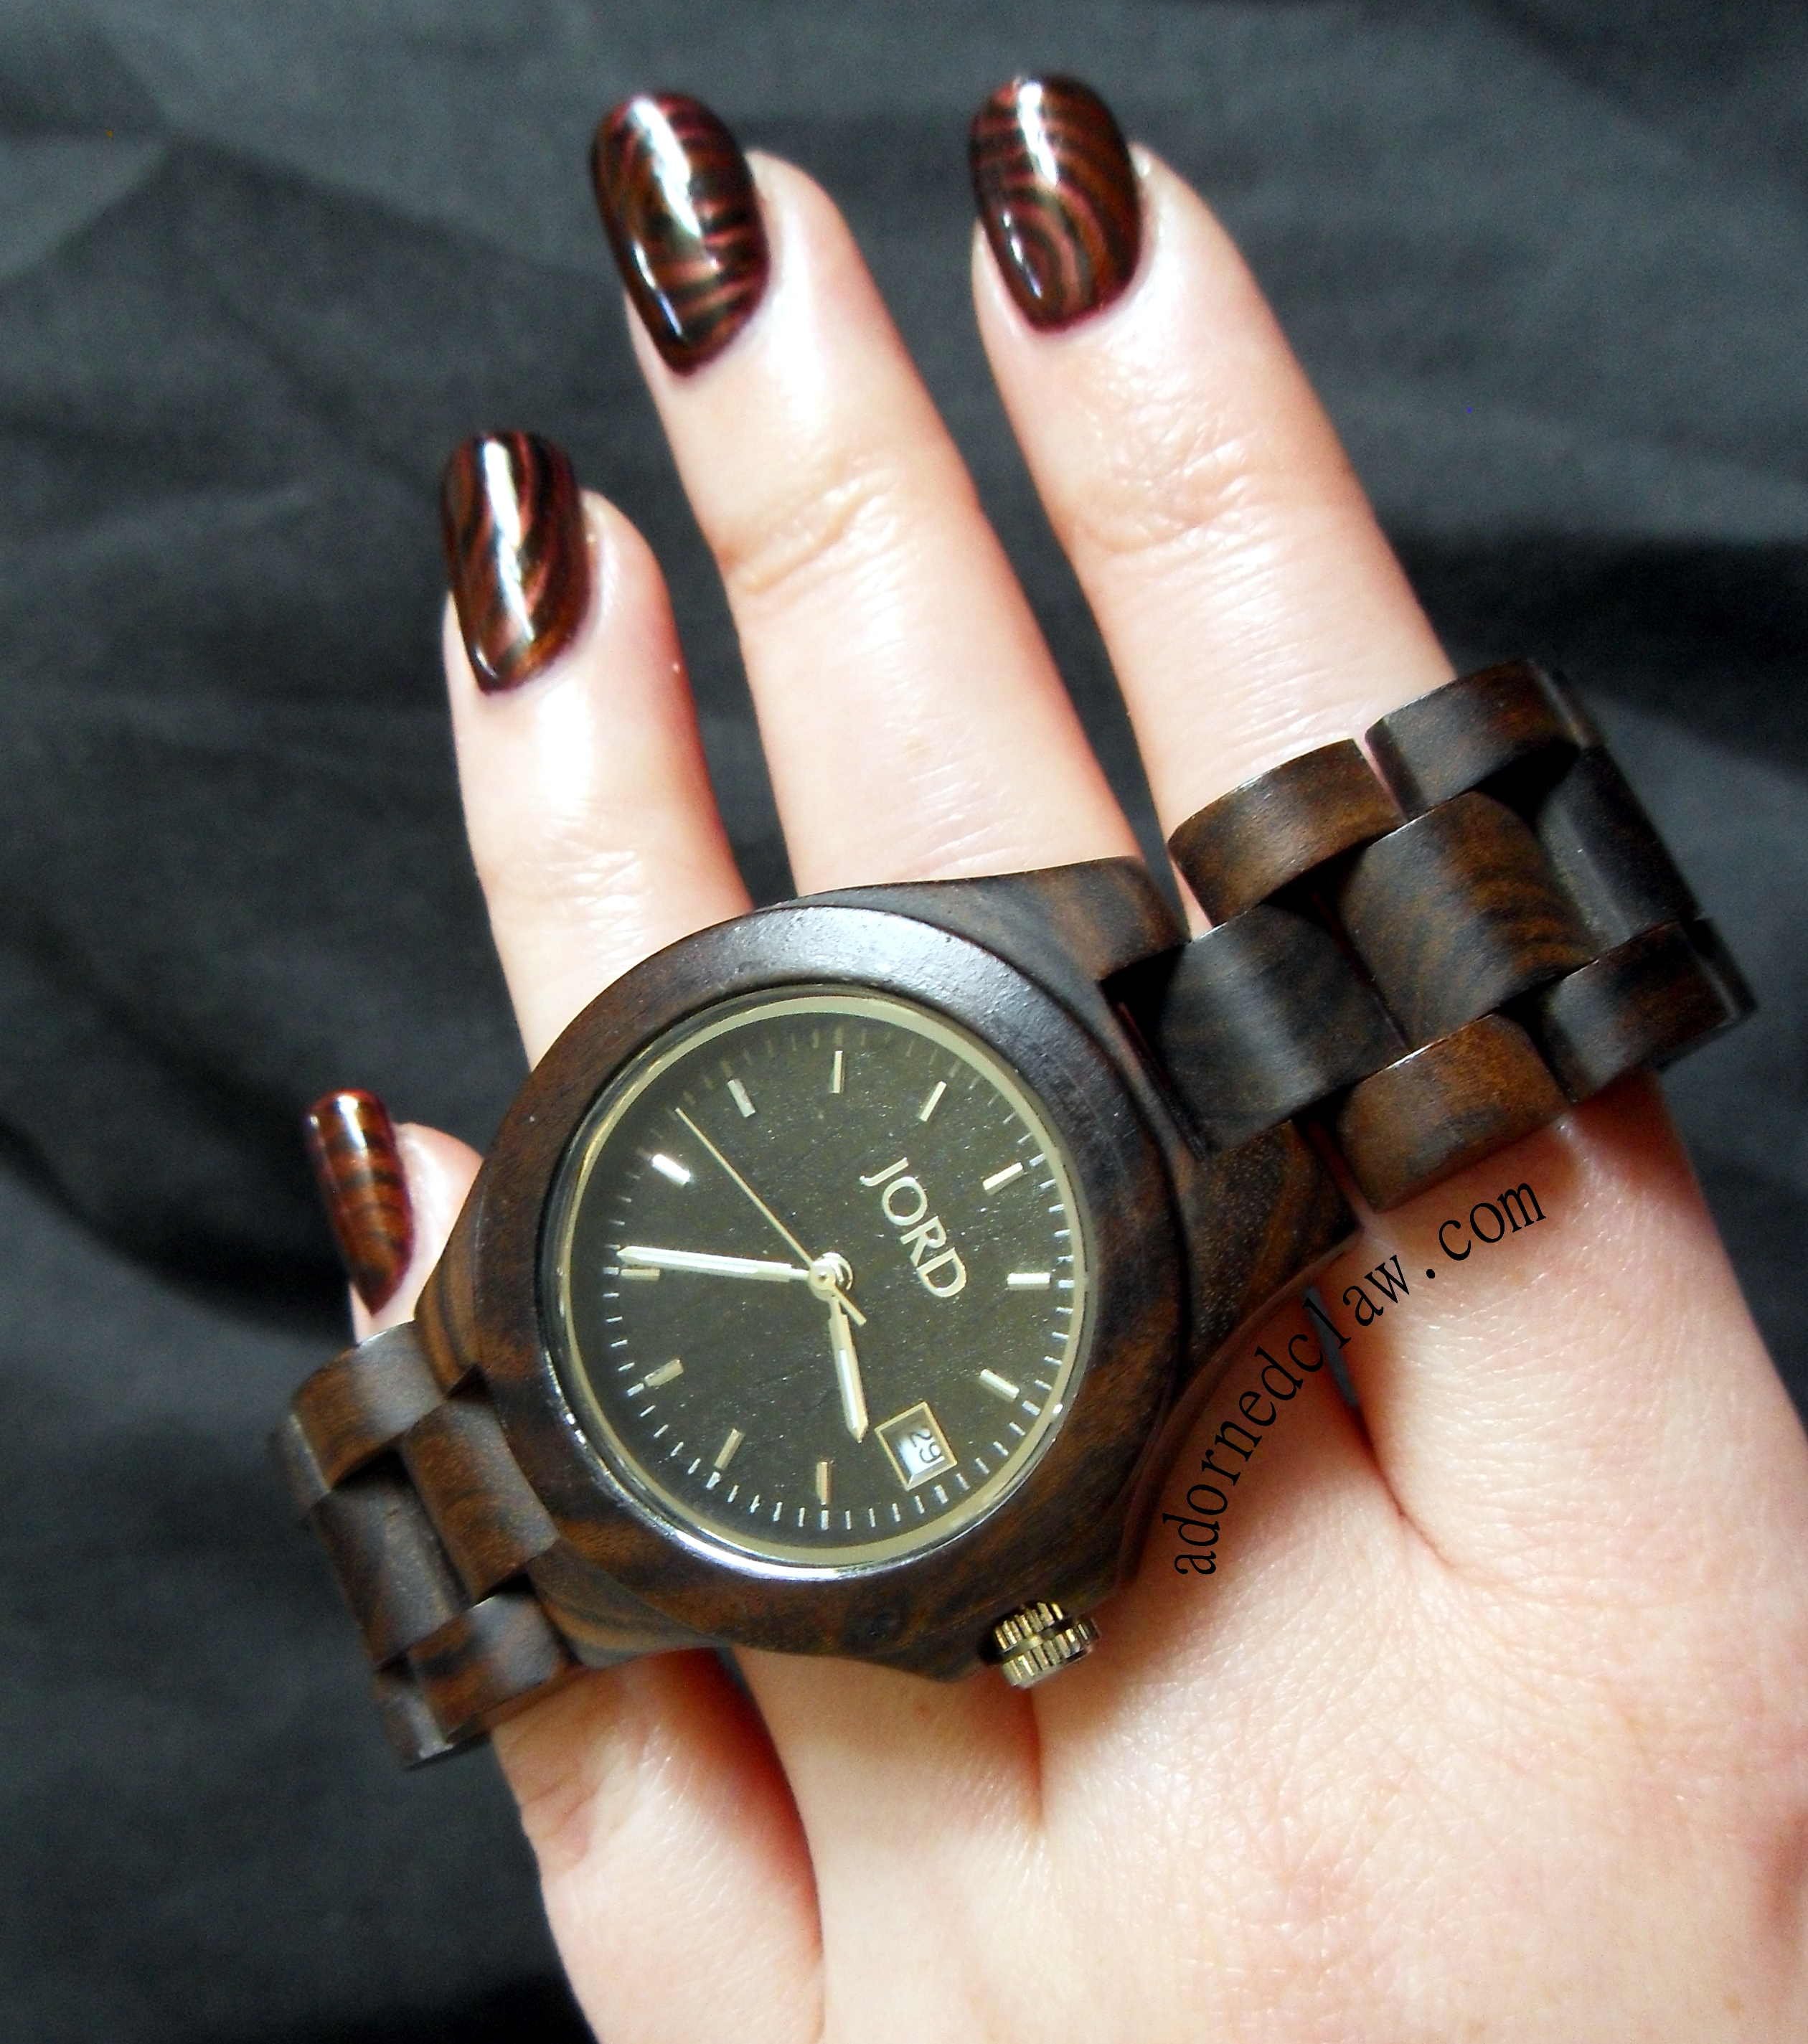
JORD Ely Wooden Watch in the wild!
The watch itself feels really well made, the wood is very smooth and surprisingly tactile, I keep finding myself stroking it lol.
This is what JORD say about the Ely Watch.
“Ely is produced using a slightly smaller dial and band, with the addition of a date display. The simplicity of this design accentuates the intricacy of the wood grain. The Ely is understated and effortless.”
And the technical details.
Deployment Buckle with Push Button
Scratch Resistant Mineral
Citizen Miyota Quartz Movement (2015 w/Date Display)
Case Width: 37mm
Case Thickness: 11mm
Lug Ends: 45mm
Band Length: 200mm
Band Thickness: 21mm
Also the clasps are made from stainless steel which is great if you have metal allergies.
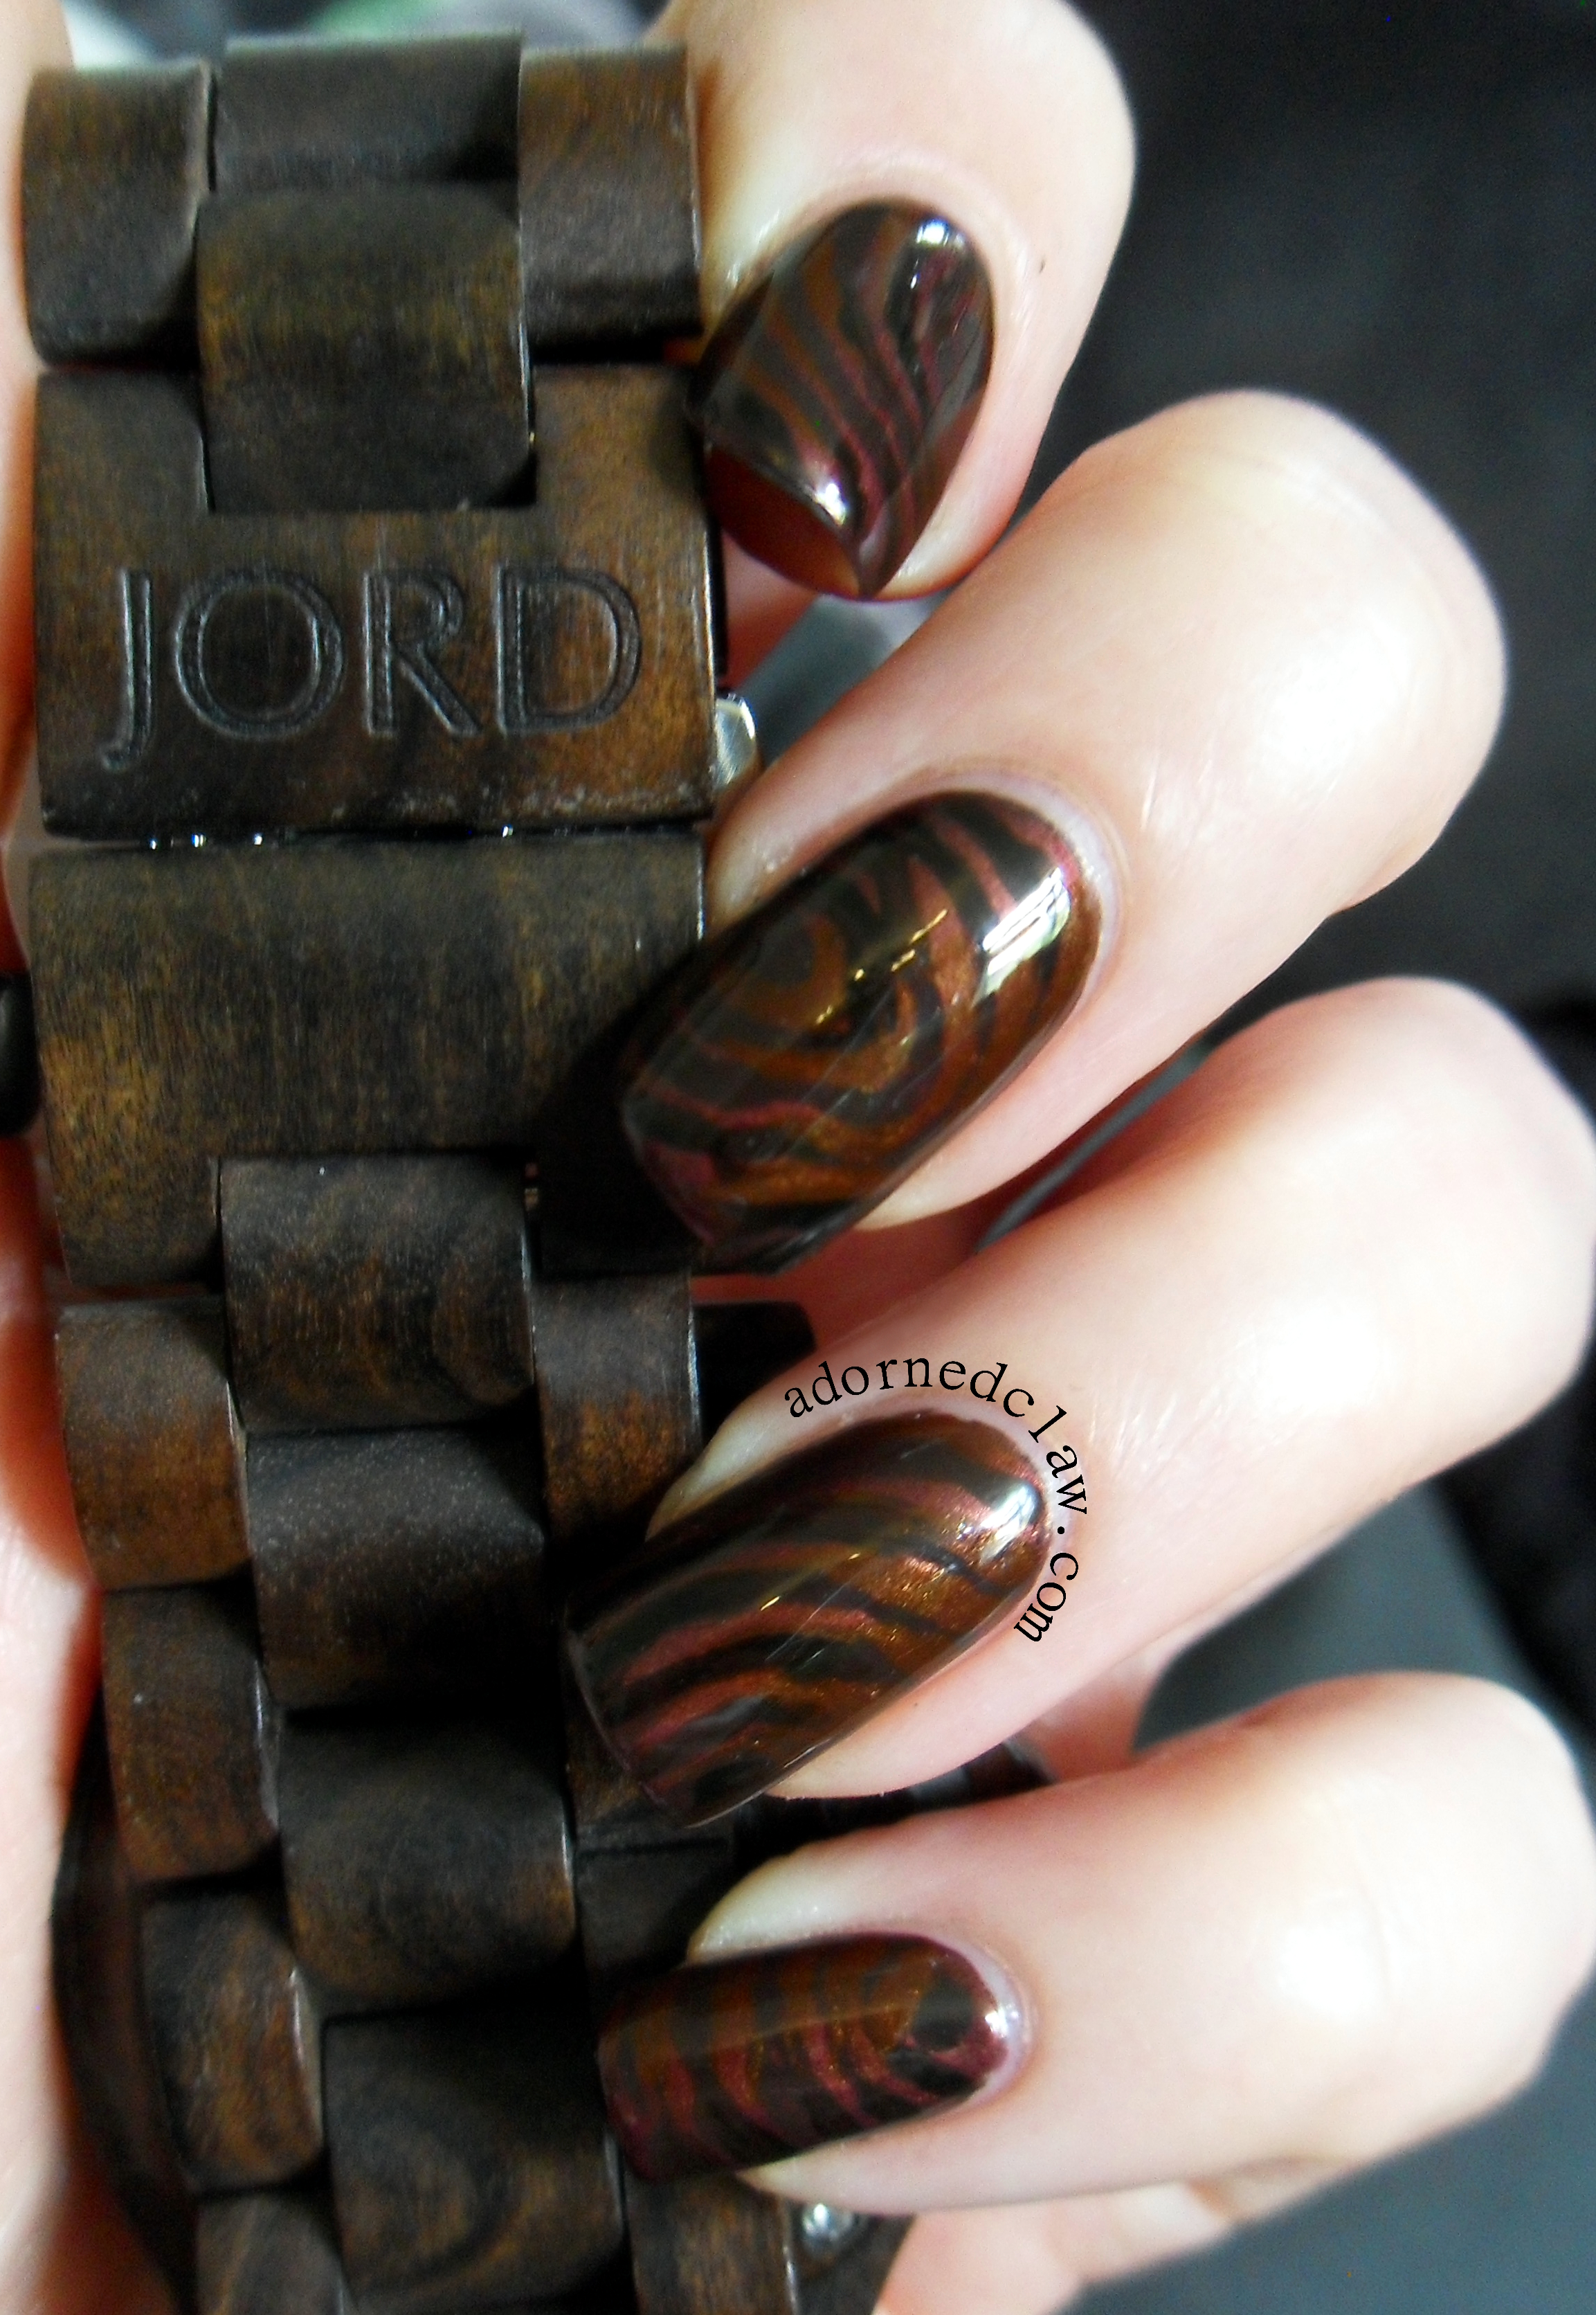
JORD Wooden Watch With wood nails
For my JORD inspired wood grain nails I used
Color Club Black-ish
Color Club Rebel Spirit
Malava Zanzibar
Revlon Hot For Chocolate
Revlon Stiletto
Starting with a base of Hot For Chocolate I used a thin brush and Stiletto to paint the grain, I decided that a different pattern on each nail as the wood of each link has a different pattern.
With the same thin brush I added Rebel Spirit, Black-ish and Zanzibar to add a little more depth to the wood grain pattern.
JORD Wooden Watch
I really love that this watch is unique, it’s light and easy to wear, and because of the lovely neutral colours and classic design it’s really easy to dress up or down. 😀
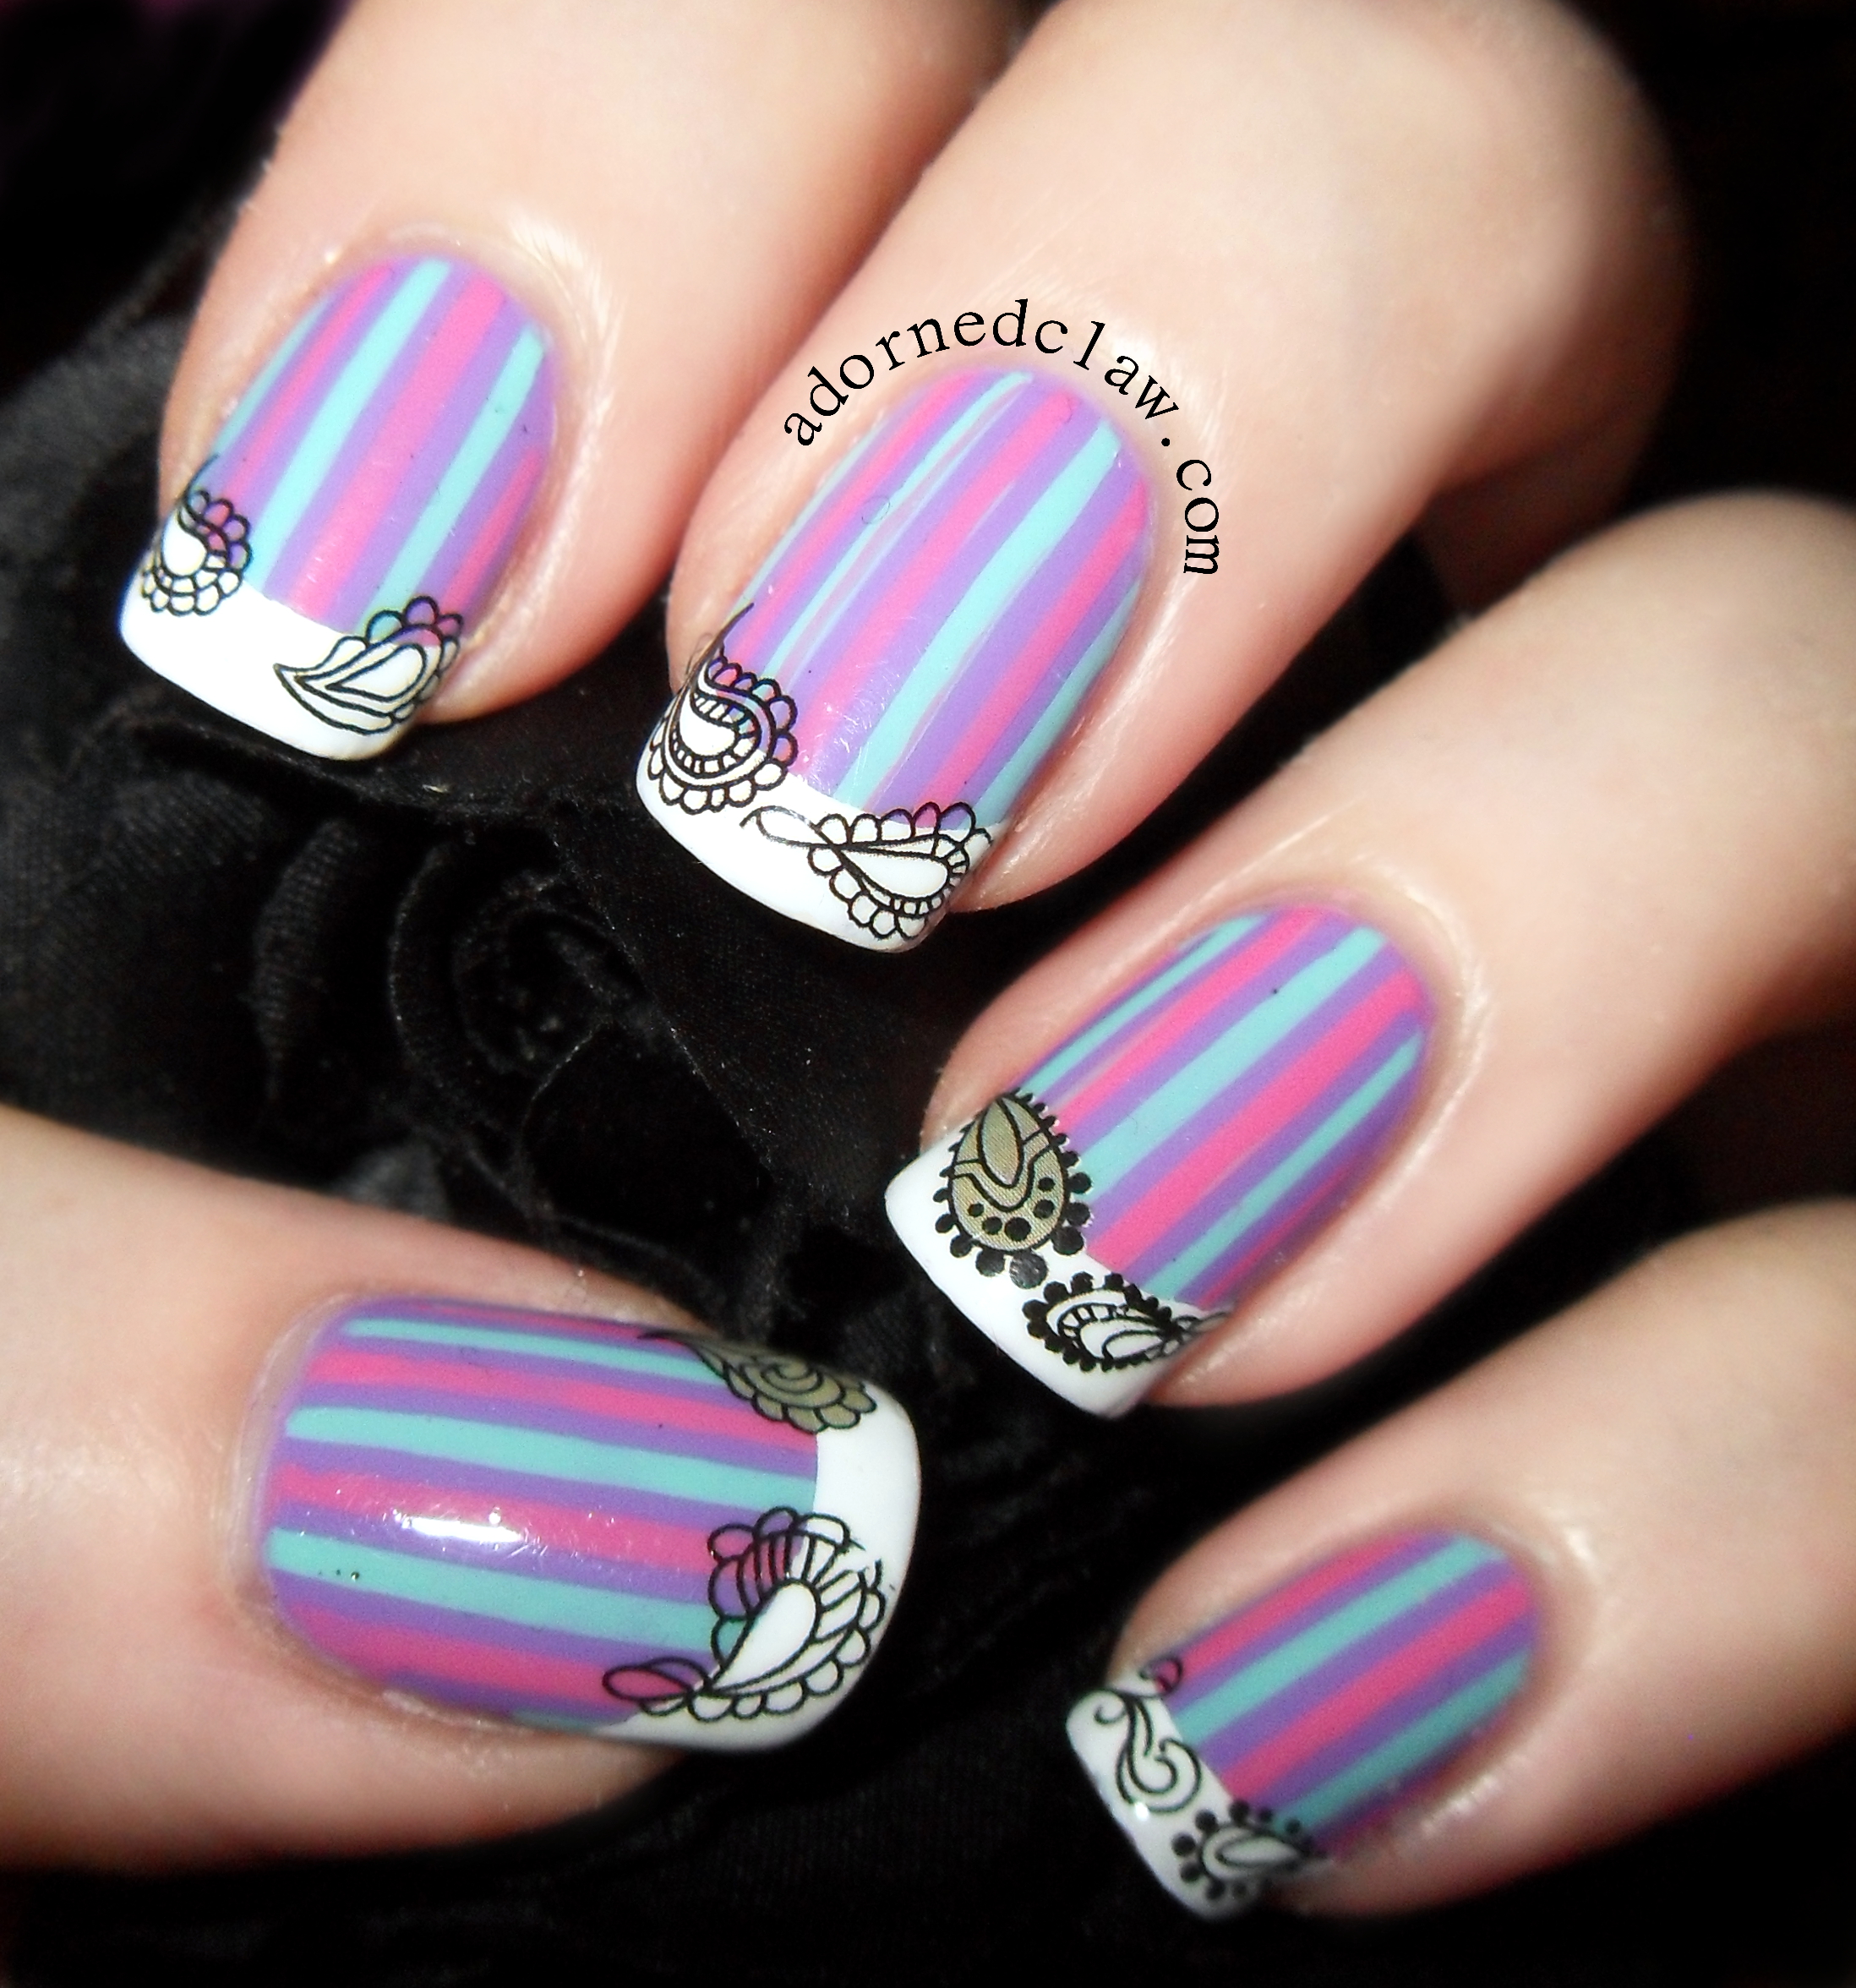
Hello! I have a really fun product to show you today! 😀
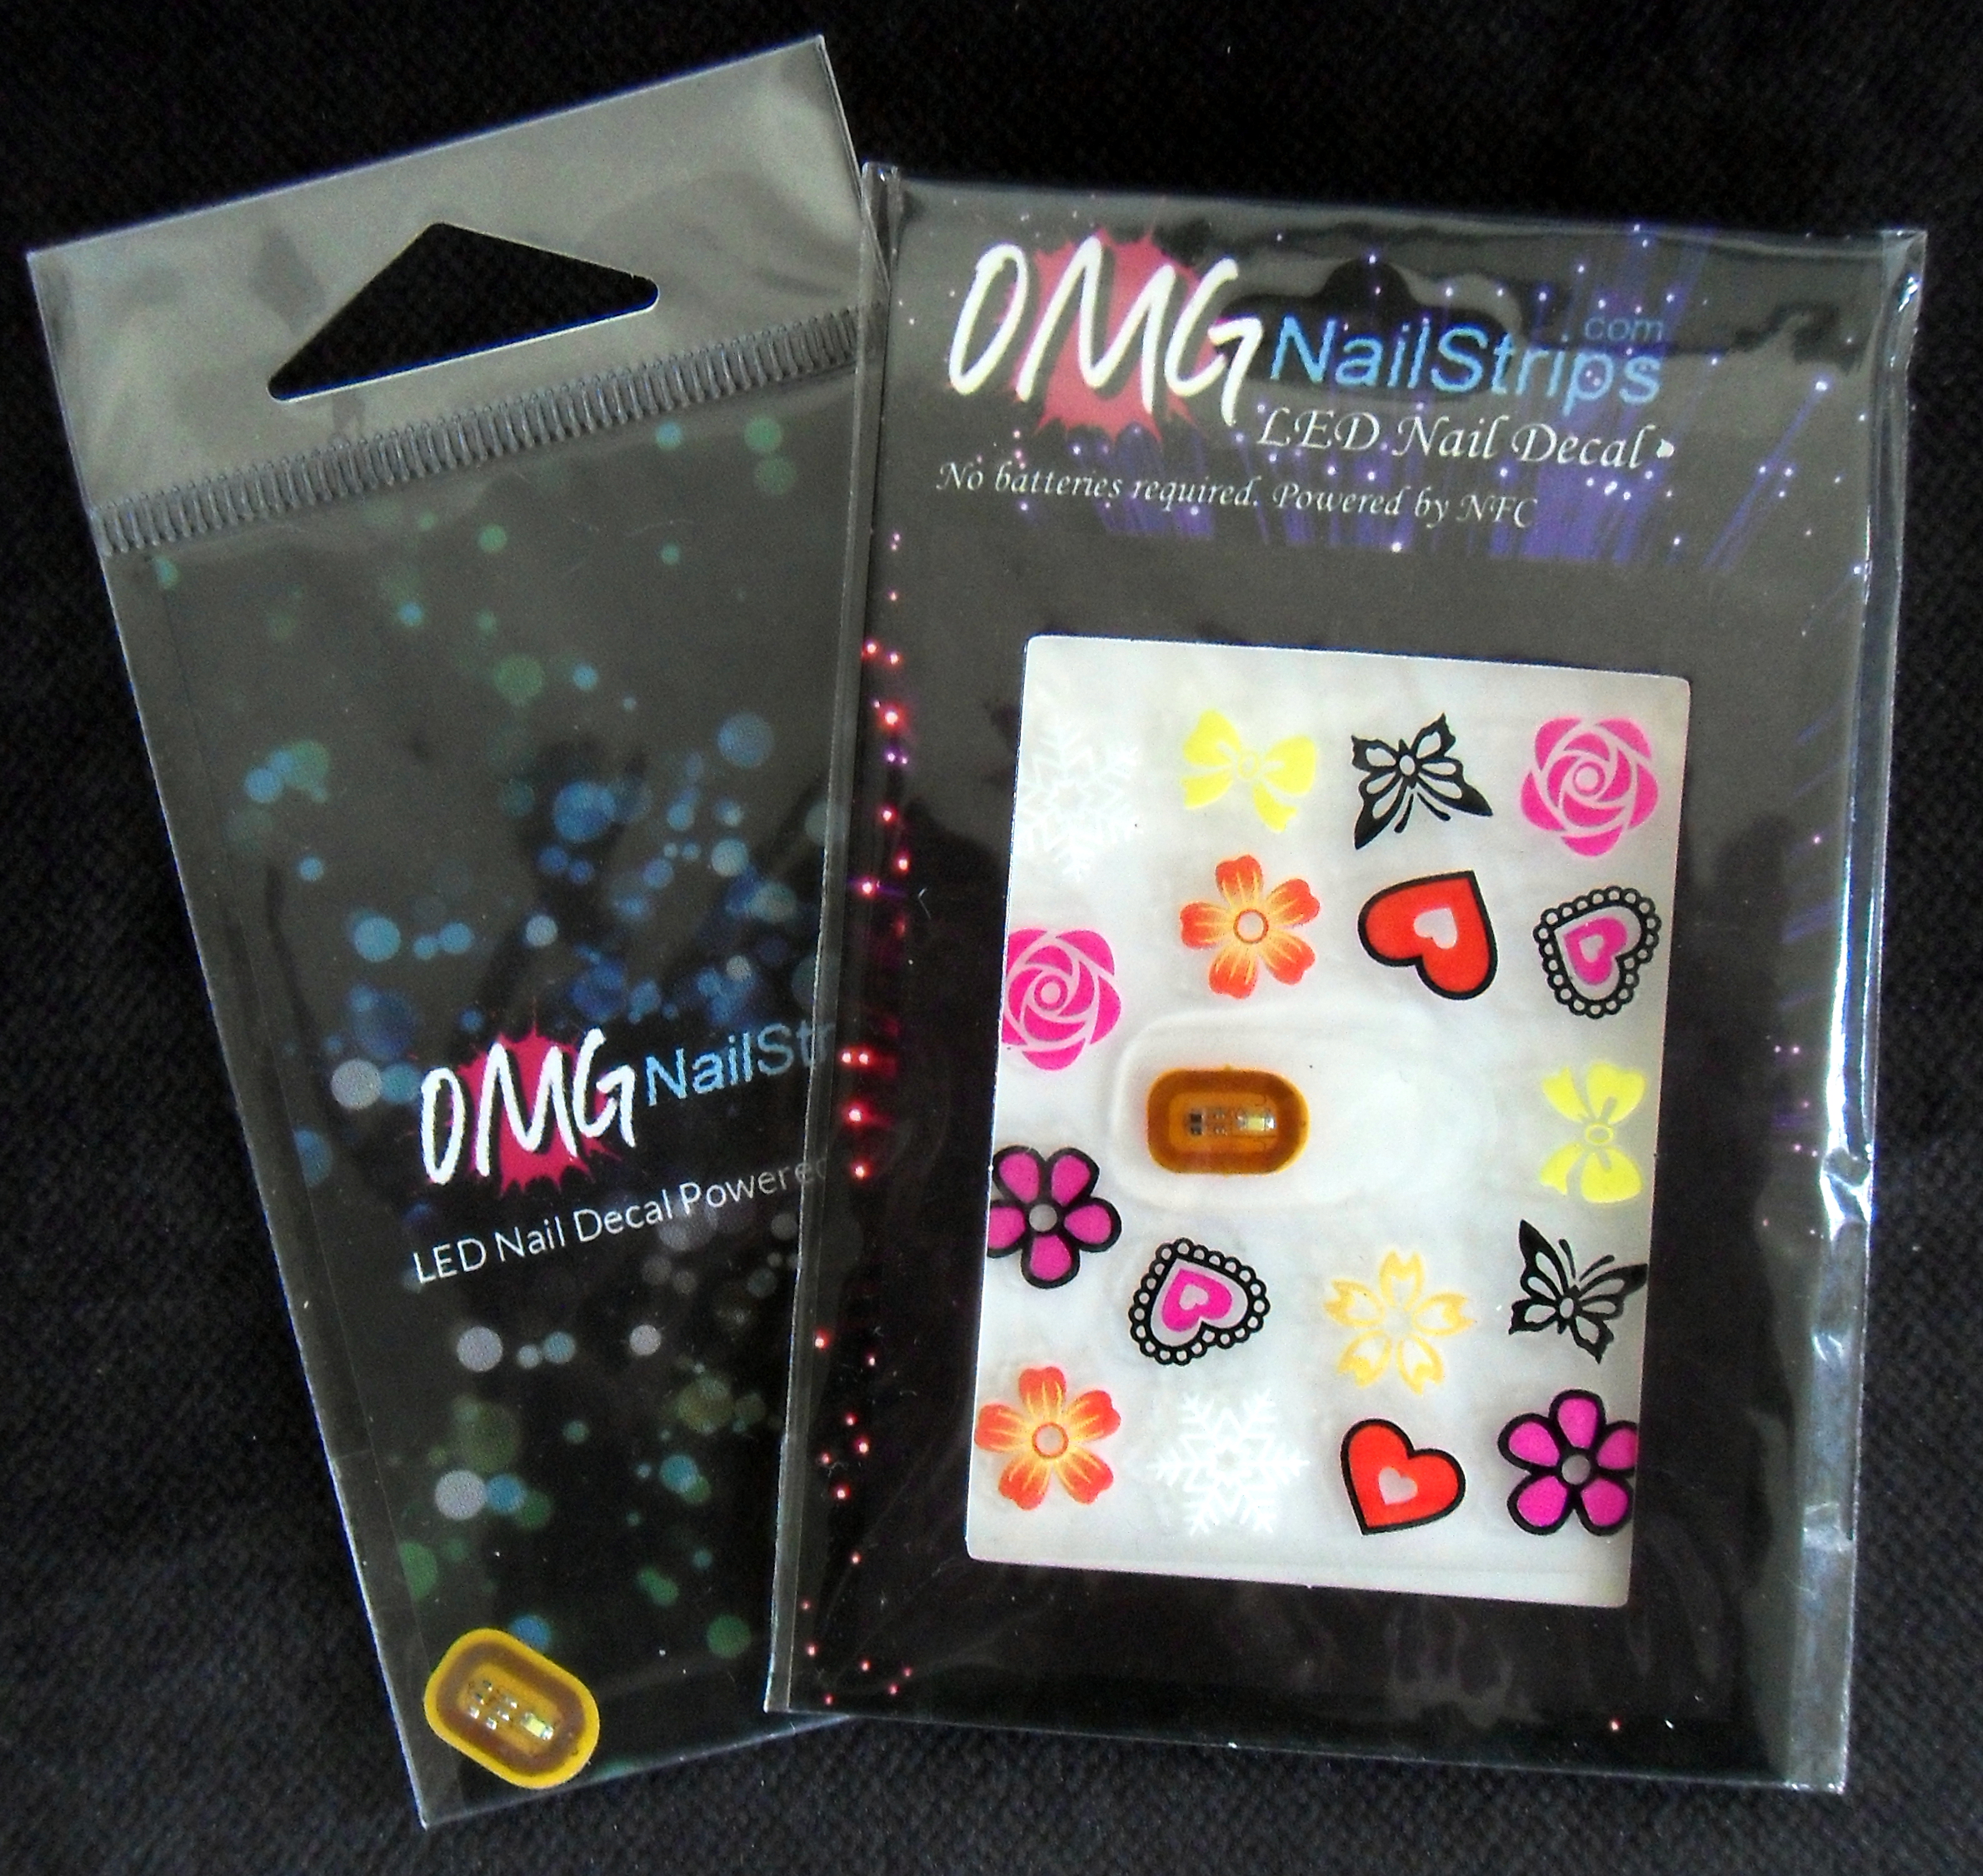
These Japanese LED Nail Decals that have been kindly been sent to me from www.omgnailstrips.com.
omg led nail decal
From the OMG website – “The LED light chip is powered by NFC fields given off by most Android phones, Point of Sale Machines, Apple Pay and many other electronics, meaning when in the presence of these NFC fields your nail will light up and blink.”
And OMG are also in the process of designing an App for Android that would allow the nail to light up when you get different types of notifications on your phone. How amazing is that!?
OMG supply two types of led stickers, one specifically for Gel polish which is the chip on it’s own and the set with stickers is for use with regular nail polish.
The Decals are $5.99 per pack with free international shipping and are available in White, Green and Blue, for Gel and White, Red and Blue for regular polish!
Both chips I have to show you today are white ones!
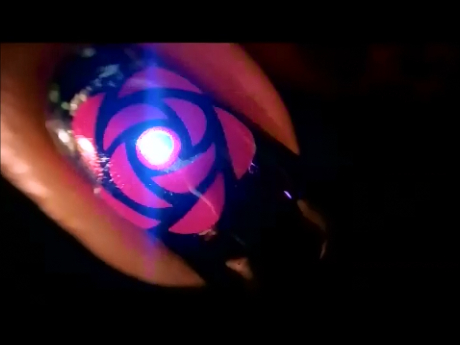
Here is a little video (be nice, I don’t do videos often lol) of the chip for Gel polish directly on the back of my phone.
Applying the chip was really simple, the clear part of the decal is really easy to trim to size, I used a couple of coats of black polish to hide the chip, being very careful not to cover the LED.
Flash!
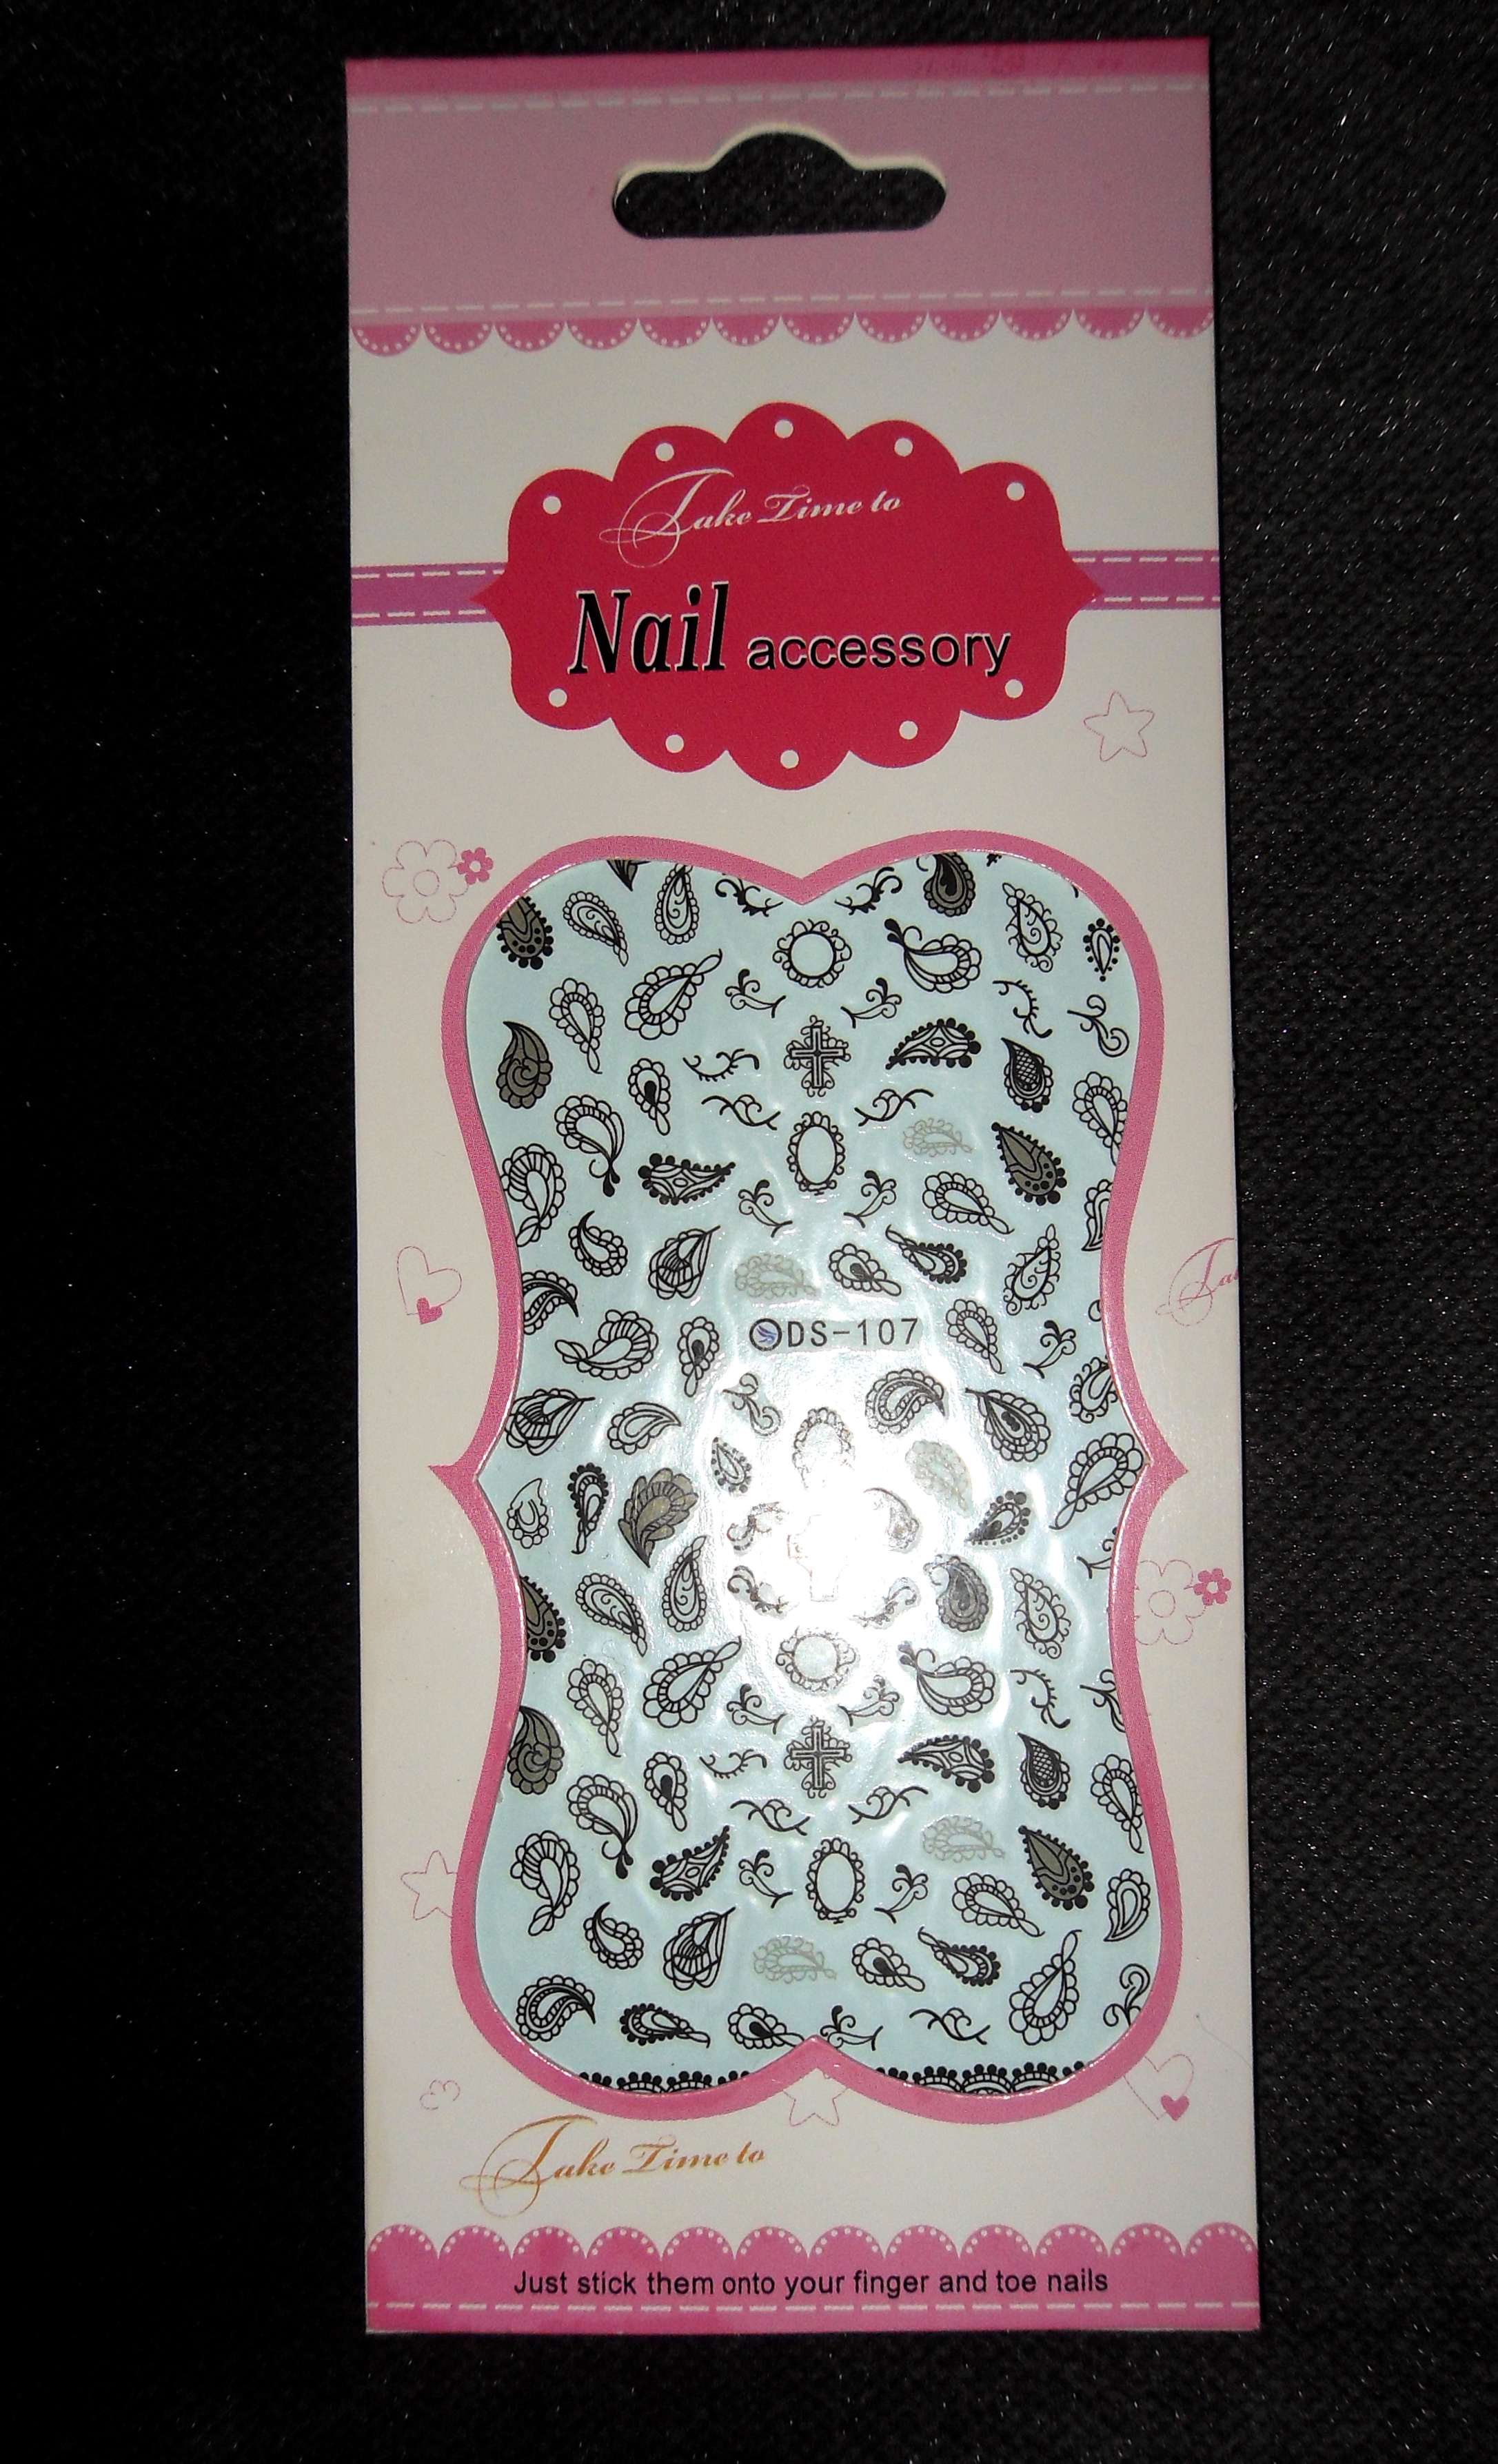
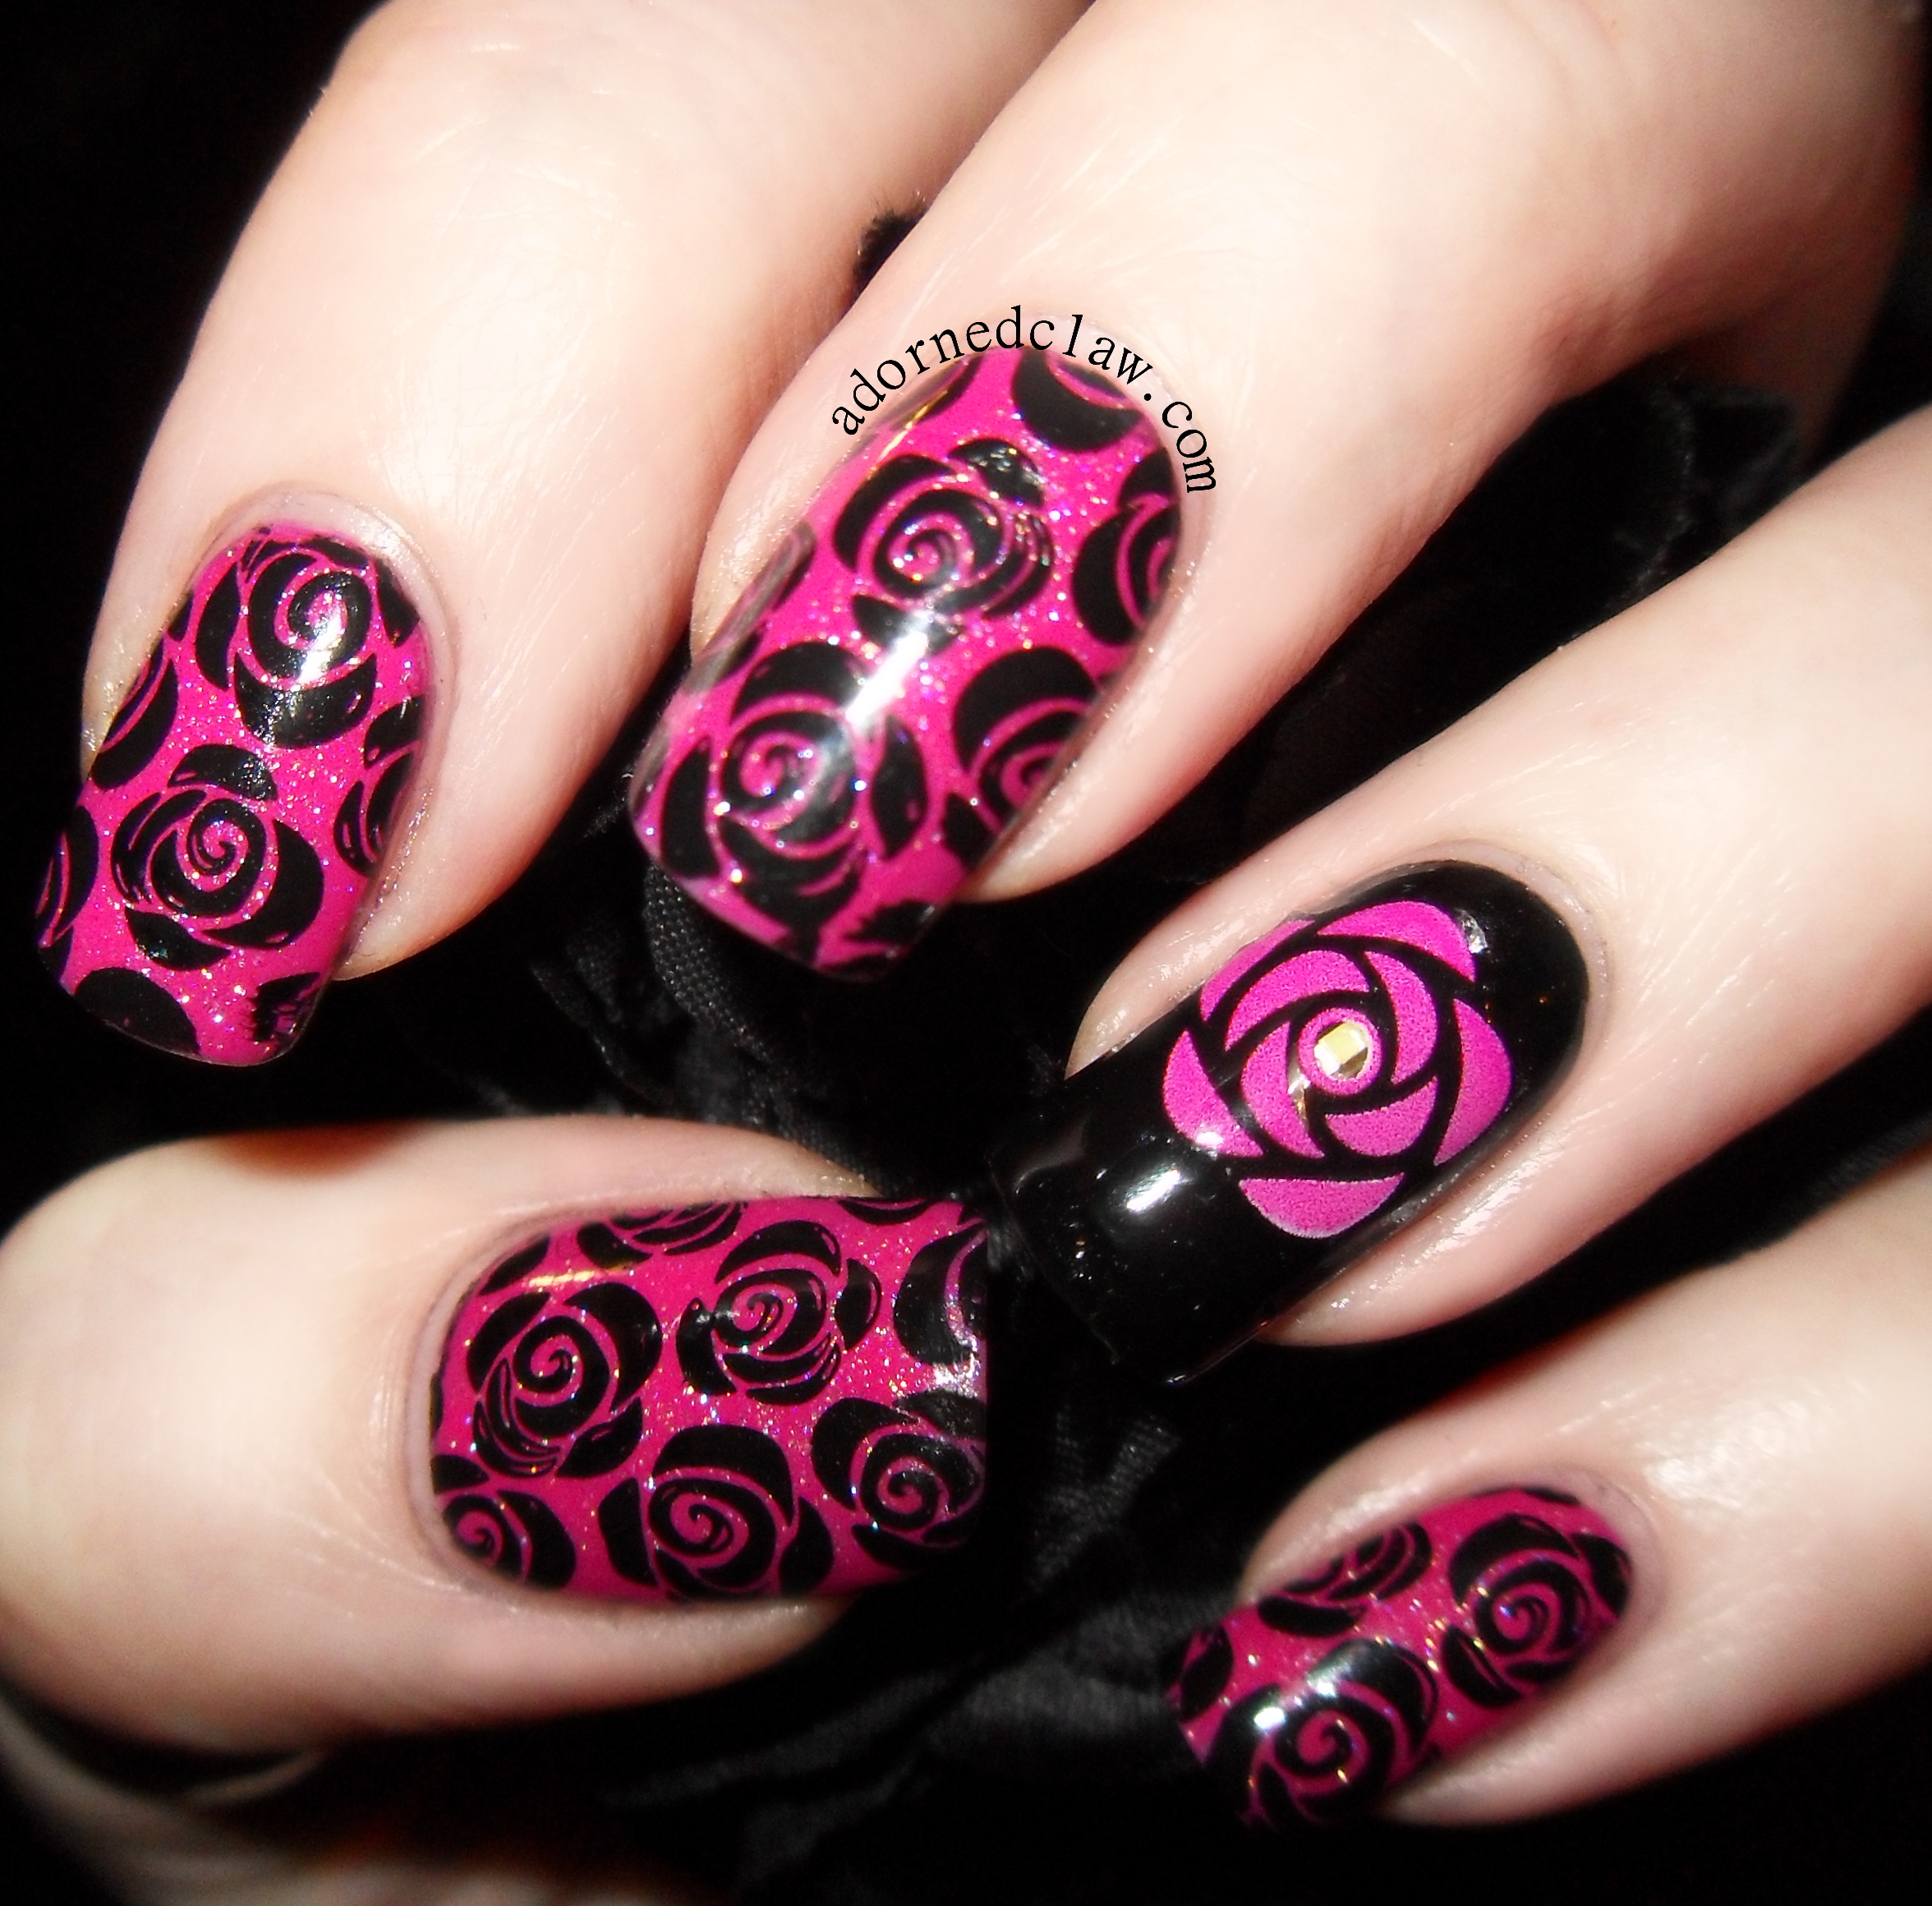
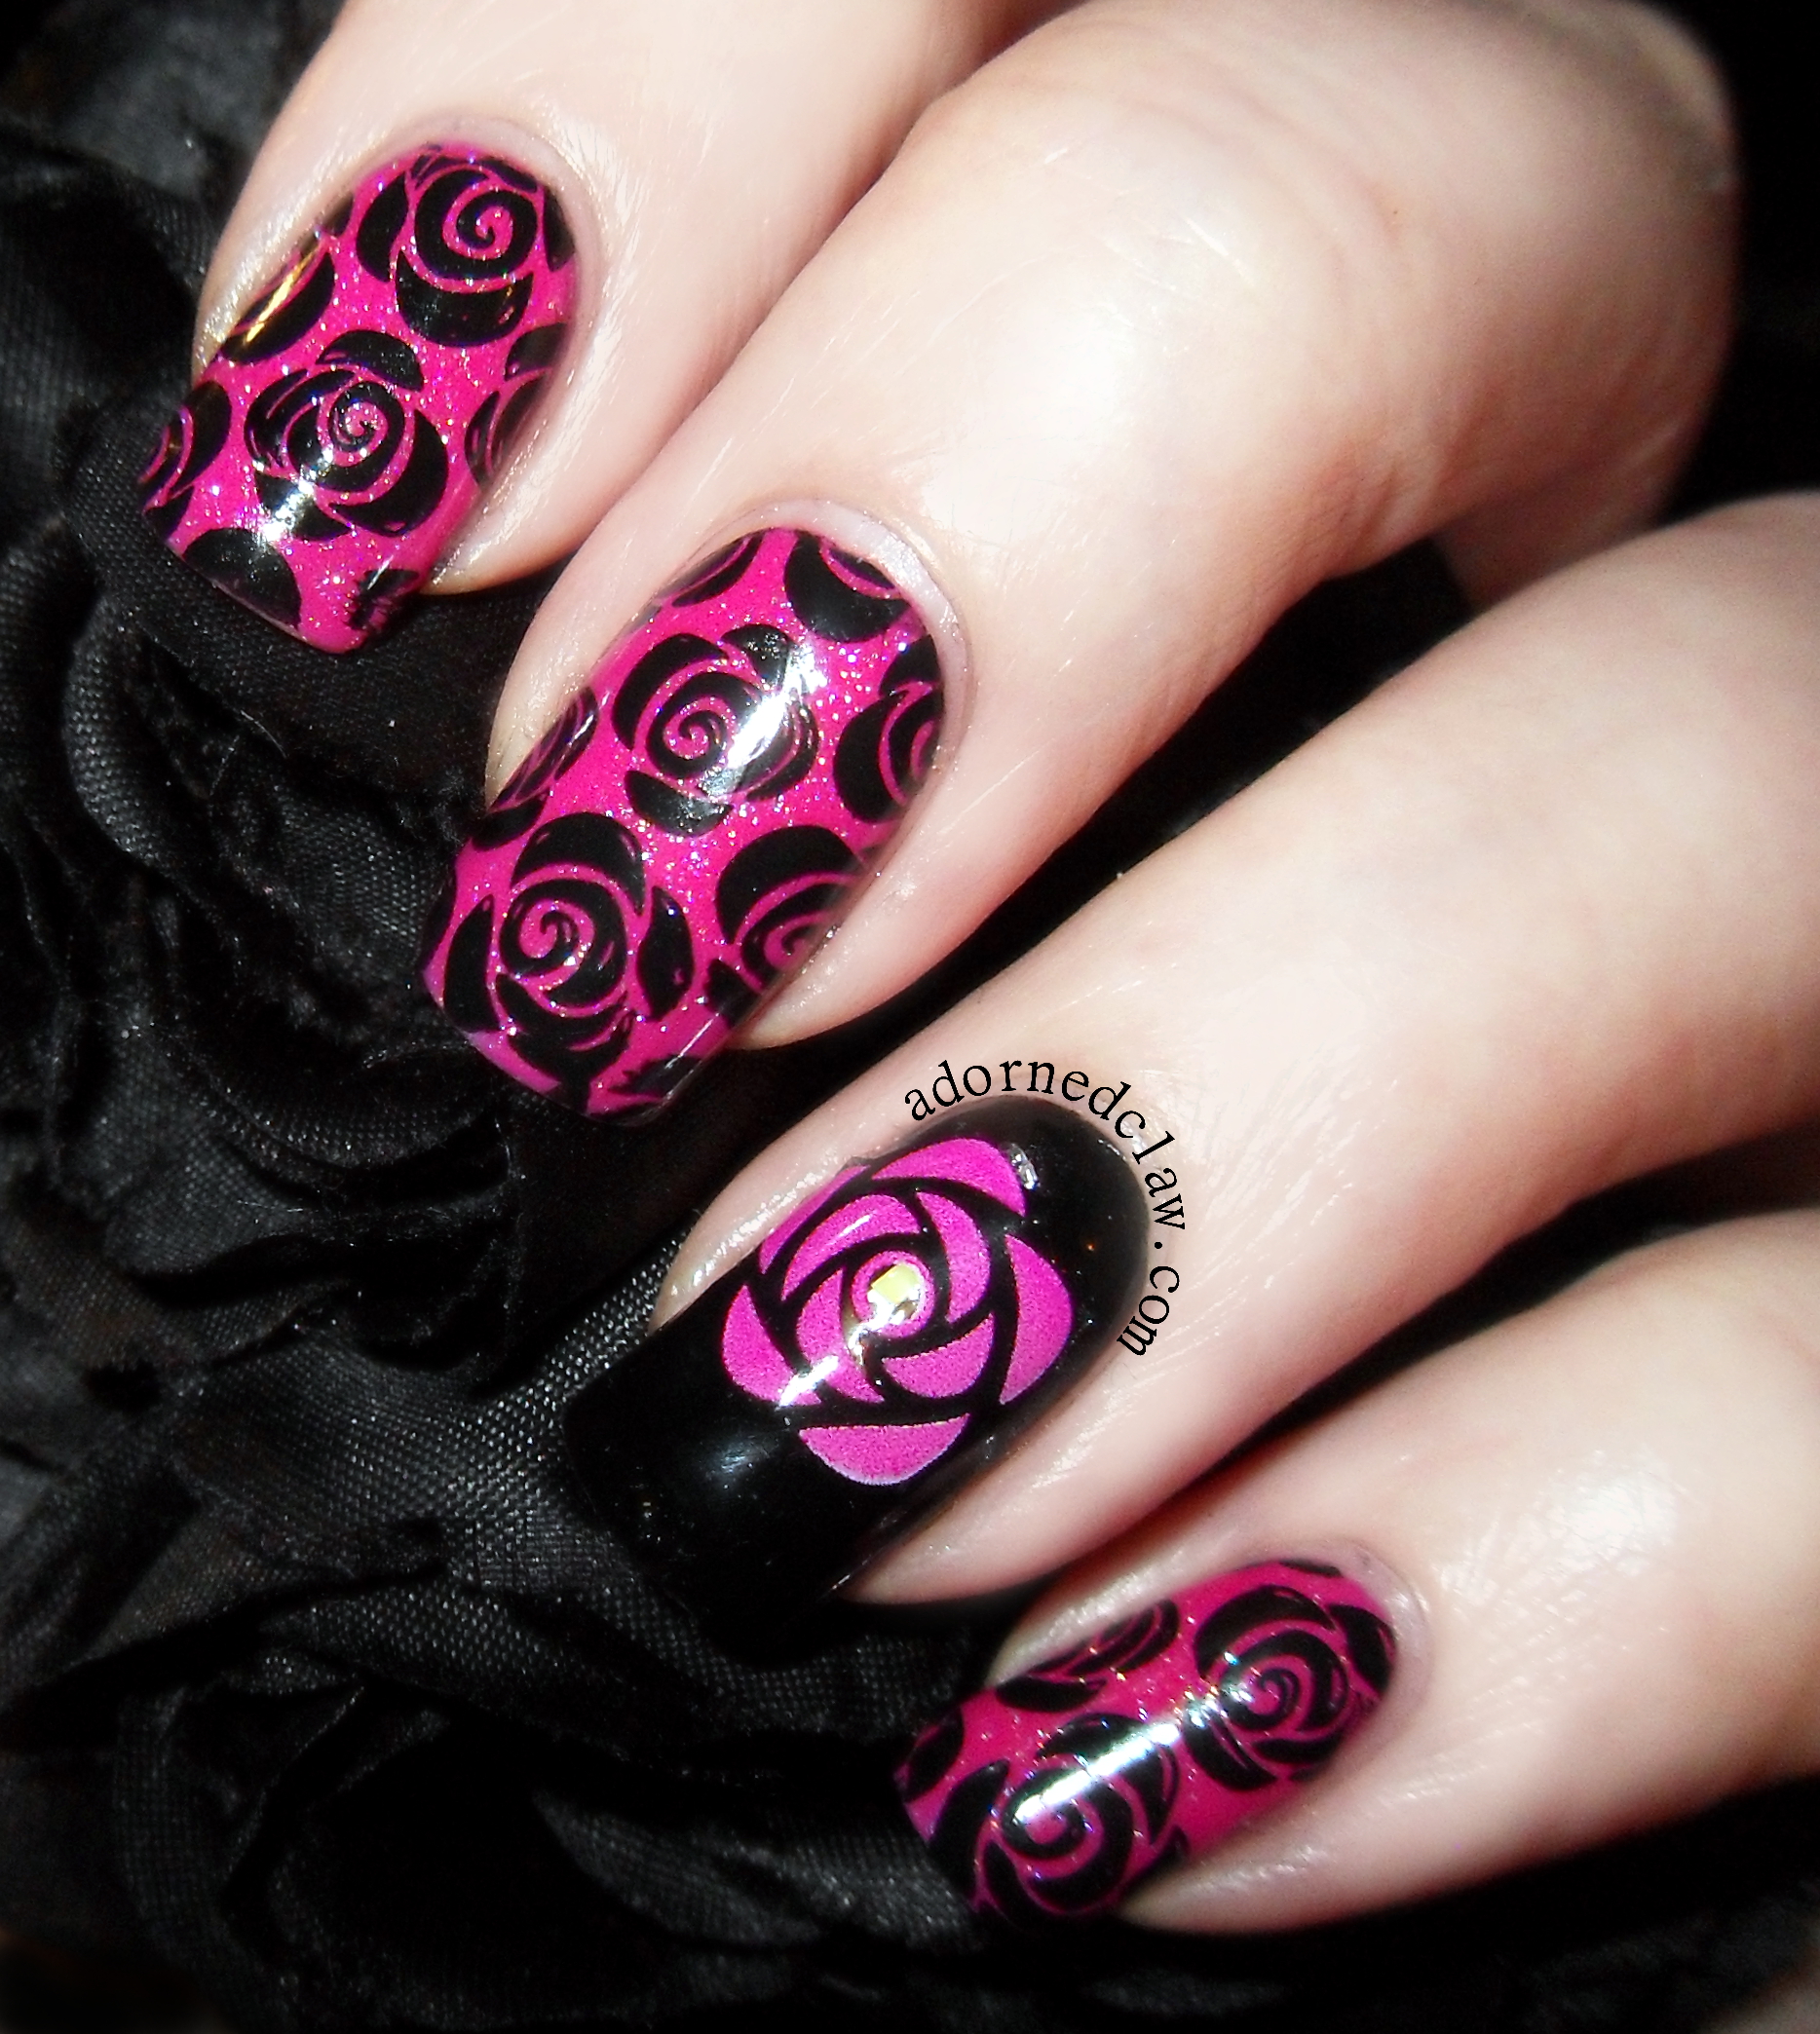
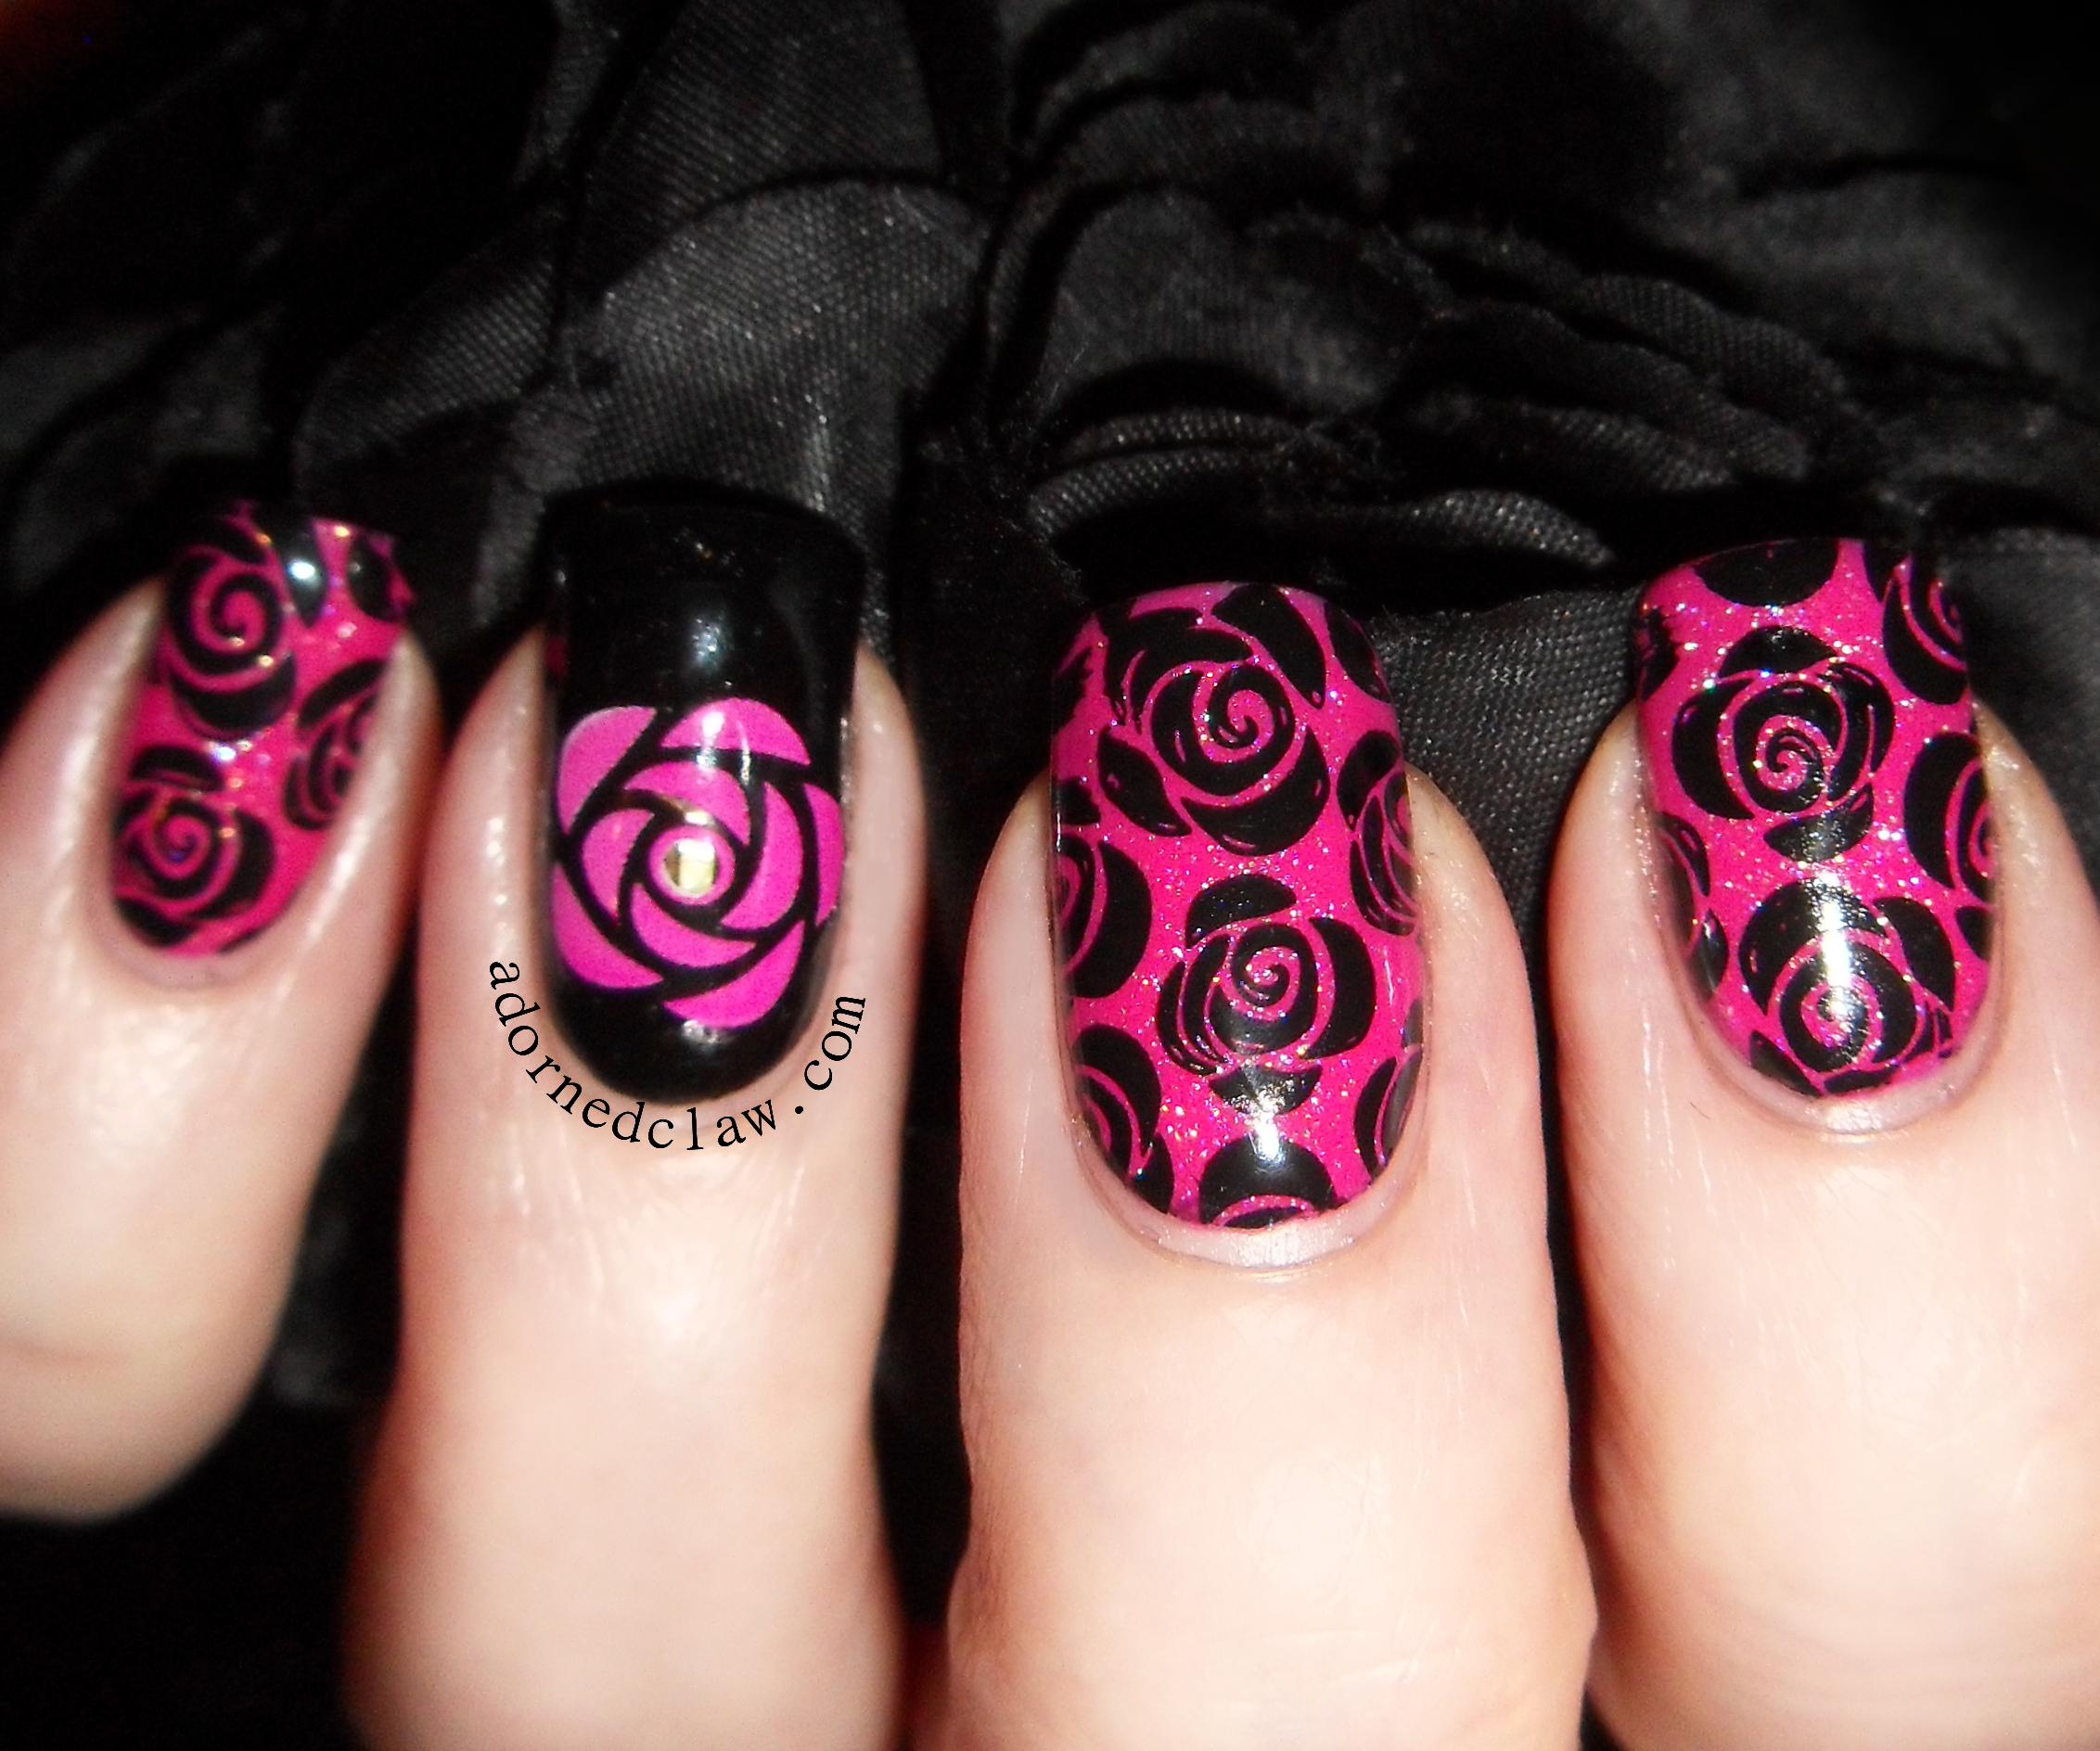
I decided to use the pink rose accent sticker from the set. I found that the adhesive on the stickers is very strong, so repositioning it is a bit of a challenge.
I used Seche Vite topcoat and I did find that the Accent sticker went a little bit crinkly as the polish dried. I don’t know if a non quick dry topcoat would have the same effect on the accent stickers, unfortunately I don’t have any on hand to try!
Here’s another little video of it in action. This time on my nail 🙂
The decals for using with regular polish are available Here
The other products I used for this look are
Barry M – Shocking Pink
Butter London – Frilly Knickers
Illamasqua – Scorn
Moyou – Pro collection XL 07
Konad – Special Polish Black
Seche Vite Topcoat
omg led decal review
I found that to get the best and brightest flashes I had to be holding my phone close to where the NFC chip is located. Unfortunately these won’t work with iphones.
Make sure that NFC setting is turned on on your phone or the LED won’t work!
I really do like these LED decals, they are so fun to wear!
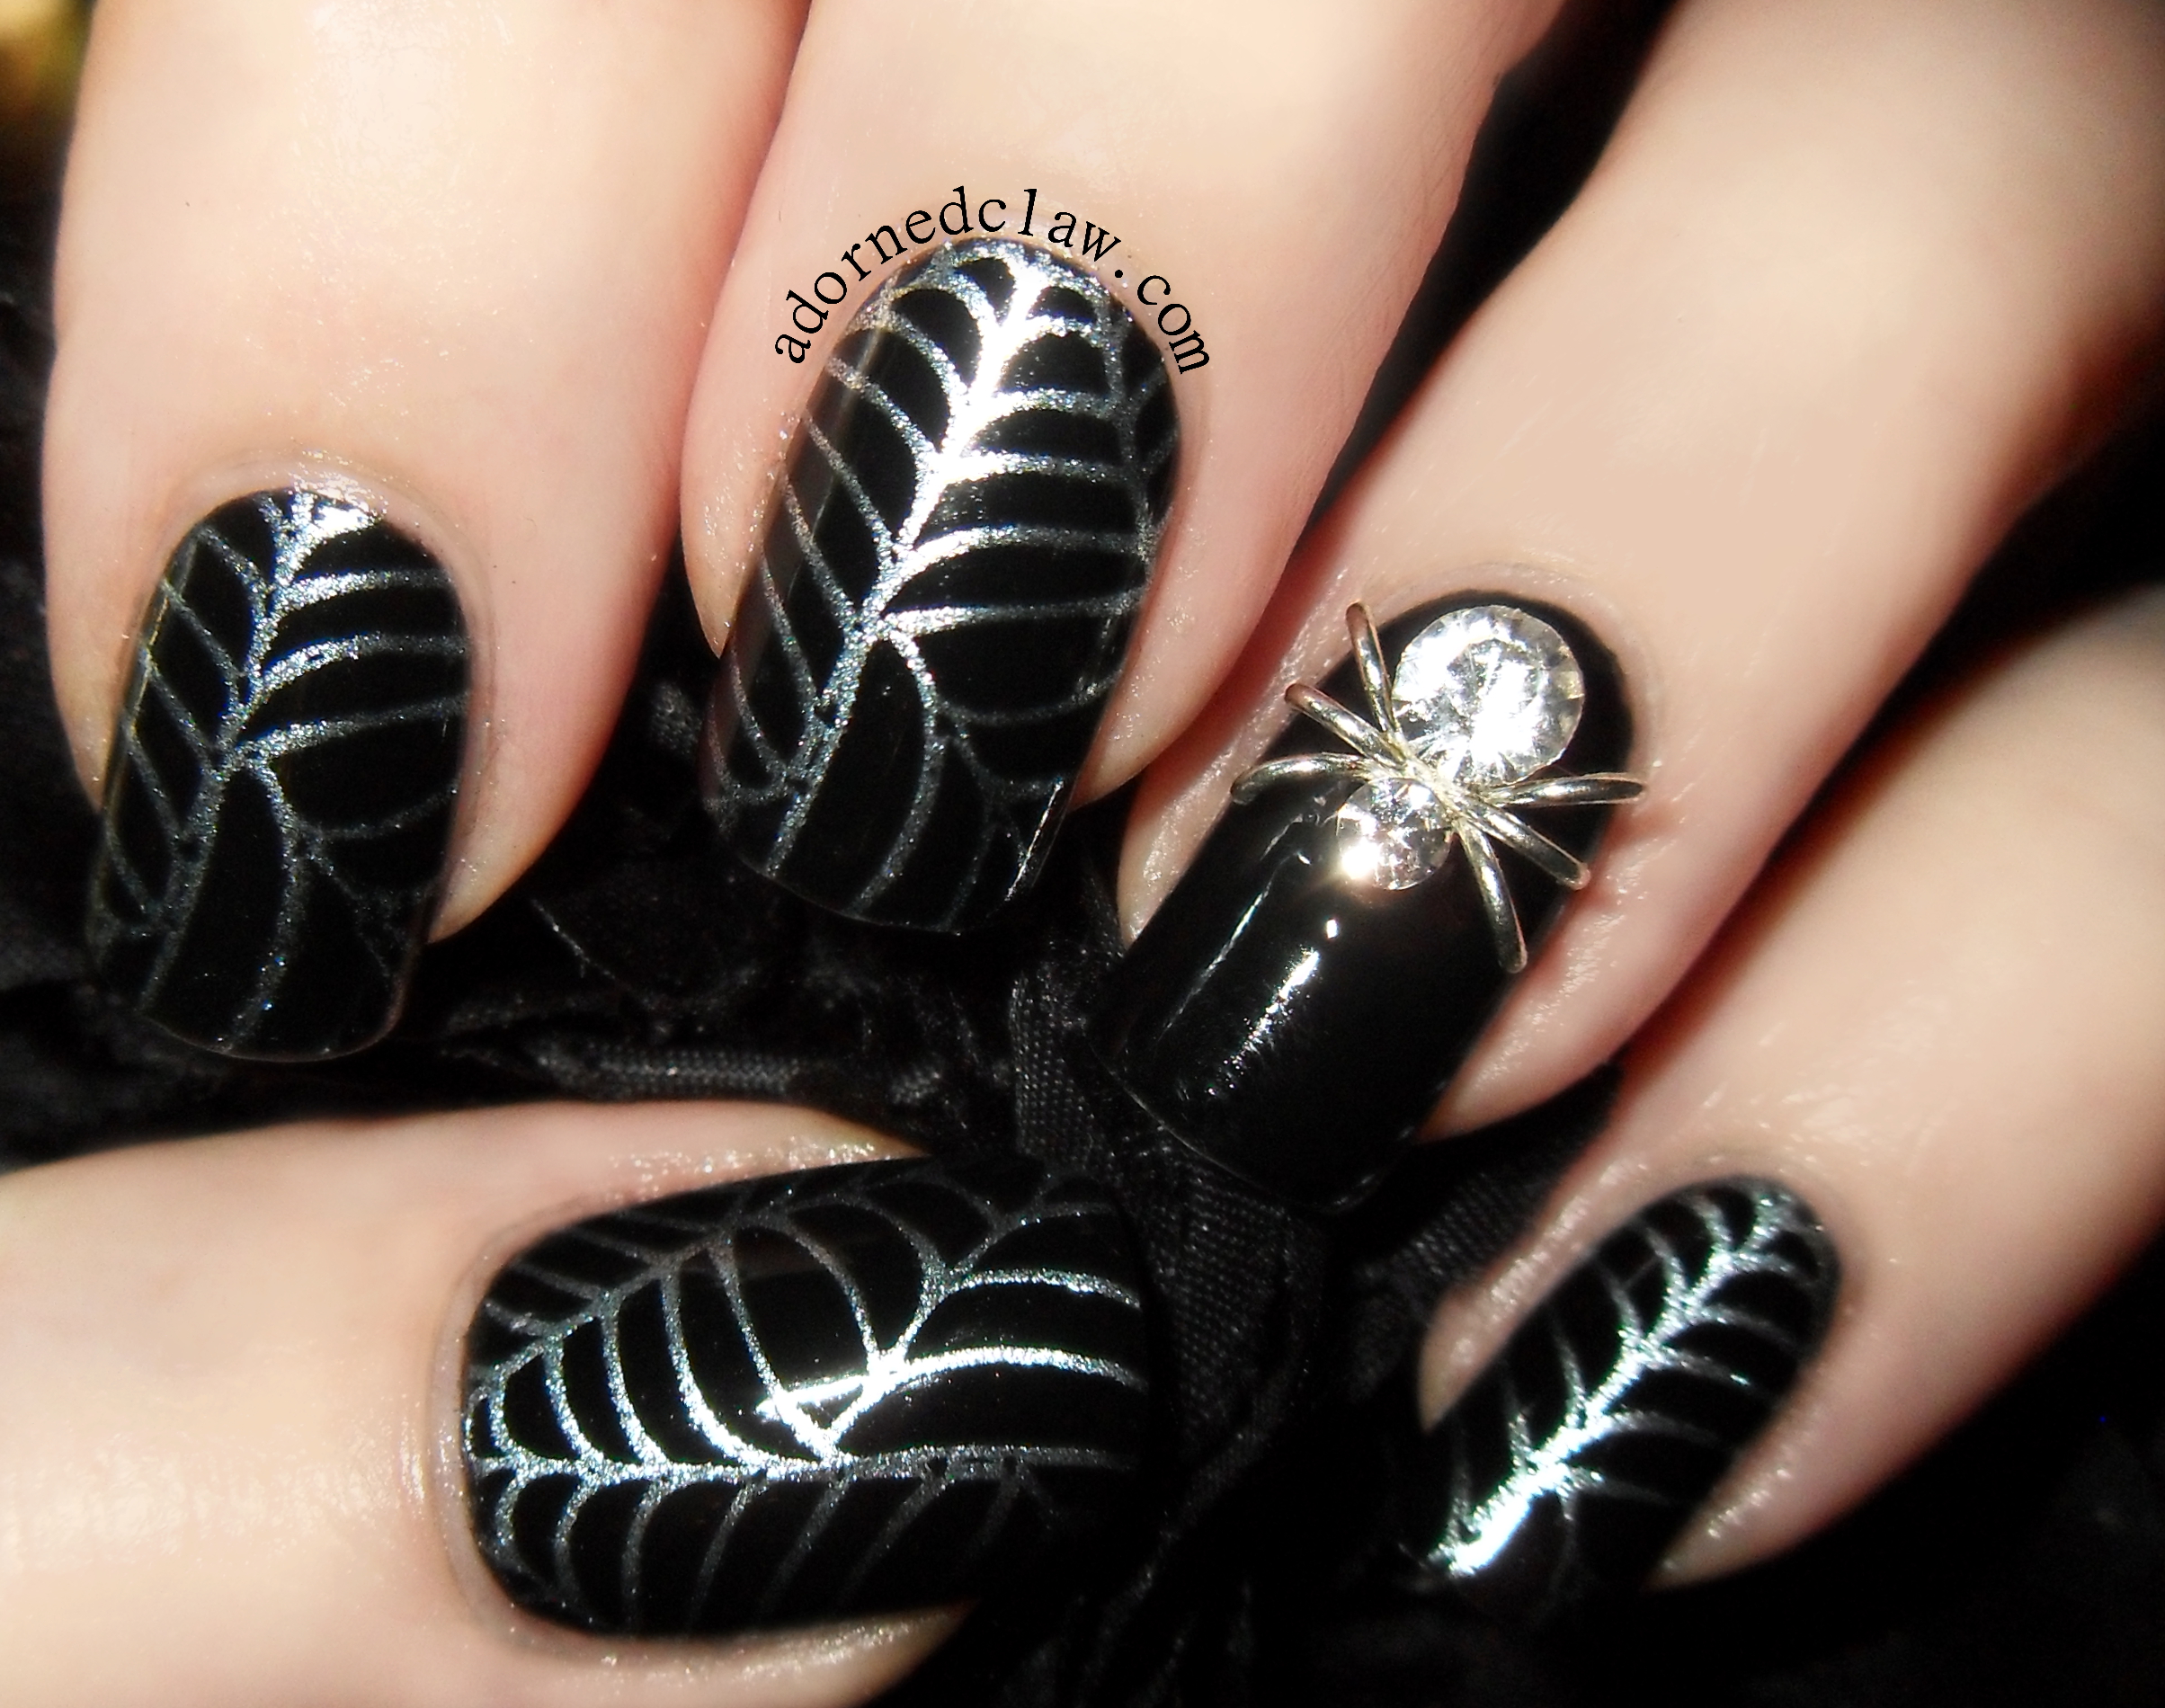
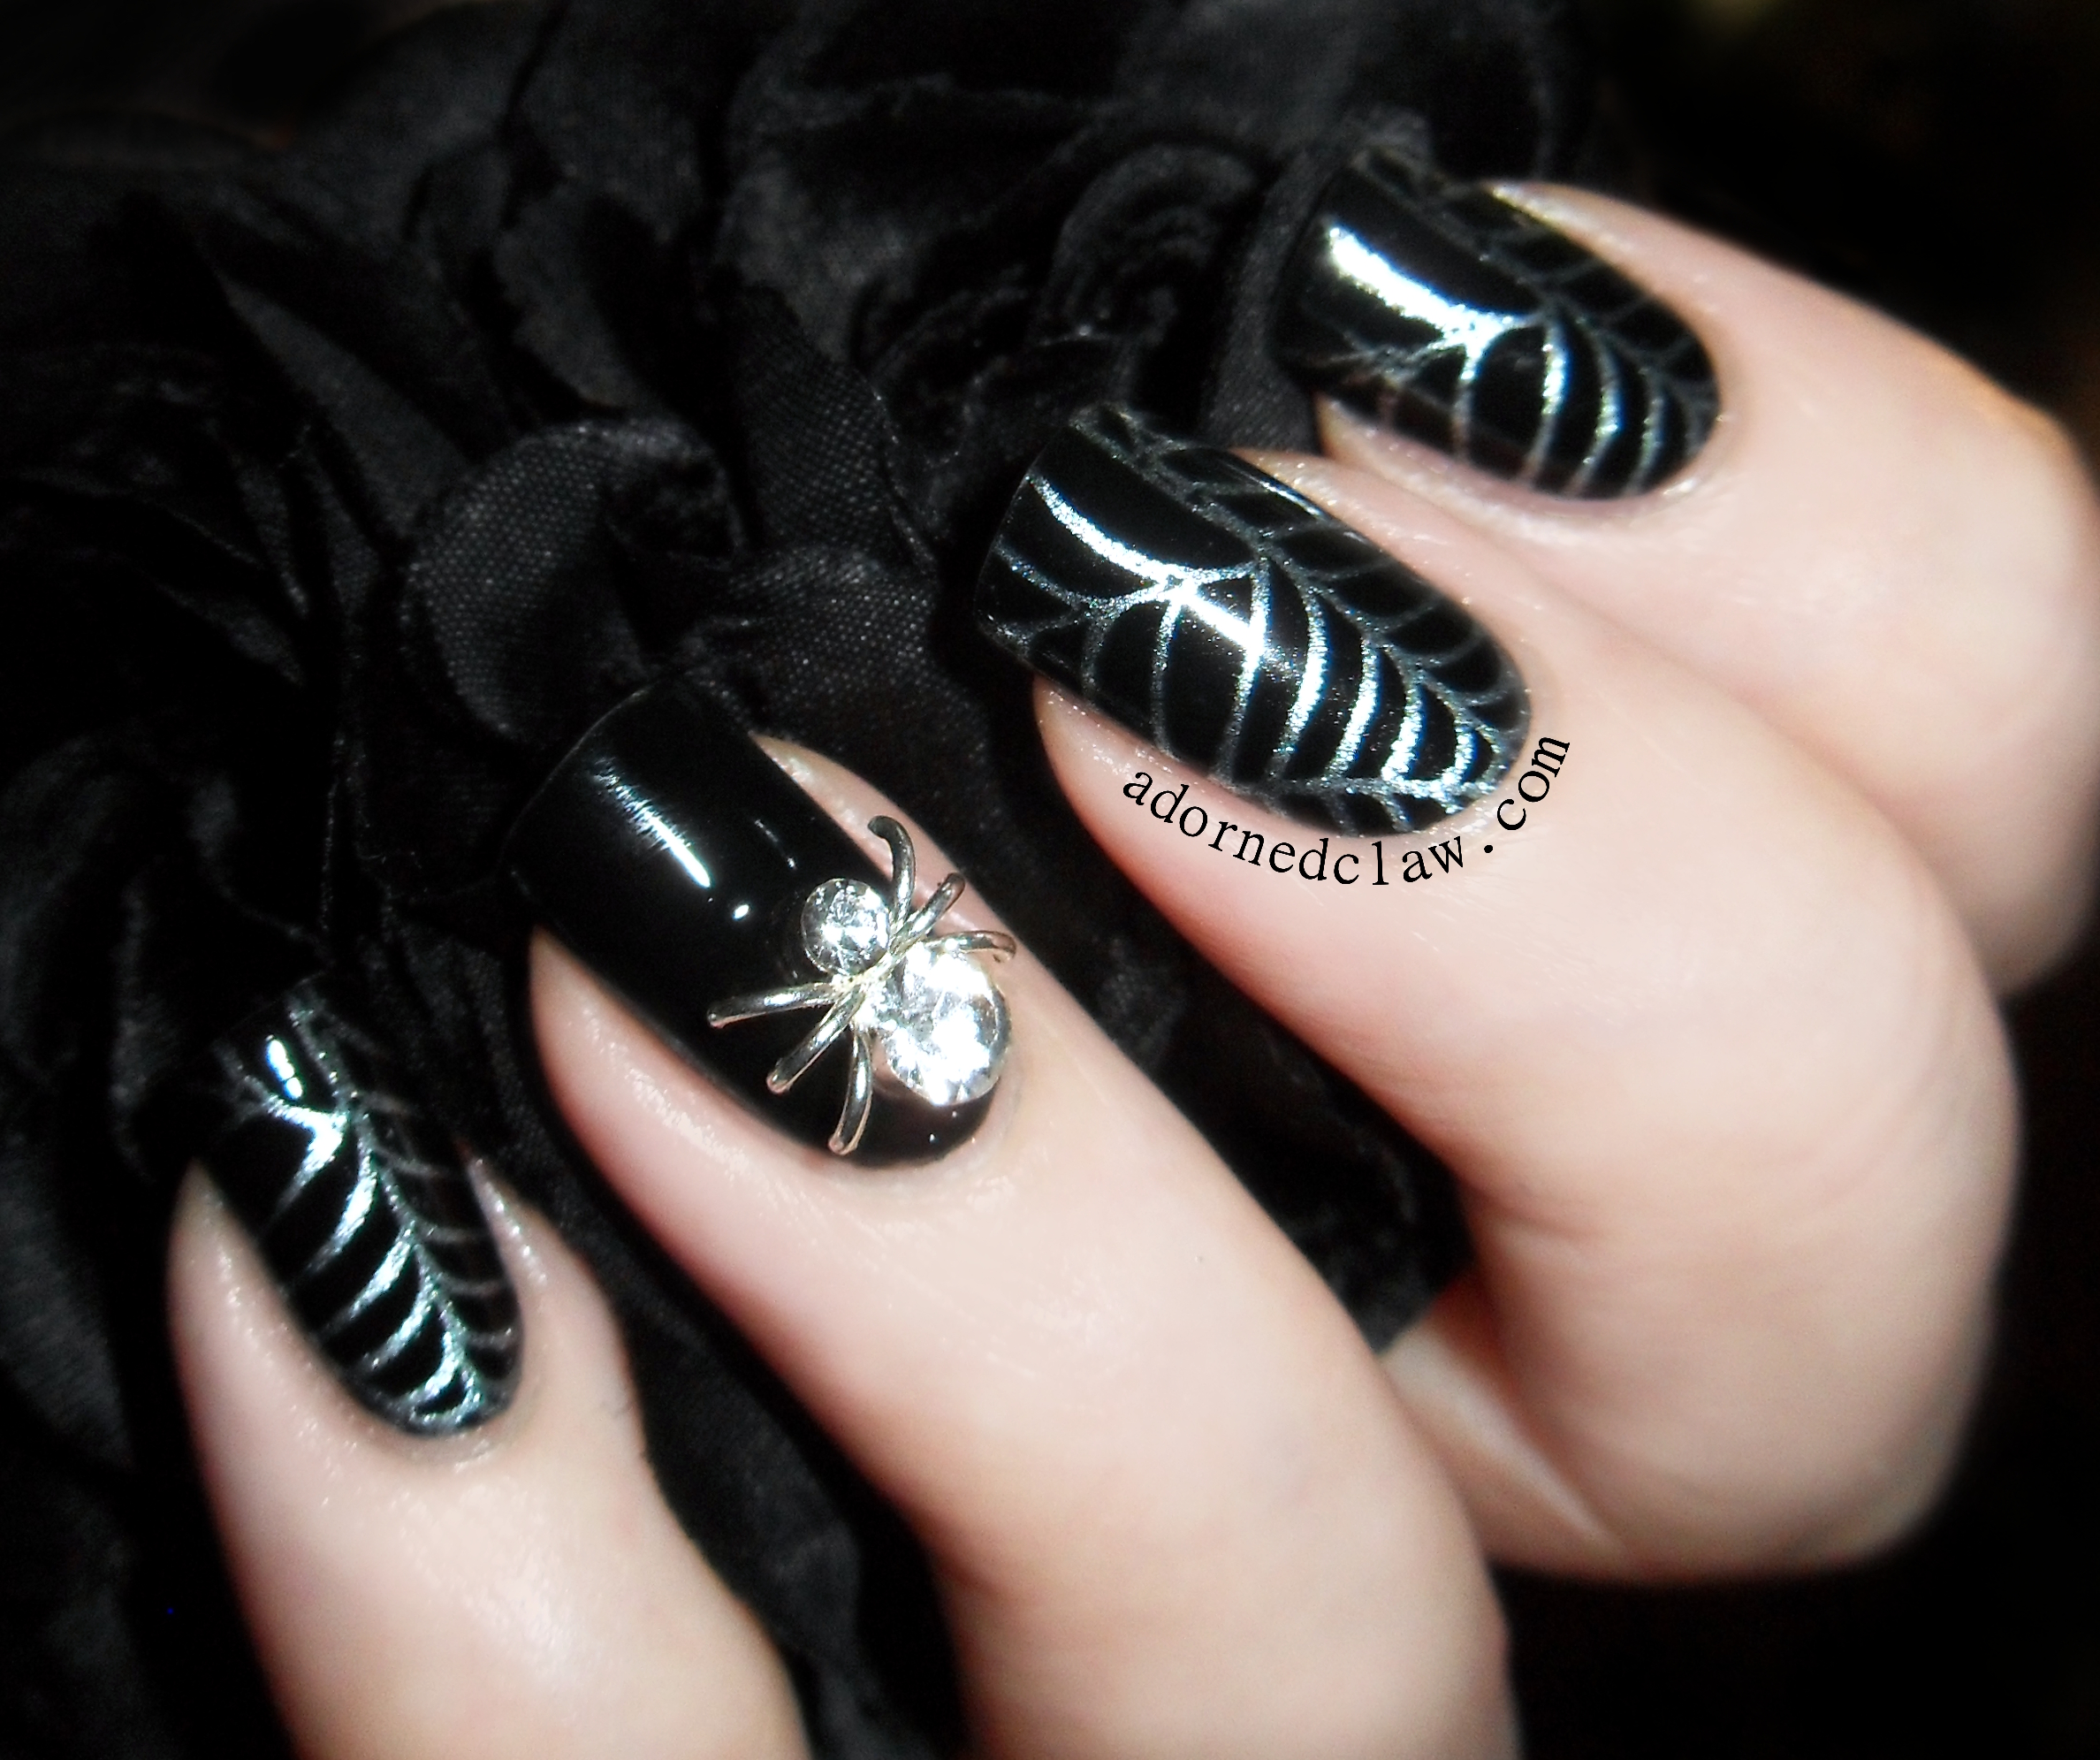
I started out with two coats of Evil, it’s a nice black cream but, that name! Evil! Who thought that one up? ugh!
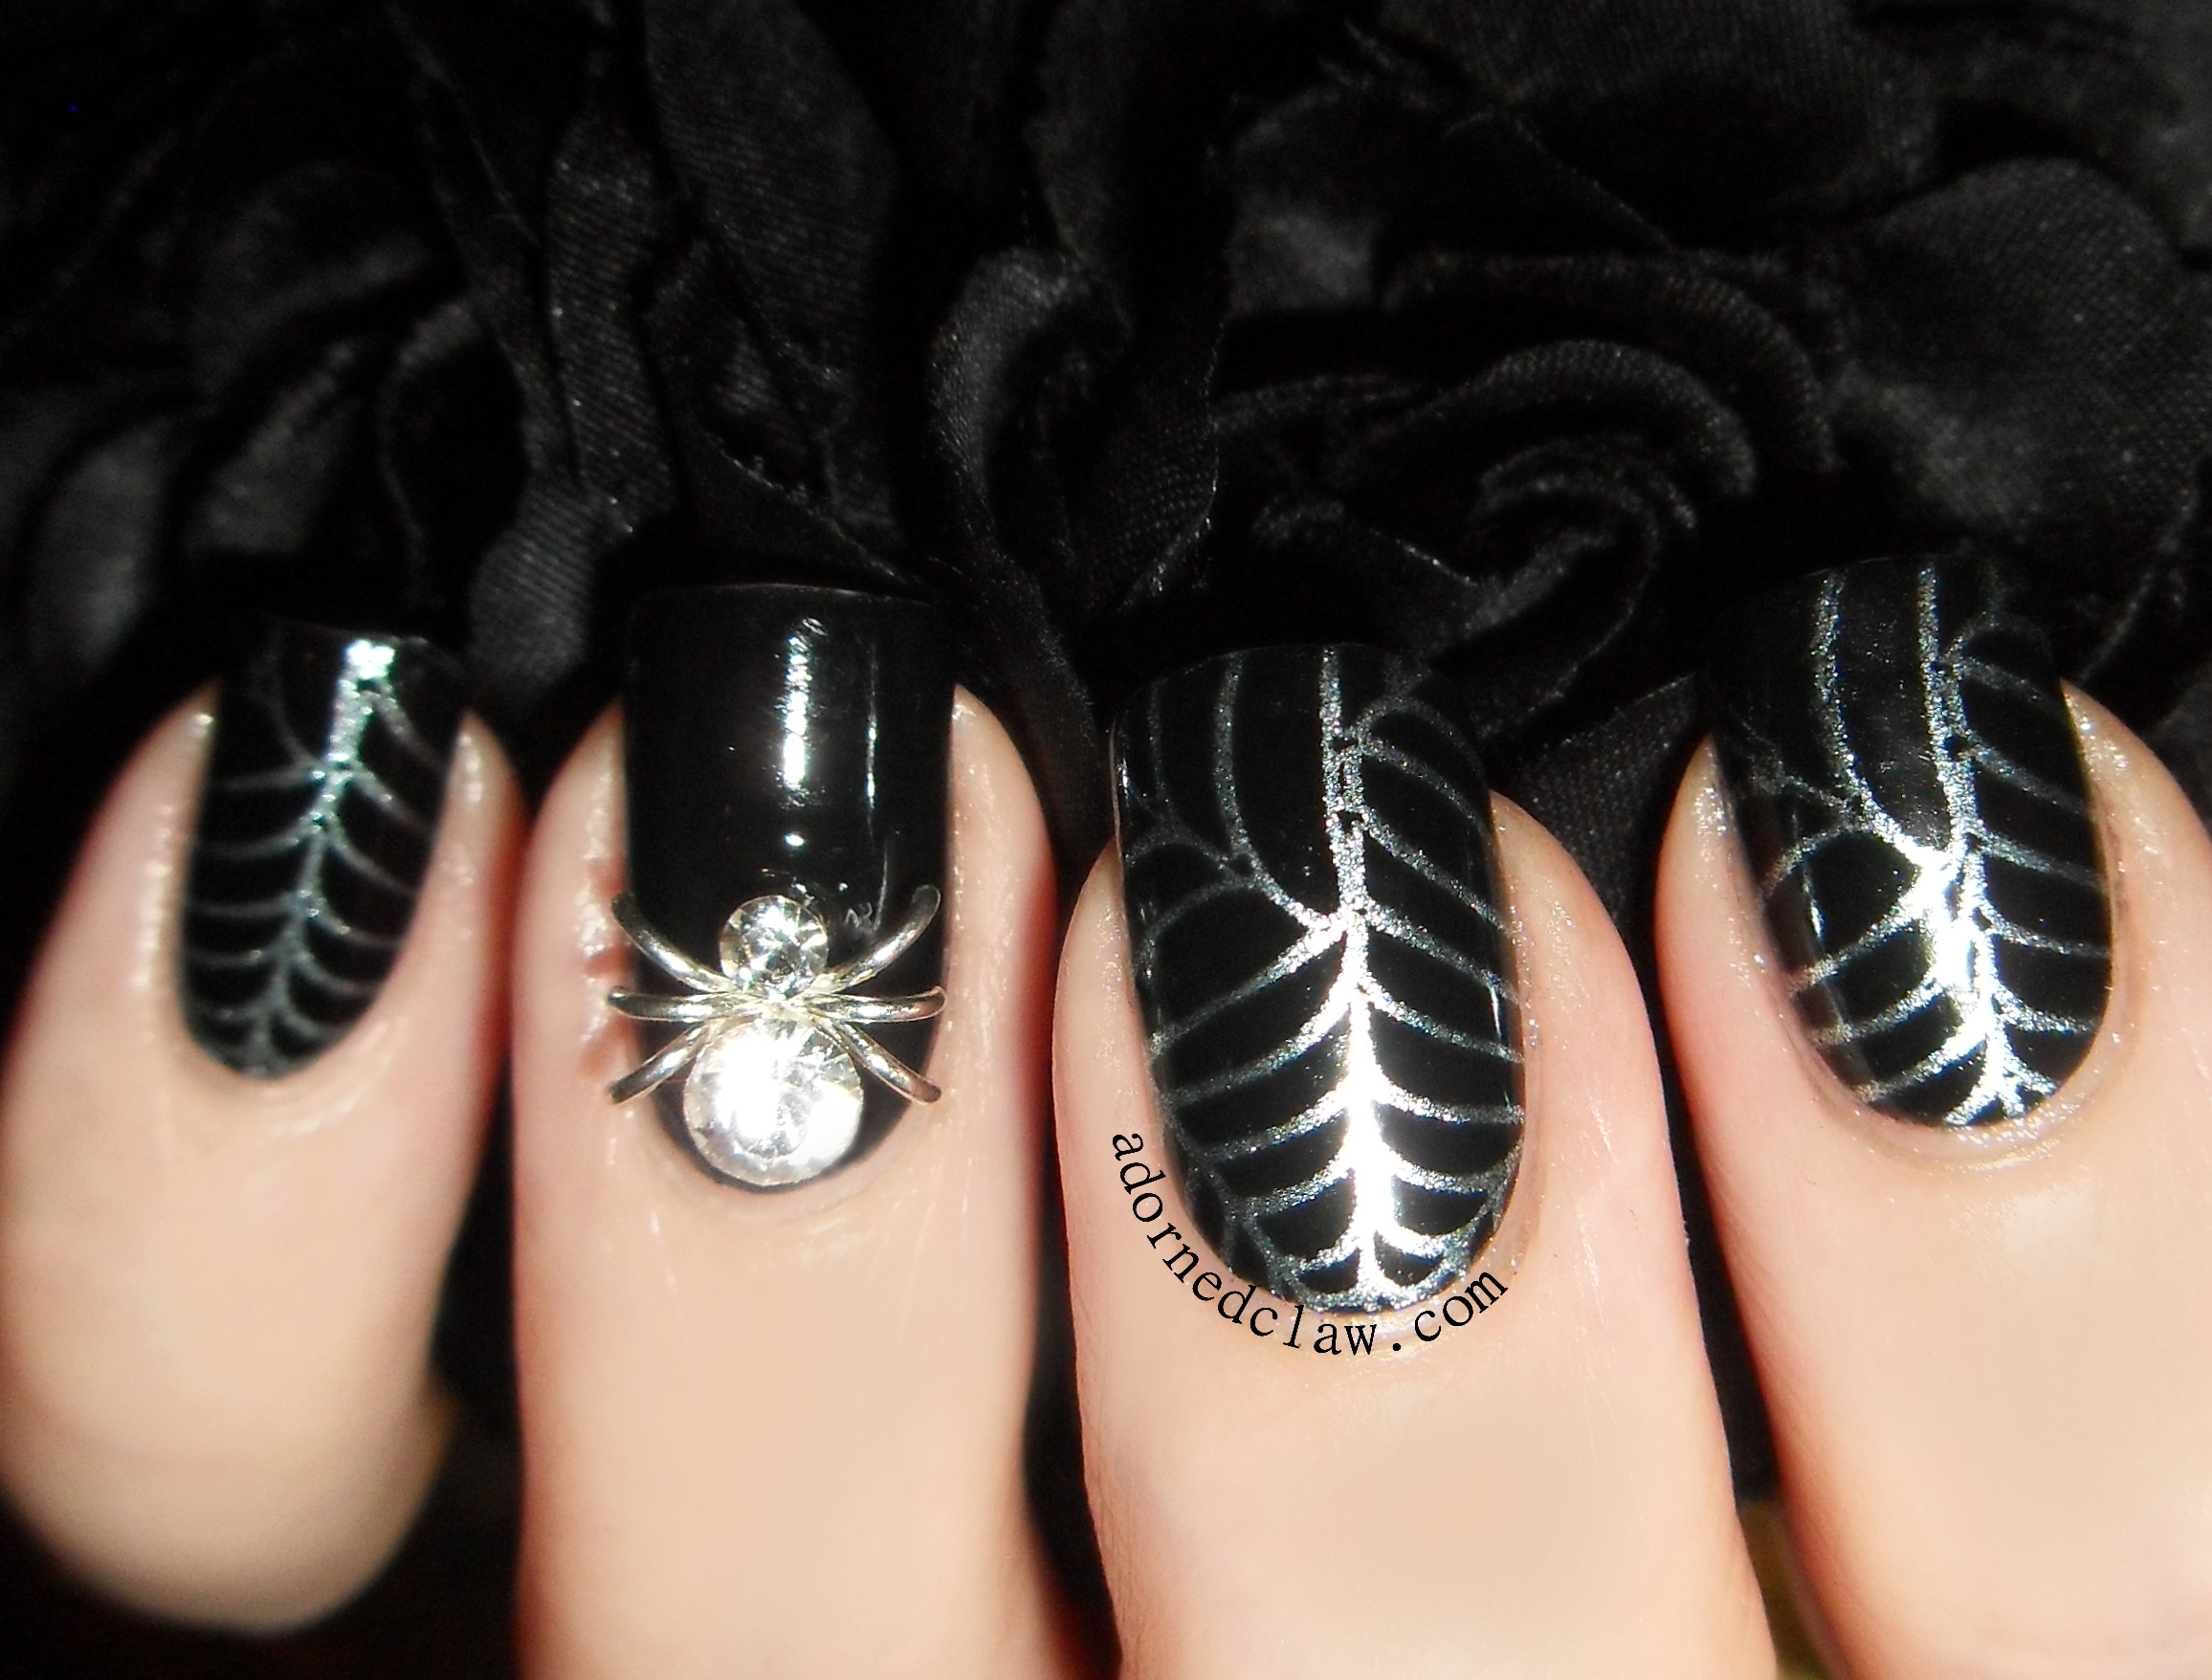
I used Lumin-Iceant to stamp the spiderweb design from Moyou Pro 05 and topped it off with a coat of Seche Vite
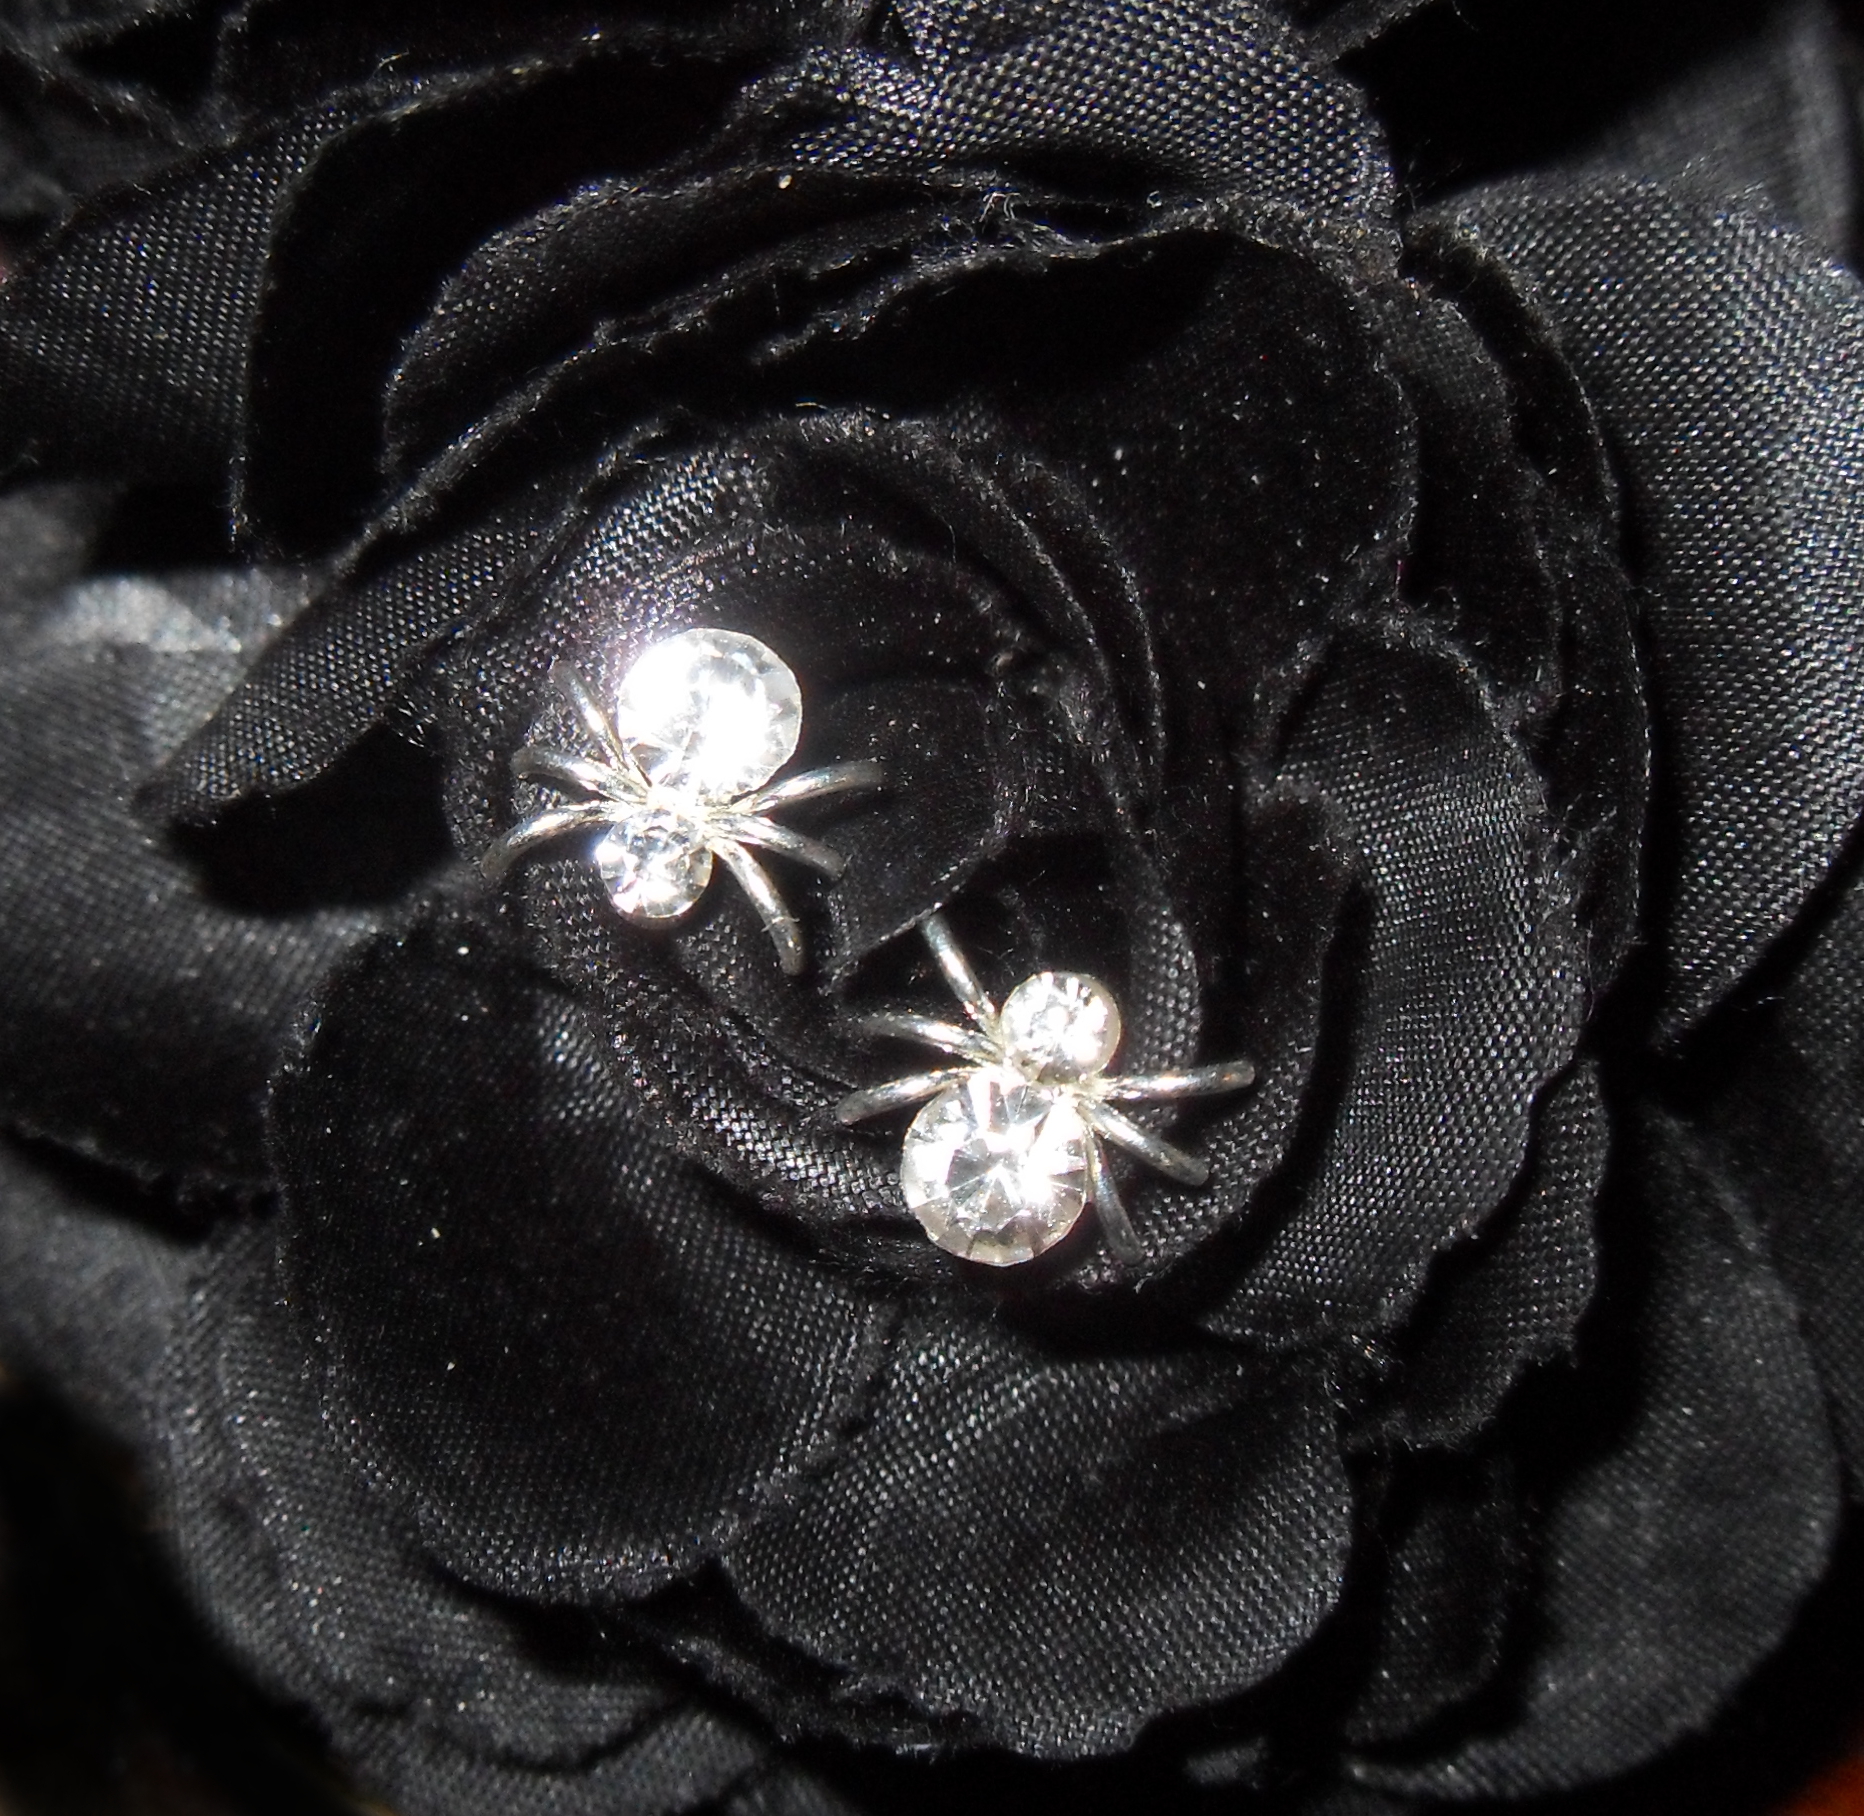
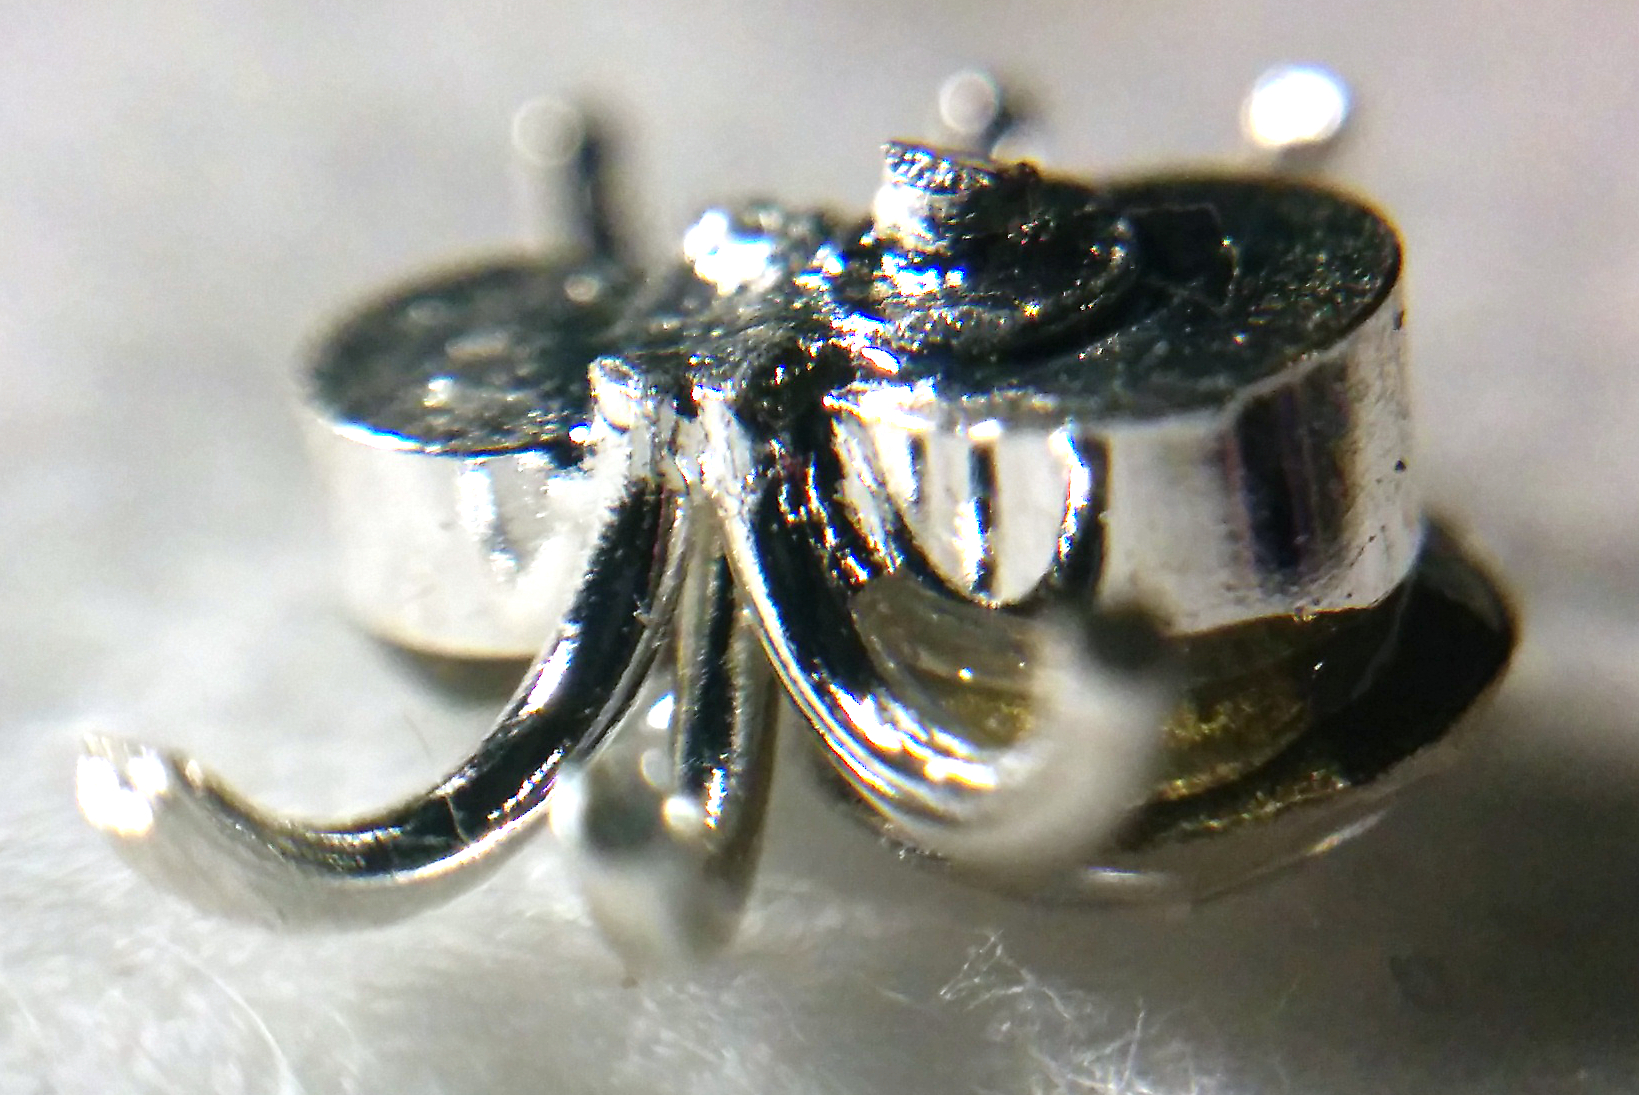
When that had dried it was time to apply the spider, But I found this…
Not very flat at all!
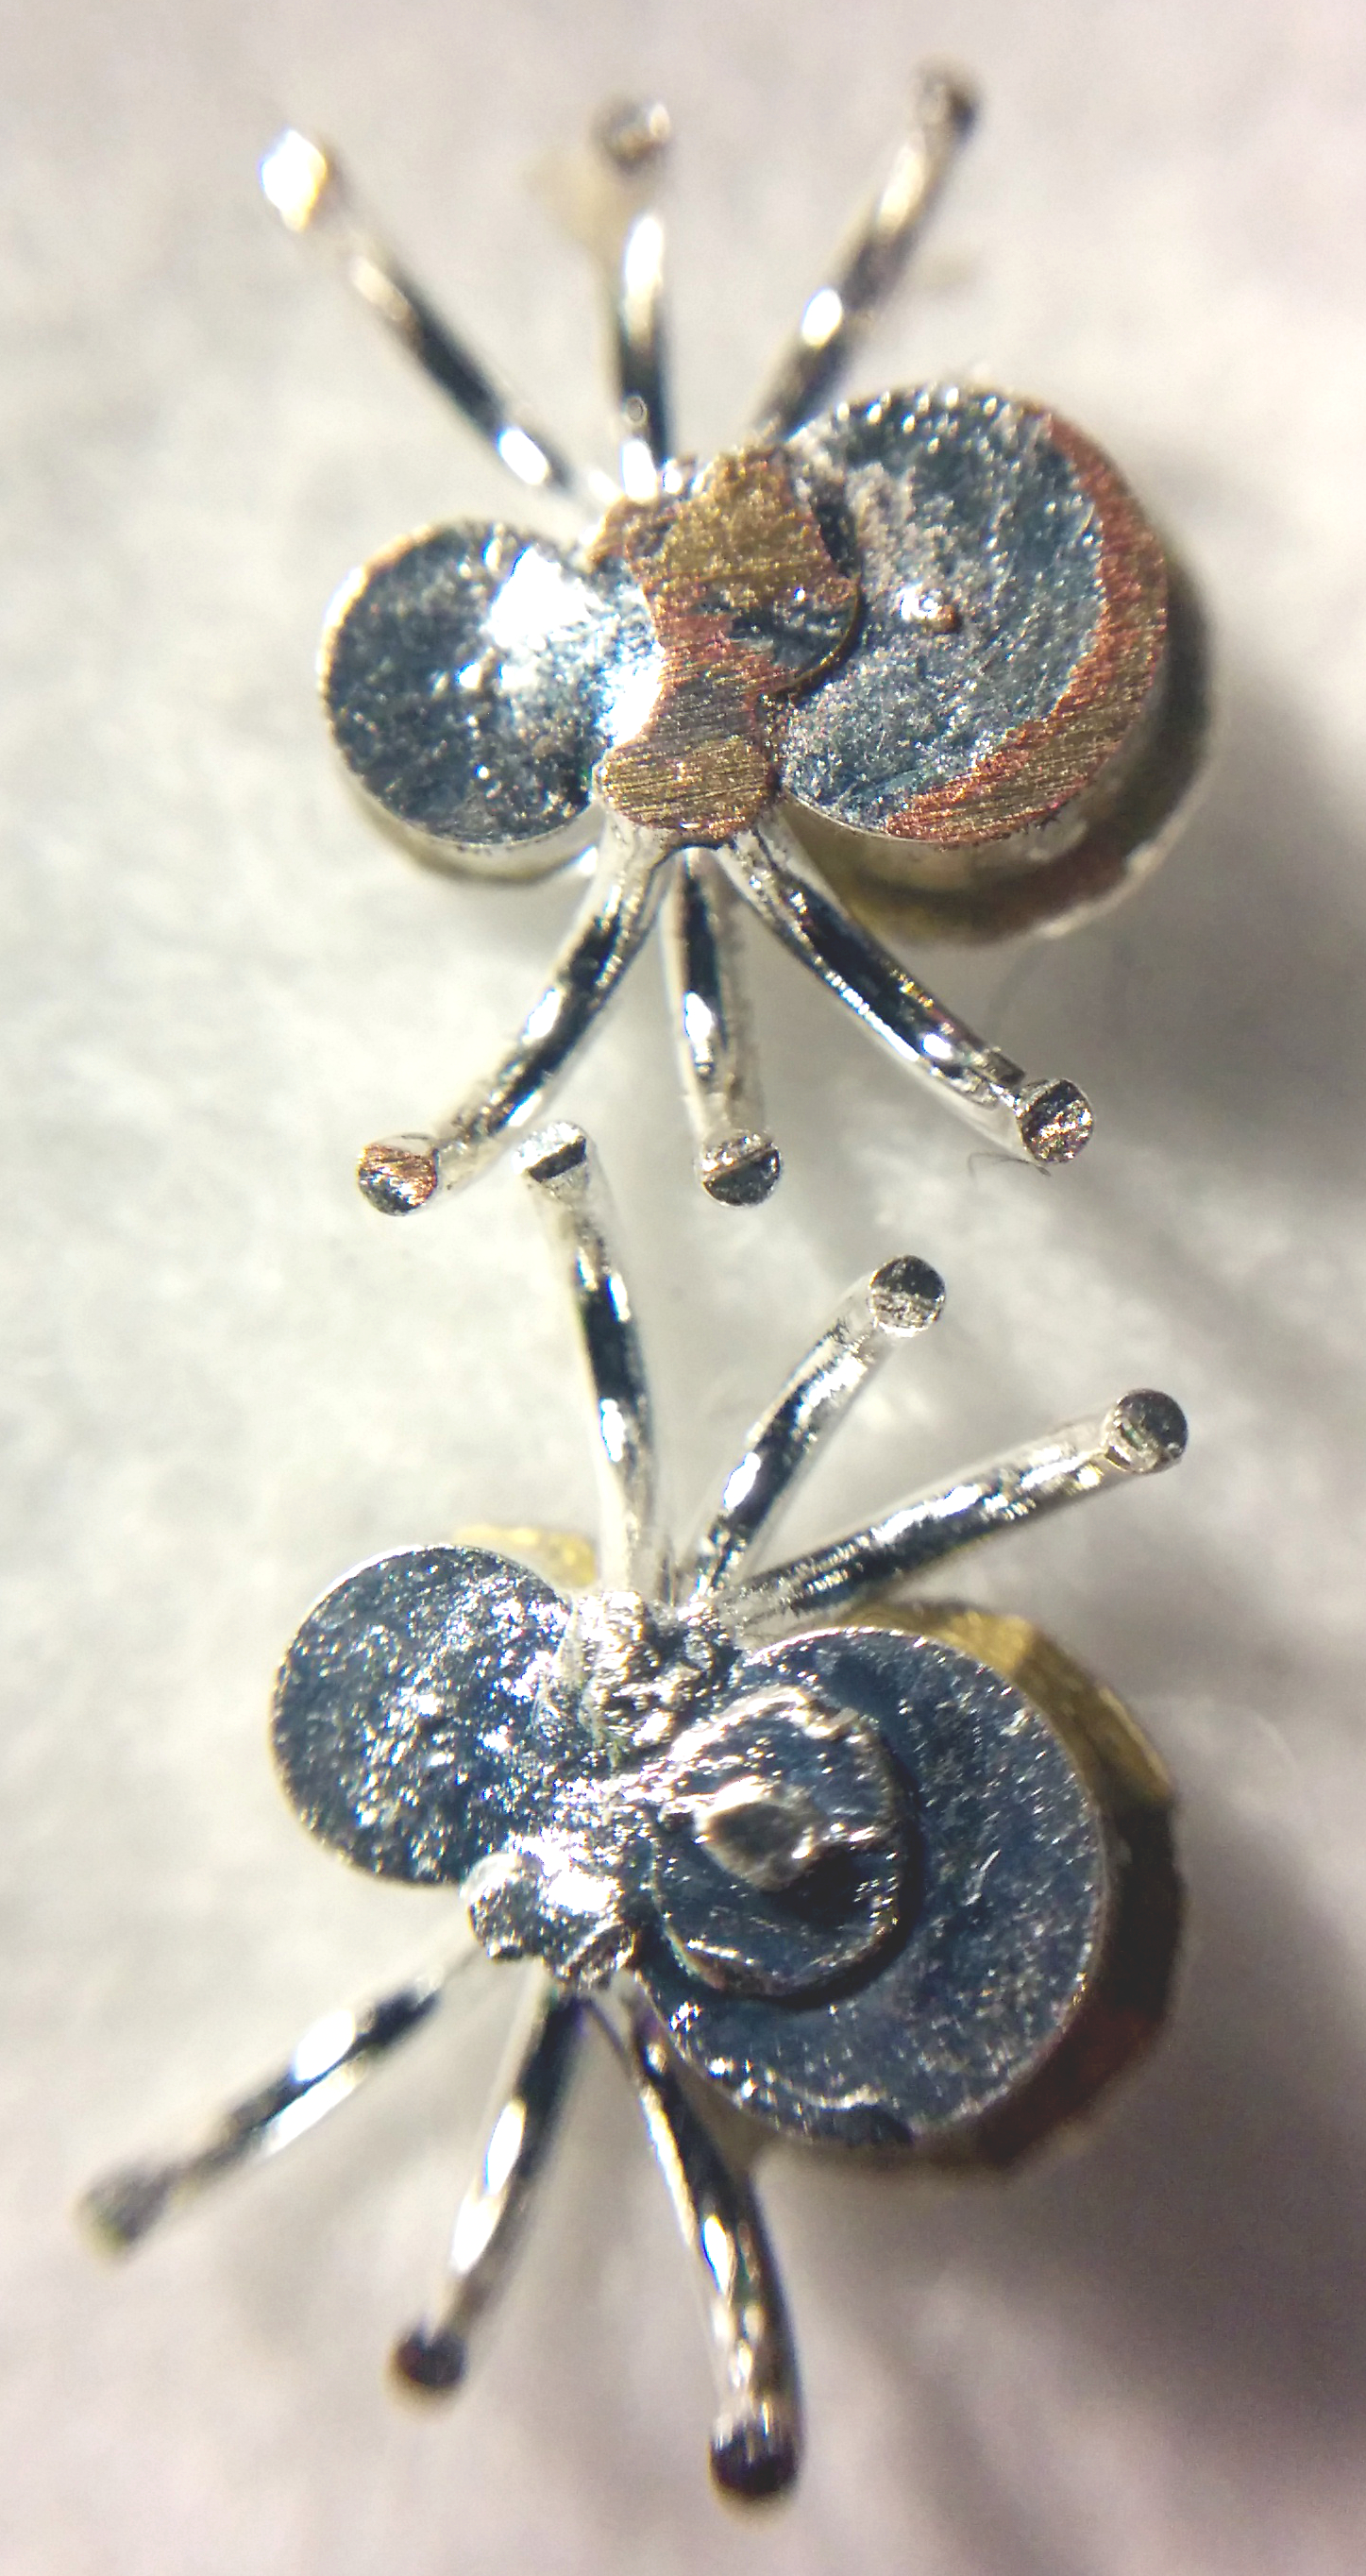
The back of the spider wasn’t flat, it looks to be something to do with the manufacturing process.
So I decided to remove it using an old metal nail file, it only took a couple of minutes and it worked really well! Although it was a little bit fiddly to keep a good grip on the spider while filing as they are tiny!
Rhinestone Spider
Now I have a flat bottomed spider. I applied a thick coat of Seche Vite to my ring finger nail and positioned it on my nail using tweezers, and gently pressed it onto the nail until the topcoat had dried.
Rhinestone Spider
I think these little spiders are really cute, but I really like spiders! 😀
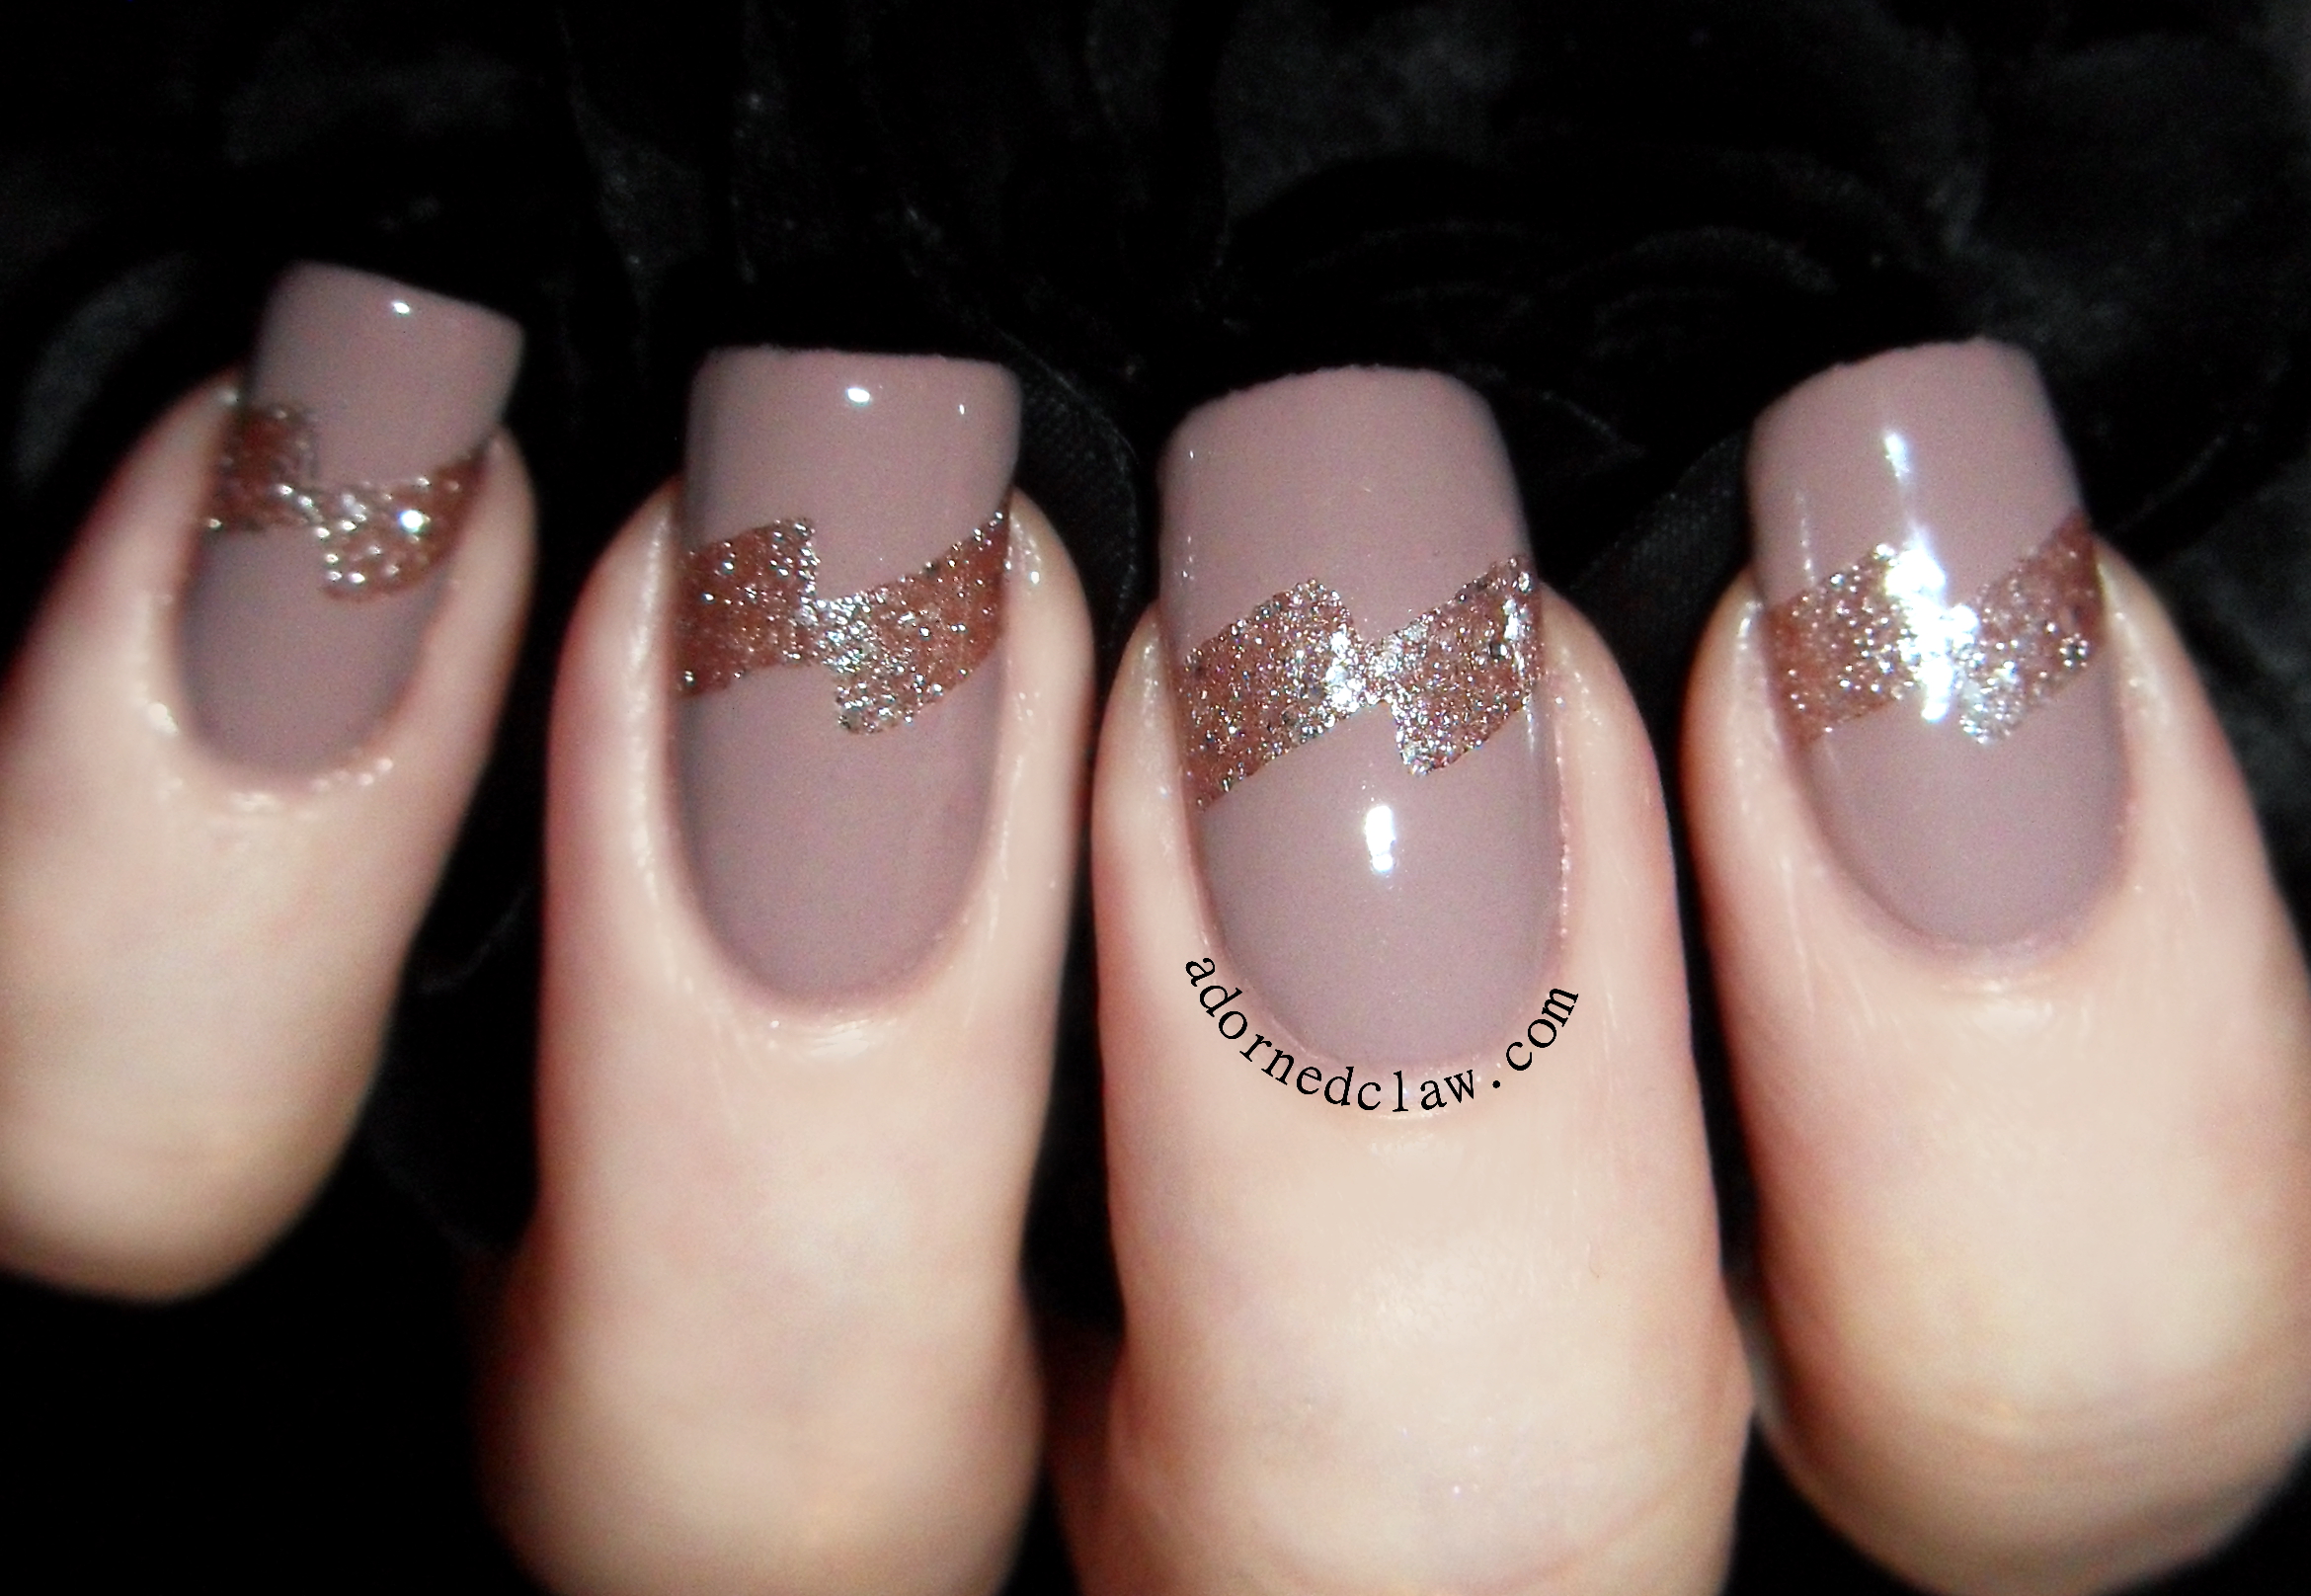
Today I have a review of some French Tip Guides kindly sent to me from Born Pretty.
Deborah Lippmann Modern Love, Rimmel Space Dust Aurora and Tip Guides from Born Pretty Store
For this I used Deborah Lippmann Modern Love, Rimmel Space Dust Aurora and of course the Tip Guides!
These guides are really good quality, just sticky enough to adhere nicely to the nail with out being so sticky they take off the polish underneath. I decided to really test them by using the guides over the textured glitter polish… Amazingly there was no polish bleeding under the tape!
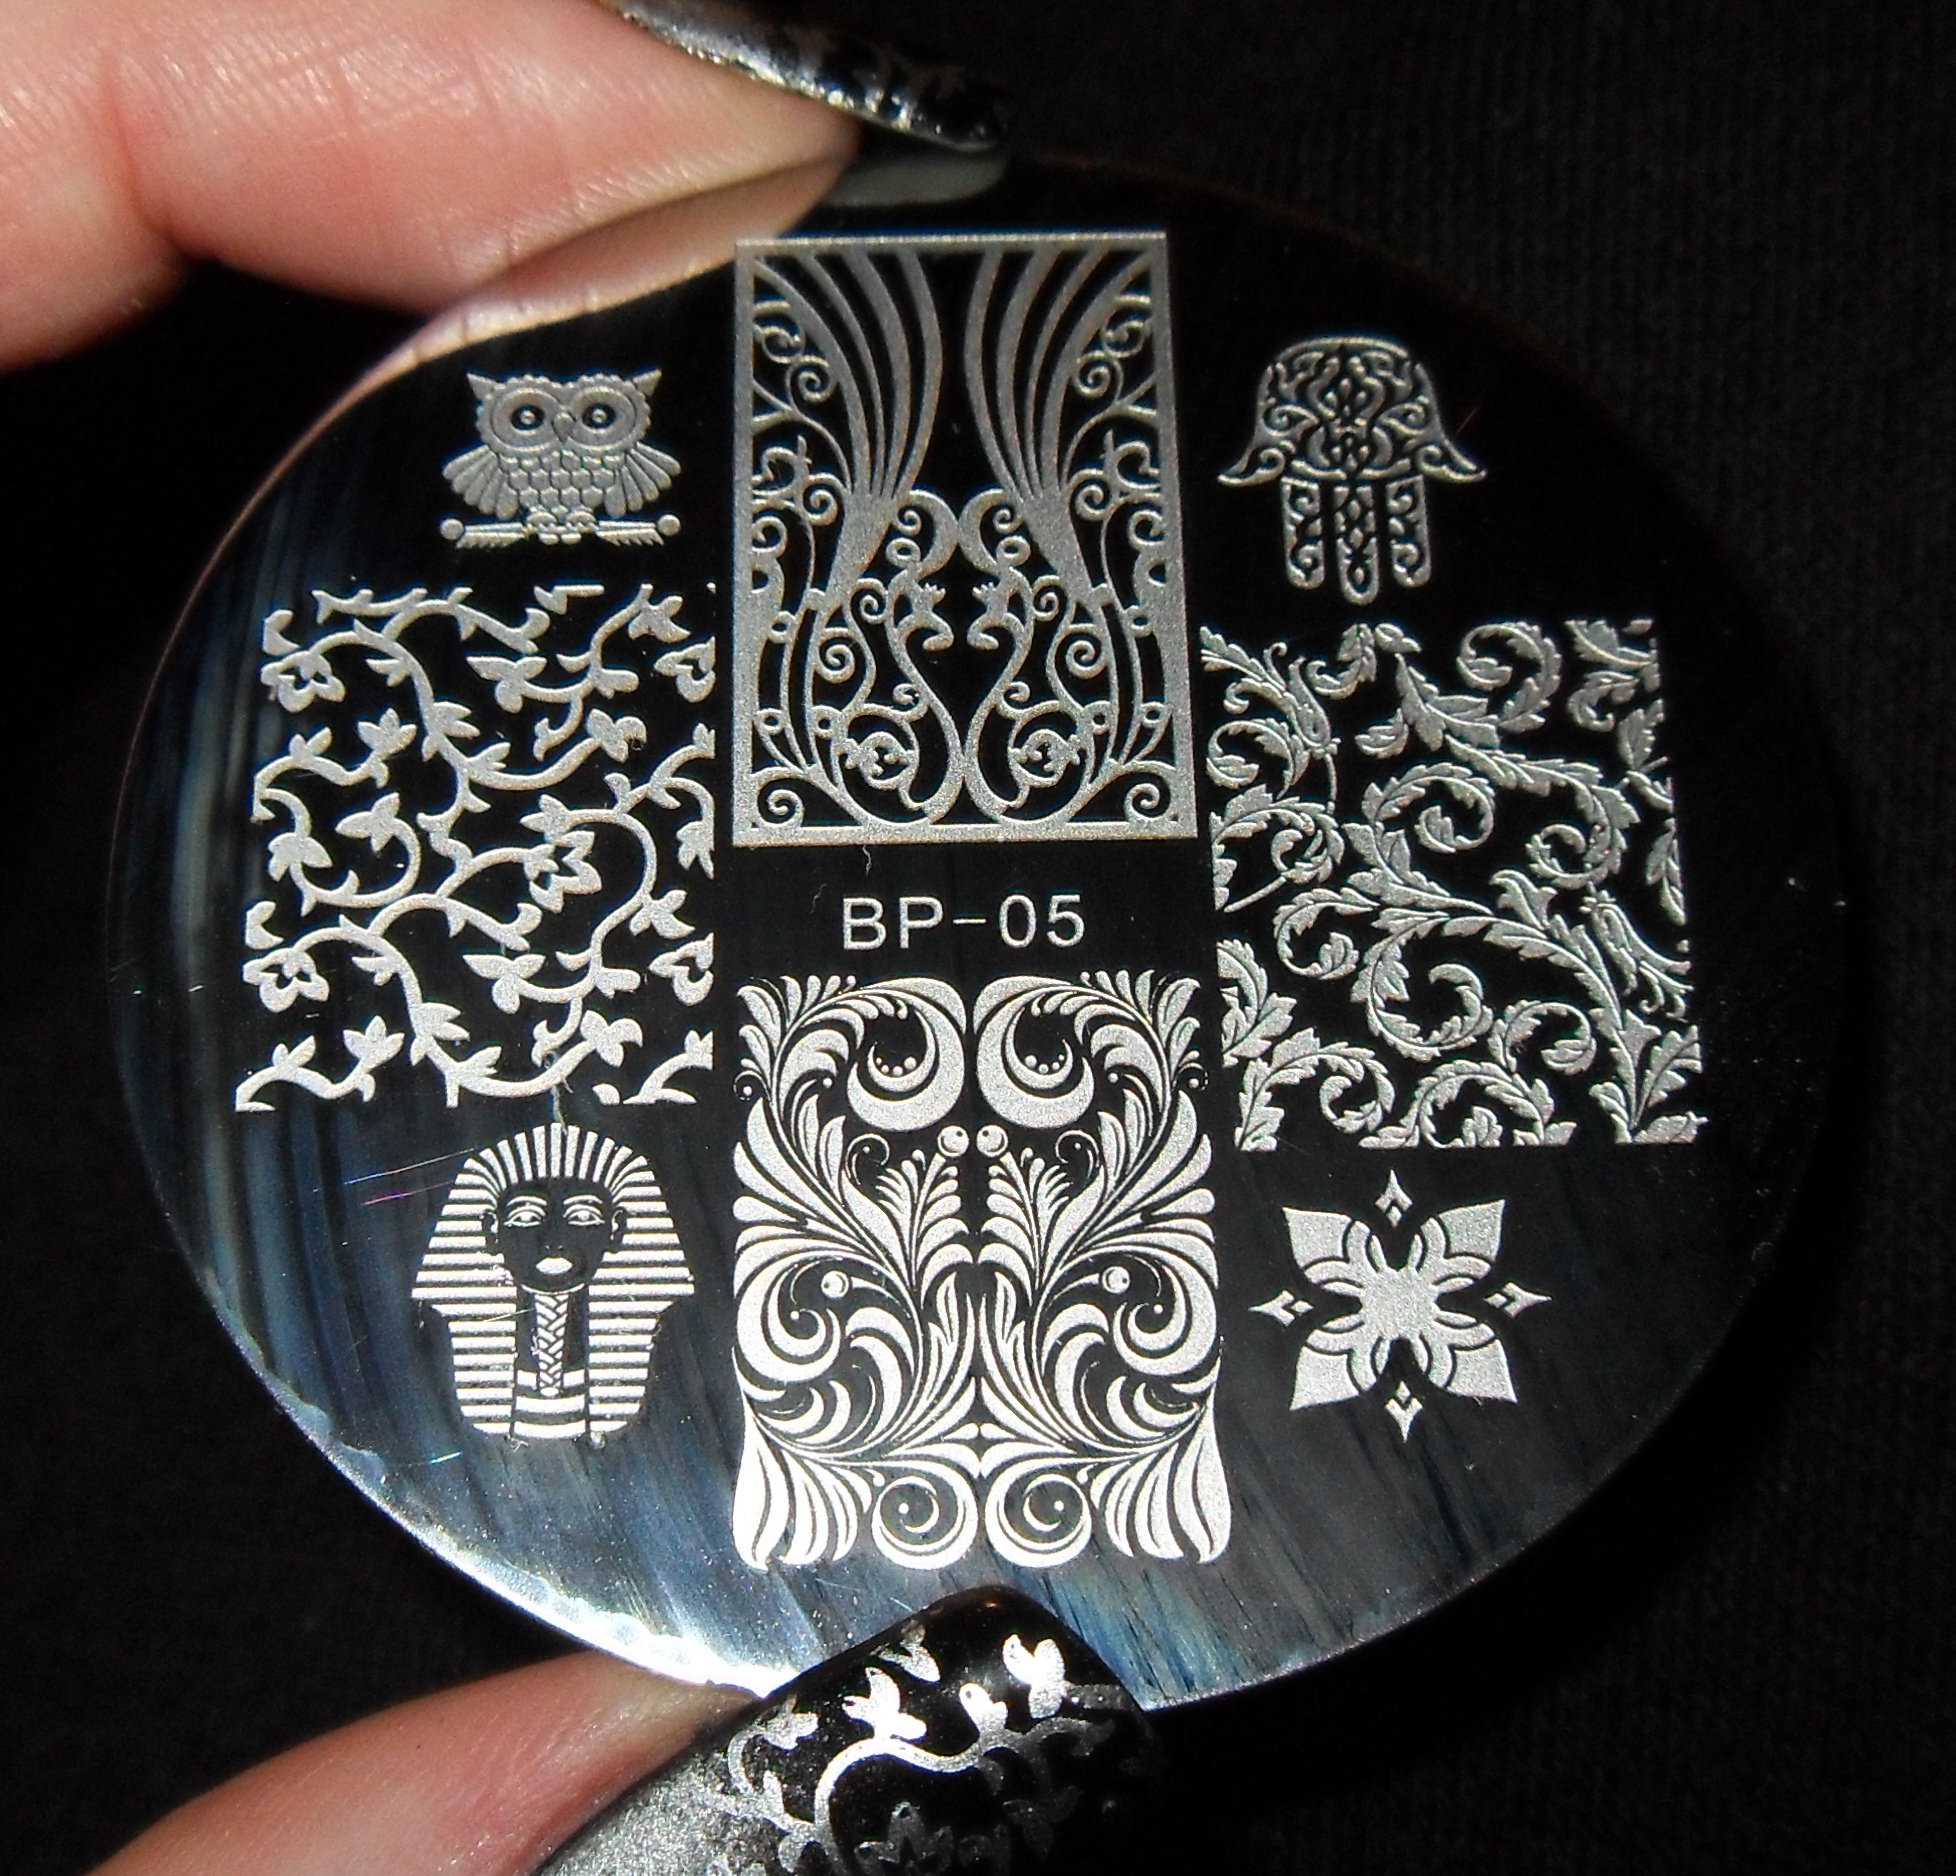
Plate BP-05 has a really eclectic bunch of images! That Owl is really cute, and I really like the vine and leaf patterns.
My first impression of the images is that the etching looks really sharp and quite deep! unlike some other plates in the same price range.
The smaller full nail images are (with the help of my ruler) 19mm by 15mm and the larger image (at the top) is 23mm by 15mm.
The plate is 55mm across, so the plate is the same size as BM plates.
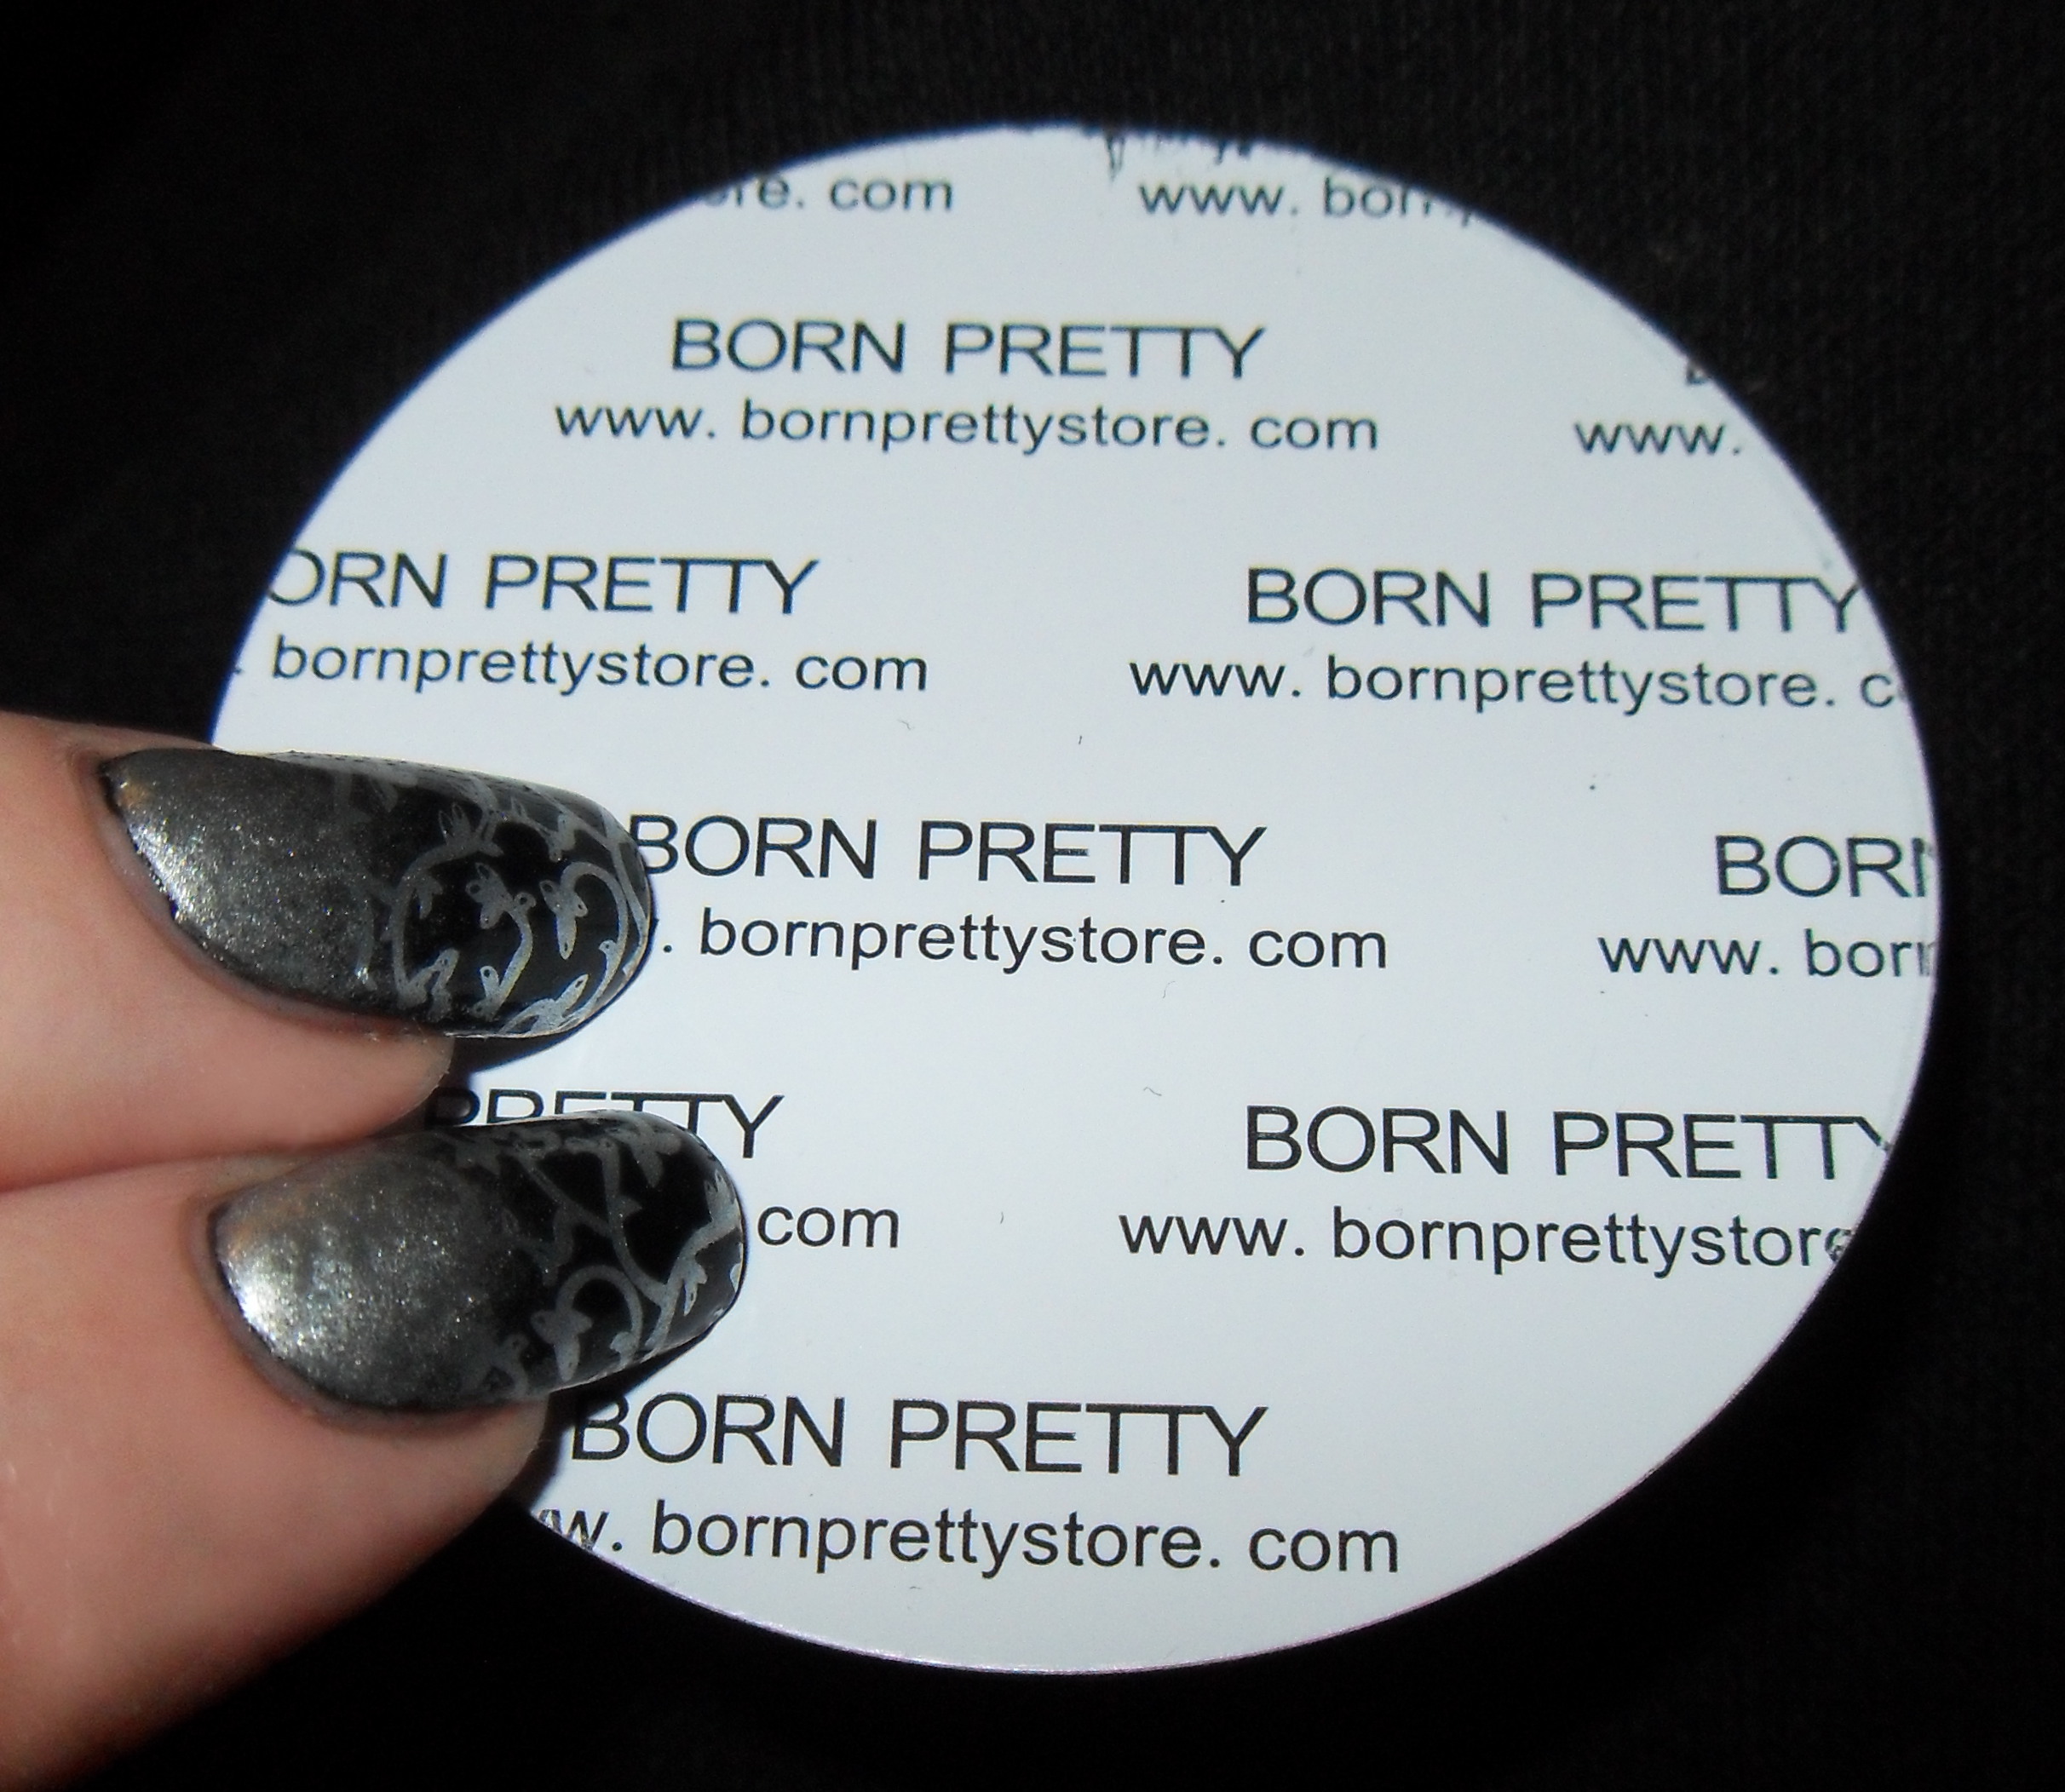
BP-05 back
The Back of the plate has a durable paper backing.
edge
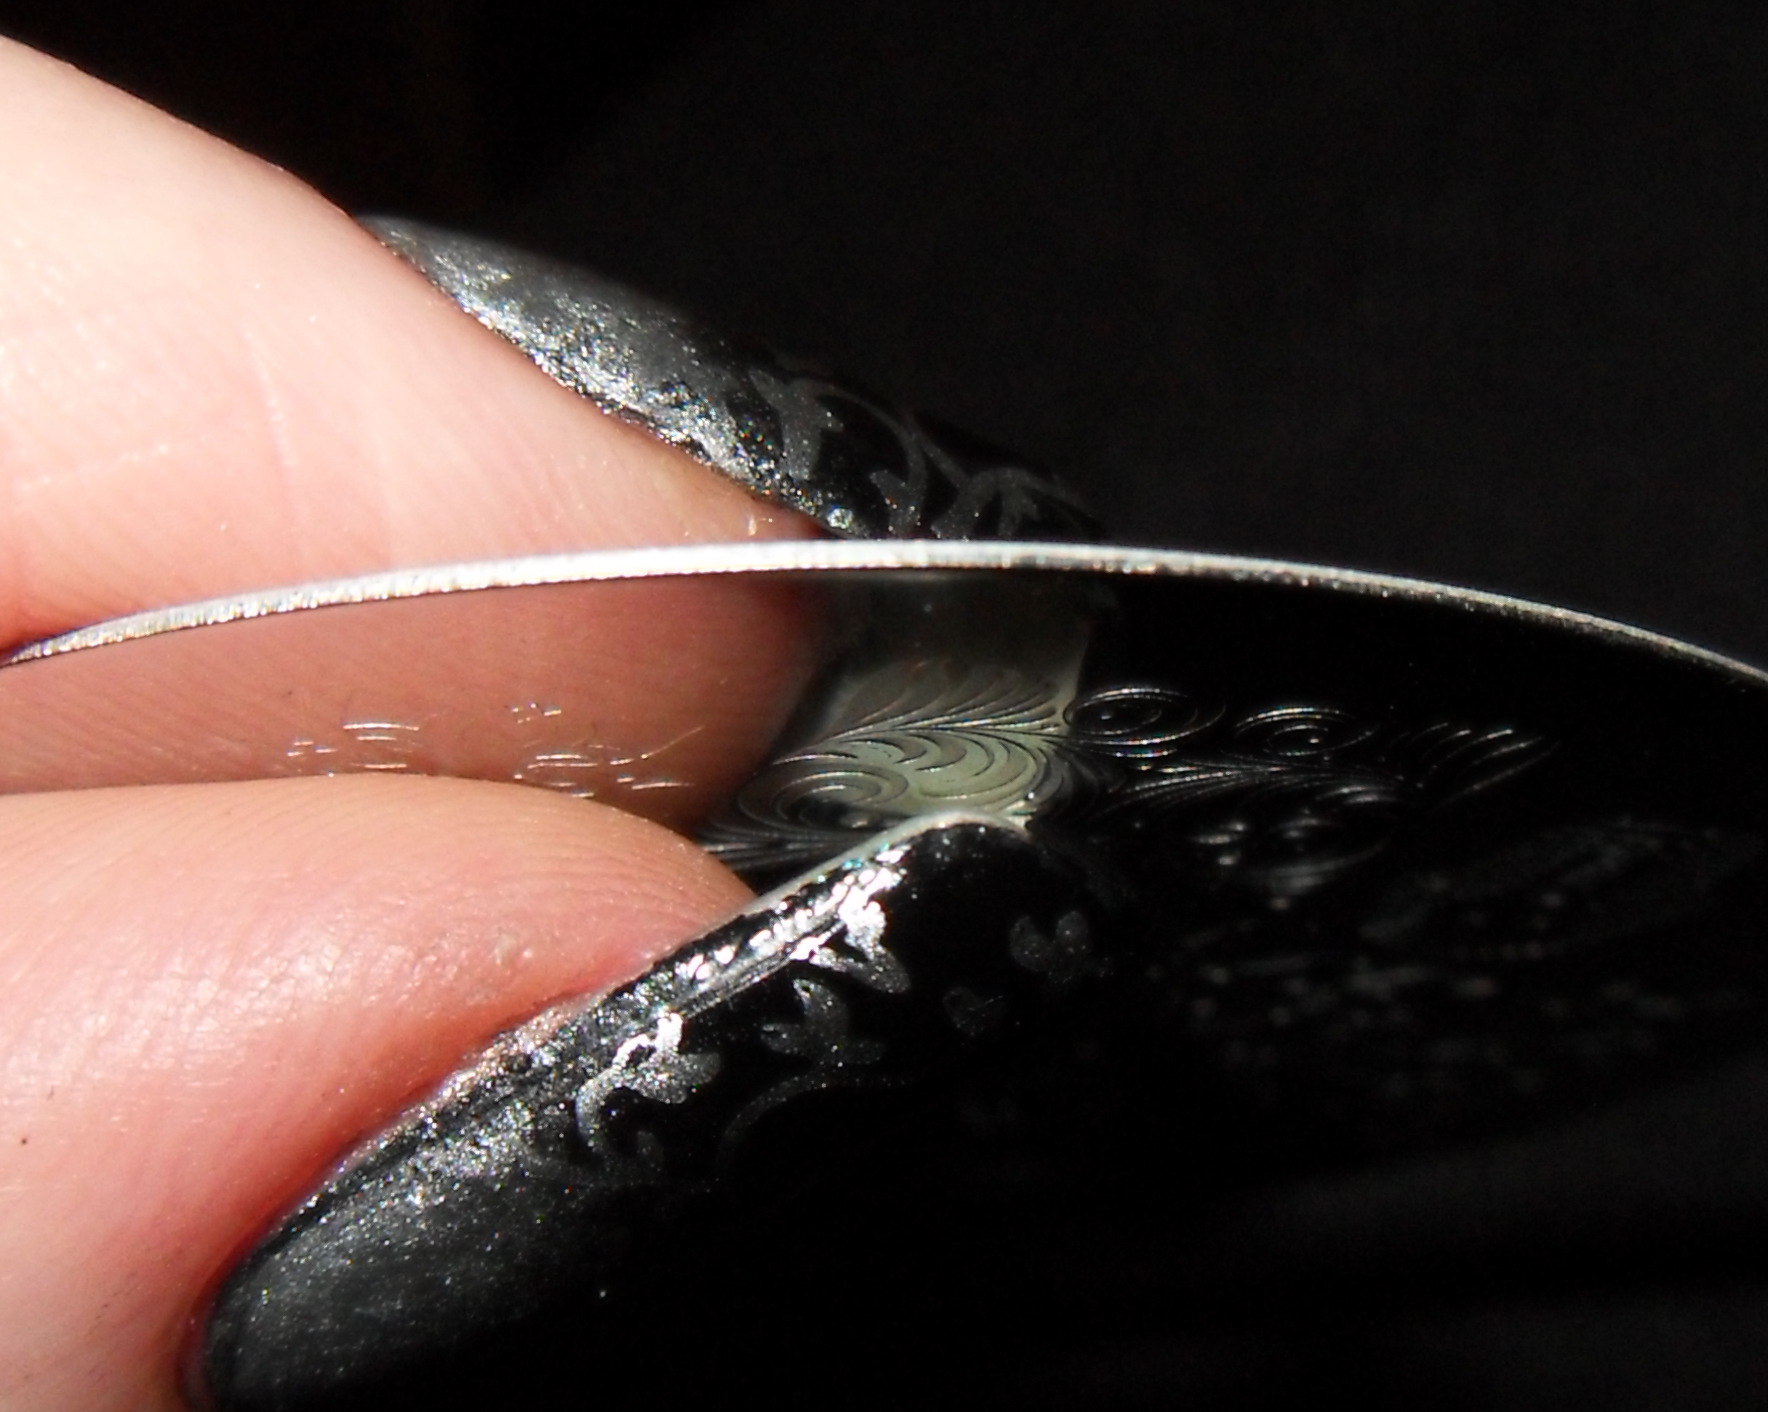
And the edge of the plate has been finished really nicely. Its not sharp at all! For me this is actually really important, I’m forever accidentally cutting or scratching my fingertips on the sharp edges of plates! 😦
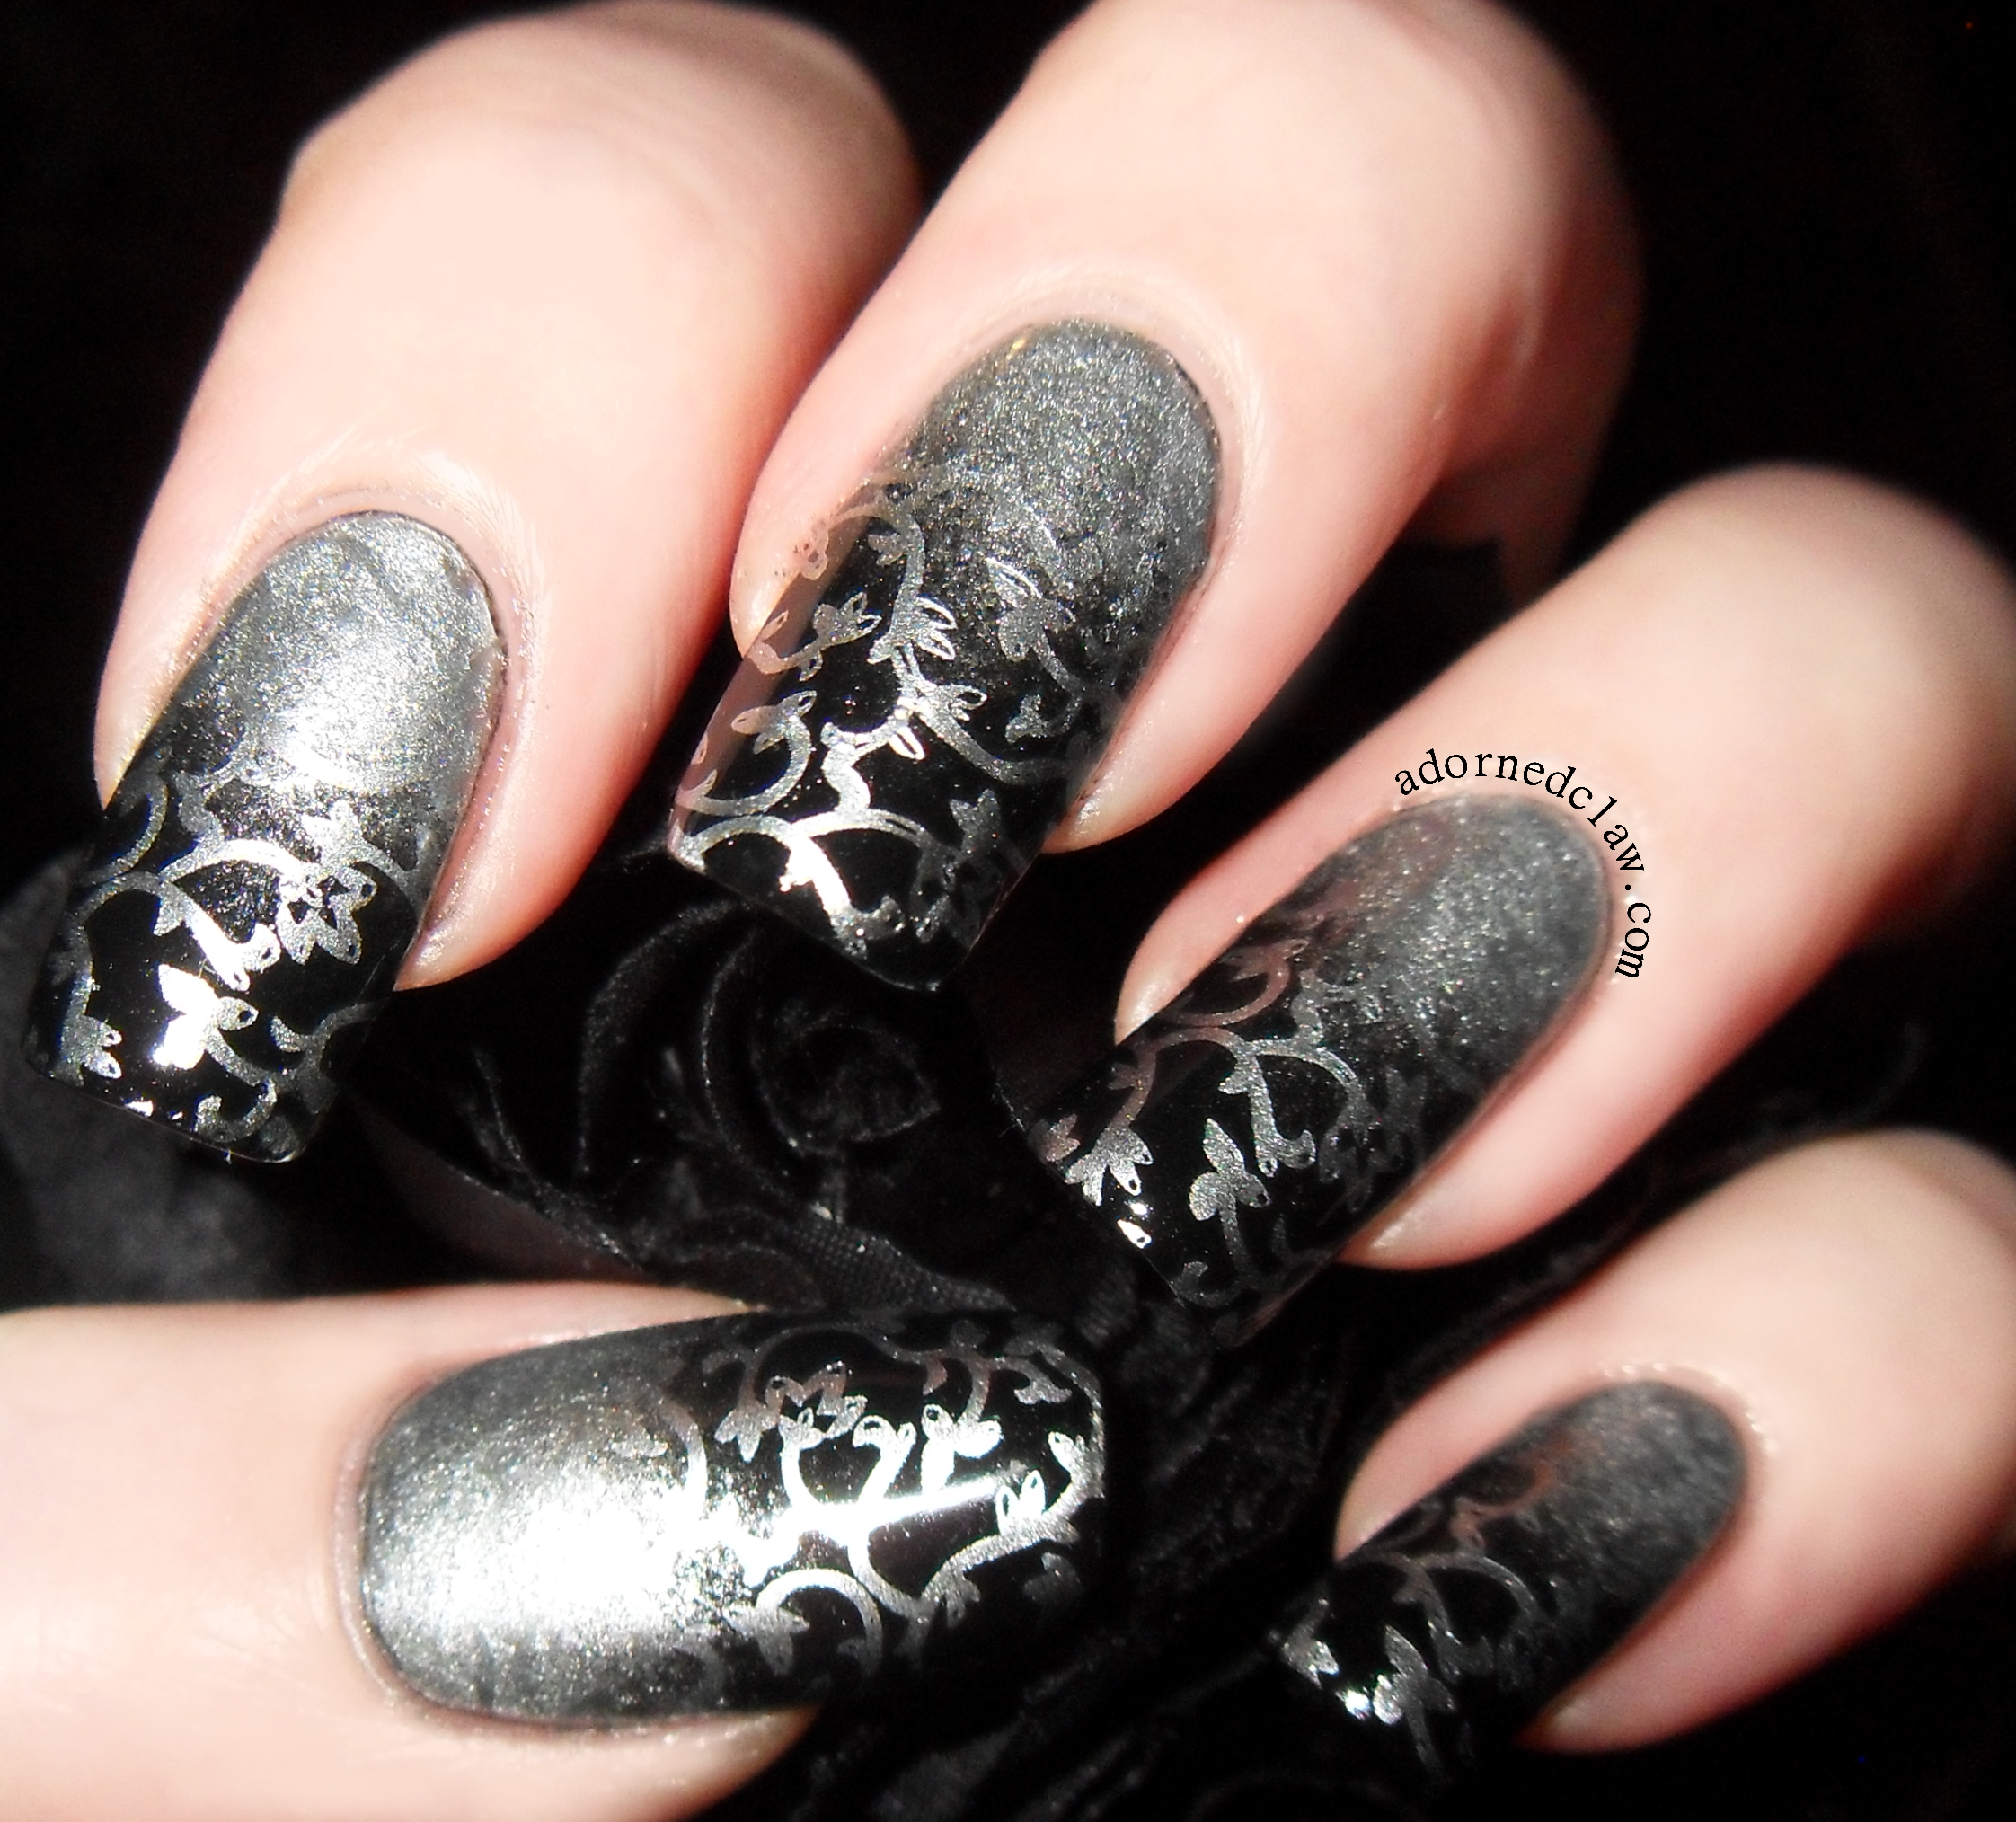
China Glaze I’d Melt For You and Laval Black
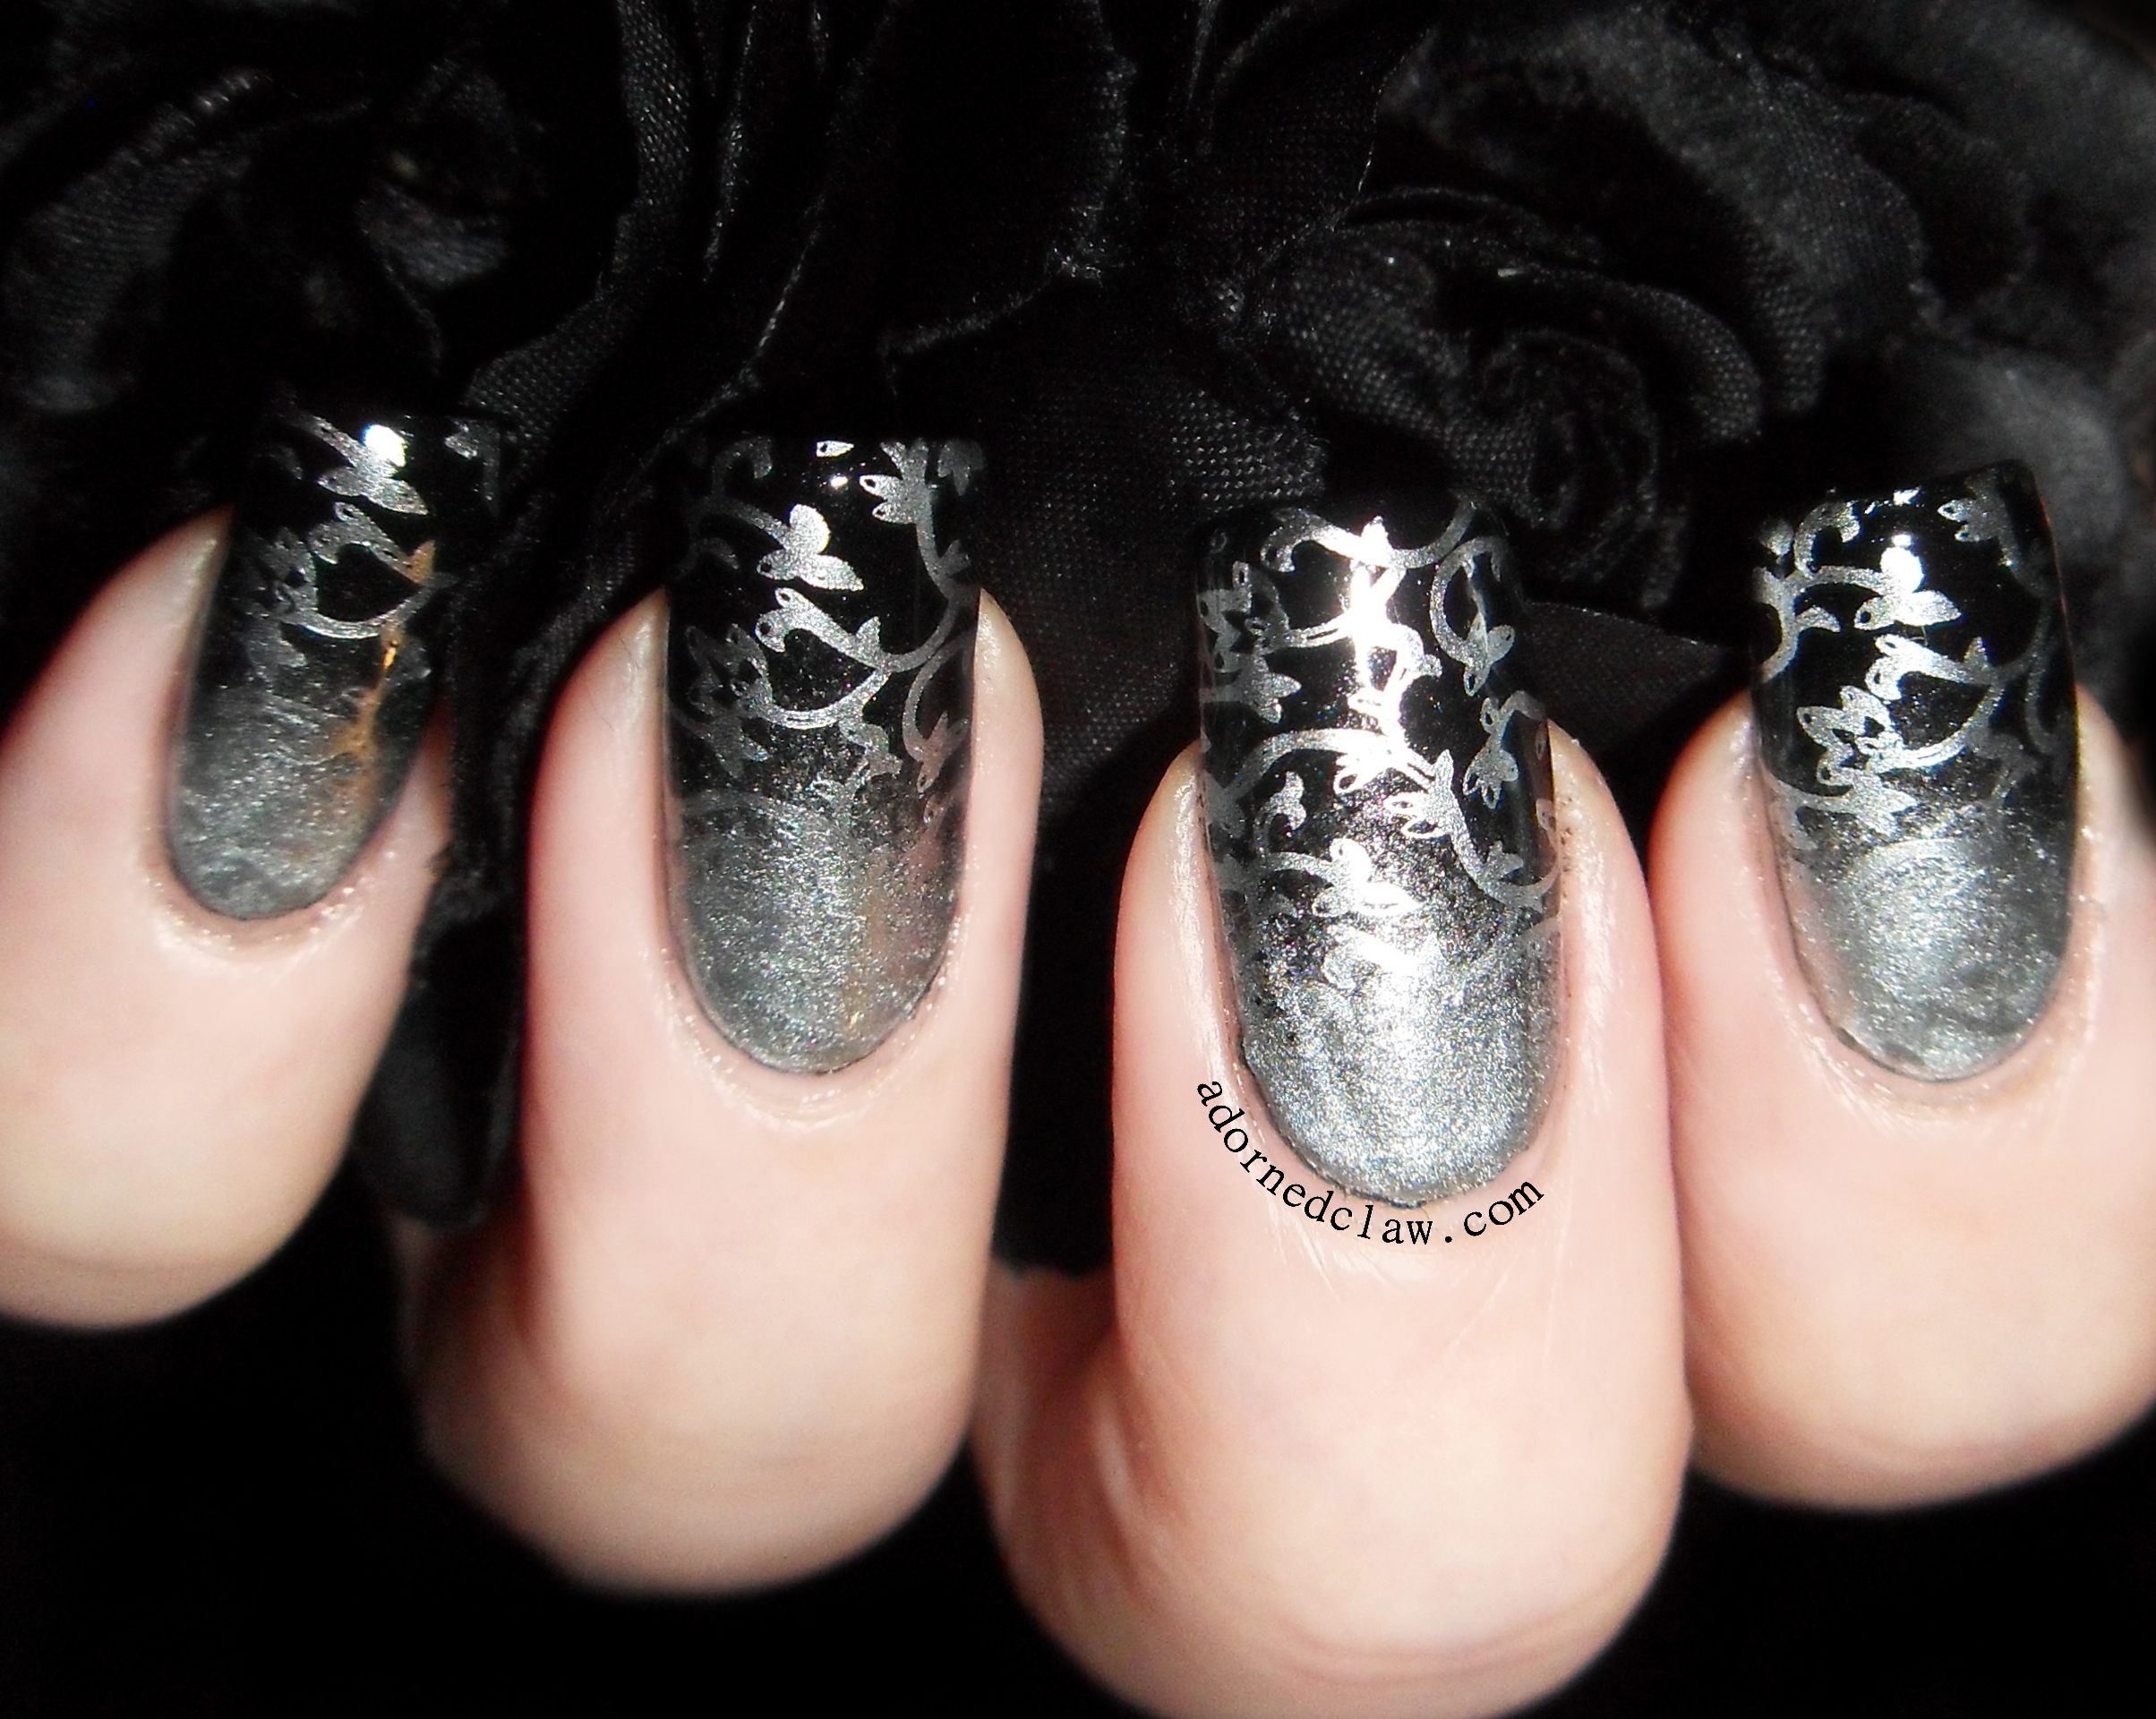
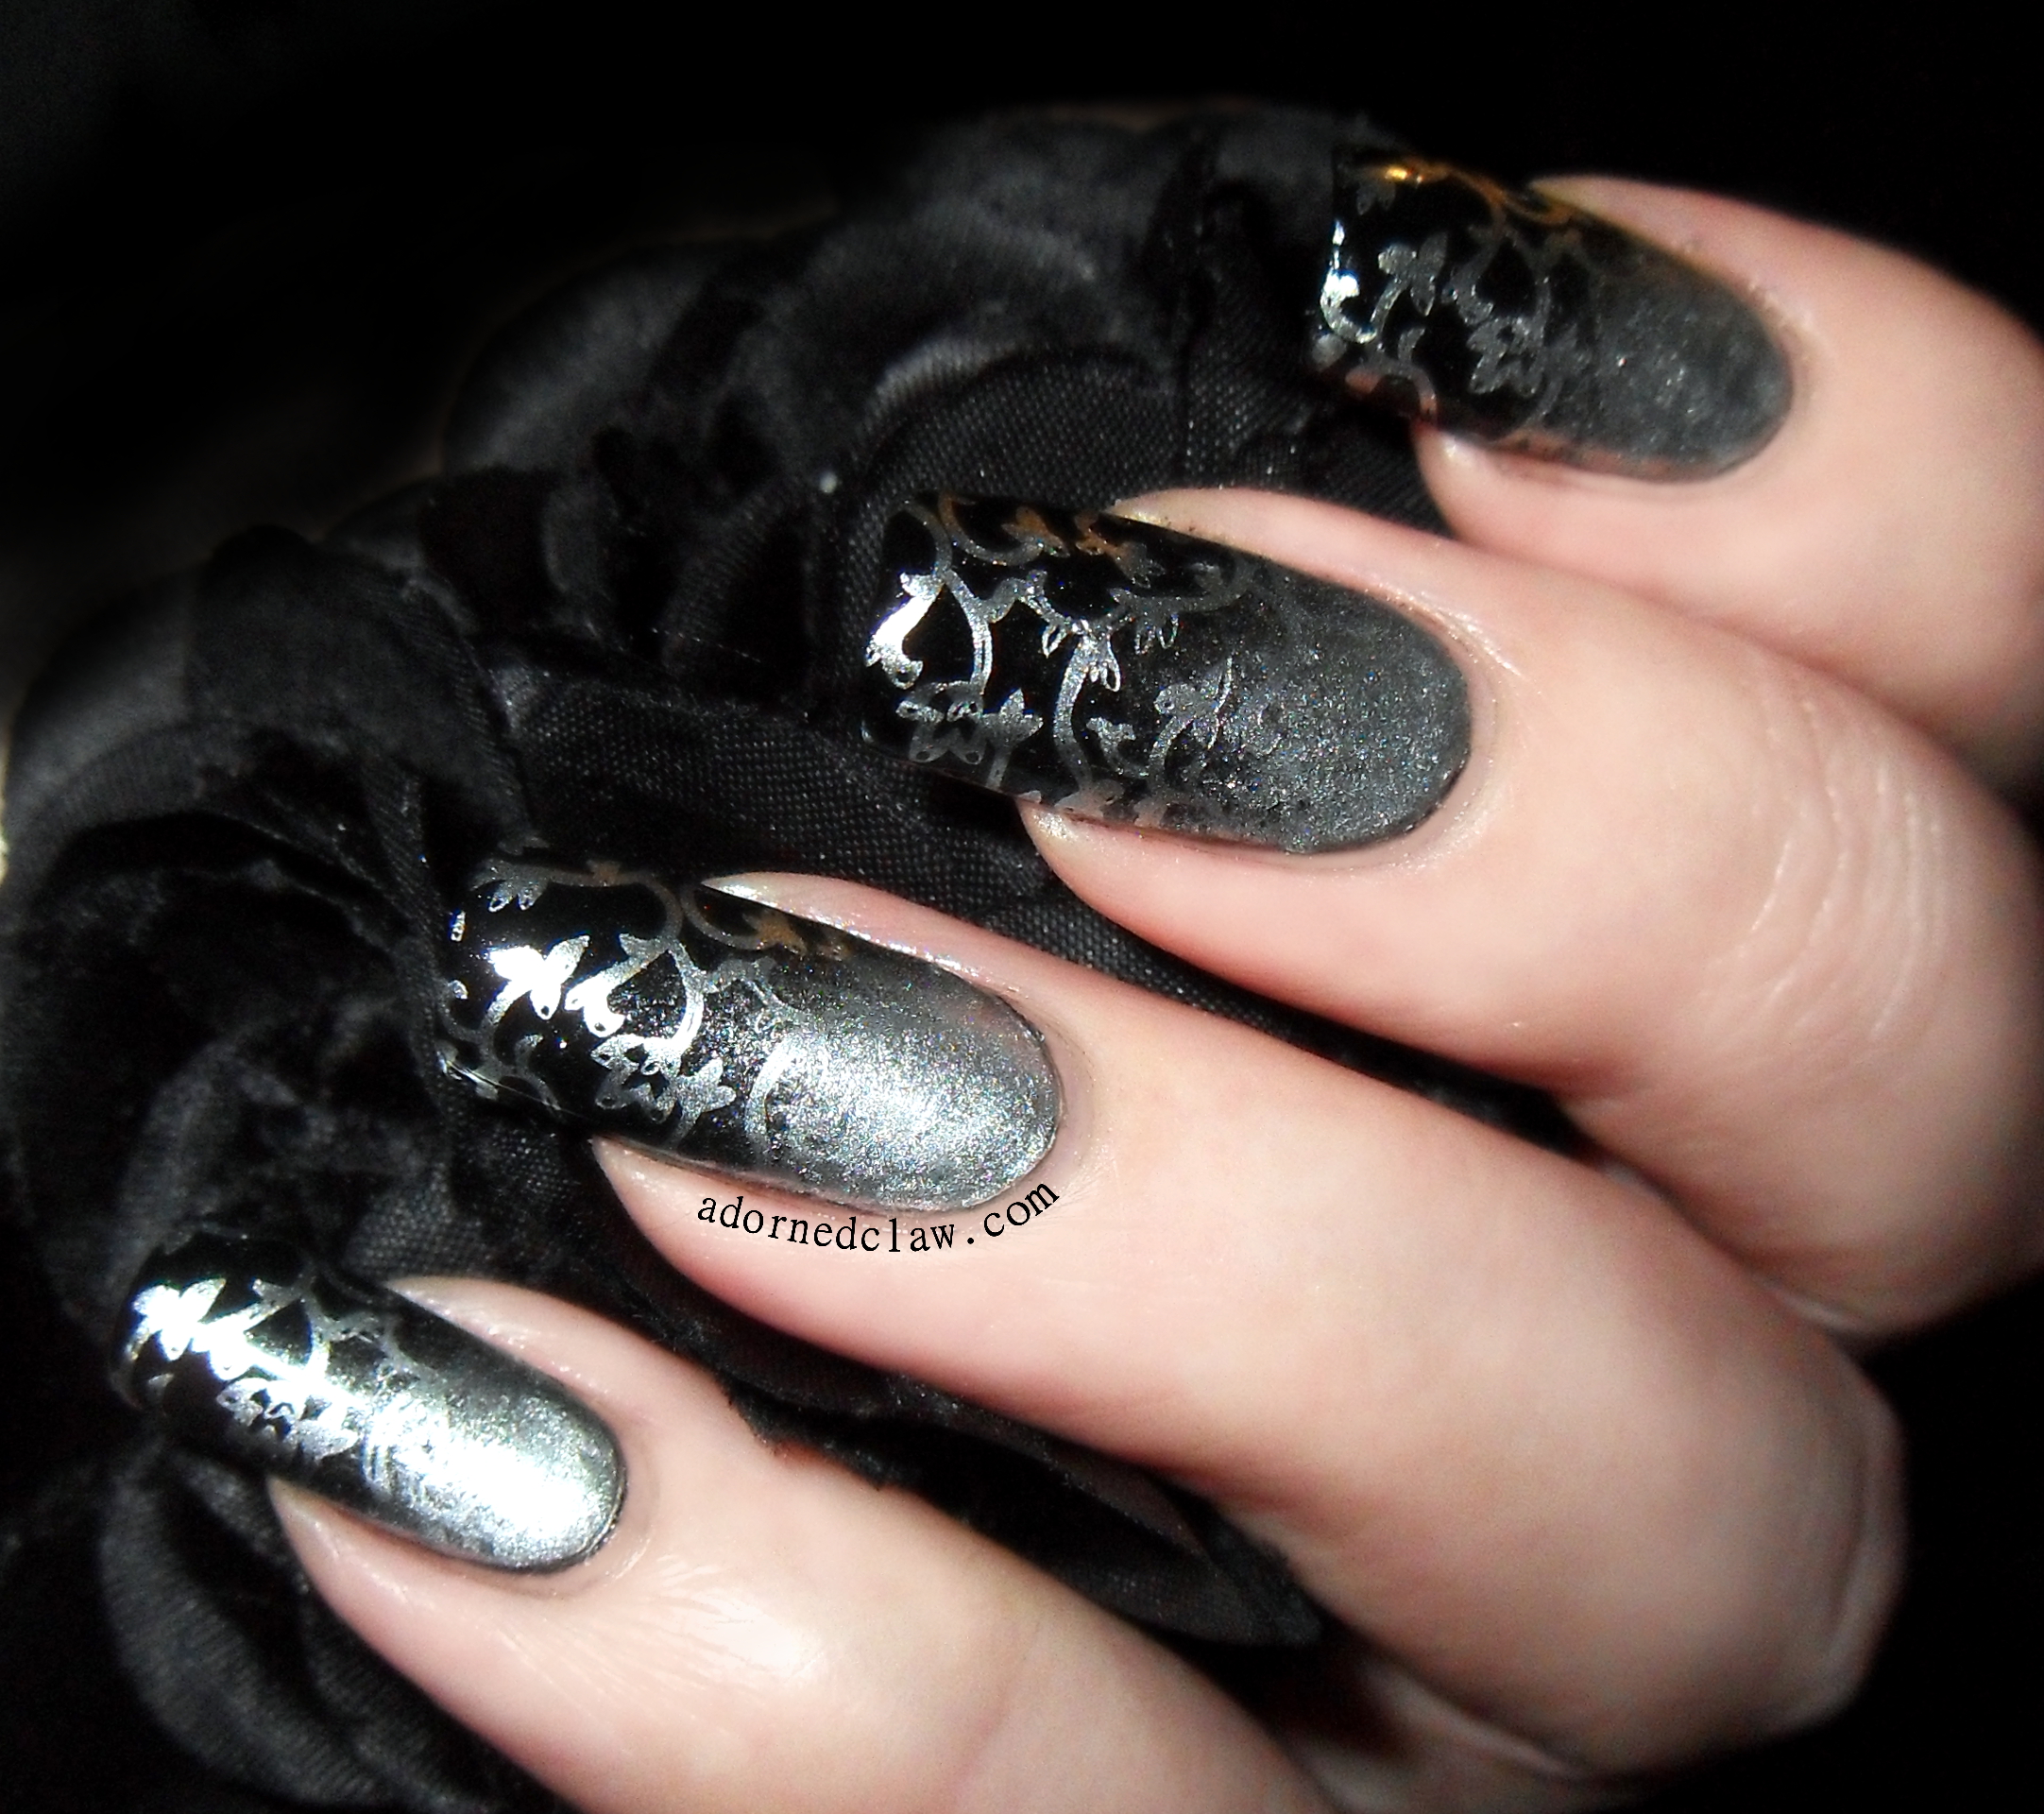
I decided to try out the swirly vine pattern from this plate, partly because I think it’s a really pretty image and partly because it’s a bold design that wouldn’t loose too much detail over the gradient.
And the gradient is because my nails are longer than the stamp image… Oops! 😀
I used China Glaze I’d Melt For You and Laval Black for the gradient, this mani looks really thick, because for some reason my sponge decided to disintegrate a bit on the last coat and left annoying sponge turds all over the place Gah! So after a bit of tweezering some swearing and around 3 coats of Seche Vite later my nails where ready for stamping.
I used some more I’d Melt For You for the stamping along with my squishy marshmallow stamp head. The image itself is really sharp and it transferred to my nails really cleanly. one final coat of topcoat and it was all done! 🙂
Gradient!
And don’t forget the code RPG10 will get you 10% off in the born pretty shop!