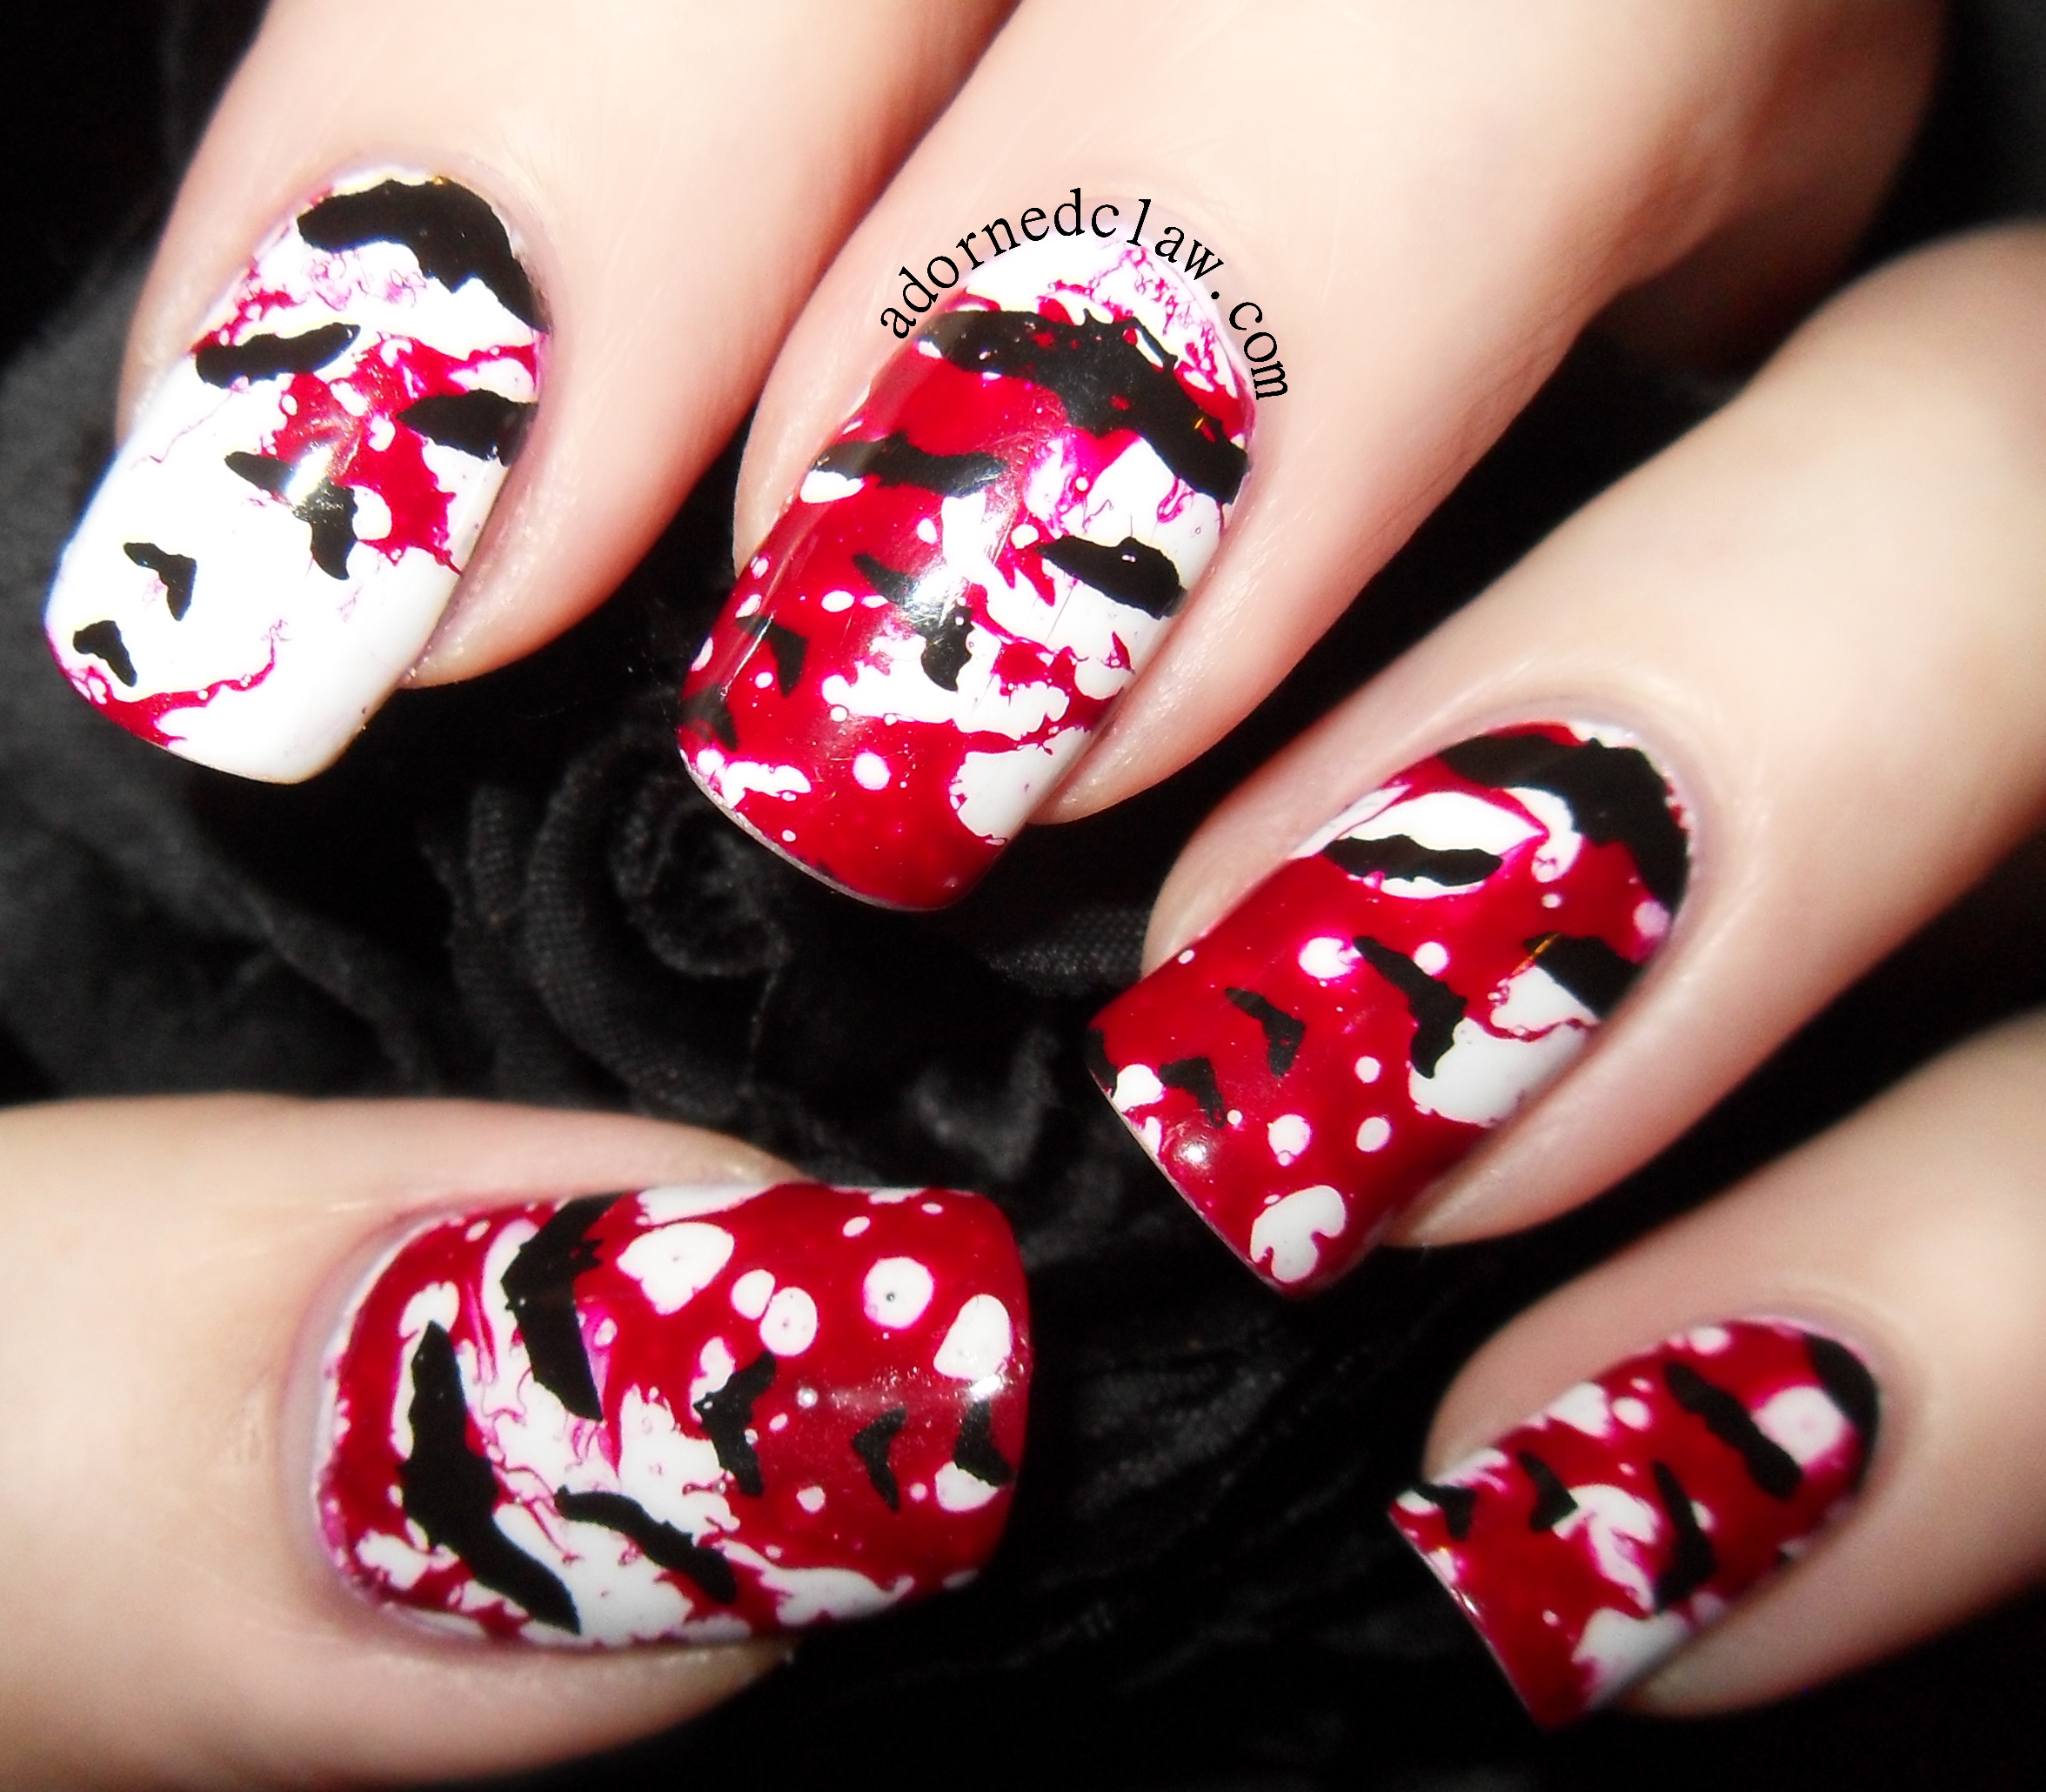
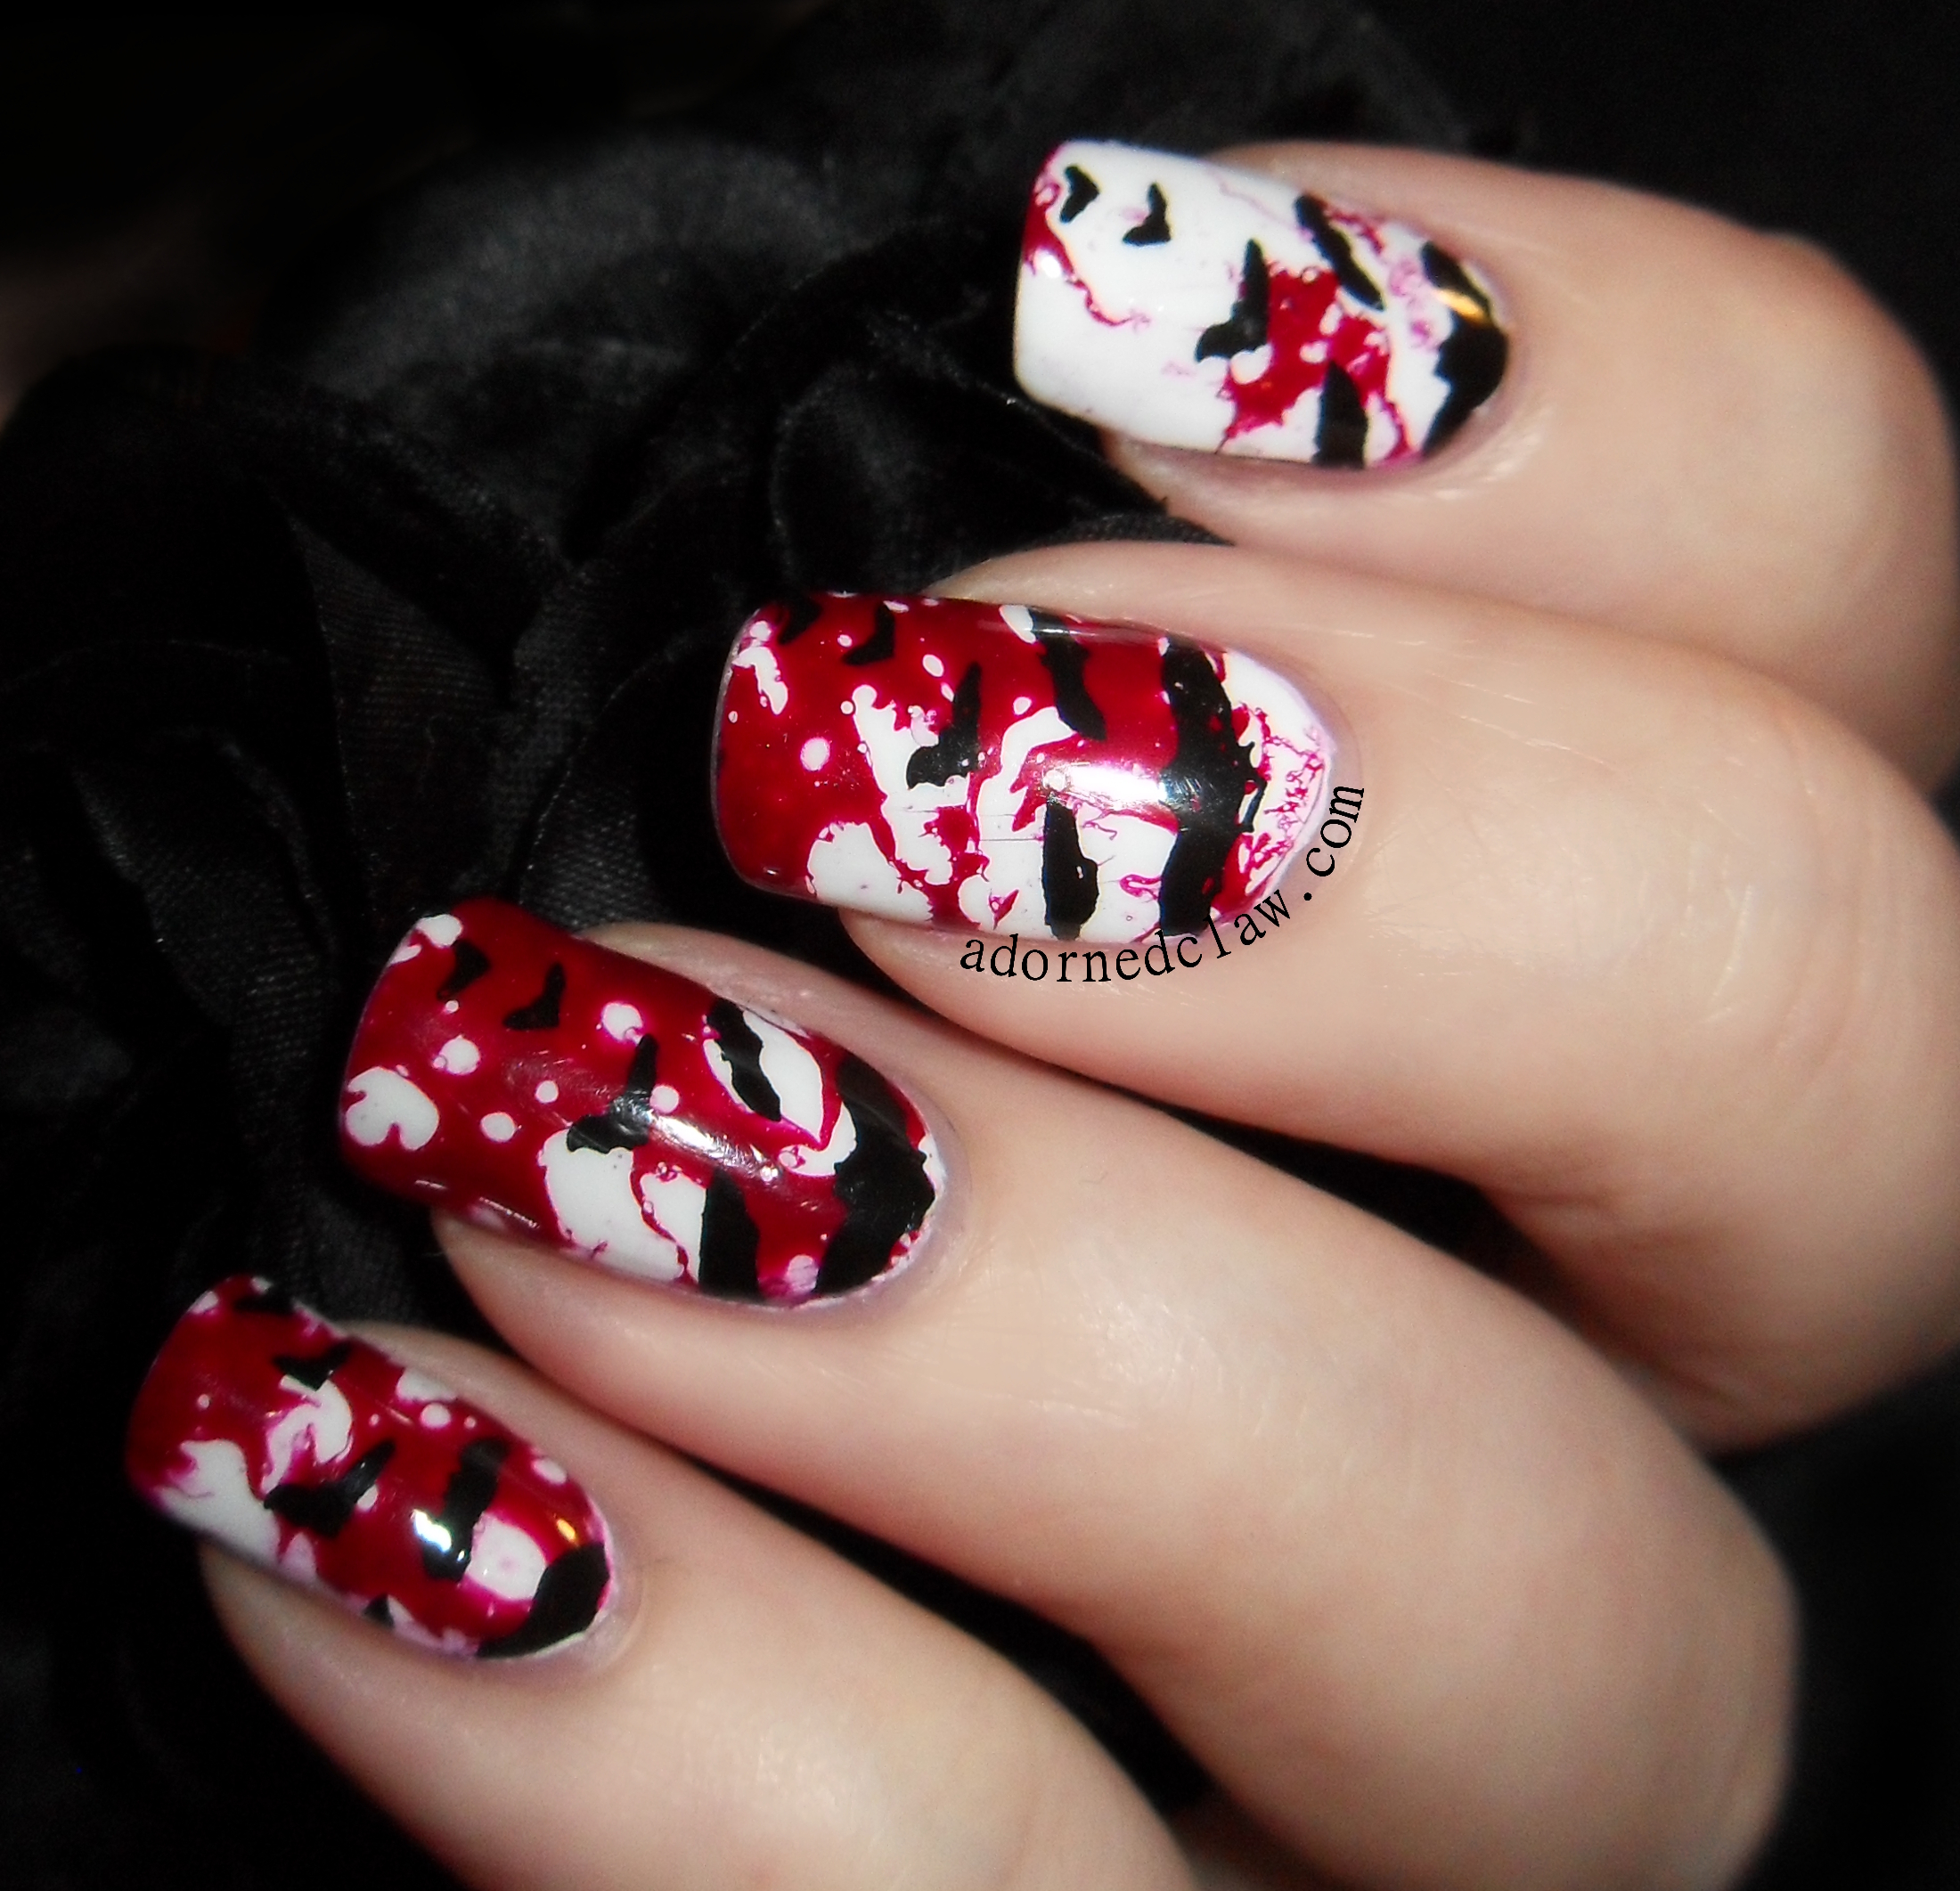
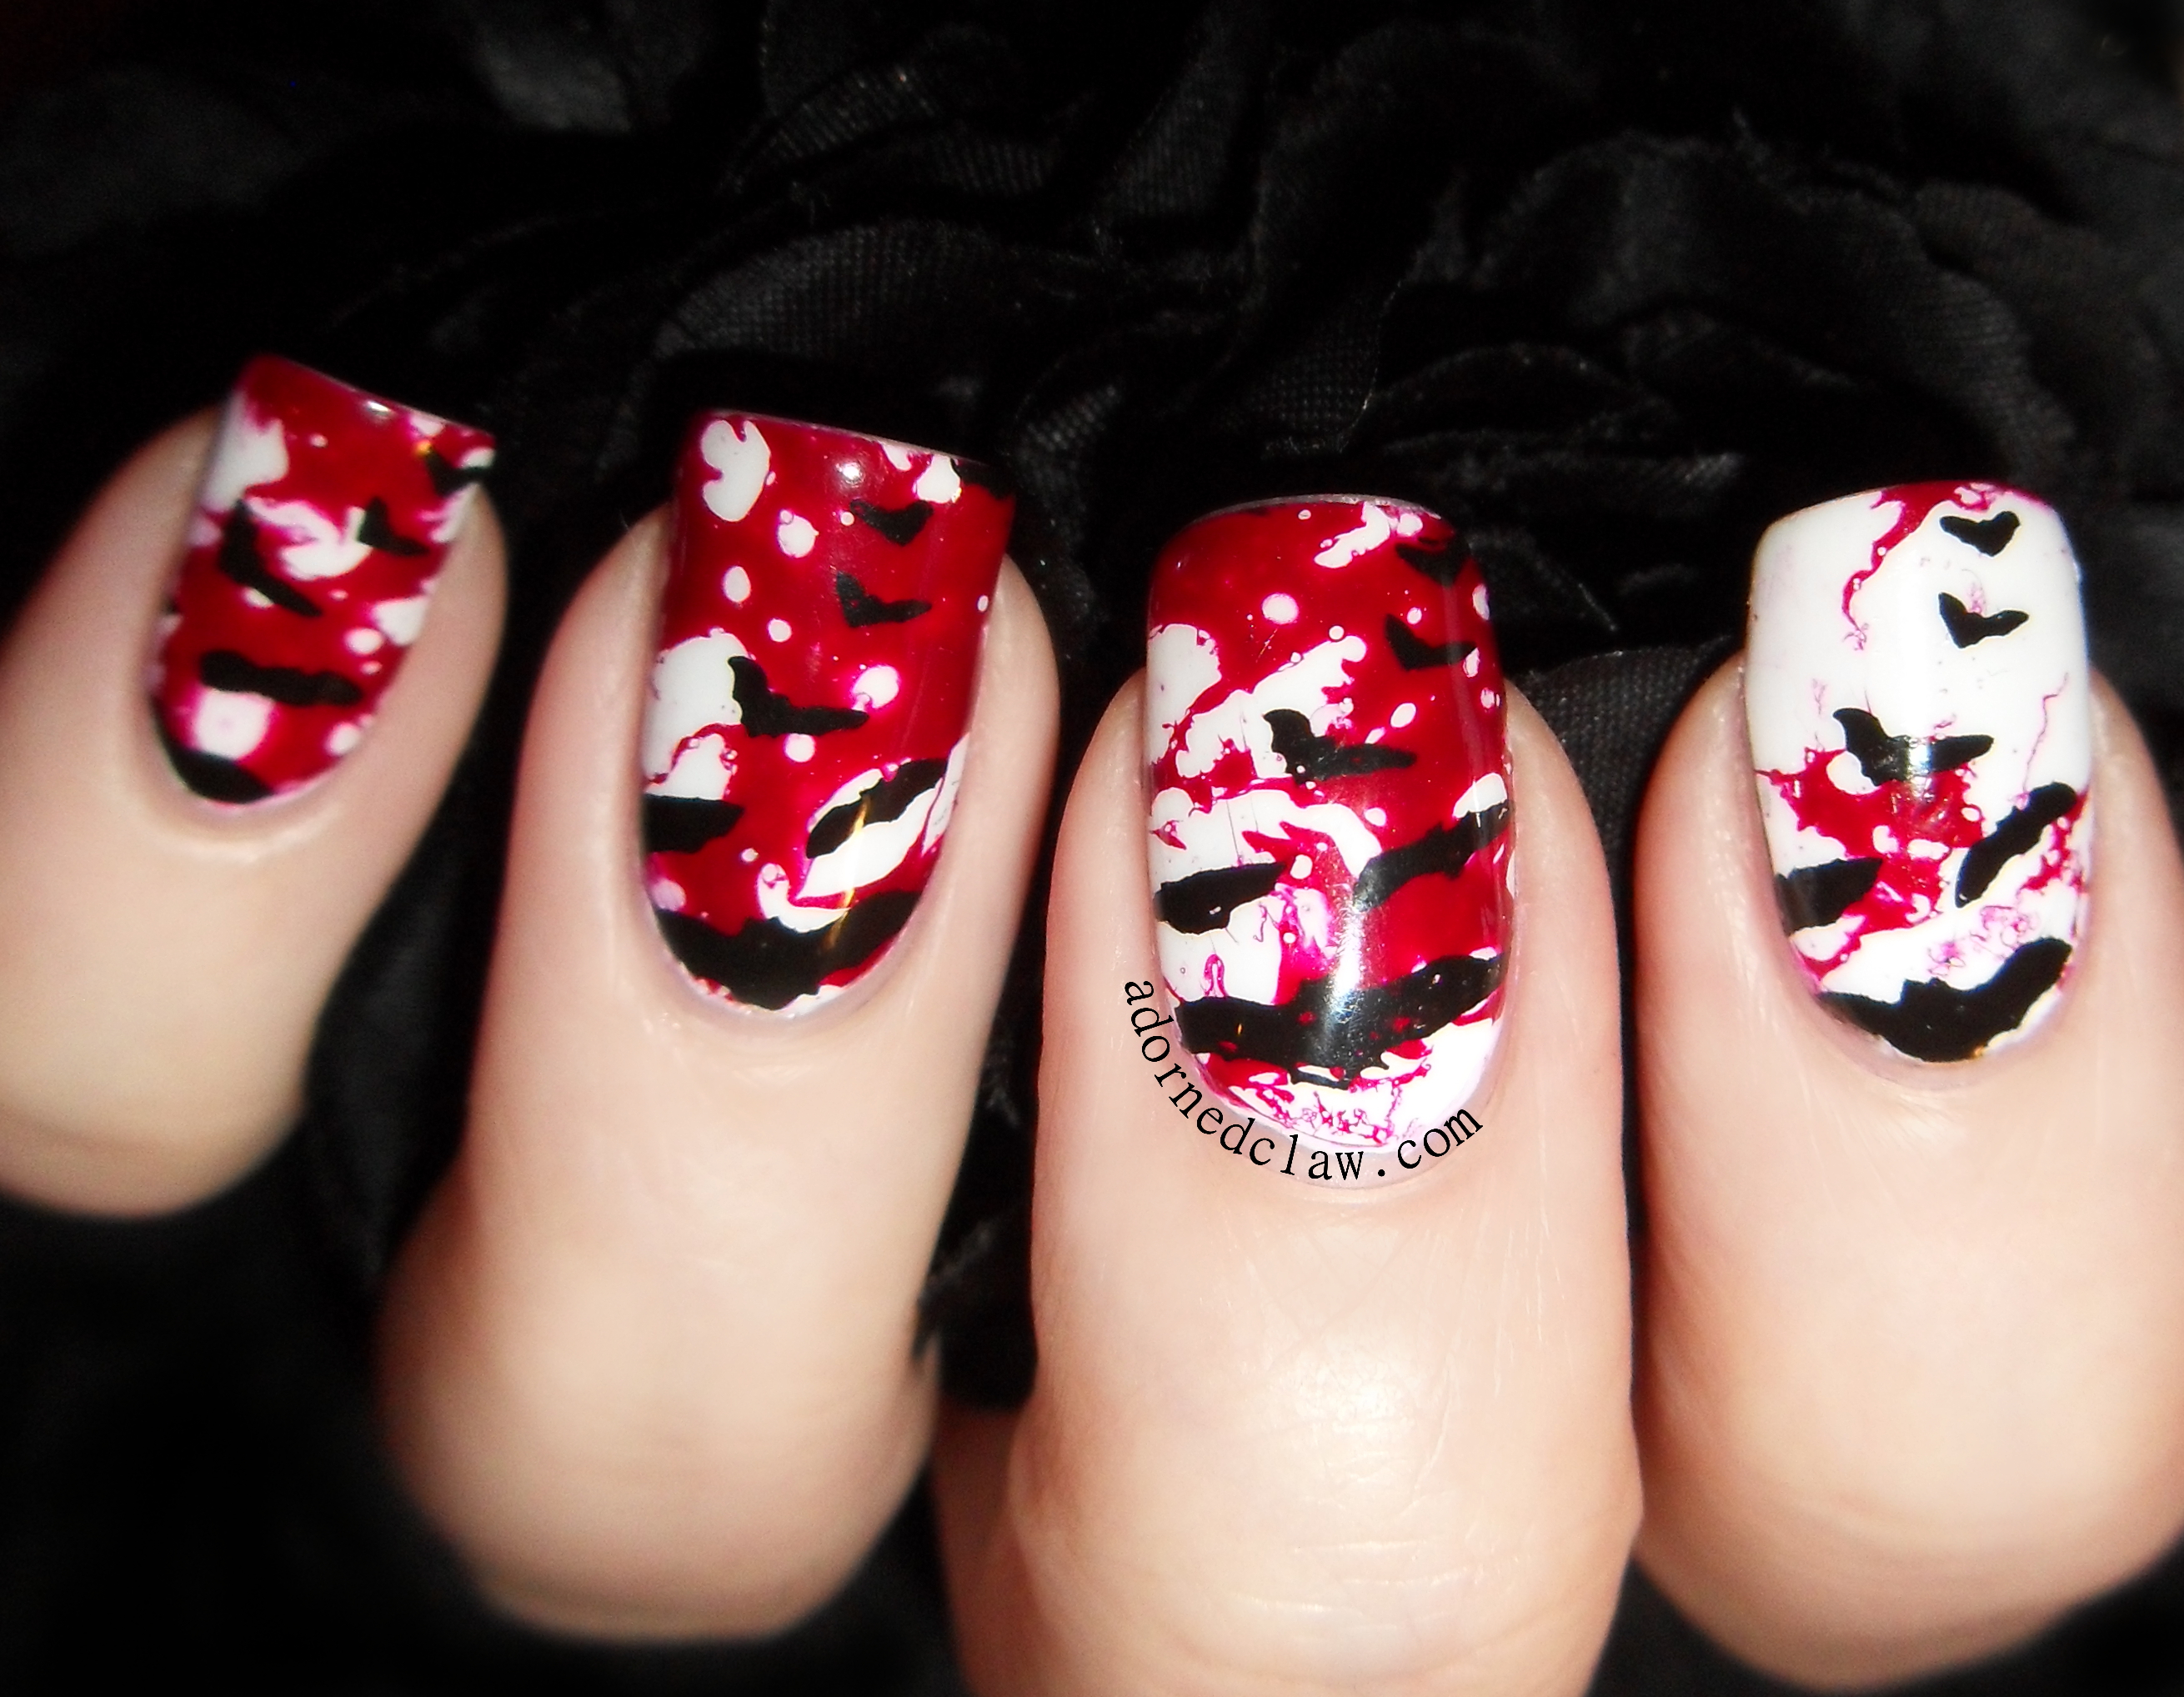
Category Archives: Nail Stamping

Bloody Bats!

Hello! 🙂

Bloody Bats Halloween Nail Art

Today my Halloween mani is Bloody Bats lol and it’s a combination of water spotting and stamping!

Bloody Bats Halloween Nail Art

I used Ivory Skull from Sally Hansen for the white base, the red is Red-ical Gypsy from Color Club, the bat image is from Moyou Gothic 04 and I used Hit the Bottle in Black, then a coat of Seche Vite and it was all done!

Well after cleaning up it was all done, I don’t know what it is about Red-ical Gypsy, but it really likes to stick to your skin! Getting rid of it took nearly half an hour!

Bloody Bats Halloween Nail Art

😀


Halloween Patchwork

Hello!

halloween patchwork nail art

Just a quick post today, as these nails took way longer than I originally thought!

Here are my Patchwork Halloween nails! I think these are cute and I really think they have a cartoon like look, they’re definitely not scary lol!

halloween patchwork nail art

I used

  • Illamasqua – Omen
  • China Glaze – I’d Melt For You
  • Illamasqua – Alarm
  • Hit The Bottle – Black
  • Illamasqua – Poke
  • Stamping Plate MM22
  • Illamasqua – Scorn
  • Seche Vite

halloween patchwork nail art

😀


Misty Graveyard Halloween Nail Art

Hello! 🙂

Misty Graveyard Nail Art

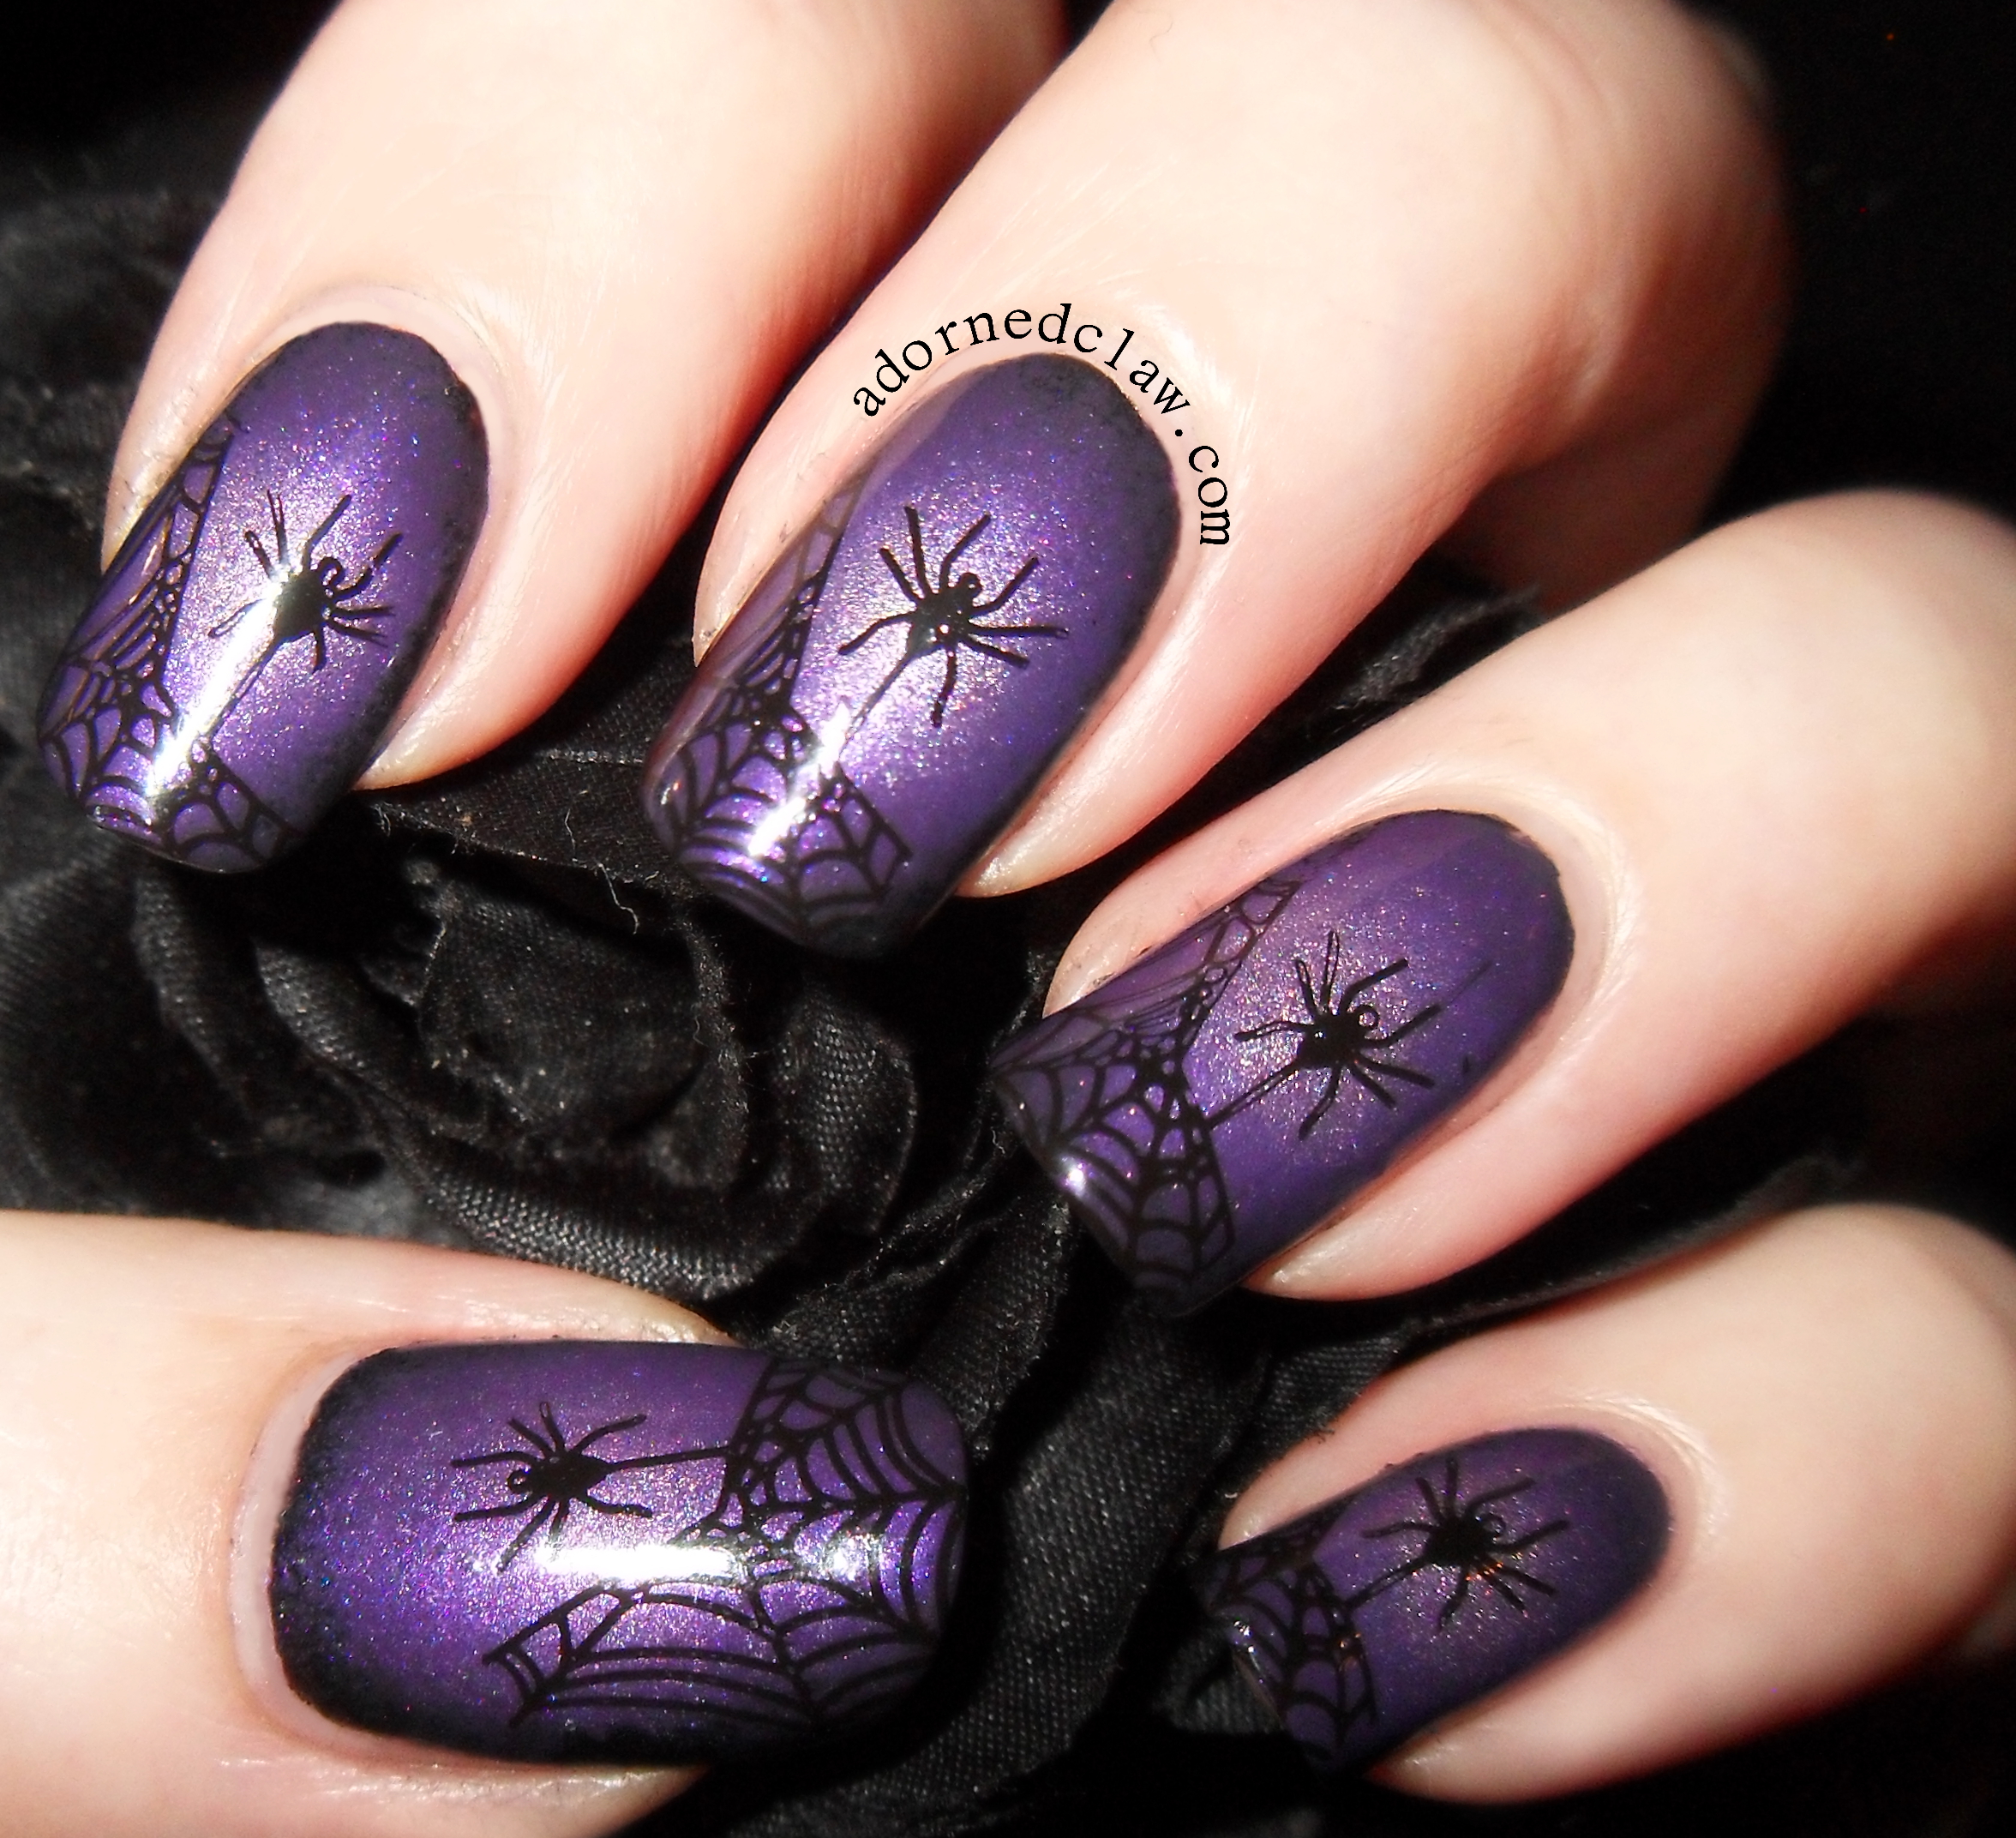
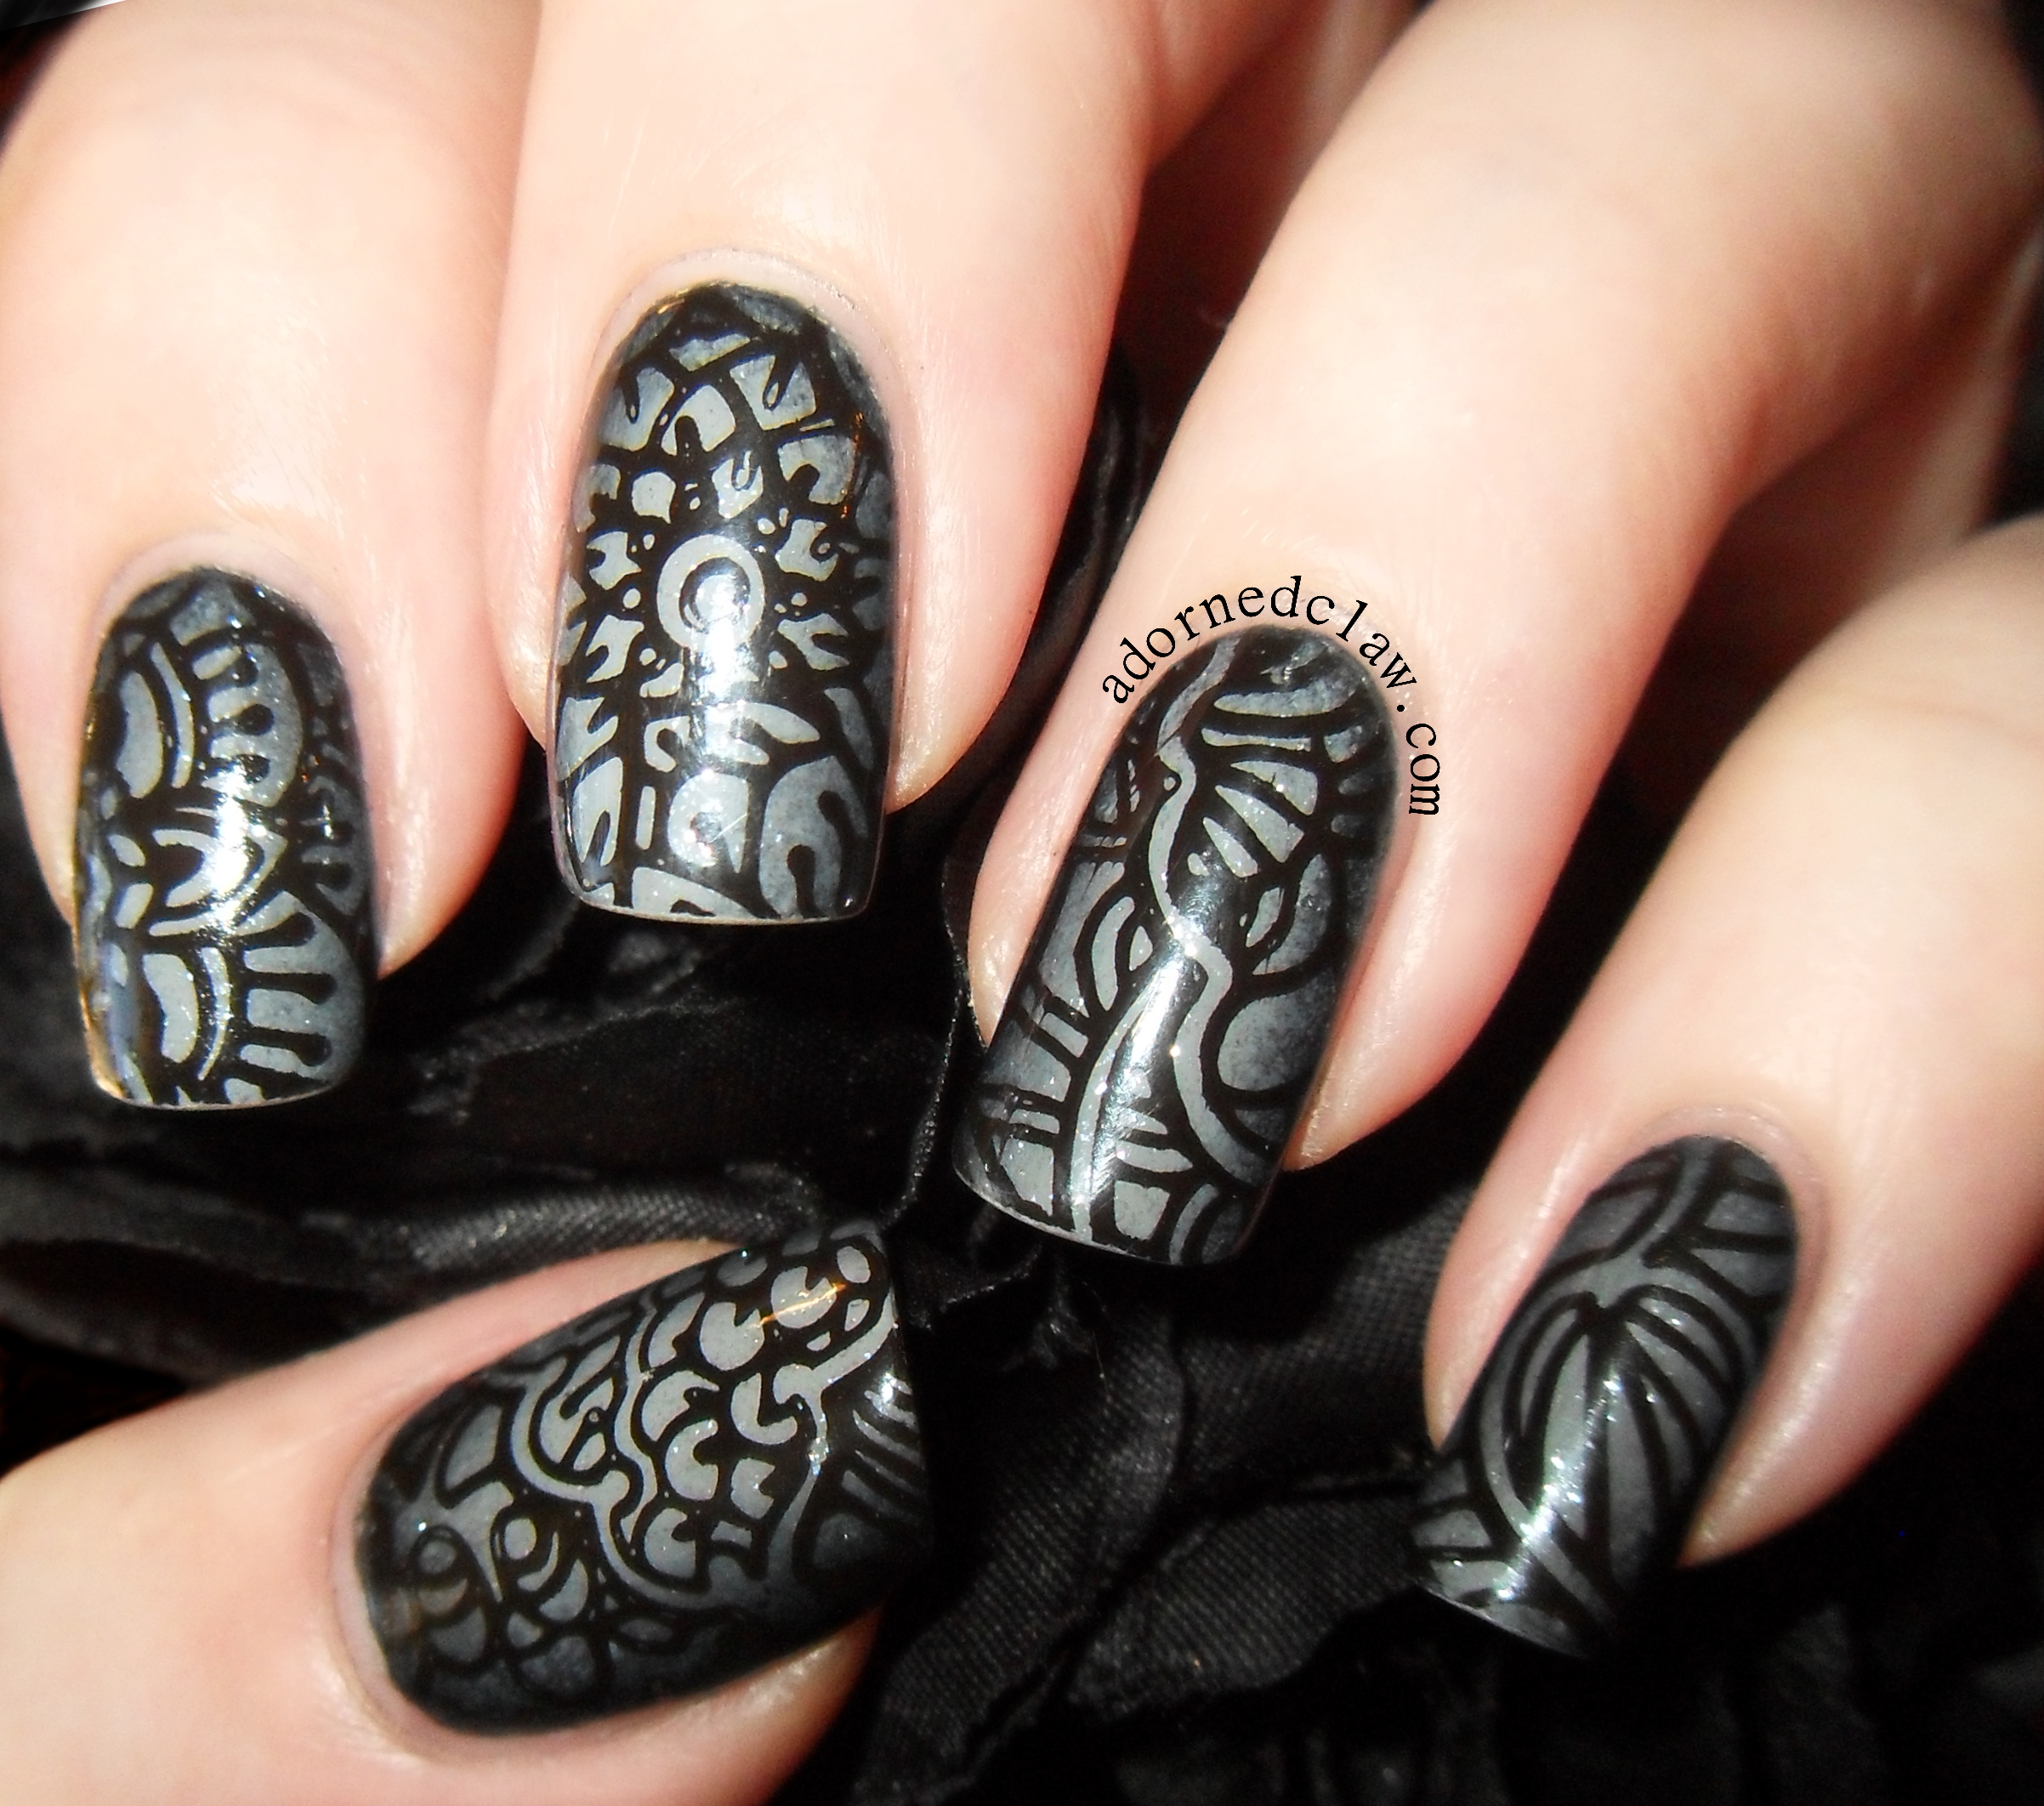
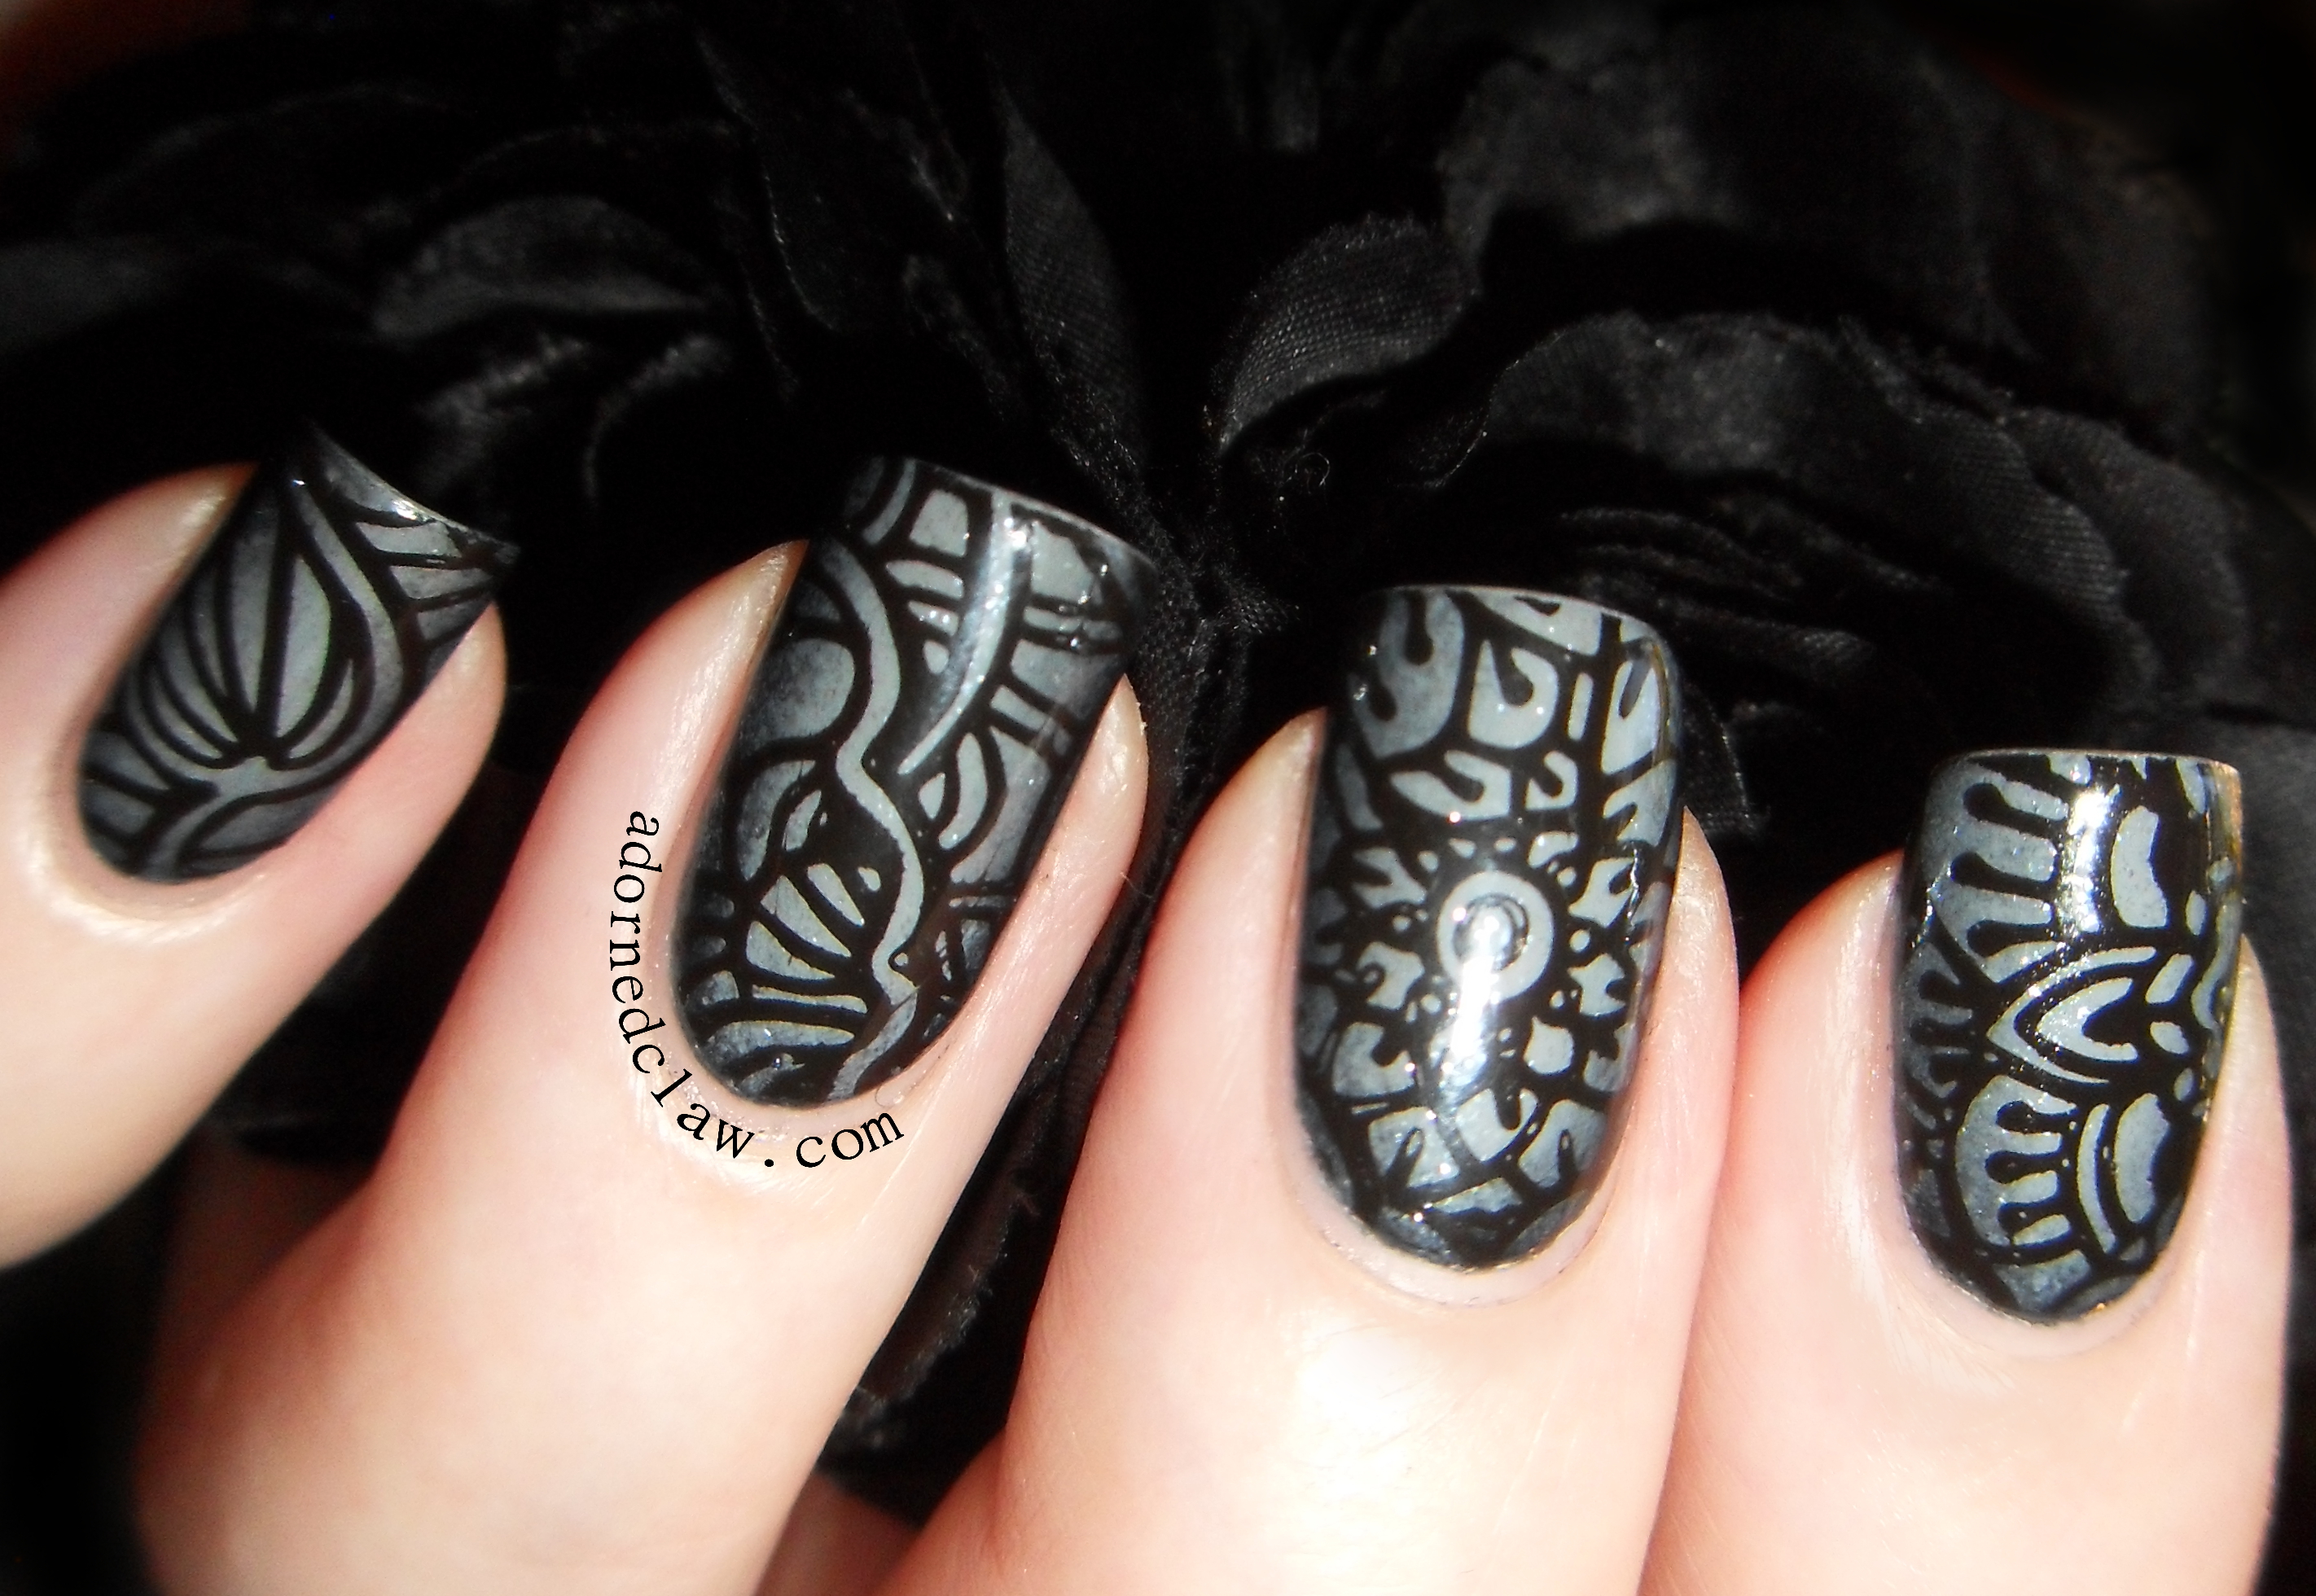
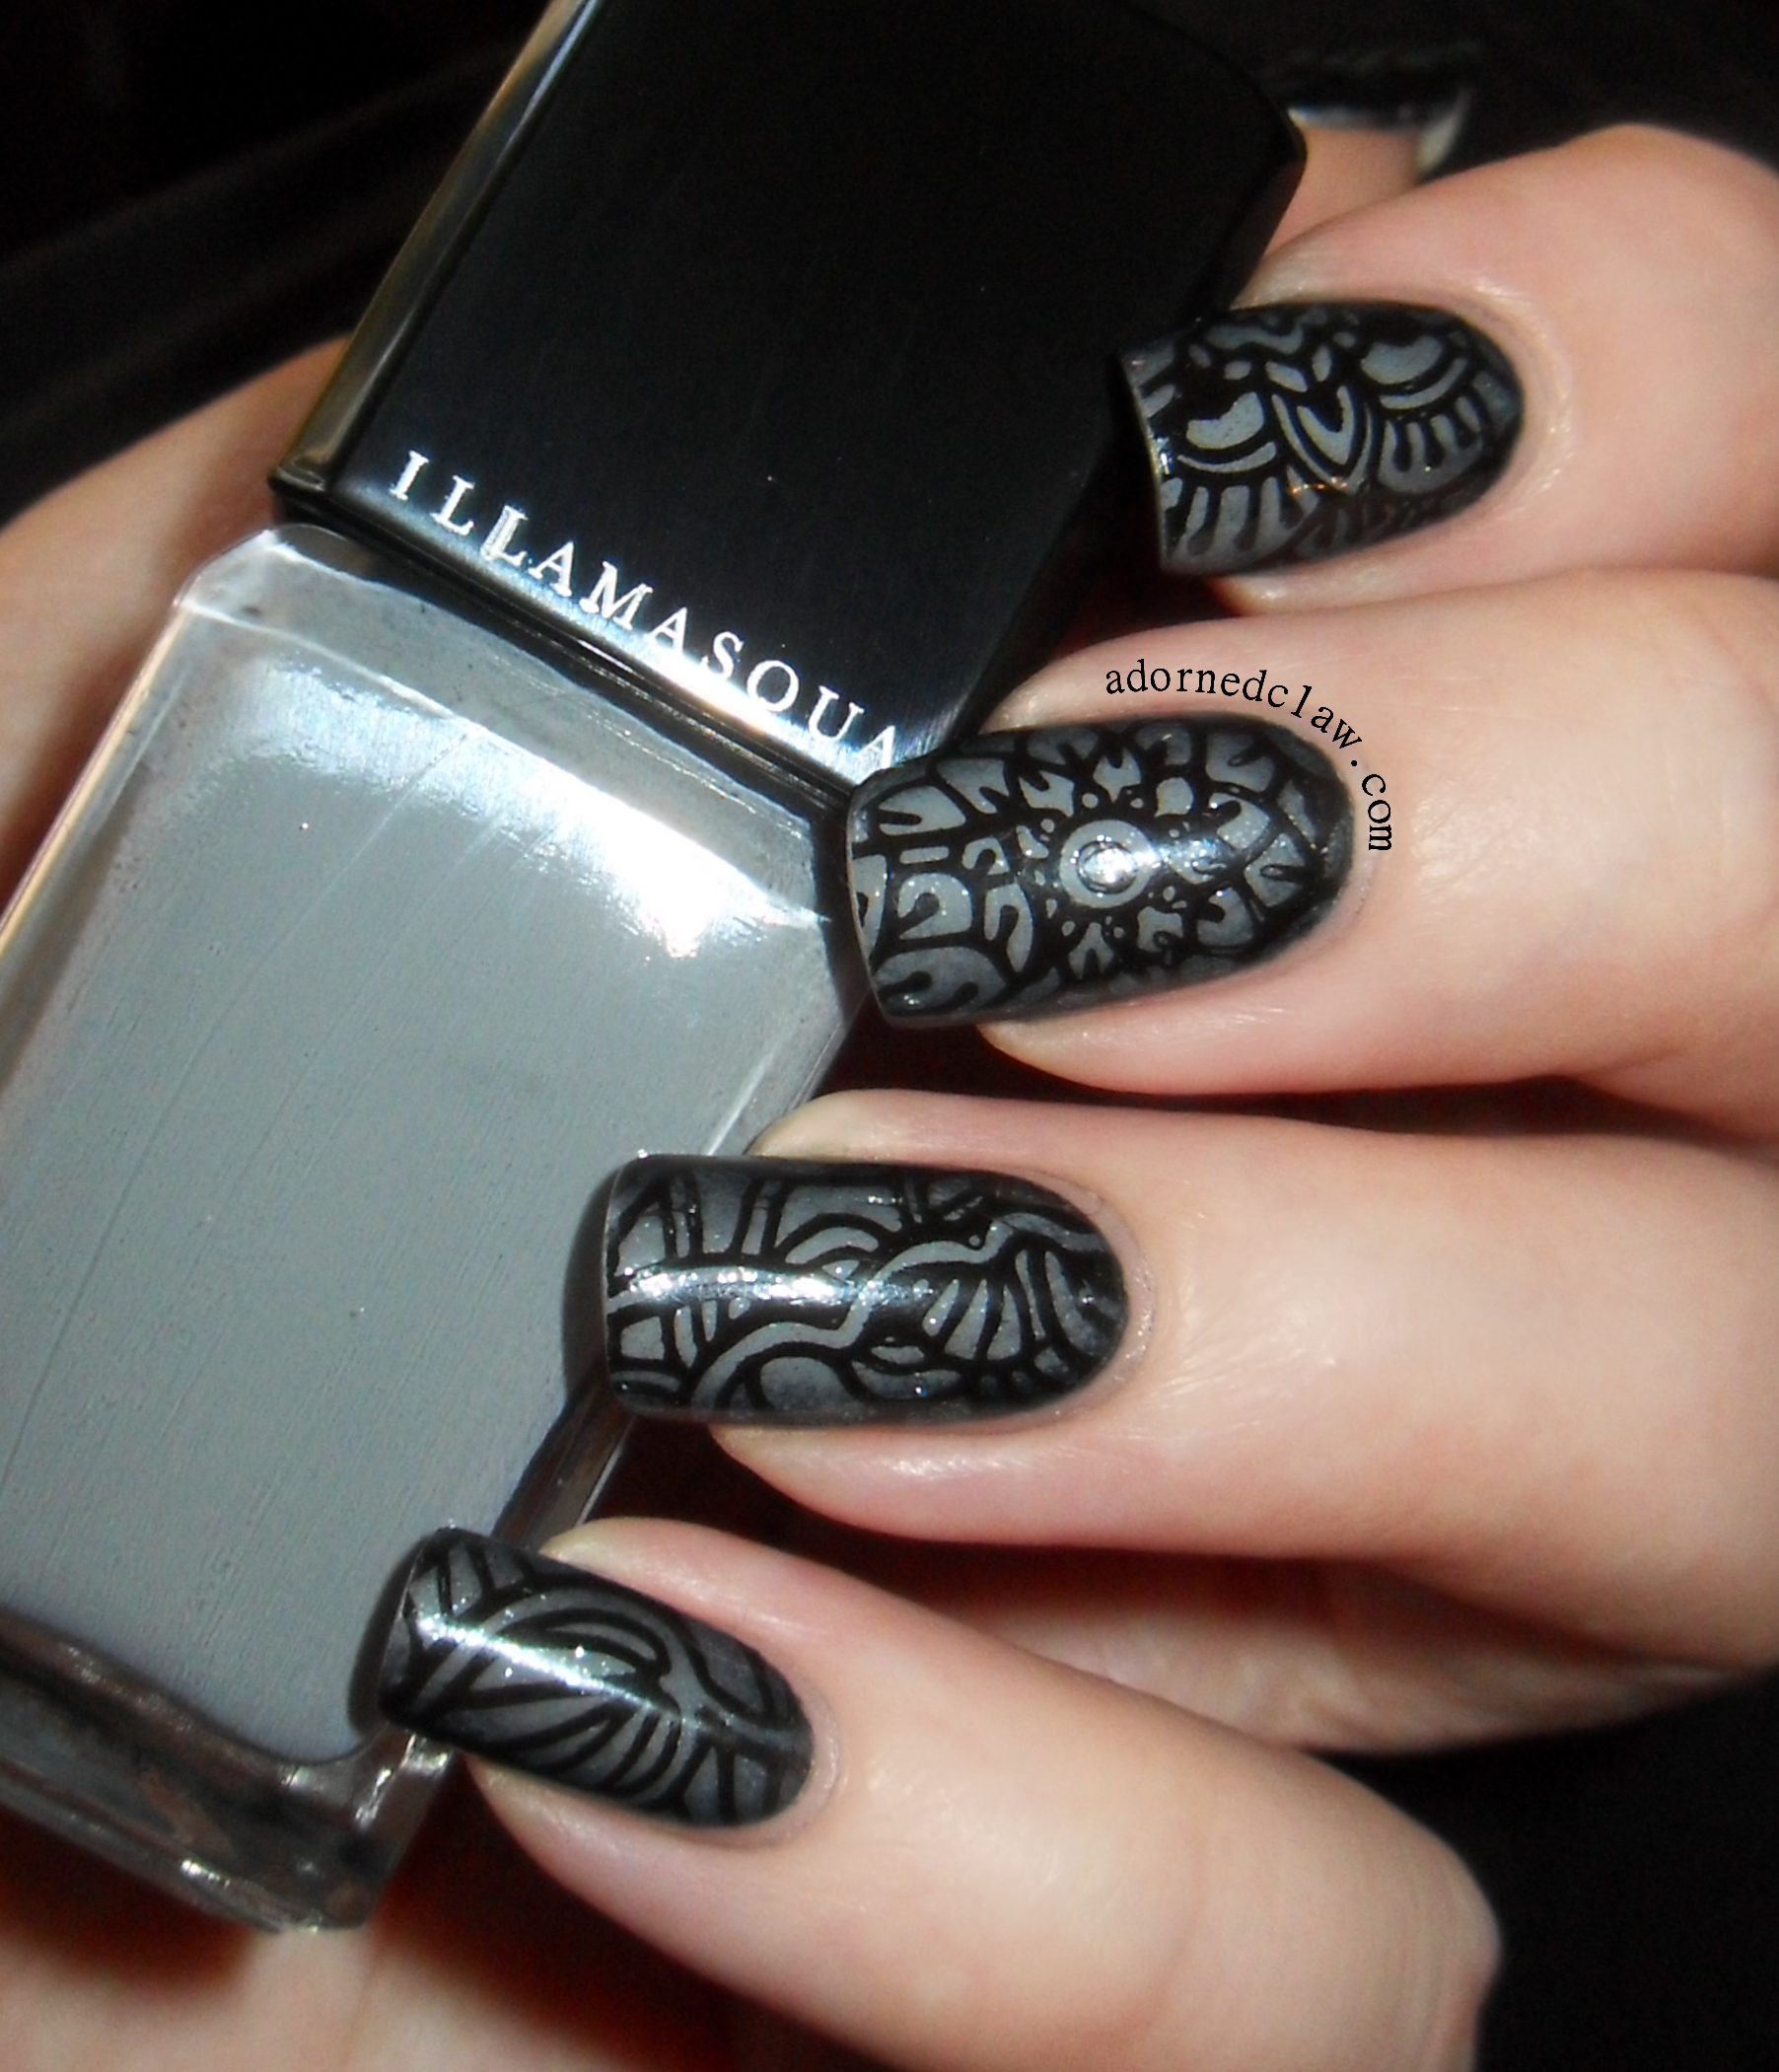
Today I have a Misty Halloween Graveyard to show you! Even though this took ages I am so pleased with this!

Misty Graveyard Nail Art

The Idea for this mani has been lurking around in by brain for a while, I just haven’t had the time to sit down and do it. But I suppose this is a good thing to come out of the last couple of nights of insomnia.

Misty Graveyard Nail Art

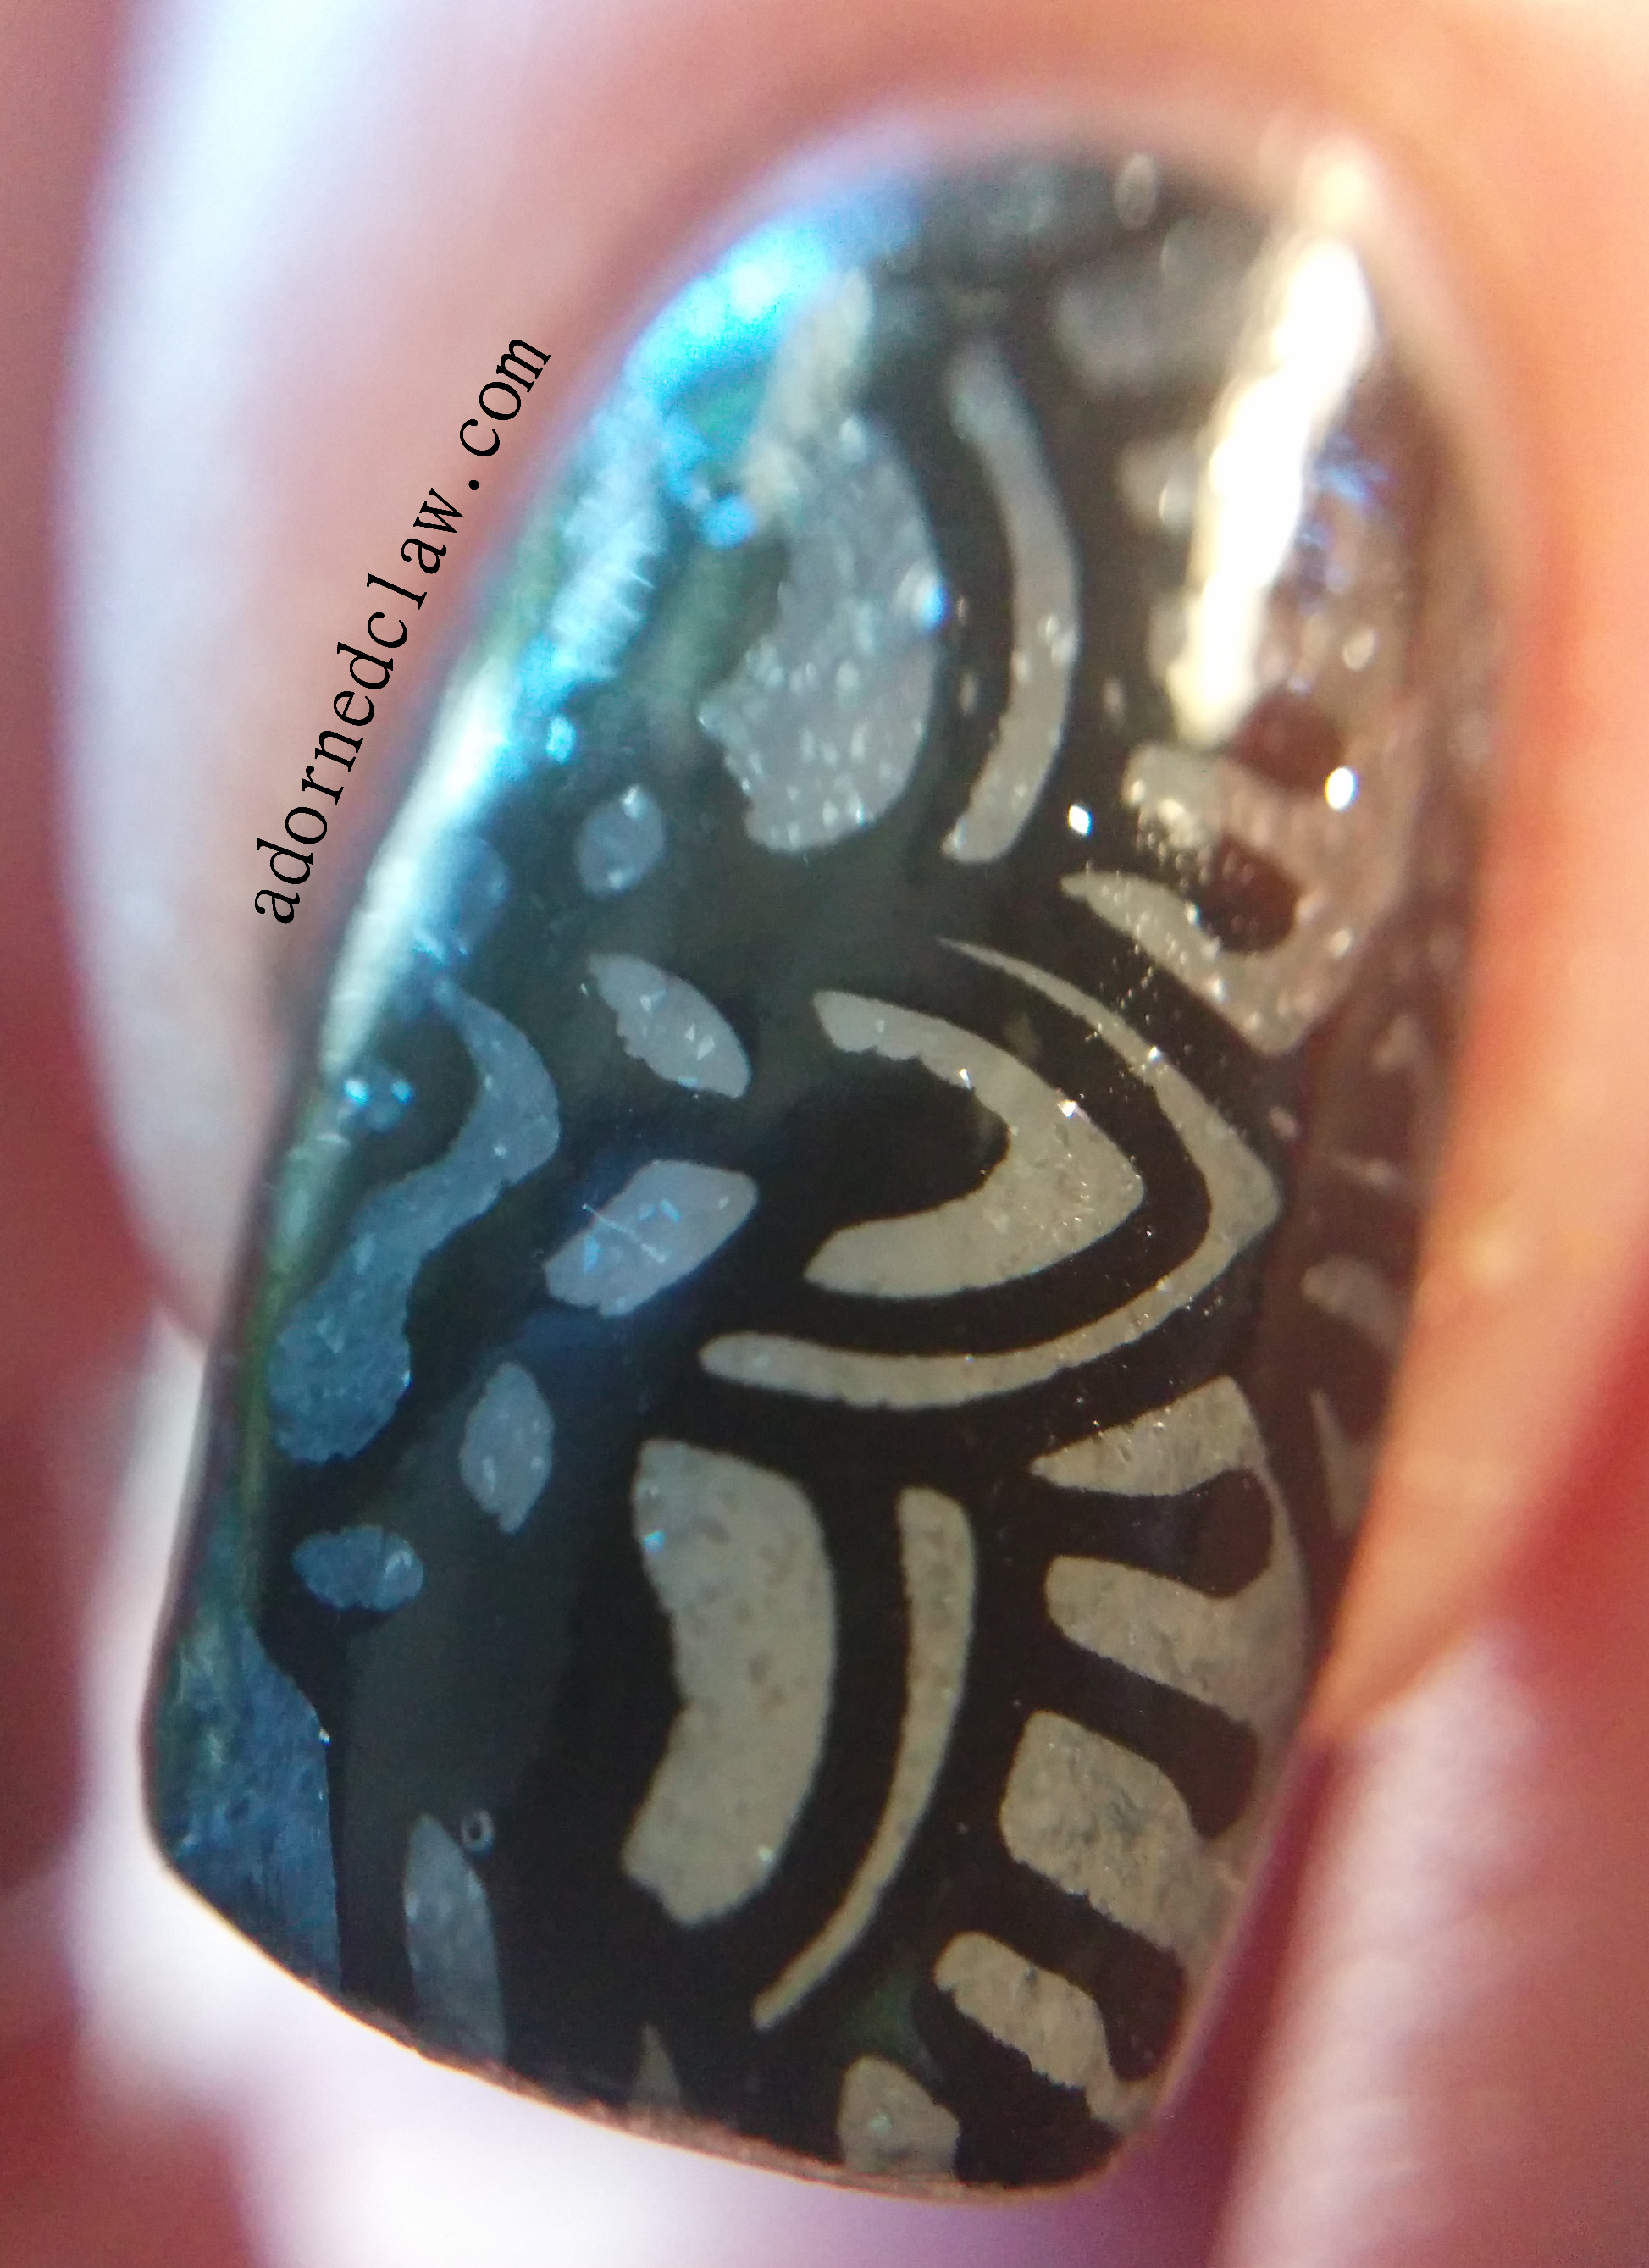
Close up I think it looks a little bit like snow!

After a bit of experimenting with polishes I ended up with just the right combination of sheerness and glitter to be able to build up the misty look on the nail without loosing to much detail.

To make my franken jelly polish I used

  • Clear nail polish
  • Illamasqua – Raindrops
  • ILNP – My Private Rainbow

In a little 5ml polish bottle I mixed a one quarter raindrops to three quarters of clear polish, then as an after thought I added three drops of my private rainbow.

Misty Graveyard Nail Art

I started out with my usual base coat and then a layer of Raindrops, when that was dry I added the first stamped gravestones on the top half of my nail, then a layer of topcoat, and a coat of the franken polish.  I had to apply the extra layers of topcoat because the franken polish mix dissolved the stamping polish.

Then the next layer of stamping slightly further down the nail, and then repeating the layers of polish.

Then the last lot of stamping I added a little black polish between the last gravestones then a final coat of topcoat.

In total this mani took nine coats of polish (not counting the stamping).  Surprisingly it didn’t feel really thick.

Misty Graveyard Nail Art

I really like this technique, and I’m definitely going to be trying this again, even if it does take absolutely ages 😀
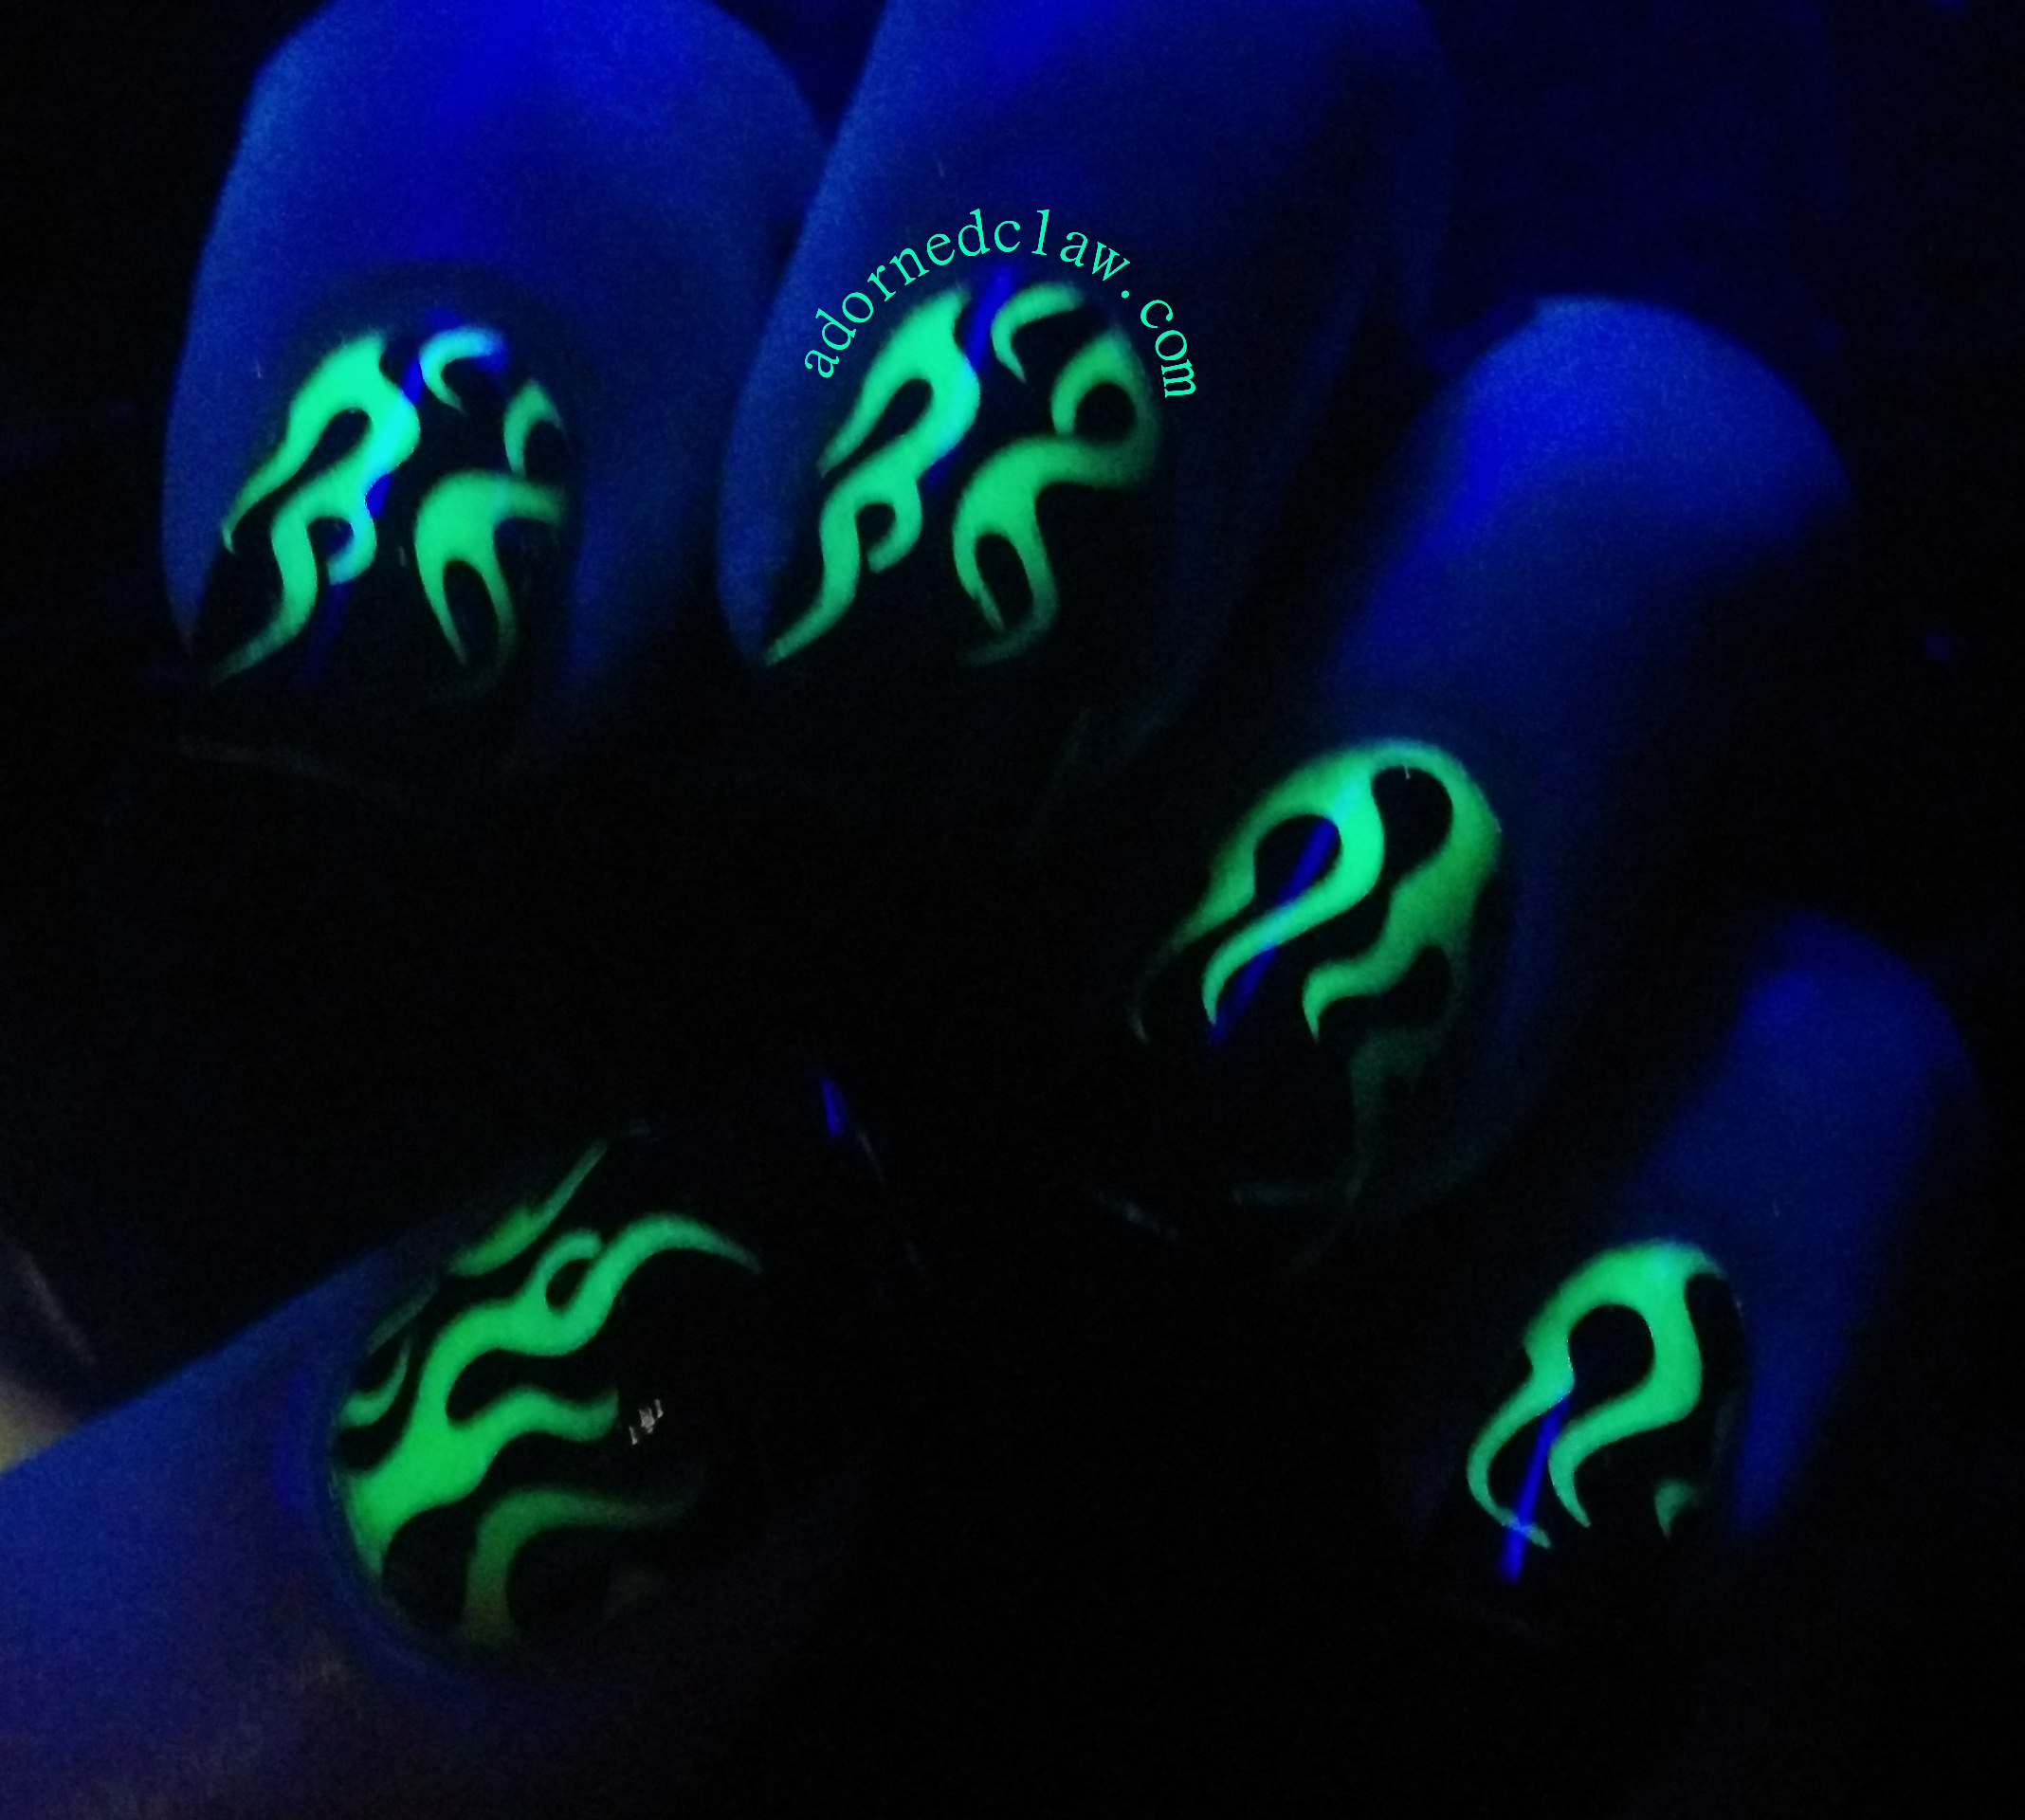
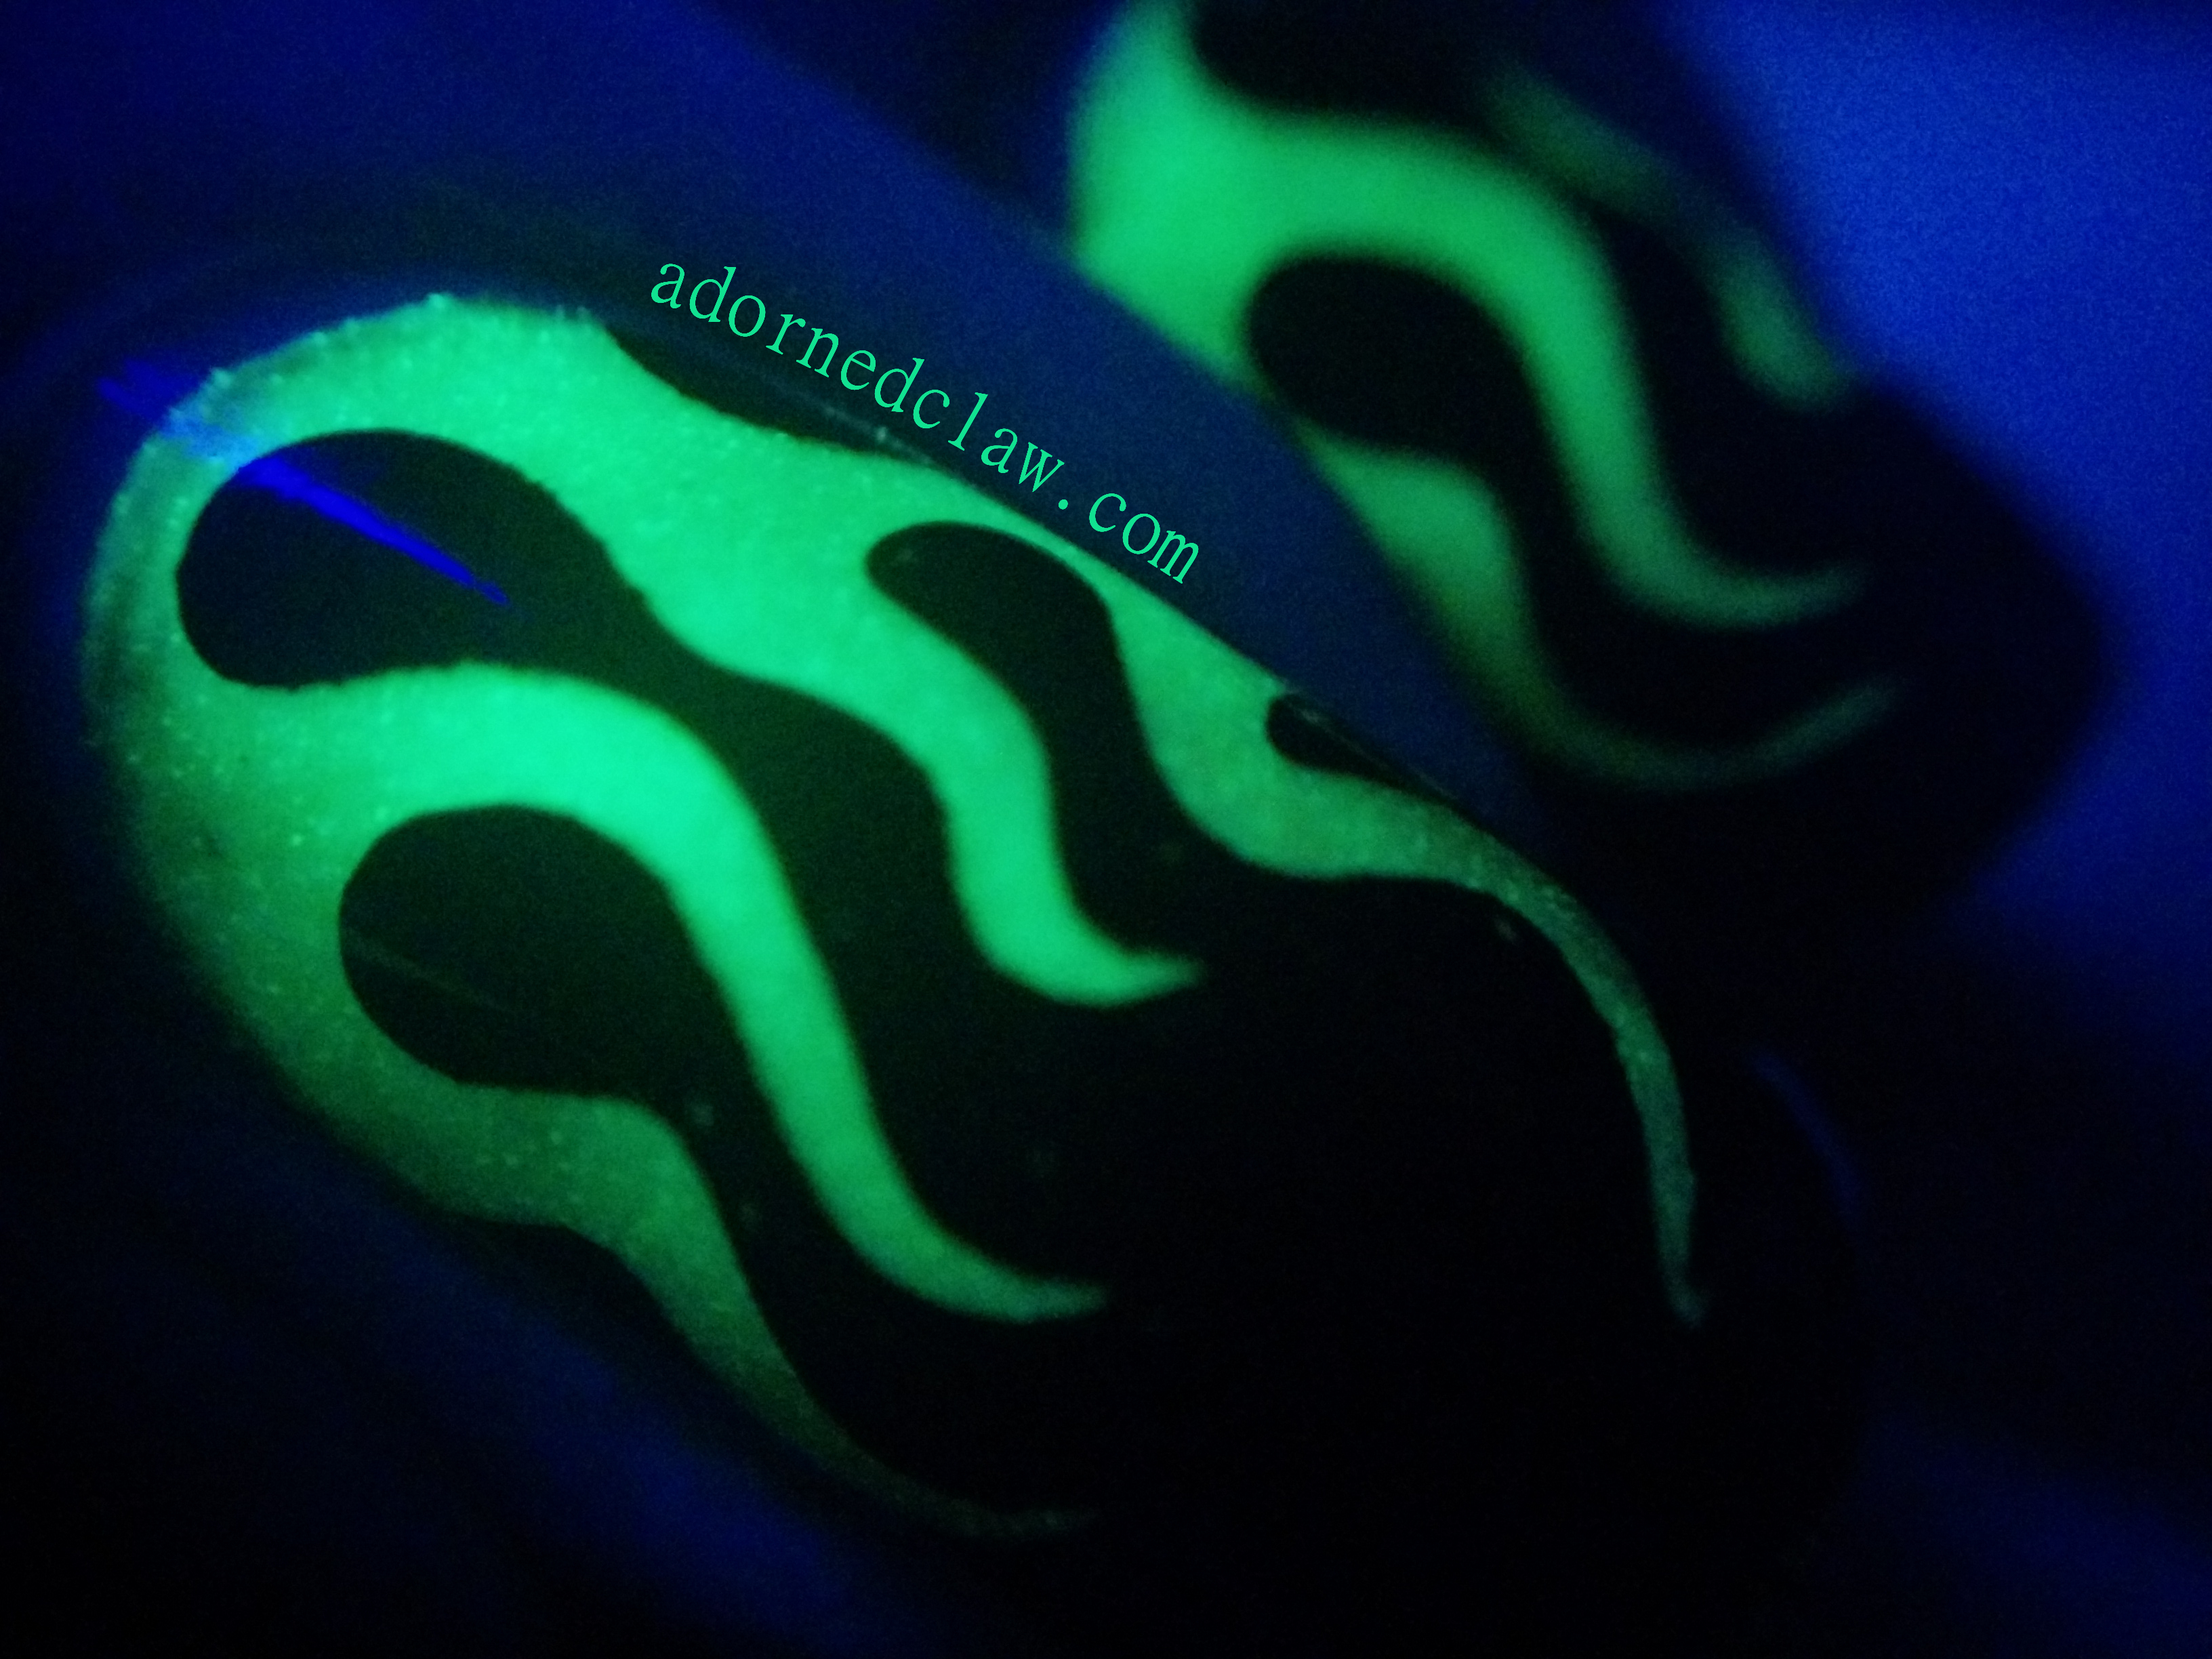
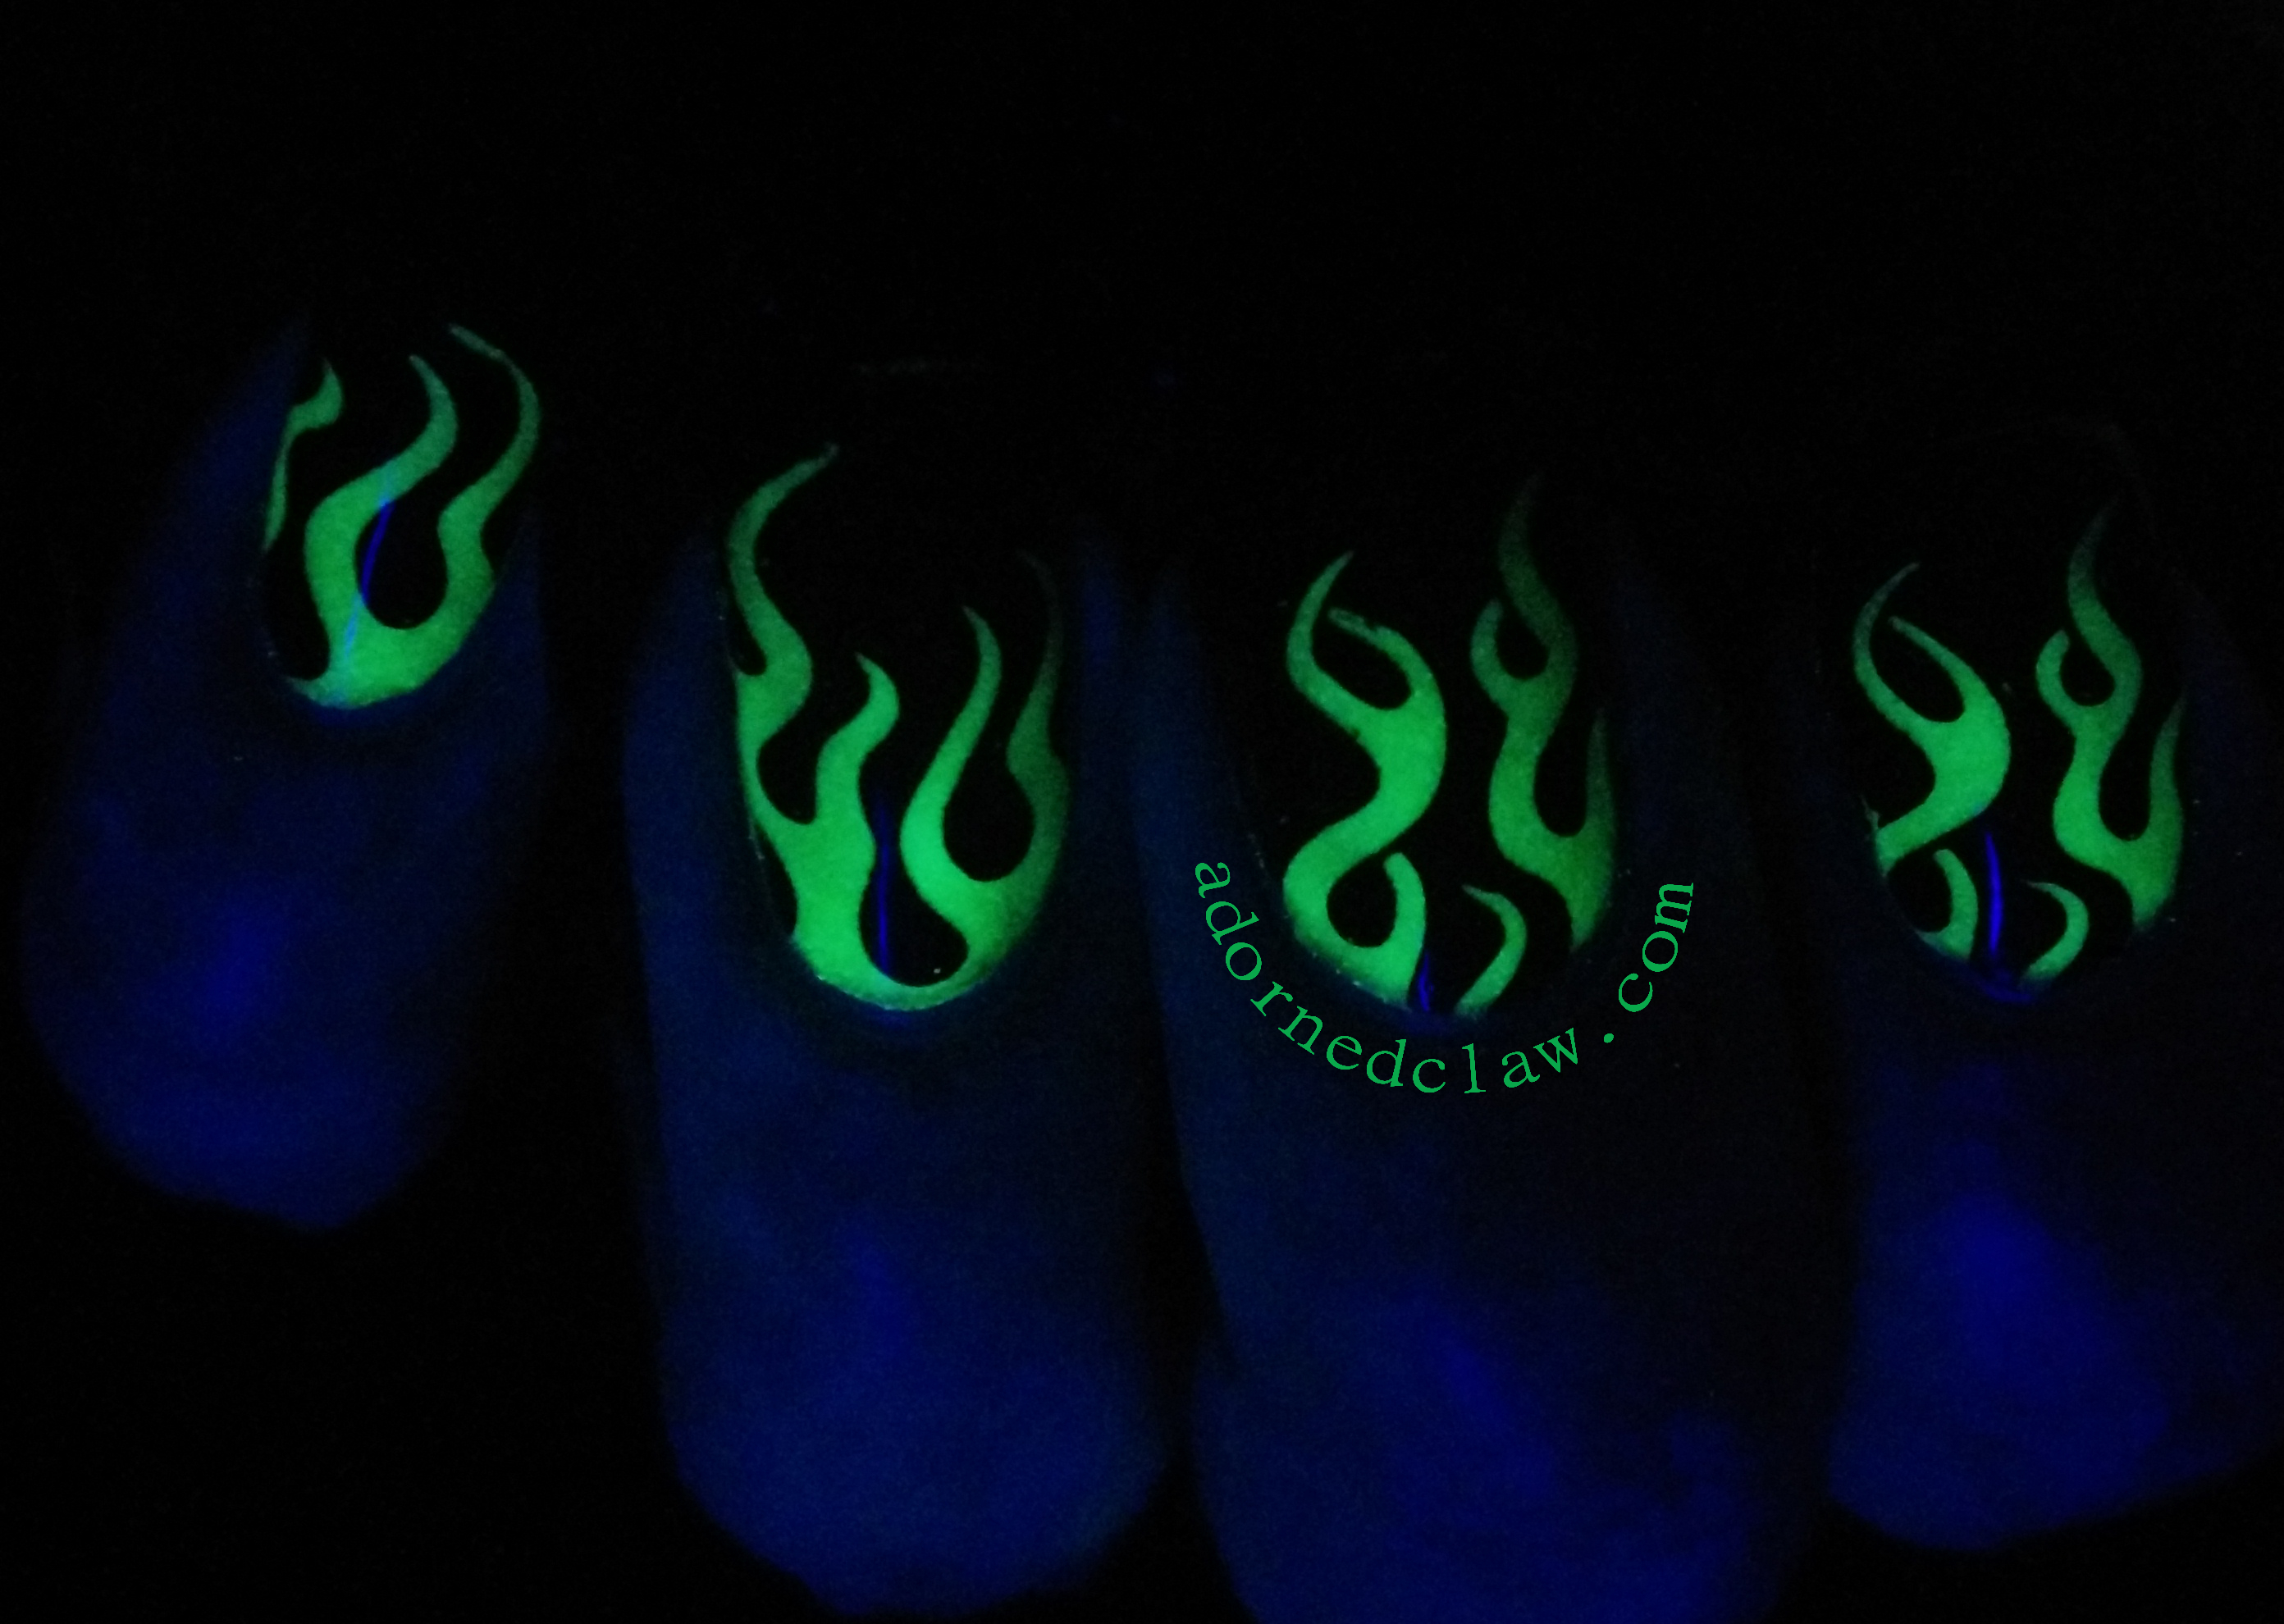

Spooky Spider Halloween Gradient

Halloo! 🙂

Halloween Purple Spiderweb Nail Art

Here are some Spooky Halloween Spiders!

I decided to have a go at a new to me technique called a Radial Gradient, If you haven’t come across this before, it’s circular so instead of painting the polish across the sponge you paint it in a circle, then apply it to the nail in the same way.

I think that for a first attempt I was far to ambitious trying to use four shades (I should have tried with two to start with)

Halloween Purple Spiderweb Nail Art

The products I used are

  • A England – Elaine
  • Revlon – Amethyst
  • China Glaze – Get Outta My Space
  • Revlon – Stiletto
  • Stamping Plate – Moyou Suki 10
  • Hit The Bottle – Black
  • Seche Vite
  • Makeup Sponge

For the gradient I used Stiletto, Elaine, Amethyst and Get Outta My Space, then a coat of Seche Vite.

When that had dried I used Black Hit The Bottle stamping polish and Moyou Suki plate 10 for the spiders and webs then another coat of SV to finish it off.

Halloween Purple Spiderweb Nail Art

I have so many ideas for Halloween nail art that I think it’s going to take me all month to share them all! 🙂


Sparkly Grey Edge Gradient with LLA01

Halloo!

In the interests of full disclosure, I received the leadlight lacquer Stamping plate free of charge, but not for review. The wonderful people over at Messy Mansion sent me a couple extra plates when my last order went missing. How lovely is that!? 🙂

Grey Edge Gradient

This mani is one of the ones I created before disappearing for a while, I liked this one far too much not to share it with you.

Grey Edge Gradient

I really love the look and how easy edge gradients are, the only down side is that they are really messy, a lot more so than a standard across the nail gradient!

I do find that a tiny bit of petroleum jelly/Vaseline rubbed around the cuticle area helps with clean up a huge amount, when the polish is dry it can be wiped away with a tissue, or a gentle scrub with a nail brush.

Grey And Black edge gradient nail art

The products I used are

  • Leadlight Lacquer A01
  • Illamasqua – Scorn
  • Illamasqua – DWS
  • Hit The Bottle – Black
  • Seche Vite
  • Maybelline – Sugar Crystals

Edge Gradient nail art Macro

🙂


Glow in The Dark Flames!

Hey everyone!
It’s been a while ( and by a while I really mean months… Ooops) since my last post.

glow in the dark fire nail art

I really needed a break from everything! I have had a lot of stuff going on that in all honesty has been simultaneously boring and stressful! But I’m not going bore you all with the details!

Instead I have some Glow in the Dark Fire nails to share 😀

glow in the dark fire nail art

I really think these would be great for Halloween!

Flame Nails![/caption]

The stuff I used

  • Stamping Plate MM27
  • Seche Vite
  • Hit The Bottle Stamping Polish – Black
  • Glow In The Dark Polish Orange and Yellow
  • Models Own – Zest a Peel
  • Sally Hansen – Lite

Flame Nails

I used the Models Own and Sally Hansen Polishes to create a gradient, I think using some white undies would have saved me a lot of layers!

Then I added the glow in the dark polish the ones I used are just cheap Pound shop unbranded ones but they do glow reasonably well, I think using some better quality glowing polish would improve this a lot.

Then when It was dry (this took ages) I used MM27 and Hit The Bottle Stamping Polish to add the flames!

Then a coat of Seche Vite and a bit of a clean up to finish it off.

glow in the dark fire nail art

Even if it is orange and yellow this mani makes me really happy! 😀


%d bloggers like this: