Tag Archives: ILNP My Private Rainbow

Rainbow Rocket Ships!

Hello! 😀

Rainbow Rocket Watermarble Nail Art

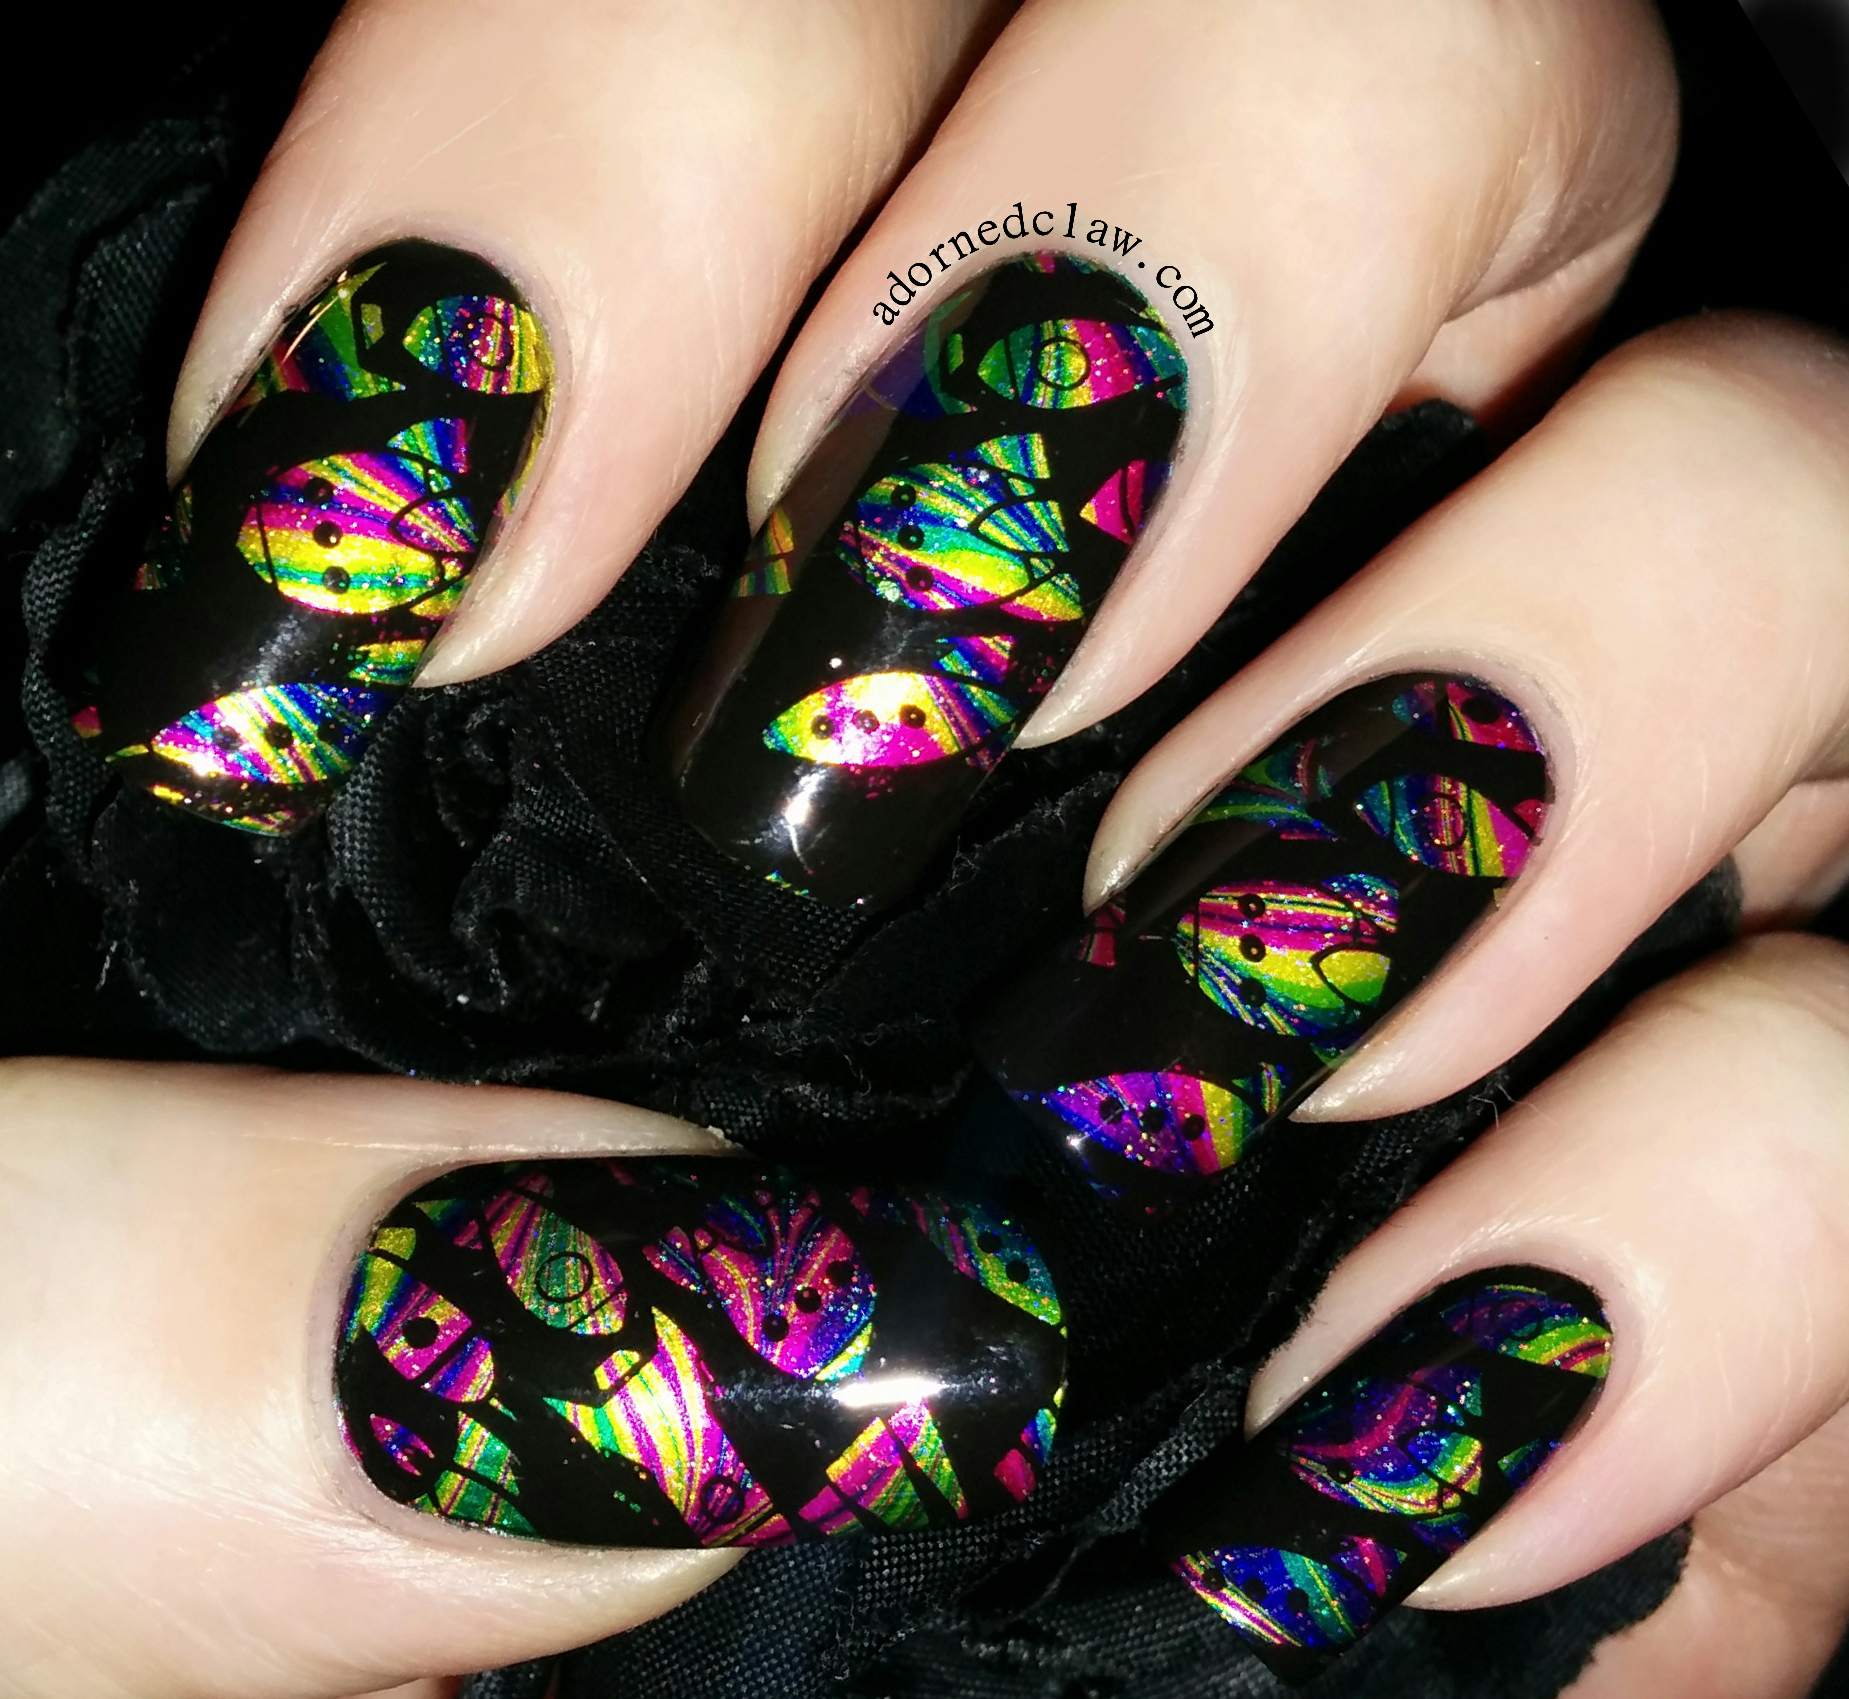
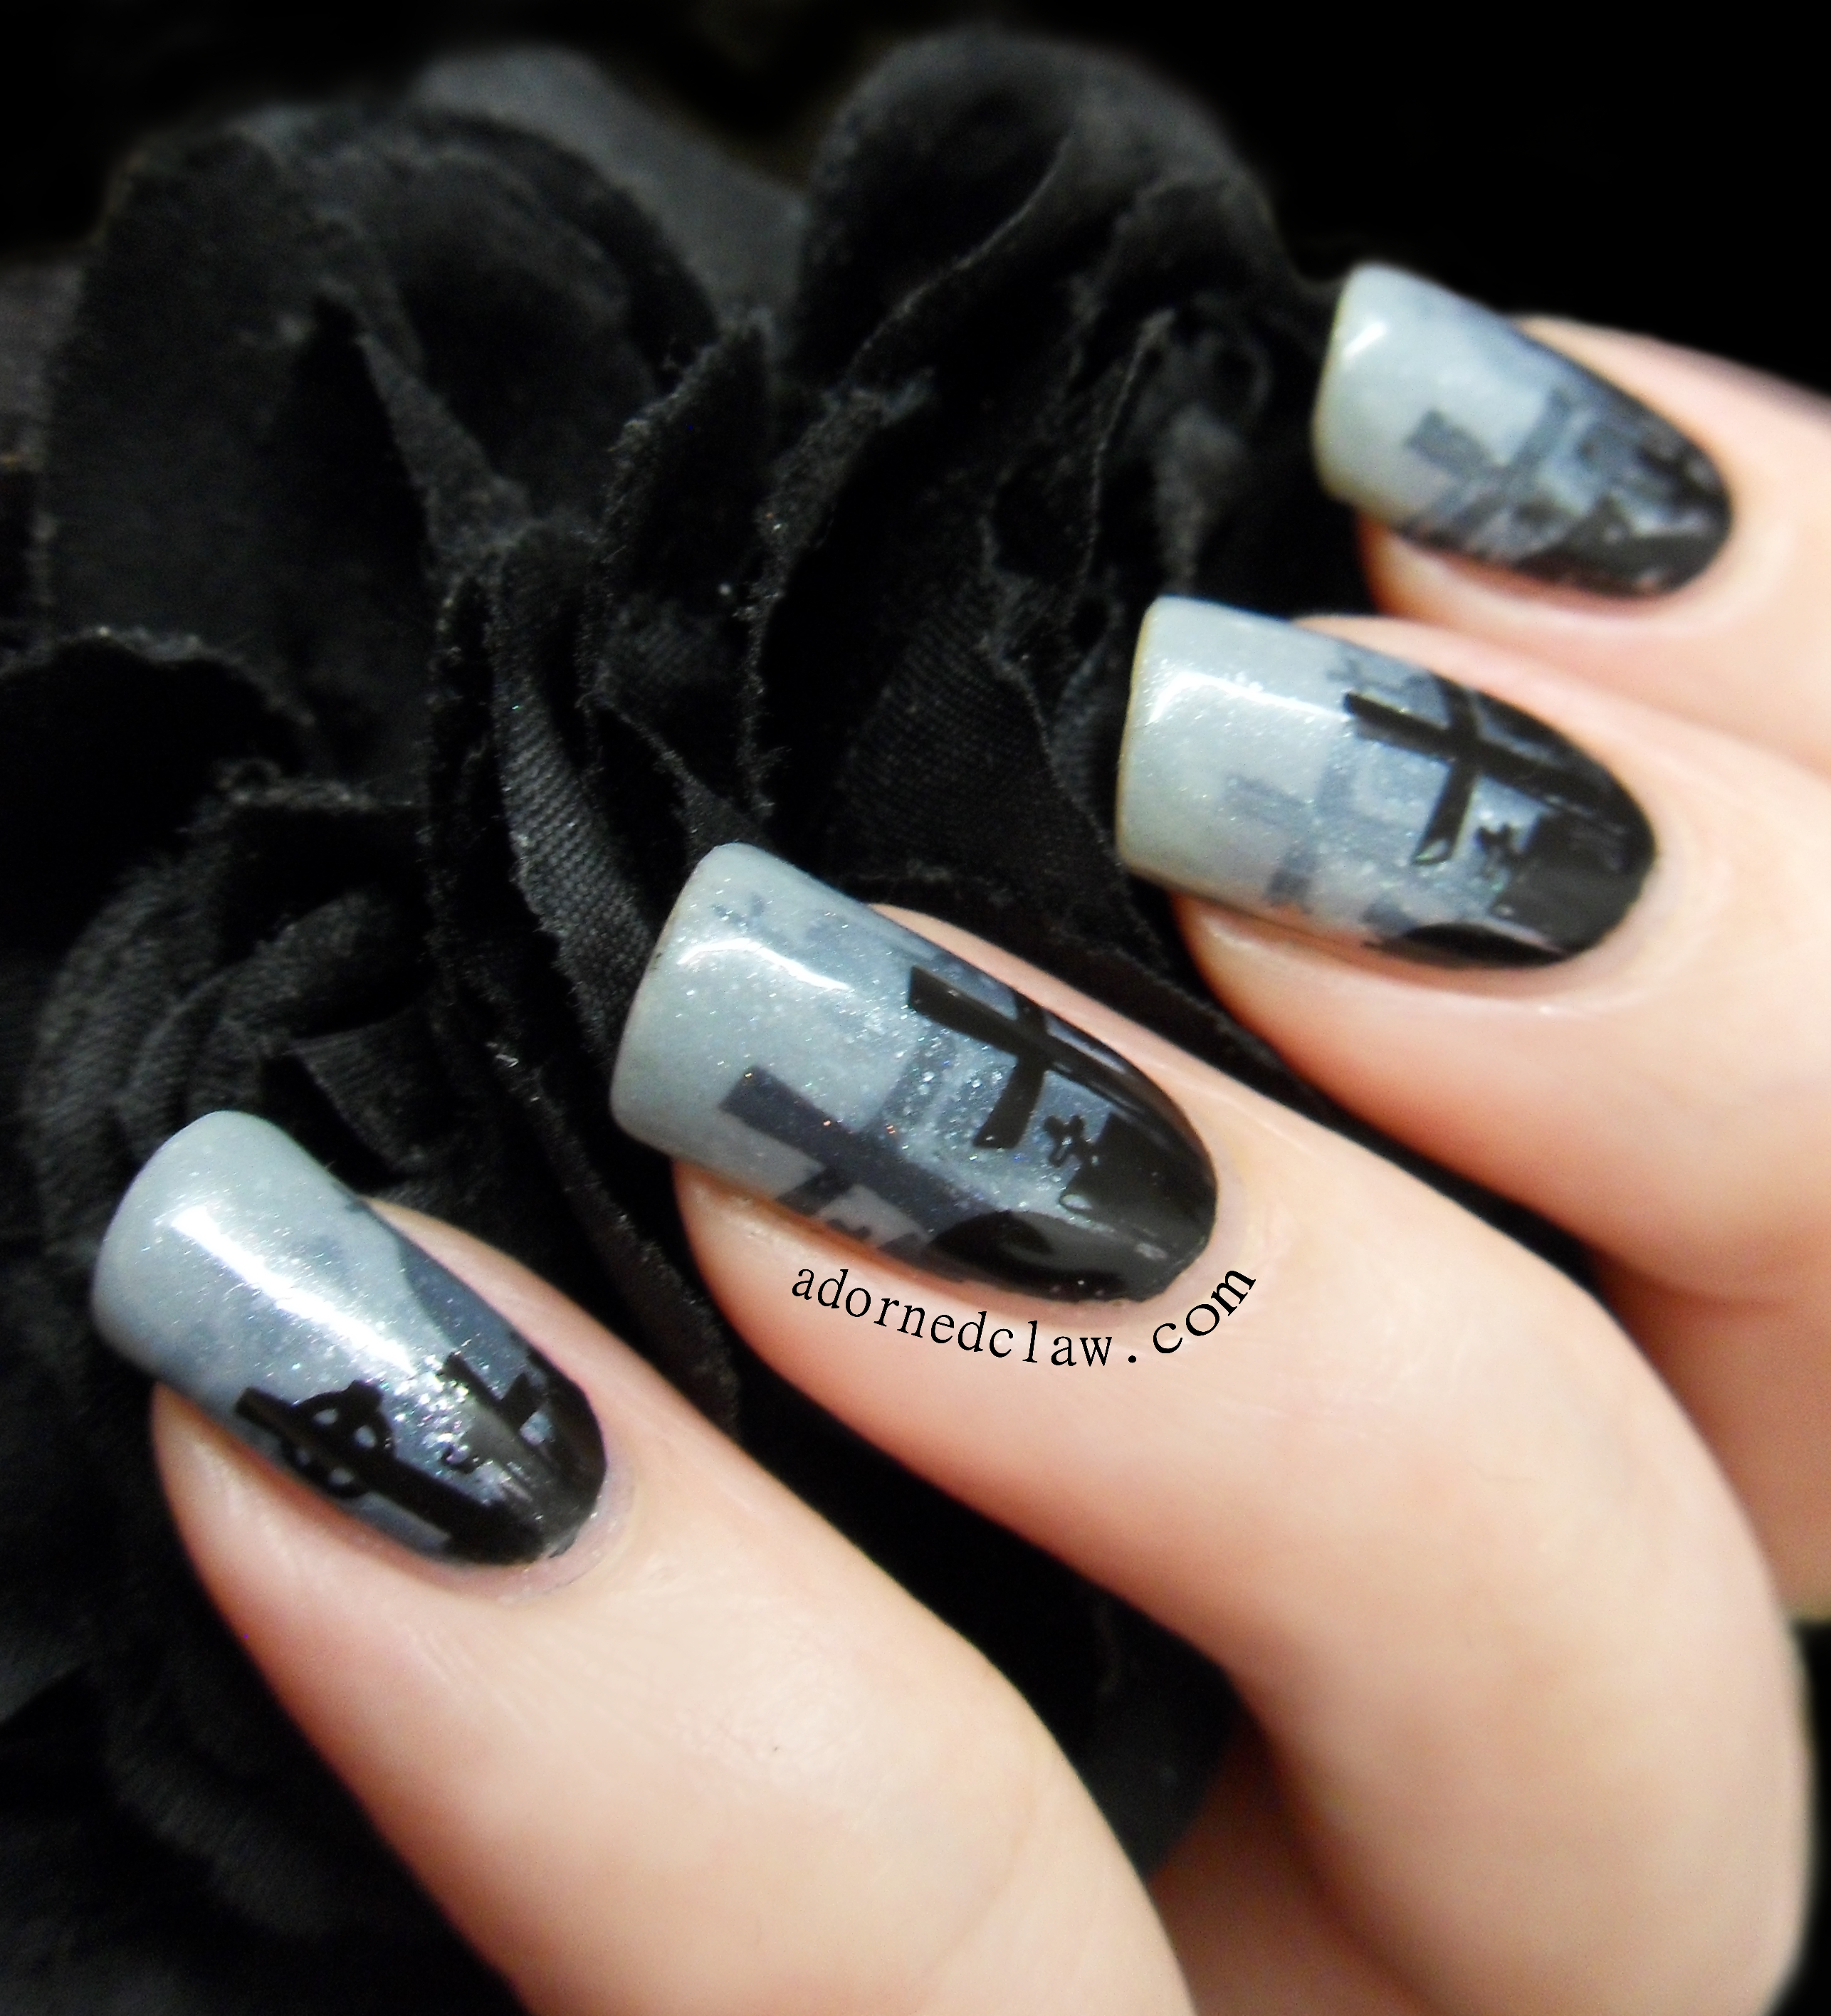
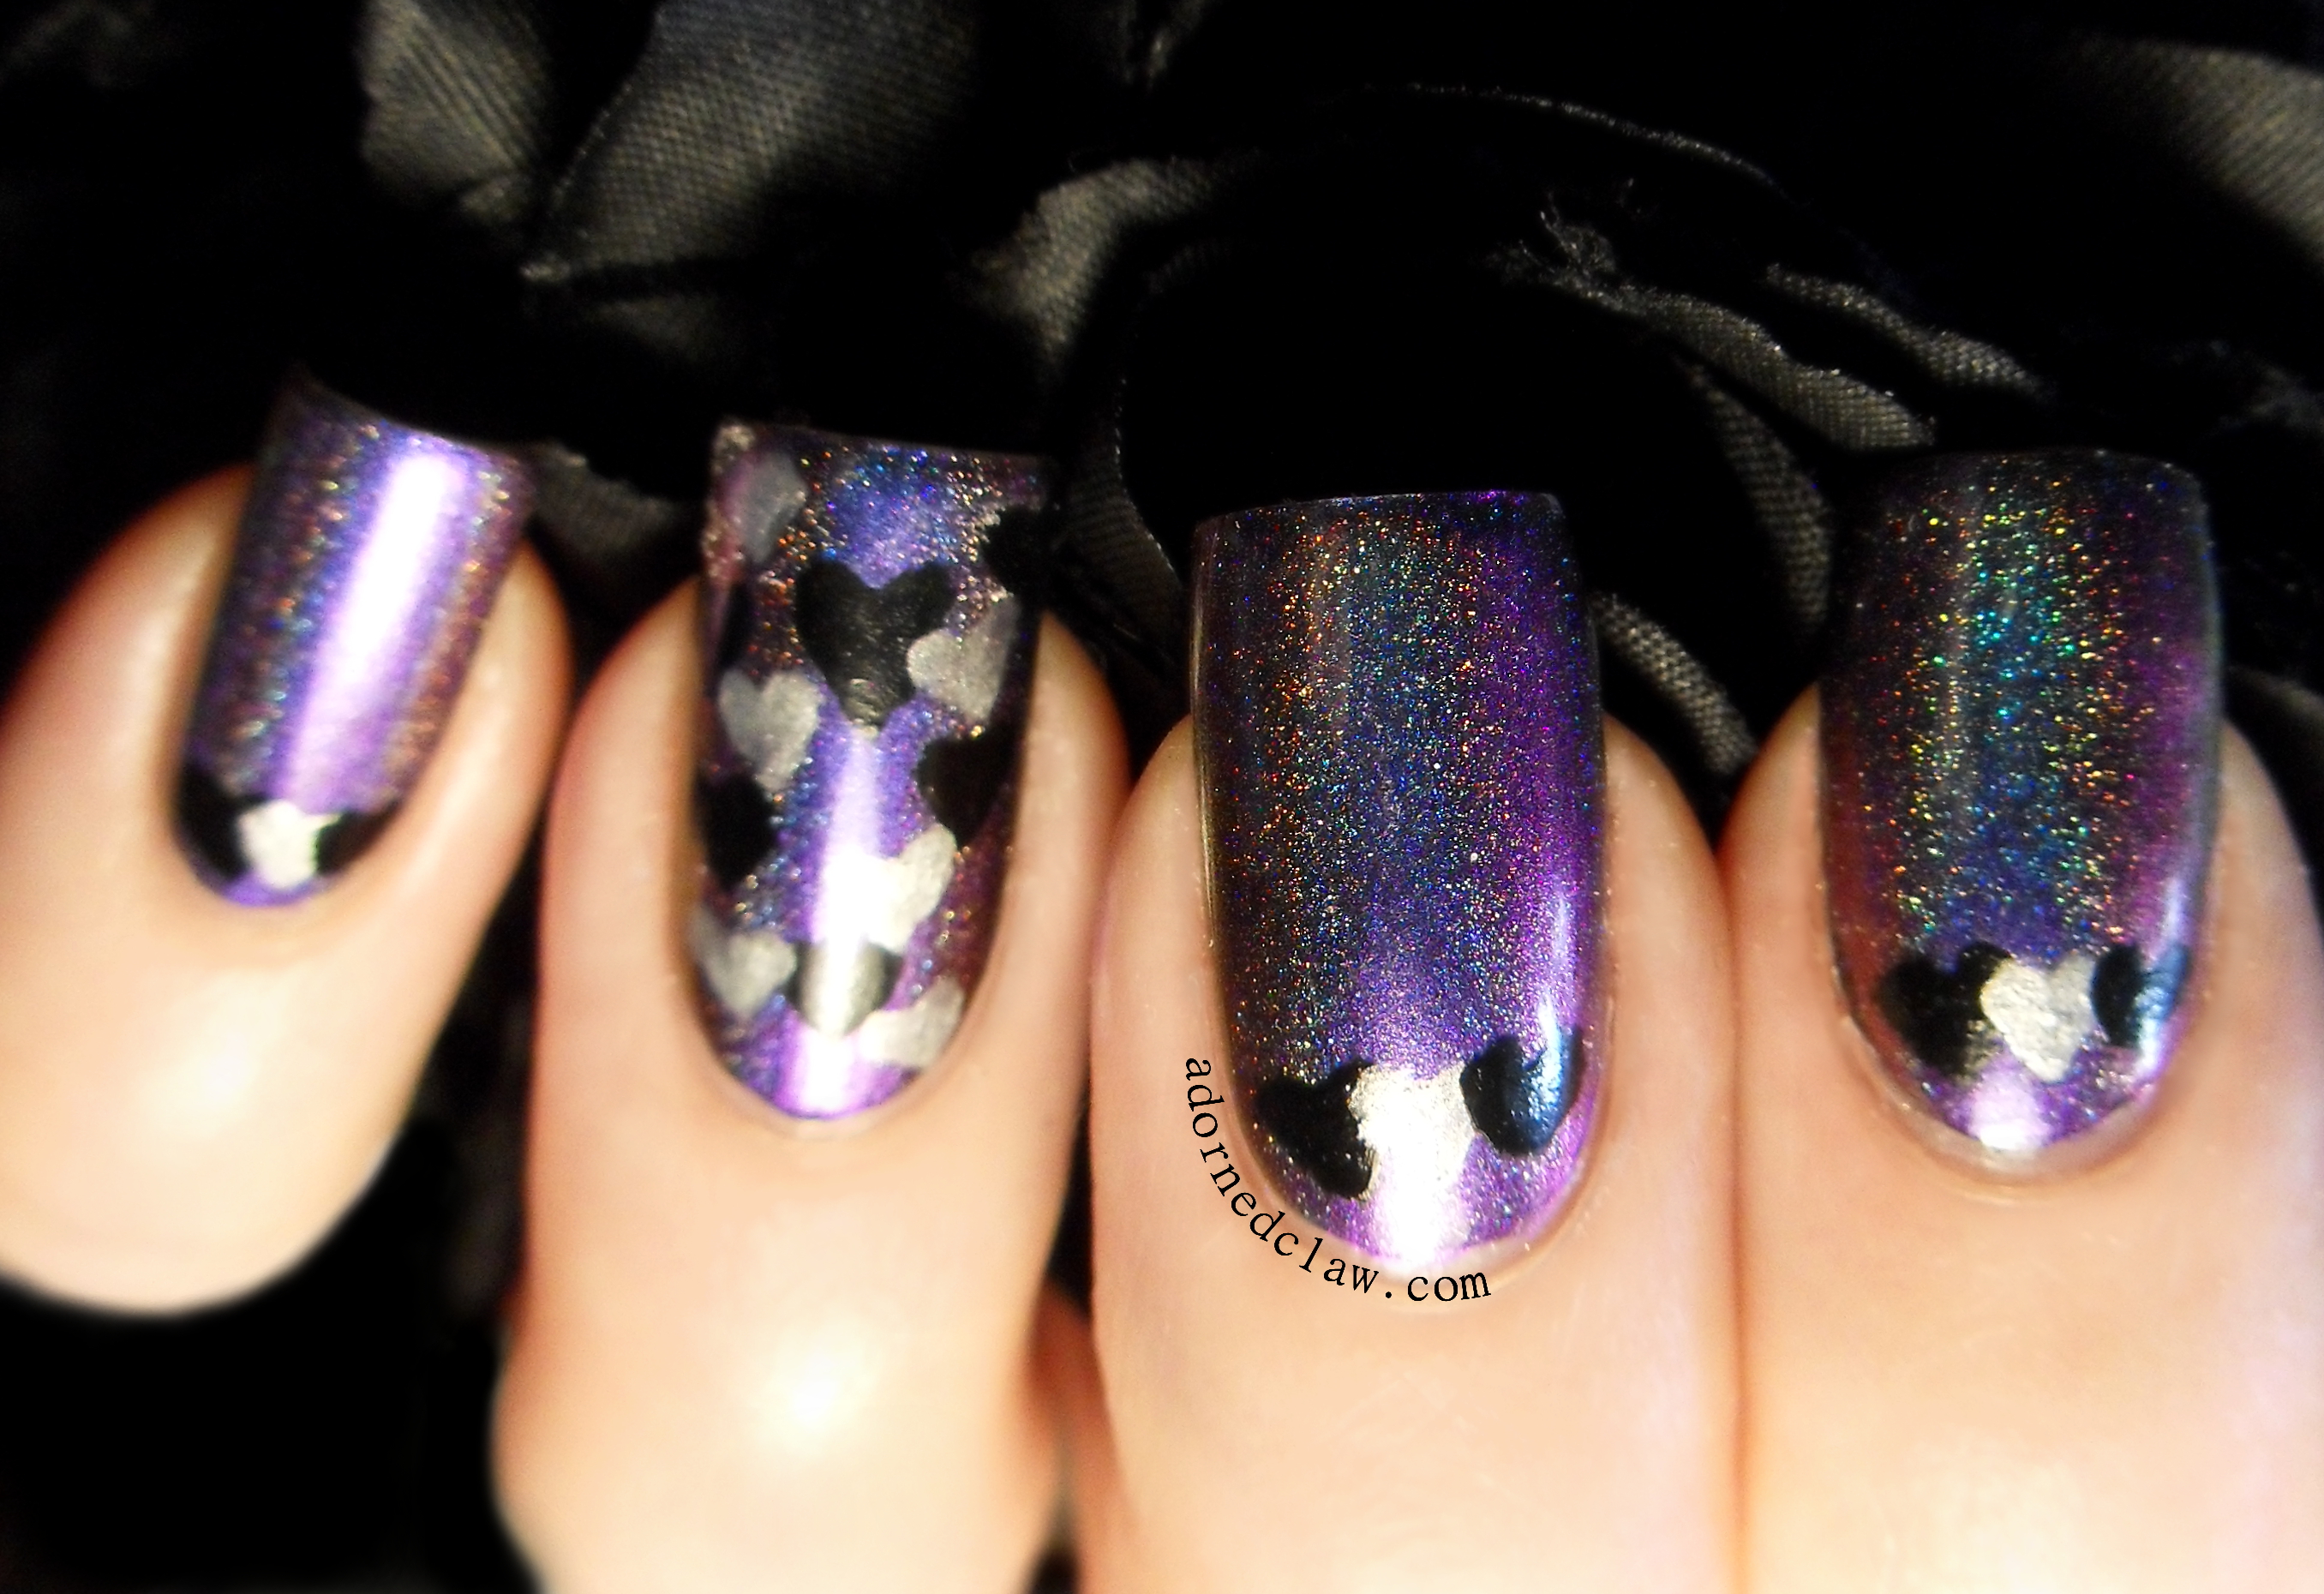
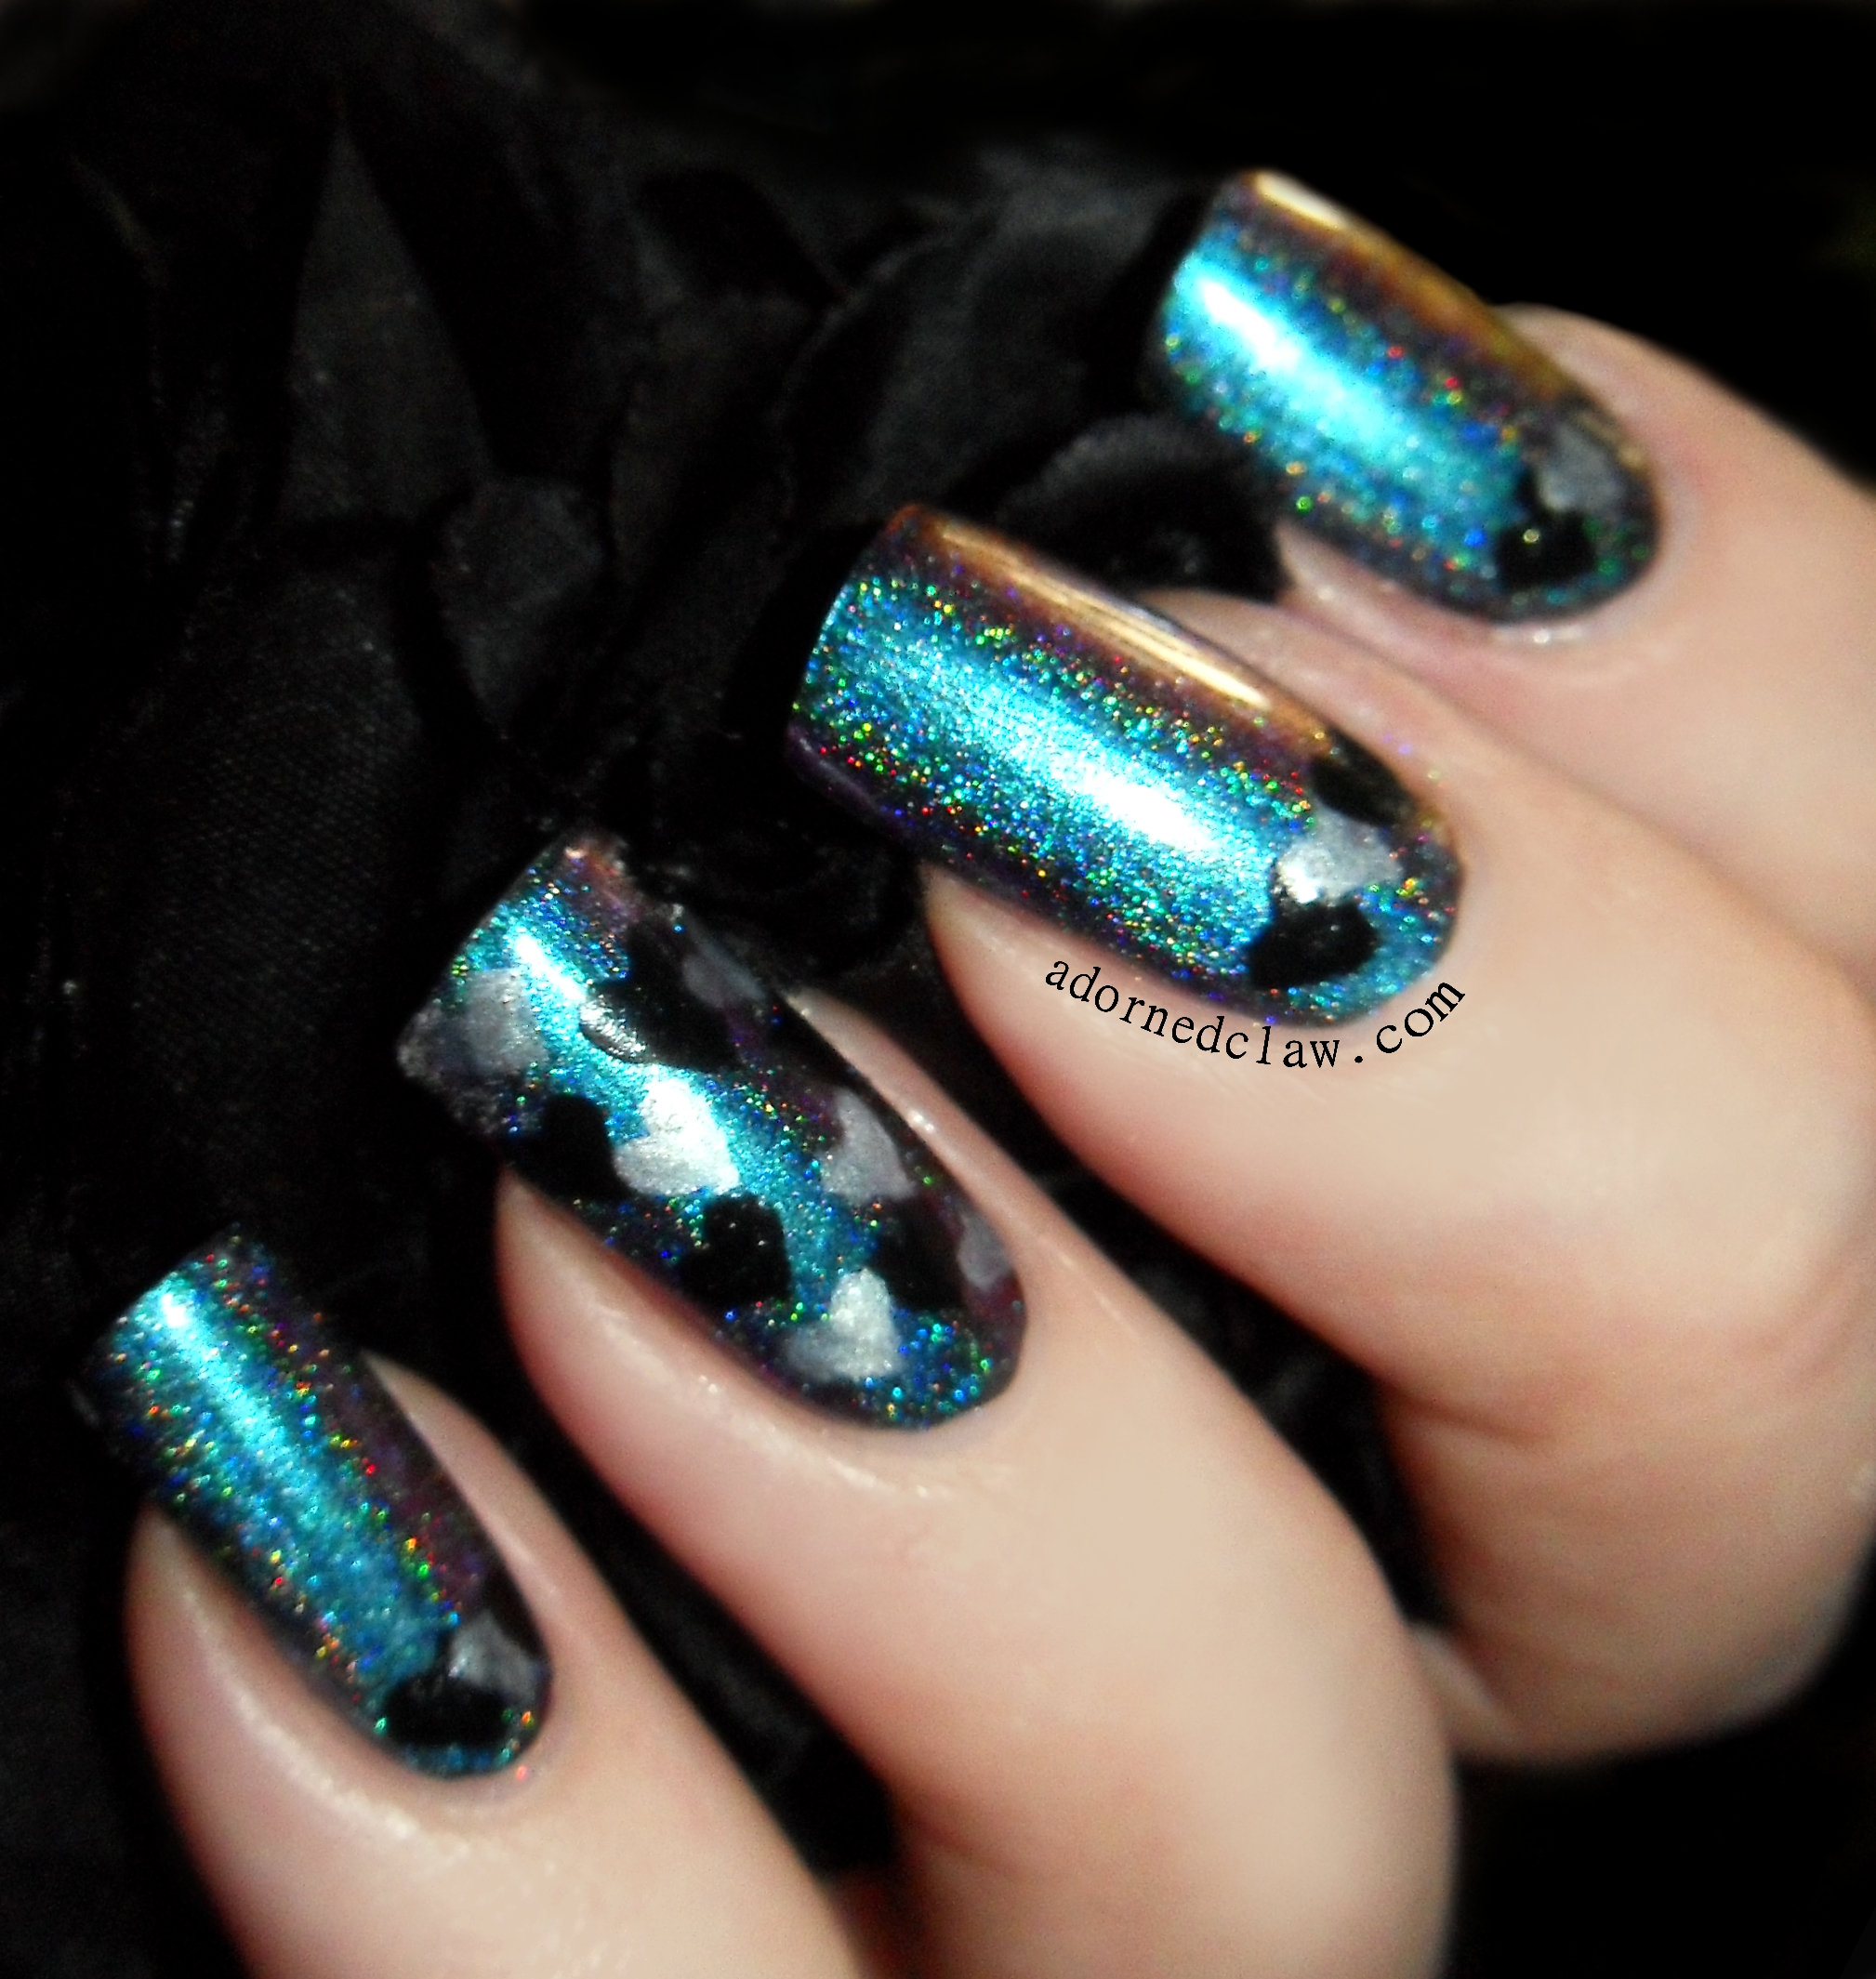
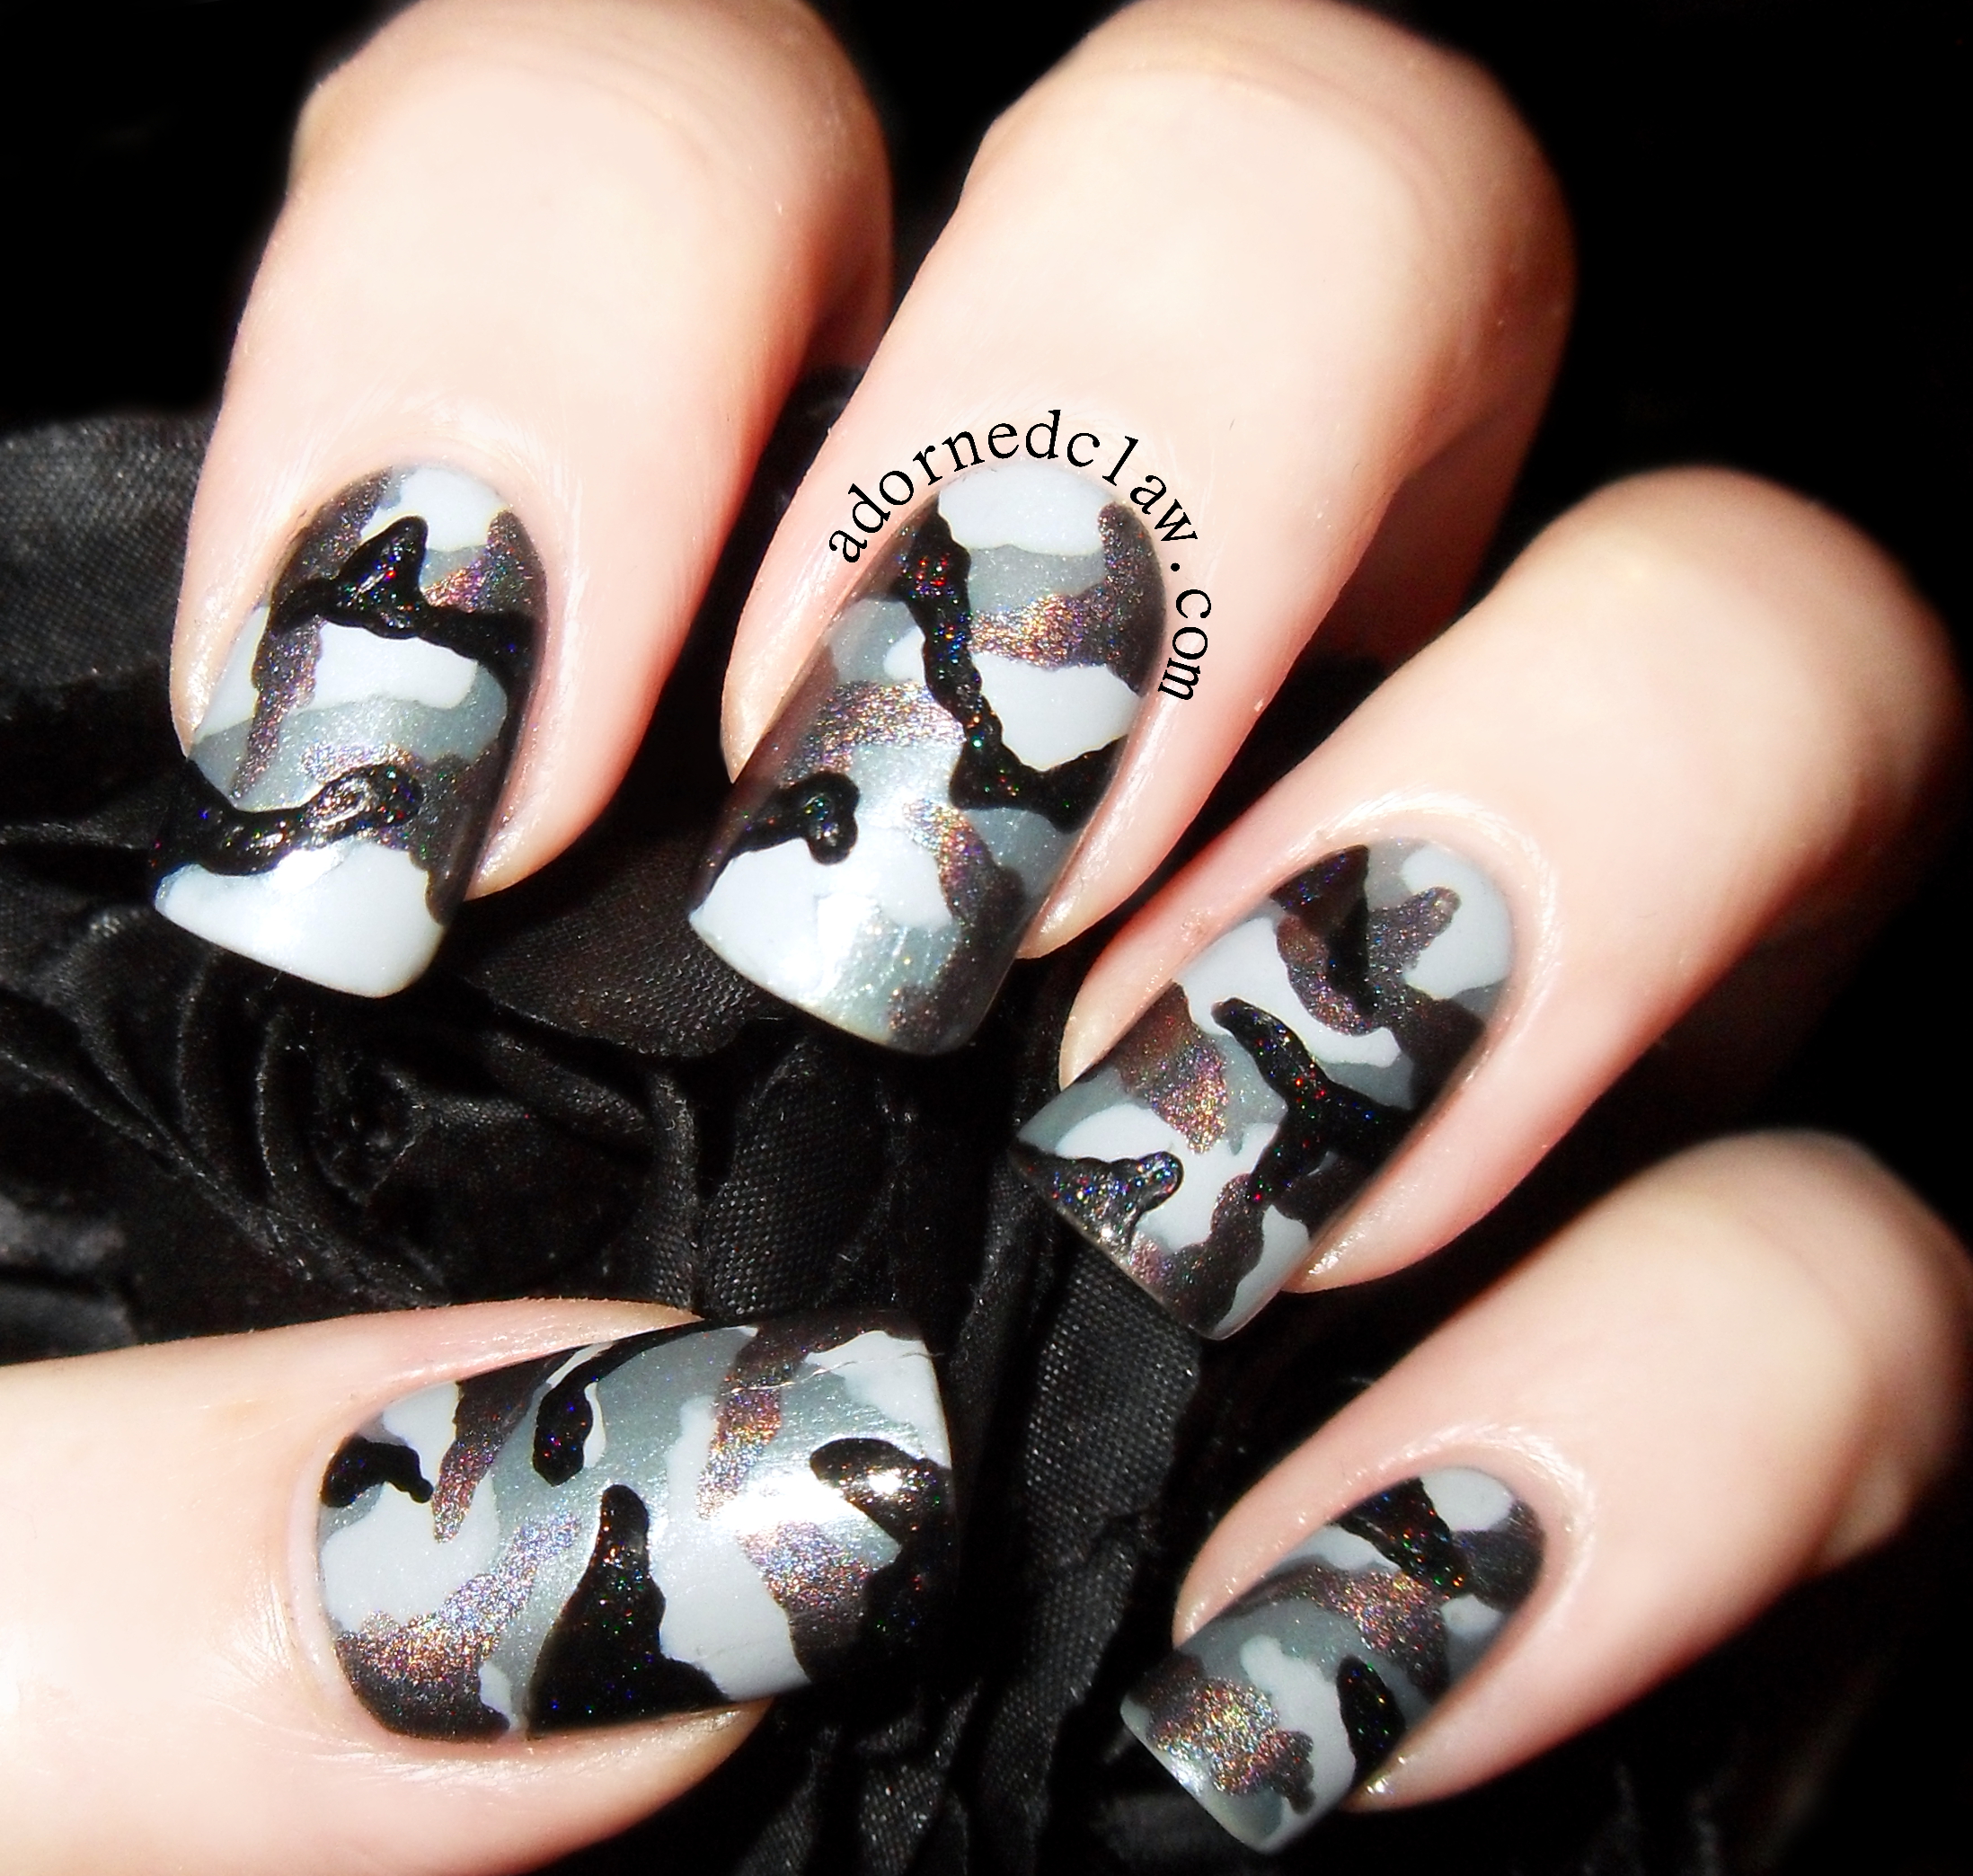
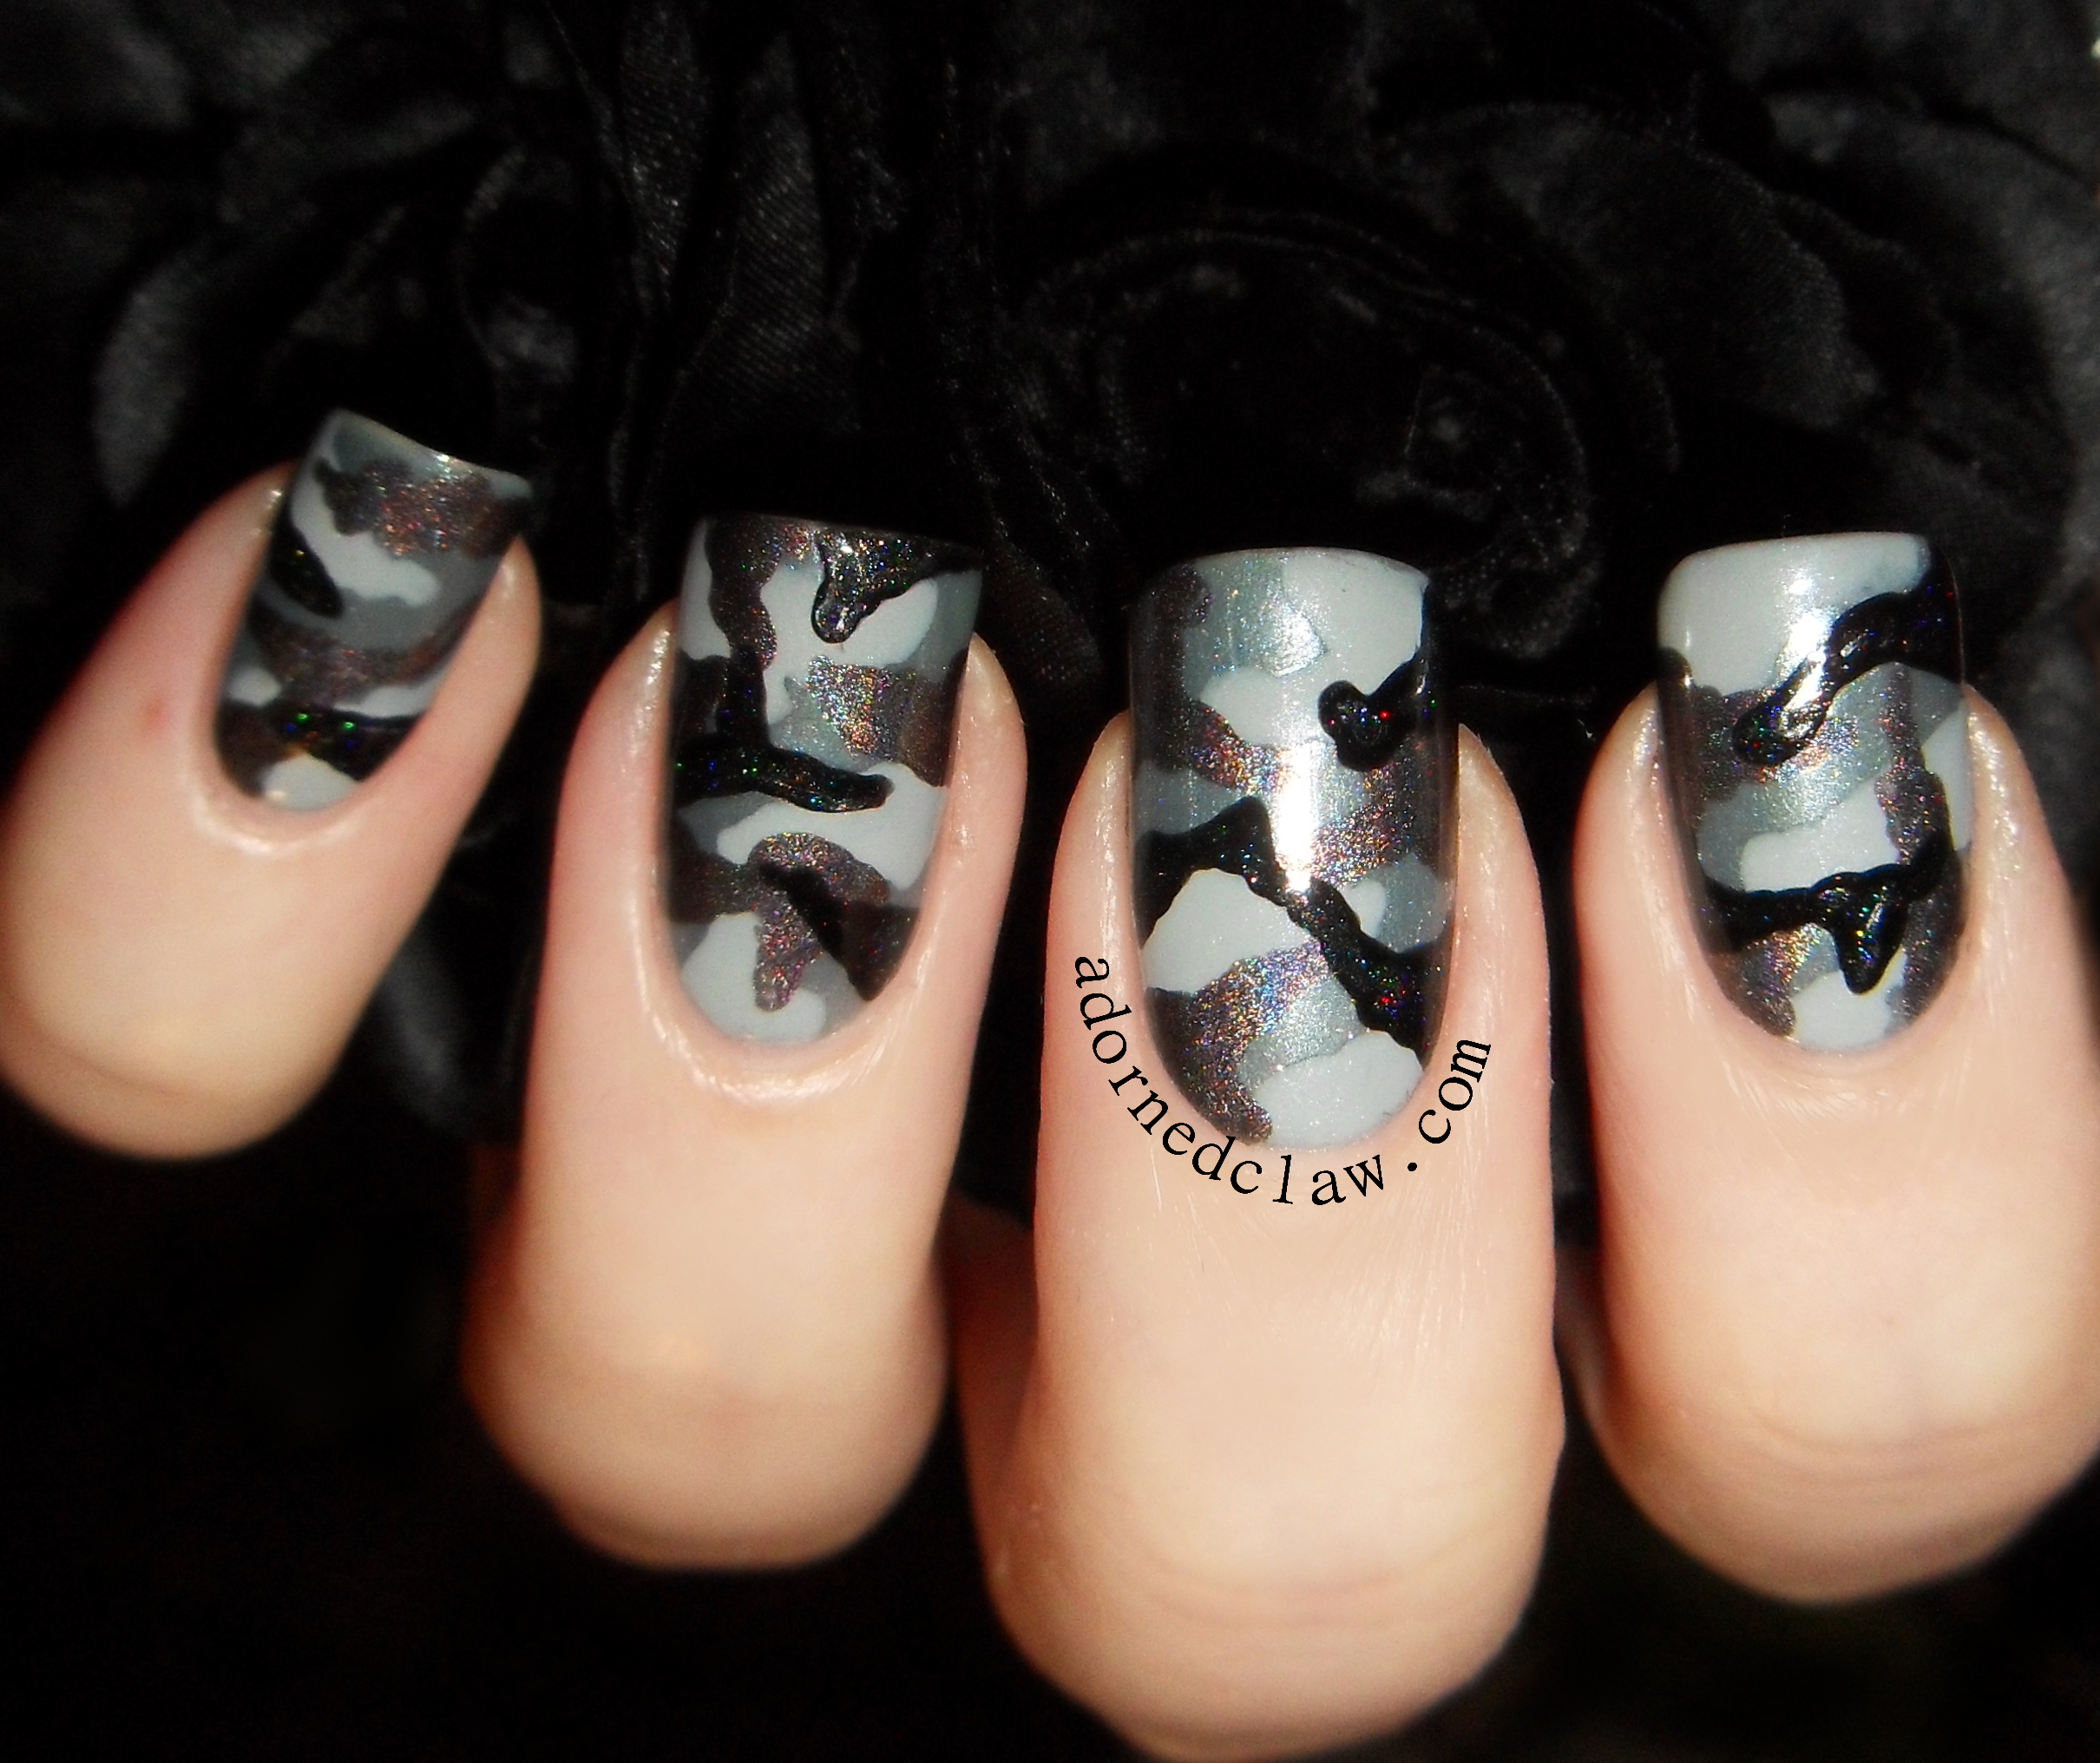
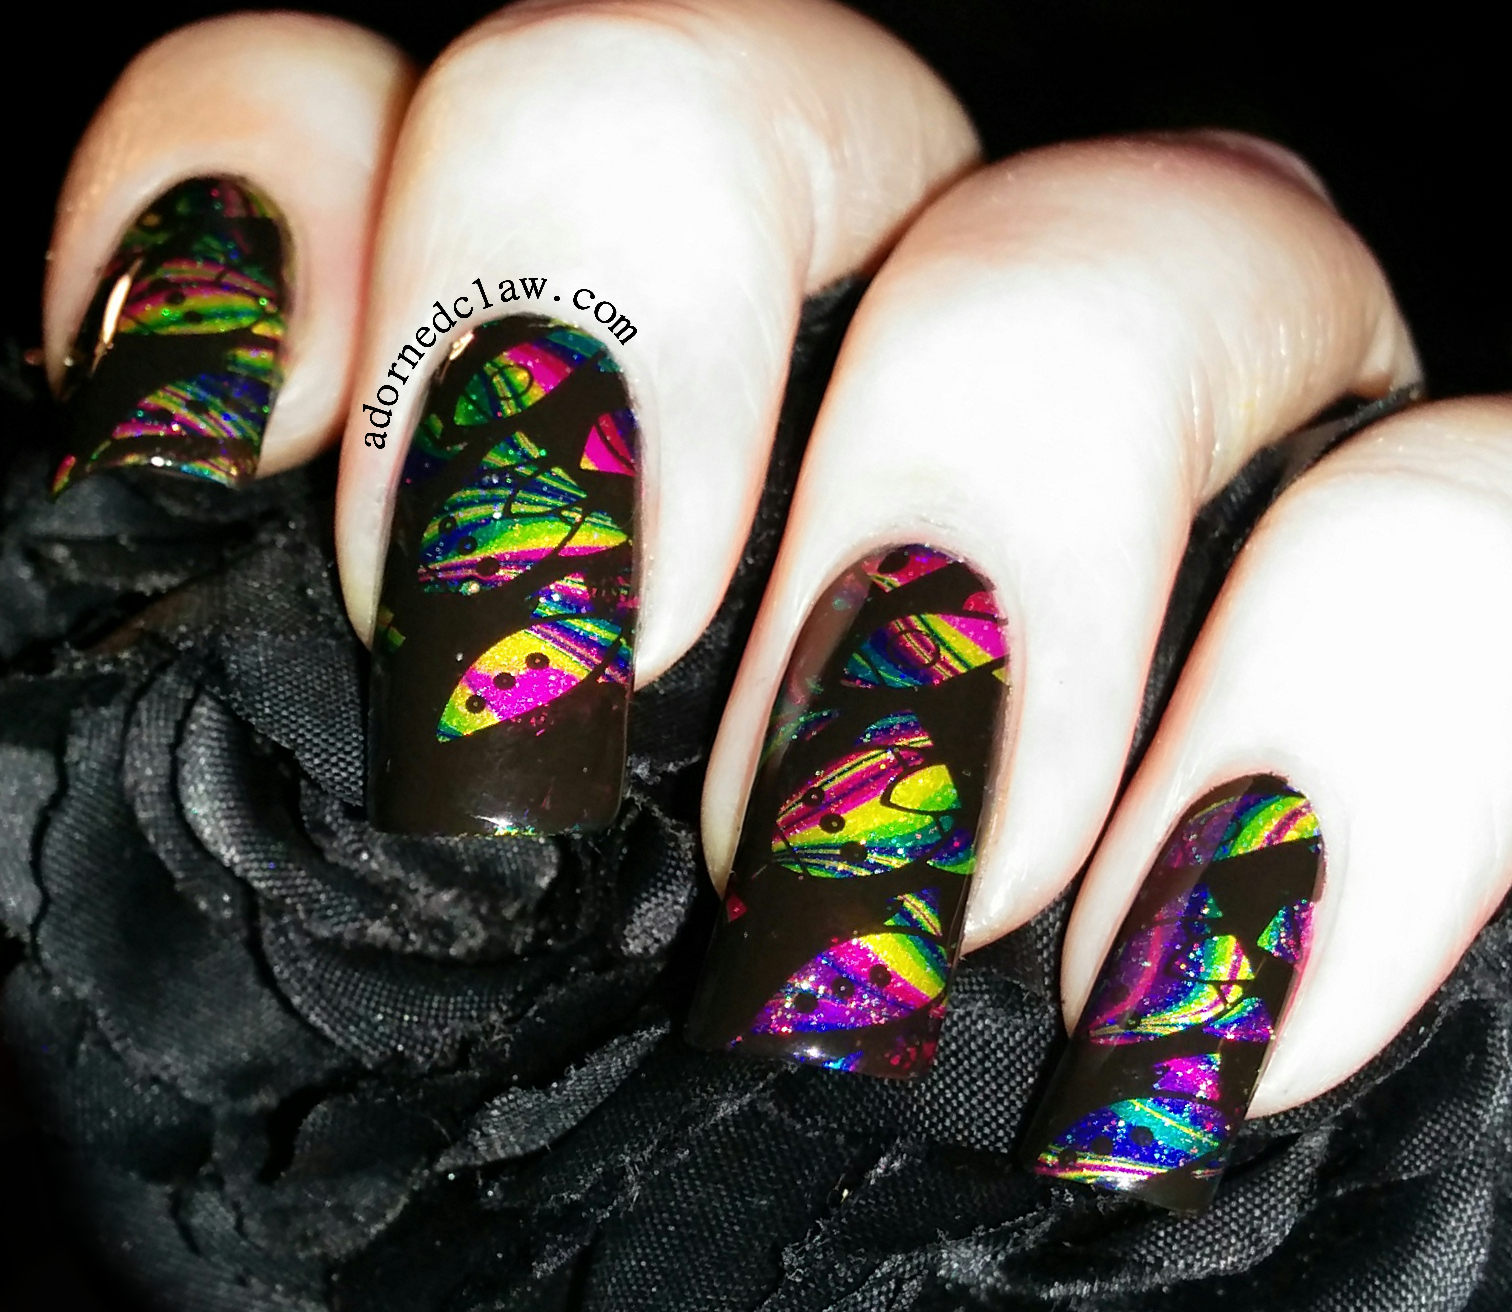
Today I have these Rainbow Rocket Ship nails to show you 🙂

Rainbow Rocket Watermarble Nail Art

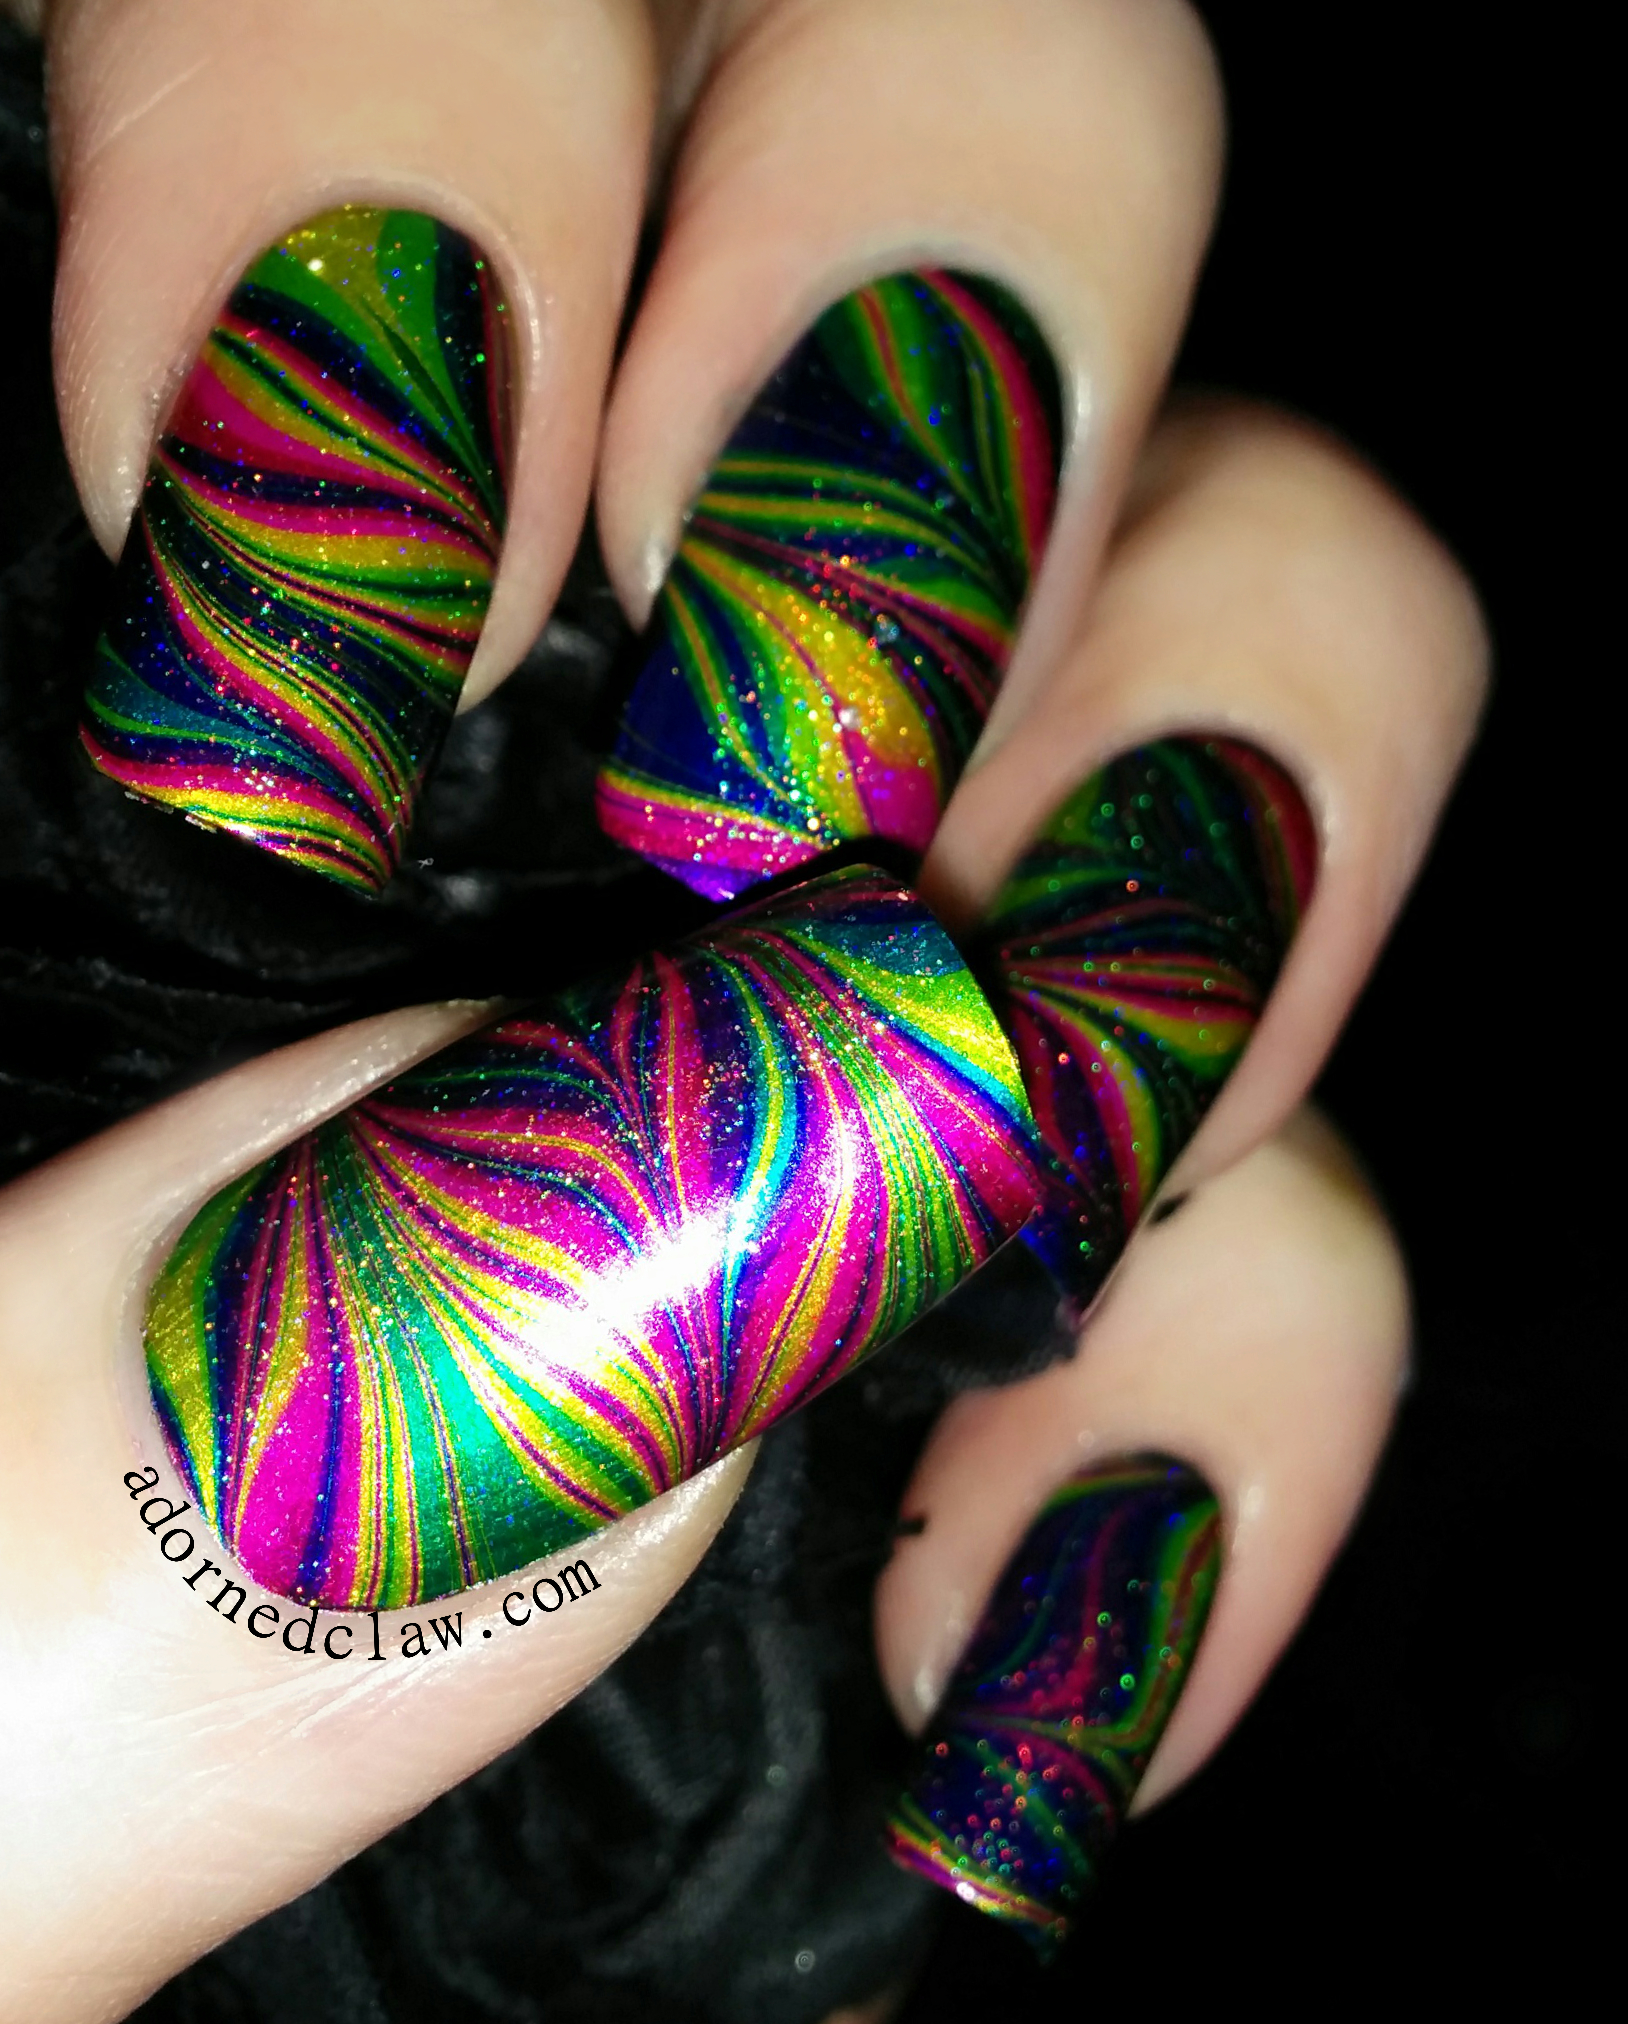
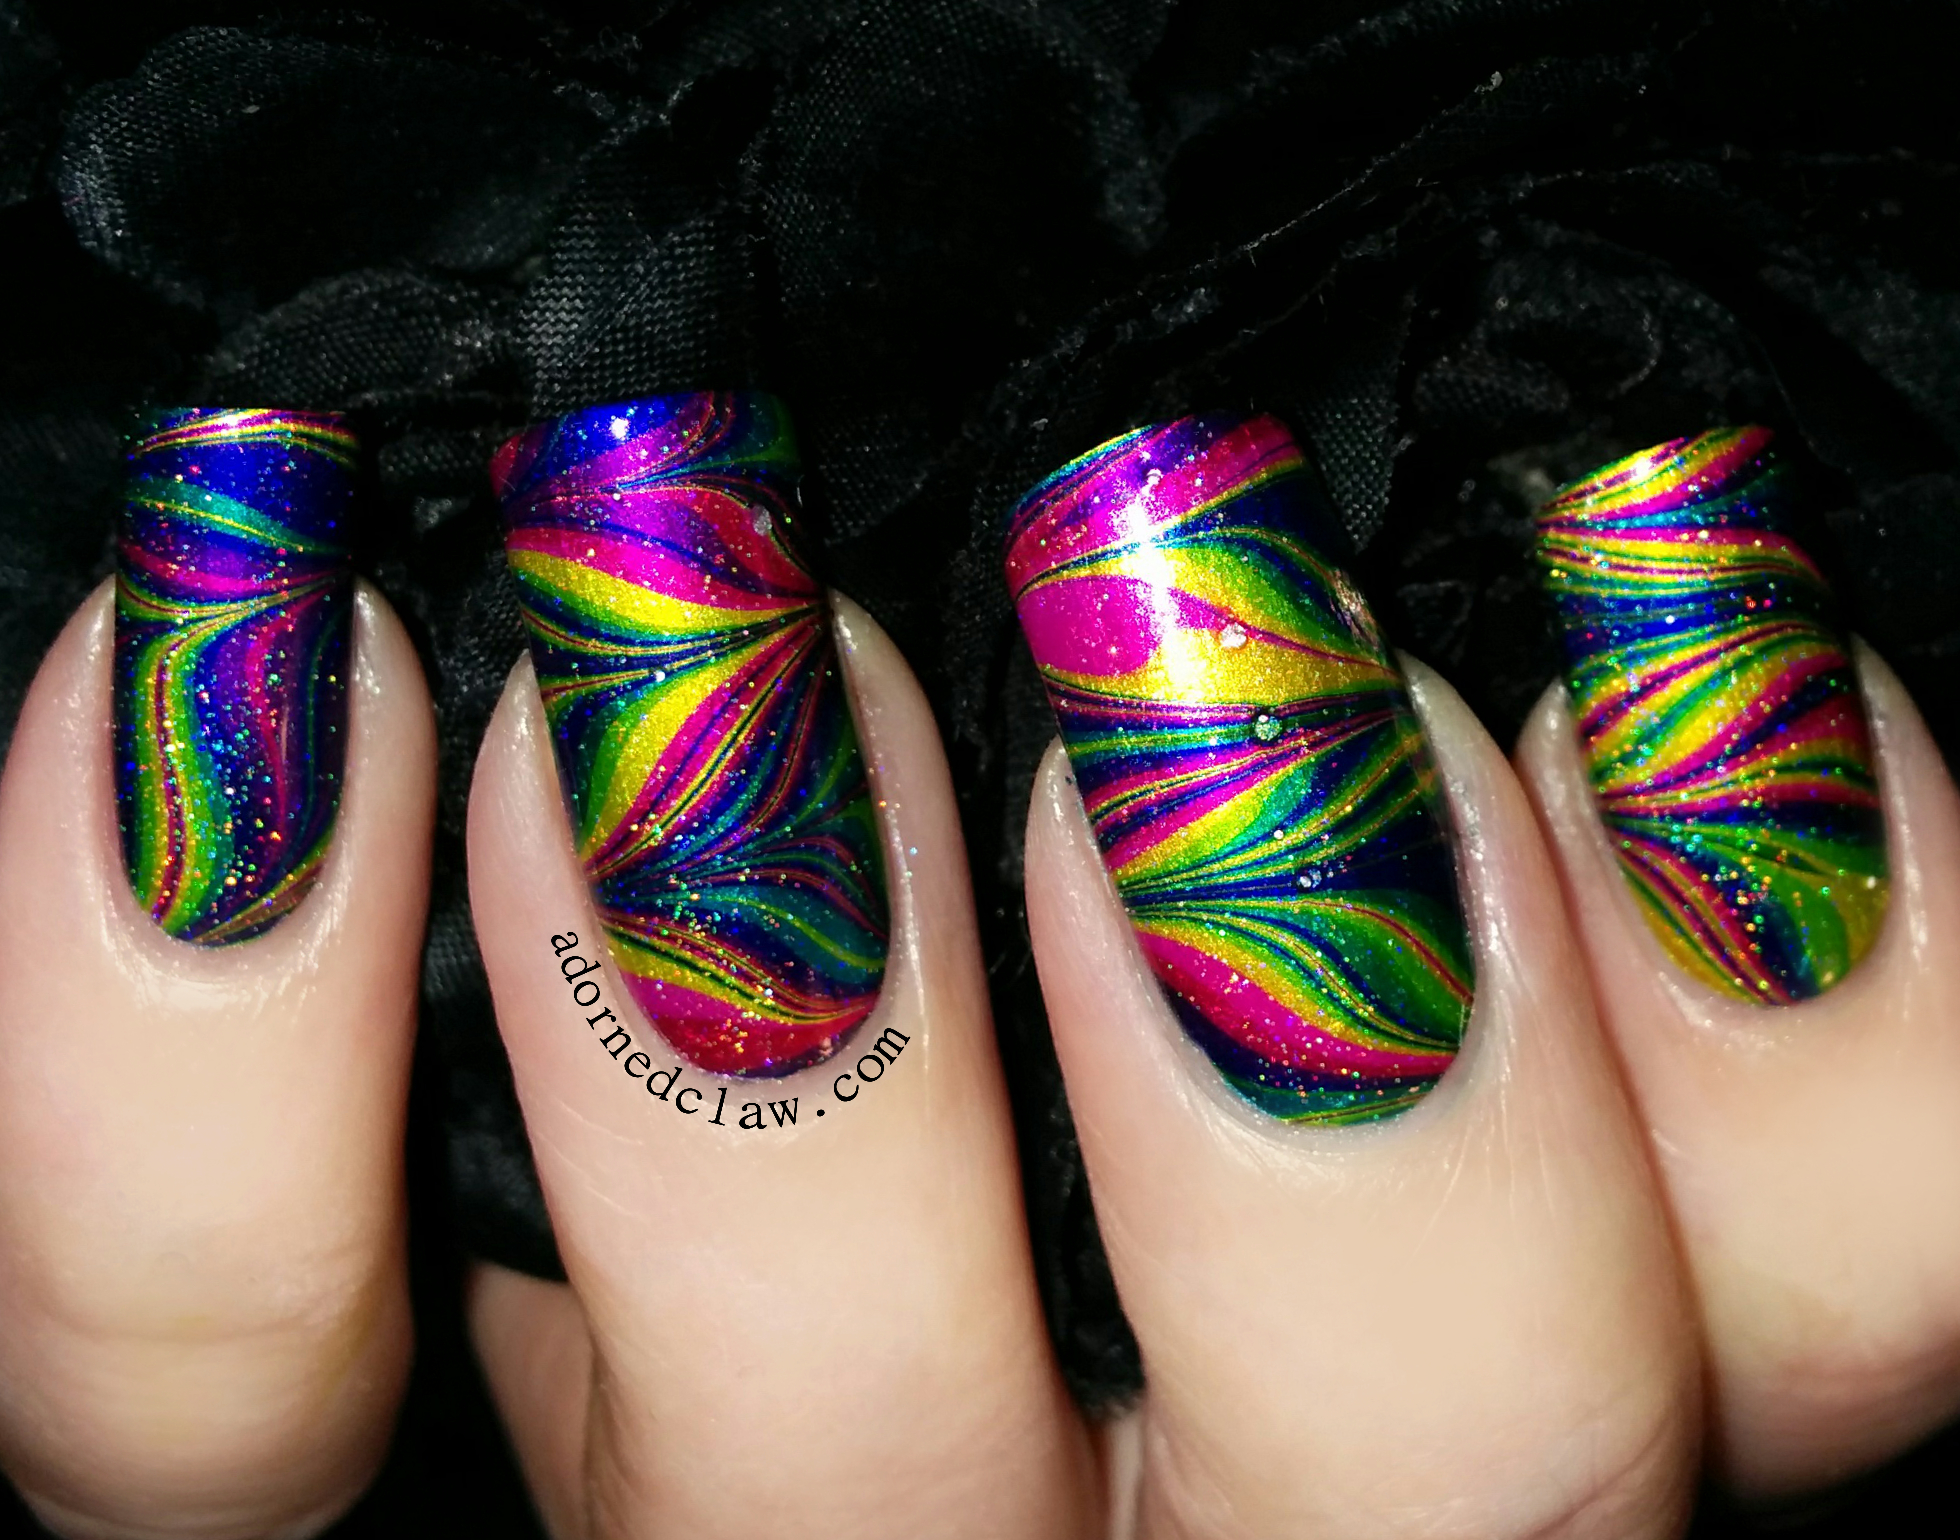
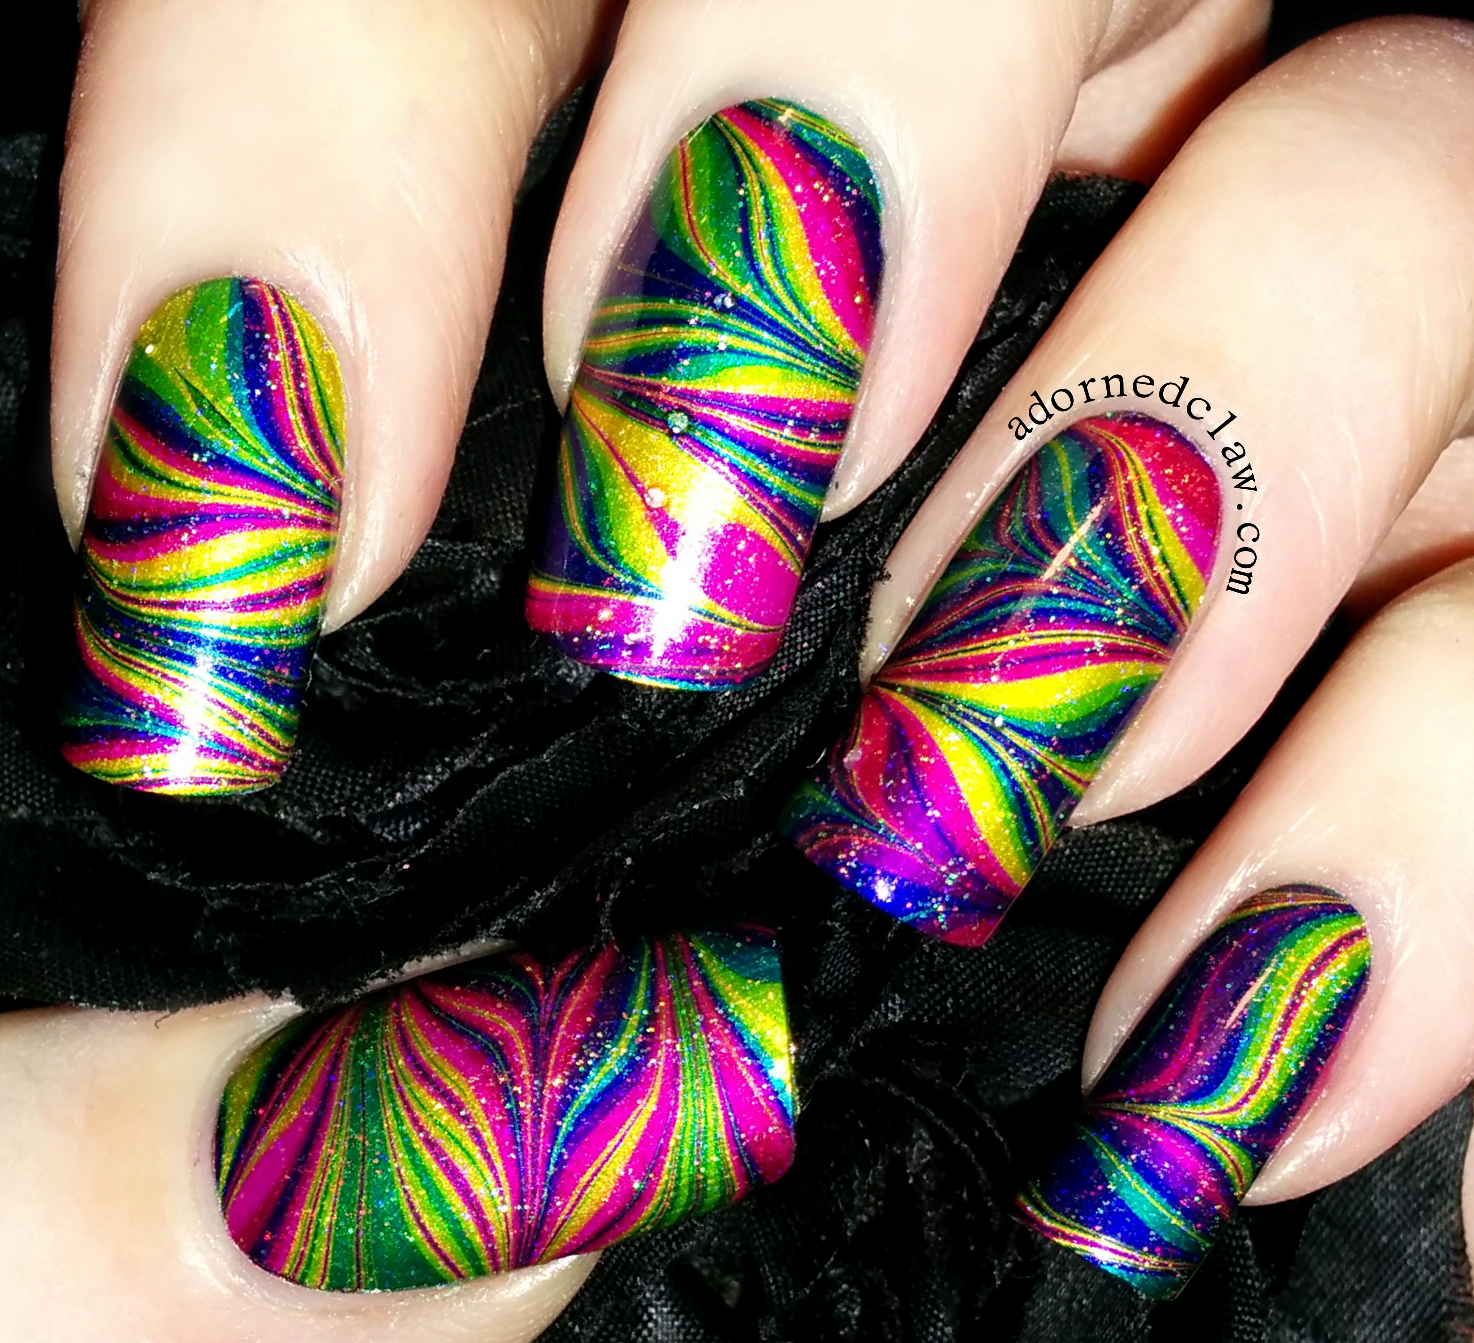
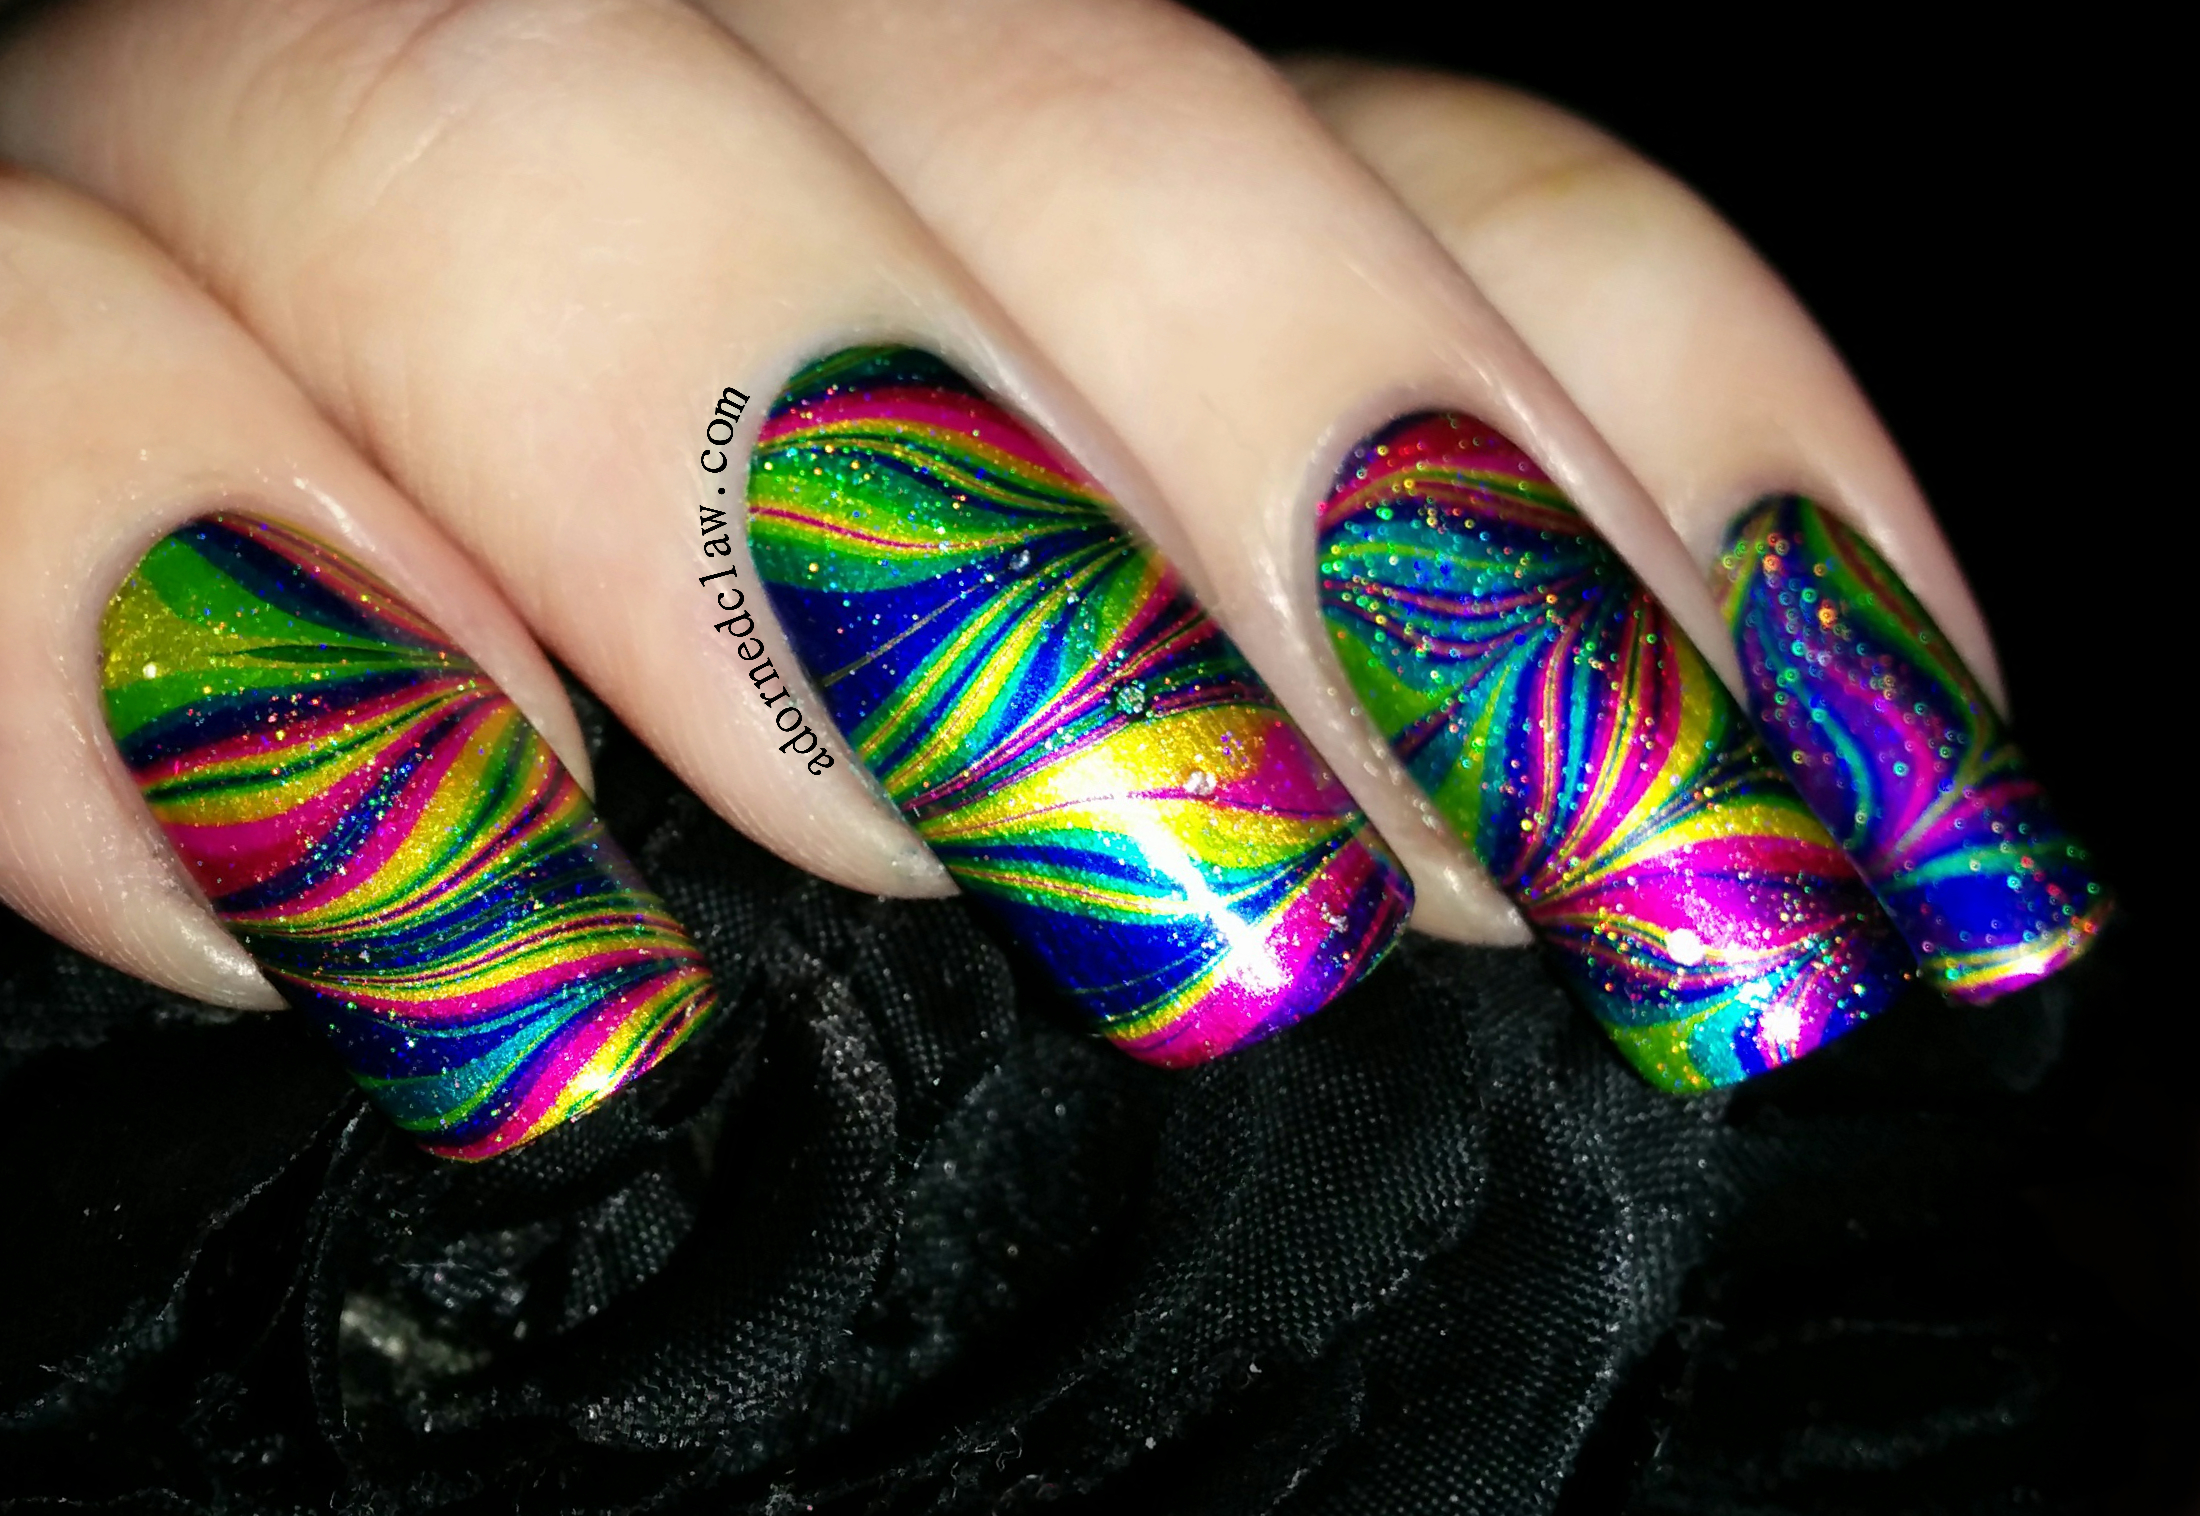
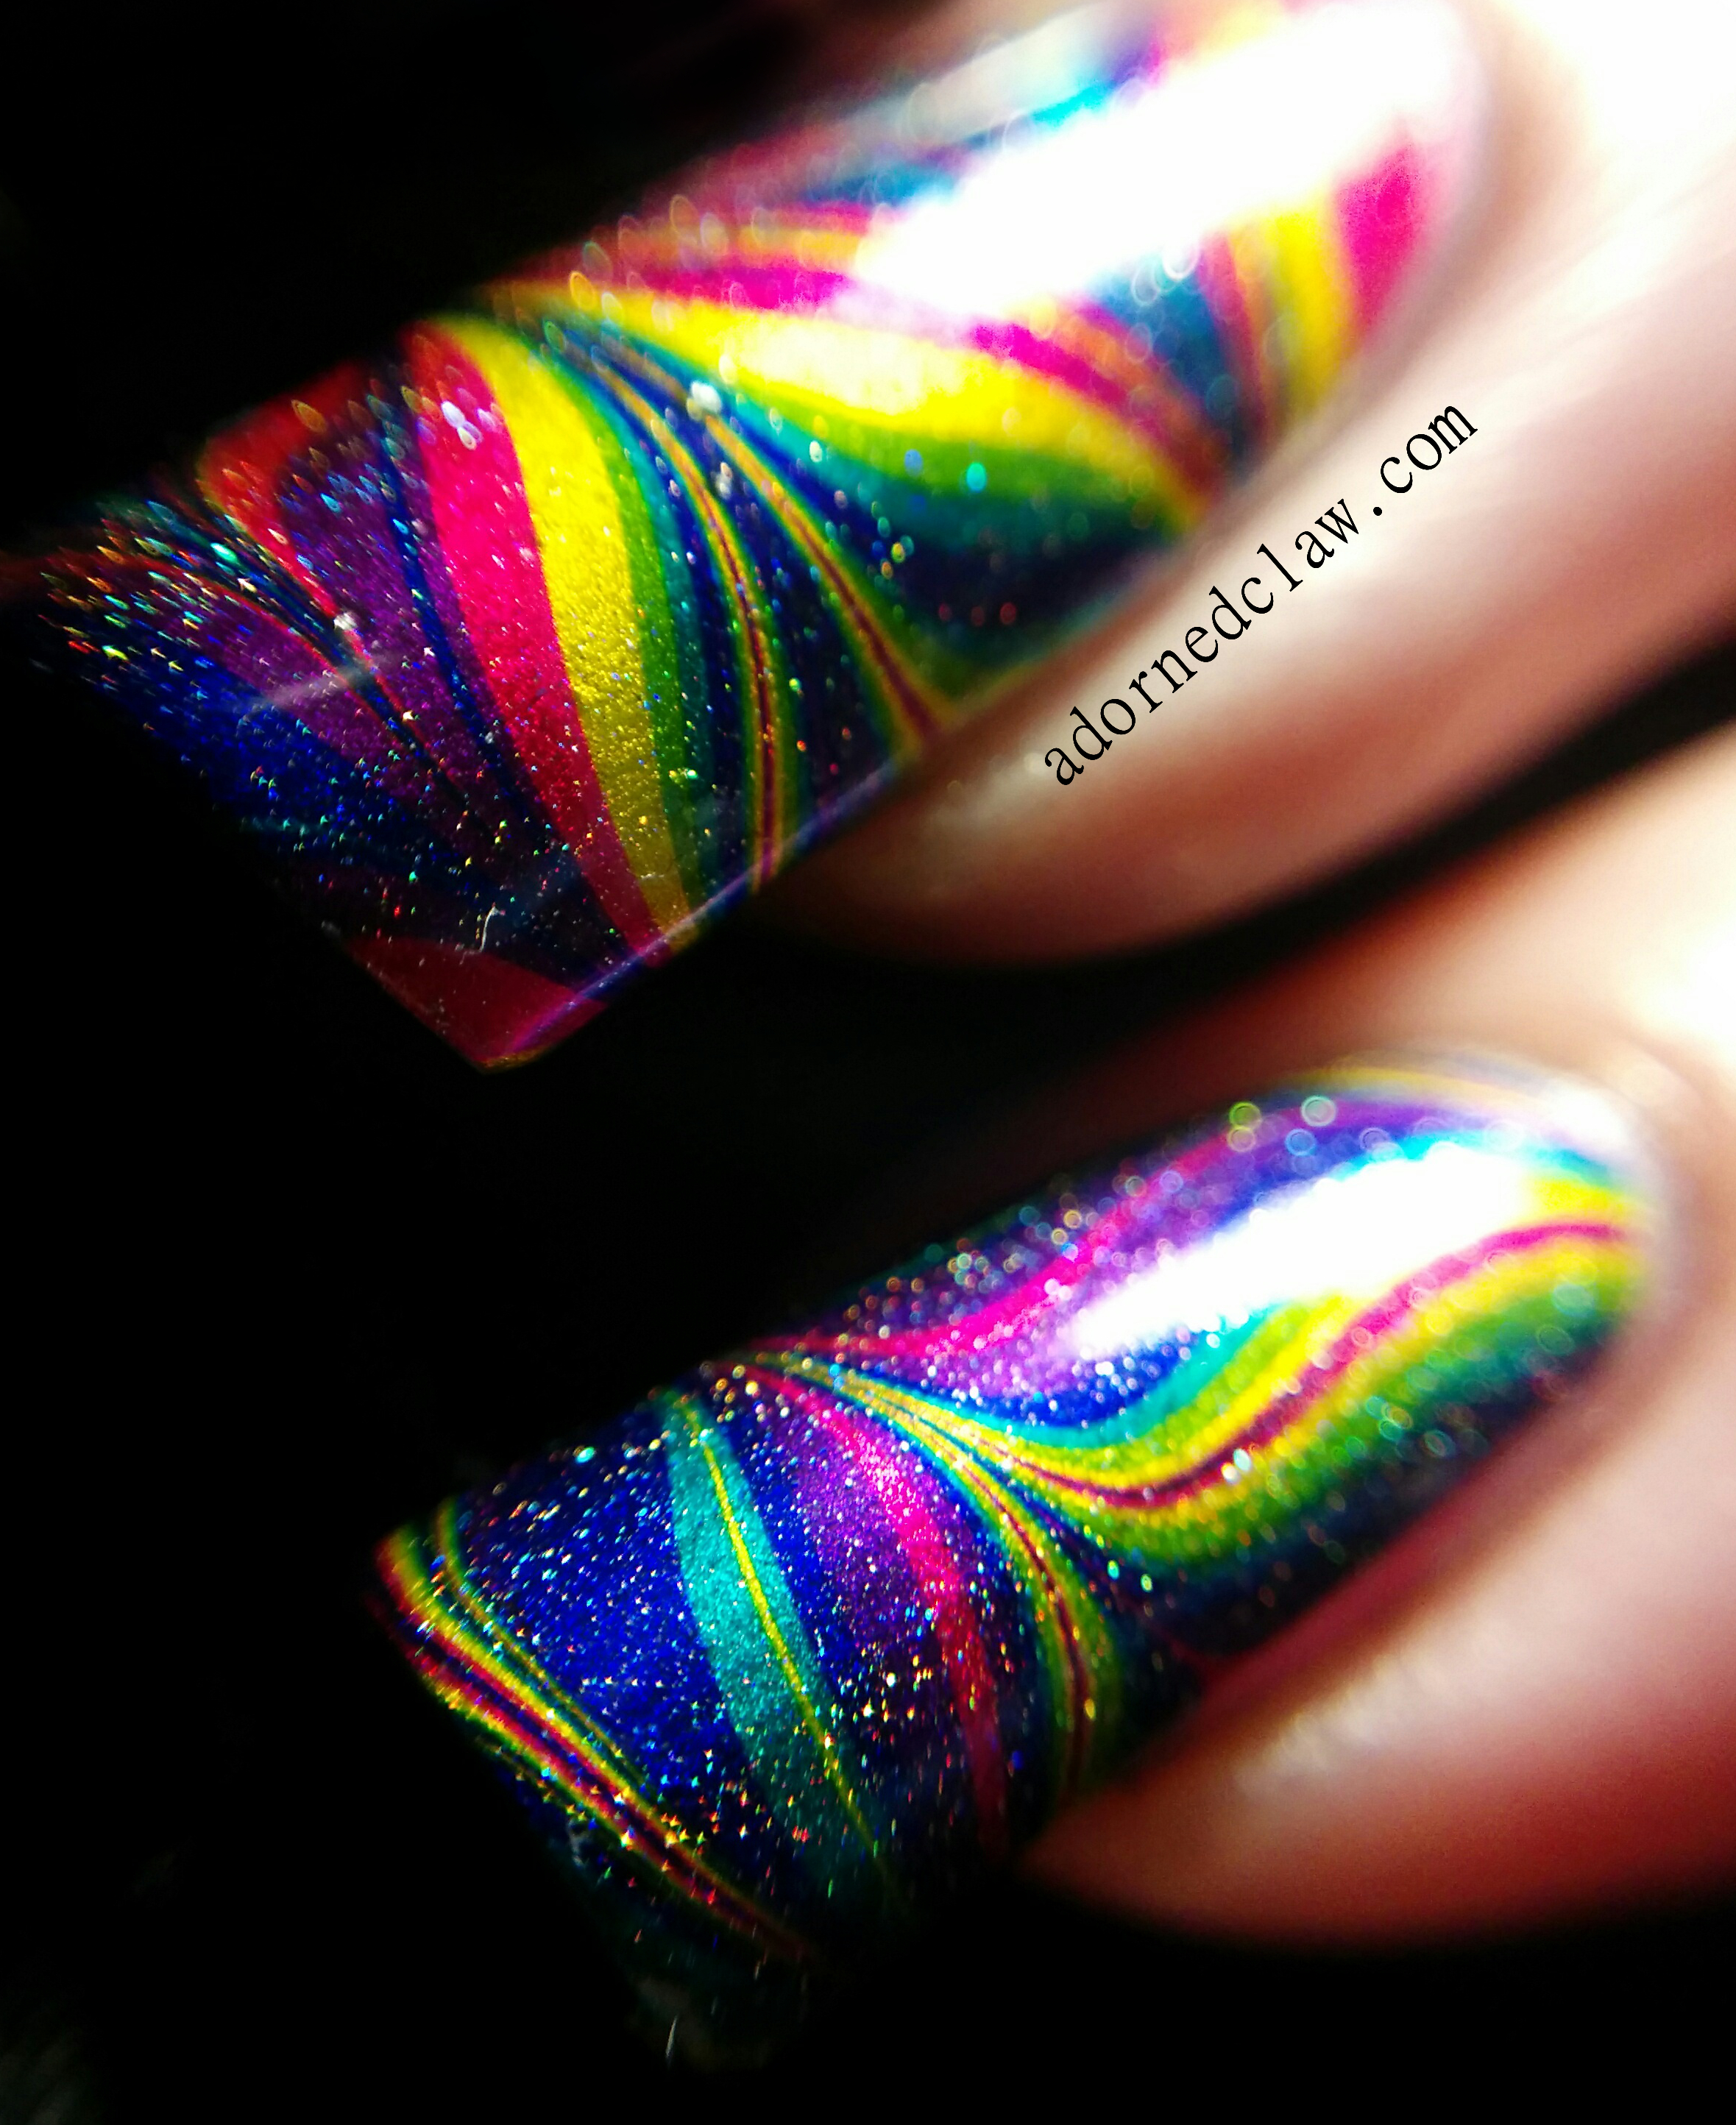
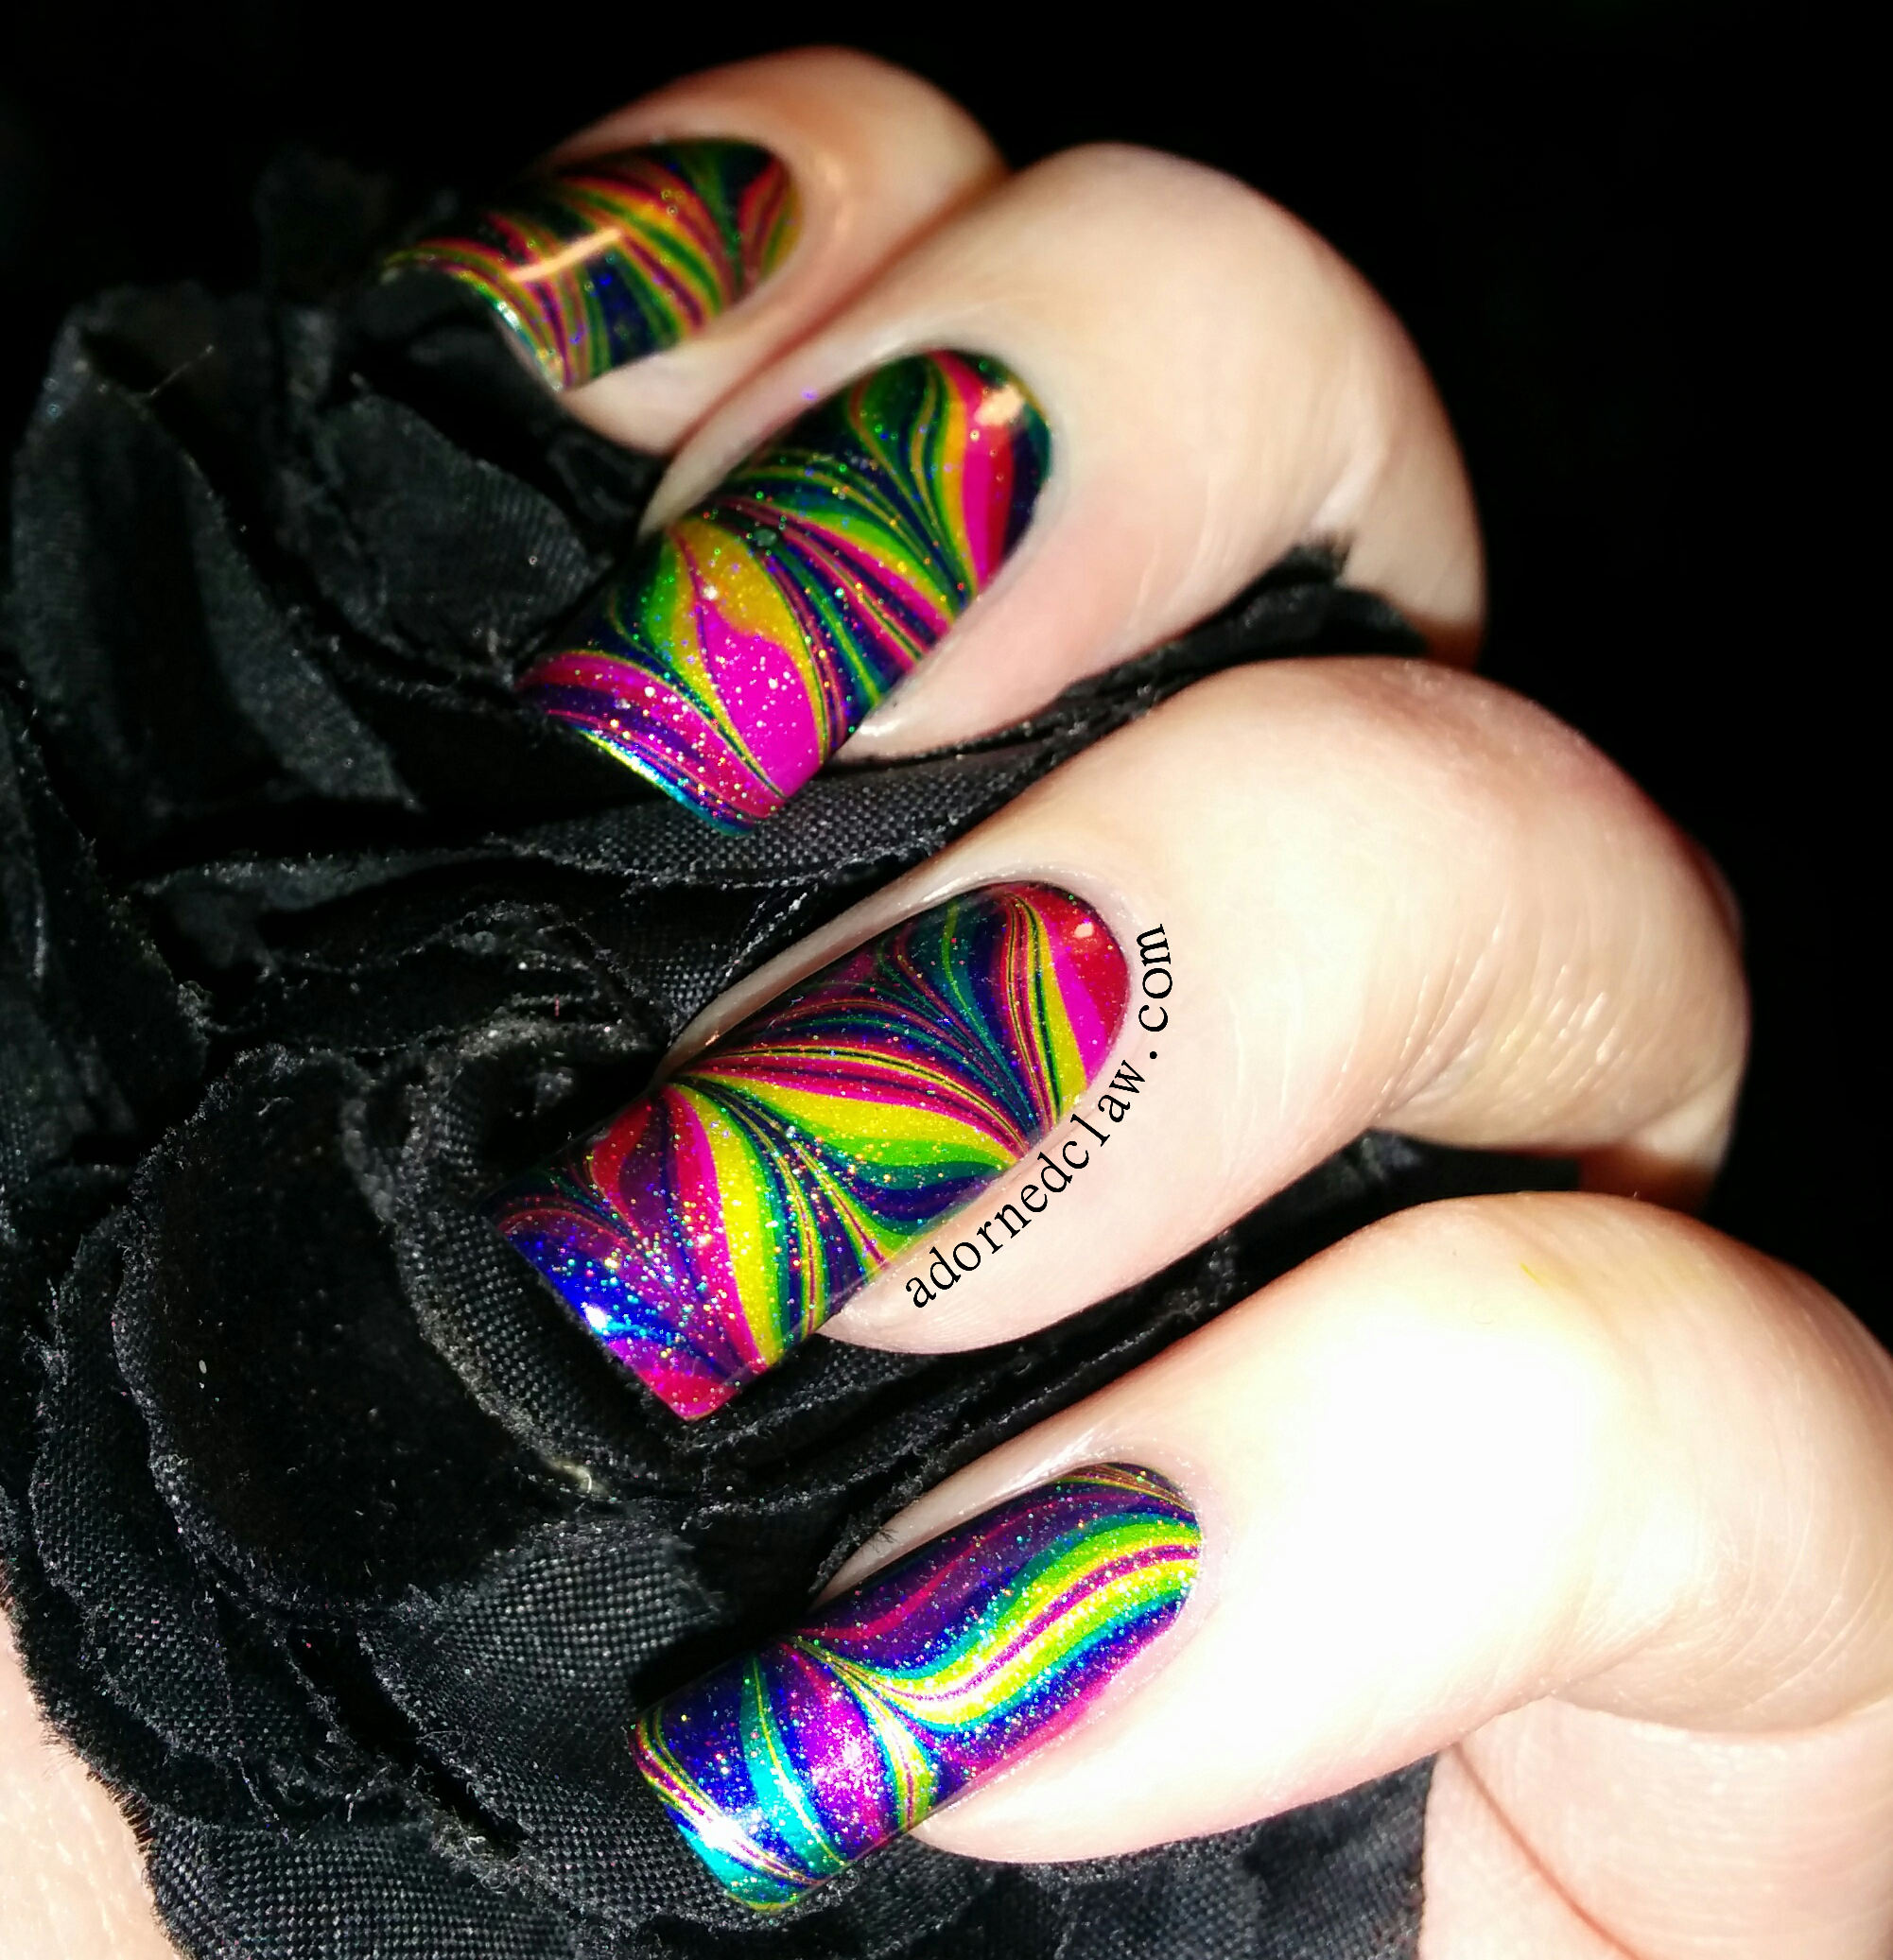
I stamped these over my rainbow watermarble, for that I used OPI Color Paints, ILNP My Private Rainbow.

Here’s the link to the rainbow water marble before I stamped the rockets over the top! 😀


Rainbow Rocket Watermarble Nail Art

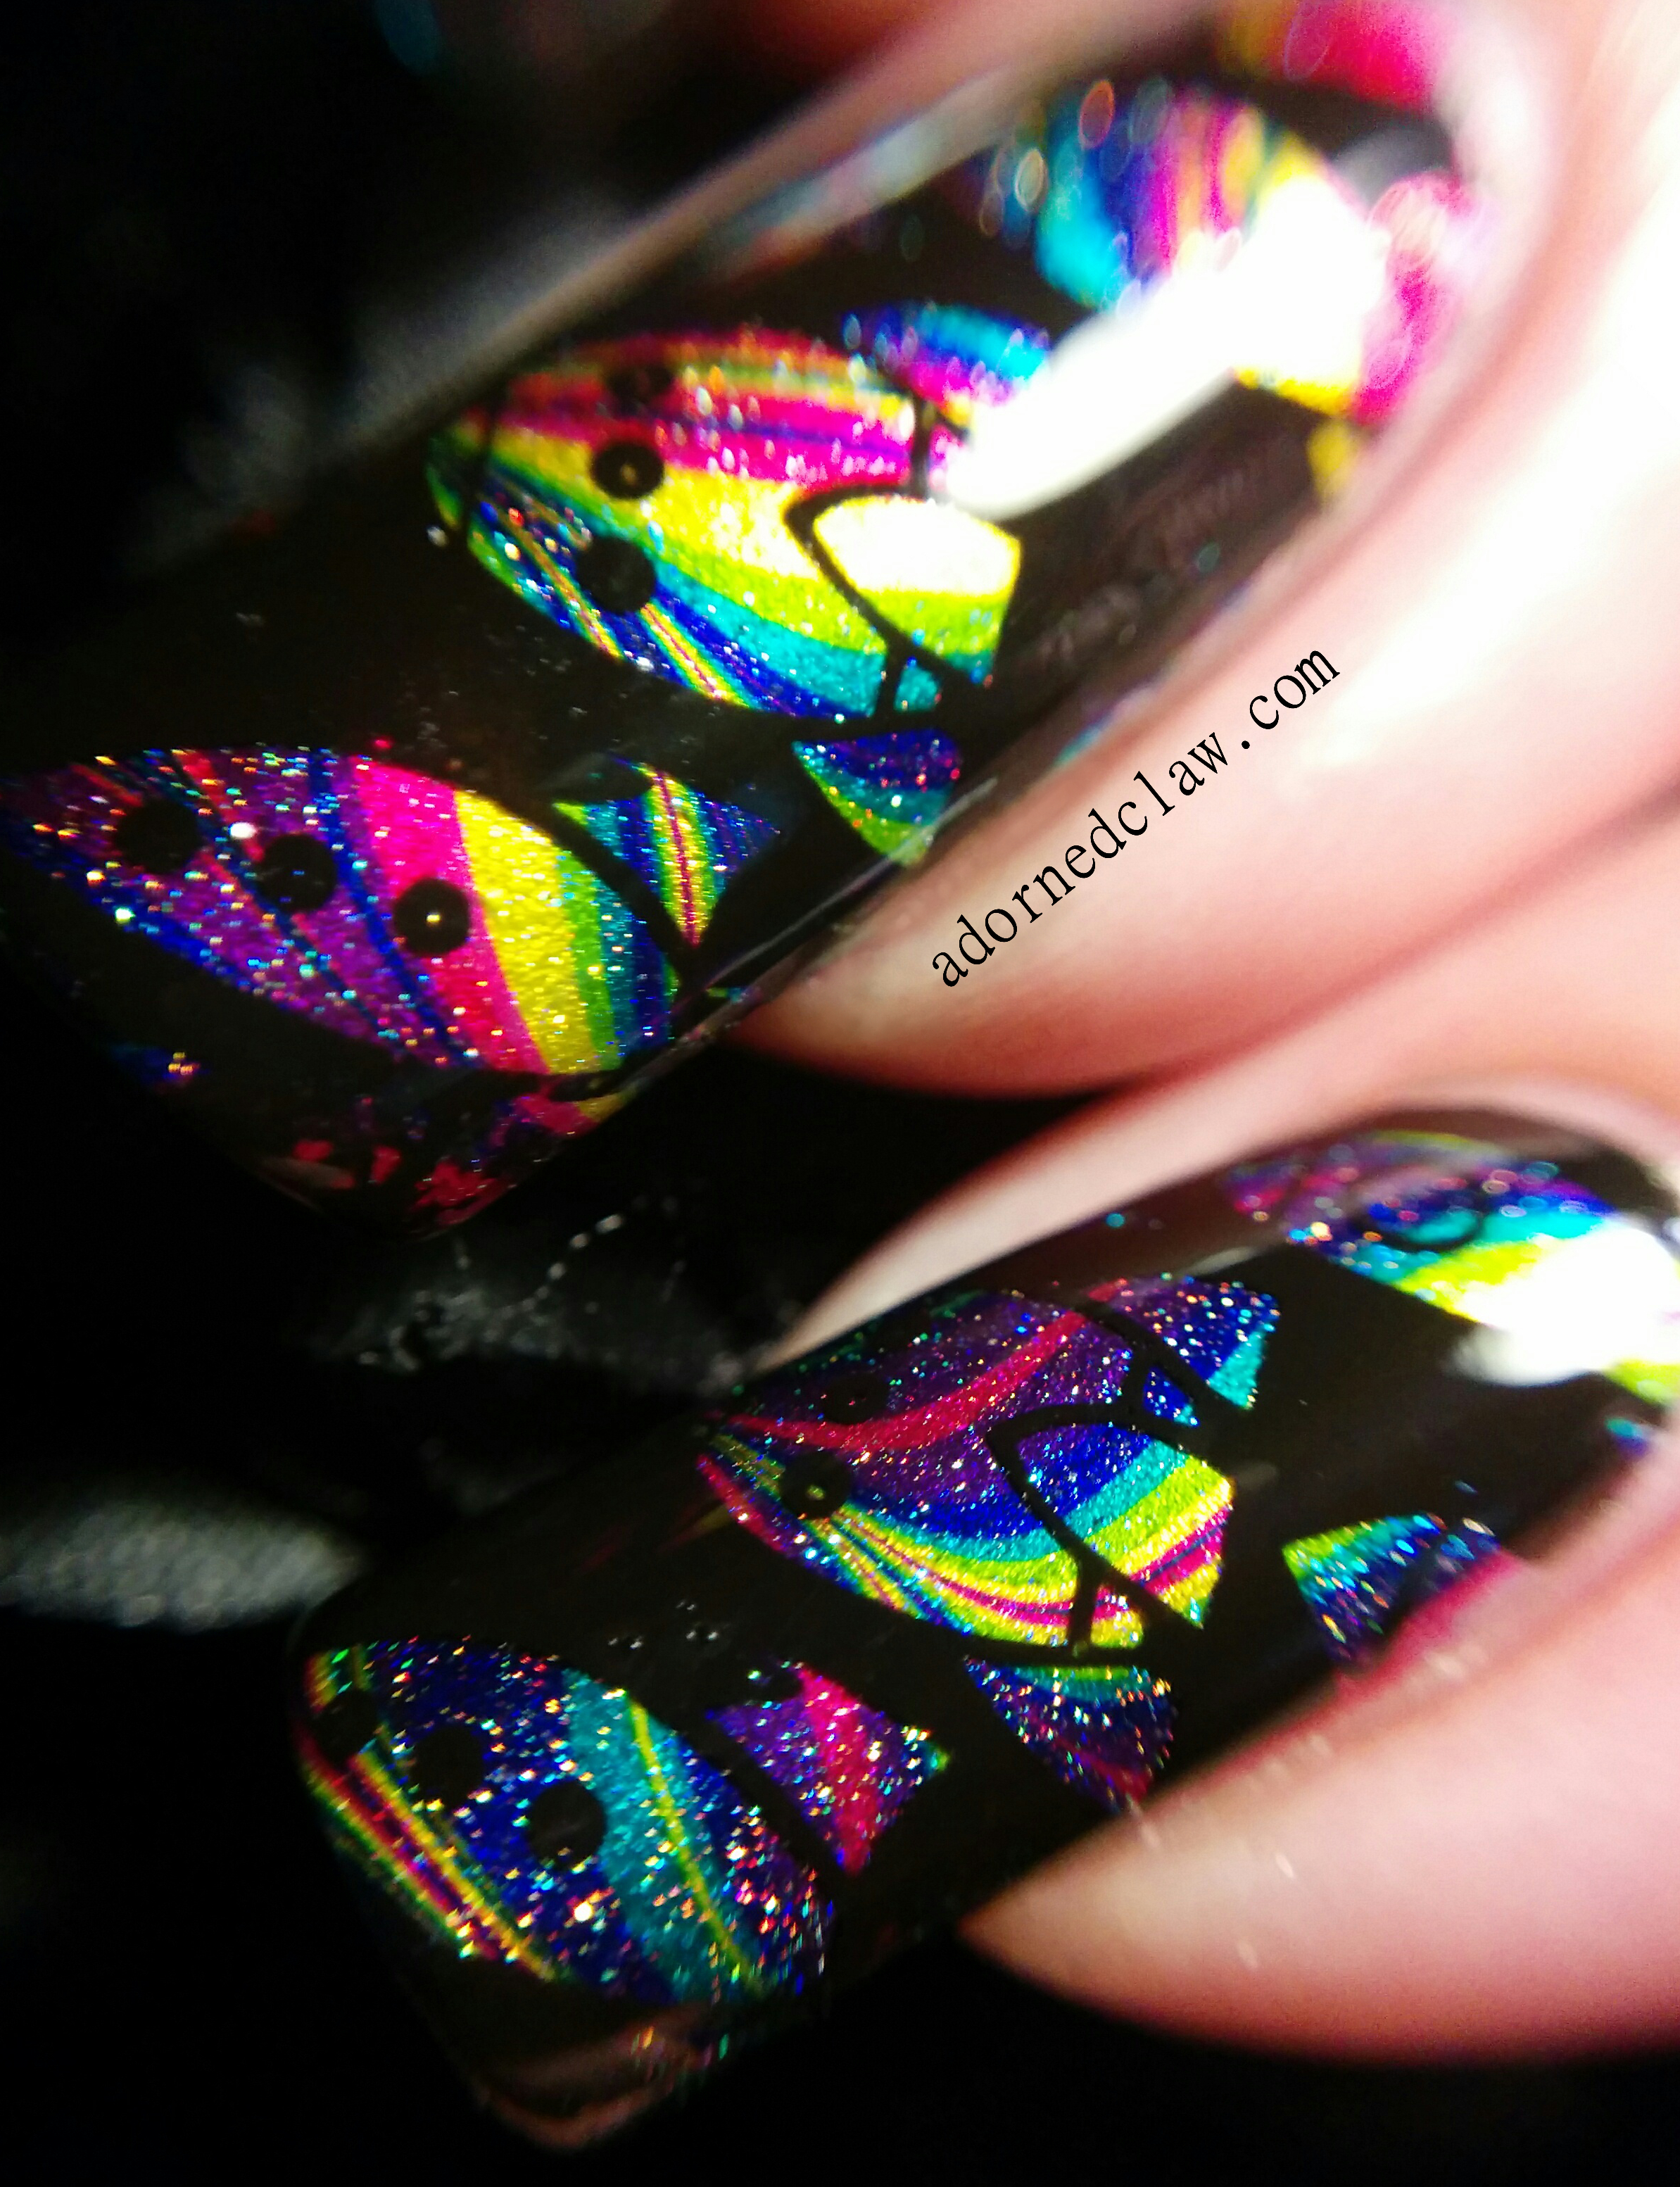
The stamping plate I used is from Messy Mansion and it’s plate MM33

Rainbow Rocket Watermarble Nail Art

I’m actually kind of sad that I had to take this off so soon. Polish only seems to stick to the patch on my middle finger for around half a day before lifting, to say it’s annoying is a quite an understatement!

I think it might be down to the glue I used this time, Sally’s where out of my favorite brush on glue 😦

but this is the only thing that’s annoying me about it, the split in my nail hasn’t gotten any worse, the little bit of bruising has gone, and it’s not hurting any more! Yay, all I have to do now is wait for it to grow out! 😀


Rainbow Watermarble!

Hallo! 🙂

rainbow watermarble nail art

Today I have this rather fabulous rainbow watermarble to share with you 🙂

Perhaps the planets aligning had something to do with how well this watermarble worked!

rainbow watermarble nail art

Haha not really!

I have finally got my paws on the Color Paints from OPI! and they have the perfect formula for watermarbling! *happy dance*

Oh if only all my attempts at this technique worked so well!

rainbow watermarble nail art

OPI Color Paints I used are

  • Magenta Muse
  • Pen & Pink
  • Primary Yellow
  • Landscape Artist
  • Turquoise Aesthetic
  • Indigo Motif
  • Purple Perspective

The other polishes I used are I’d Melt For You From China Glaze and ILNP My Private Rainbow (L+S)

rainbow watermarble nail art

I had an accident with one of my kitchen draws, which has left me with a nasty split half way down my nail bed on my middle finger, it really hurt and I swore a lot! 😦

The line of tiny bubbles on my middle finger must be from the edge of the glue the on my fiberglass patch repair.

Seeing as this is going to take months to grow out I better invest in a good ridge filling basecoat! So if you have any recommendations please let me know! 😀

rainbow watermarble nail art

I think my favorites from the color paints collection are Magenta Muse, Turquoise Aesthetic and Purple Perspective.

I’m going to have so much fun playing with these polishes! 😀

rainbow watermarble nail art


Purple Gradient with Bridal Nail BN05

Hello! 🙂

Purple and Black Gradient With BN05

Today I have this purple gradient to show you! This mani is from a few months ago, but I think it’s too pretty not to share 🙂

The image is from the Bridal Nail 05 stamping plate from Messy Mansion

The Bridal Nail images are not as wide as the MM (round plates) full nail designs these are 17mm x 23mm while the Bridal Nail Full Nail images are 14mm x 24mm. I found that they are a really nice size to work with!

Purple and Black Gradient With BN05

In no particular order I used

  • ILNP – My Private Rainbow
  • Hit The Bottle – Black
  • NYC – Evil
  • Sally Hansen – Grape Race
  • OPI – I Carol About You
  • Bridal Nail Stamping Plate 05
  • Seche Vite

I started with Grape Race over my usual topcoat then using Evil (I really dislike the name of this polish), I Carol About You and Grape Race, for the gradient.  It only took a couple of layers and dried really quickly.  Then a thin coat of My Private Rainbow and a layer of Seche Vite.

Then the stampy goodness using Hit The Bottle Black and BN05, another coat of Seche Vite, a bit of a clean up and it was all done!

Purple and Black Gradient With BN05


Misty Graveyard Halloween Nail Art

Hello! 🙂

Misty Graveyard Nail Art

Today I have a Misty Halloween Graveyard to show you! Even though this took ages I am so pleased with this!

Misty Graveyard Nail Art

The Idea for this mani has been lurking around in by brain for a while, I just haven’t had the time to sit down and do it. But I suppose this is a good thing to come out of the last couple of nights of insomnia.

Misty Graveyard Nail Art

Close up I think it looks a little bit like snow!

After a bit of experimenting with polishes I ended up with just the right combination of sheerness and glitter to be able to build up the misty look on the nail without loosing to much detail.

To make my franken jelly polish I used

  • Clear nail polish
  • Illamasqua – Raindrops
  • ILNP – My Private Rainbow

In a little 5ml polish bottle I mixed a one quarter raindrops to three quarters of clear polish, then as an after thought I added three drops of my private rainbow.

Misty Graveyard Nail Art

I started out with my usual base coat and then a layer of Raindrops, when that was dry I added the first stamped gravestones on the top half of my nail, then a layer of topcoat, and a coat of the franken polish.  I had to apply the extra layers of topcoat because the franken polish mix dissolved the stamping polish.

Then the next layer of stamping slightly further down the nail, and then repeating the layers of polish.

Then the last lot of stamping I added a little black polish between the last gravestones then a final coat of topcoat.

In total this mani took nine coats of polish (not counting the stamping).  Surprisingly it didn’t feel really thick.

Misty Graveyard Nail Art

I really like this technique, and I’m definitely going to be trying this again, even if it does take absolutely ages 😀


Hearts For Valentine’s Day

Hello! 🙂

Here’s my pick and Mix Valentines day Mani!

Valentine's Day Nails!

Obligatory Valentine’s Day Nails!

I used two lovely ILNP polishes, Birefringence and My Private Rainbow as well as black and silver nail art pens from Barry M.

valentines day nails

Birefringence and My Private Rainbow

I started with a coat of black polish then two coats of Birefringence, then another two coats of My Private Rainbow. then when that had all dried I drew the little hearts with the Barry M nail art pens.

valentines day nails

Barry M Nail Art Pens

😀


Camouflage Nails

Hello! 🙂

Camouflage Nails

Camouflage Nails

The pick and mix prompt I have chosen for today is Camouflage!

I haven’t tried Camo nails before and I actually really like them! It’s a very easy technique so I’m definitely going to be doing this again 🙂

As it’s winter (not that it’s snowing here) I decided on using Arctic Camouflage colours!

Camouflage Nails

Glittery Camo Nails

The polished I used are

  • Barielle – Out-Grey-Geous
  • Sally Hansen – Midnight In NY
  • China Glaze – Pelican Grey
  • China Glaze – Galactic Grey
  • ILNP – My Private Rainbow
  • Seche Vite – Topcoat

I started out with two coats of Out-Grey-Geous, when It was dry I applied Pelican Grey in squiggly lines and splodges with a thin brush, when the pale grey was completely dry I did the same with Galactic Grey, but overlapping the colours slightly. When I had applied the Midnight In NY I thought it wasn’t quite sparkly enough so I added a tiny bit of My Private Rainbow over the black.

It really was, bumpy and uneven by the time I had finished, so I added two layers of topcoat!

Camouflage Nails

Grey, Black and Silver Camouflage Nails

😀


%d bloggers like this: