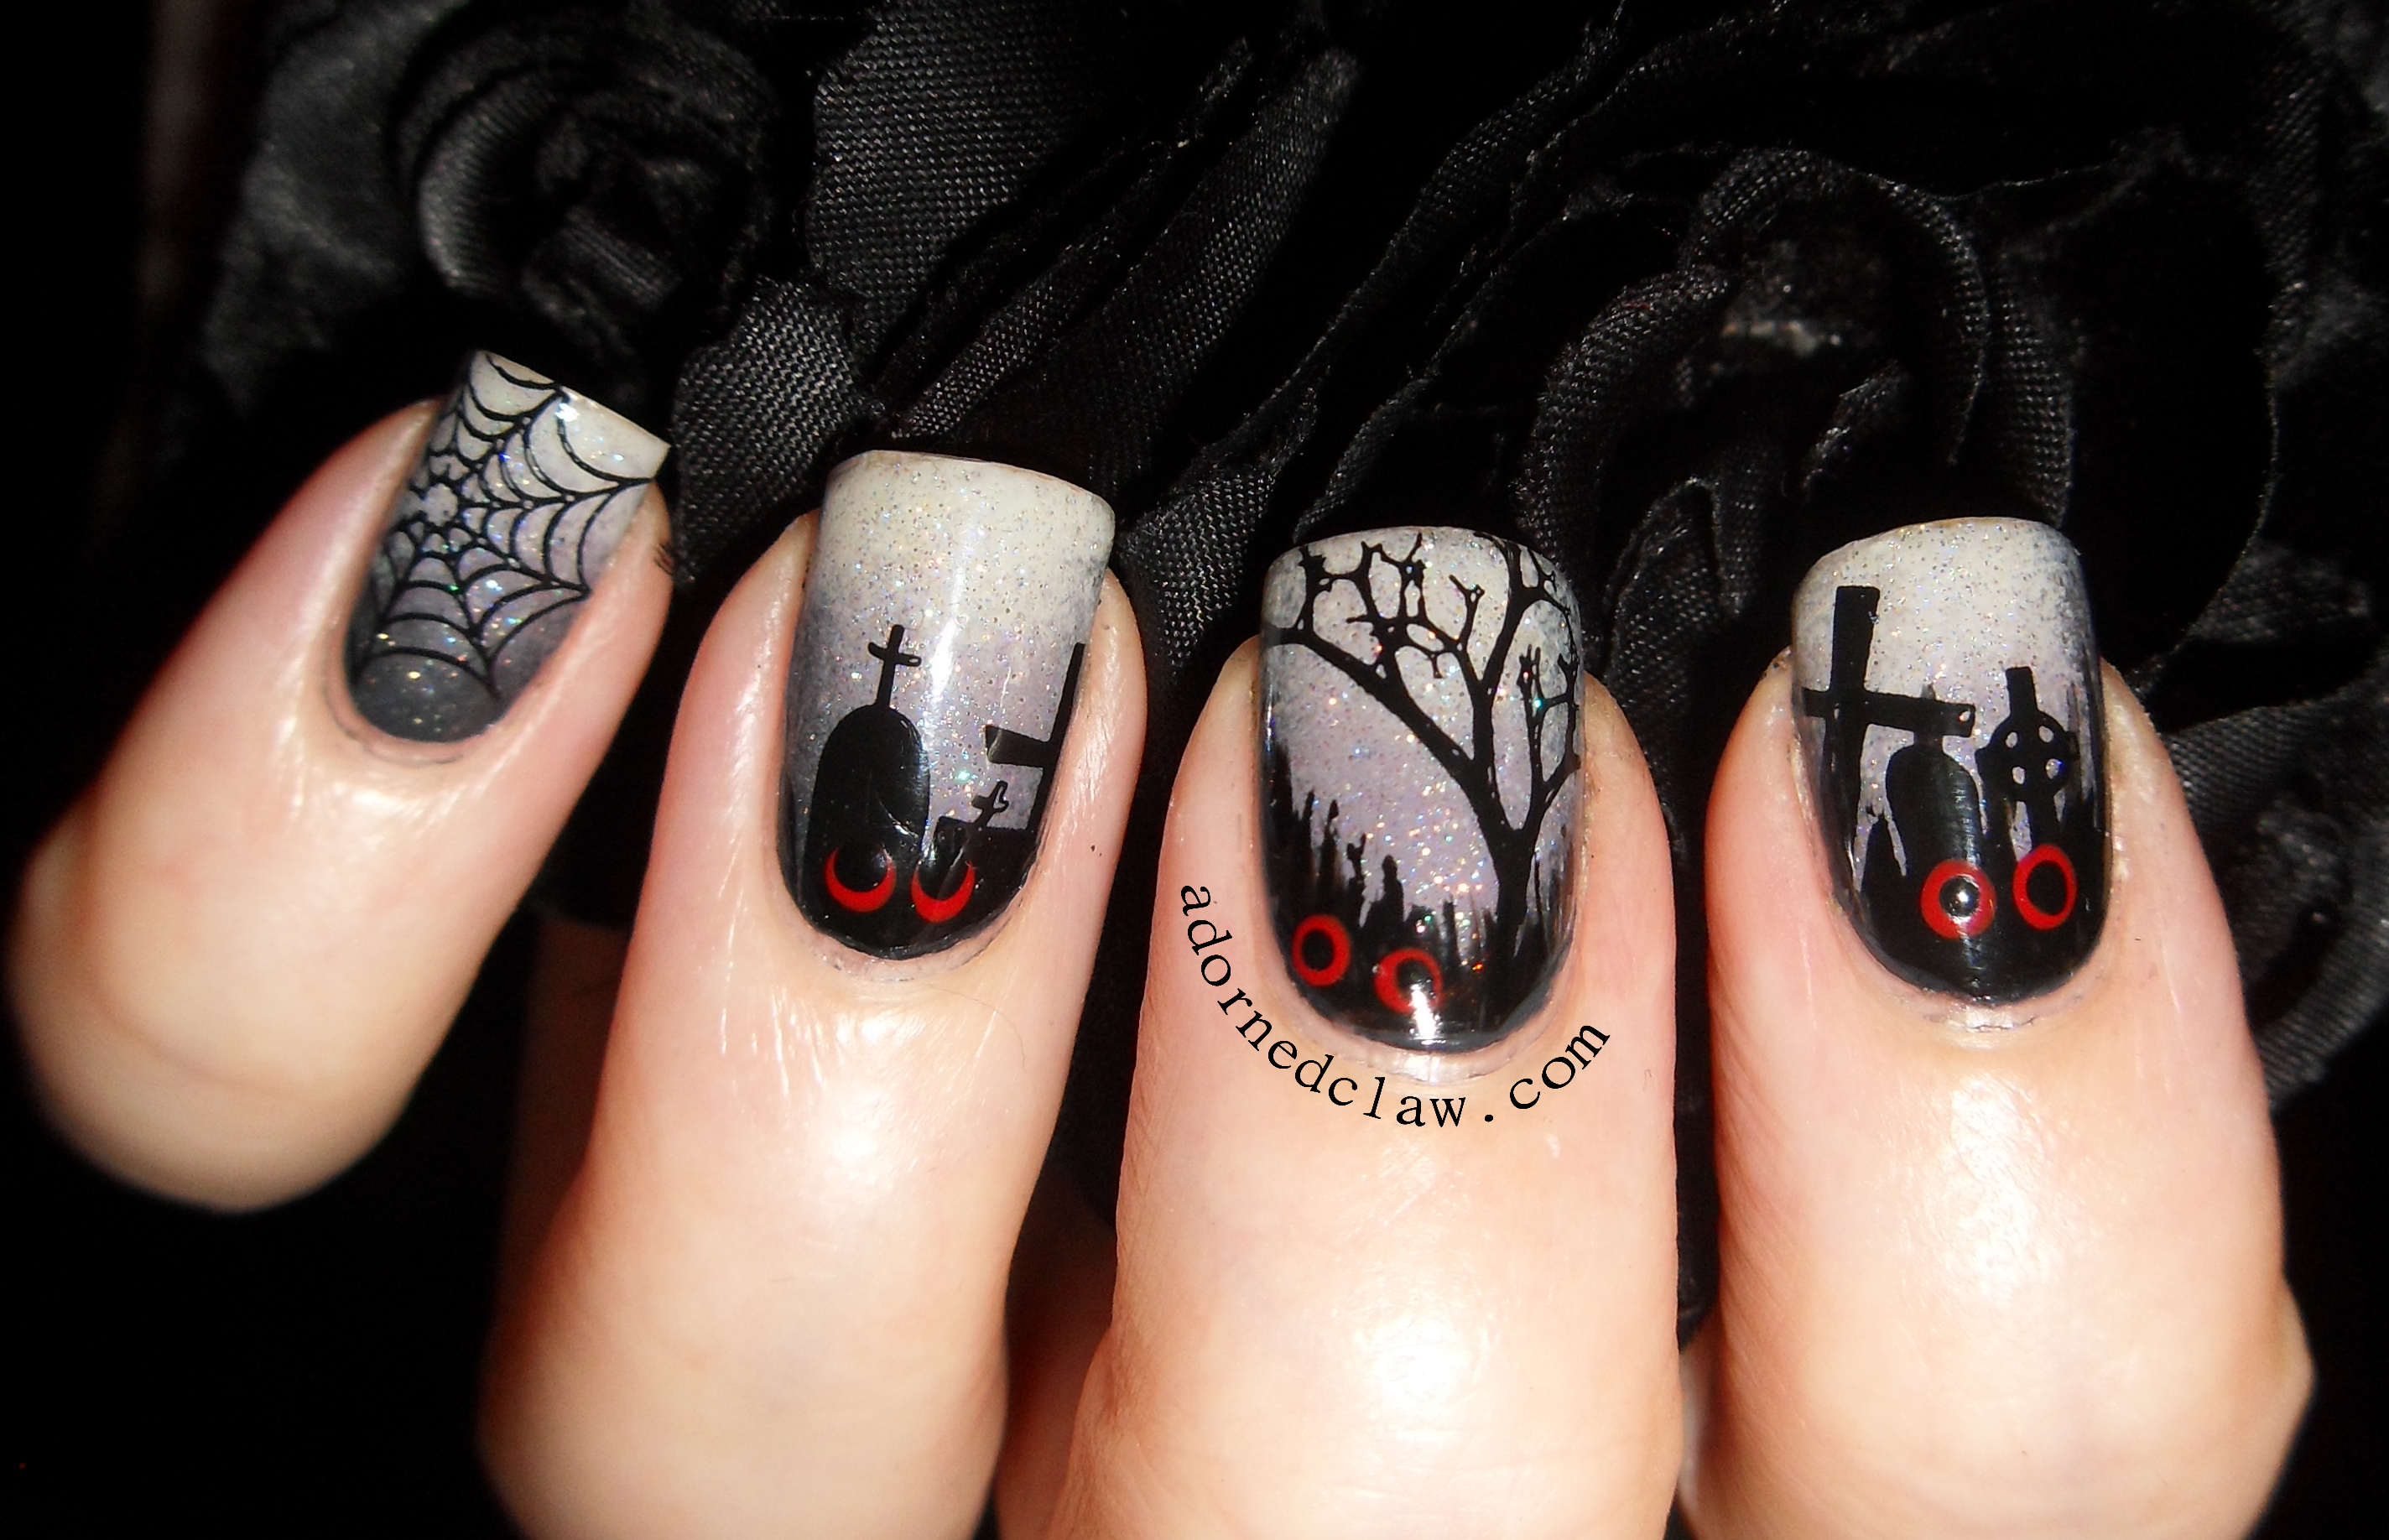
Hello I hope you are having a lovely weekend! 🙂
Today I have a nest of nail polish dragon eggs to show you!
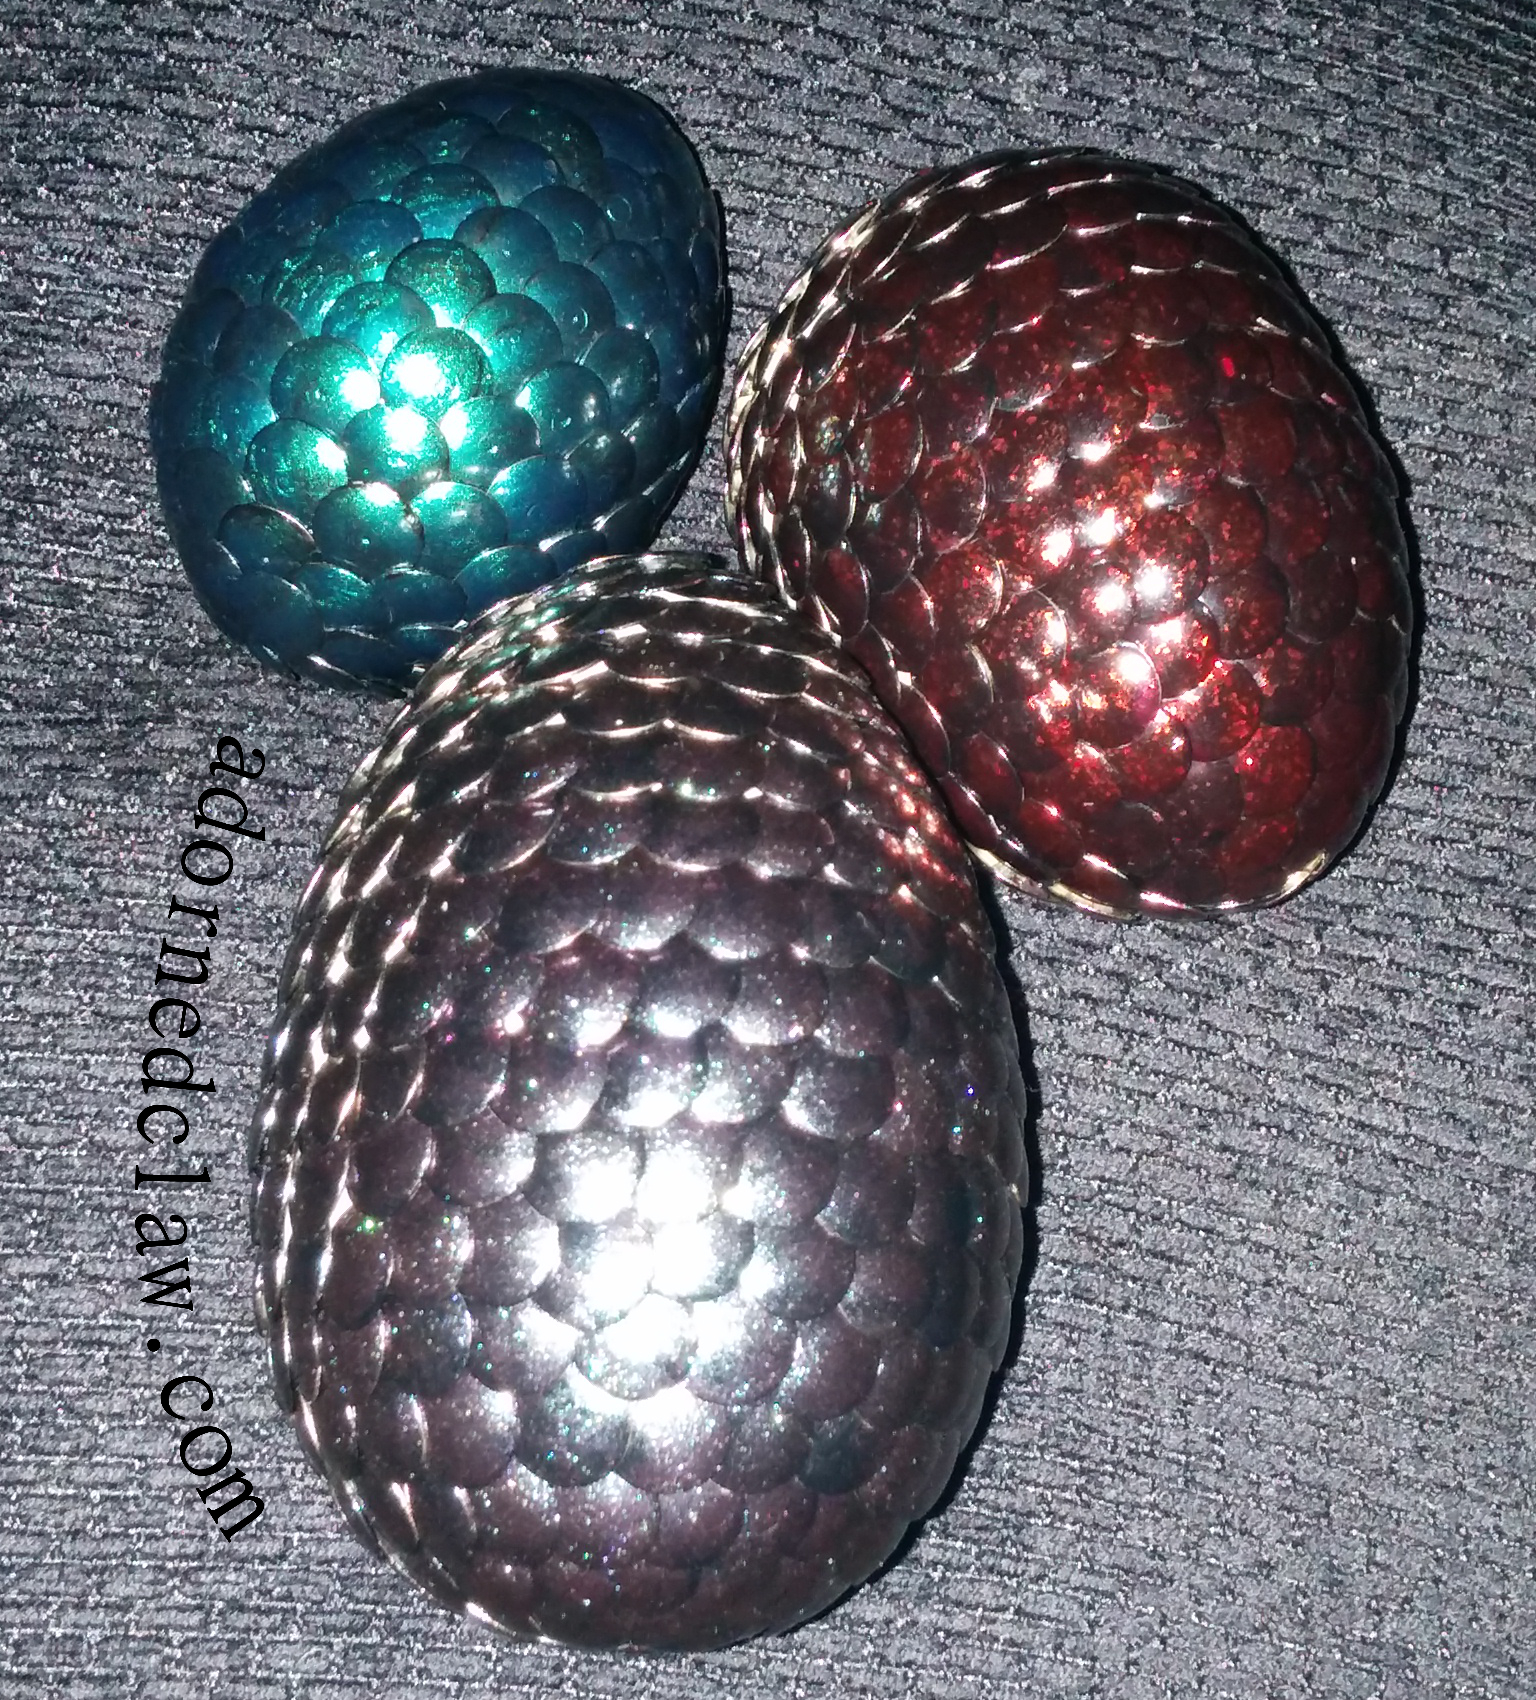
Nail Polish Dragon Egg
The eggs take a long time to make but I think the end result is worth it!
All you need for these are polystyrene egg forms, you can pick these up in most craft shops, Mine cost £2 for six, Drawing pins (or thumb tacks if your in the US) I picked mine up from Poundland. For these three eggs I used up just under 800 pins!
Oh yeah, you’ll need something to stick your pins in while your painting them, I used a cardboard box! Actually the part of making the eggs that took the longest was sticking the pins half way into the cardboard! It was so boring ![]()
I picked up some cheep black Laval polish (I didn’t want to use up of my nice/expensive ones on this) and used that to apply two coats to each pin, after the first coat I realized my mistake… I had to open all the windows, the Laval polish has a very VERY strong chemical smell. It might have just been the amount I was using but it was close to eye wateringly strong!
Look at the sparkles!
After the pins where dry I added a coat of the colored polishes
Oh I didn’t make these at the same time! I made each of them over a few days, Trying to make all three at once may be a quick path to twitchy nail polish related madness! lol
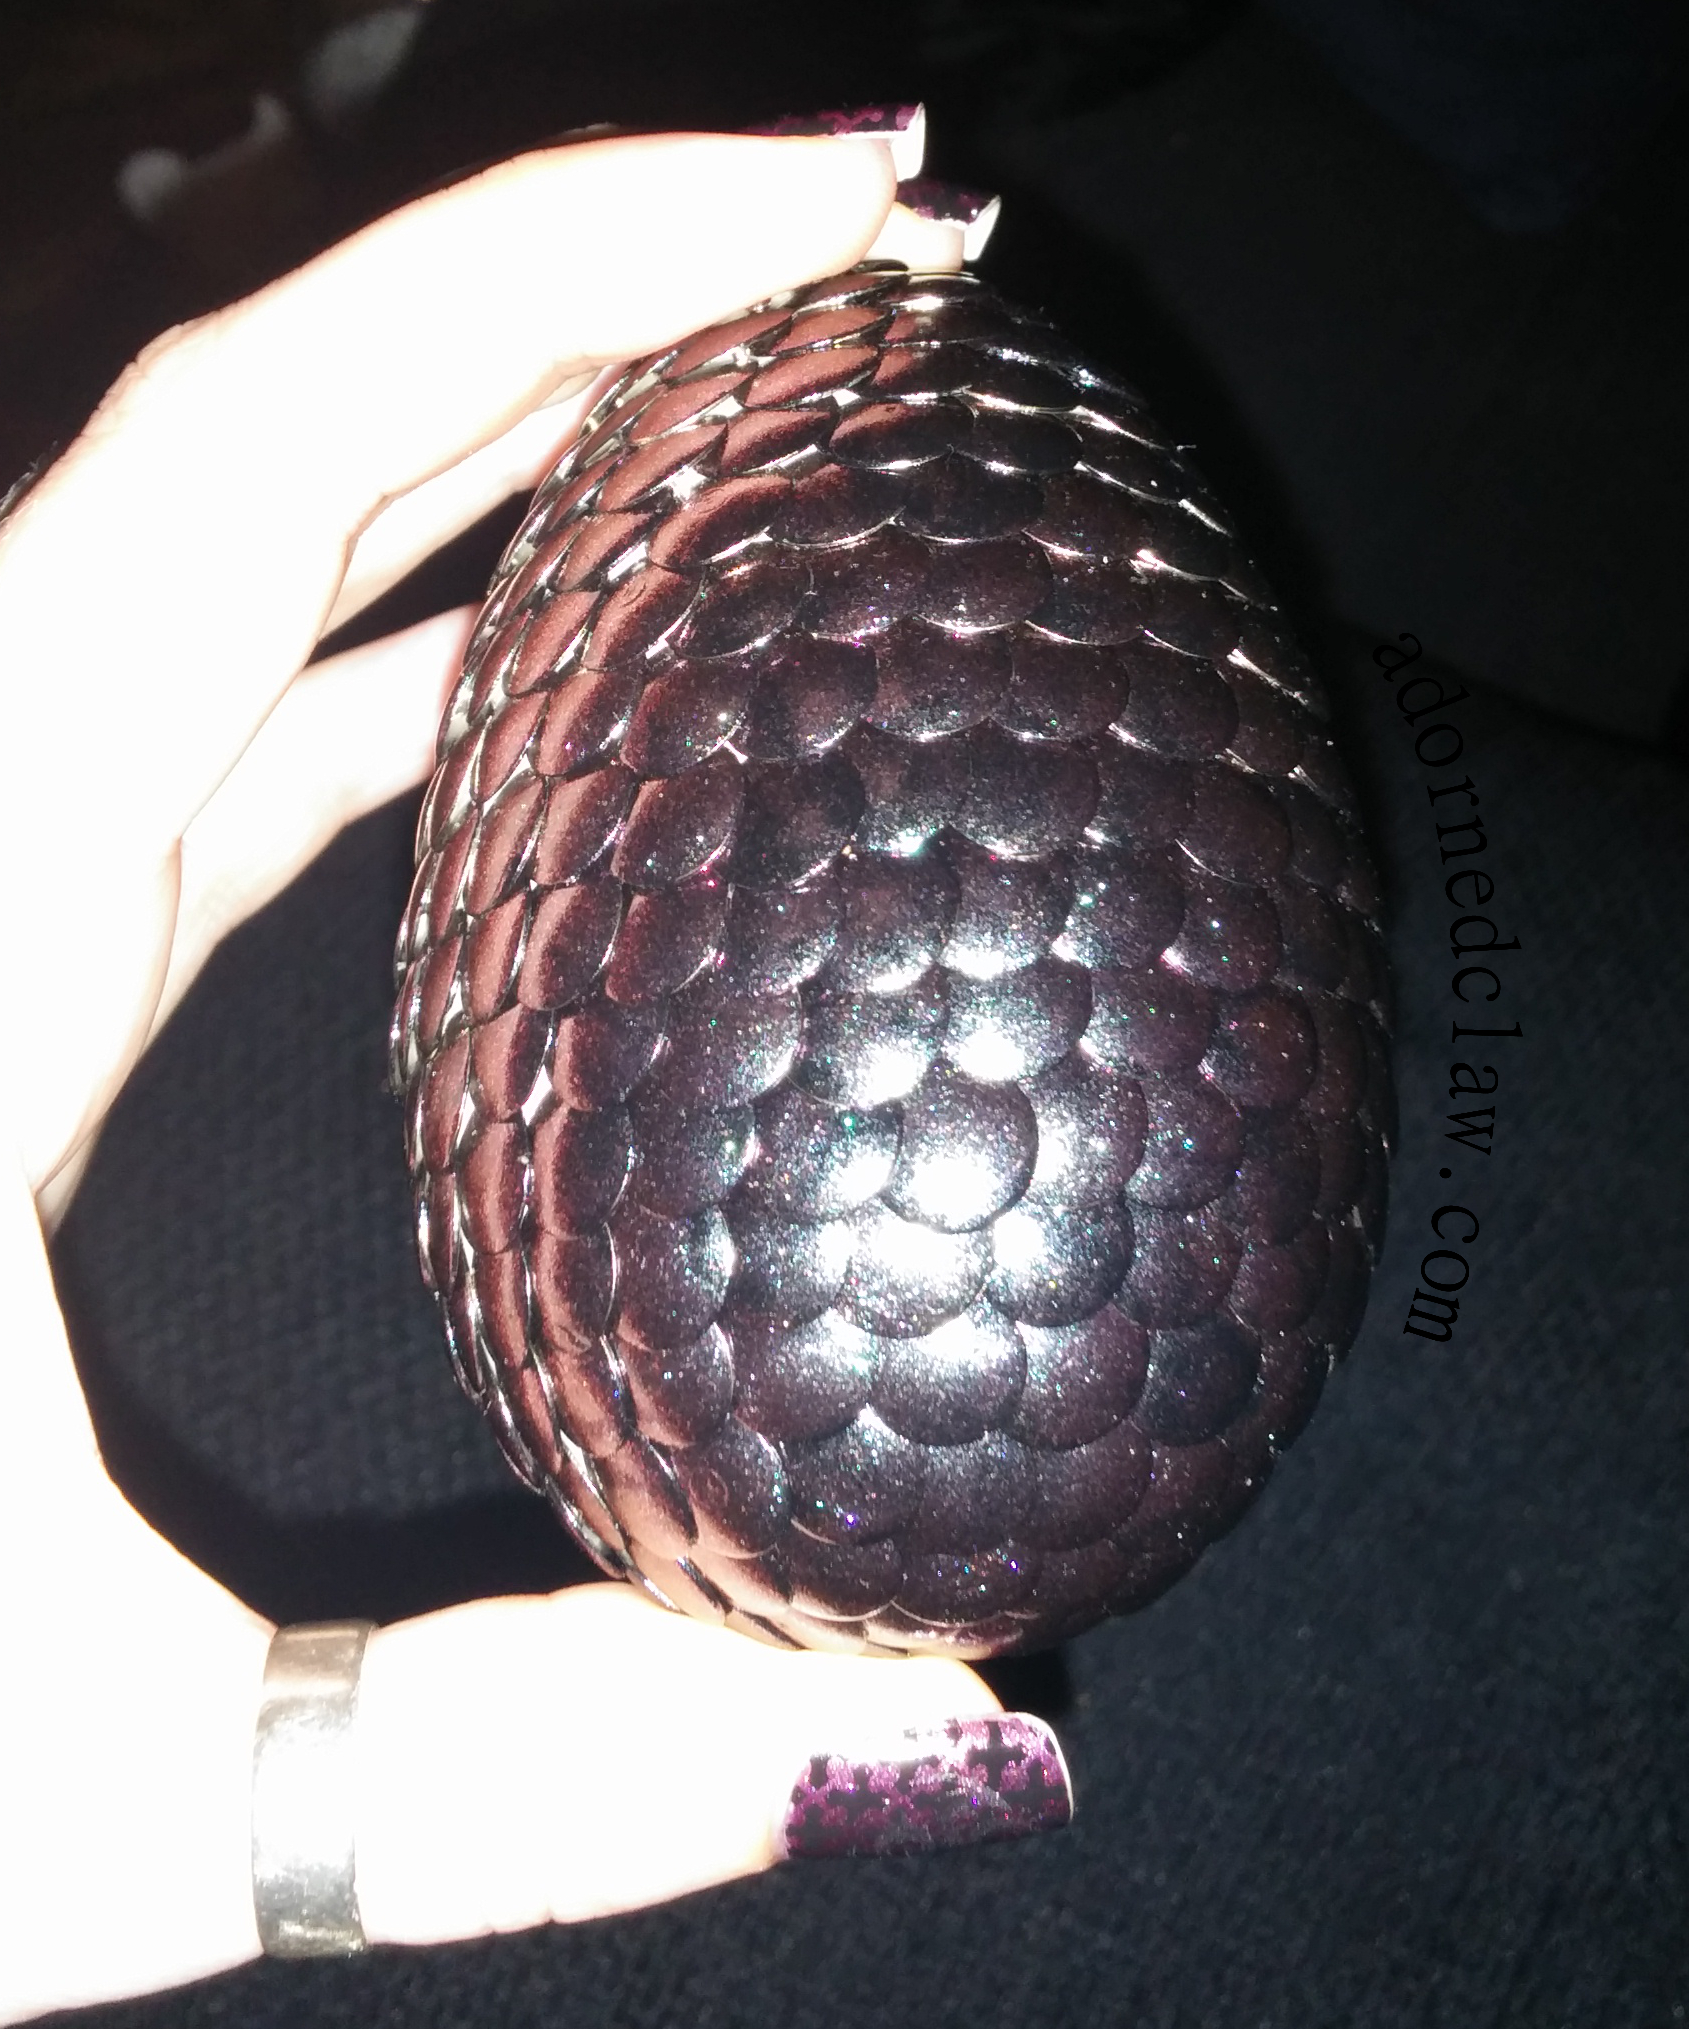
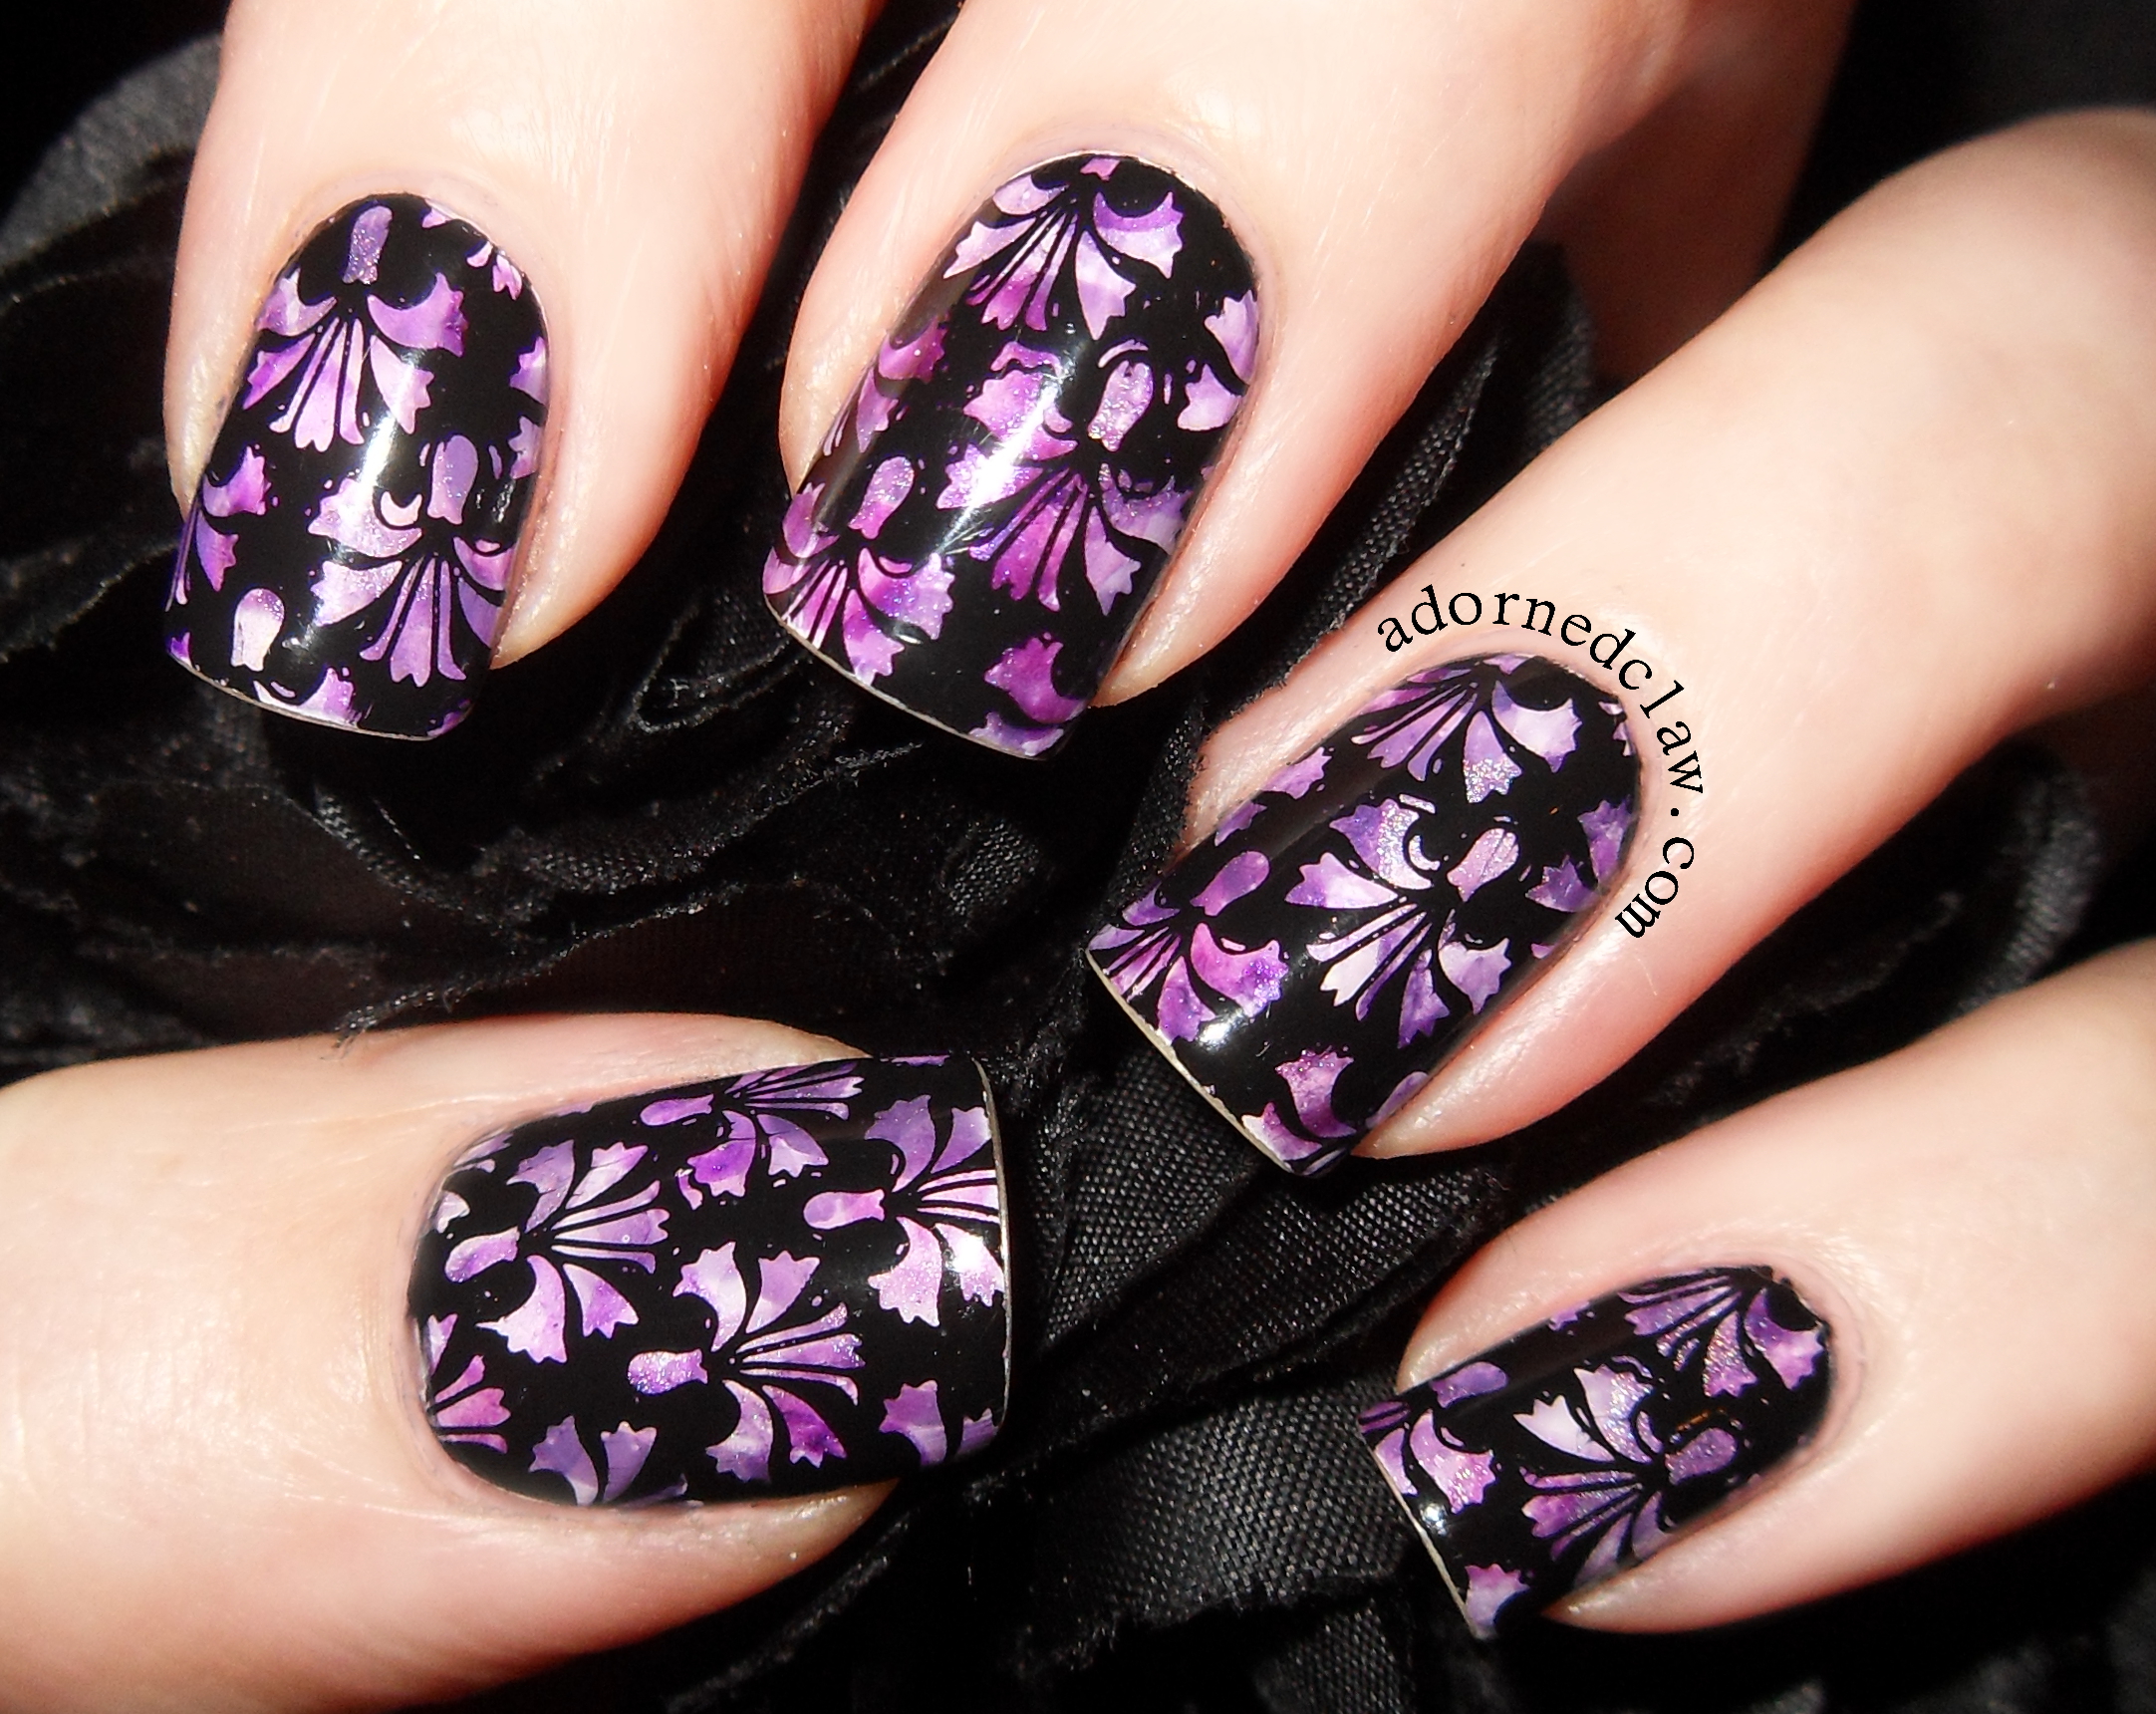
Black Polish with Models Own Purple Blue
For this egg I added a thick coat of purple blue from Models Own over the black, This one took the most pins to make around 350! and I used up nearly a quarter of the models own bottle oO Lucky I have quite a few polishes similar to this one!
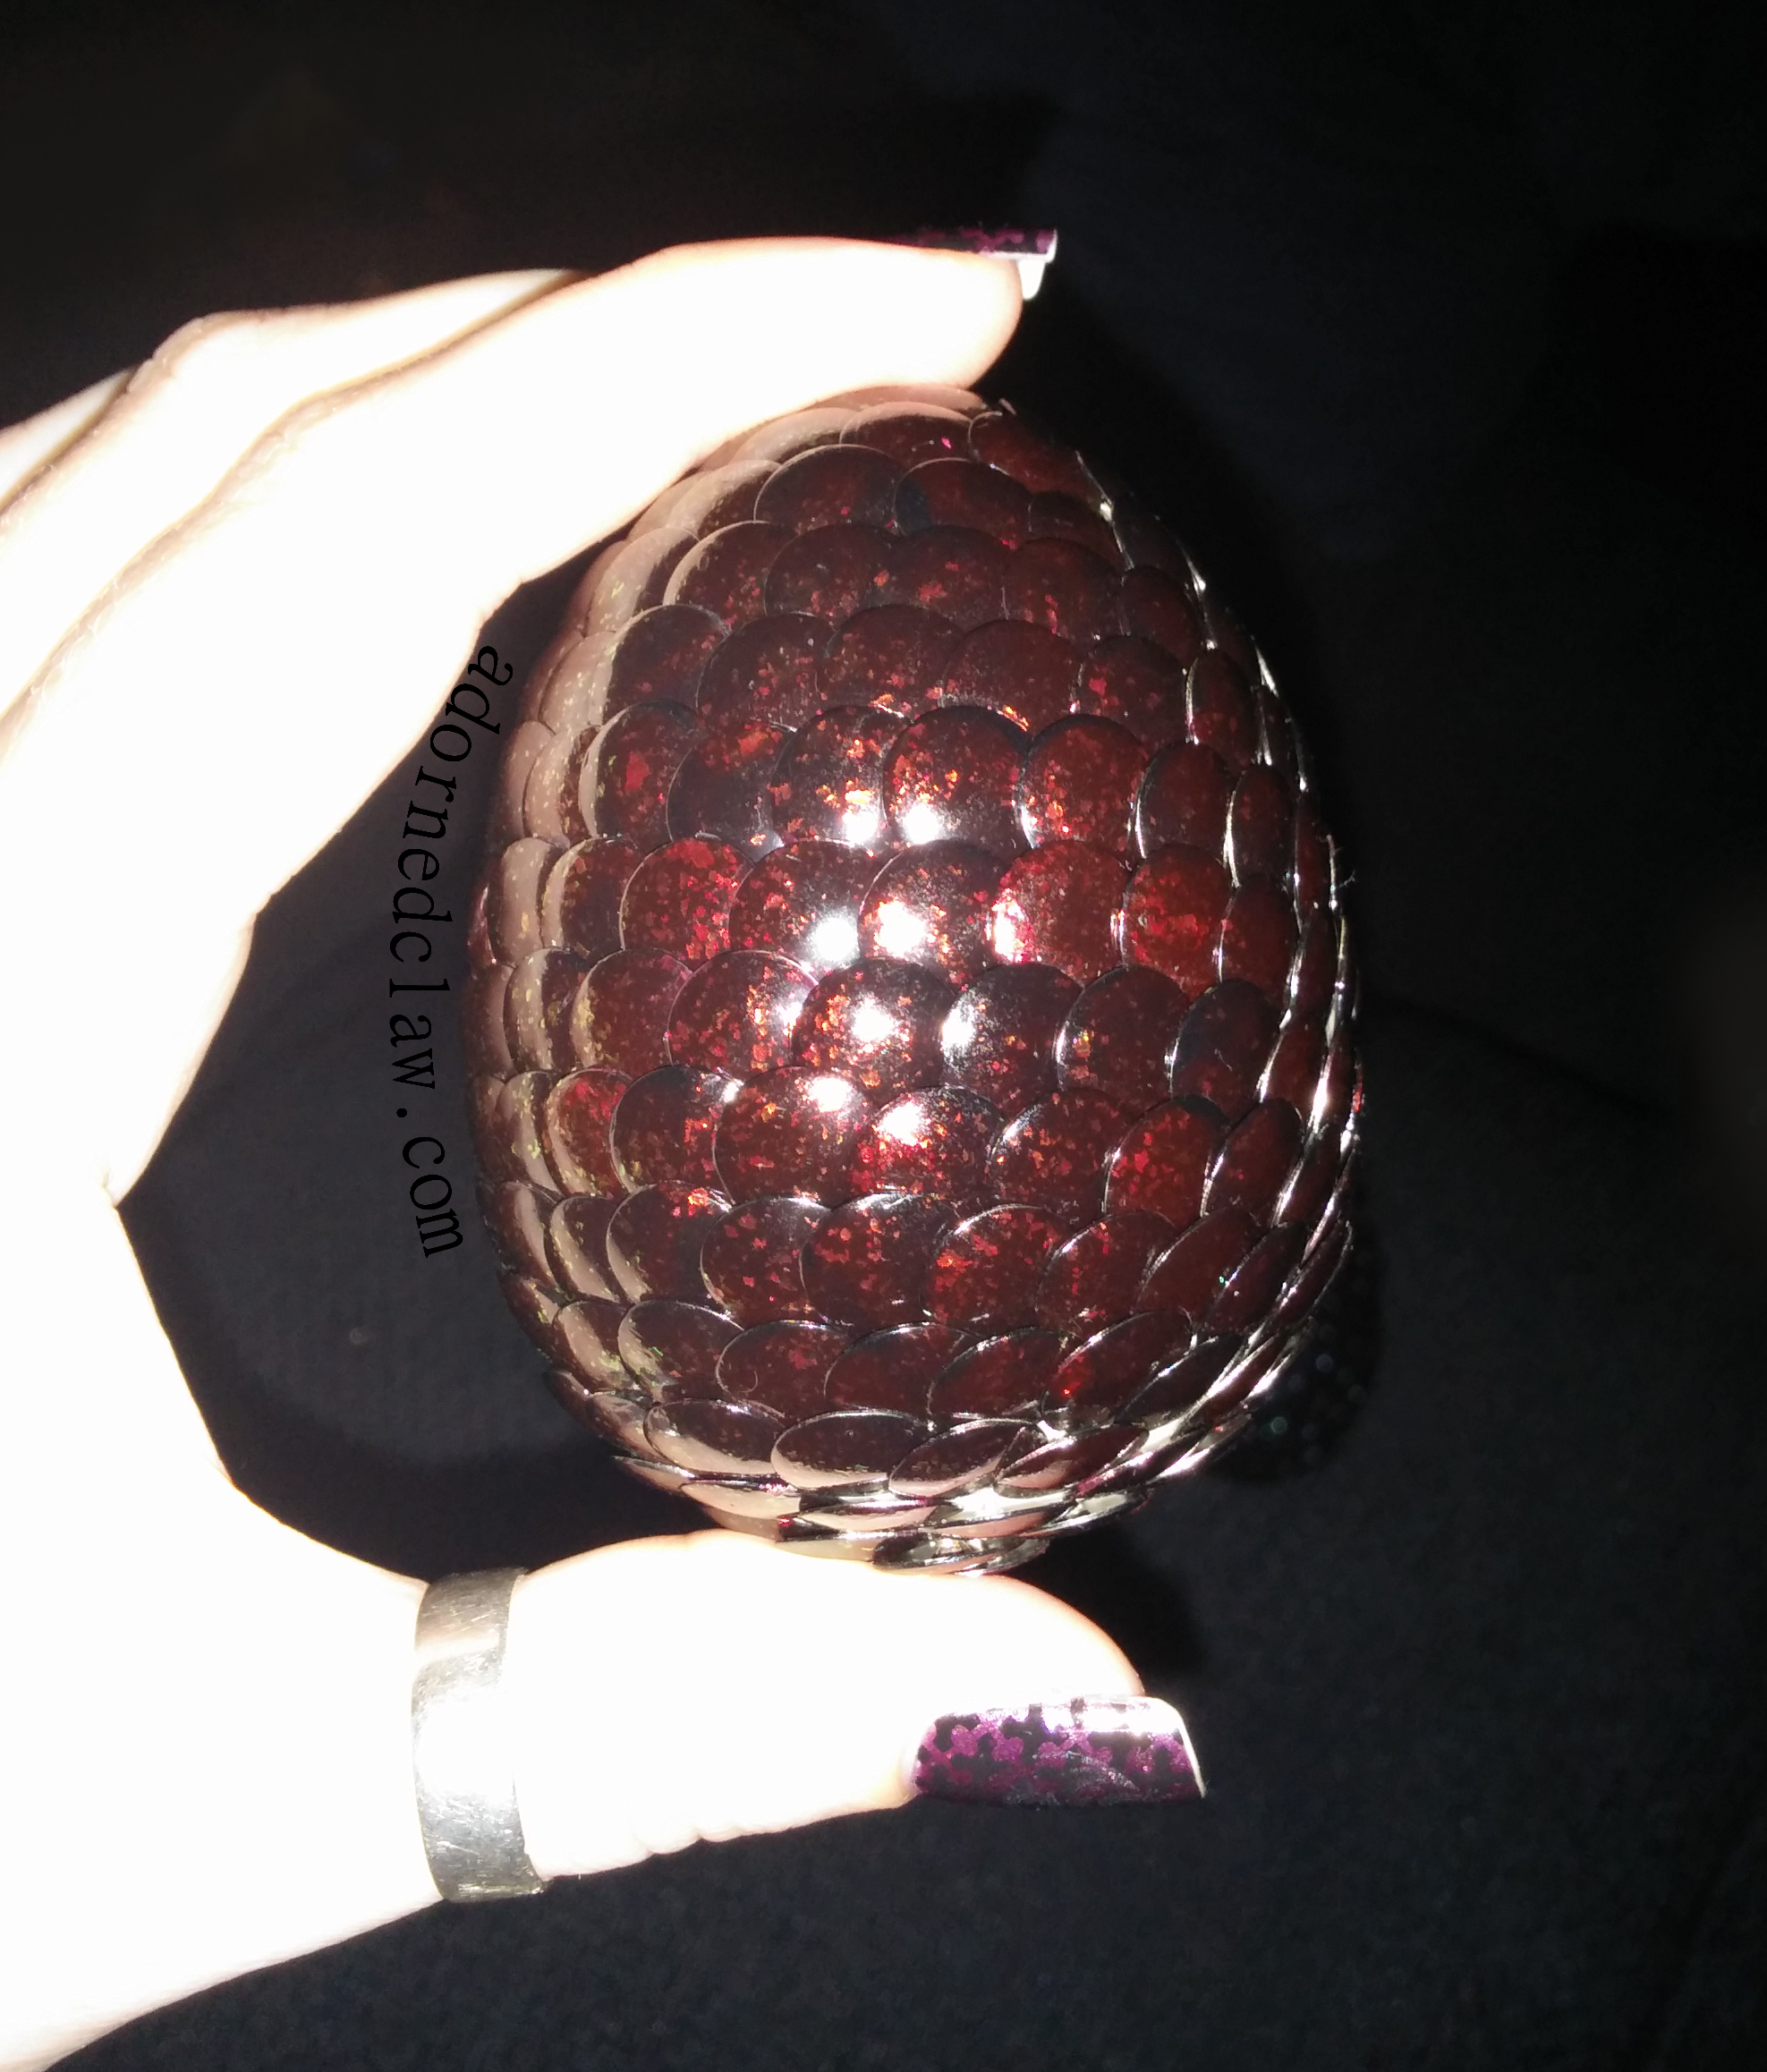
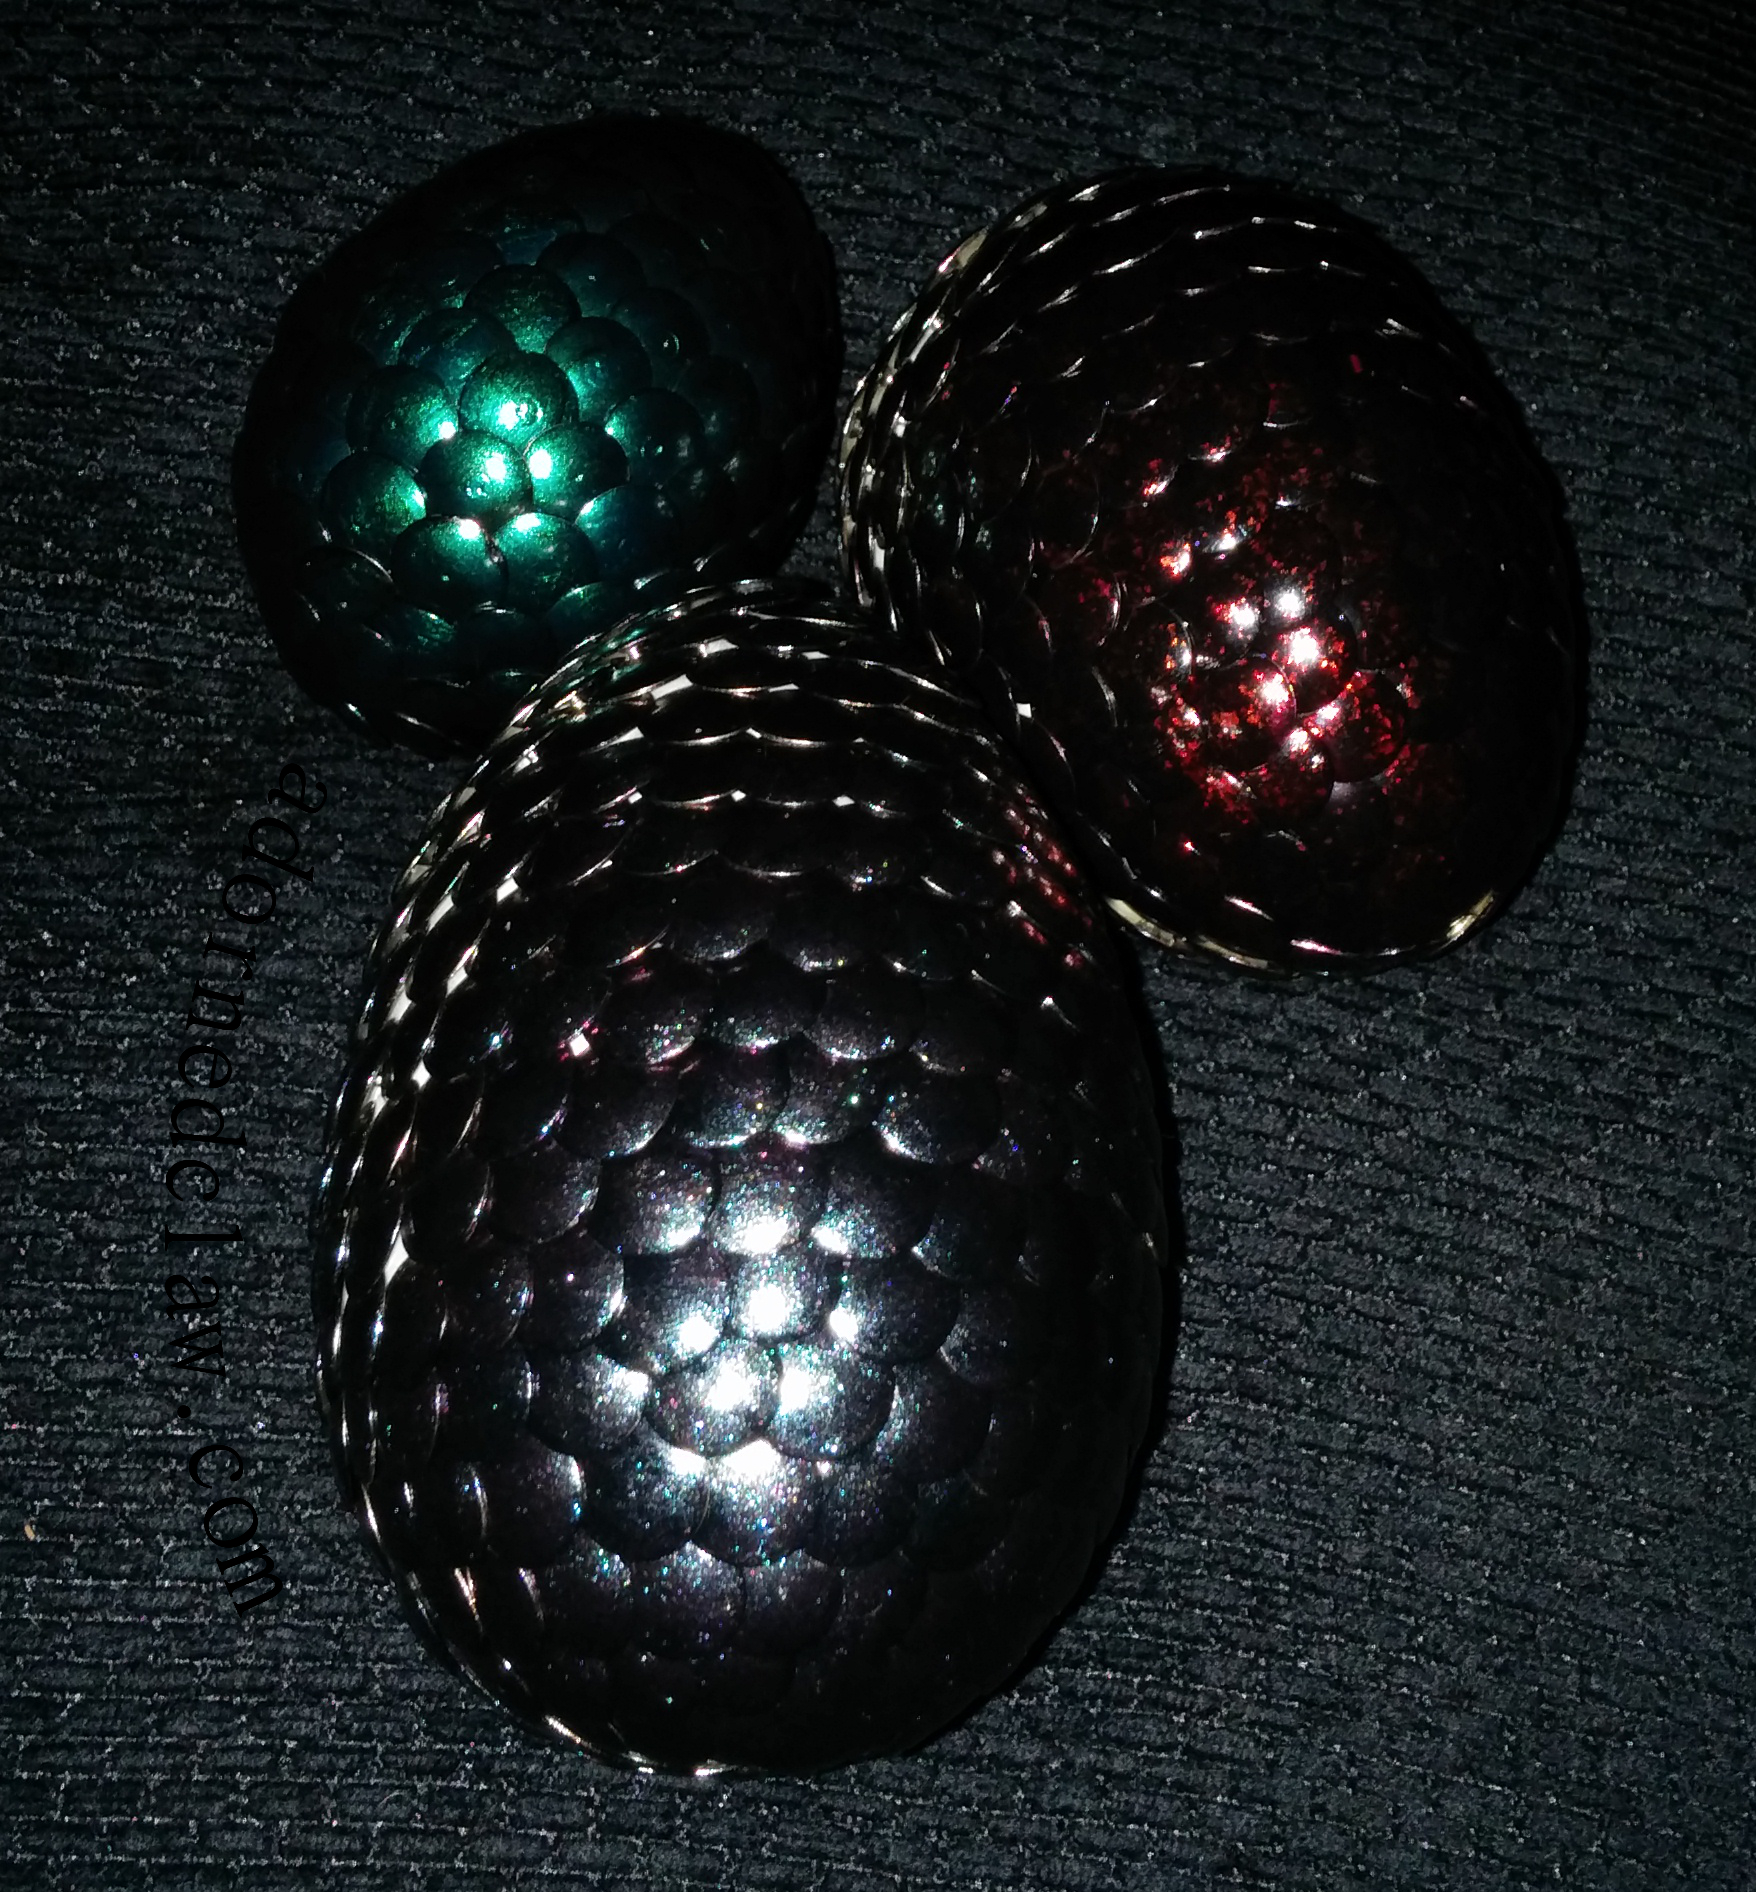
Elle’s Spell Dragon egg
This Egg was the first one that I made, and it’s definitely my favorite! I used a coat of Elle’s Spell over the black. It really is a shame the the duo-chrome glitter isn’t showing up in the picture 😦
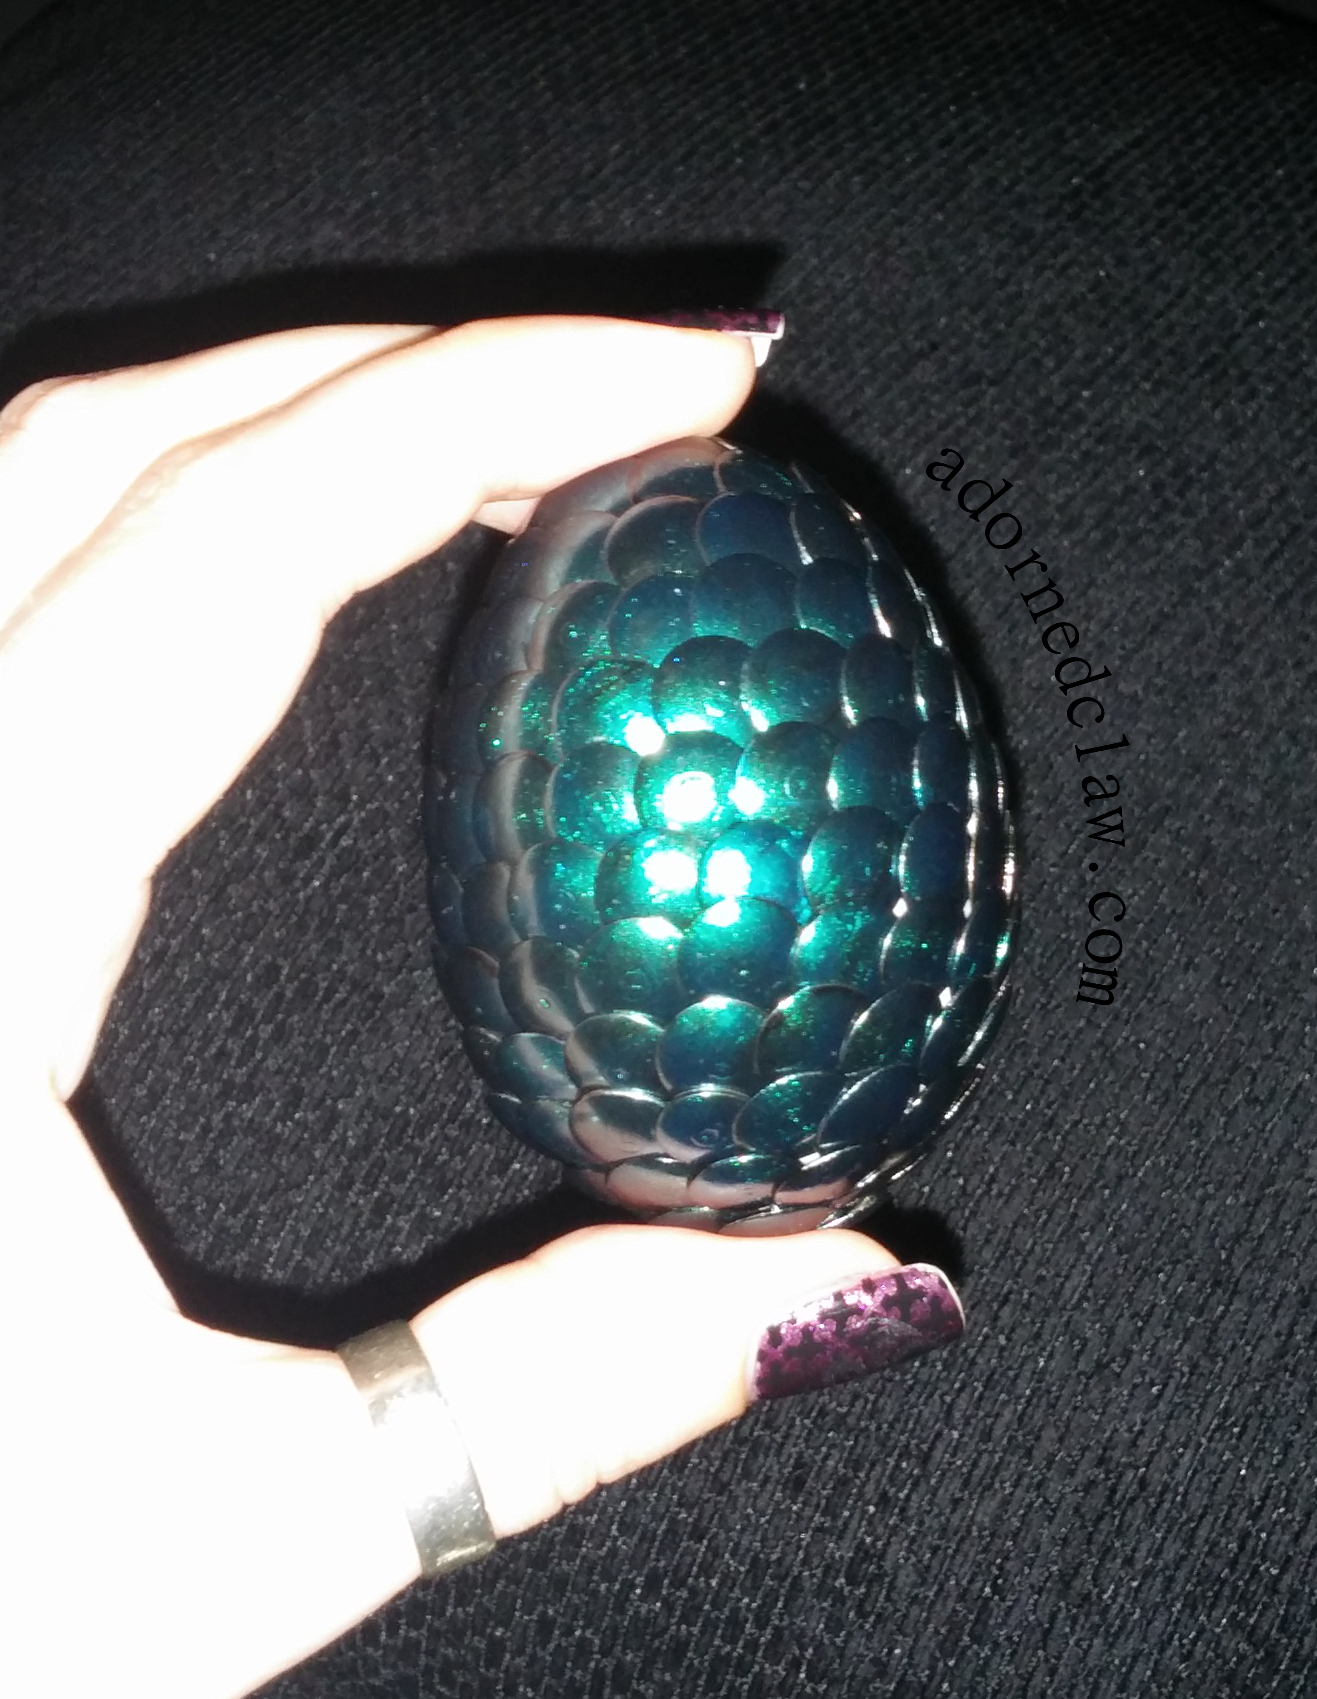
Jess Pixie Dragon Egg
This little one was the last one I made, If I make any more I’m going to stick with this size! The Teal polish is Pixie from Jess. Looking at the picture I’m thinking I should have added another couple of coats of black to the pins as the teal polish is rather sheer so the manufacturing marks on the pin head are showing through!
Even tho it was a bit stinky and took a long time, I really like the end result of my dragon eggs! I’m now going to go find them a home somewhere in my book shelf! 😀
Oh if you want to make your own here is a wonderful Dragon Egg tutorial from Accio Lacquer