I have to admit that I’m not the neatest of people, especially when it comes to painting my nails. (Far to much coffee probably has something to do with it.) So this is how I clean up my fingers and (try to) tidy up my finished polish.
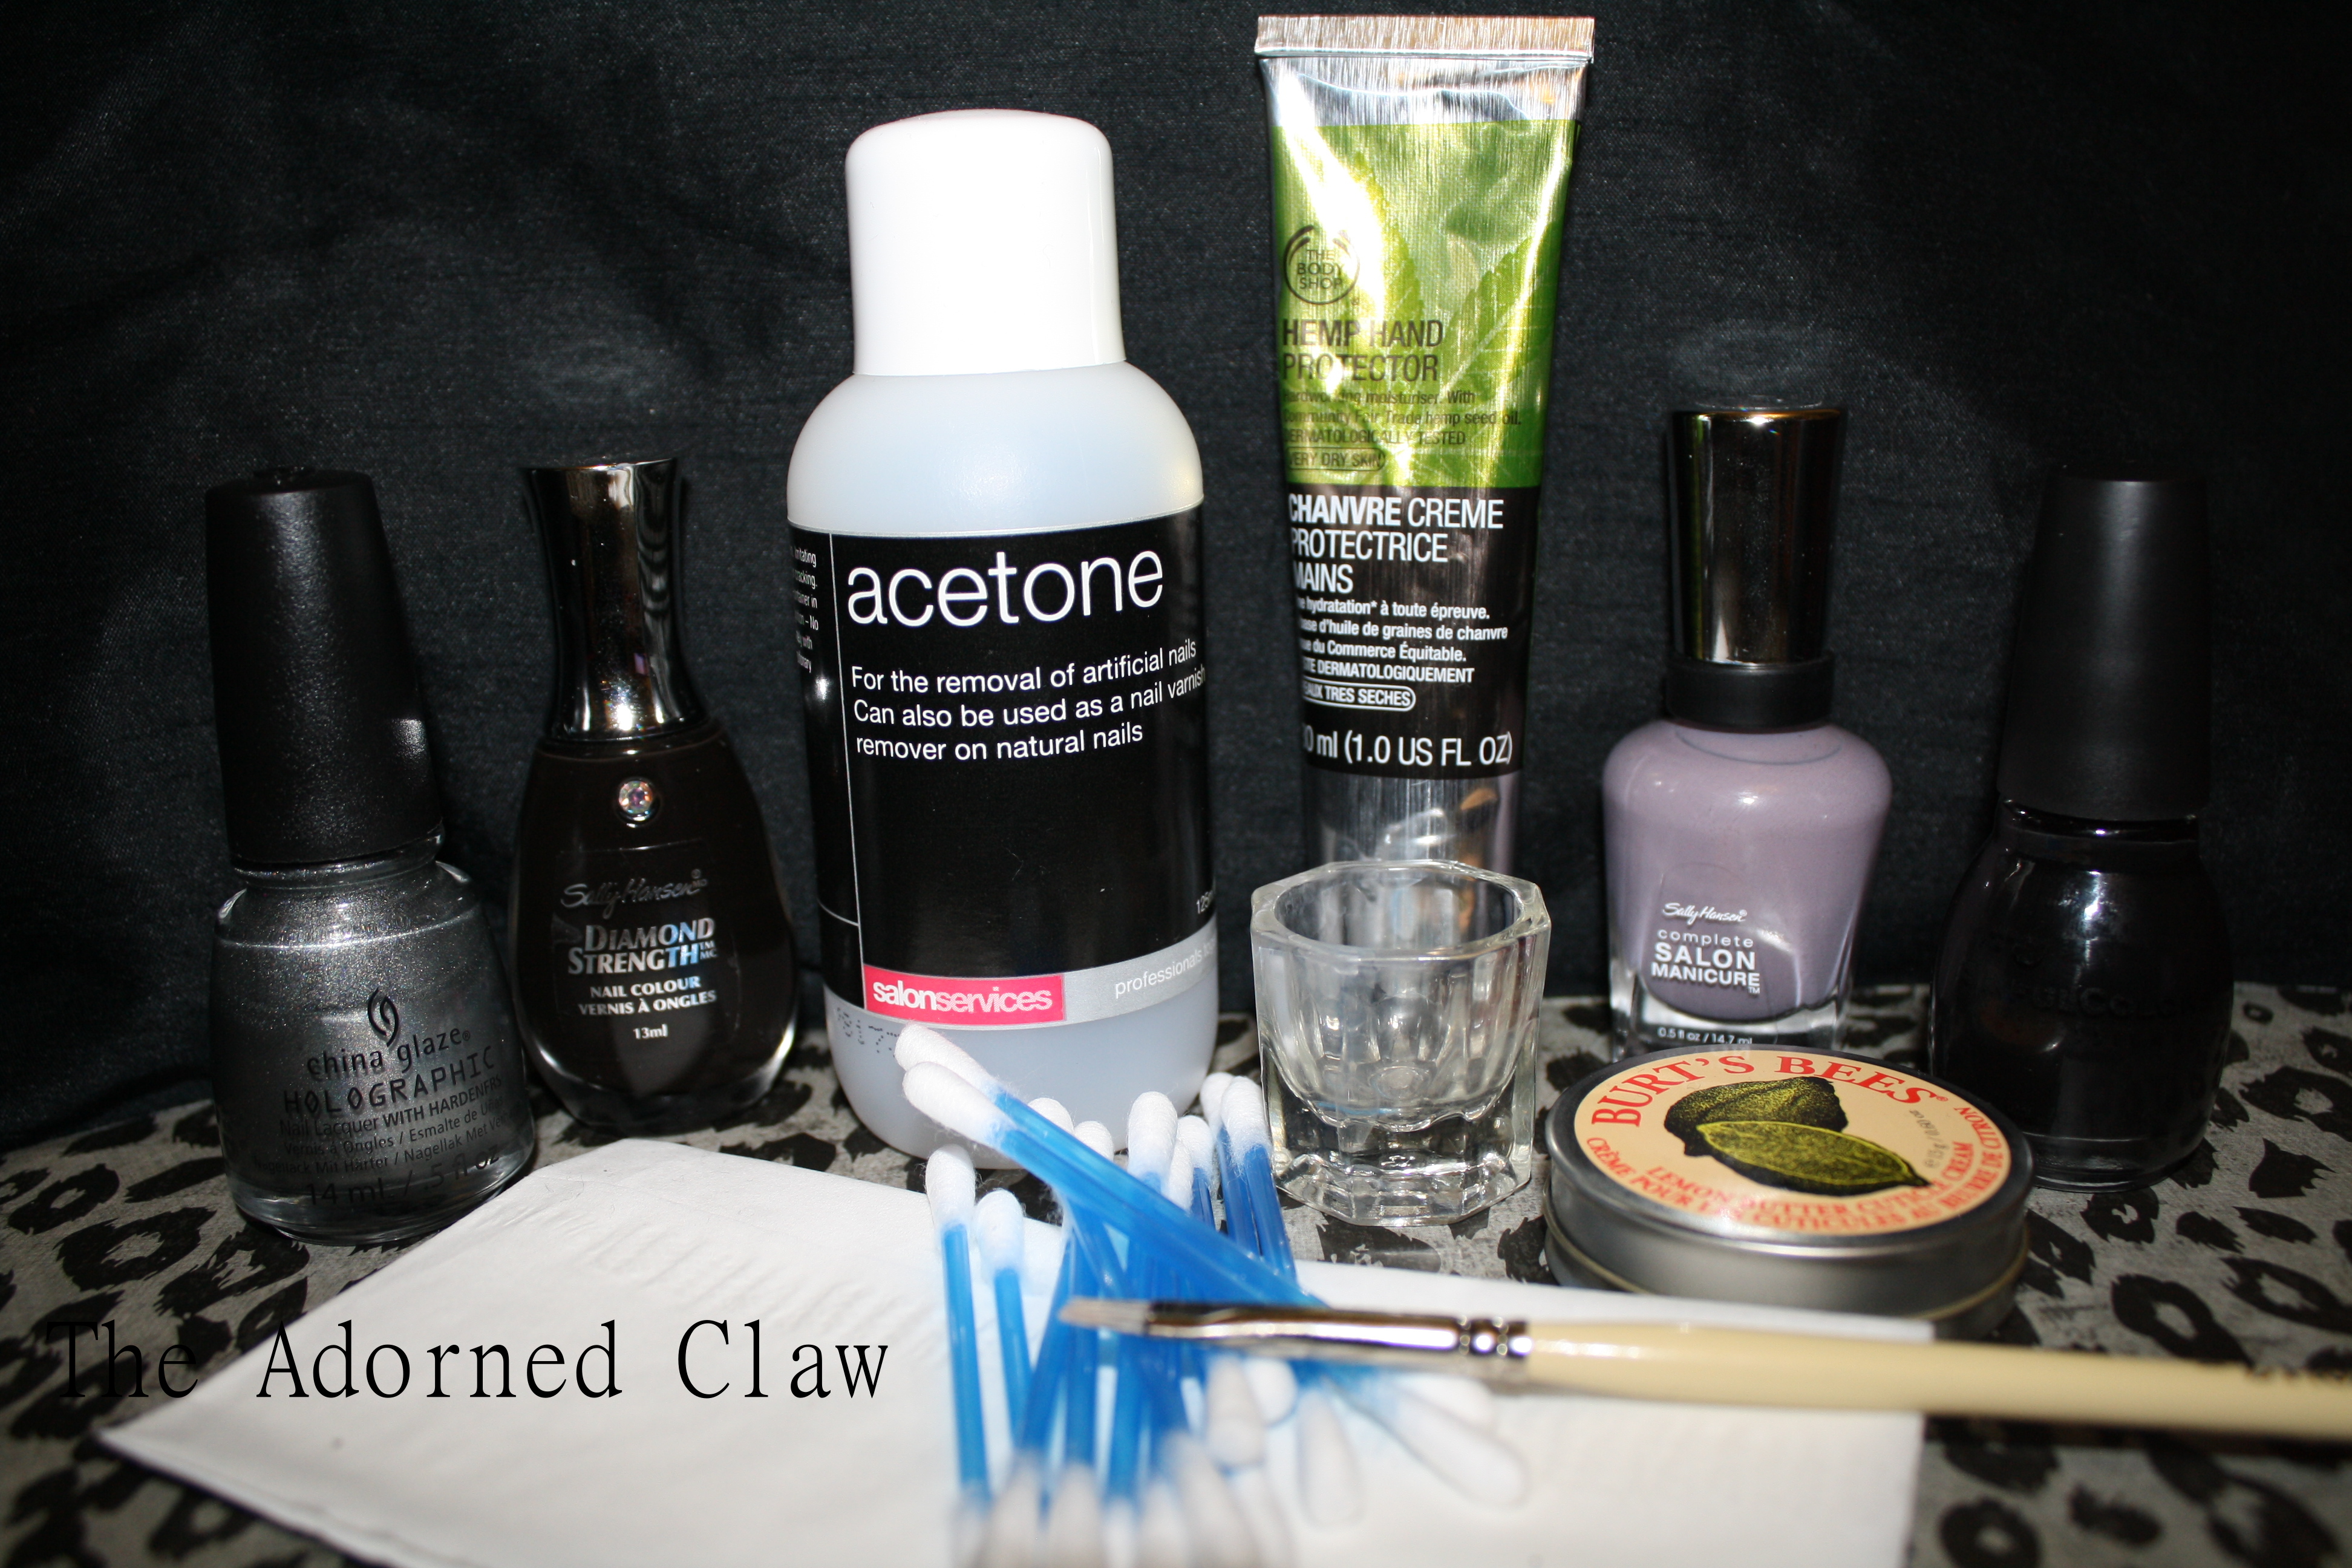
These are the things that I use.
100% Pure acetone – For the clean up I like to use pure acetone. I have found that it is loads faster than using standard nail polish remover but this method will work with standard polish removers.
Cotton buds (q-tips) – if it is really messy!
A brush. – At the moment I use a stiff artists brush (one for oil paint) I found this type of brush works really quite well but I am going to have to get a new one soon, mine is starting to look a bit worn, I suggest experimenting with different brushes to find one that works best for you. There are plenty out there in different price ranges!
Paper towel or tissue – to wipe your brush.
A small container – Any small container should work, just make sure that it is not plastic! An egg cup or small bowl, or even the lid from your acetone/polish remover! I have used all of these things in the past but now I use my little glass Dappen Dish. 🙂
Cuticle Pen/oil or cream – I like Burt’s Bees Lemon butter cuticle cream. It’s rich with out being greasy and it smells amazing! Oh and some hand cream.
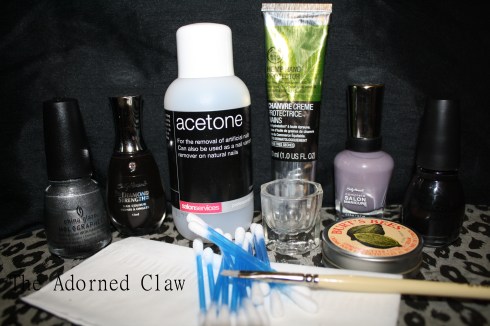
some of the stuff you’ll need.
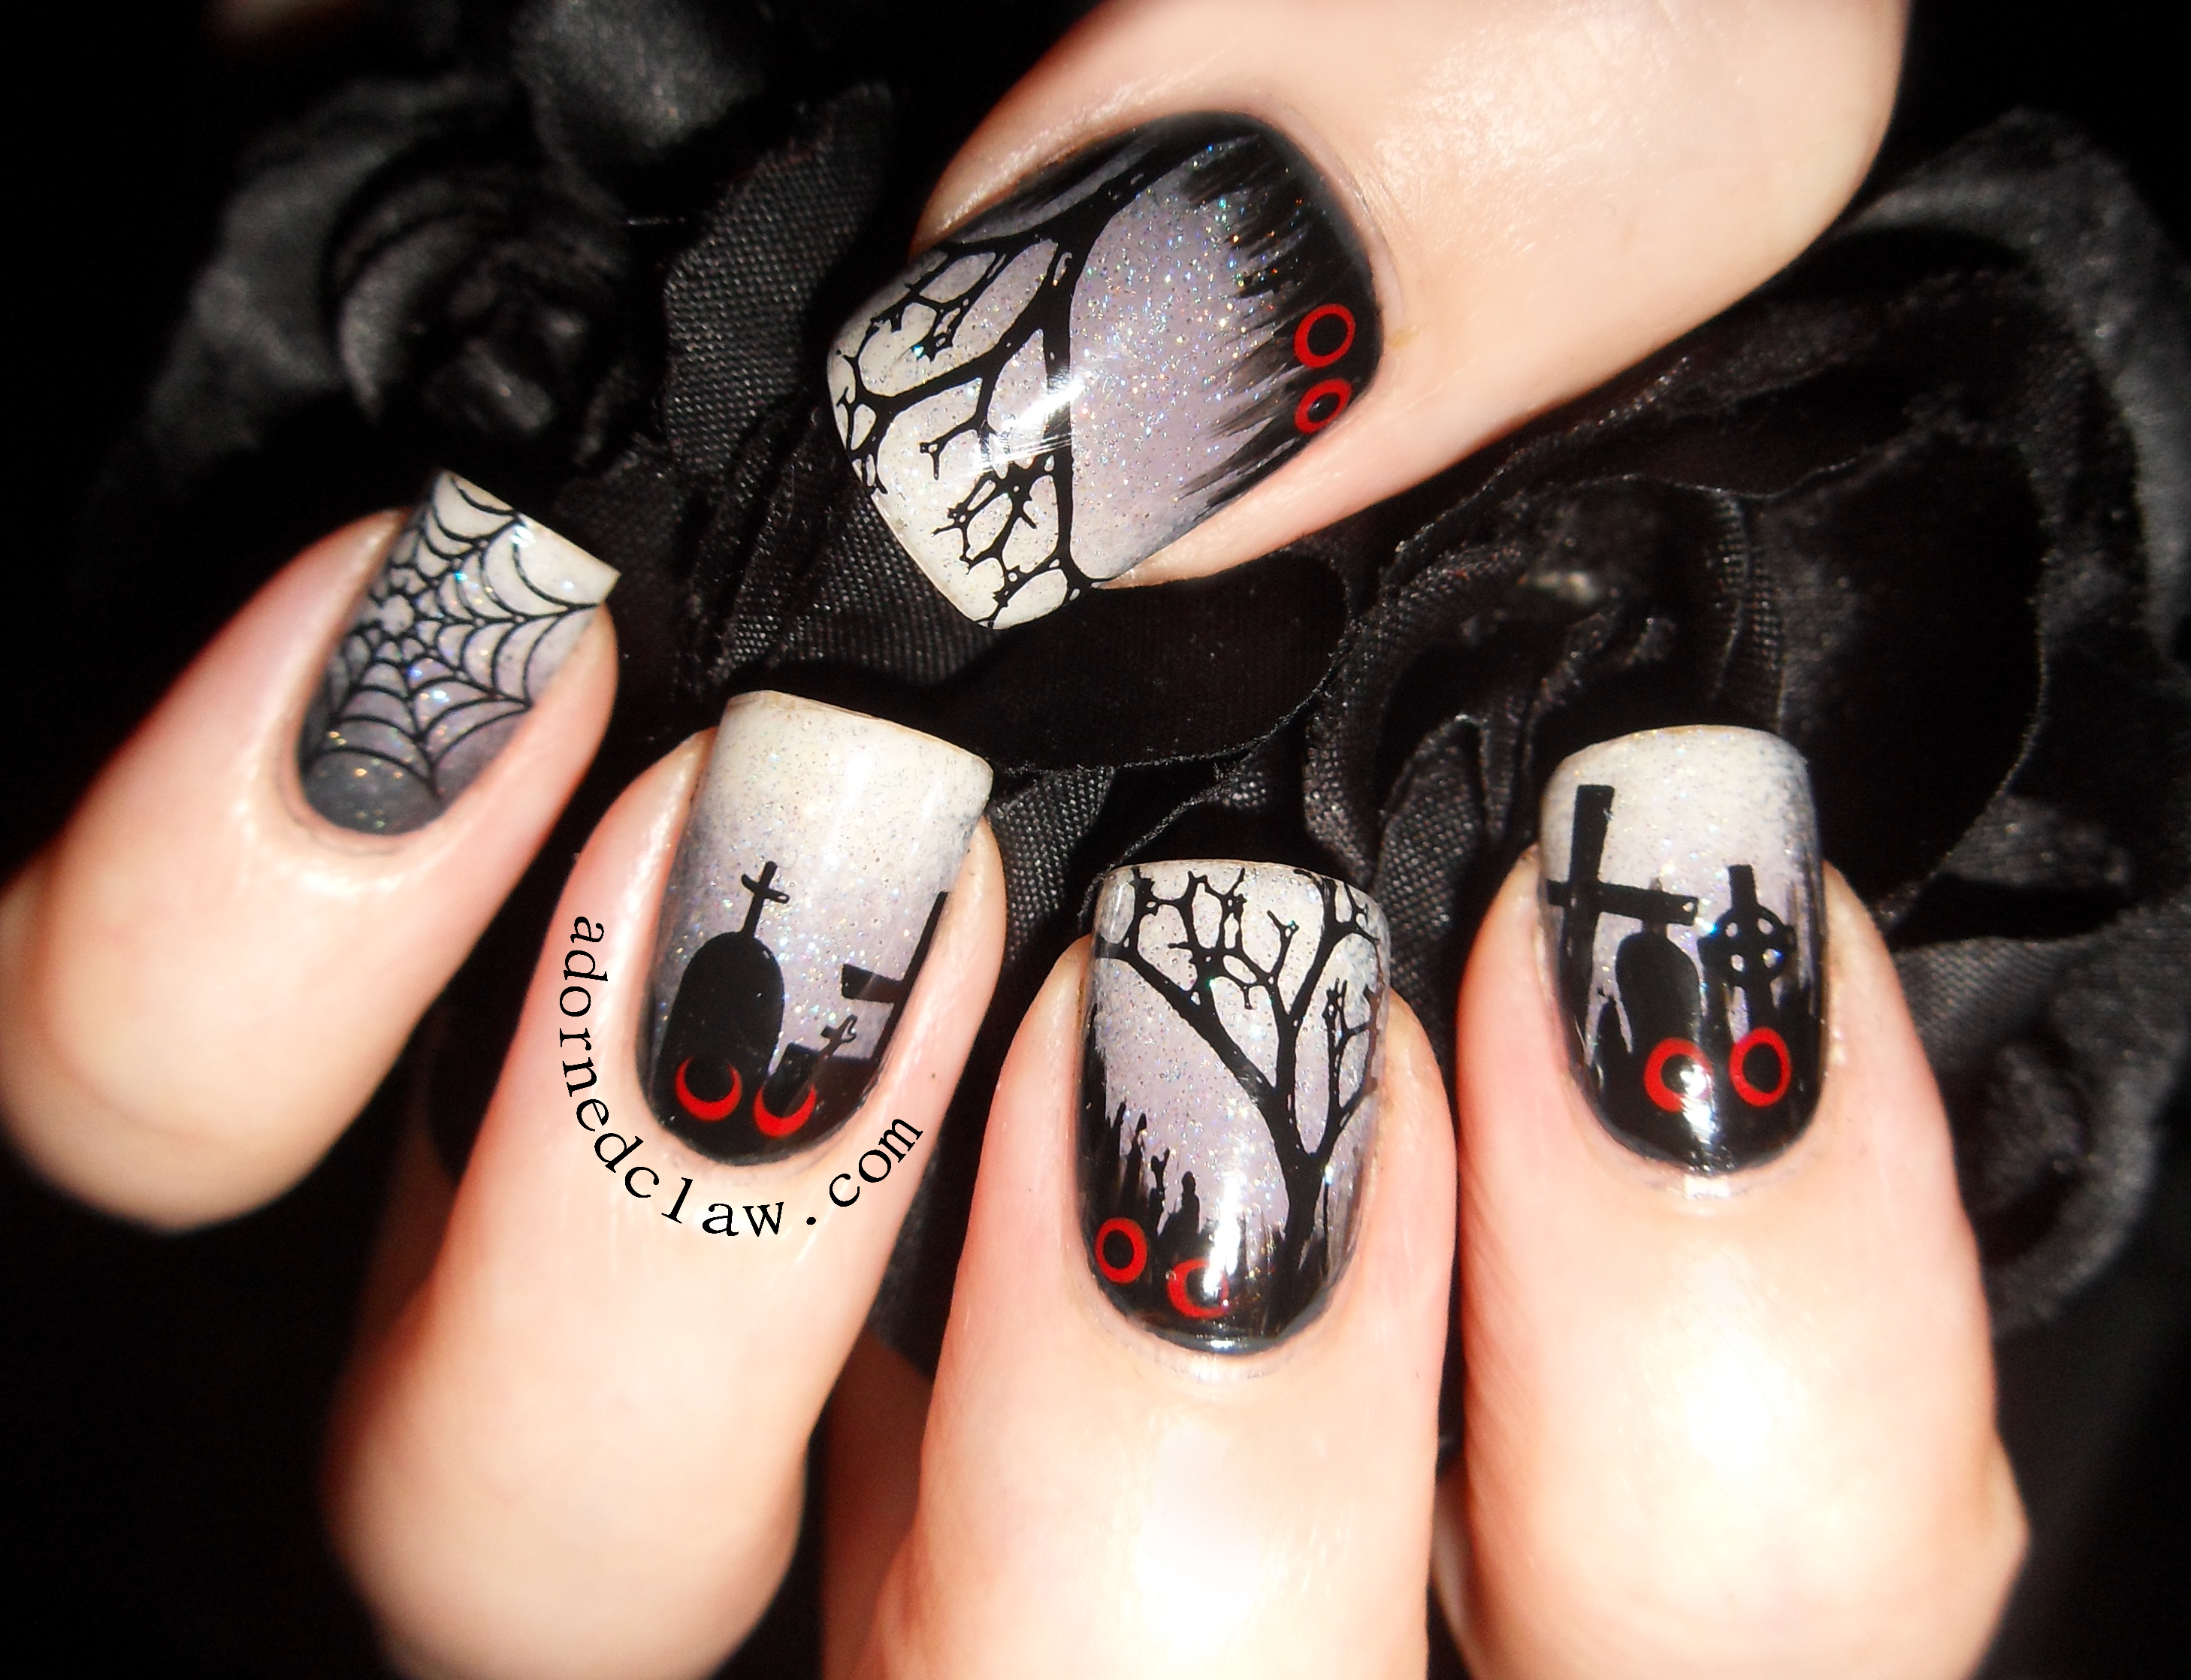
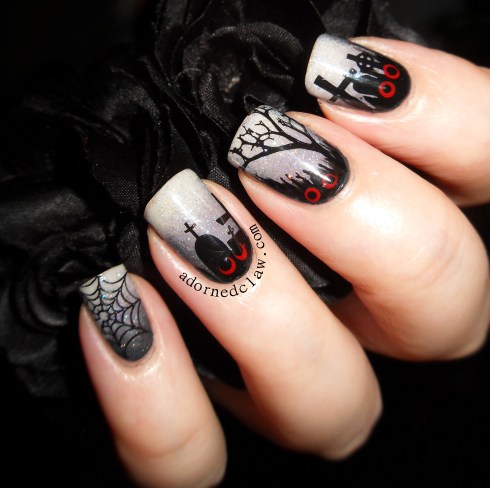
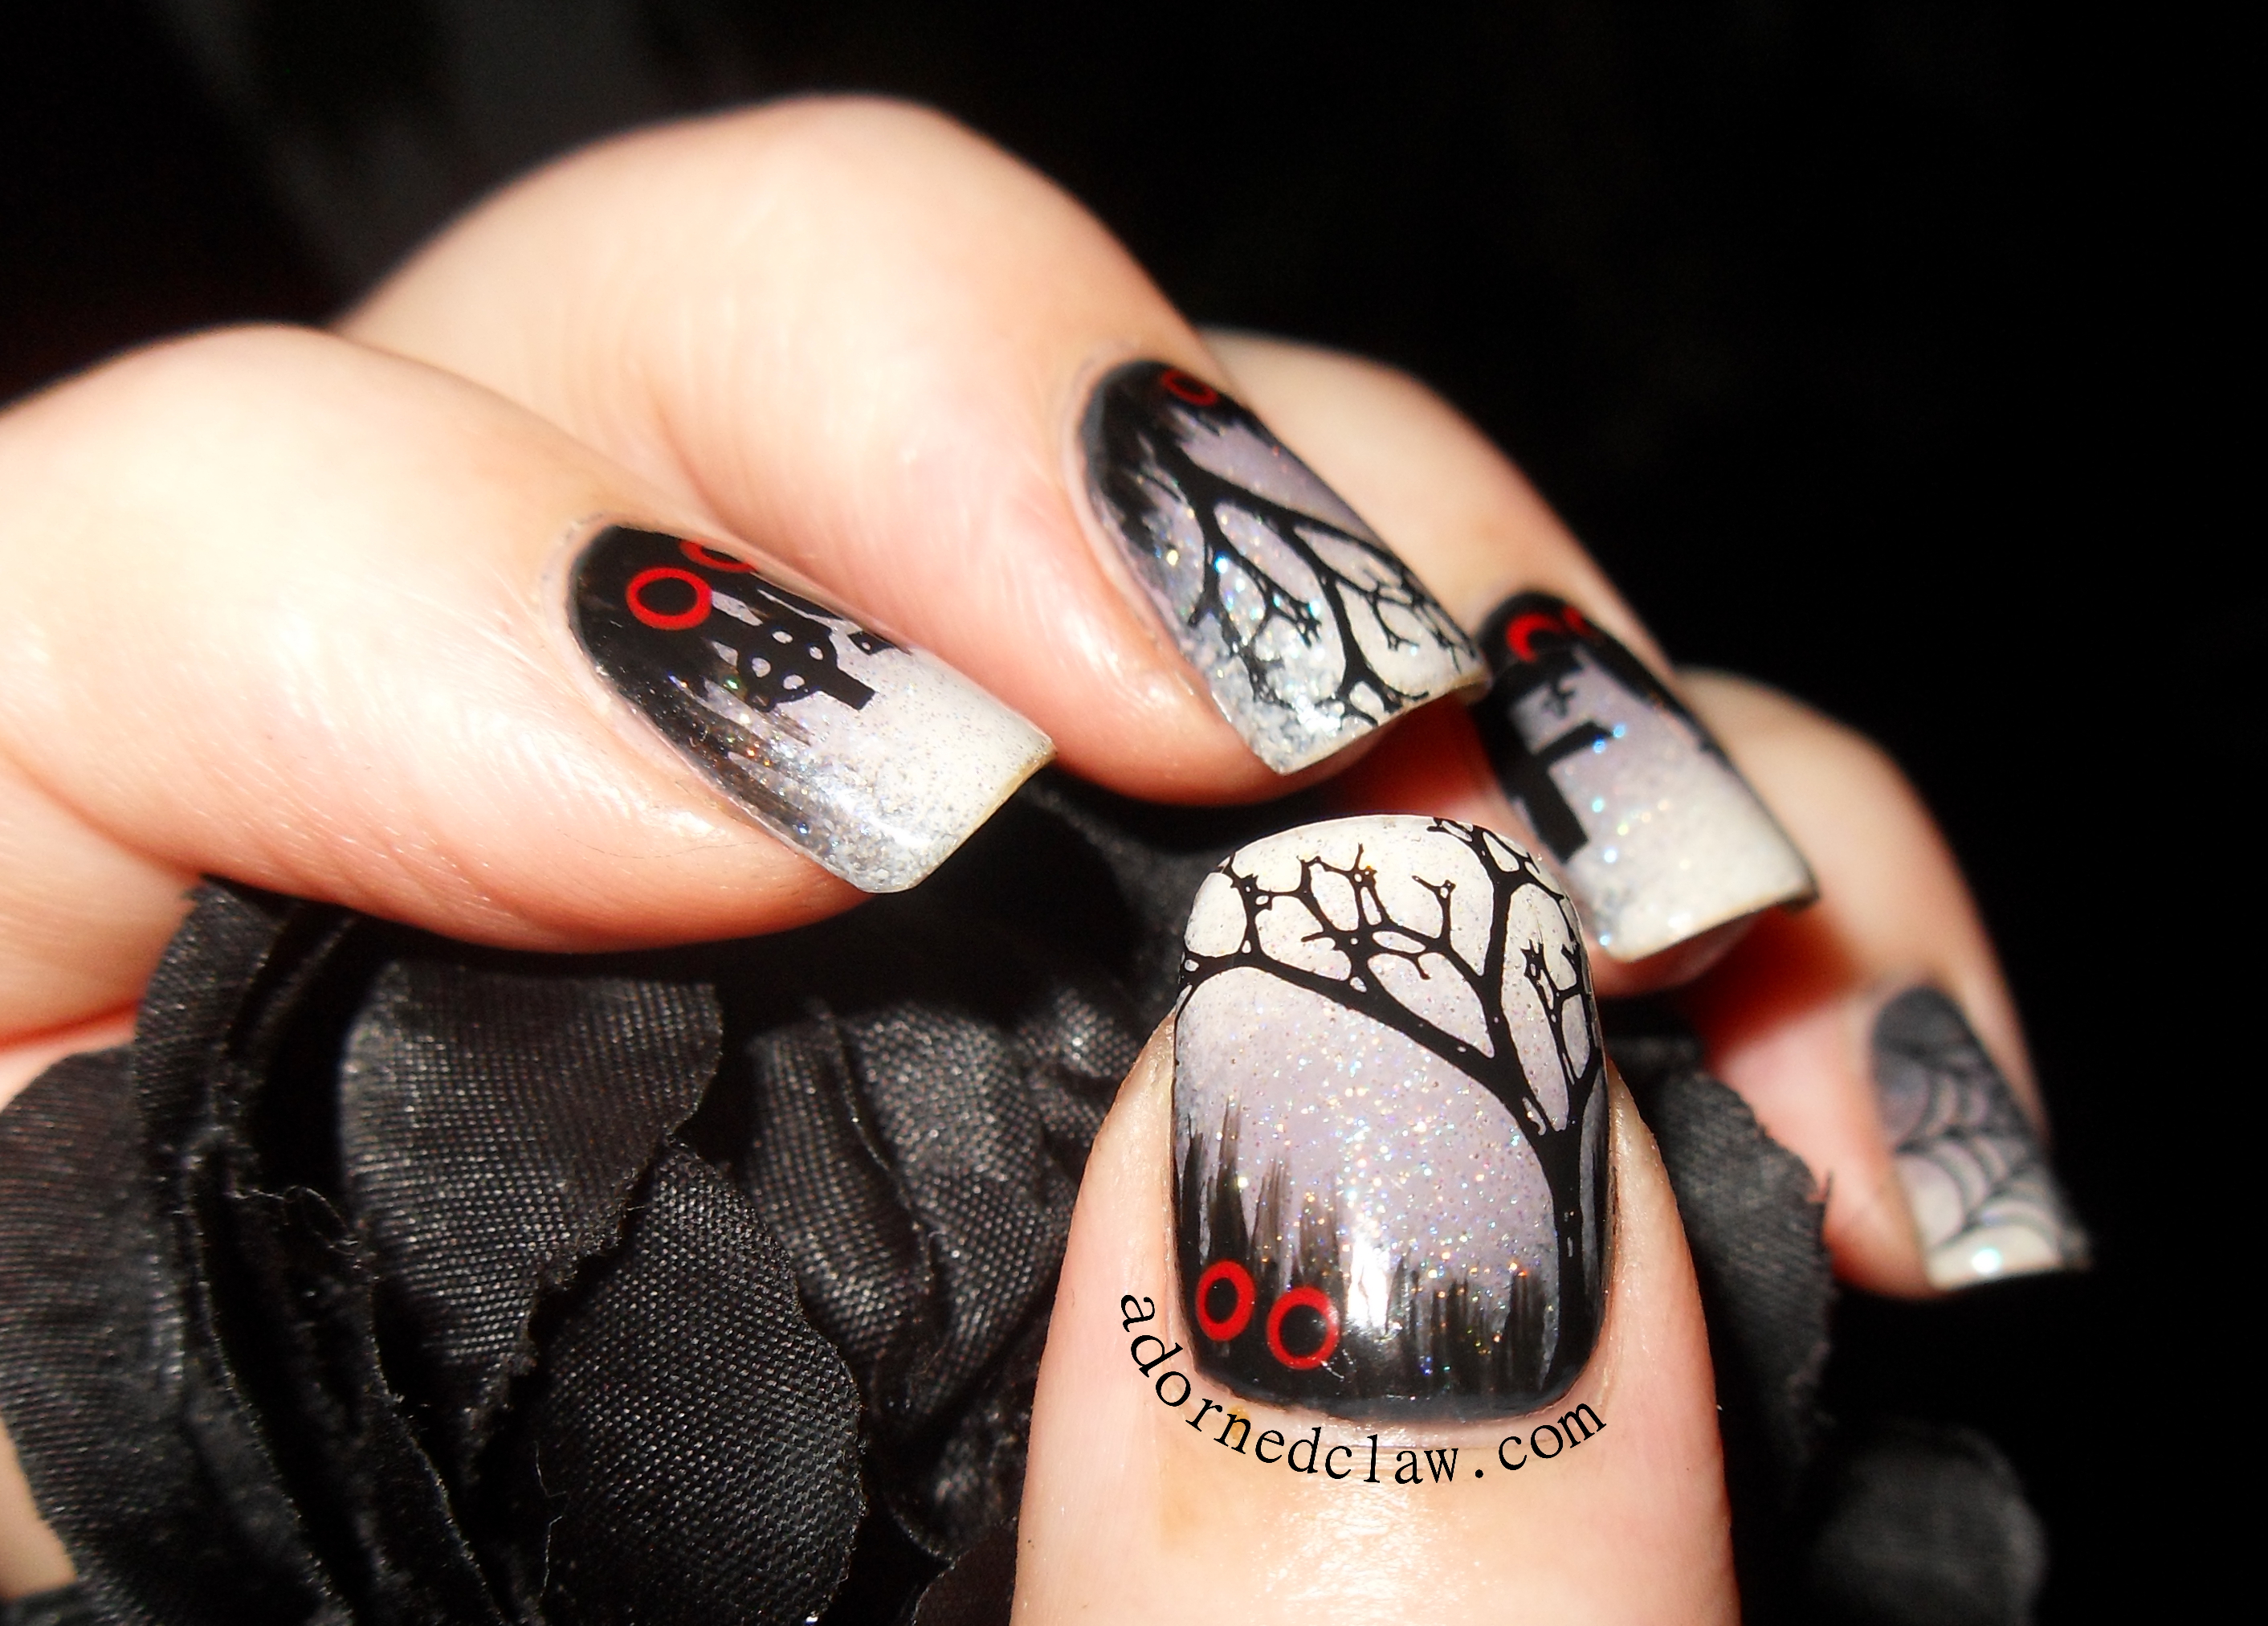
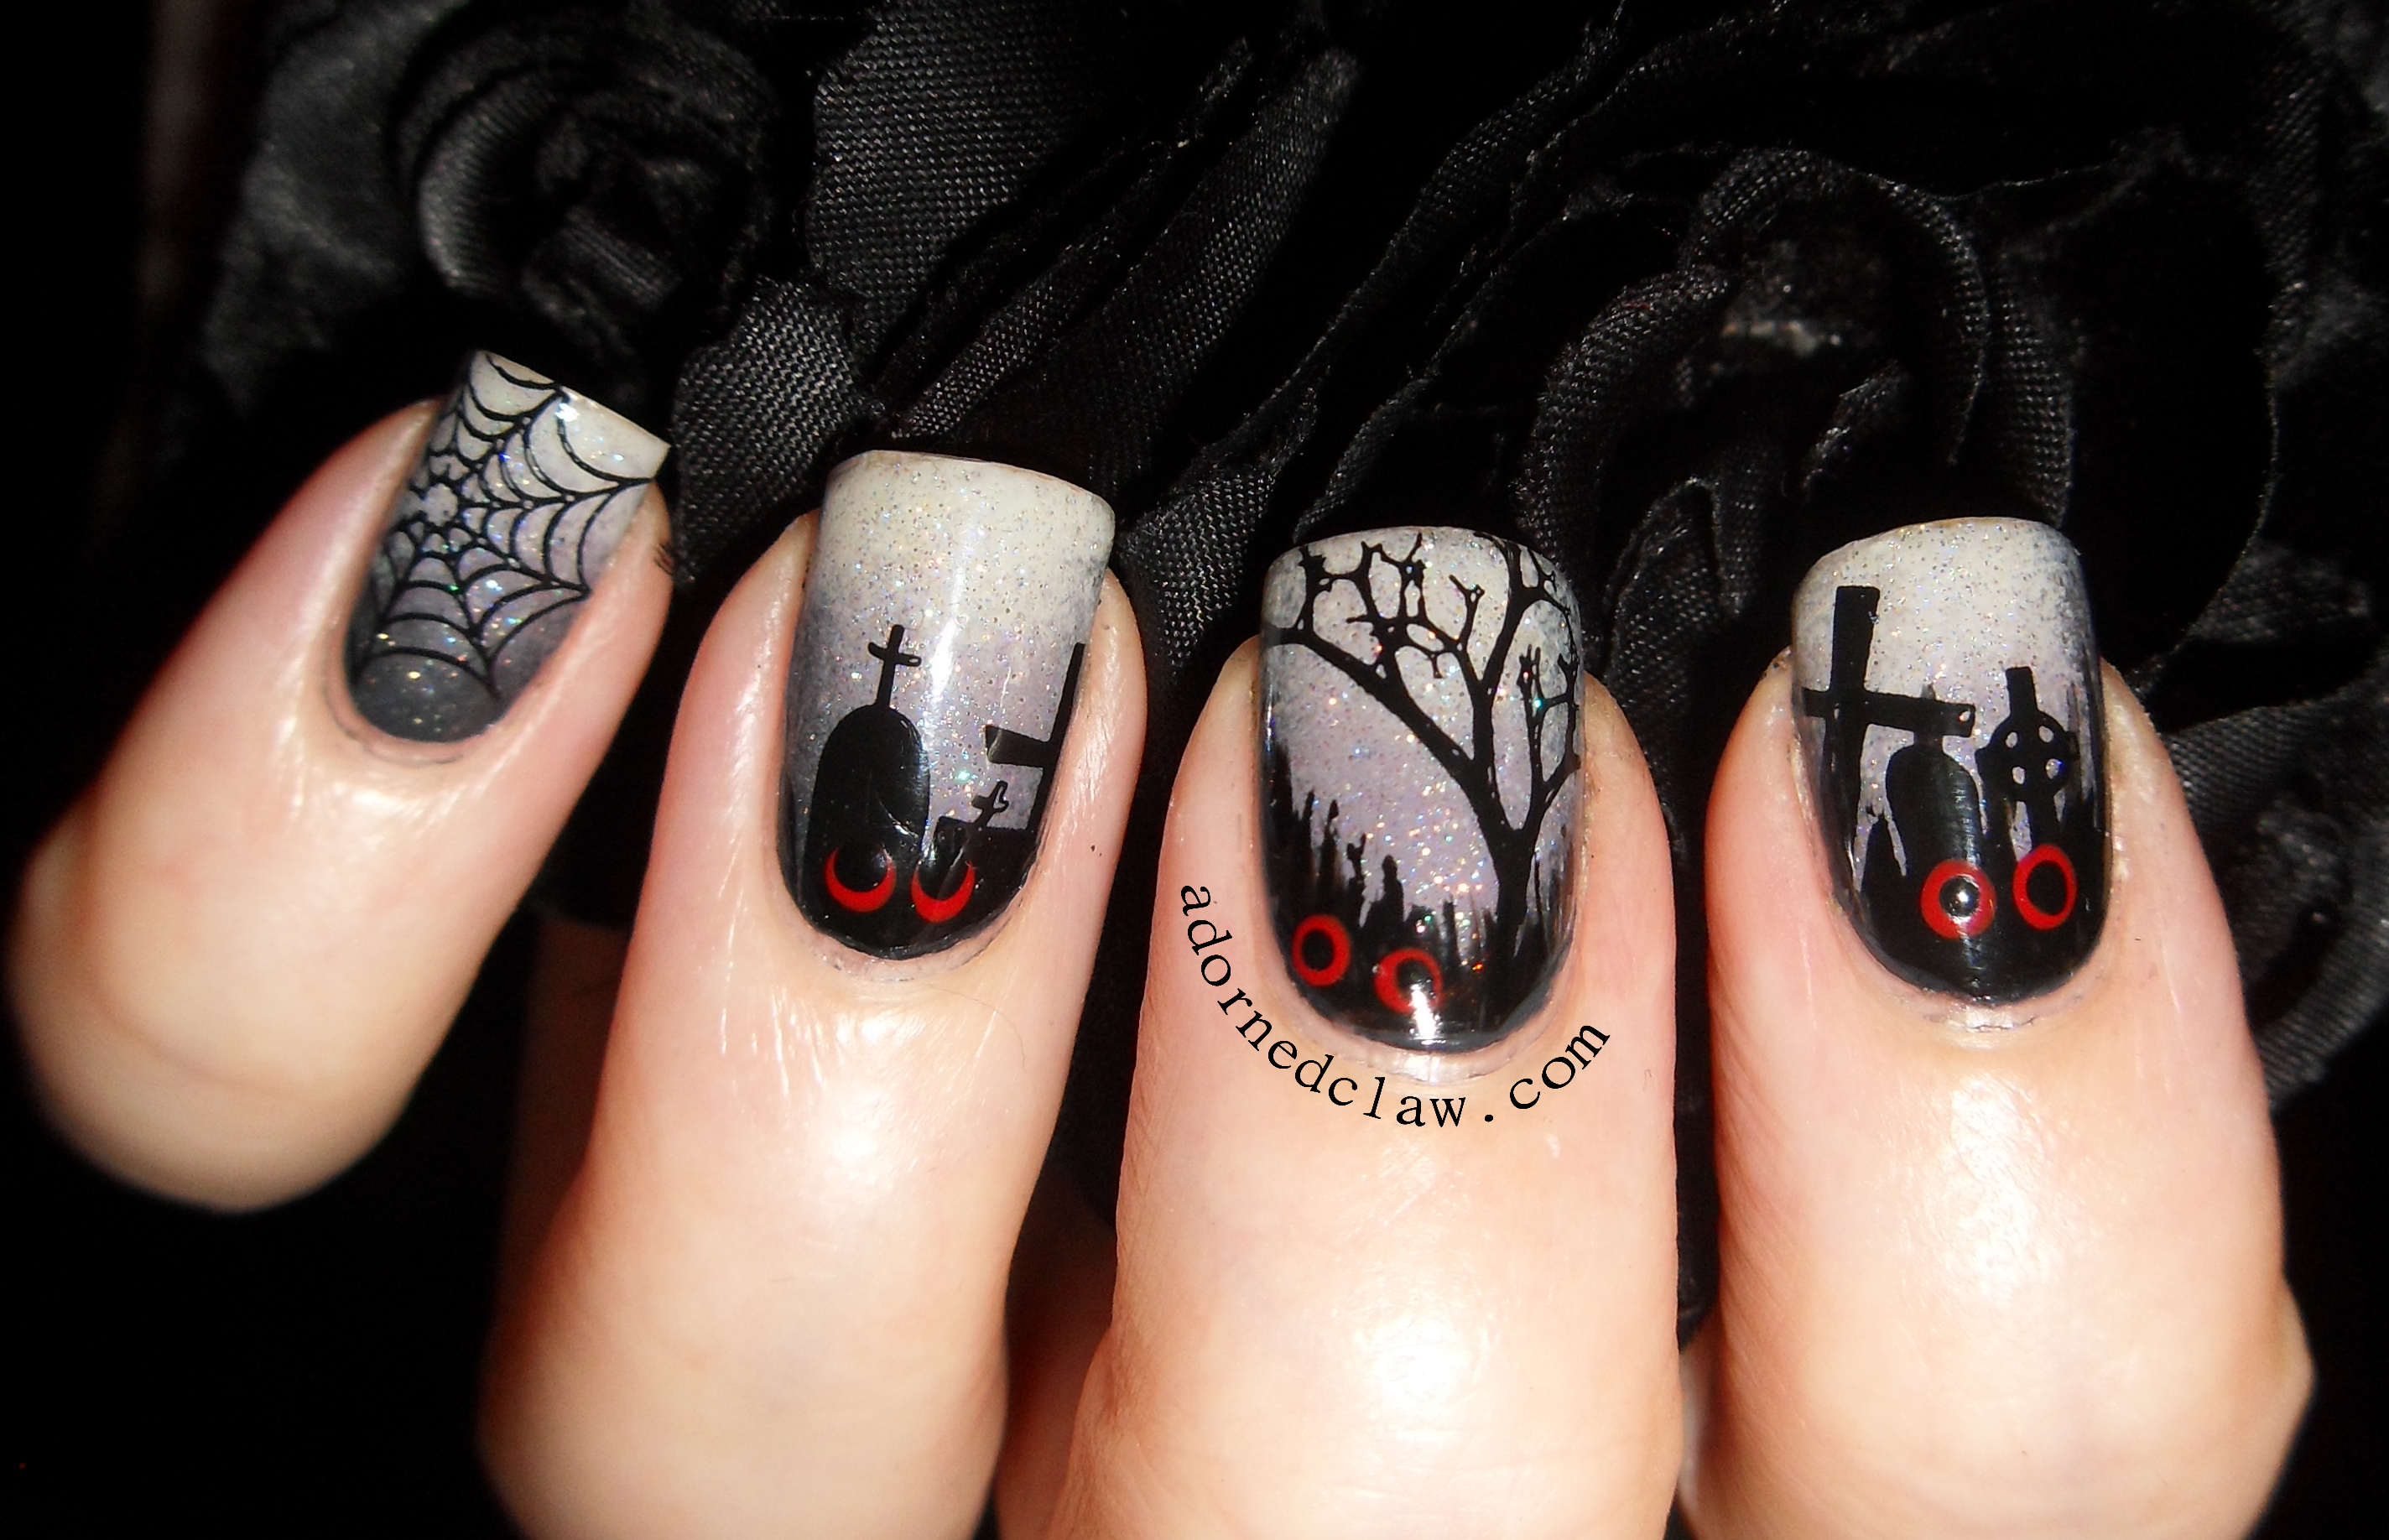
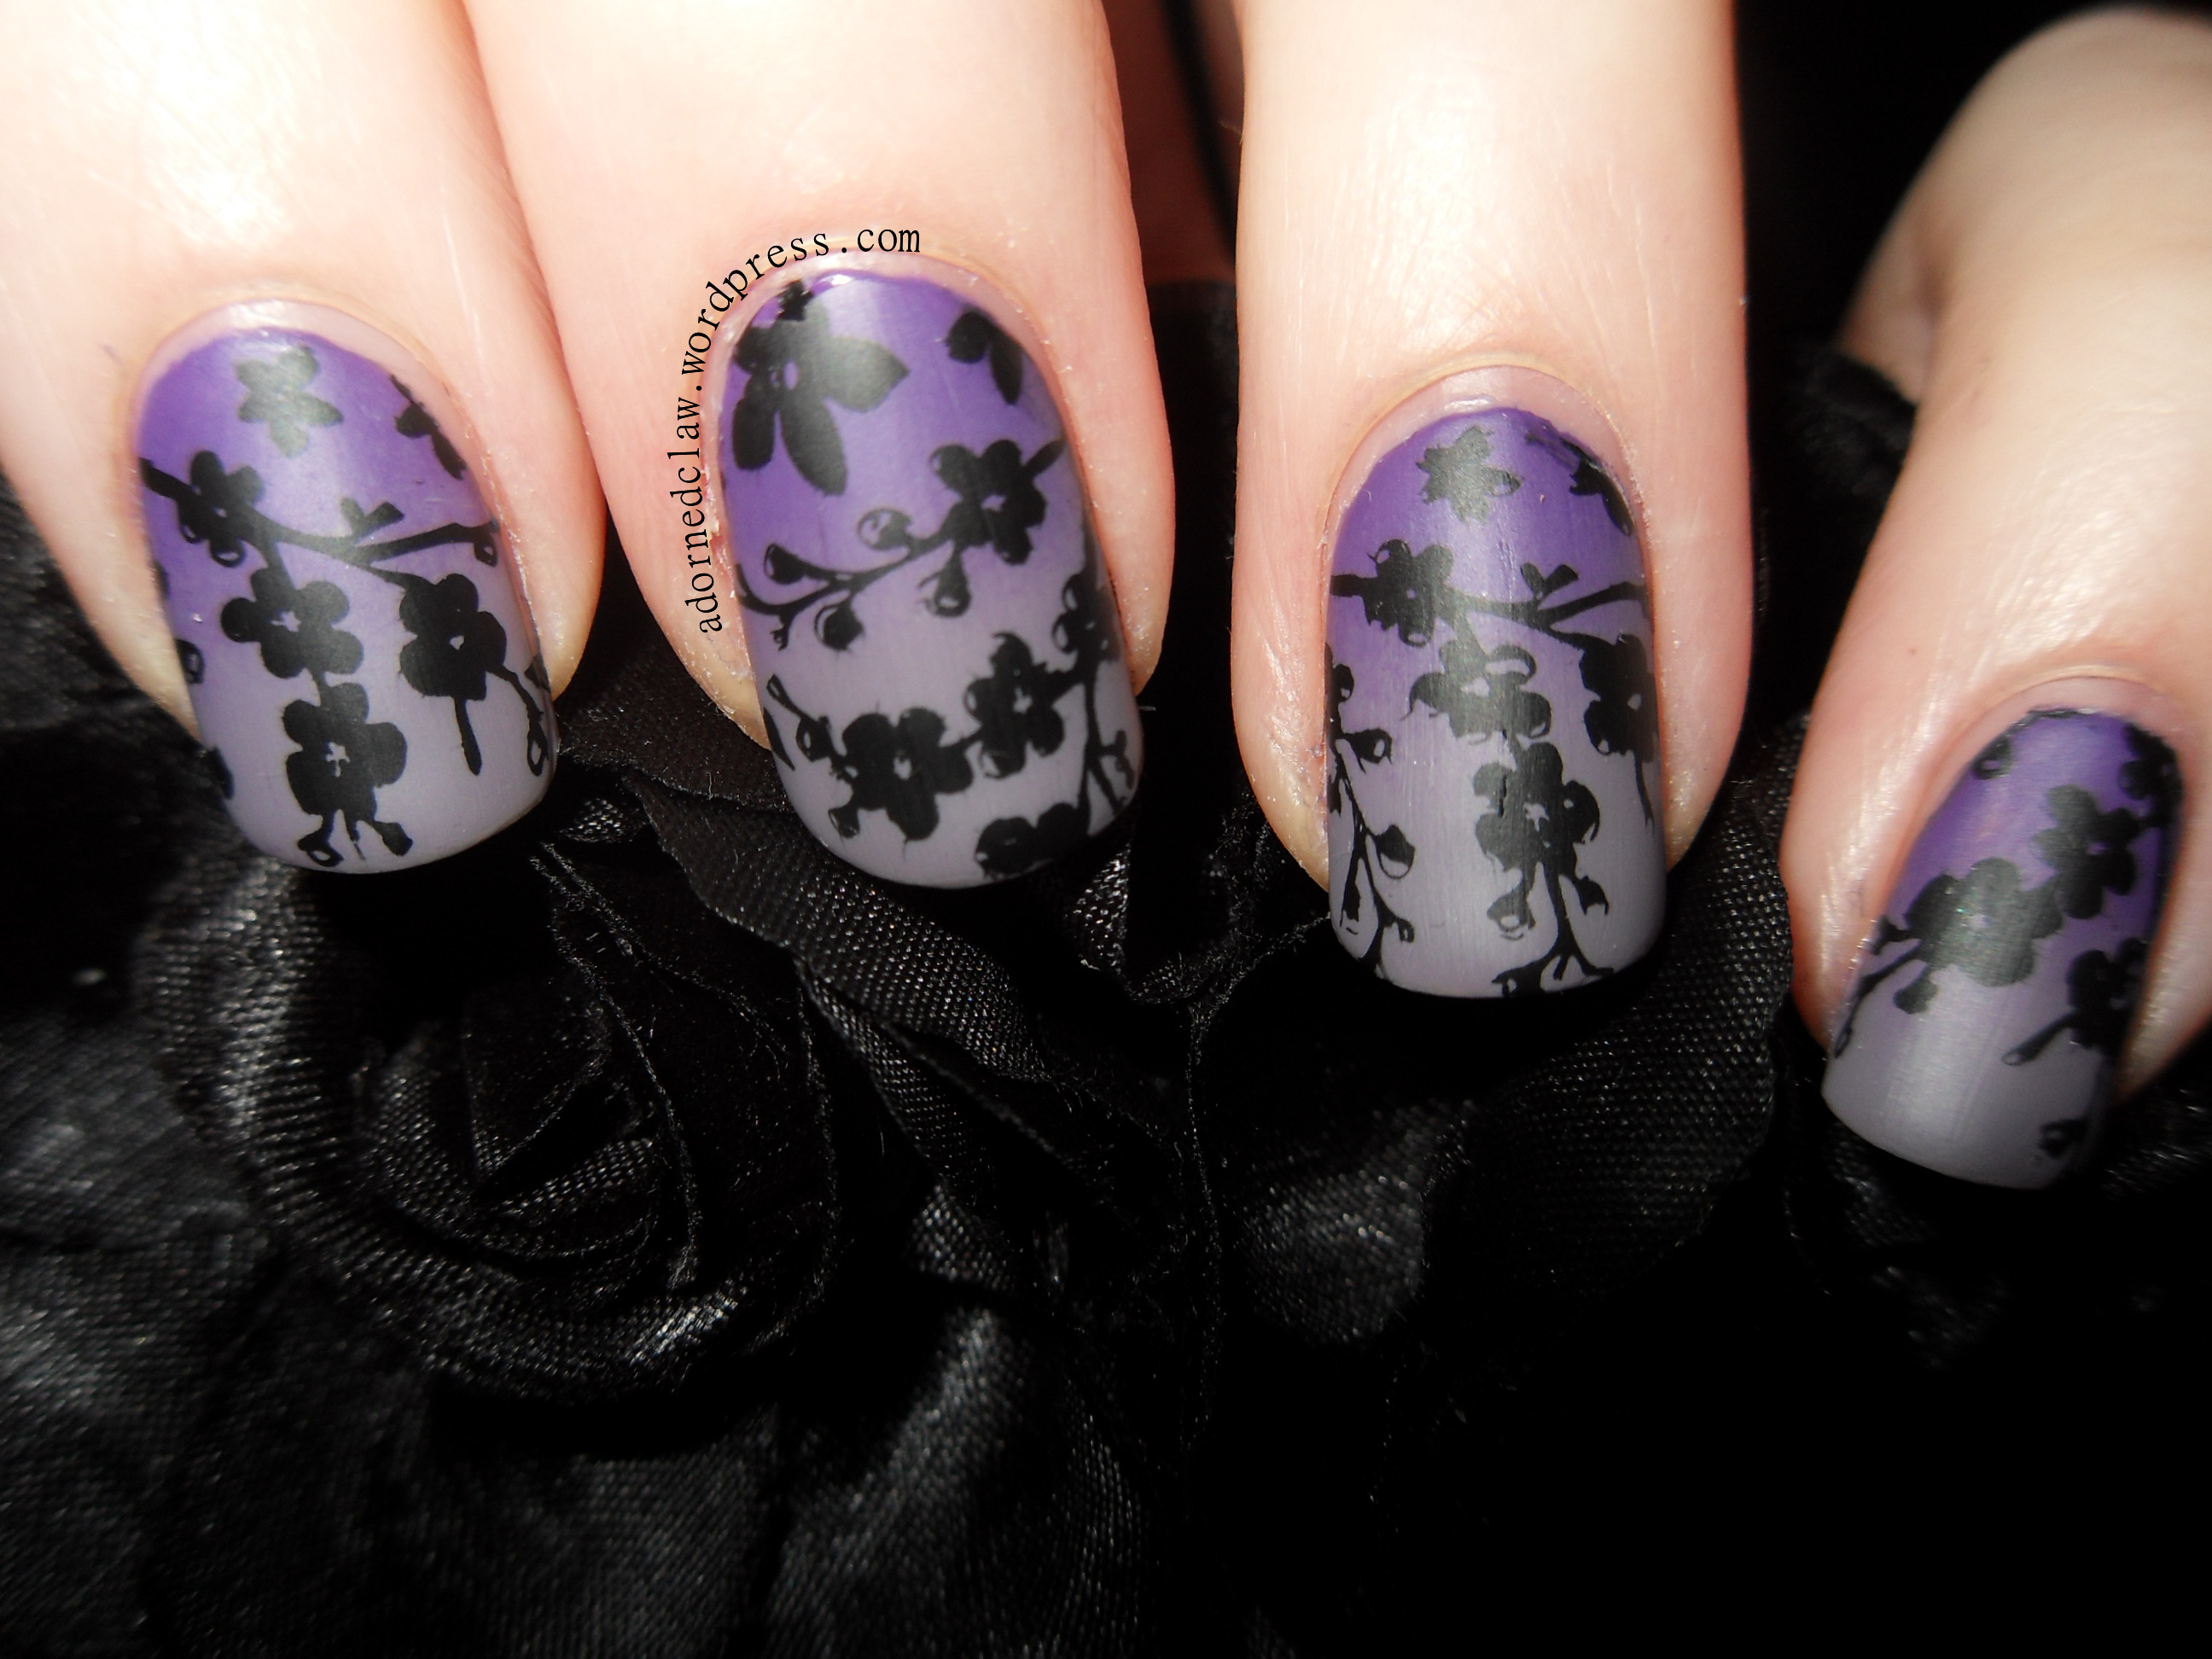
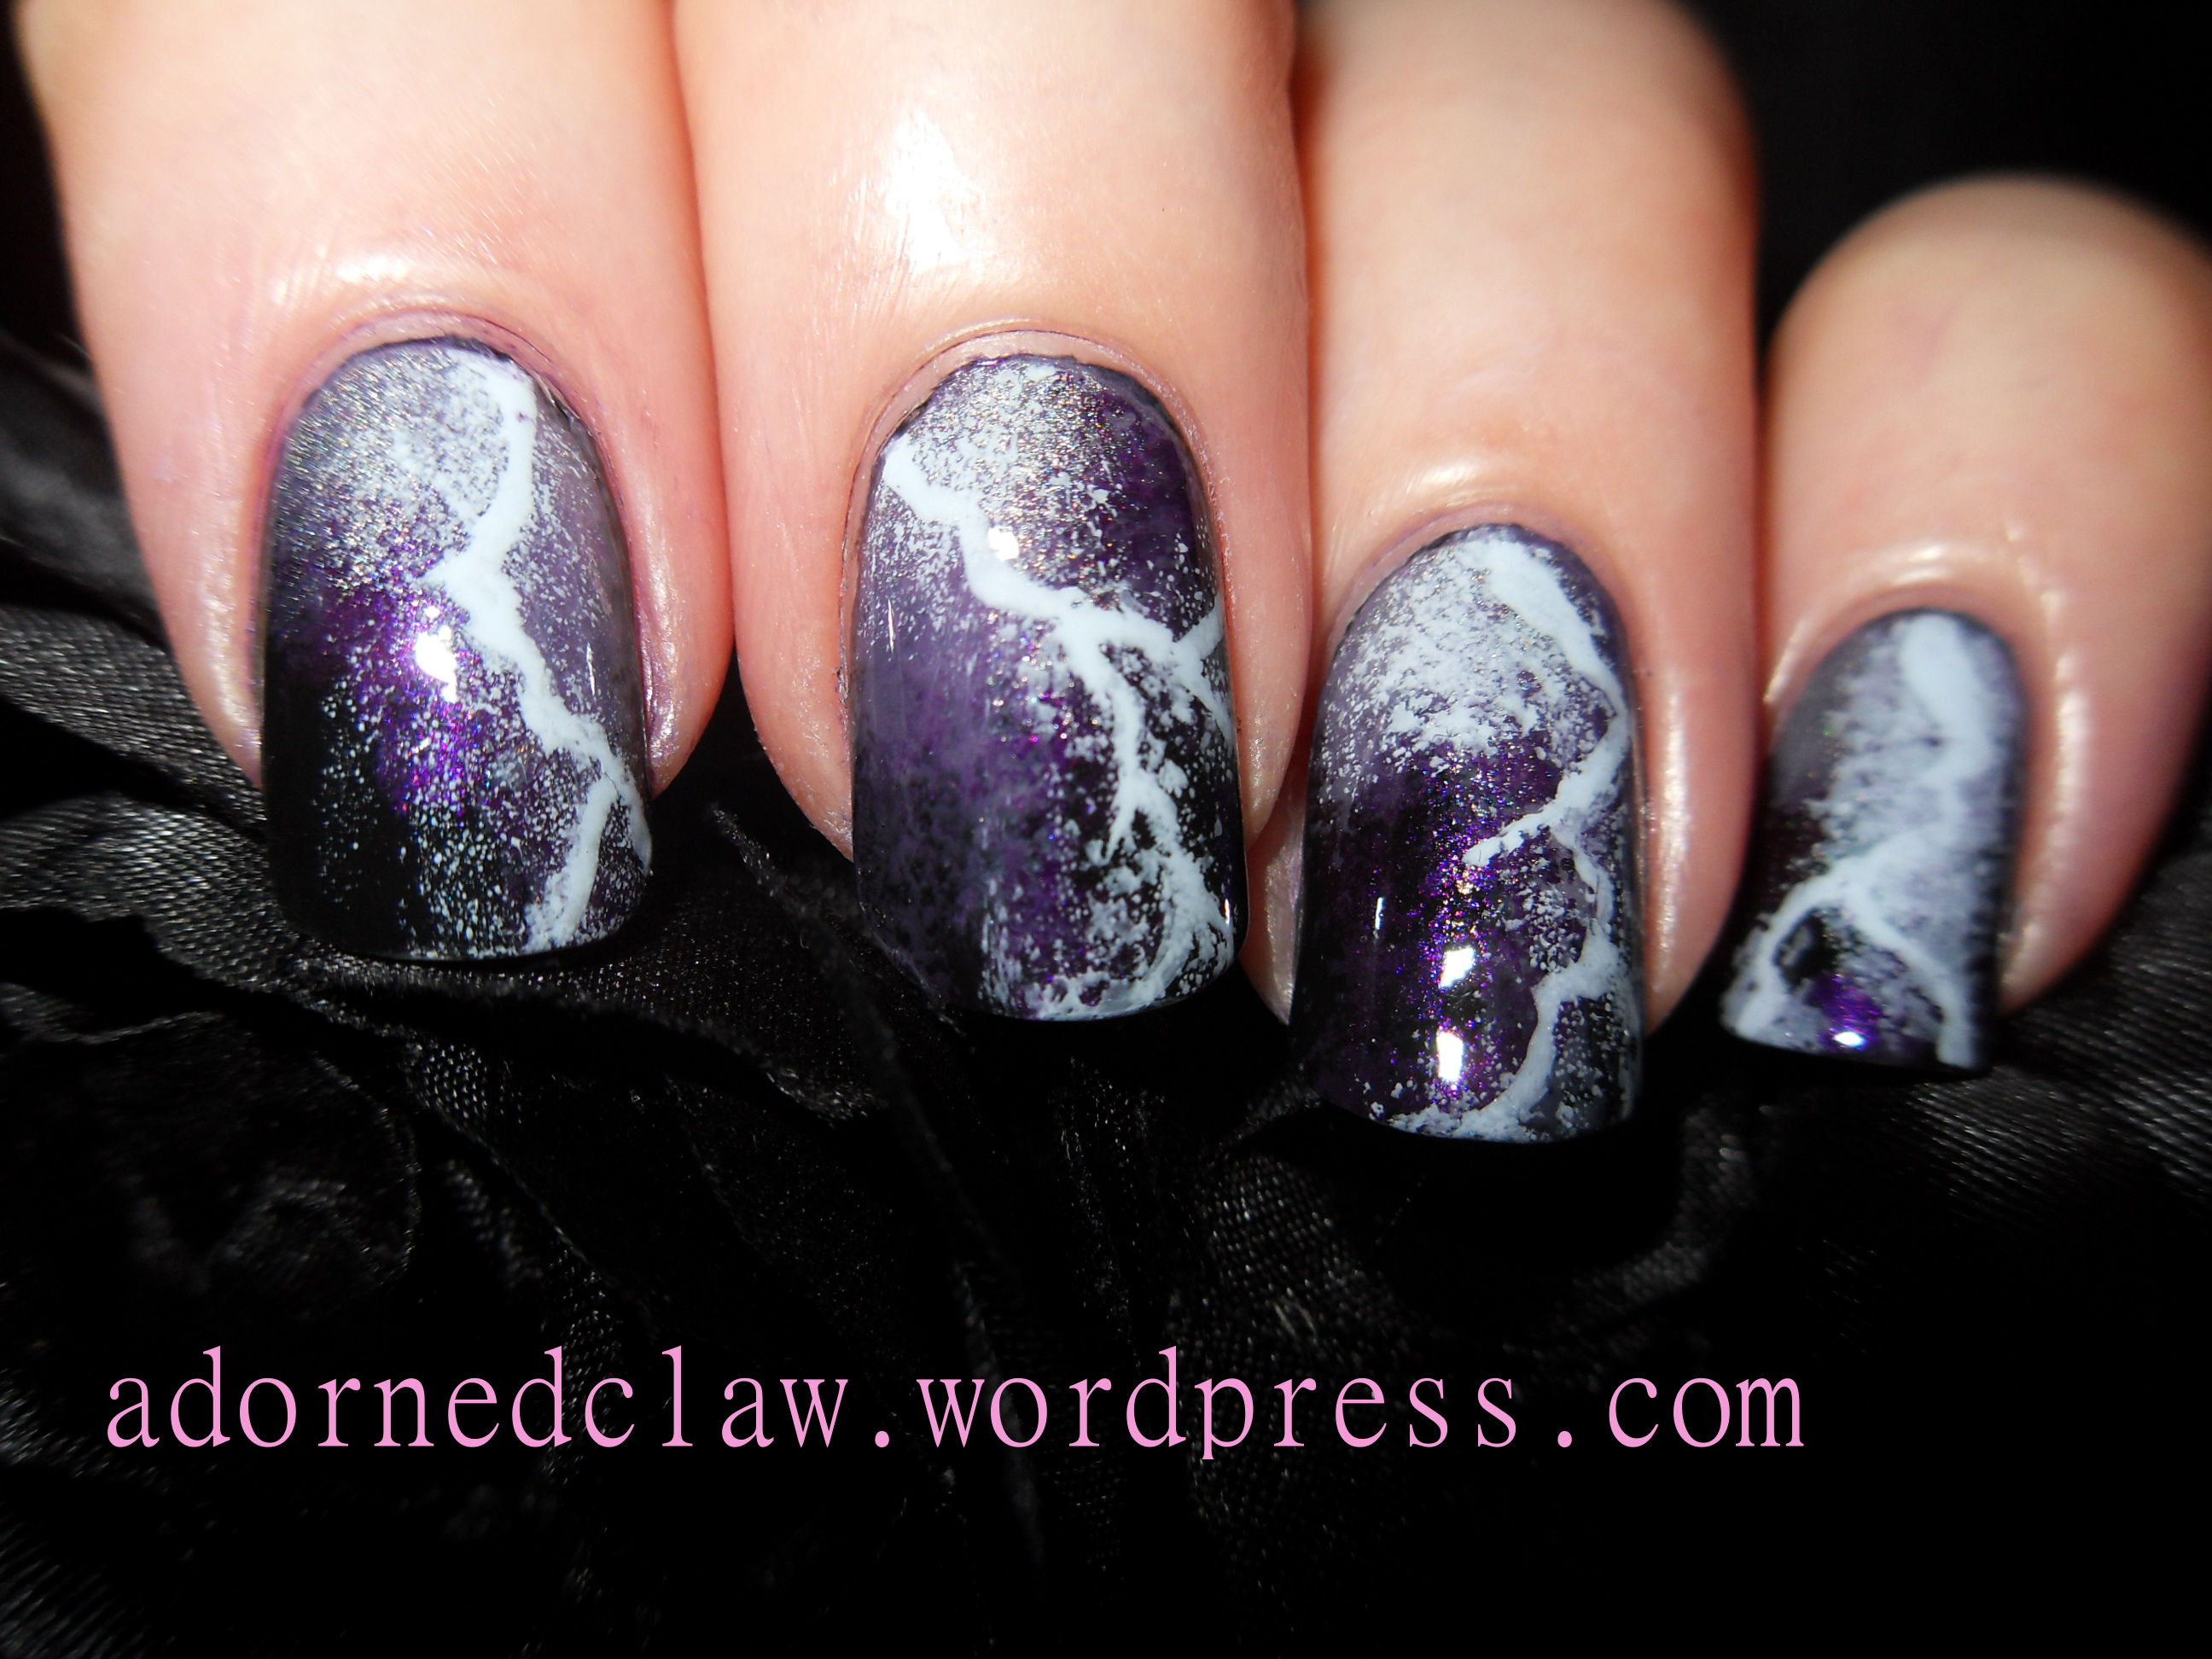
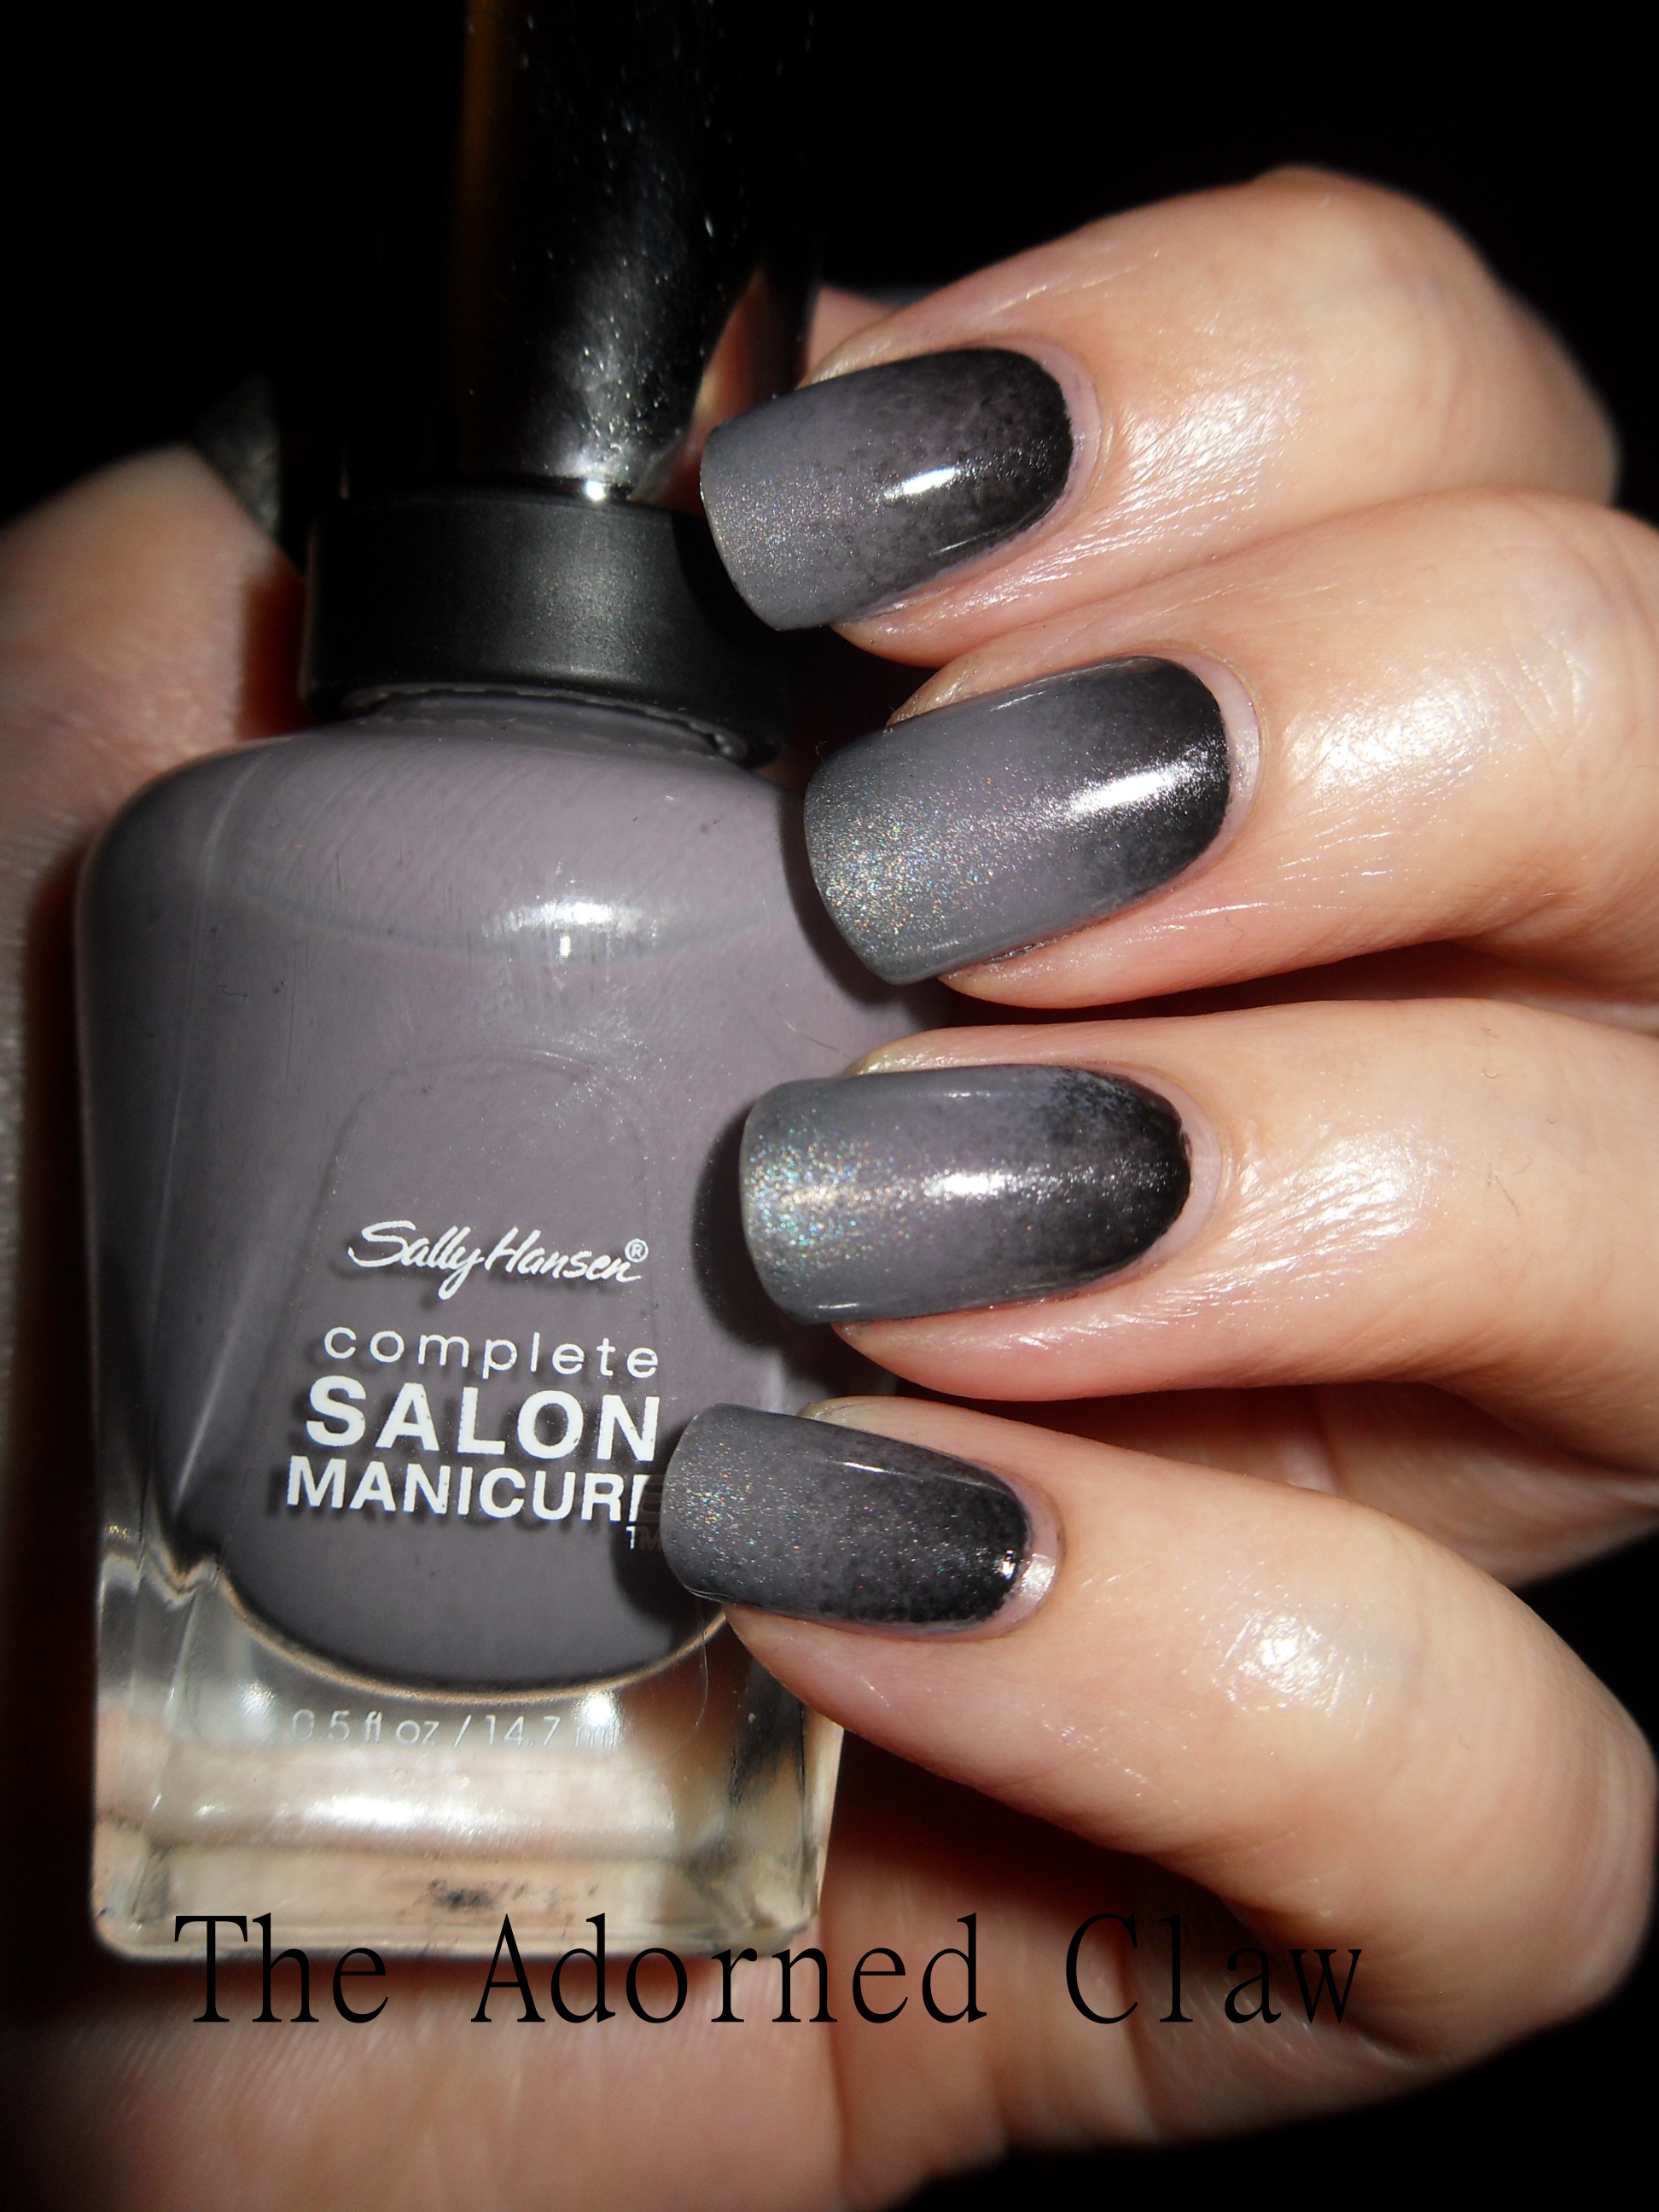
I have used a sponging technique using Greige Gardens and Pure Midnight, both from Sally Hansen, Black on Black from Sinfulcolours and Cosmic Dust from China Glaze.
I usually clean up my cuticles before applying the top coat, cleaning up before the top coat is a lot faster as the polish hasn’t had time to fully dry. The only time I clean up after is when I have been doing a nail stamp manicure, I have managed to smudge the print and ruin it a couple of times.
Pour a little bit of acetone/polish remover into your small container, there is no point in filing it all the way up as more will end up evaporating.
For a messy manicure like this one I like to remove the majority of the polish from my fingers to start with. I use a cotton bud (q-tip). You want to wipe rather than rub the polish if you rub at it too much you may end up staining your skin.
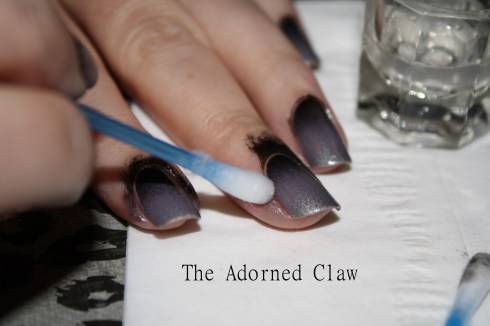
Use a cotton bud to remove most of the polish
It takes a little practice but if you gently rotate the cotton bud (q-tip) in the opposite direction to the direction you are wiping it will lift away loads more of the polish you want to get rid of!
You’ll want to clean up as close to the cuticle as you can, as cleaning it all up with a brush will take ages!
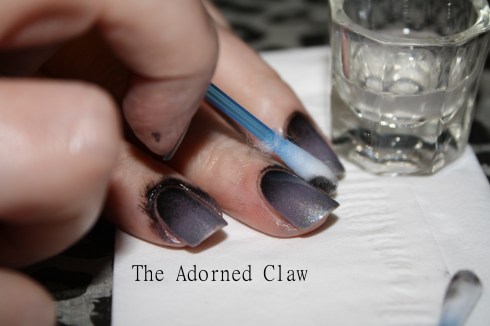
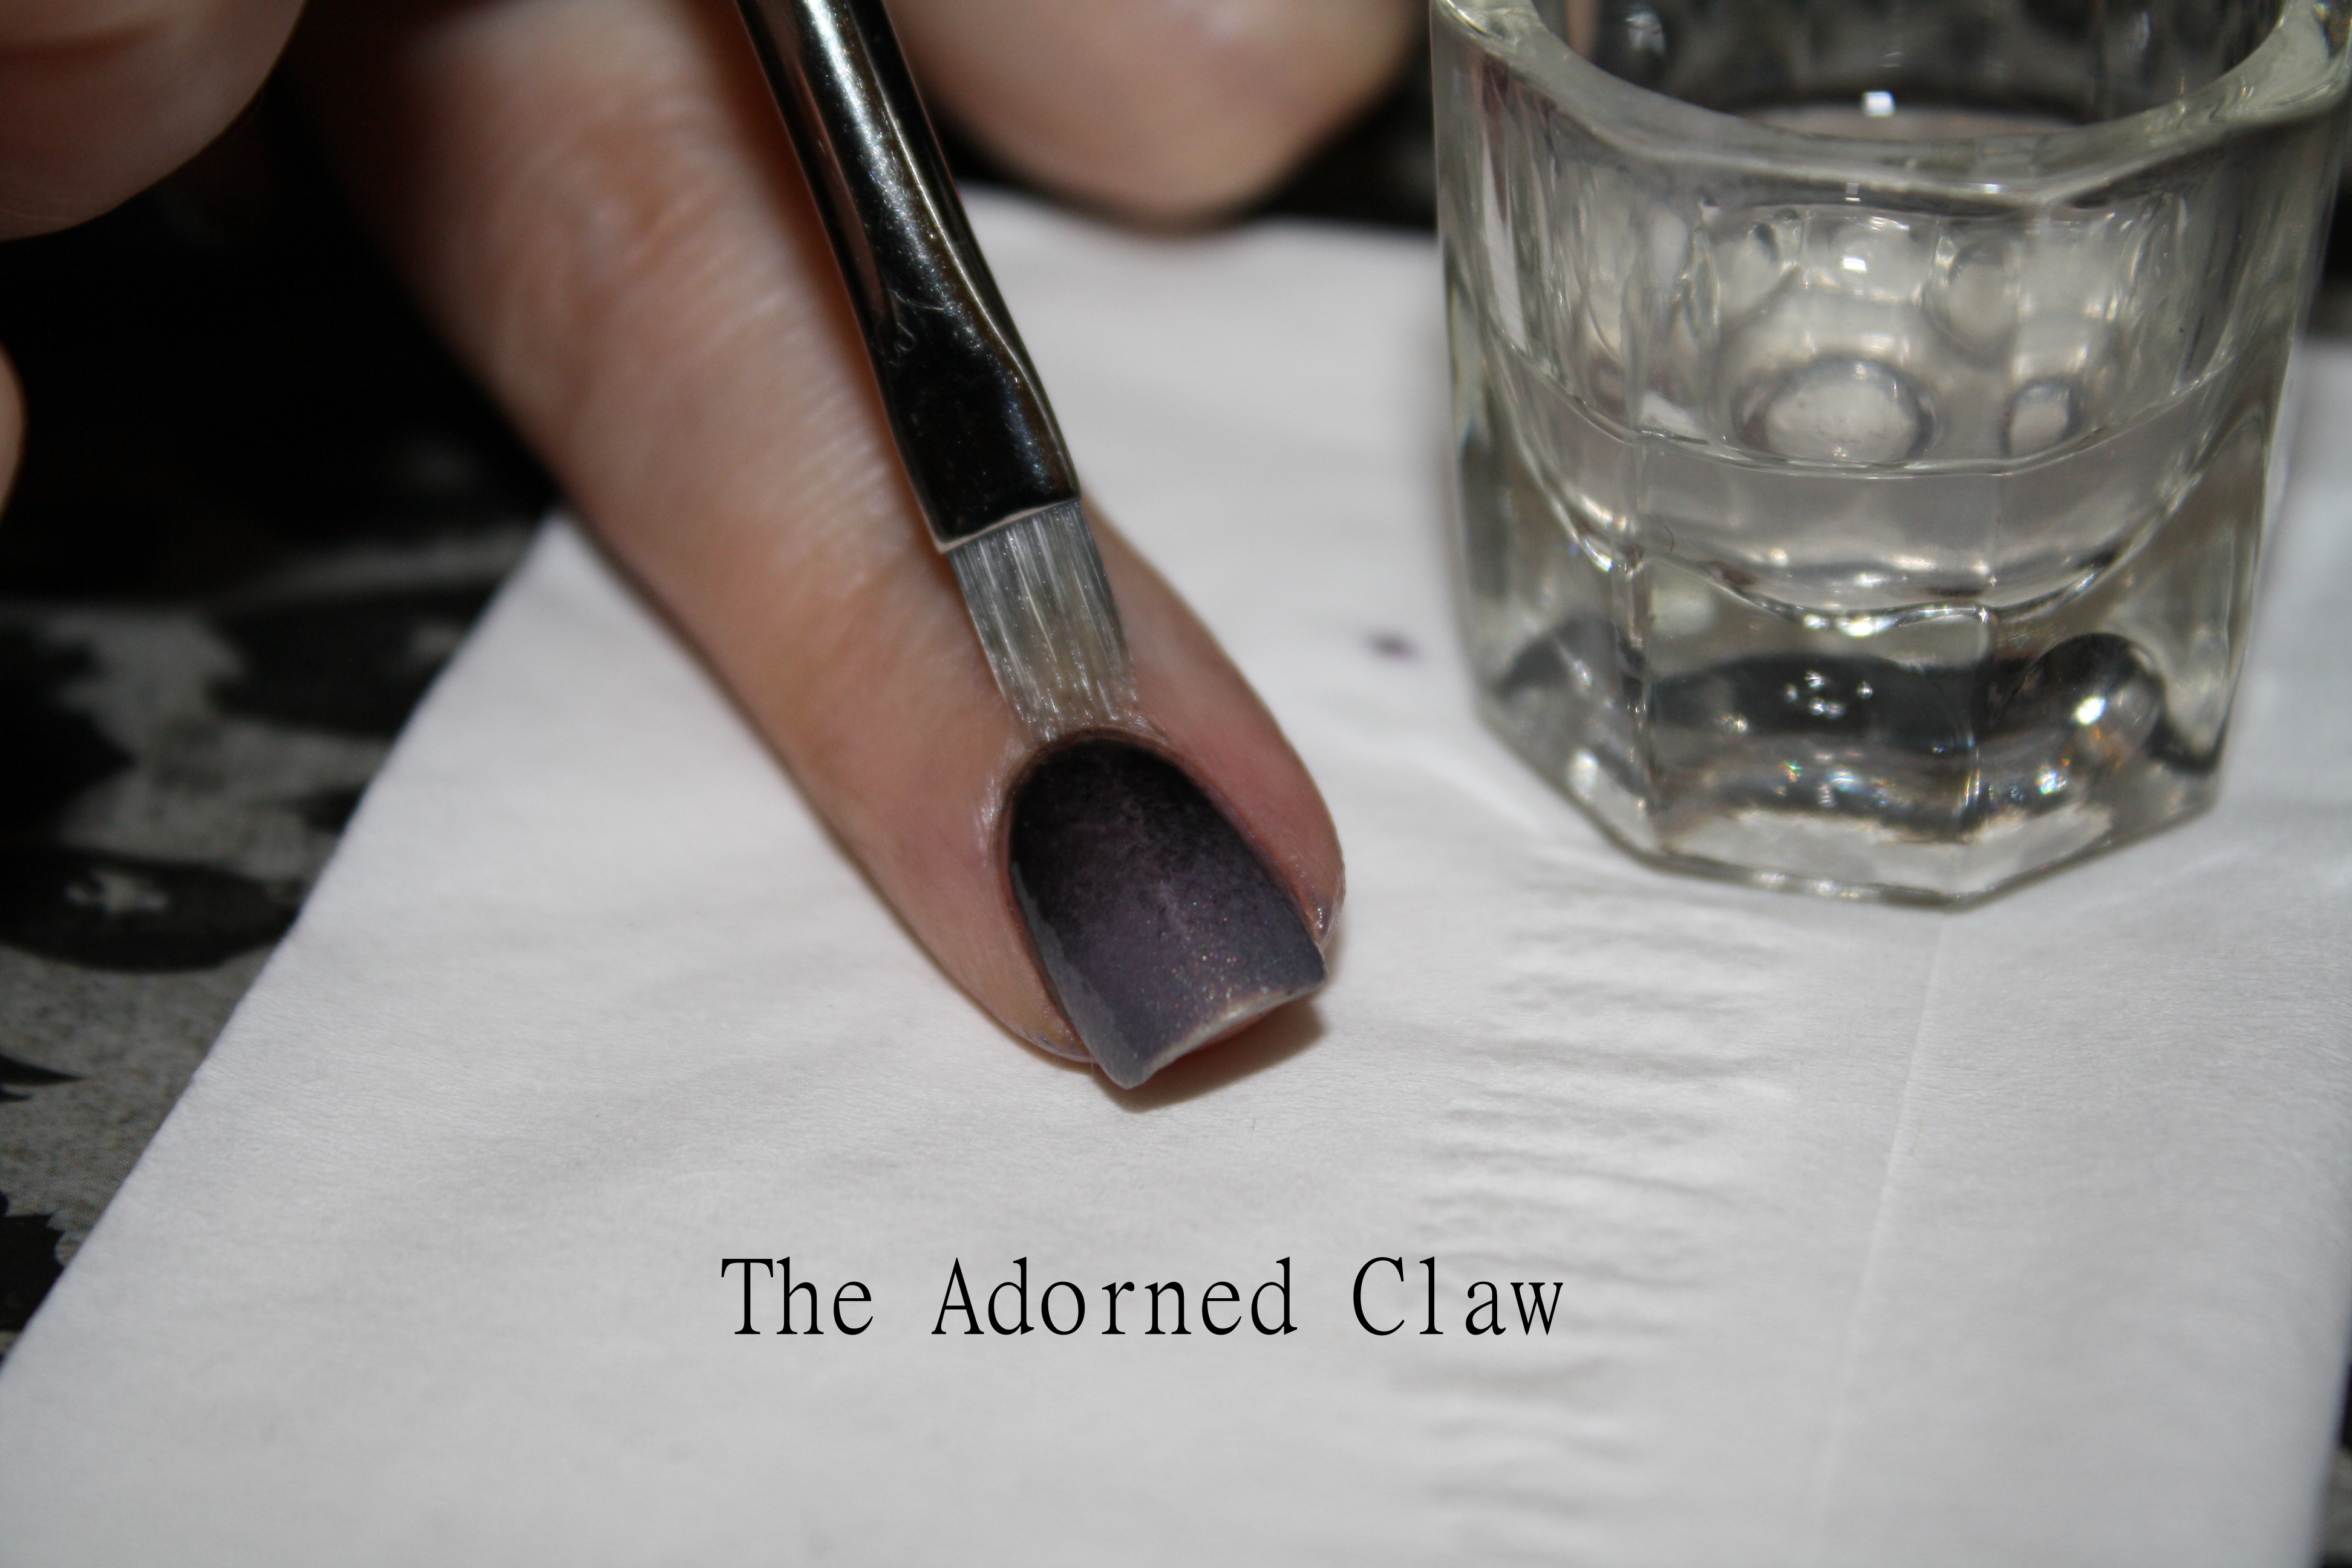
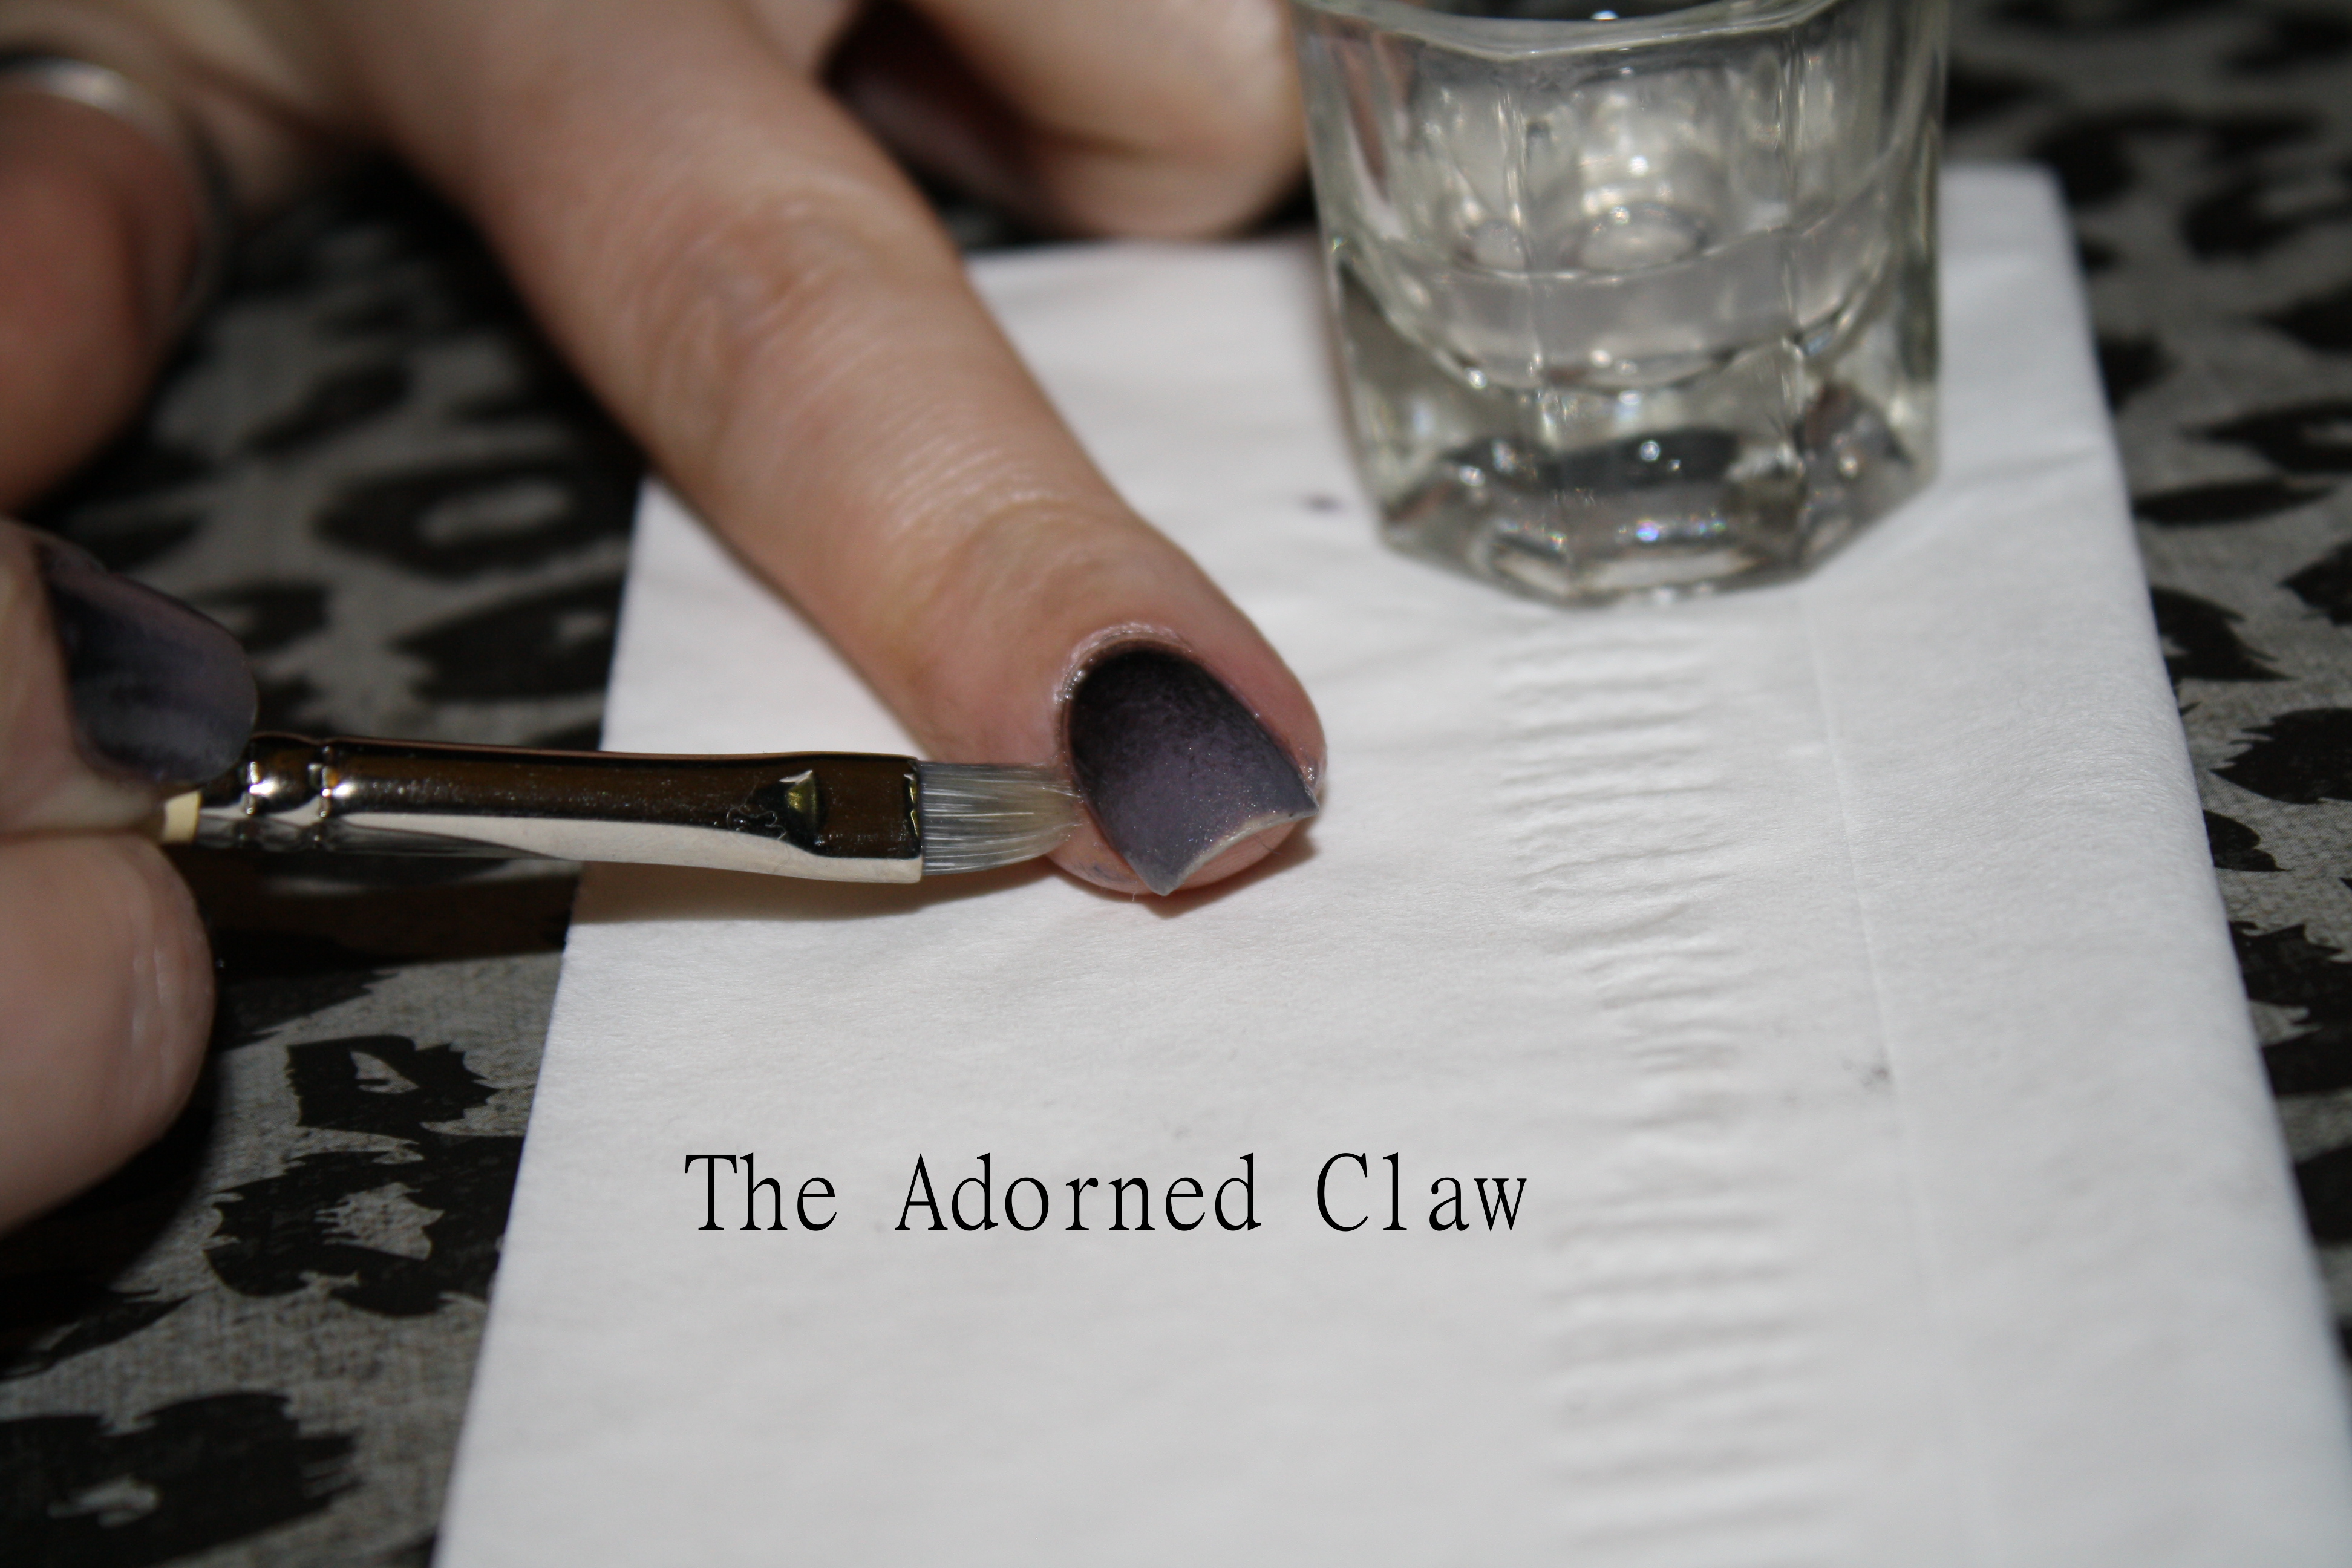
Dip the brush into acetone, tap the brush on the side of your container to get rid of the extra. This helps to stop your cuticles from getting soaked with acetone and messing up the edges of your polish.
Brush along the cuticle toward the nail tip.
Starting at the base of the nail gently sweep the brush along the cuticle toward the nail tip to remove the excess polish.

Make sure you are very gentle while doing this as you don’t want to be taking off too much polish from the nail plate, wipe the polish from the brush on to the paper towel. Then repeat until you are happy with the results!
For your non dominant hand doing this can be a bit of a problem I’m still not amazing at it!
There are a few things that have helped me the first is to rest your elbows on your table, (this is to help steady your hands) and move the nail on your dominant hand under the brush rather than moving the brush to your nail then there is just to practice, it gets easier 🙂

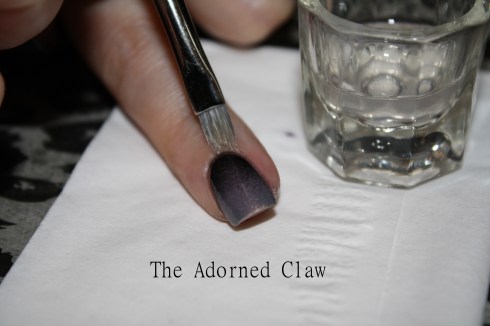
Nearly finished
Once your hands and cuticles are free from polish. Apply your top coat (if not already applied) I use Seche Vite, it’s really fast drying and helps the polish last for ages! Wait for it to dry, then give your hands a good wash, this is because no matter how careful you are there is going to be a really thin layer of polish left on your fingers and I’m sure that can’t be good!
Now it’s time for some cuticle cream, I think this is really important as acetone can be very drying!
Carefully massage it around your cuticles, apply some hand cream and you are done!

All Finished! 😀
I hope you have found this useful 🙂