Hey Everyone! 🙂
Sorry for being MIA for a while, I’ll explain most of what’s been going on at the end of this post!
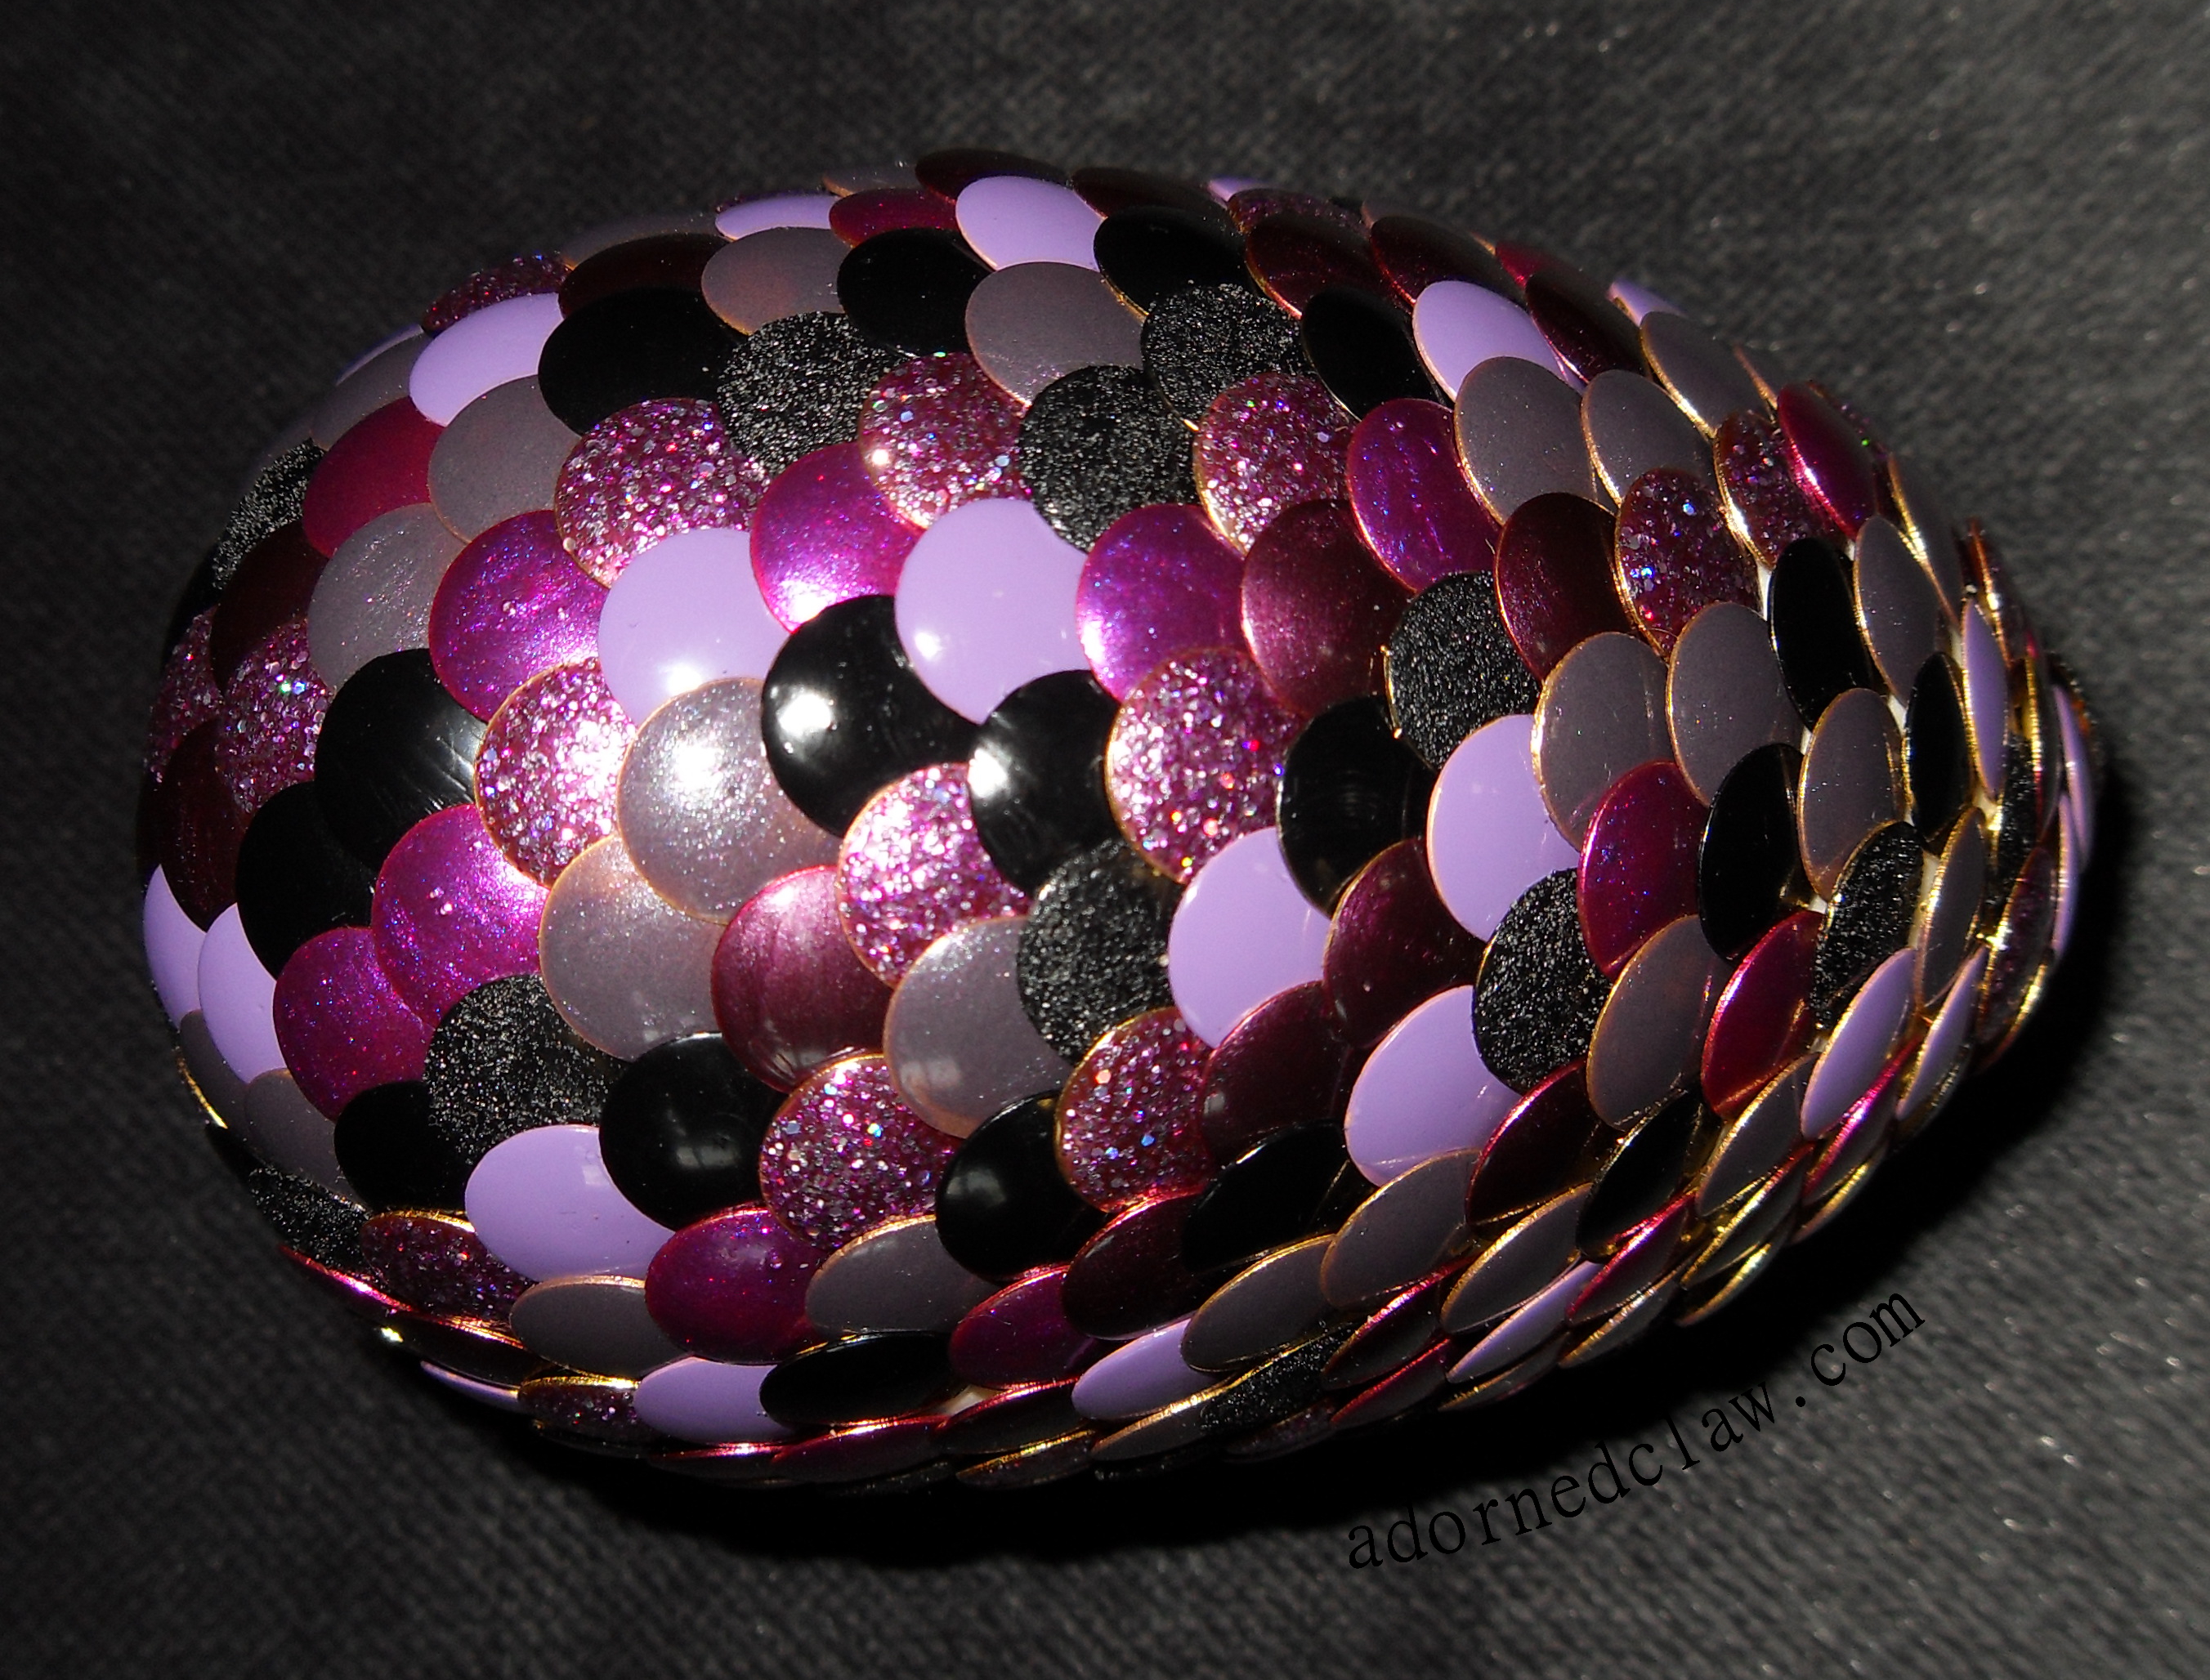
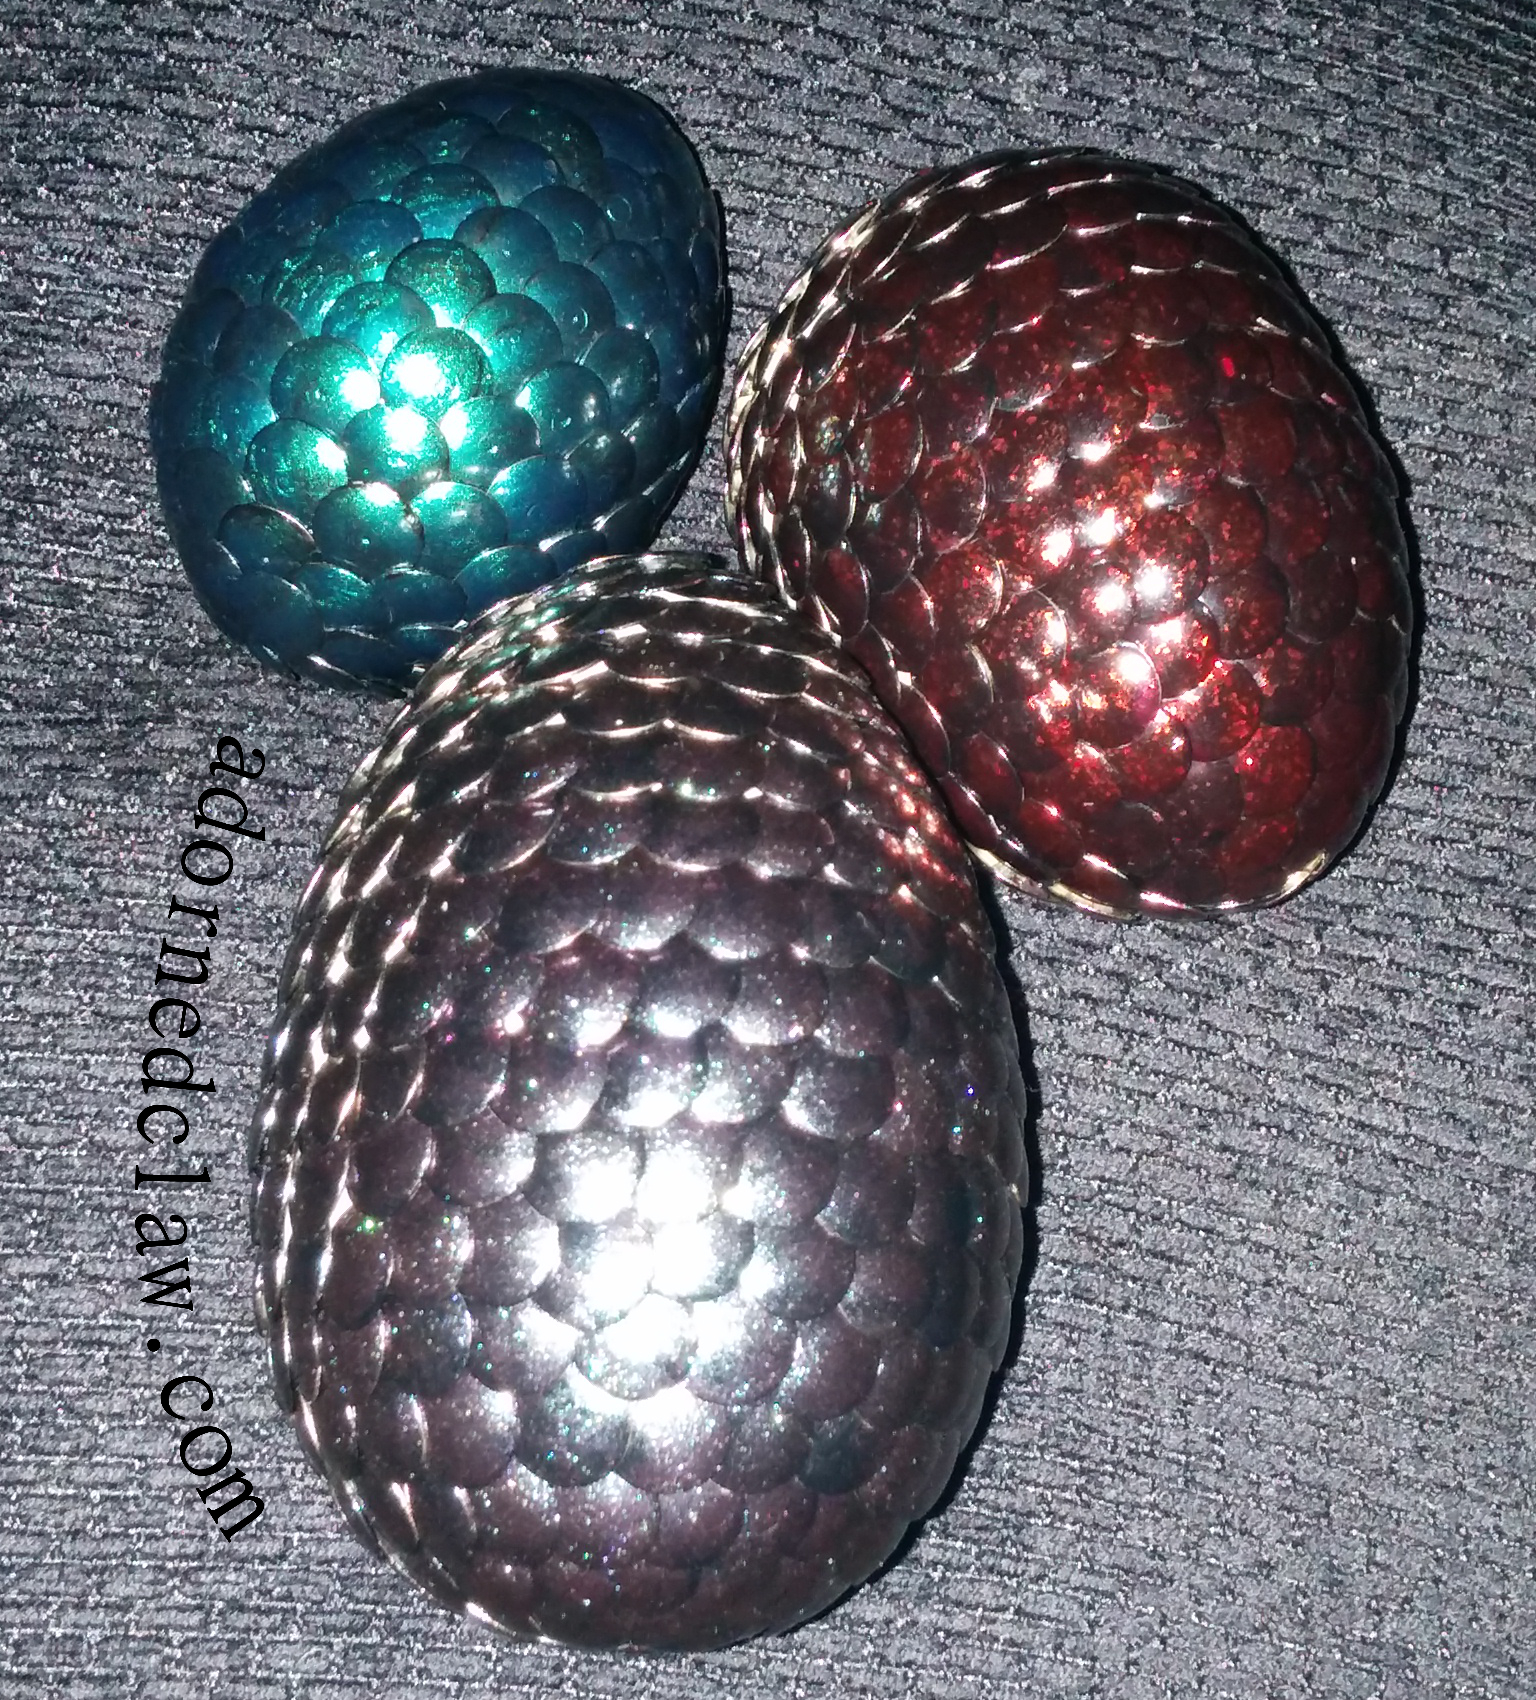
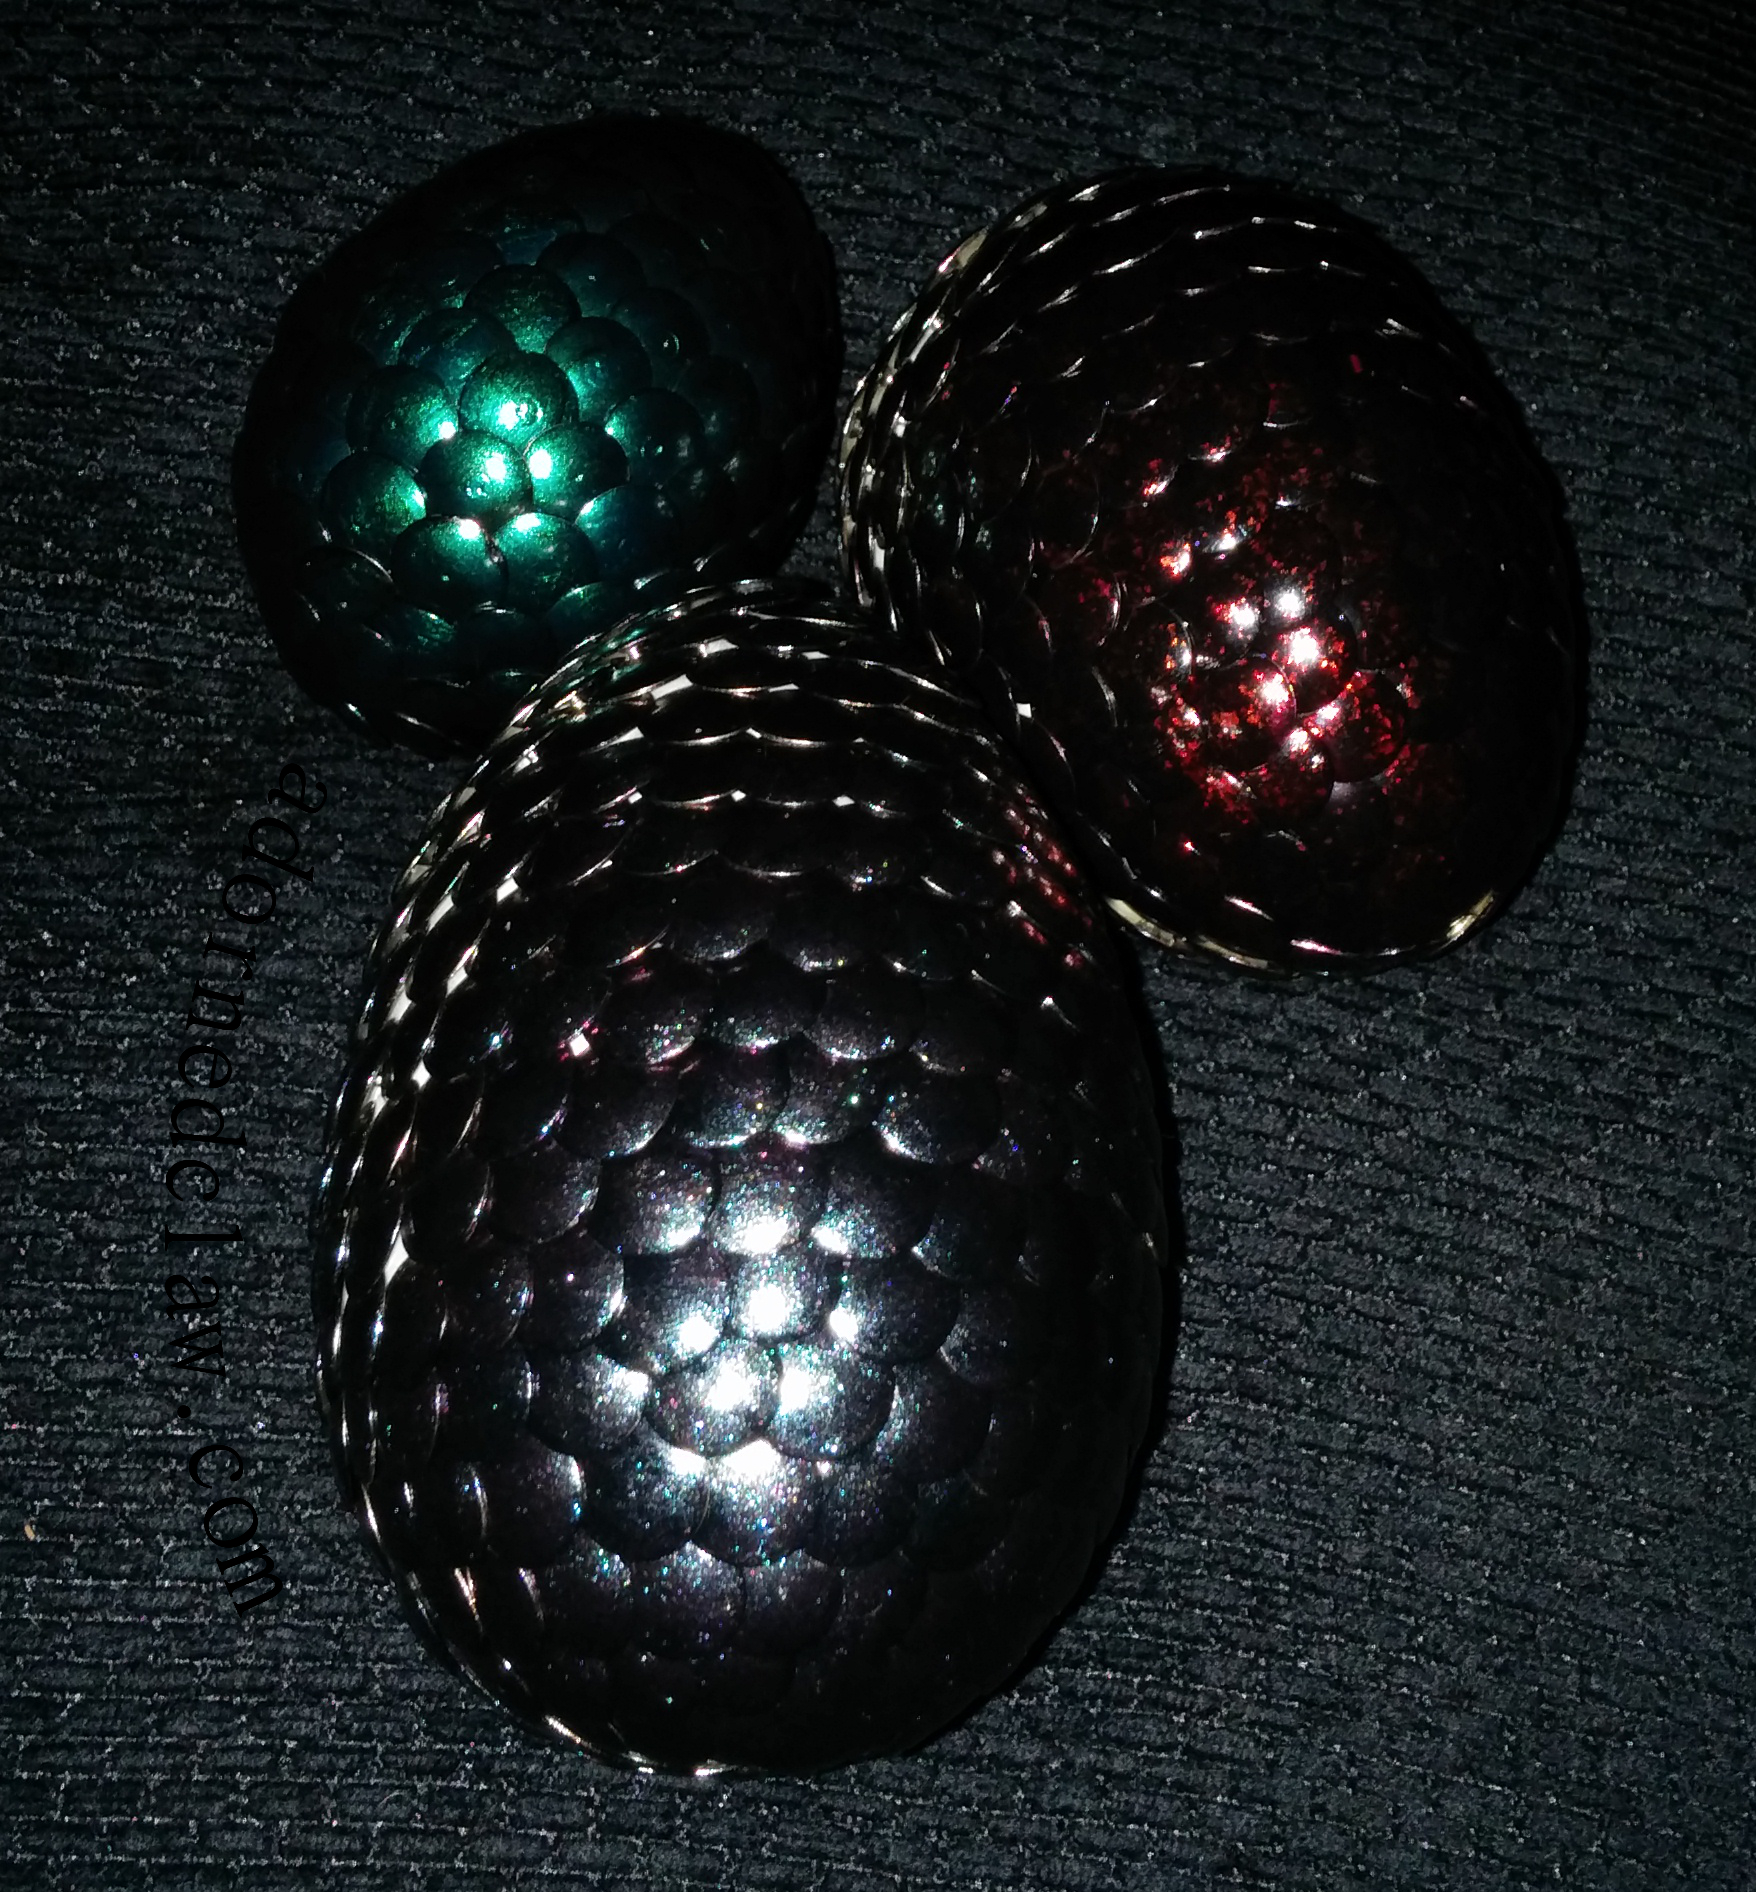
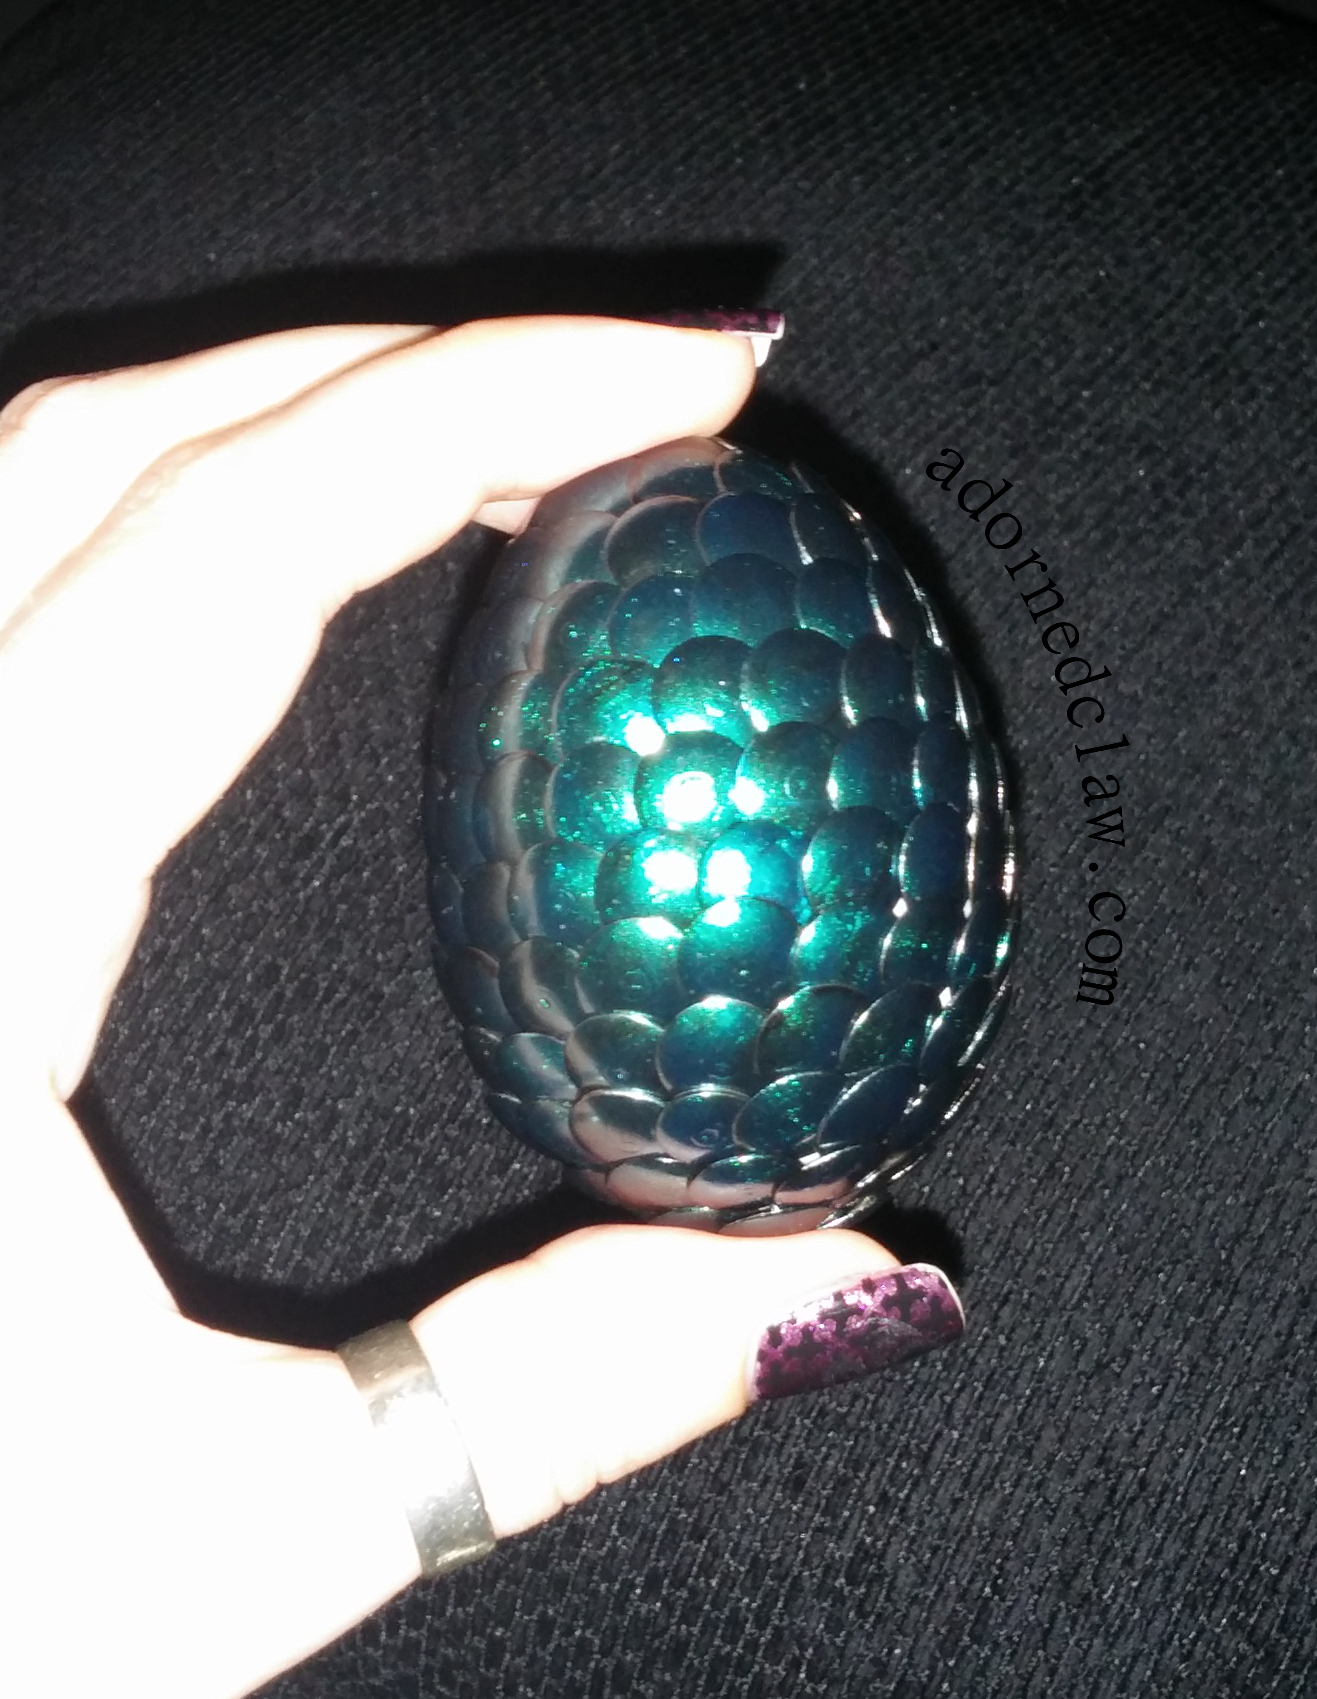
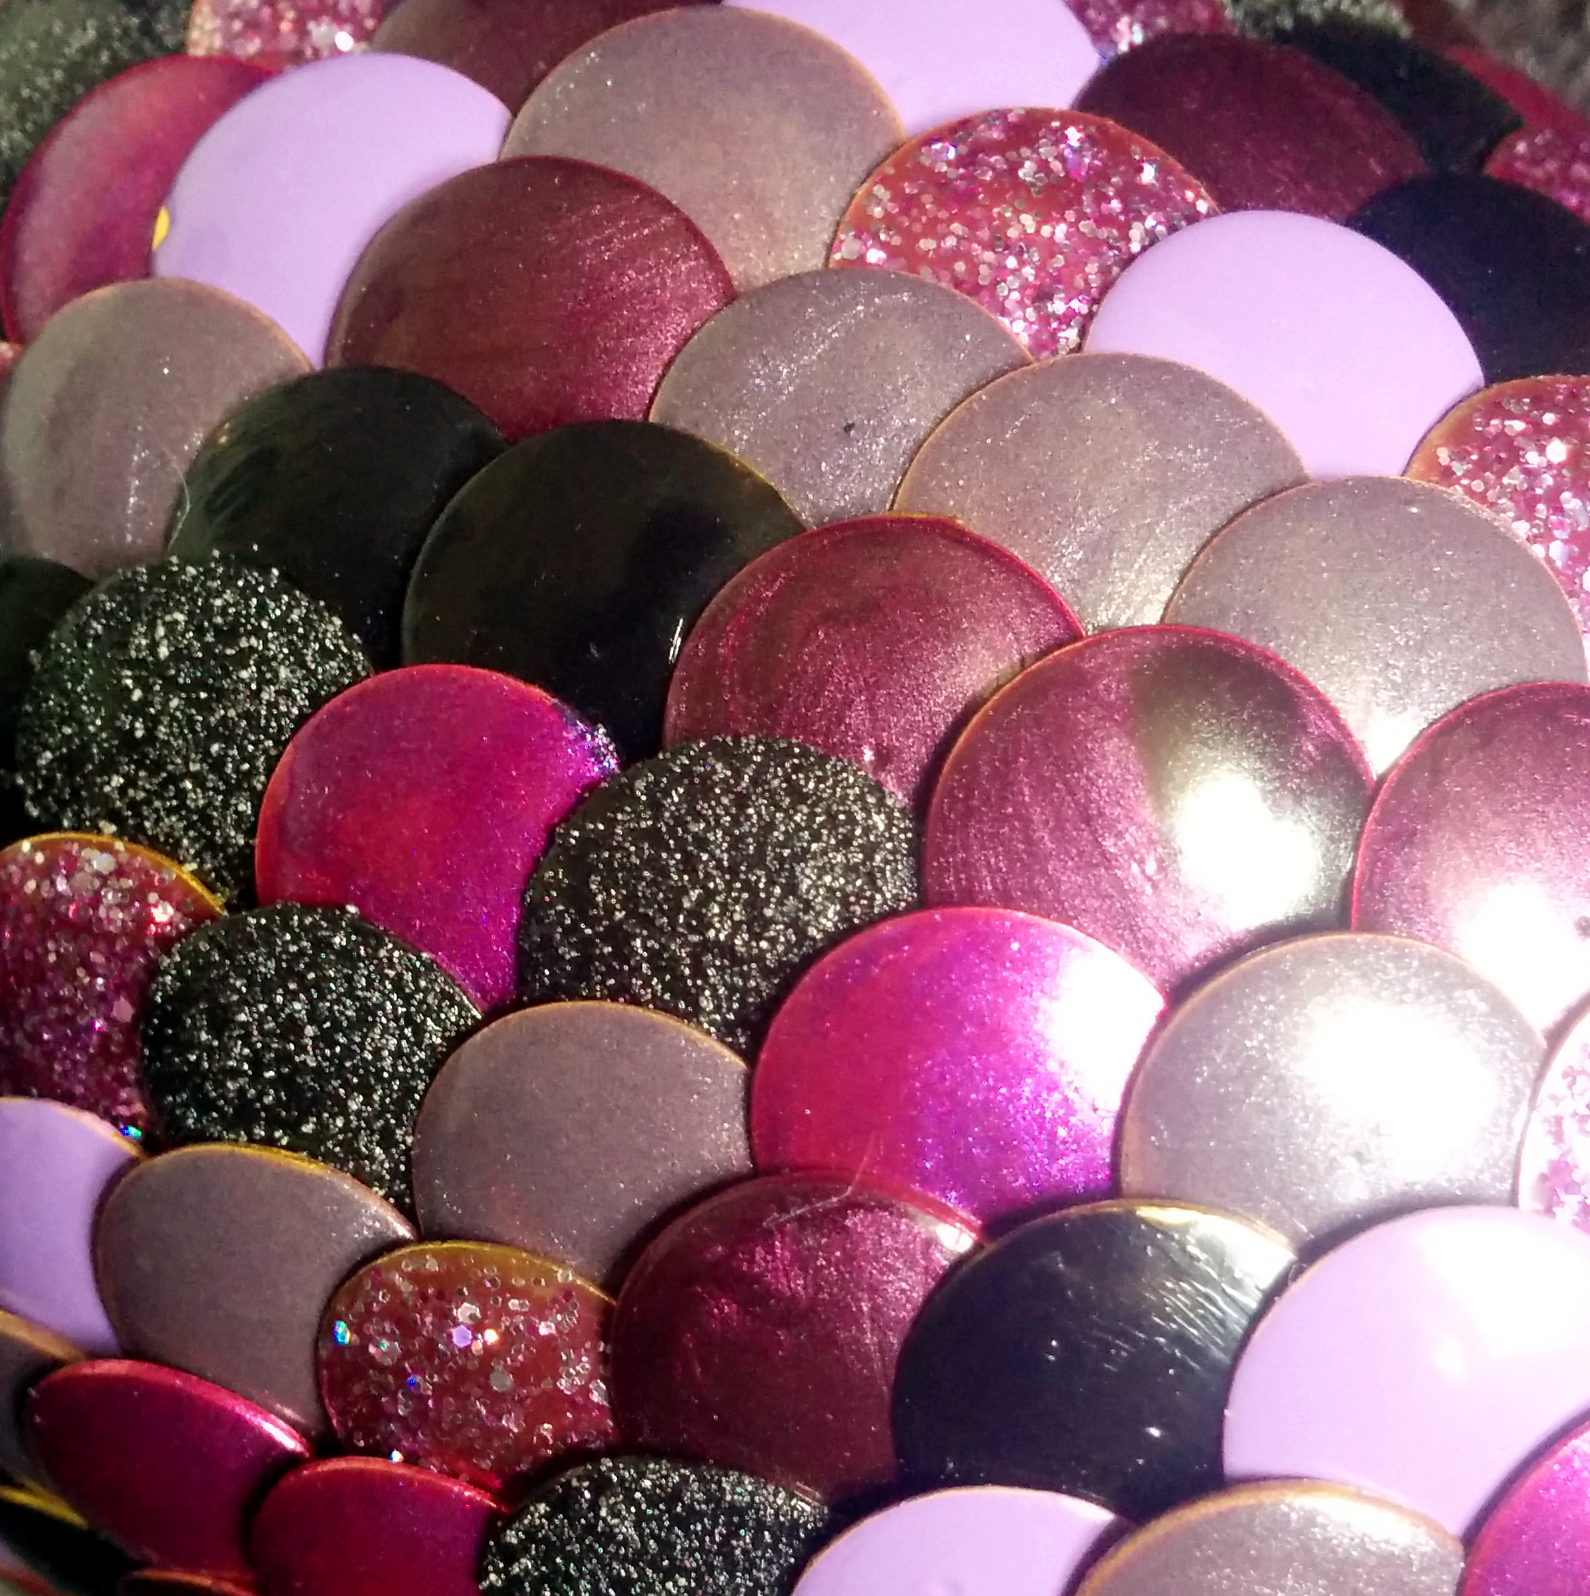
Purple Dragon Egg
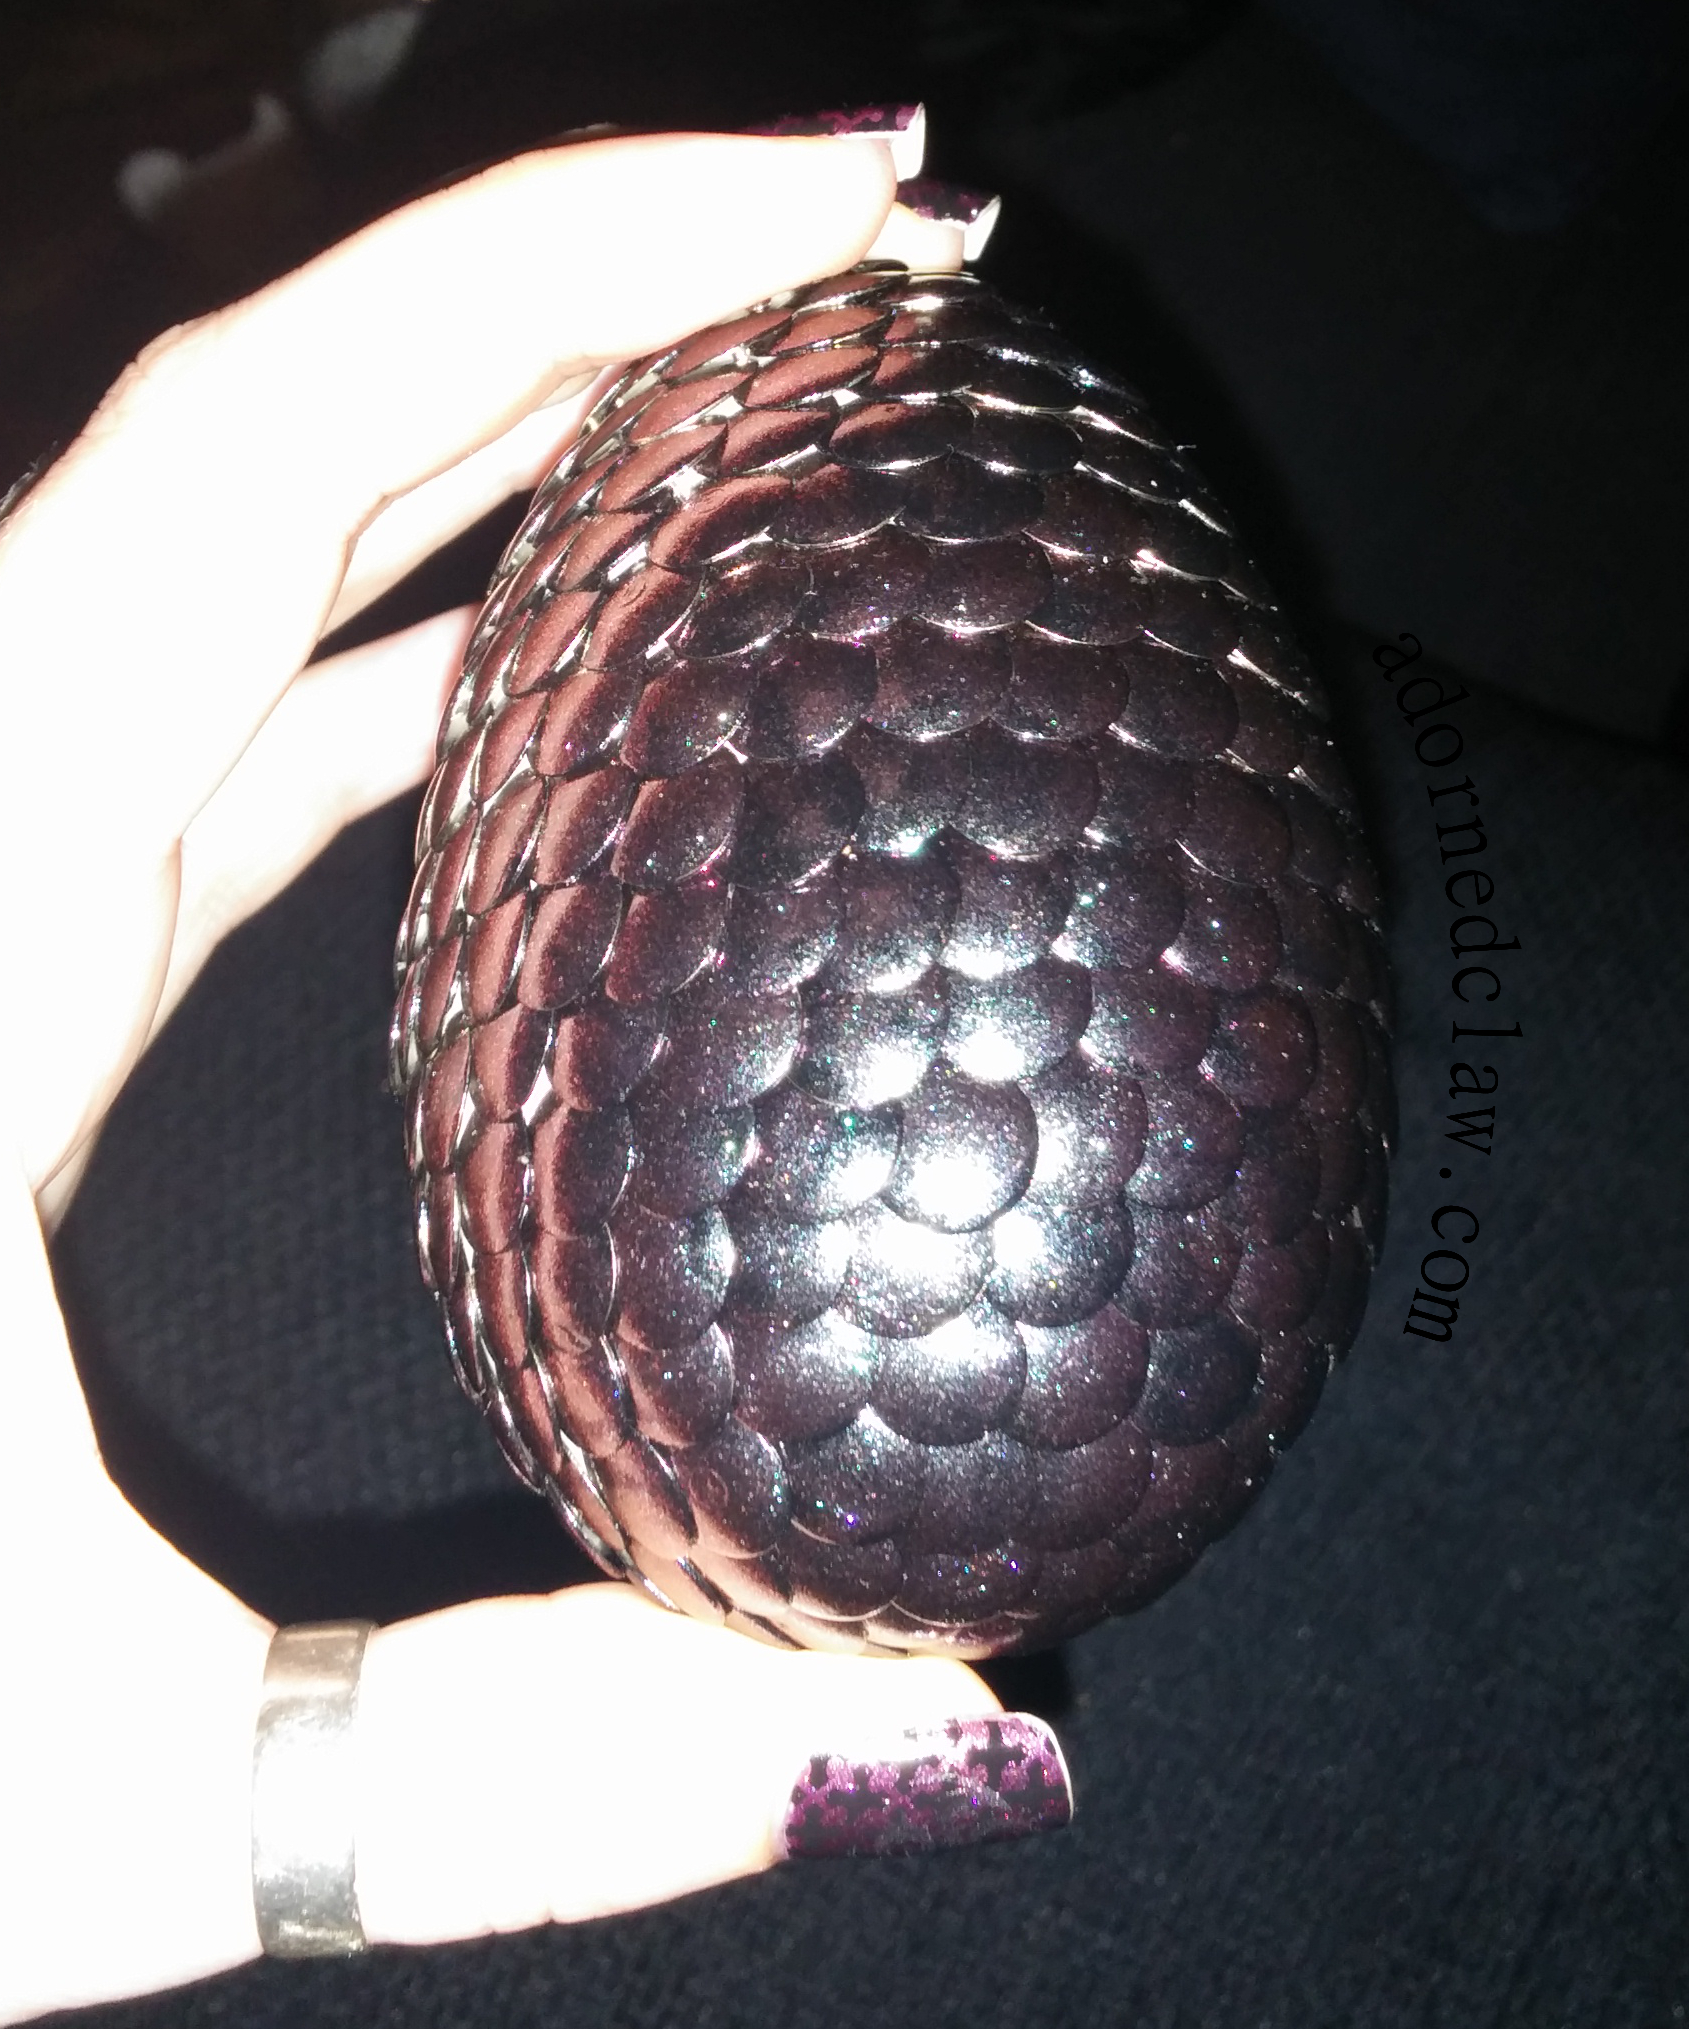
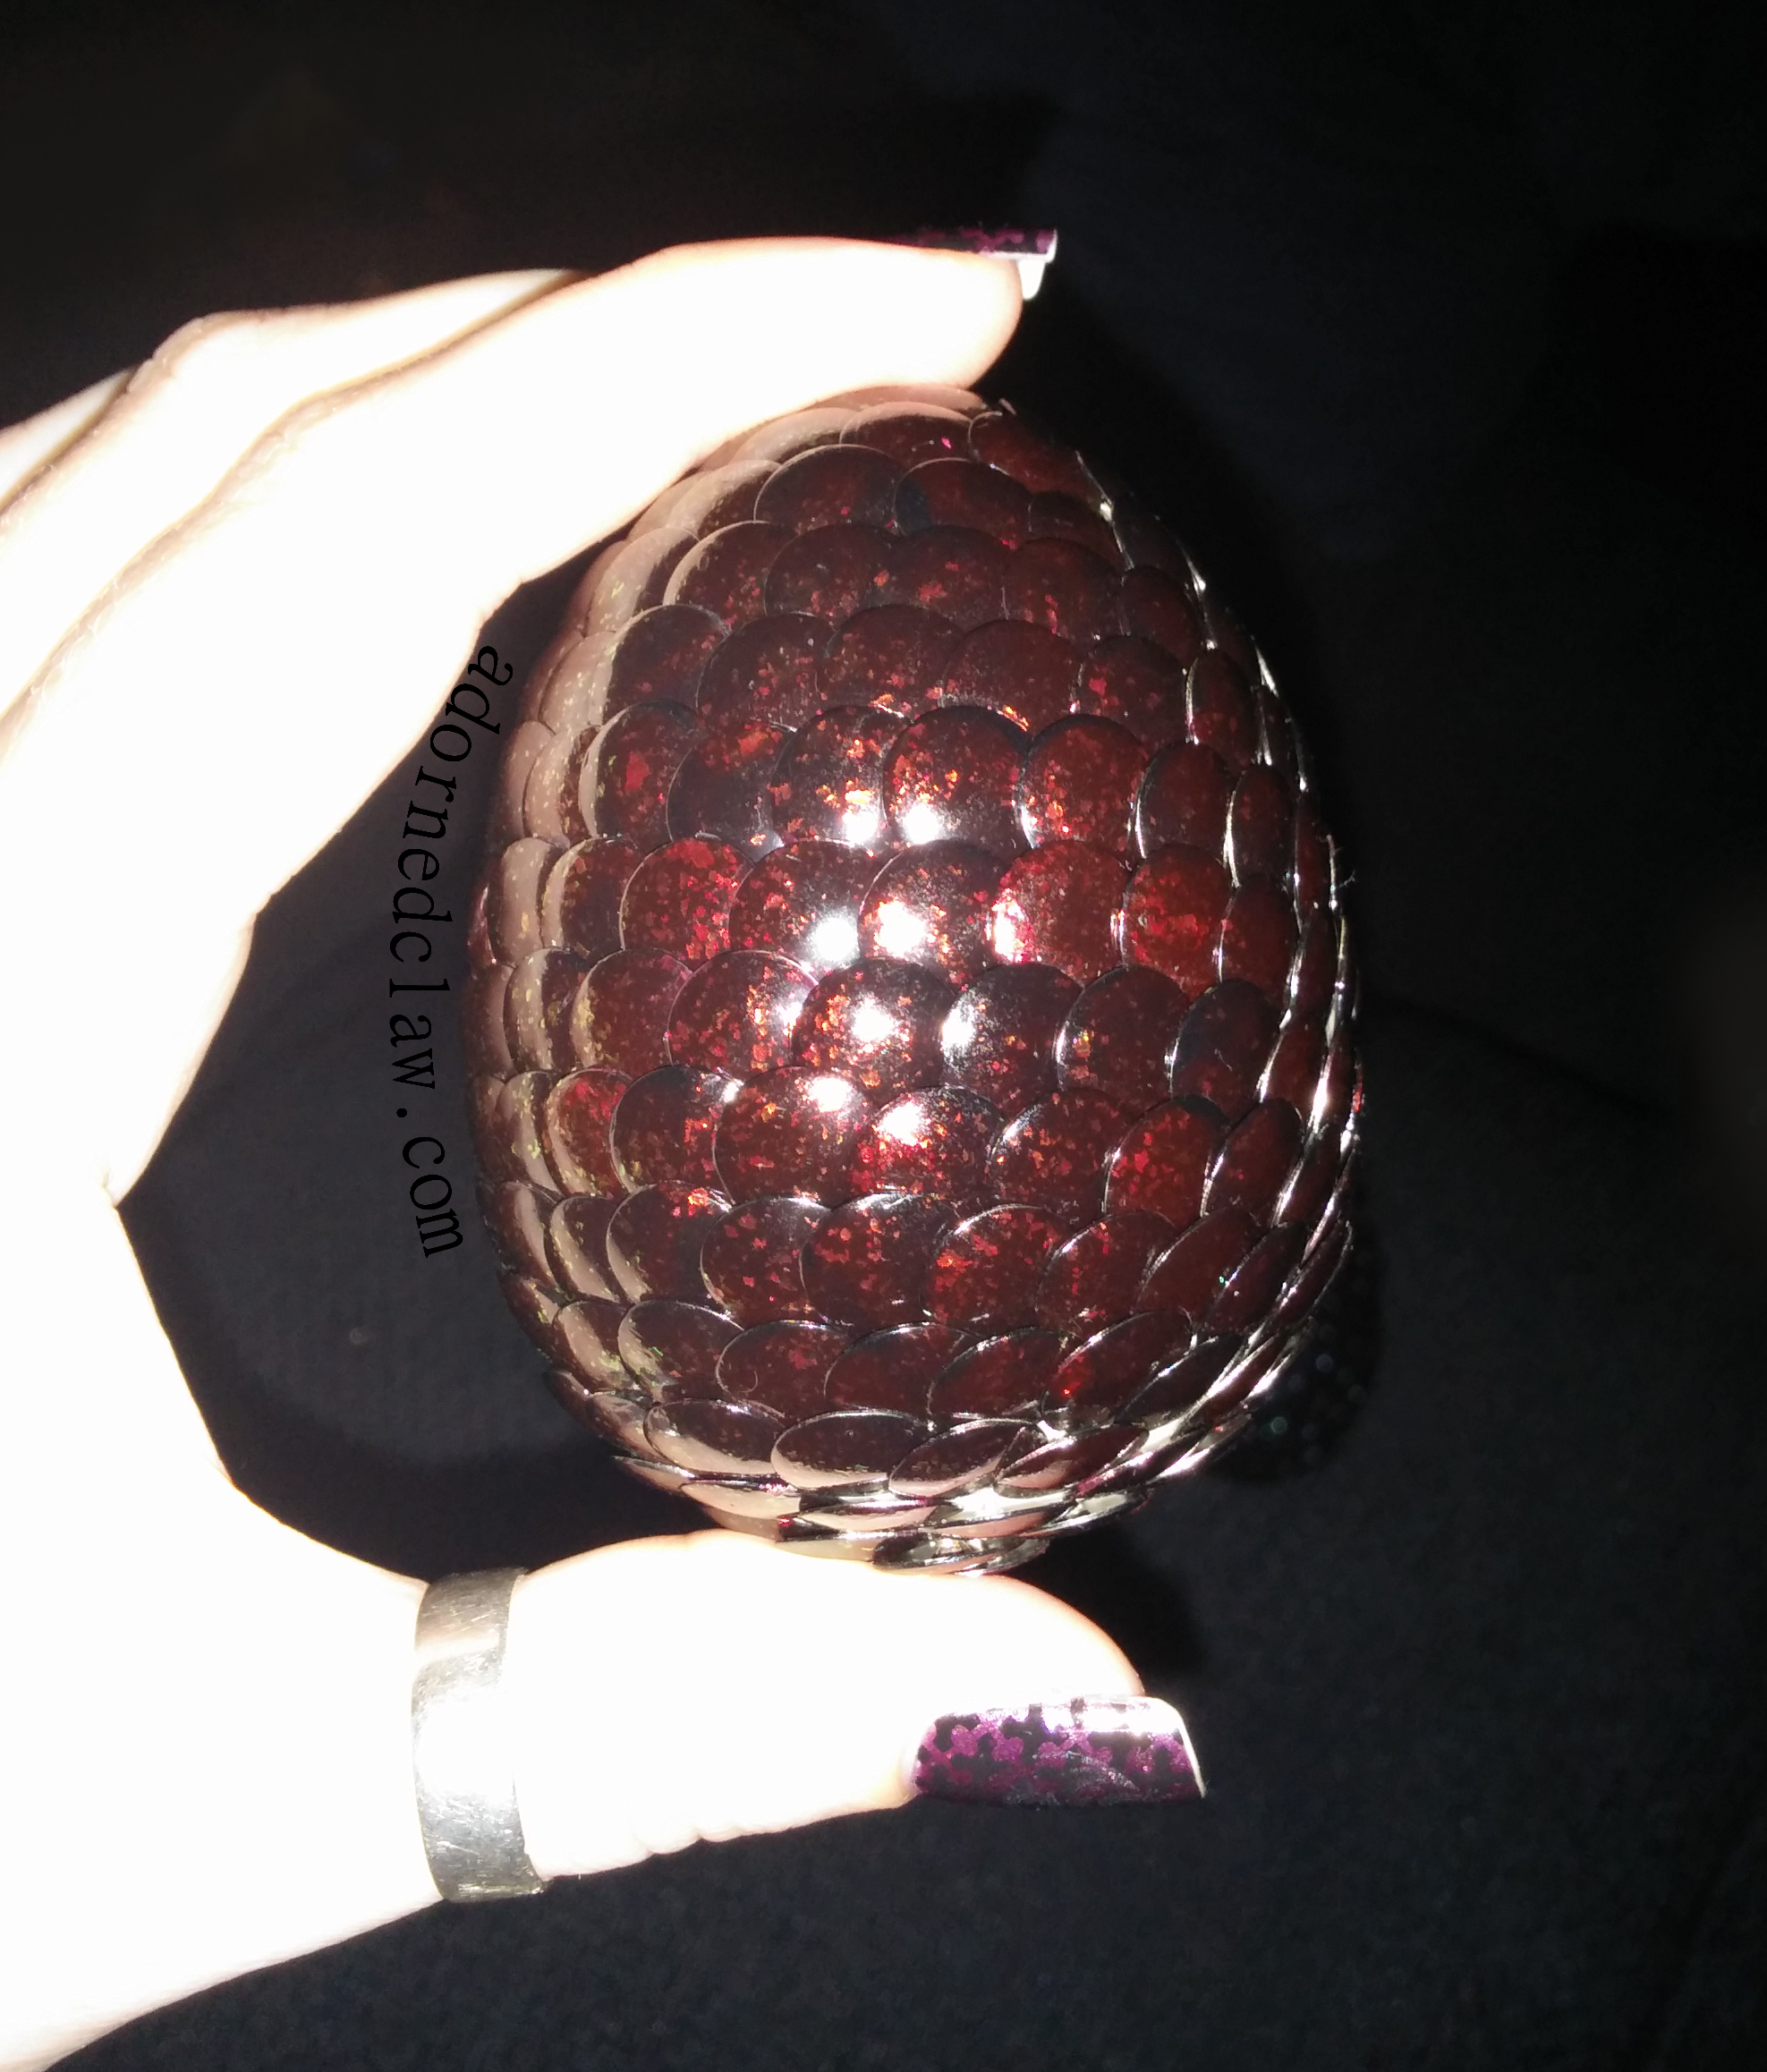
Here is my purple dragon egg! I really do love making these, they can take a long time to make (especially the large ones) but I do find there is something really satisfying about completing one!
This isn’t the first time I have made these you can find my first Dragon Egg post HERE
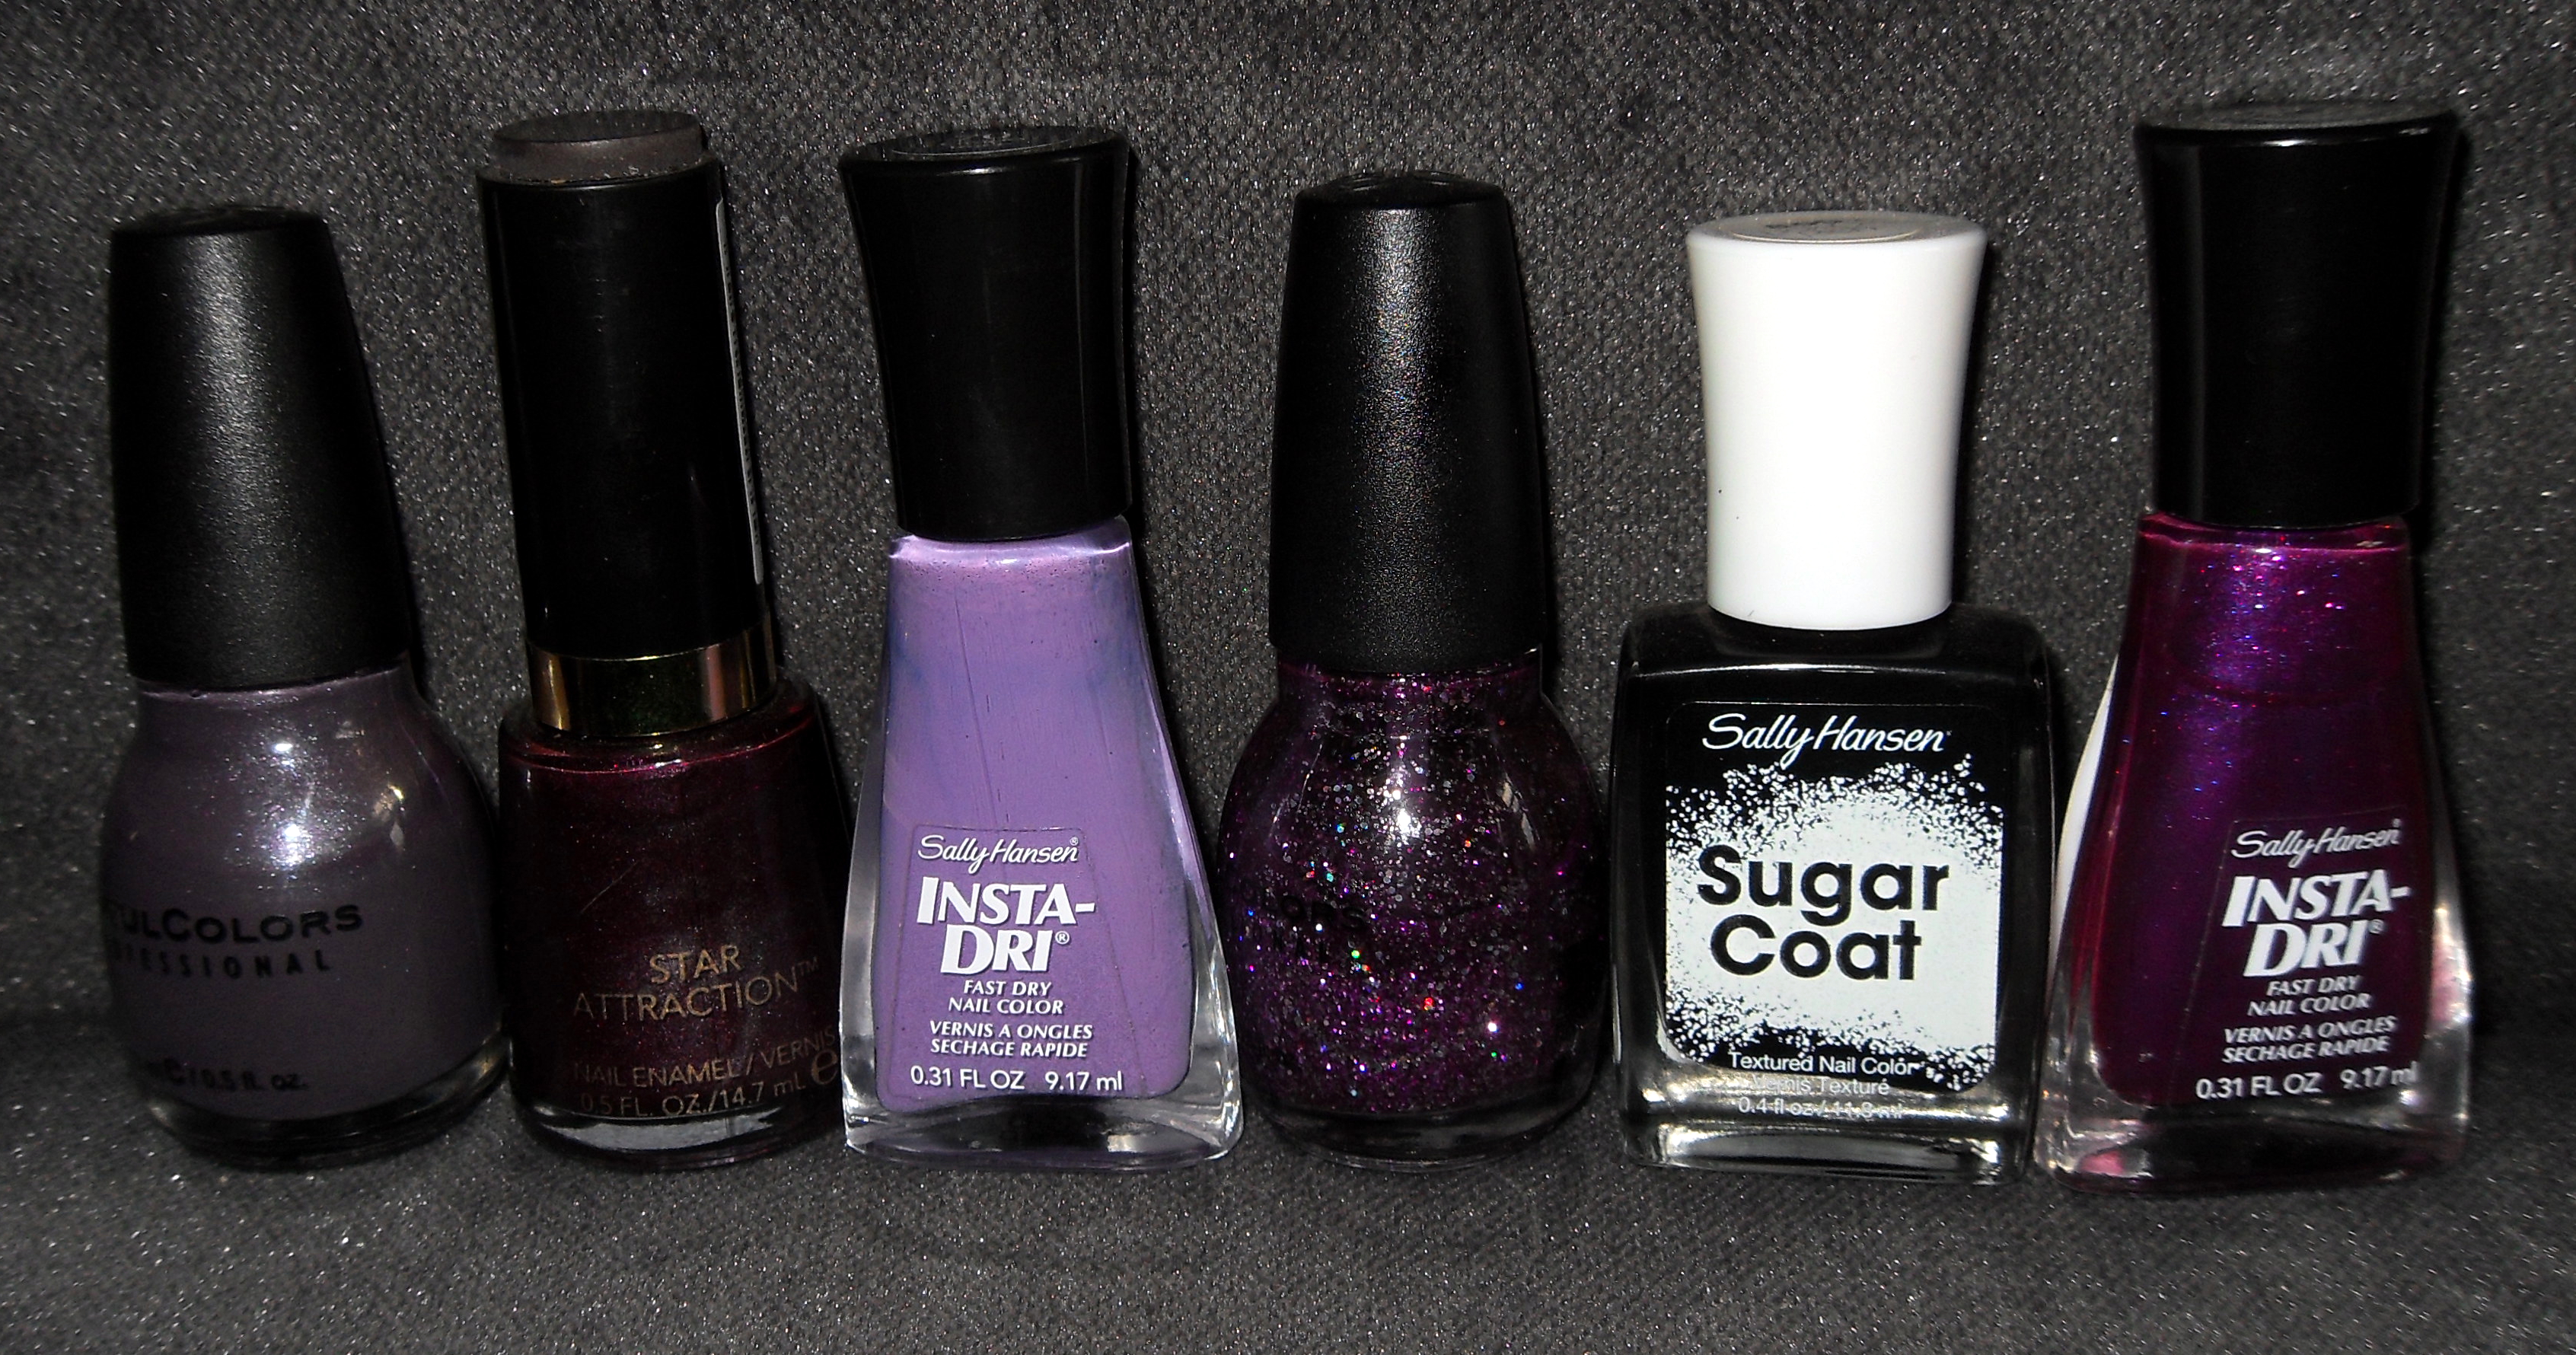
All the Purple Polish
These are the polishes I used
- Revlon – Star Watch
- Laval – Black (I forgot to add this one in the photograph)
- Sally Hansen – Currant Trend
- Sinful Colors – Winterberry
- Sally Hansen – Lick-O-Rich
- Sally Hansen – Grape Race
- Sinful Colors – I Miss You
I decided on seven purple and black polishes with different finishes, Creme, Texture, Magnetic, Glitter, Shimmer and Metallic!
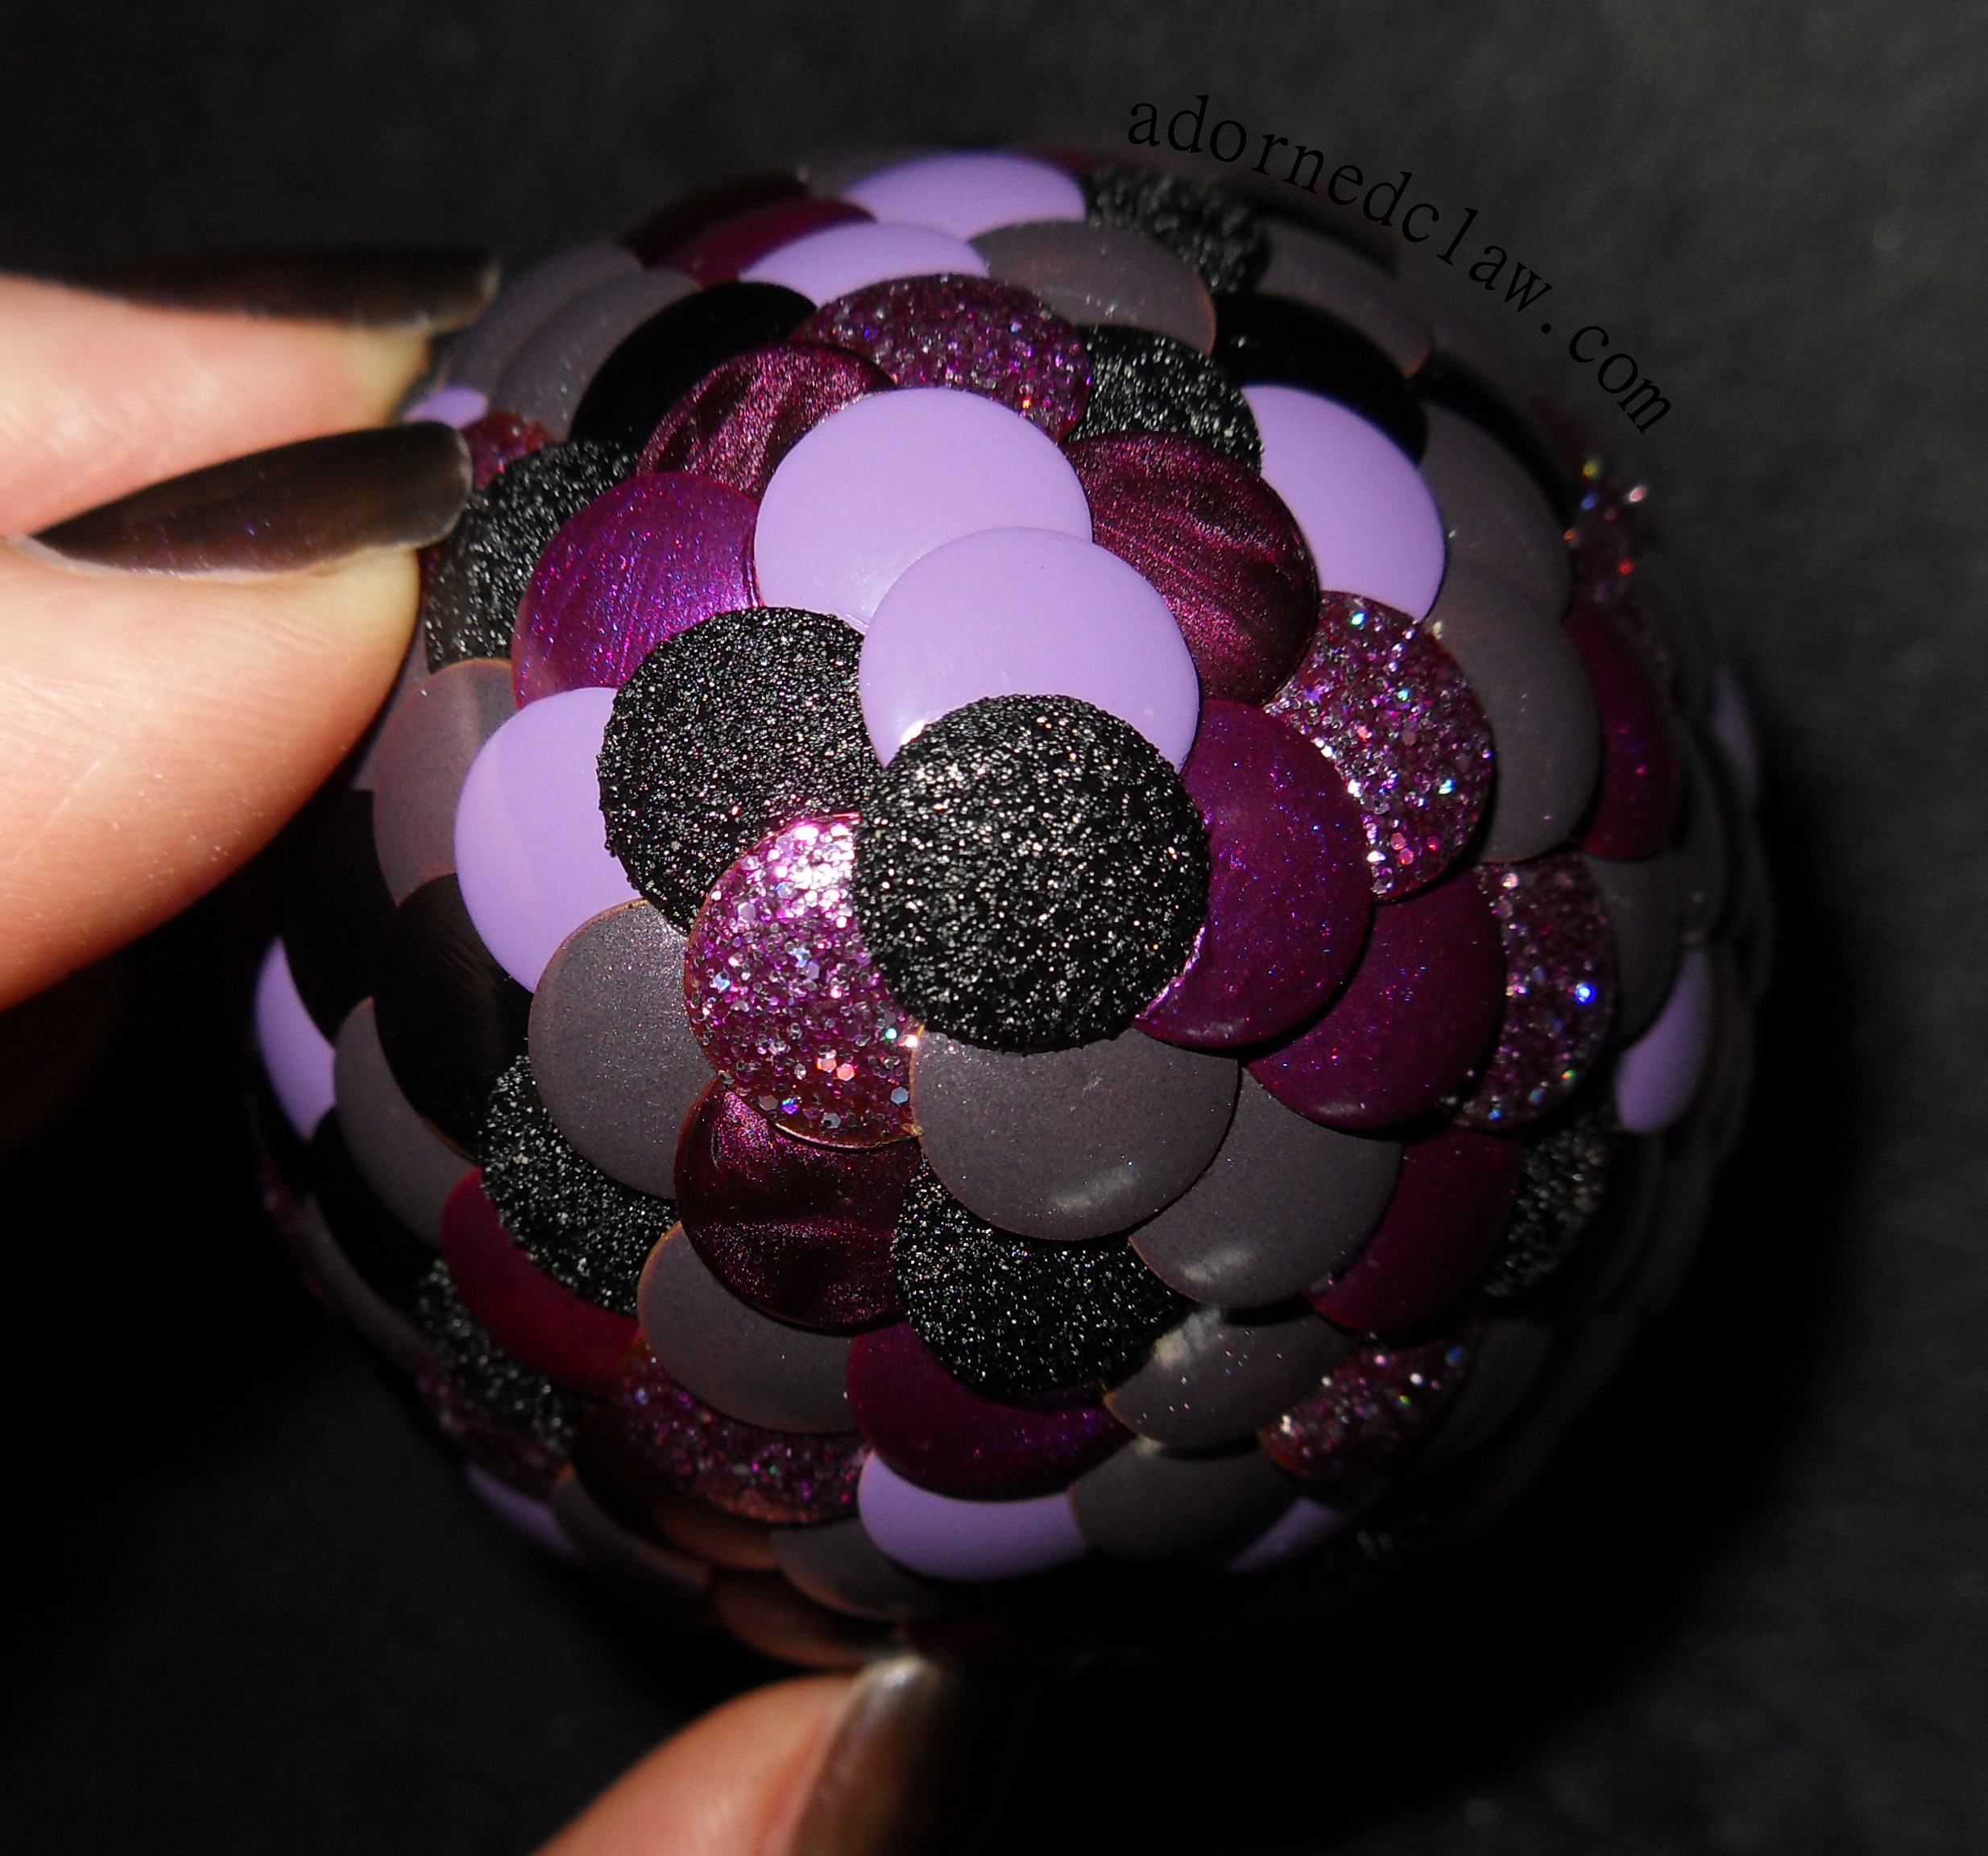
Texture!
Looking at these pictures of my dragon egg, I should probably have added another coat of polish…
But I was feeling impatient, so I didn’t lol! 🙂
Well that’s it for the dragon egg! I’m not going to be offended if you want to stop reading here!
🙂
I’m going to start with some fun stuff! I finally got my grubby paws on some lovely A England polishes! Yay! I can’t believe it’s taken me so long to get some!
I have also invested in a couple of Helmers (from Ikea). Hopefully they’ll help to keep my growing collection of polishes all neat and tidy! 😀
And I met this fuzzy guy! 🙂

Squirrel!
So, on to the first rubbish thing to happen.
One of my gloves split while I was using a home hair dye kit, the hole in the glove was deceptively tiny, at the time it seemed like I had more dye inside the glove than on my hair ![]()
the staining was really bad across the back of my hand, my knuckles and my ring and middle fingers. My skin and nails where stained a really nasty grey/brown/blue! and of course it was my swatching hand. Ugh the horror!
I tried everything I could think of to get rid of it, Hair Dye stain remover, Bubblewhite, Scrubbing, Whitening Toothpaste, Bleach… The Bleach was a mistake, it changed the colour to a grey/green which was even worse.
With all the scrubbing, washing and chemicals I managed to end up with a really unpleasant case of Contact Dermatitis. And on top of that my poor nails started flaking and were so brittle that they would break and peel with the slightest pressure.
I’m so glad that the damage has mostly gone, my nails still feel a little weak, but I now have a few millimeters of free edge! Yay!
I’m never ever going to use the gloves that come in the Hair dye kits ever again!
The other dreadful thing that happened (this is much worse) is that my mother is in hospital. She fell and fractured her hip.
She had to have an operation to pin the break back together, during the procedure she lost a lot of blood and was in intensive care for a few days.
It’s been a couple of weeks since the operation and she is doing much better! She’s now been transferred to a hospital closer to home and amazingly she’s even been walking a little! 🙂
I’ll keep this brief otherwise I’ll end up writing pages (and pages) about what’s been happening!
Hopefully now that mum is recovering and everything is less stressful I should hopefully (fingers crossed) be able to start blogging regularly again!
🙂