Tag Archives: Nail Varnish

Moyou London Gothic Collection plates 1 to 4 Review

Hallo!

Today I have the first four plates from the Moyou Gothic Collection to show you!

Moyou Gothic Collection

Moyou Gothic Collection

I have to say I haven’t really been that interested in the more recent collections from Moyou London, but then they had to go and bring this collection out… Oh my poor bank account!

Moyou Gothic Collection plates 01 and 02

Moyou Gothic Collection plates 01 and 02

I have to say after doing all of these I have realized I’m definitely better at stamping onto my nails than onto paper, lol there was polish everywhere!
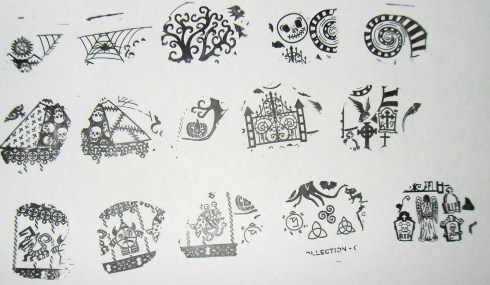
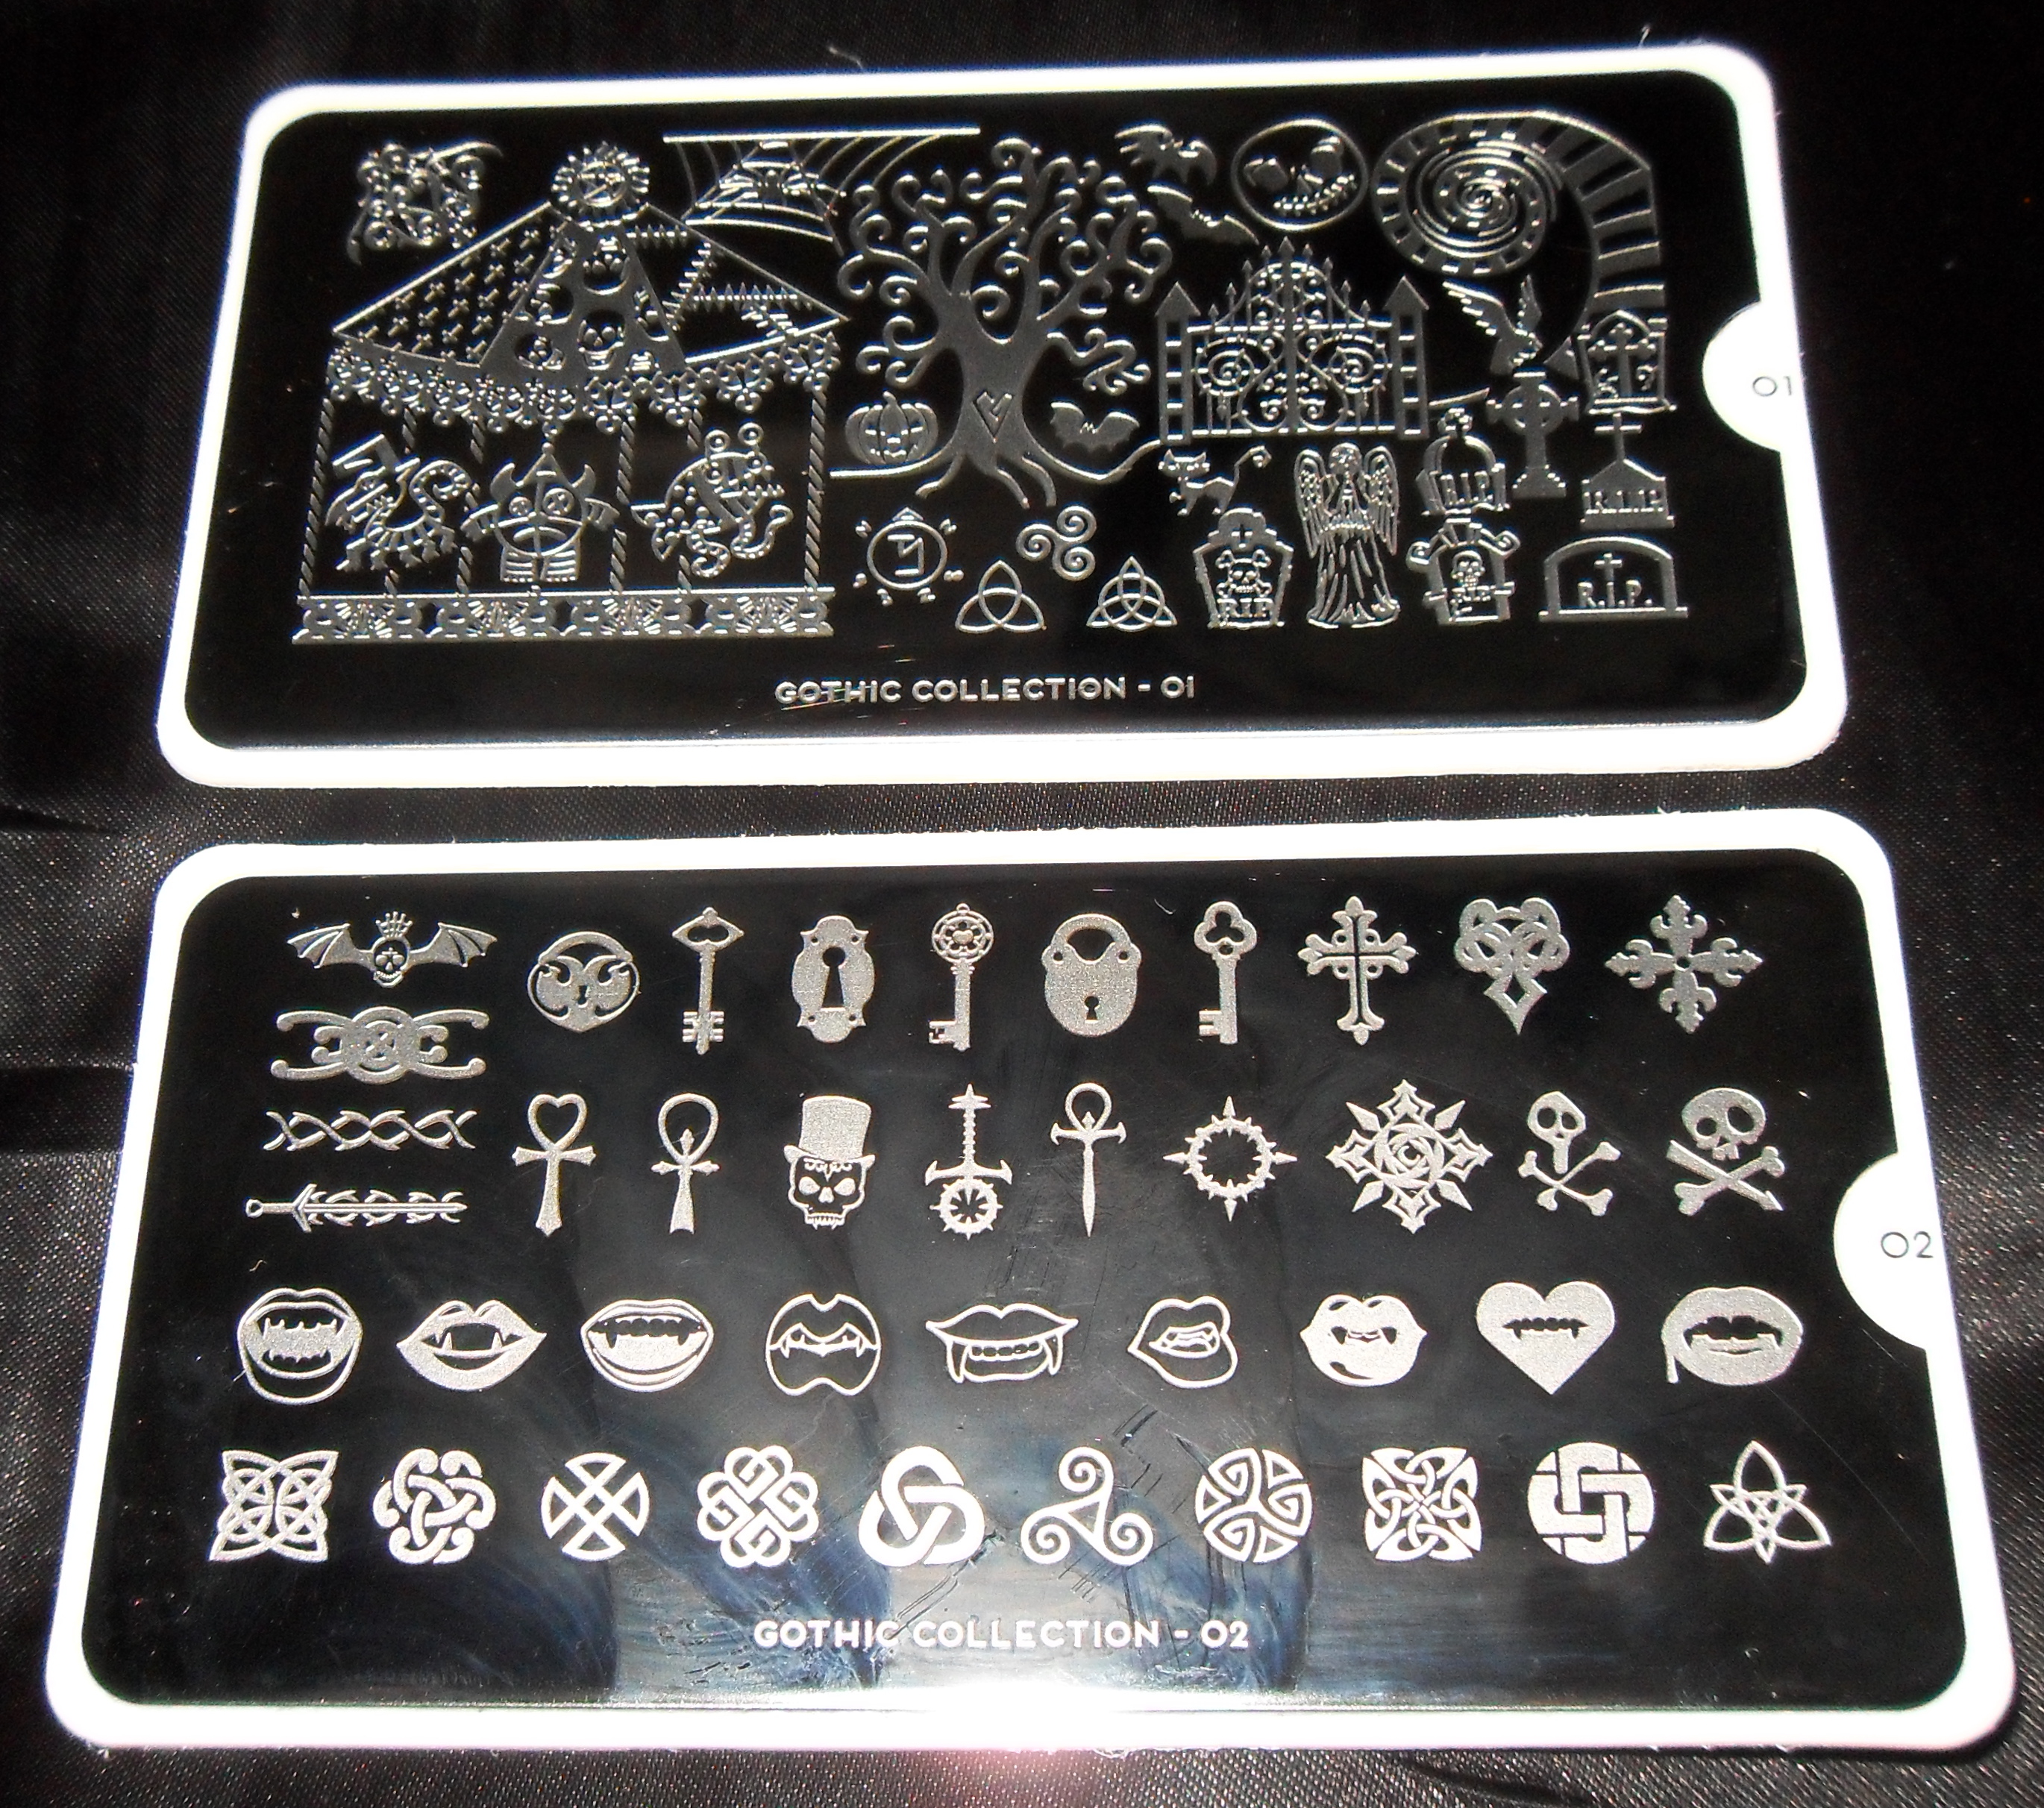
Plate 01

Plate 01

Plate number 1!

With all Moyou plates I have used the images transfer really cleanly and this plate is no exception! I really like the Dr Who(-ish) weeping angel, the spooky tree, and the couple of symbols from the TV show Supernatural.

There’s one thing that bugs me about these full image Moyou plates, (its with all of them, so not just the Gothic Collection ones) there will be an amazing pattern, for example the patterns on the roof of the carousel, each of those would make amazing full nail designs, but they are they are just to small :/ and they aren’t repeated anywhere else in the collection. Gah! But enough of me complaining 🙂

I think this plate is closer to a Halloween theme rather than a Gothic one, It really is very cute and there are a lot of images I’ll definitely be using! So I’m not saying that as a bad thing! 🙂

But I just have to say the middle image on the bottom row… Nothing screams goth like a googly eyed fish monster! lol
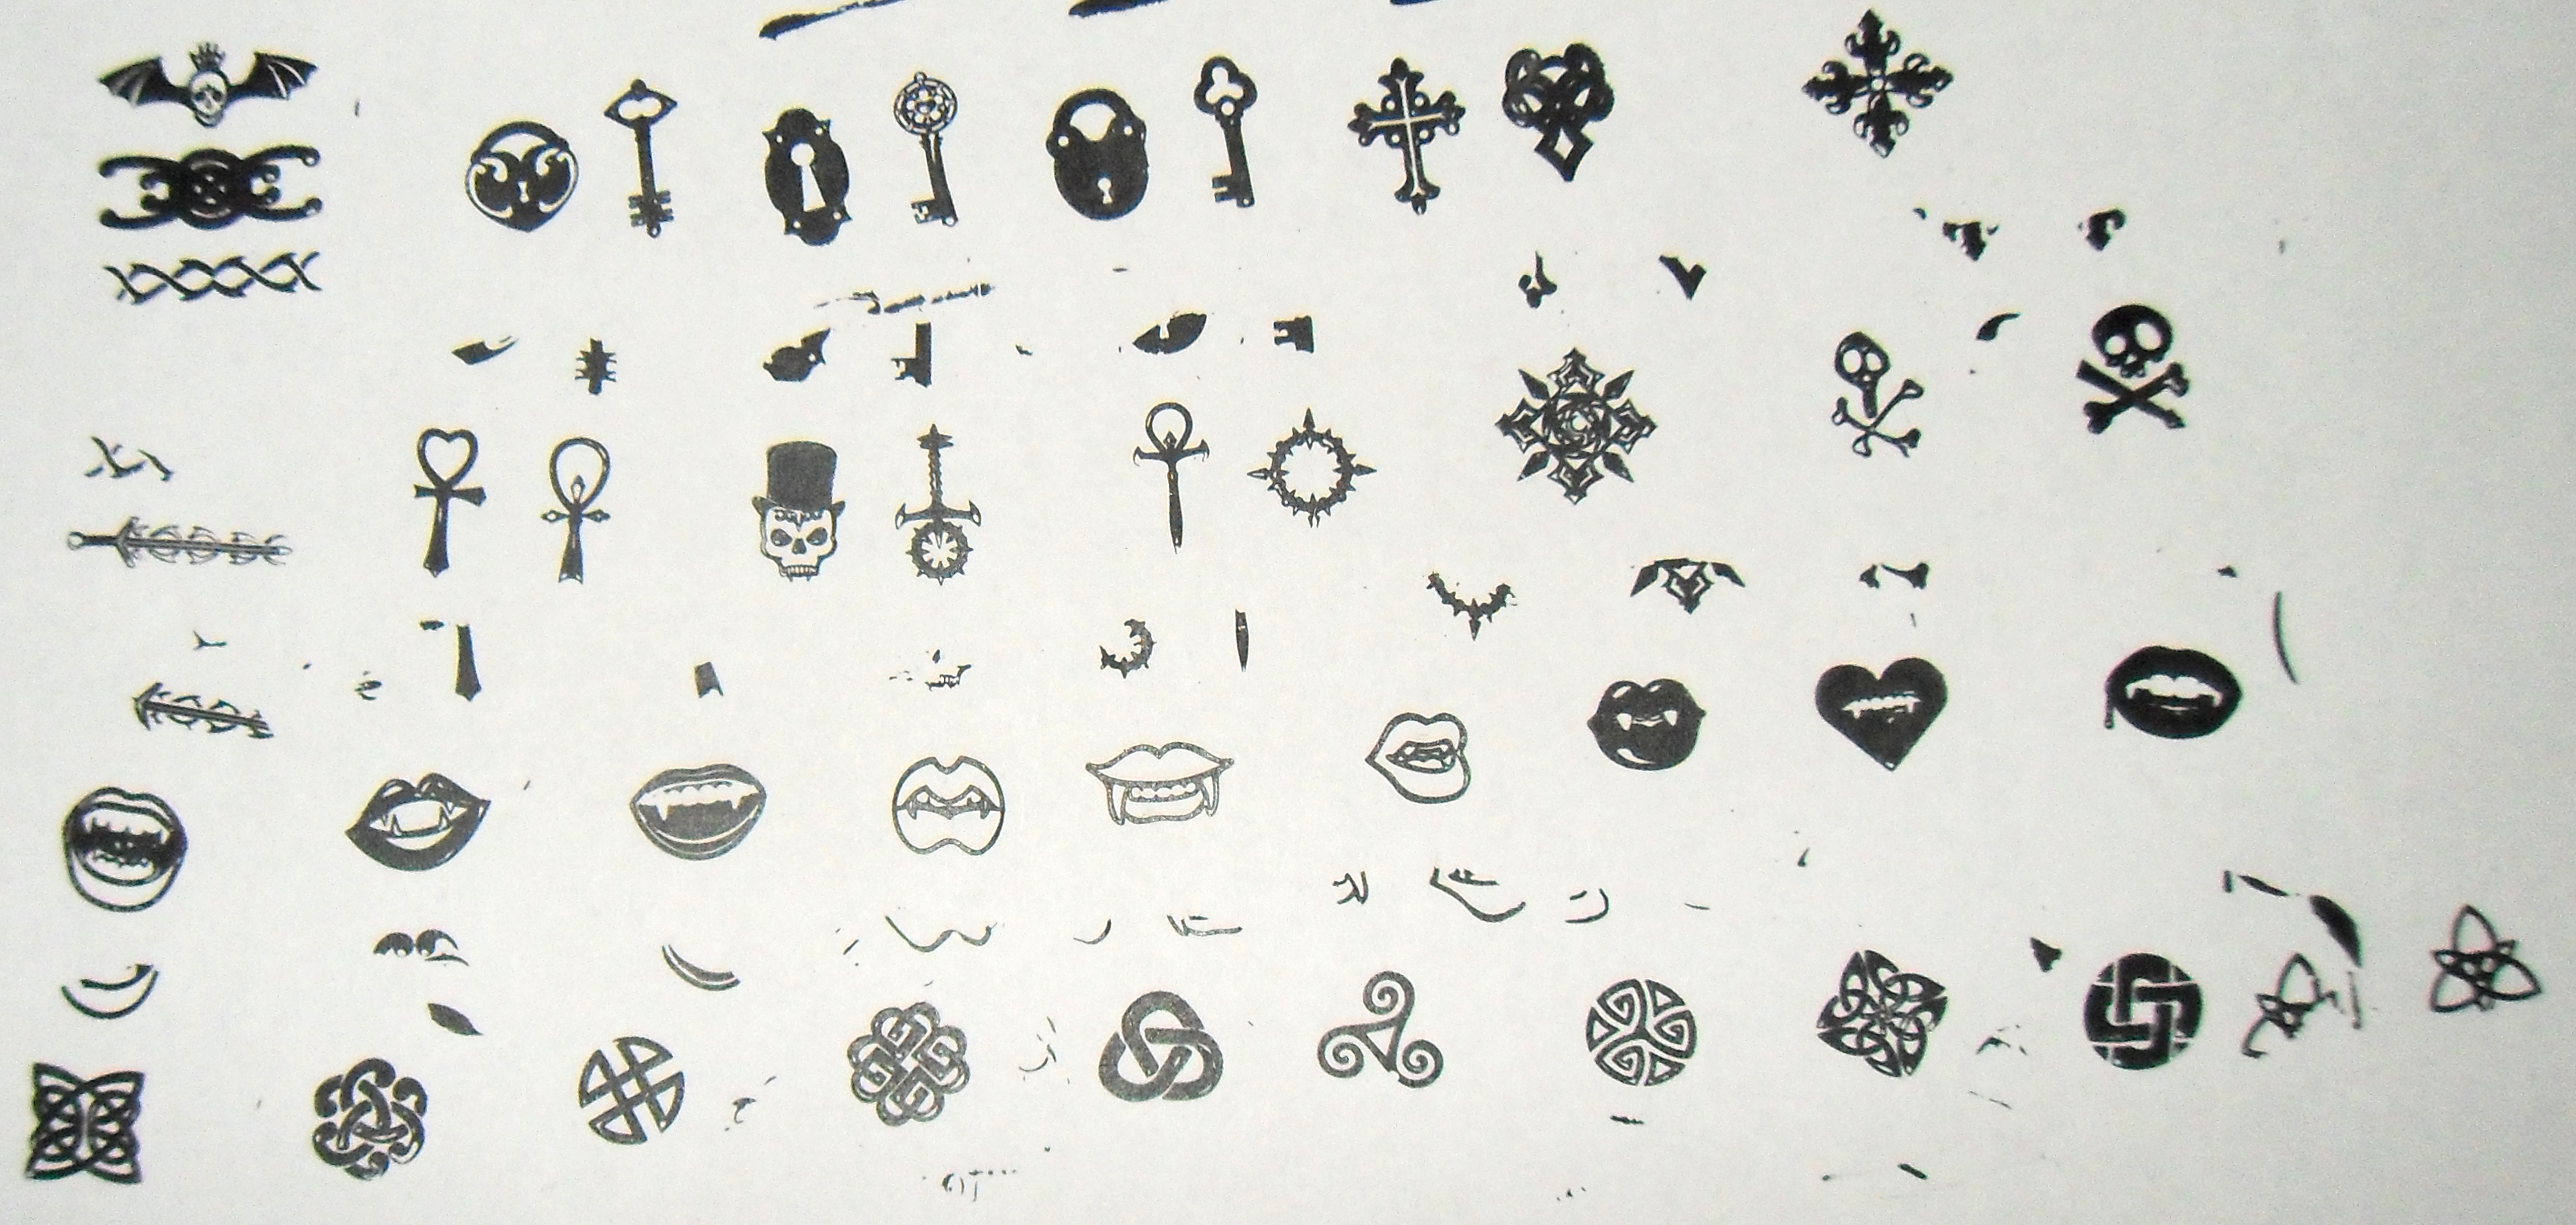
Plate 02

Plate 02

Plate 2 was actually the last plate that I stamped onto paper so sorry about the mess :/ I was starting to get really board!

I love the key and lock images, I found them to be a really good size for my nail length, but they may be a touch too long for really short nails. I have a couple of stamping plates with keys on and they are plain and boring, but these little keys have a lot of detail!

I did find that the little skull and crossbones didn’t pick up as well as the other images, (it could just have been me getting sloppy with my technique) I’m going to group them with the nine sets of vampire teeth as images I’m not particularly interested in.

I really like the Celtic knots, I have a few ideas for those already. The ankhs and the skull in a top hat… Very Alchemy Gothic!

Moyou Gothic Collection Plates 03 and 04

Moyou Gothic Collection Plates 03 and 04

On to plates 3 and 4!
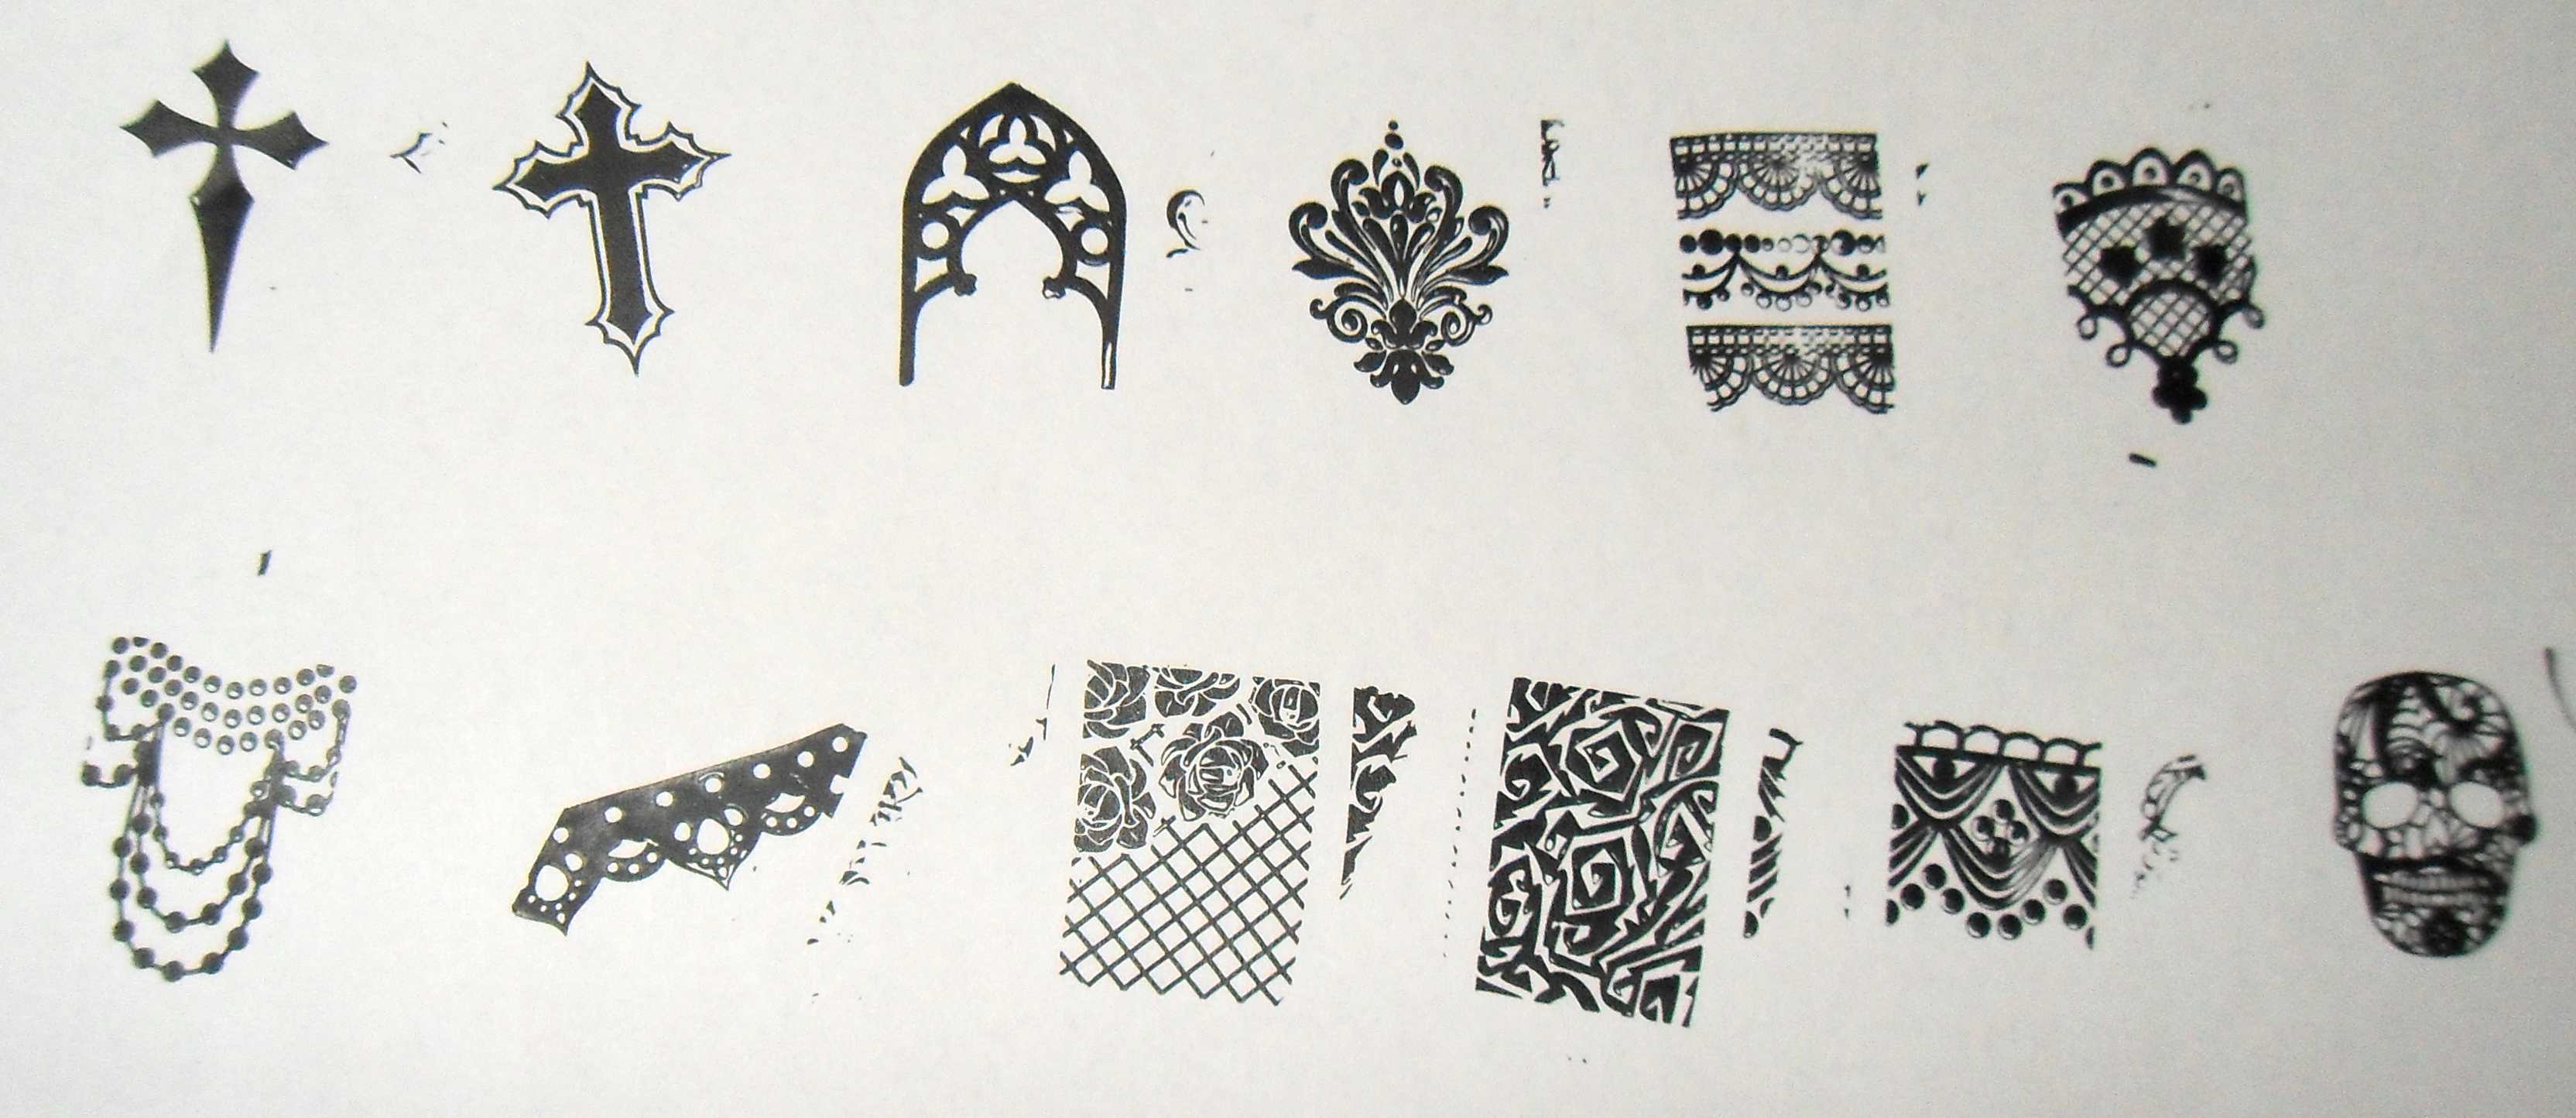
Plate 03

Plate 03

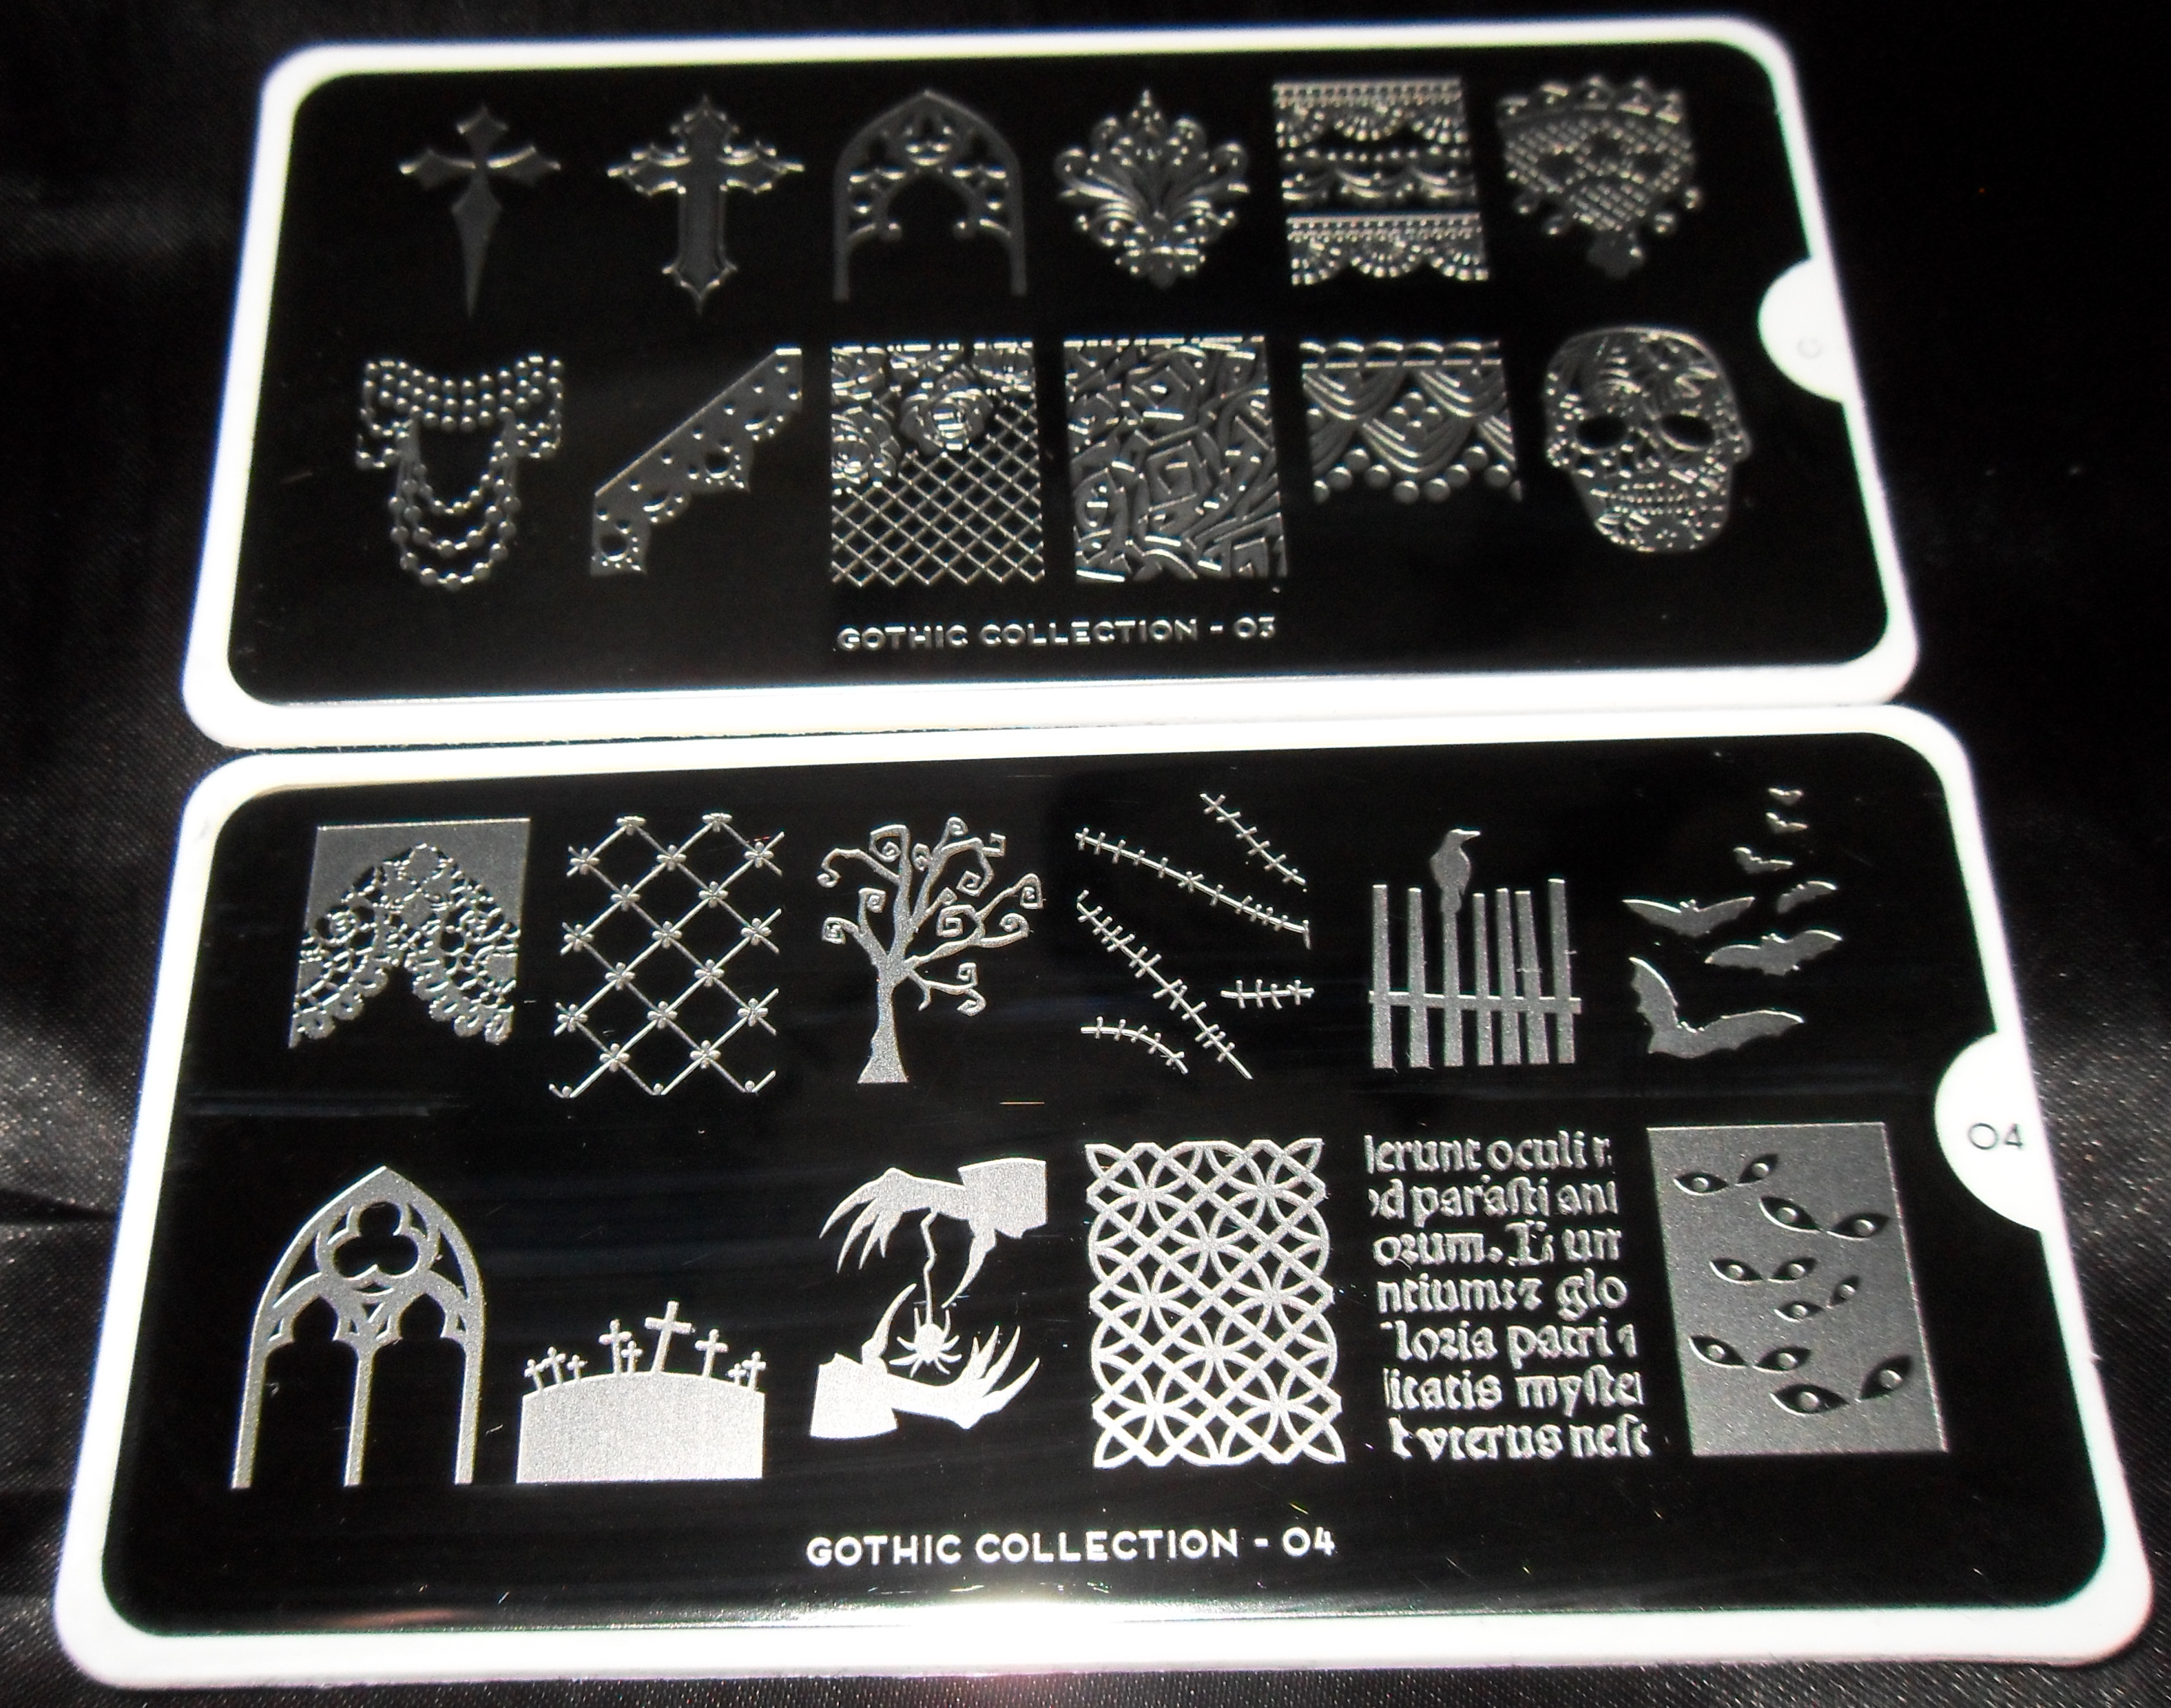
These are both Xl plates, I found that the single images are way too big, even for my thumbs! But they might be good for my big toe nails! 🙂 or they may become useable with some creative stamper squishing!

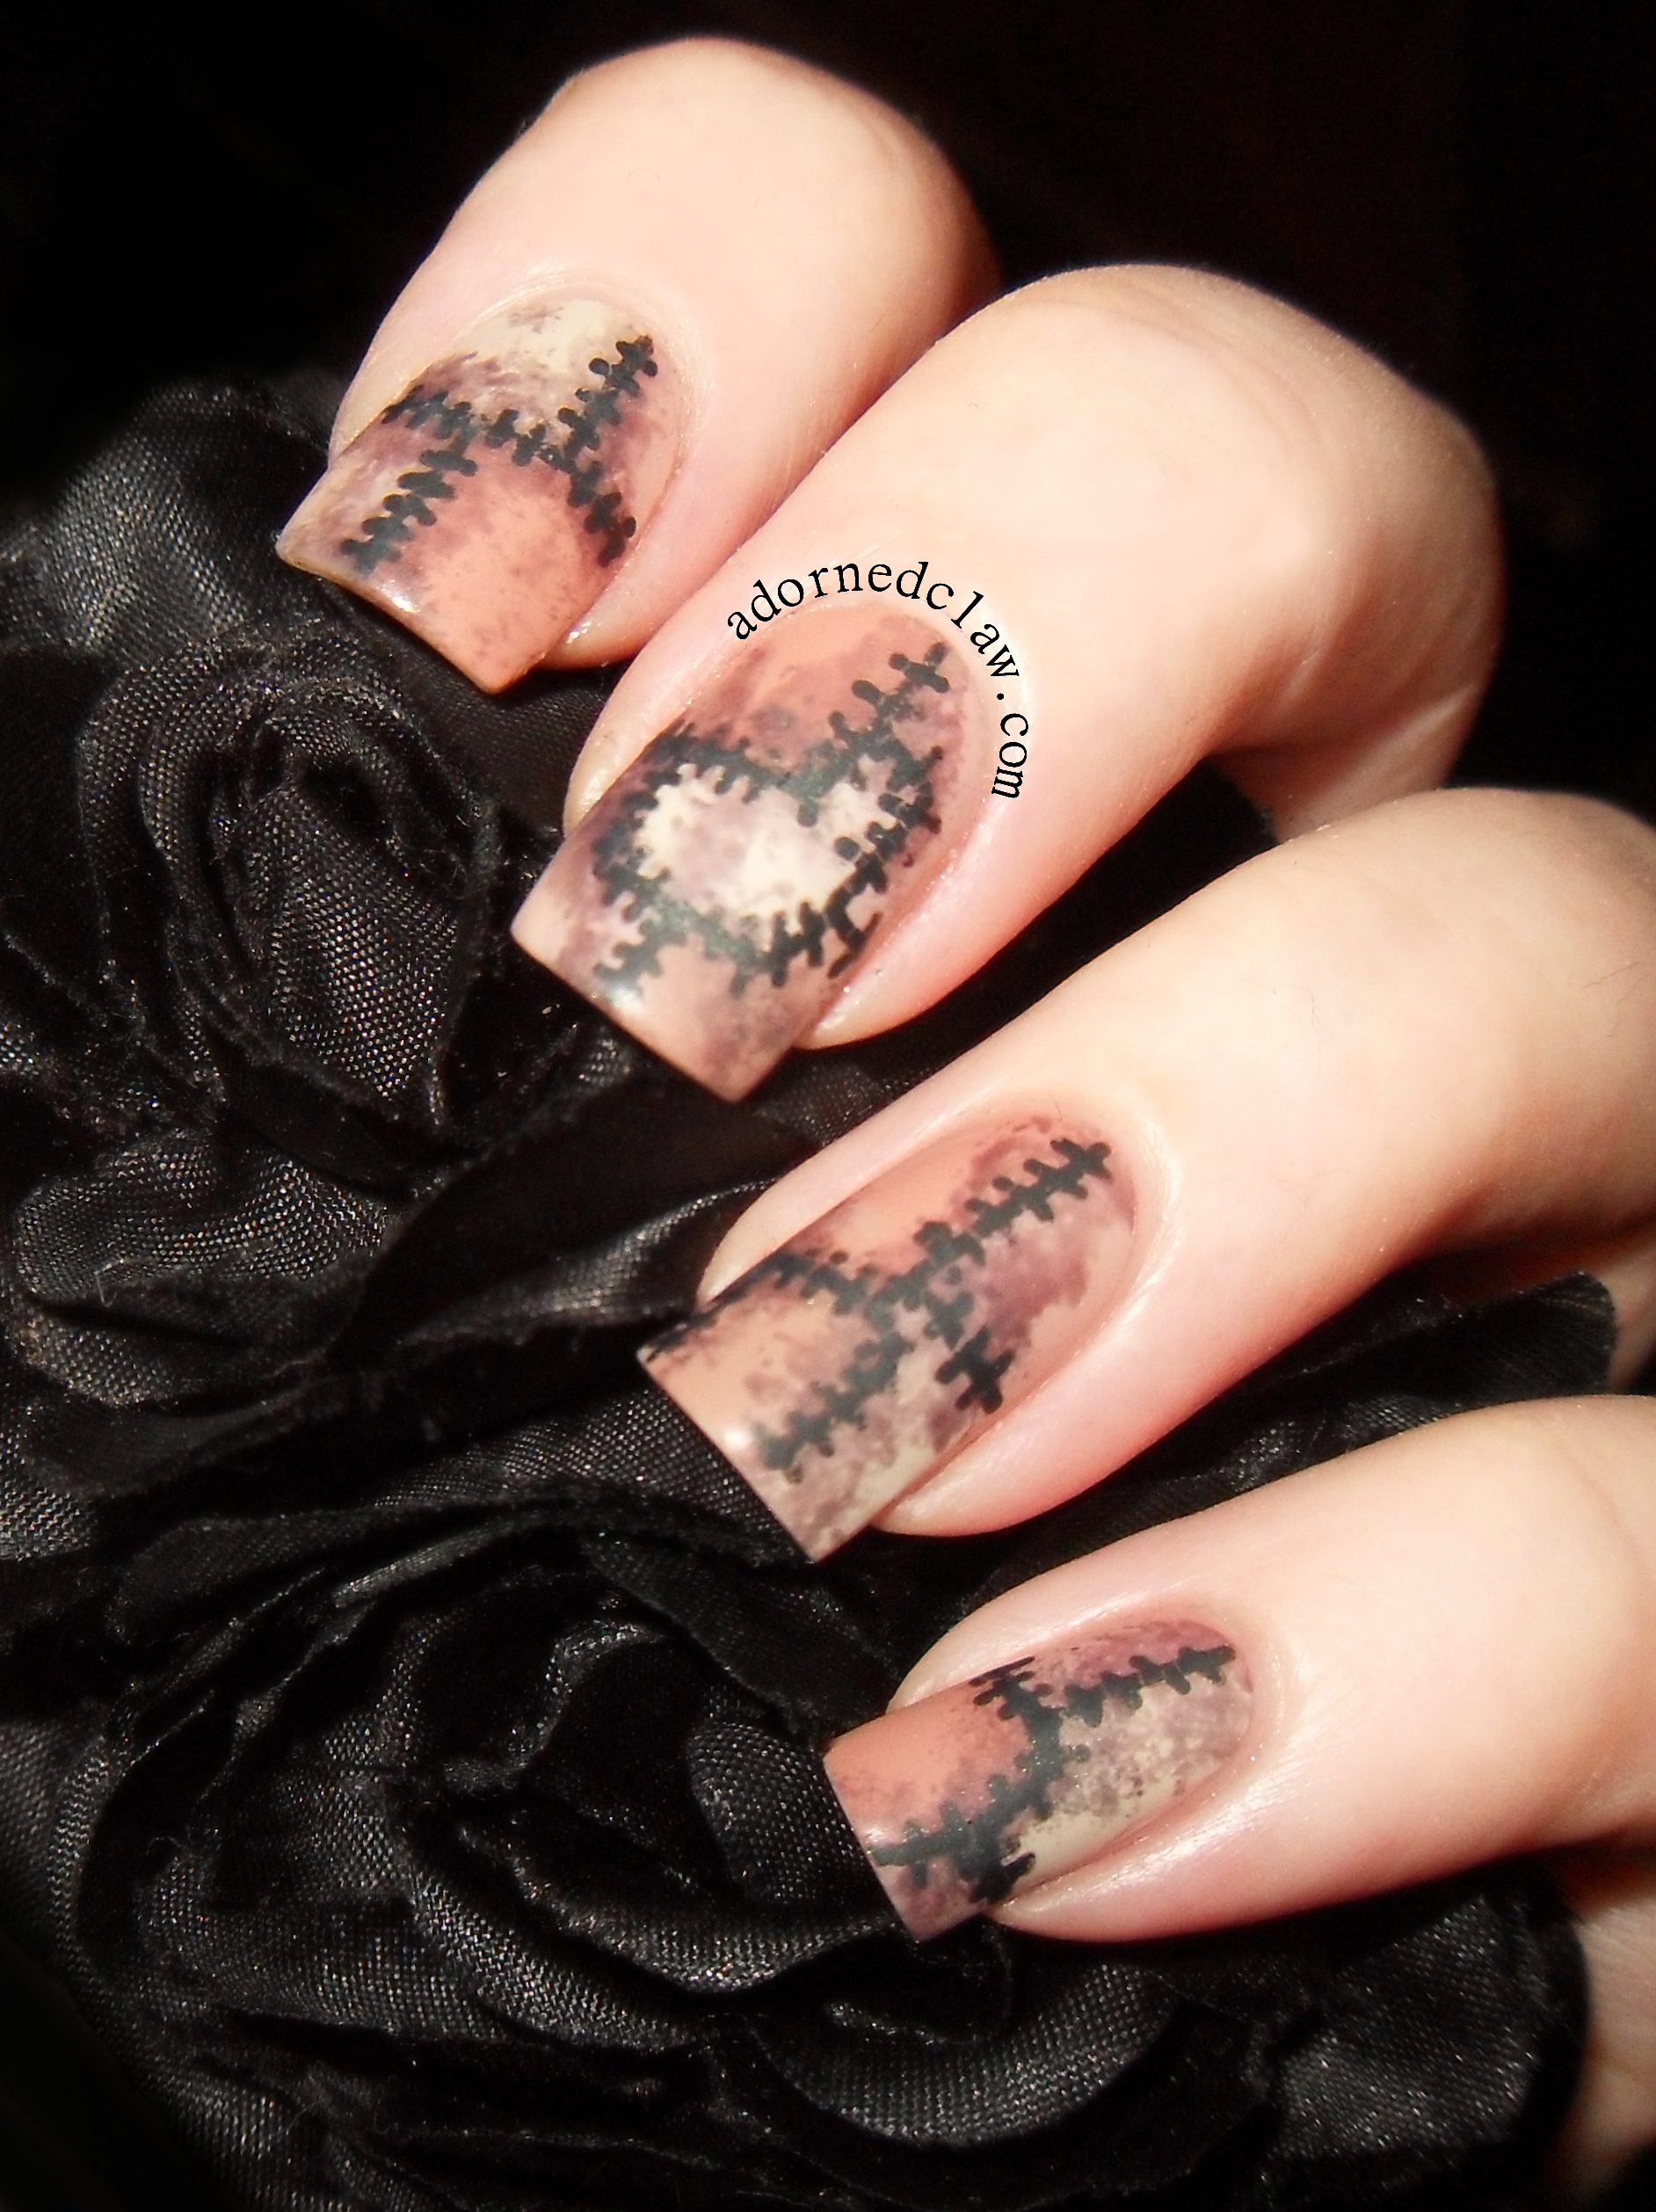
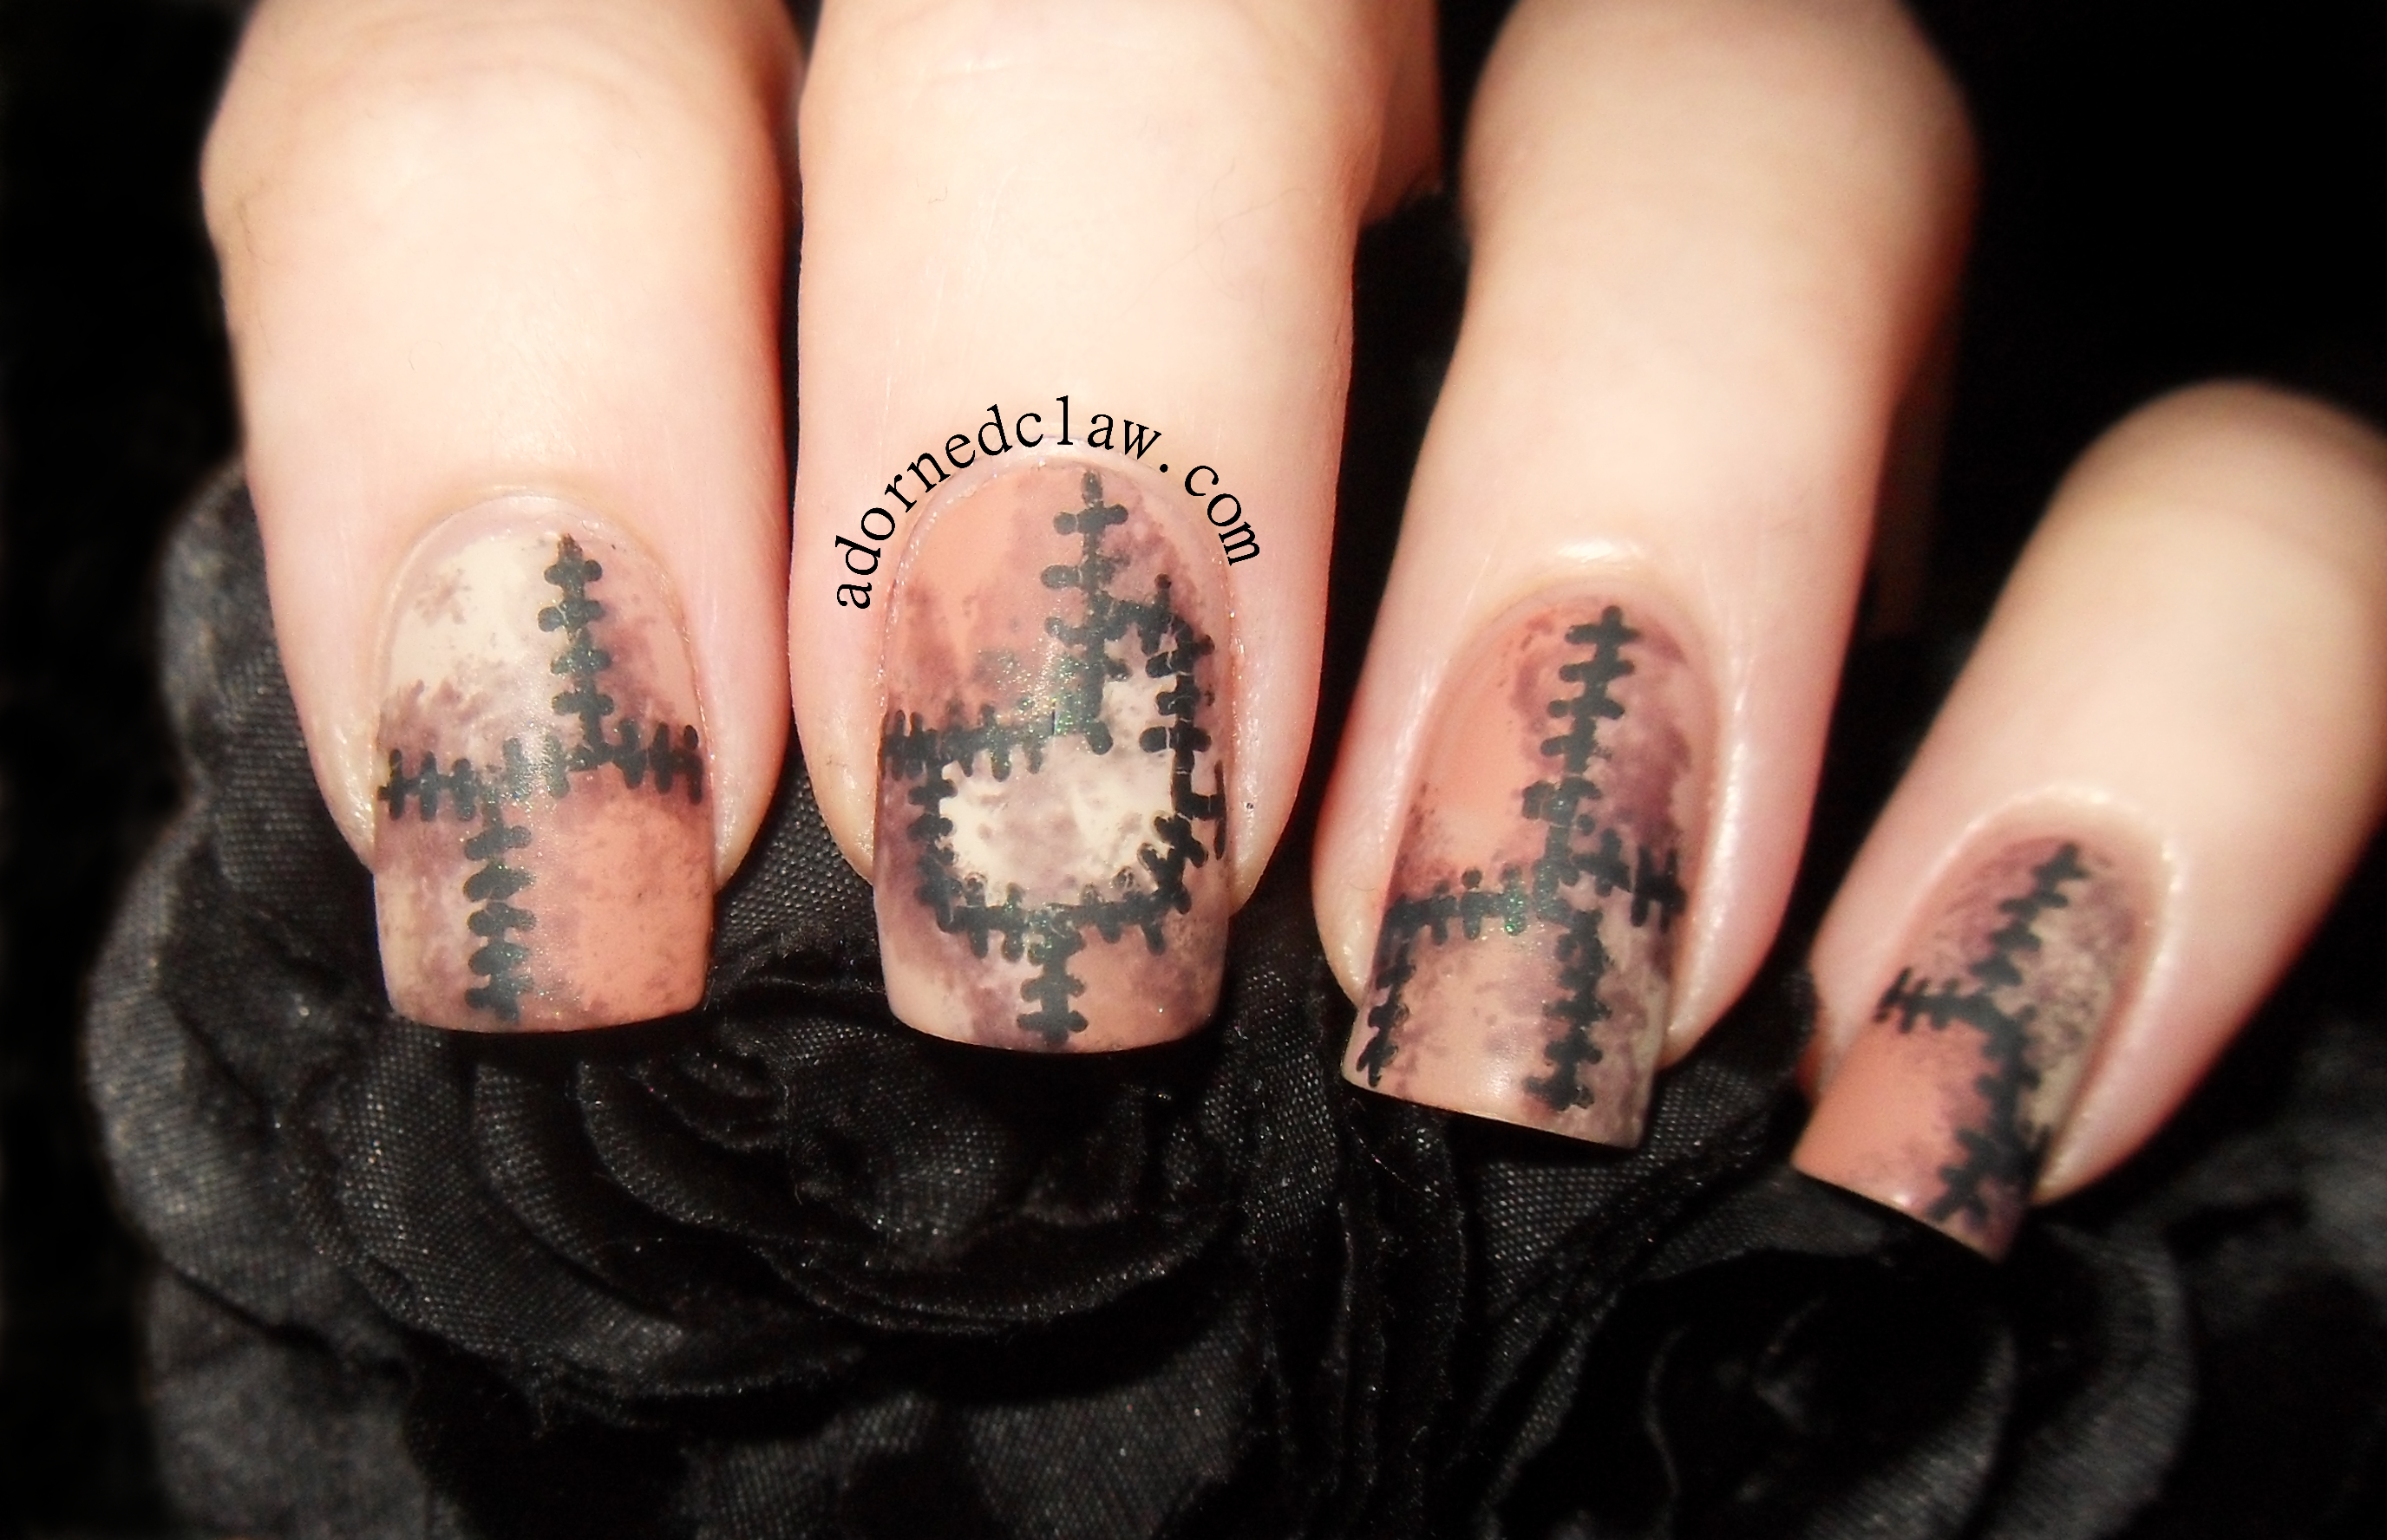
From the images on plate 3 I think the lace skull is amazing! I actually like all of the lace images from this plate. From plate 4 the images for me that really stand out are the text, tree and the crow. The only image I had a problem with stamping is the little cemetery, it needs a light touch with the scraper, it’s far to easy to scoop out the polish from the center of the hill.
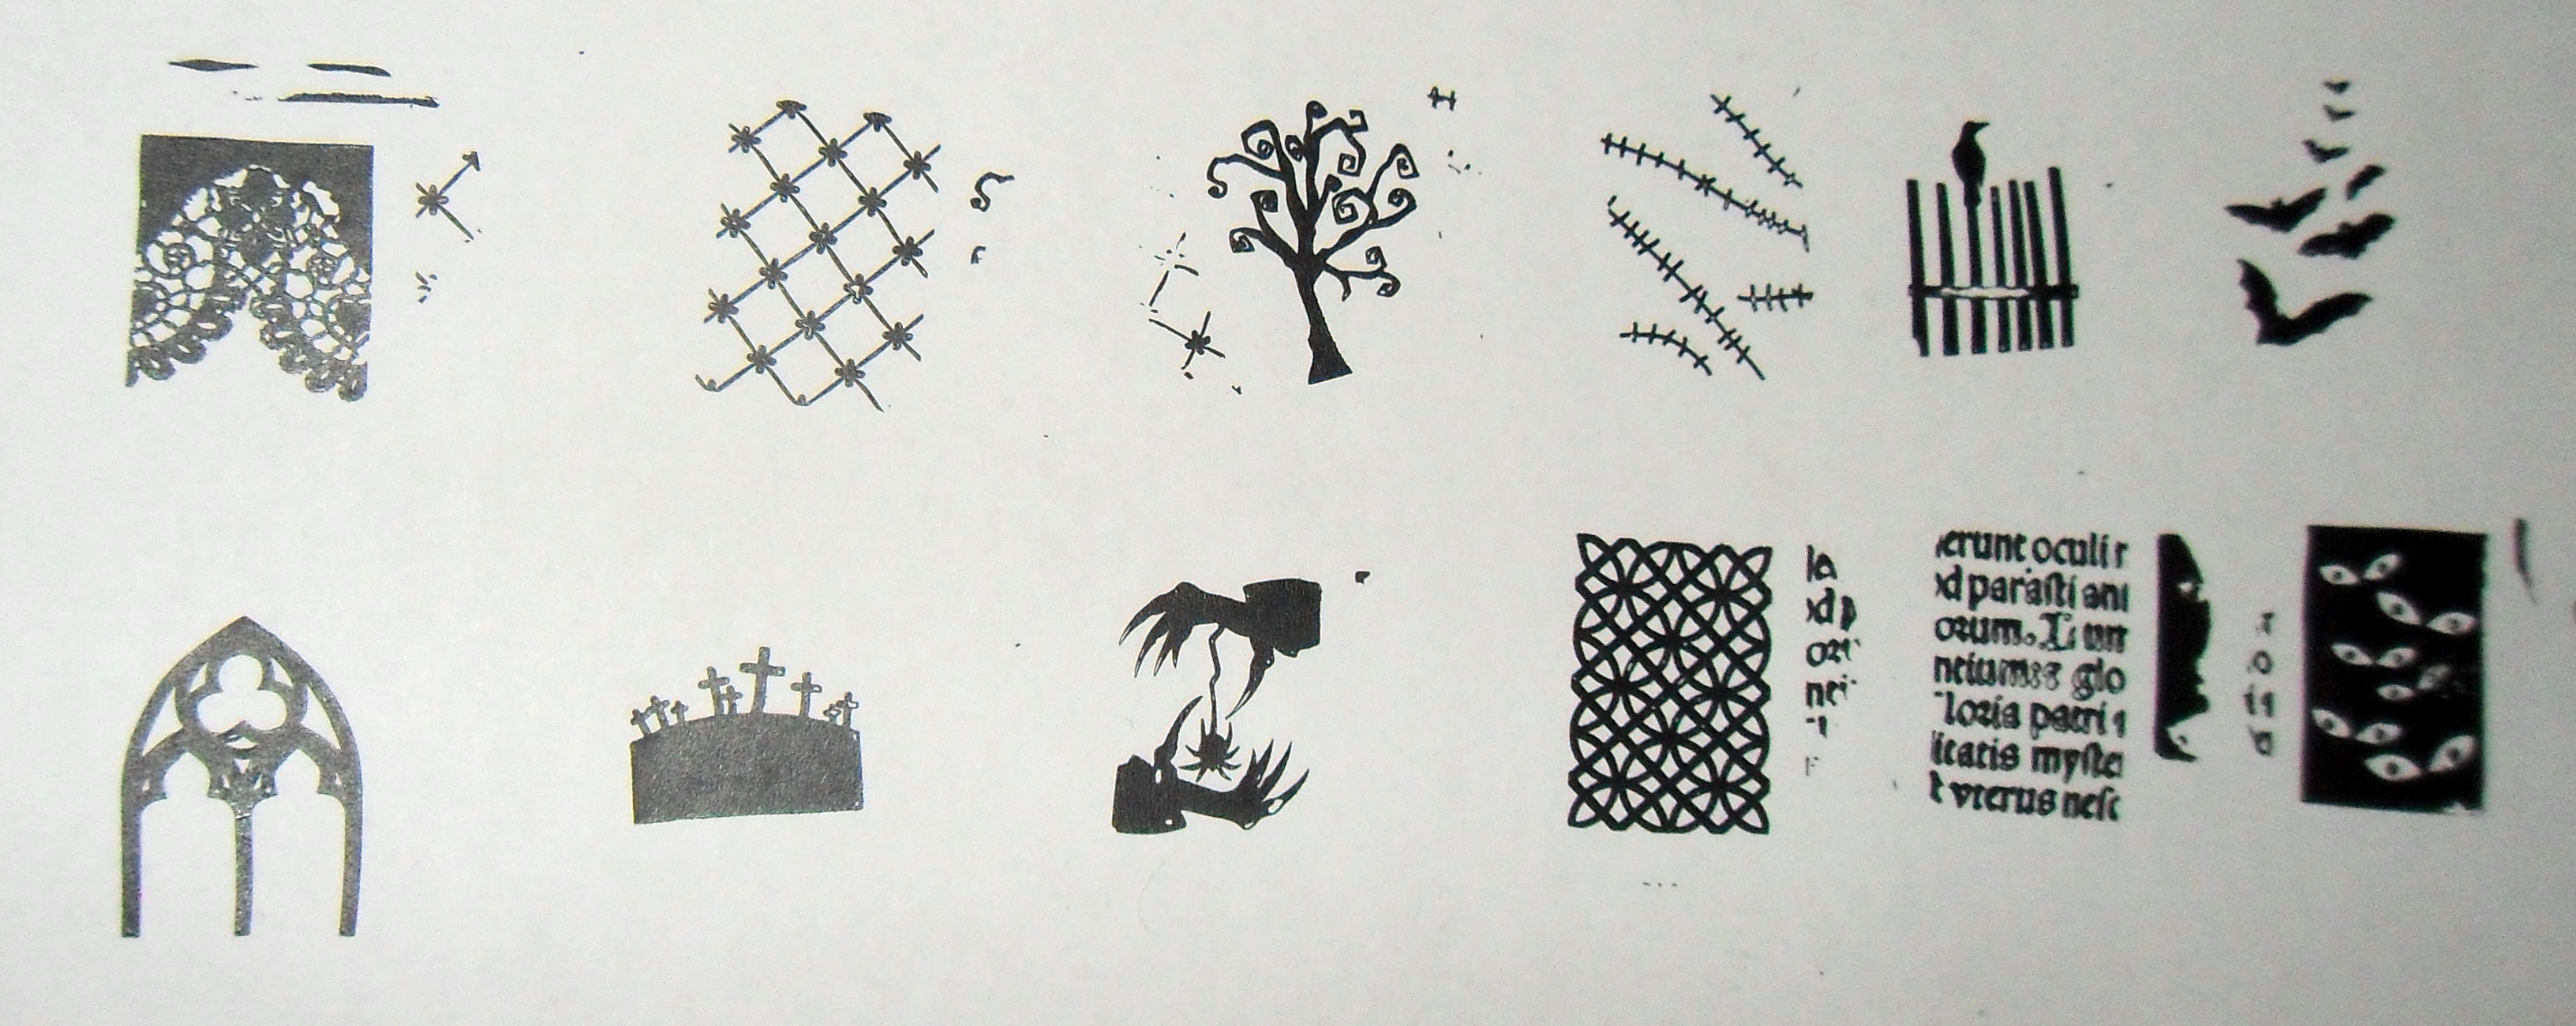
plate 04

plate 04

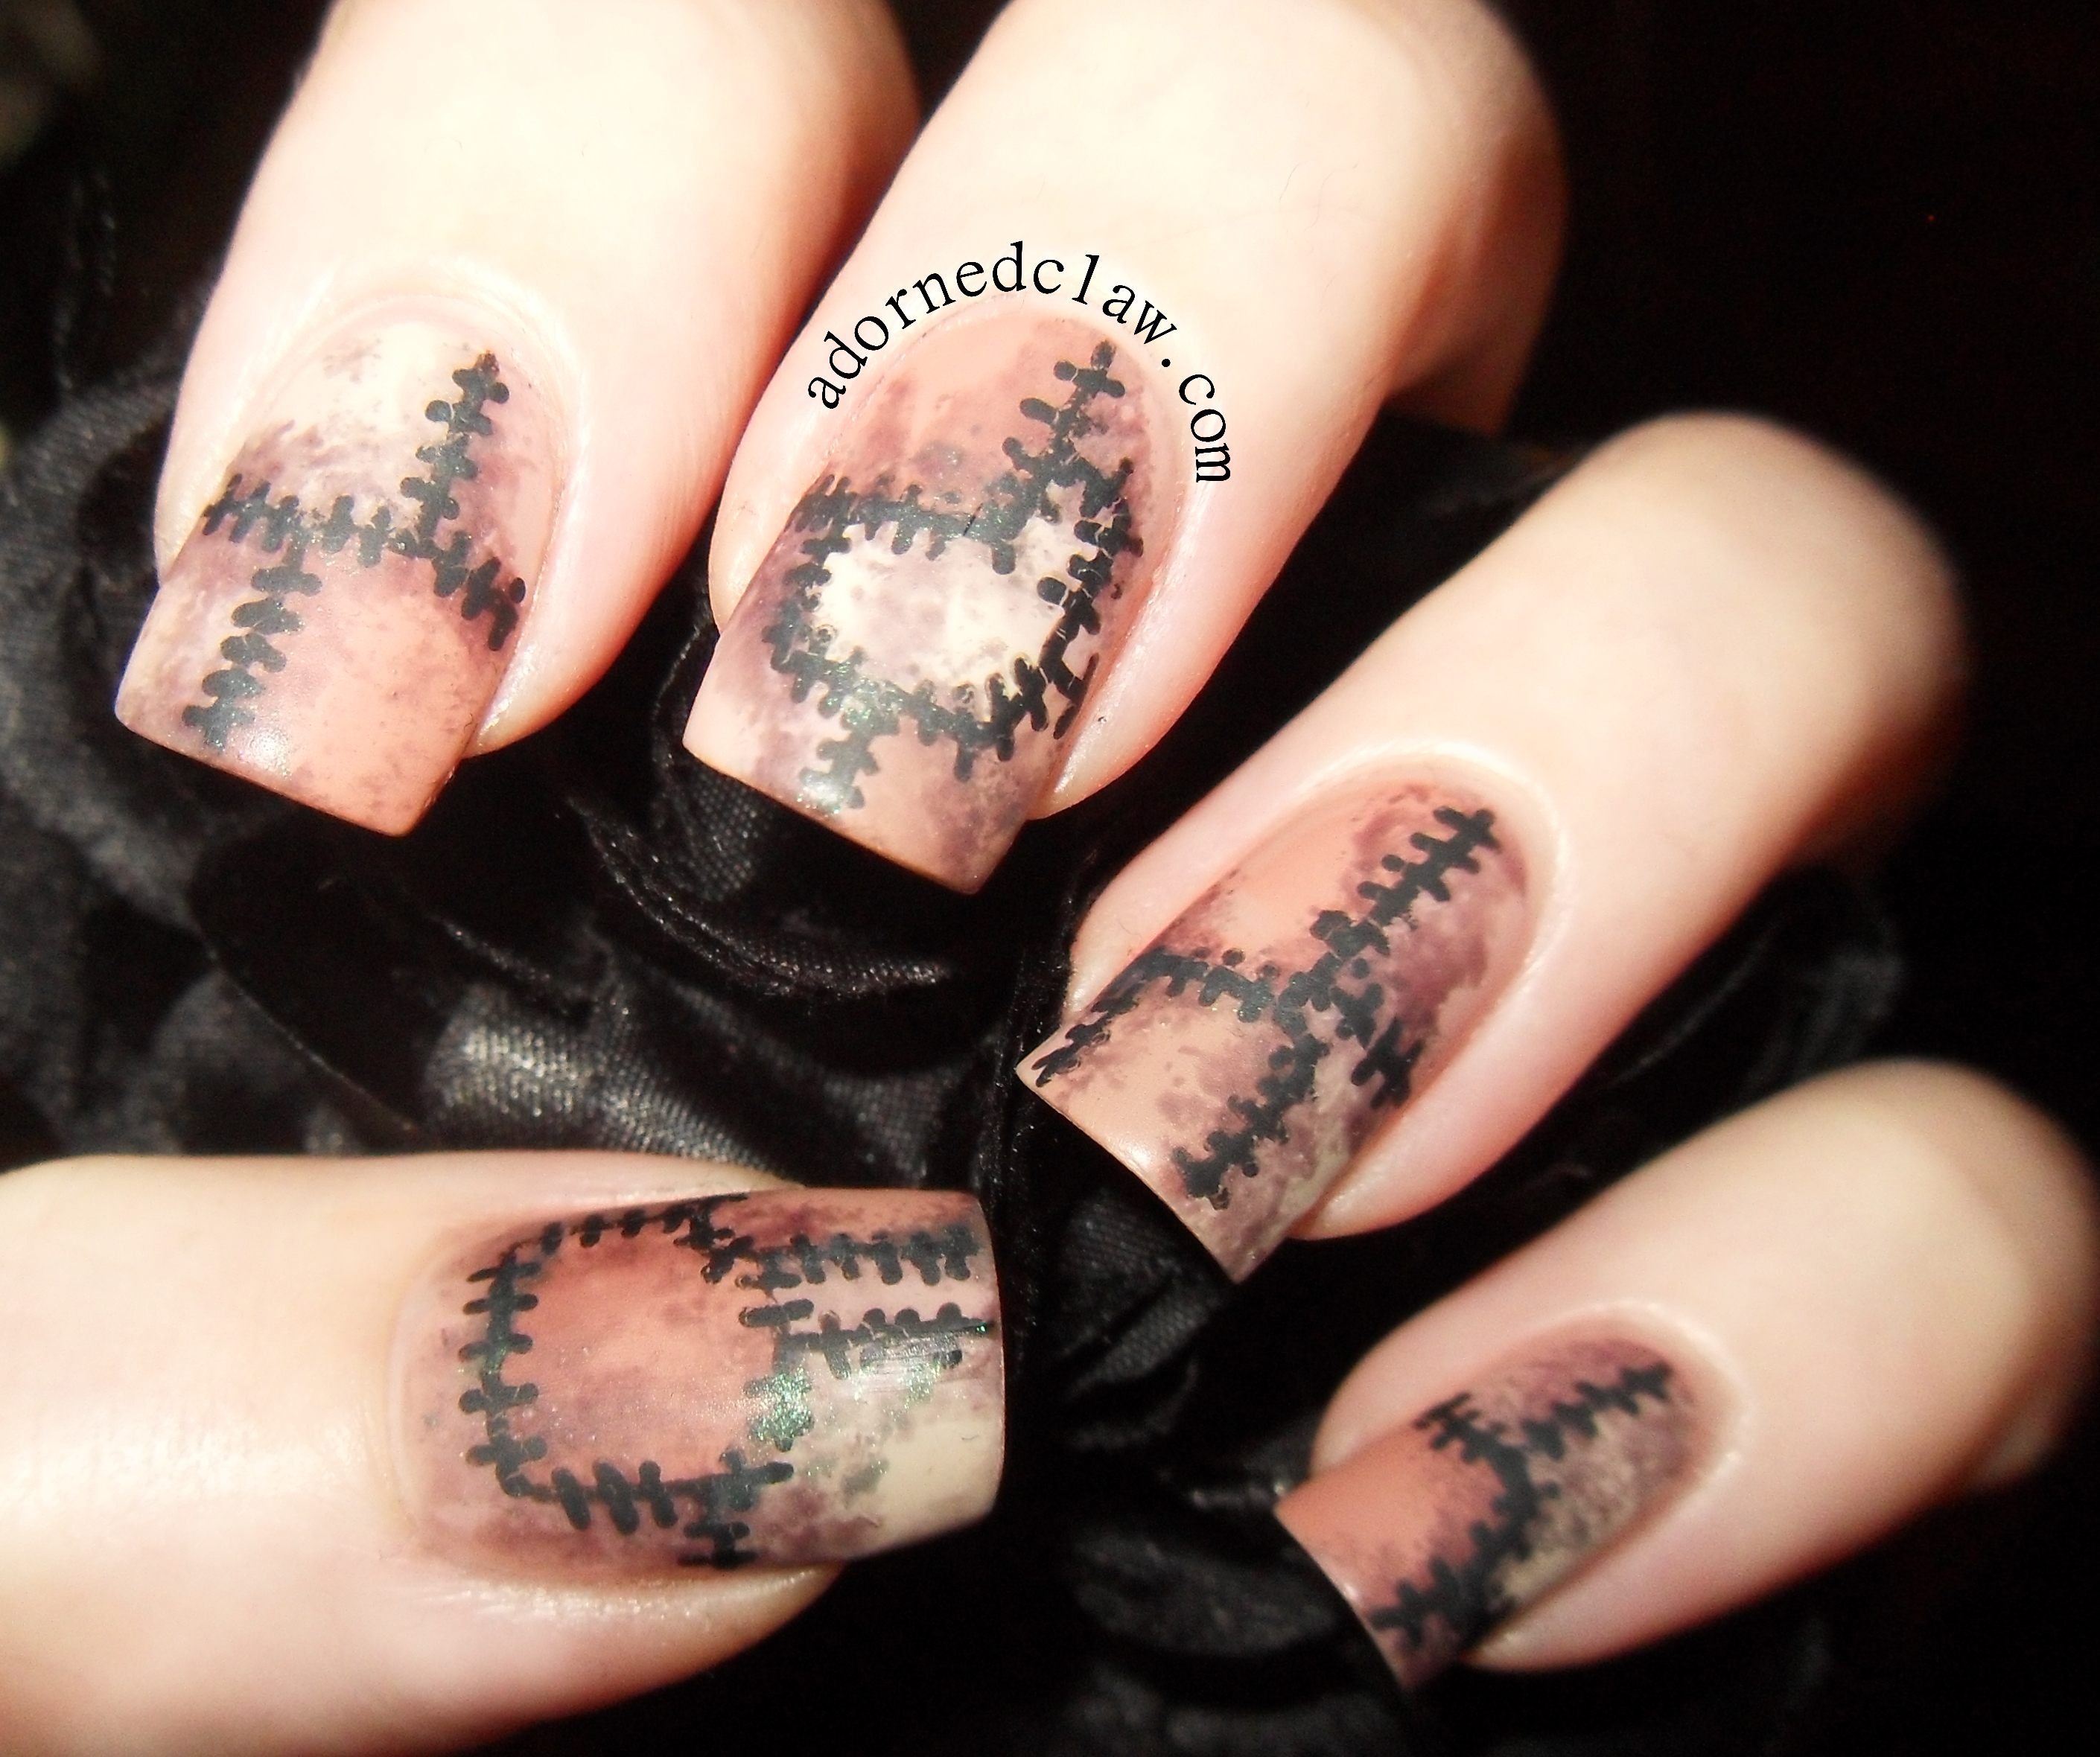
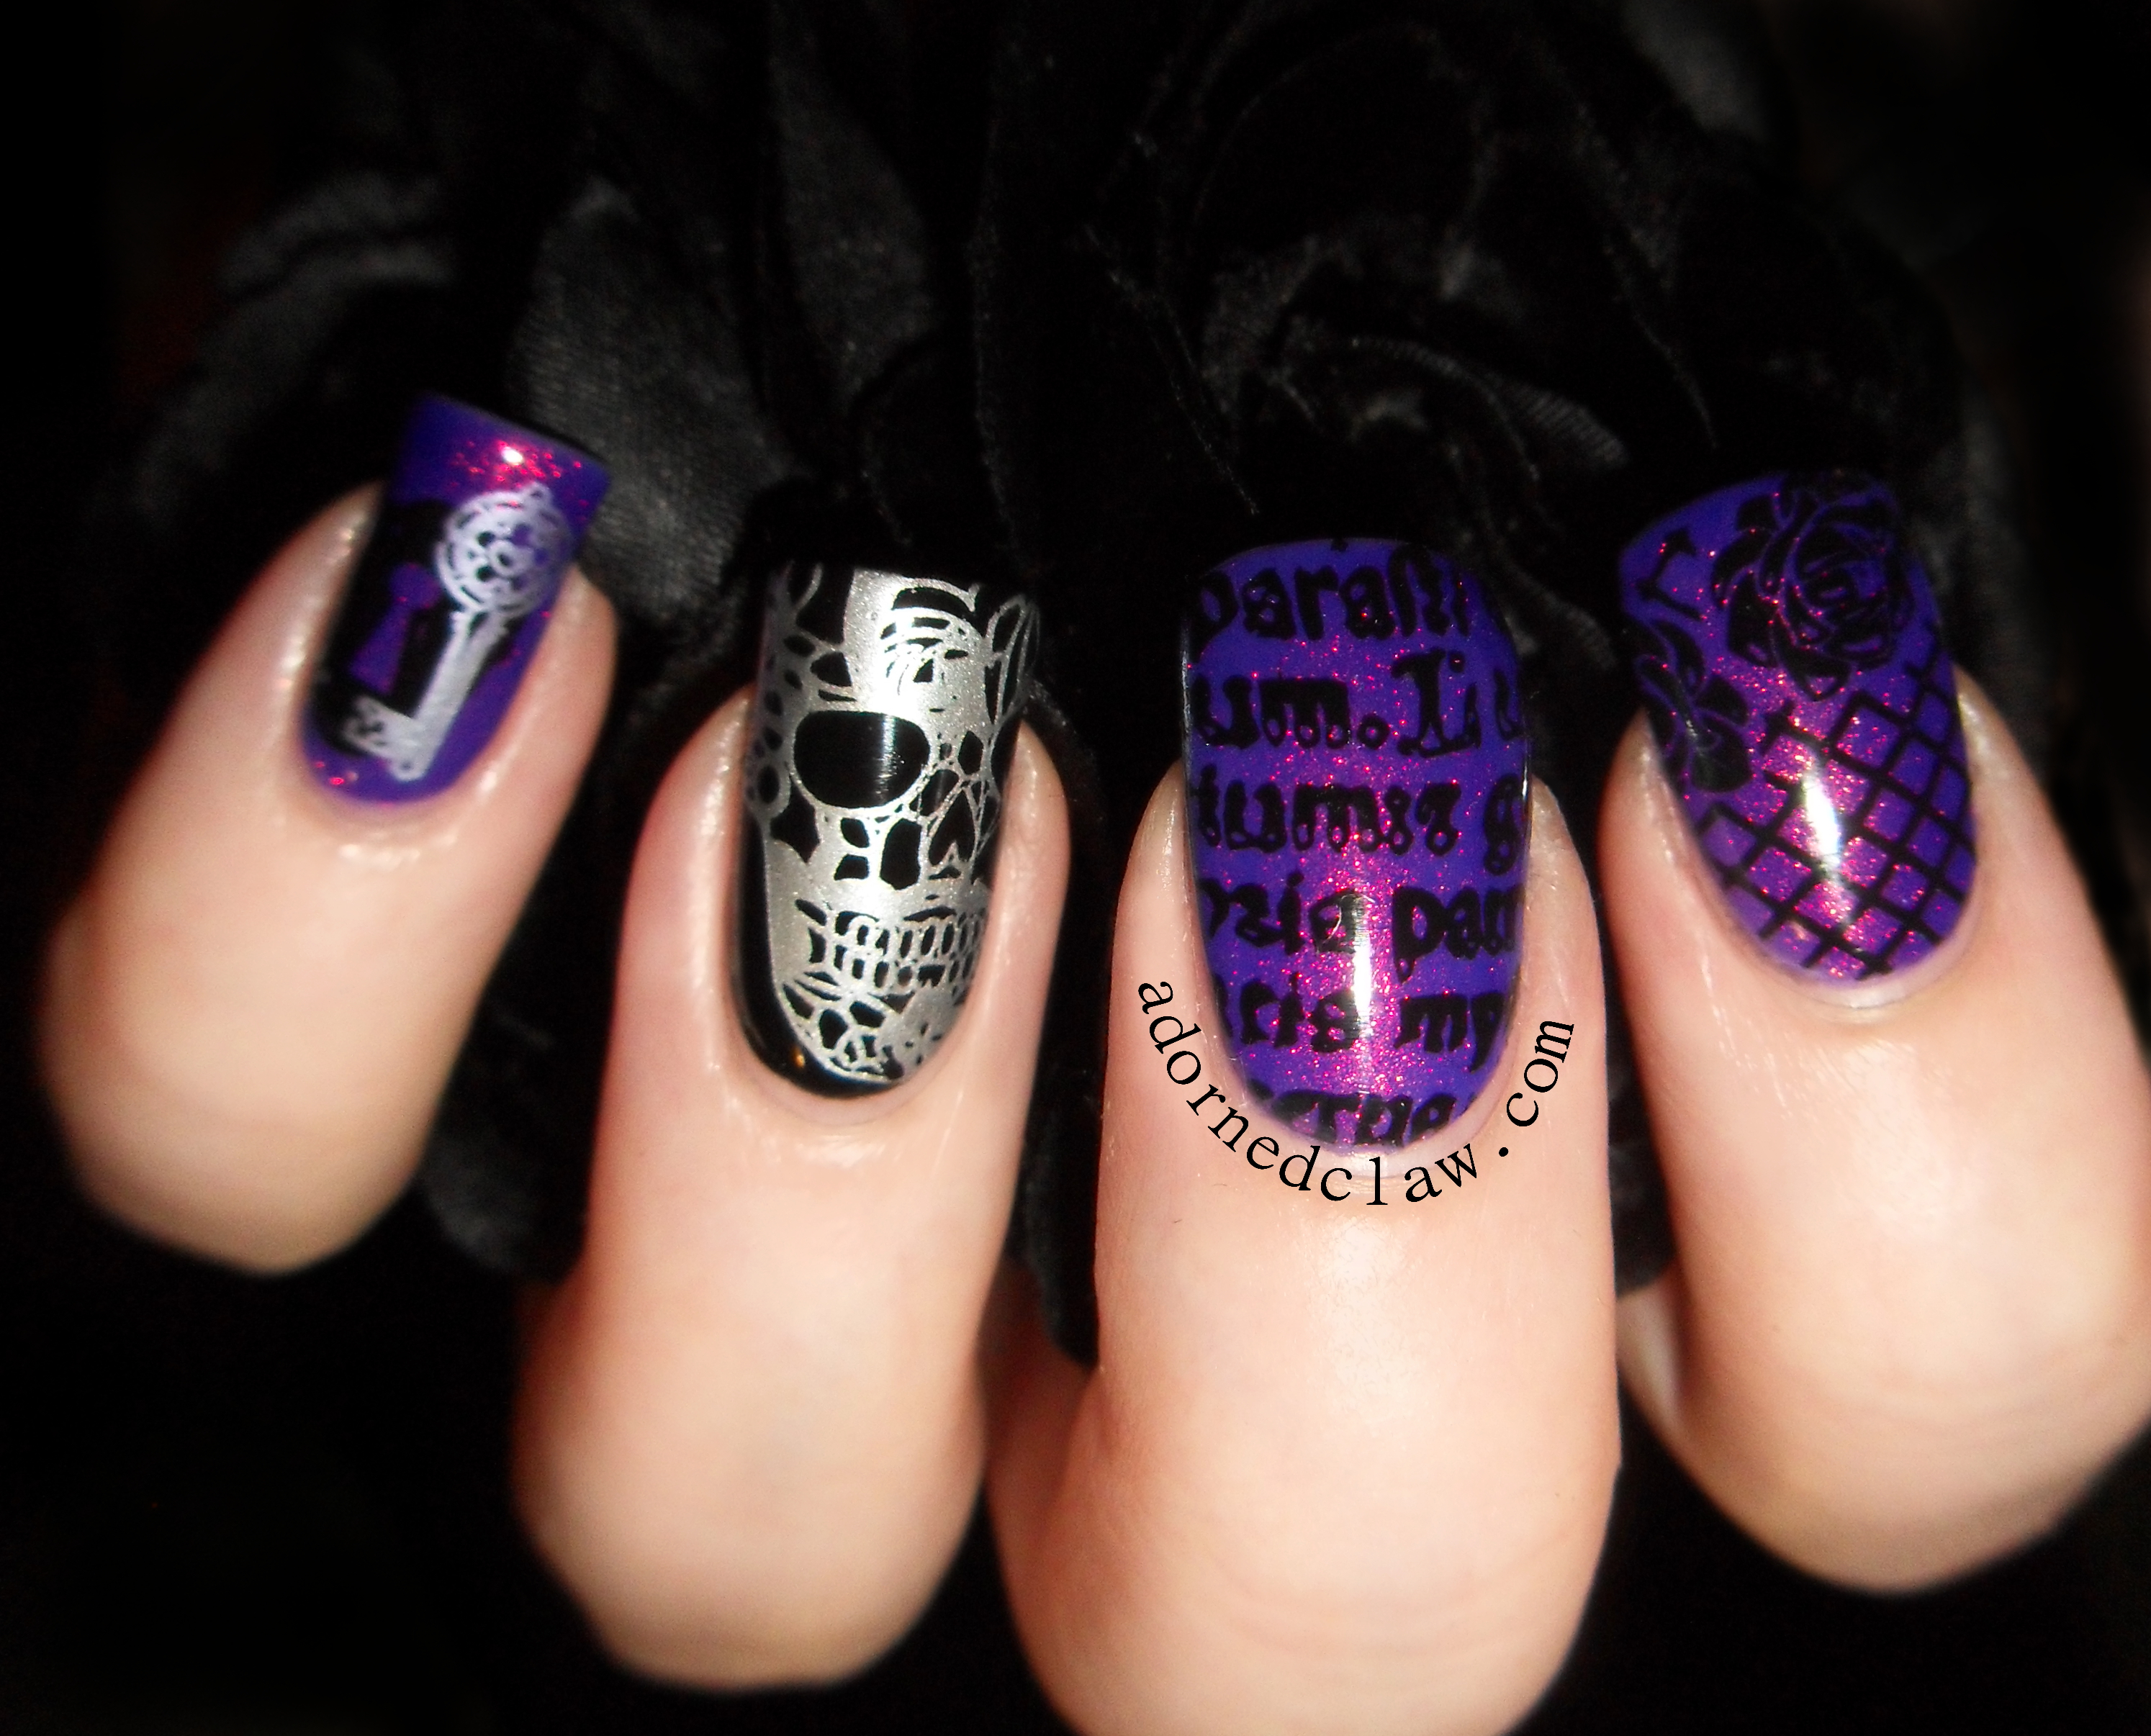
Here are a couple more pictures of the mani I created while messing about with these plates!
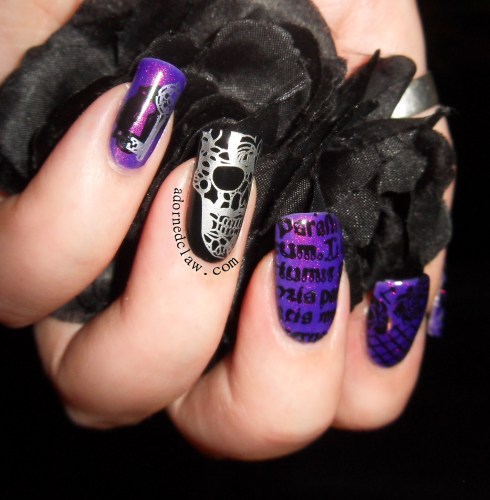
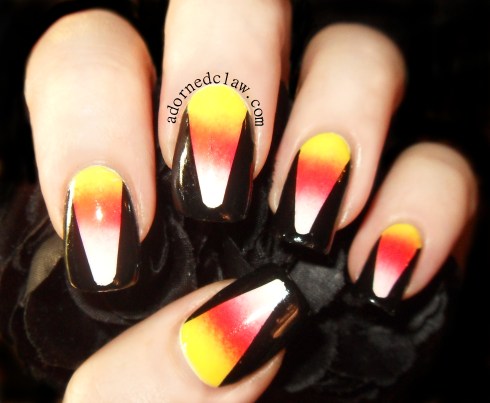
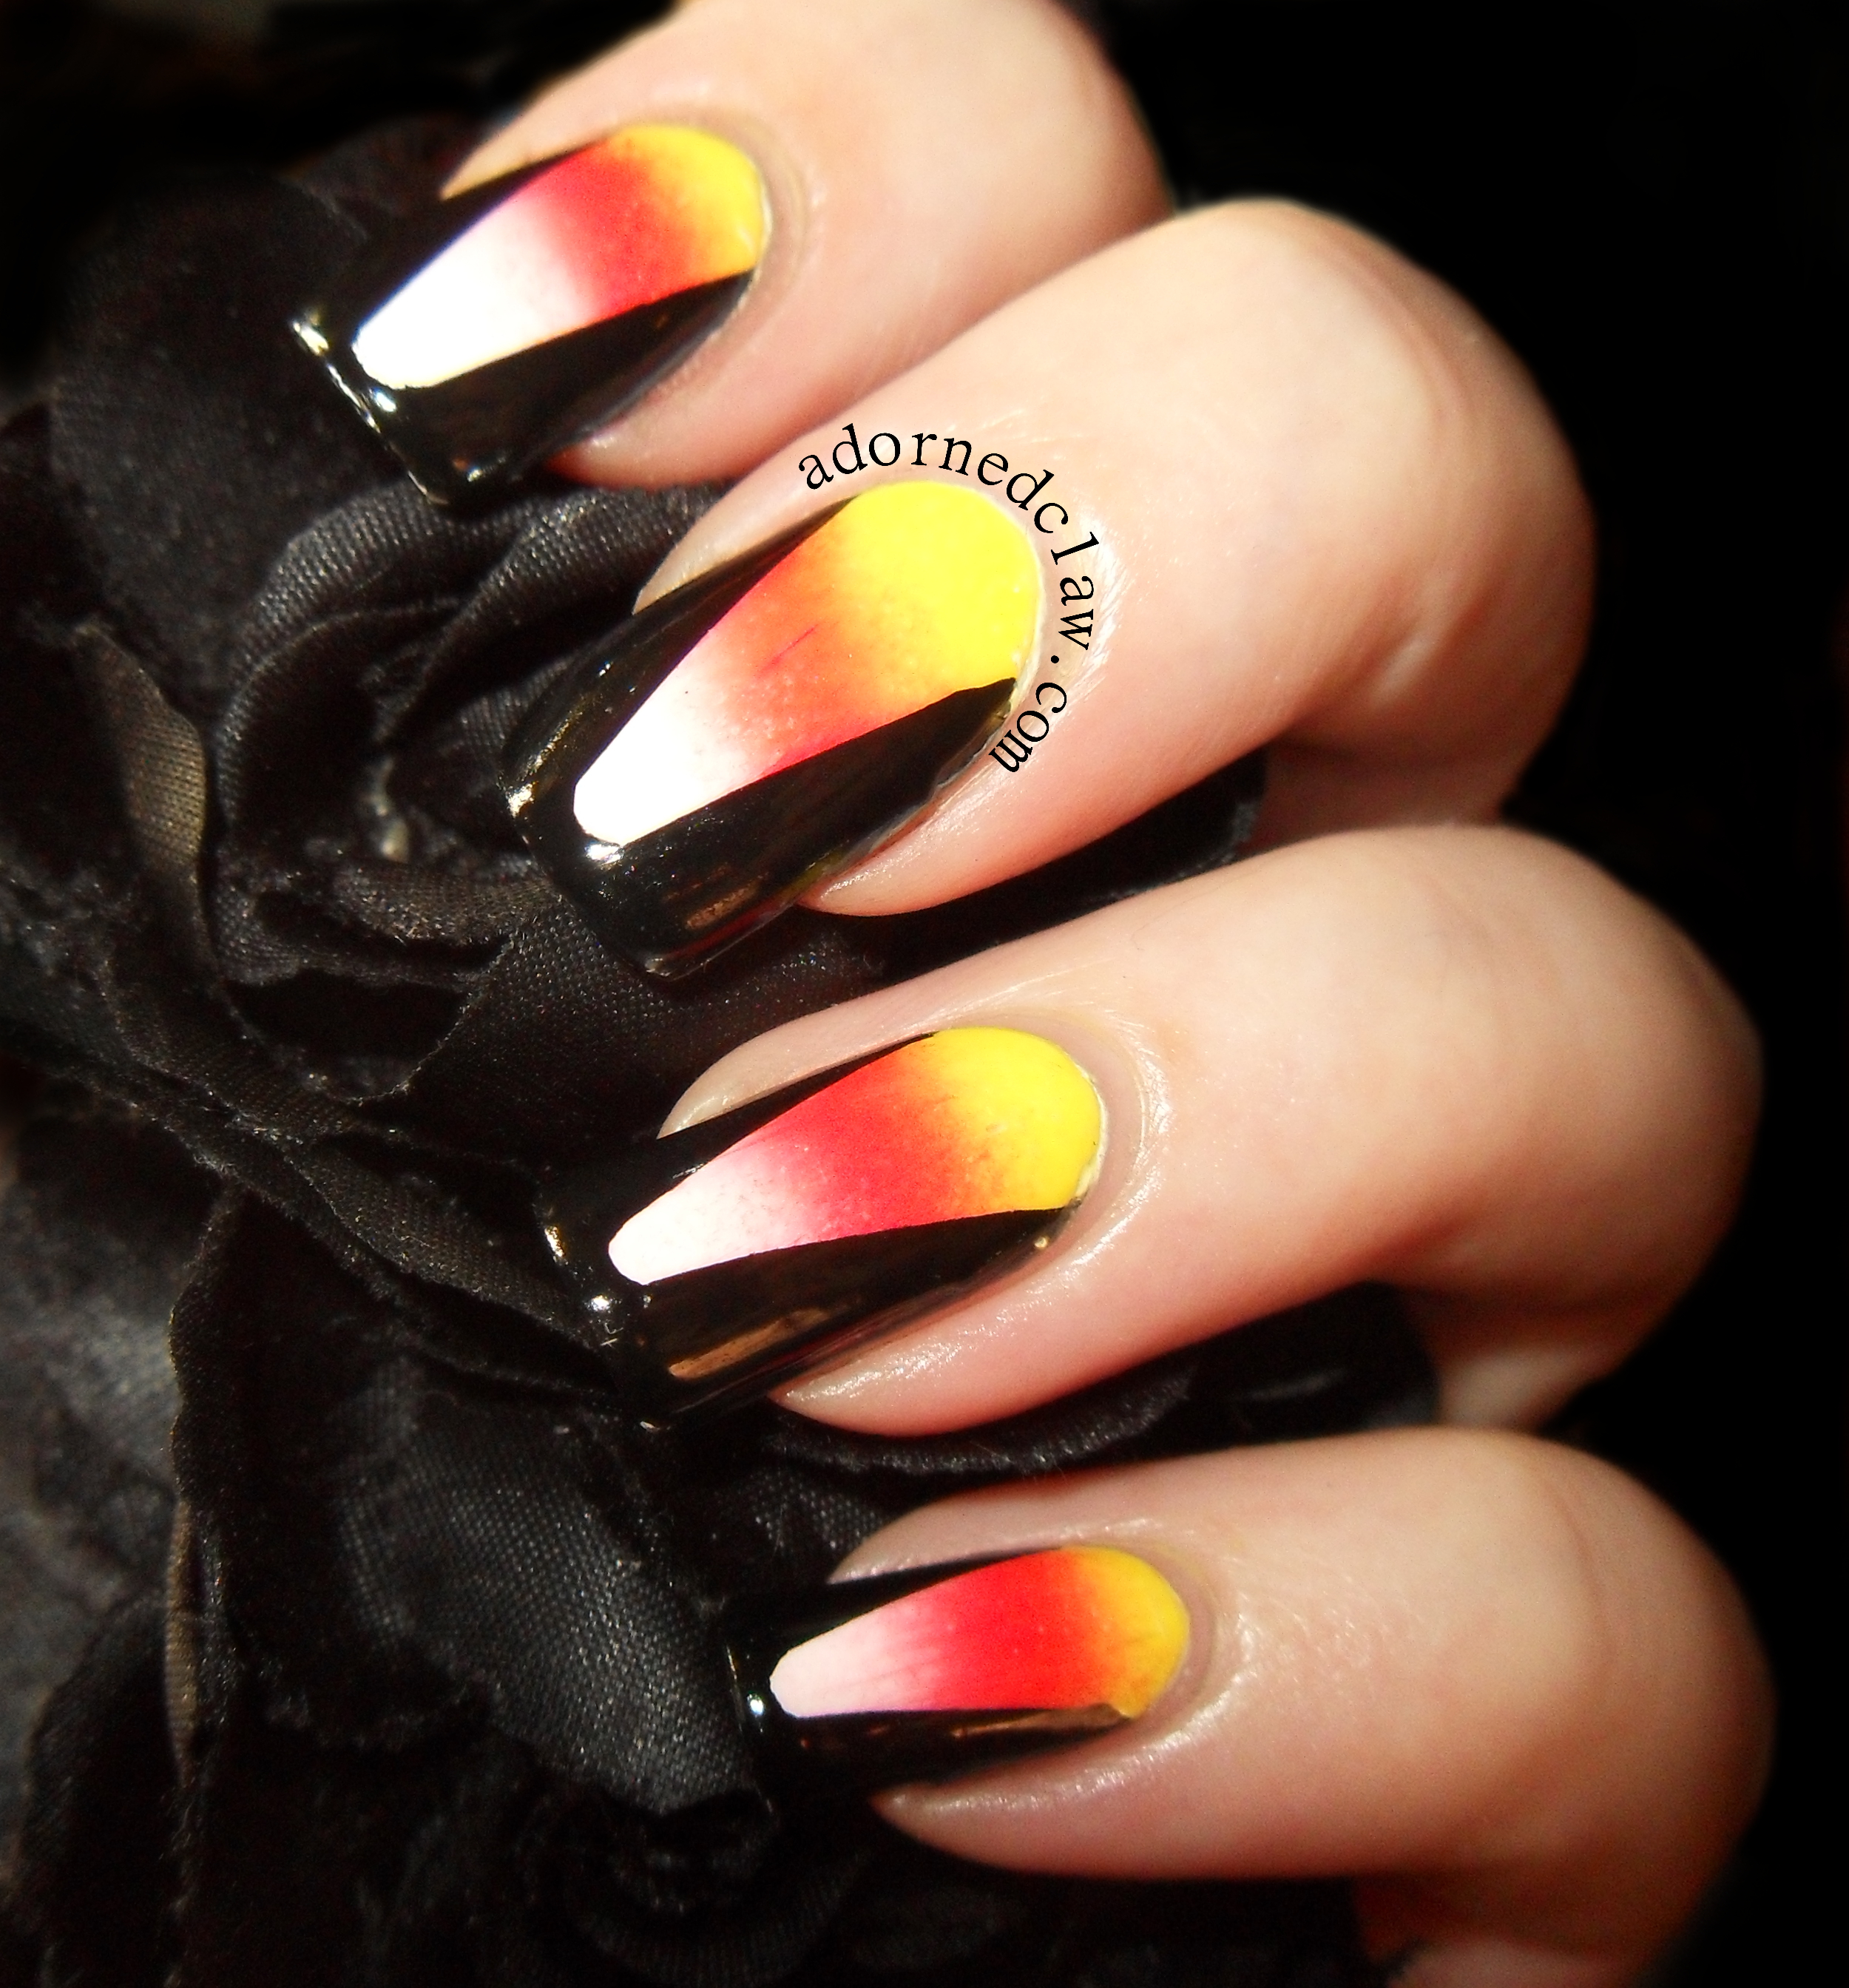
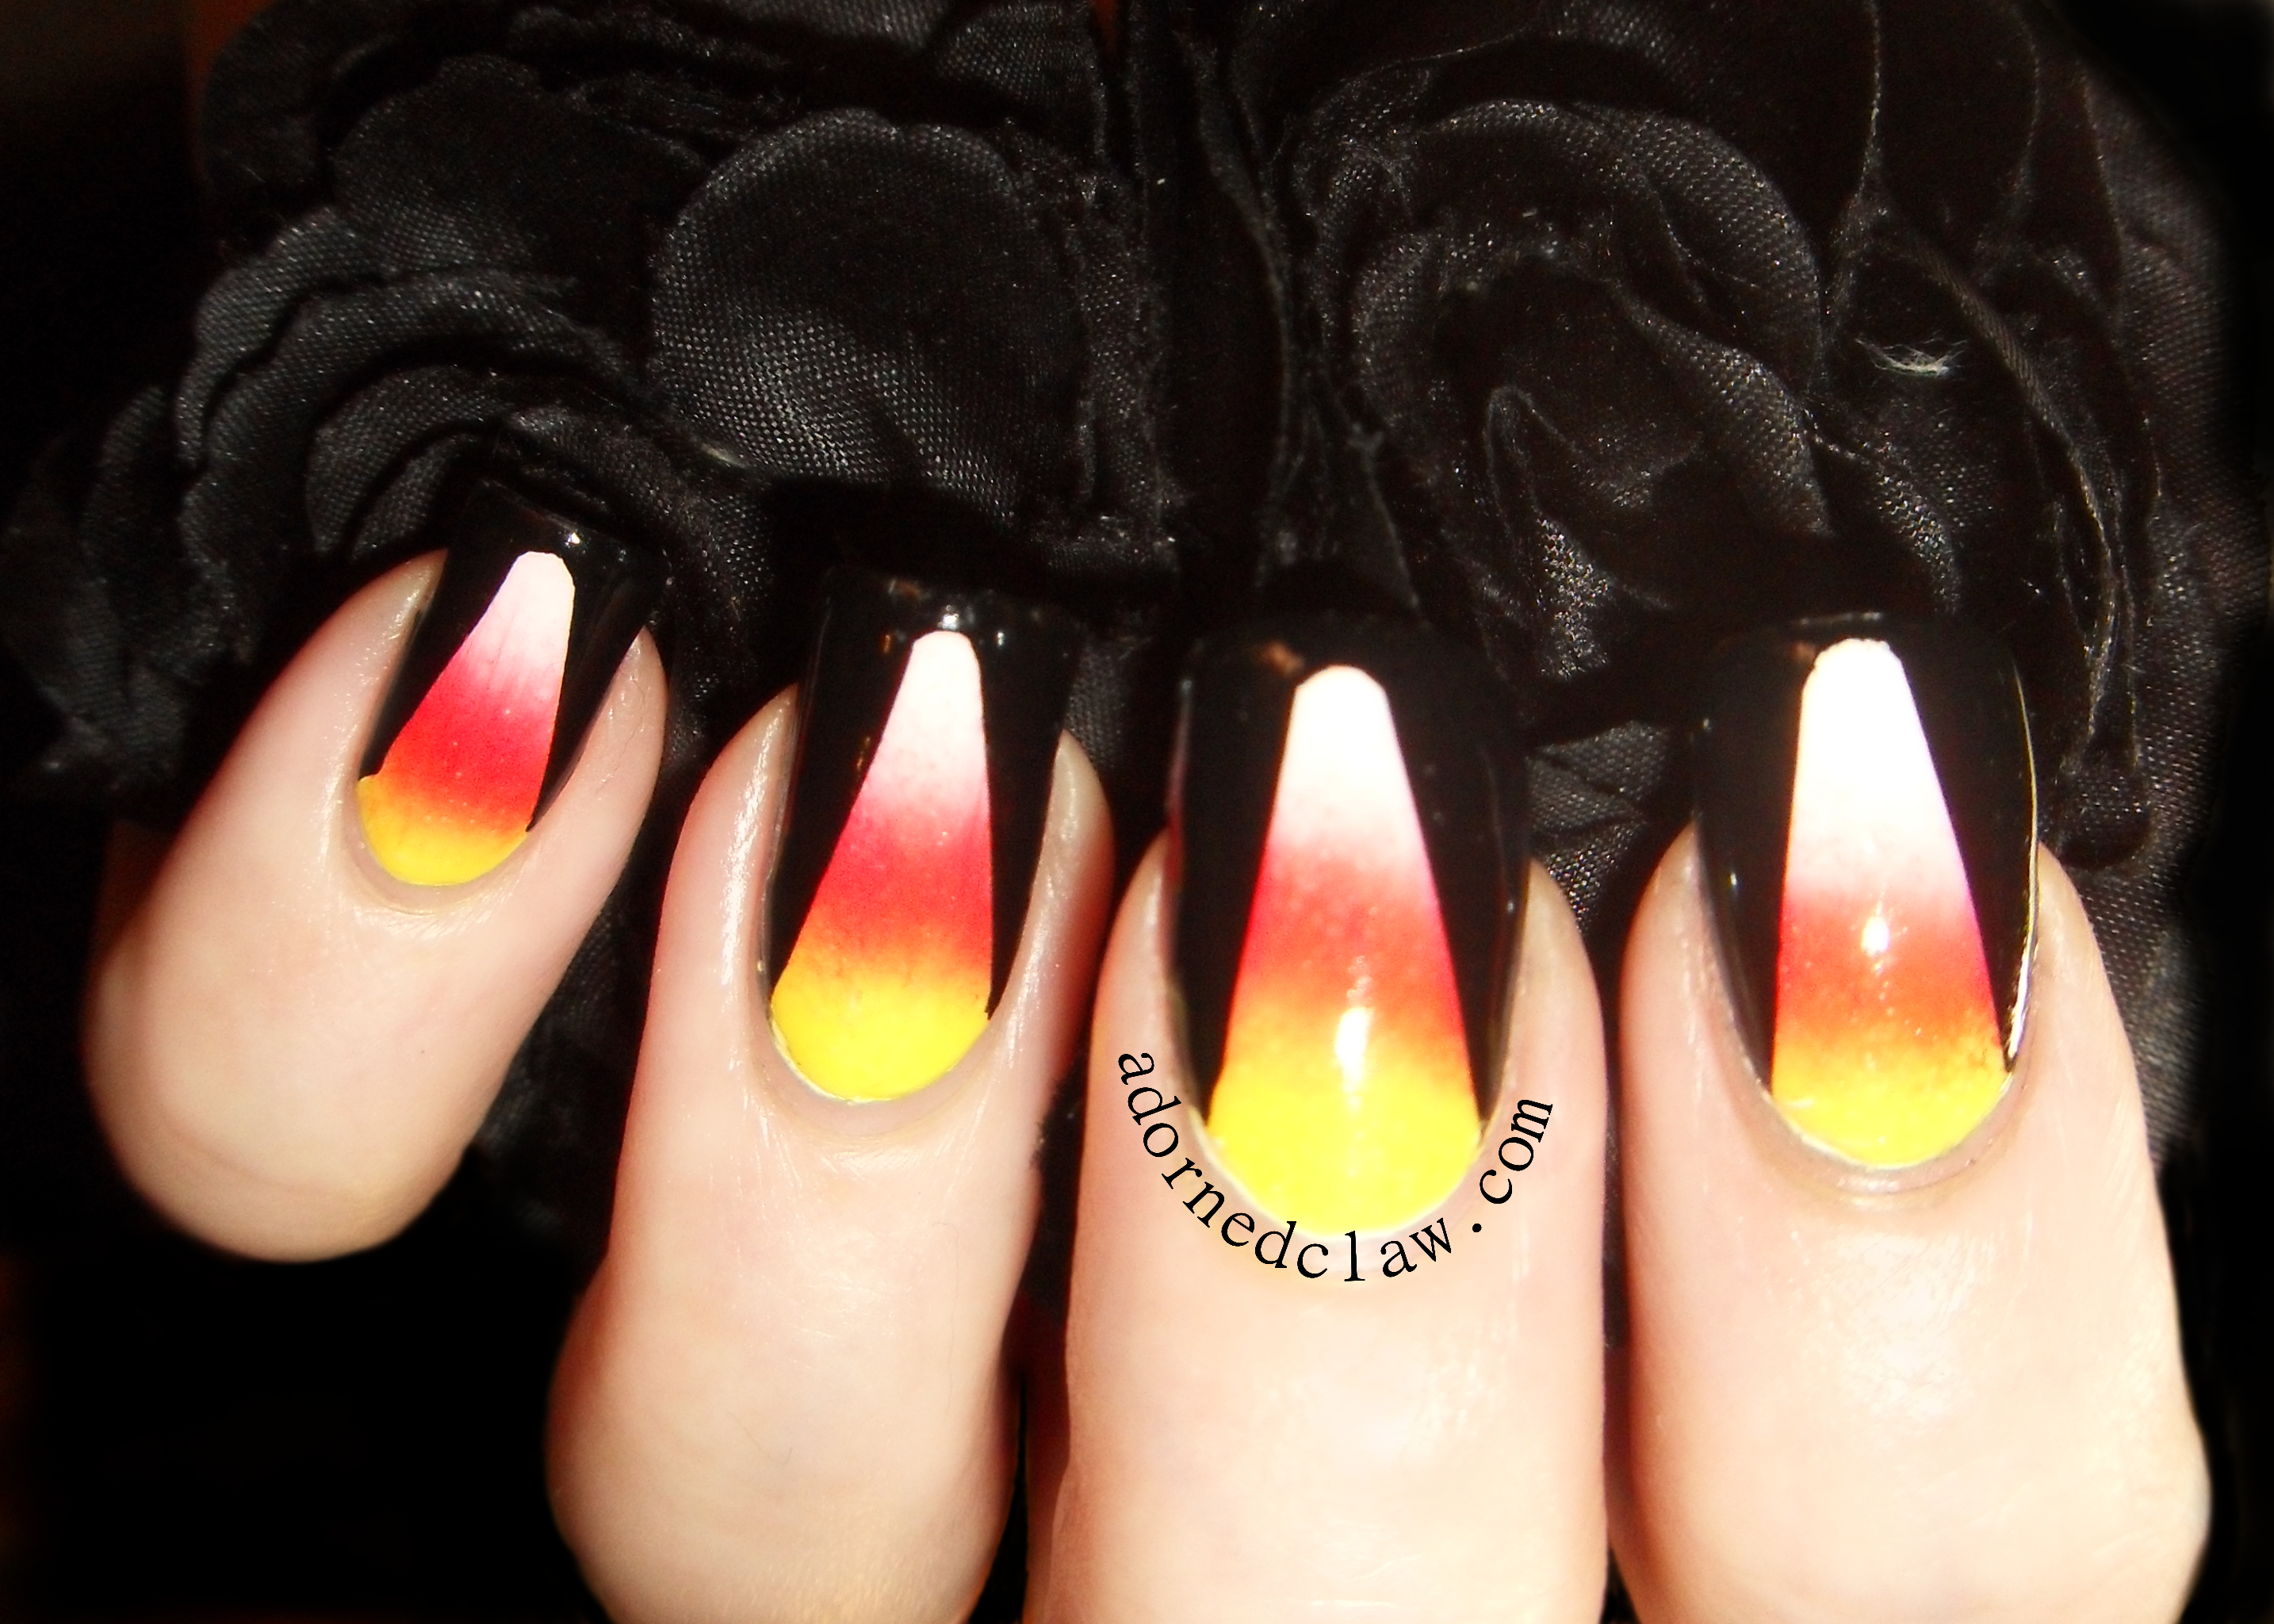
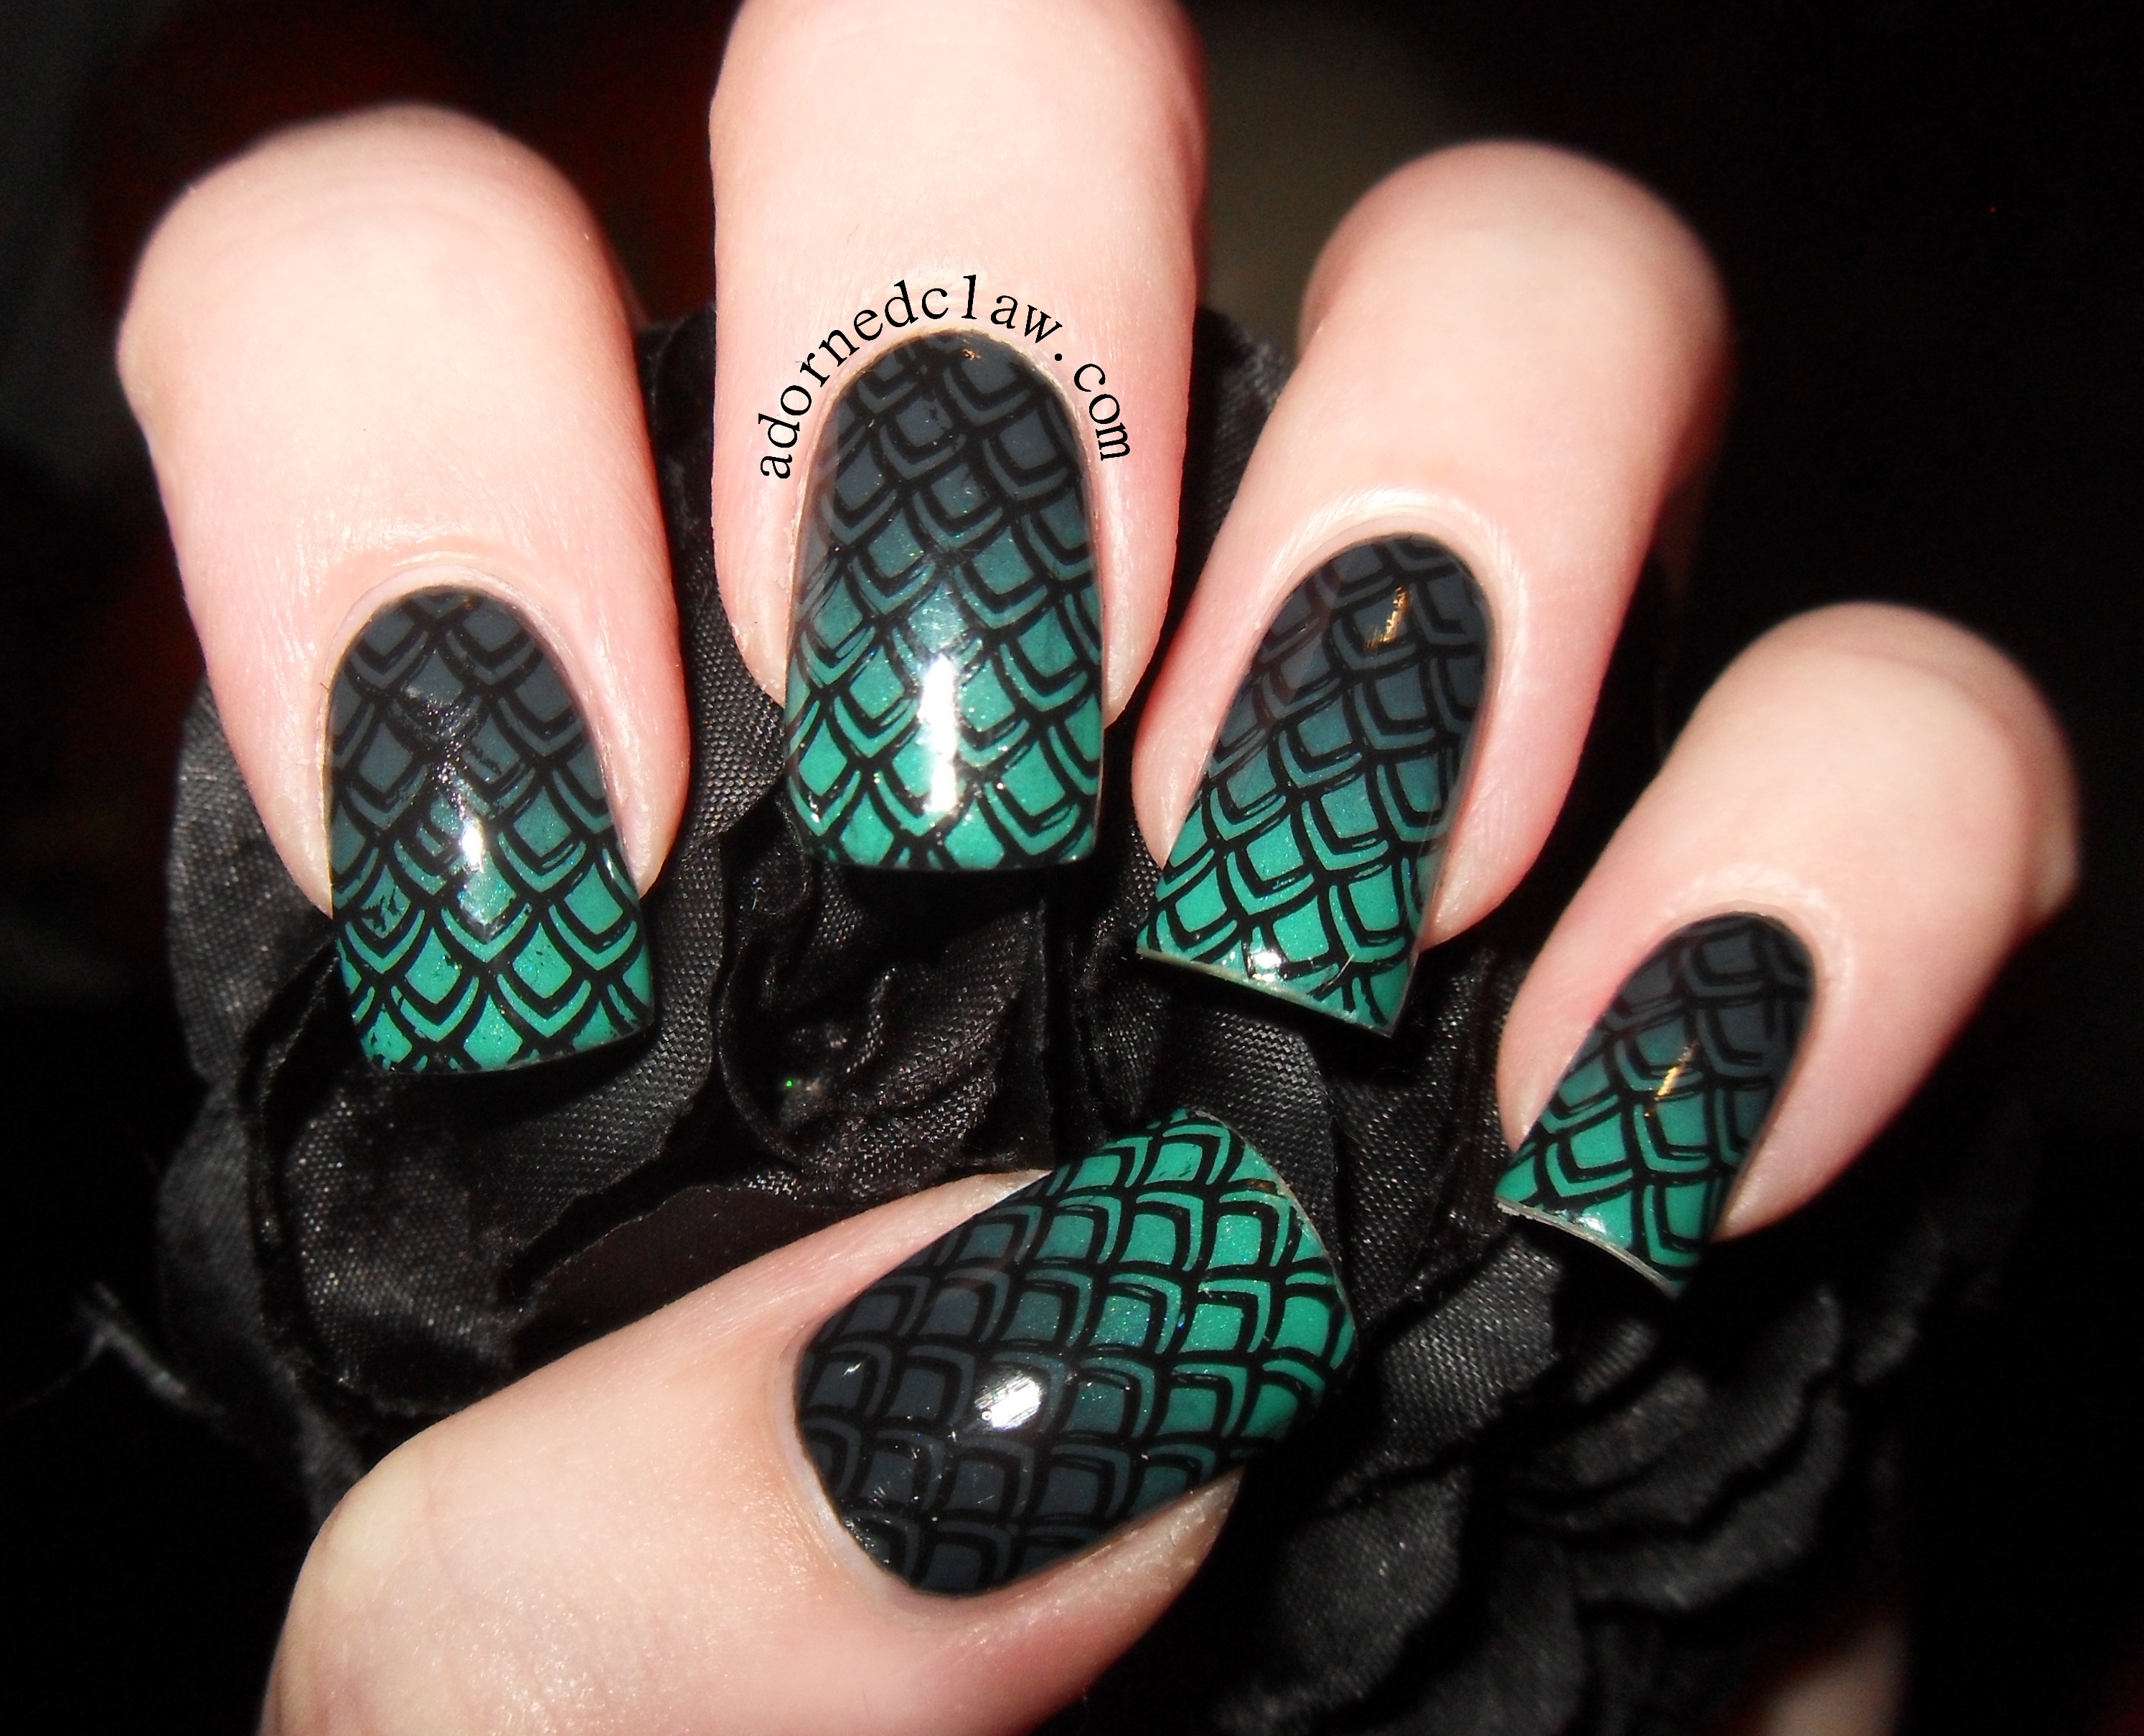
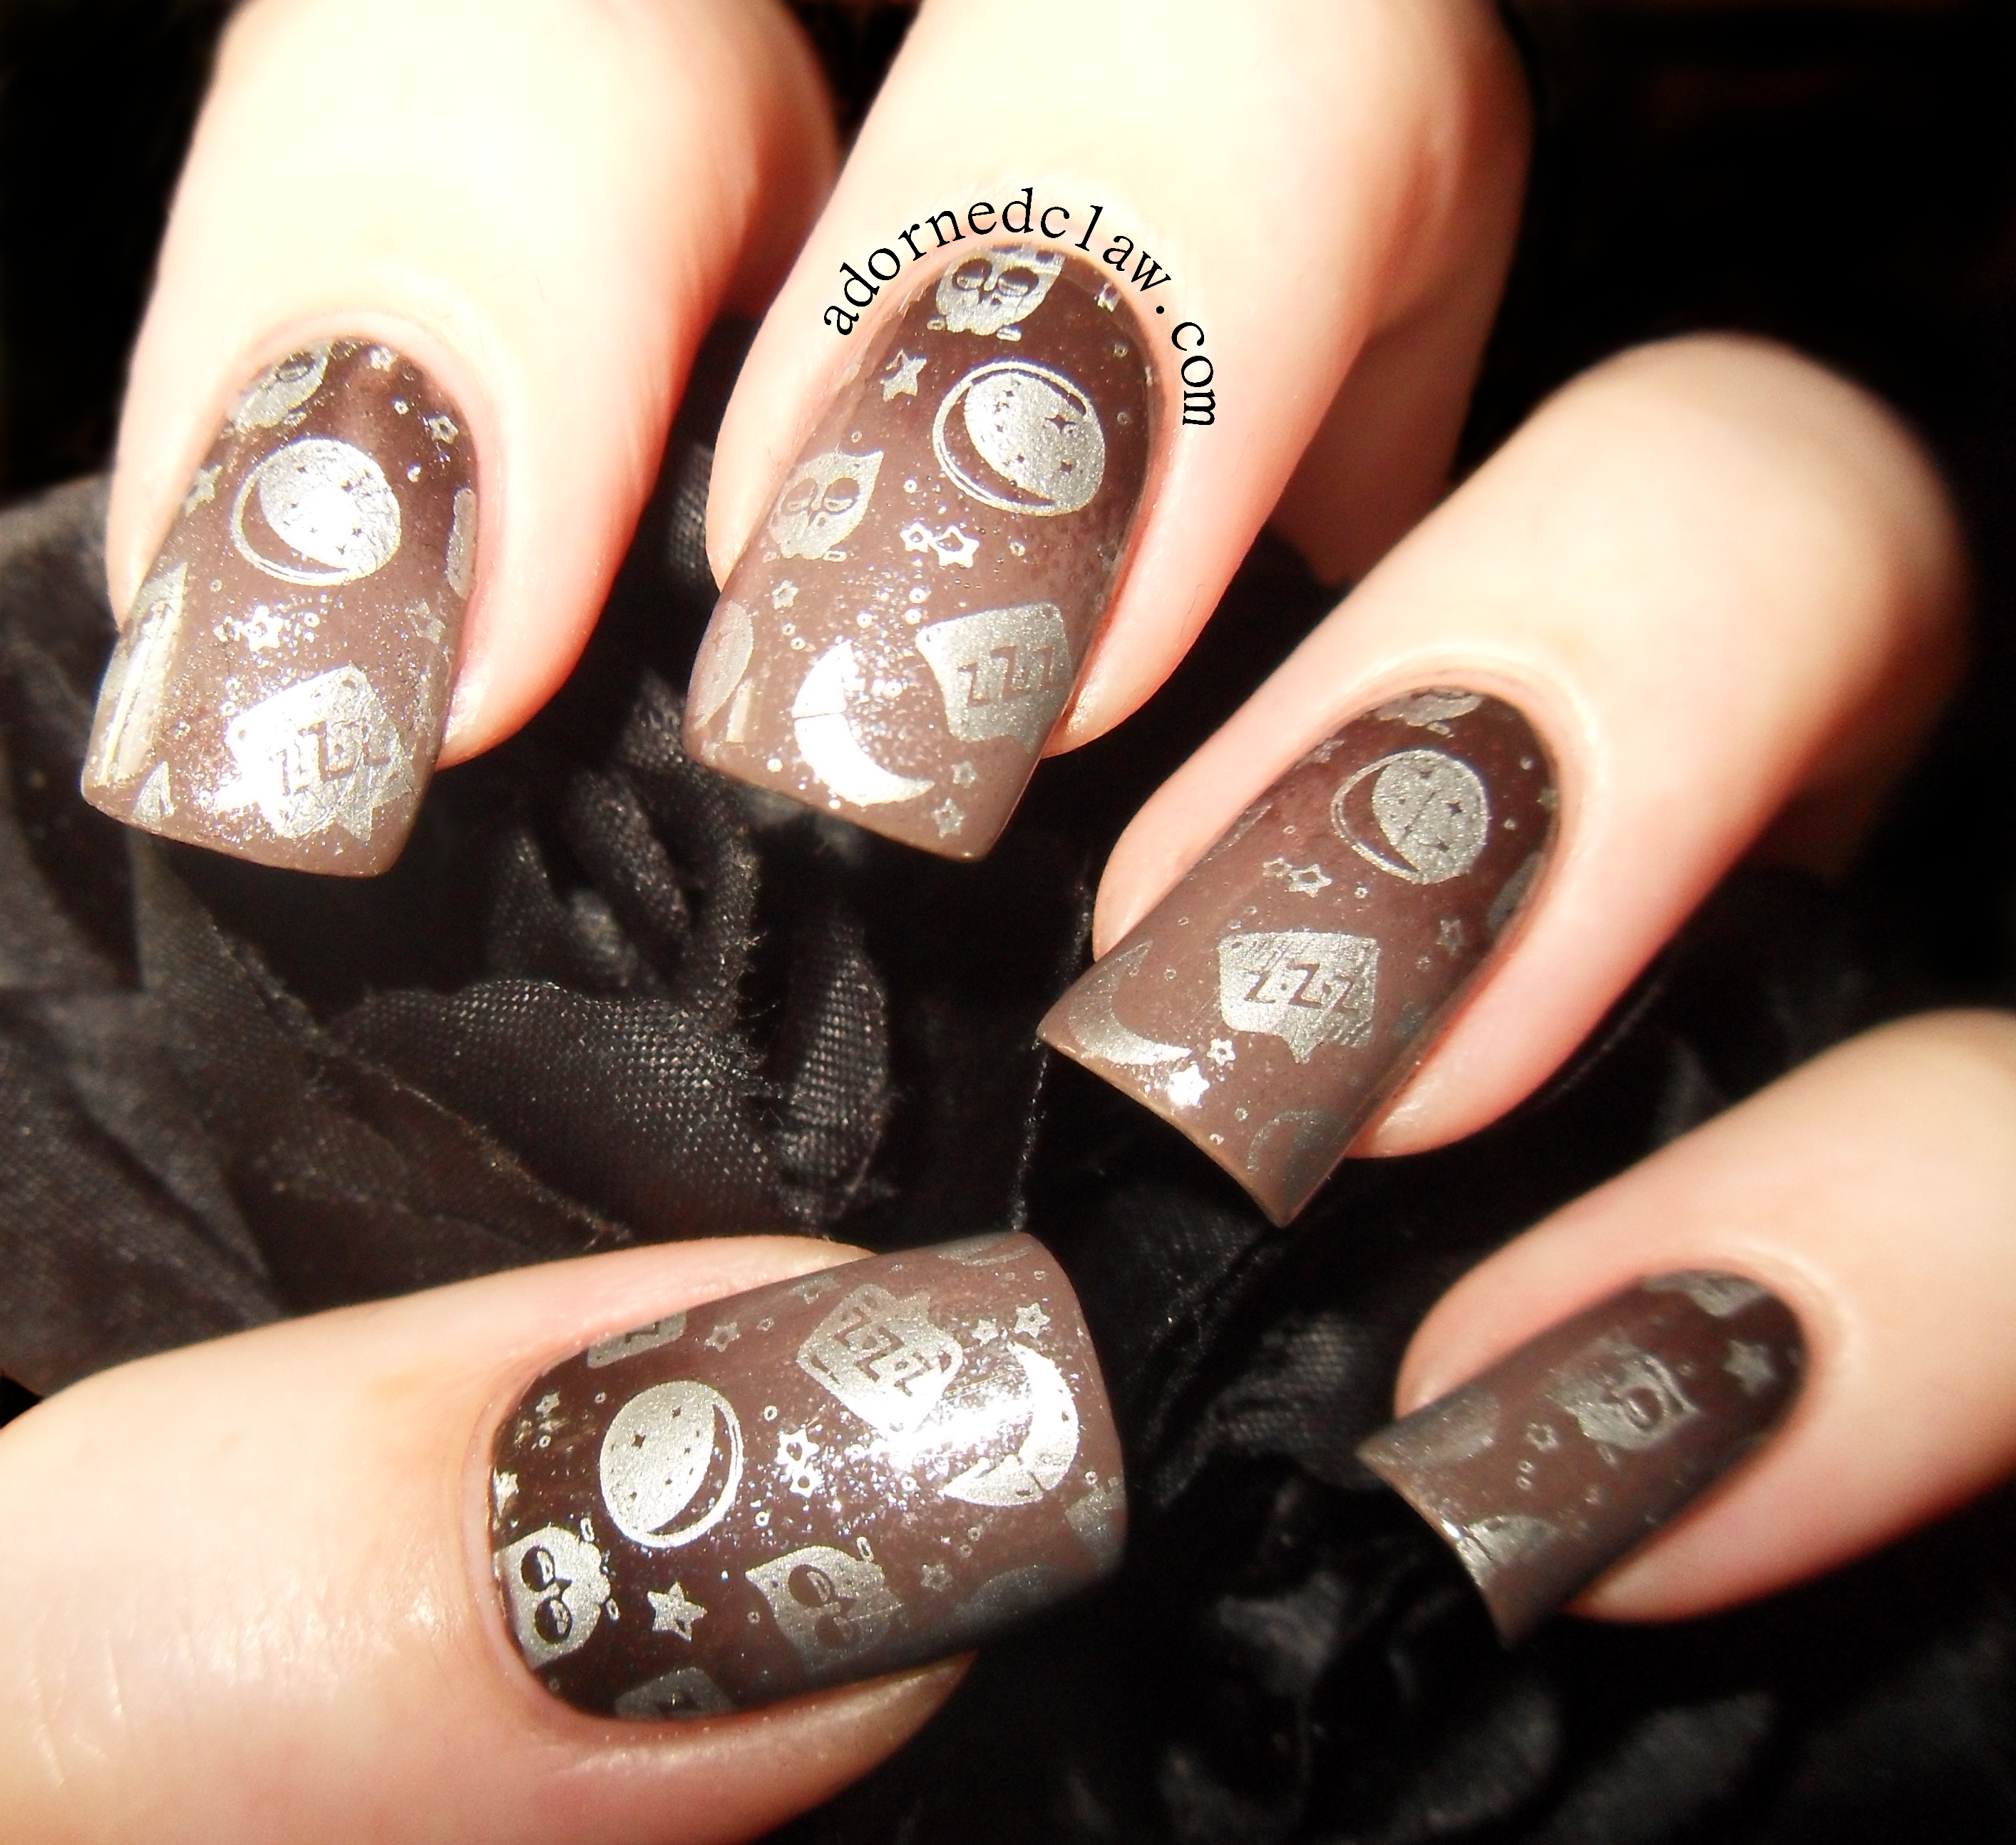
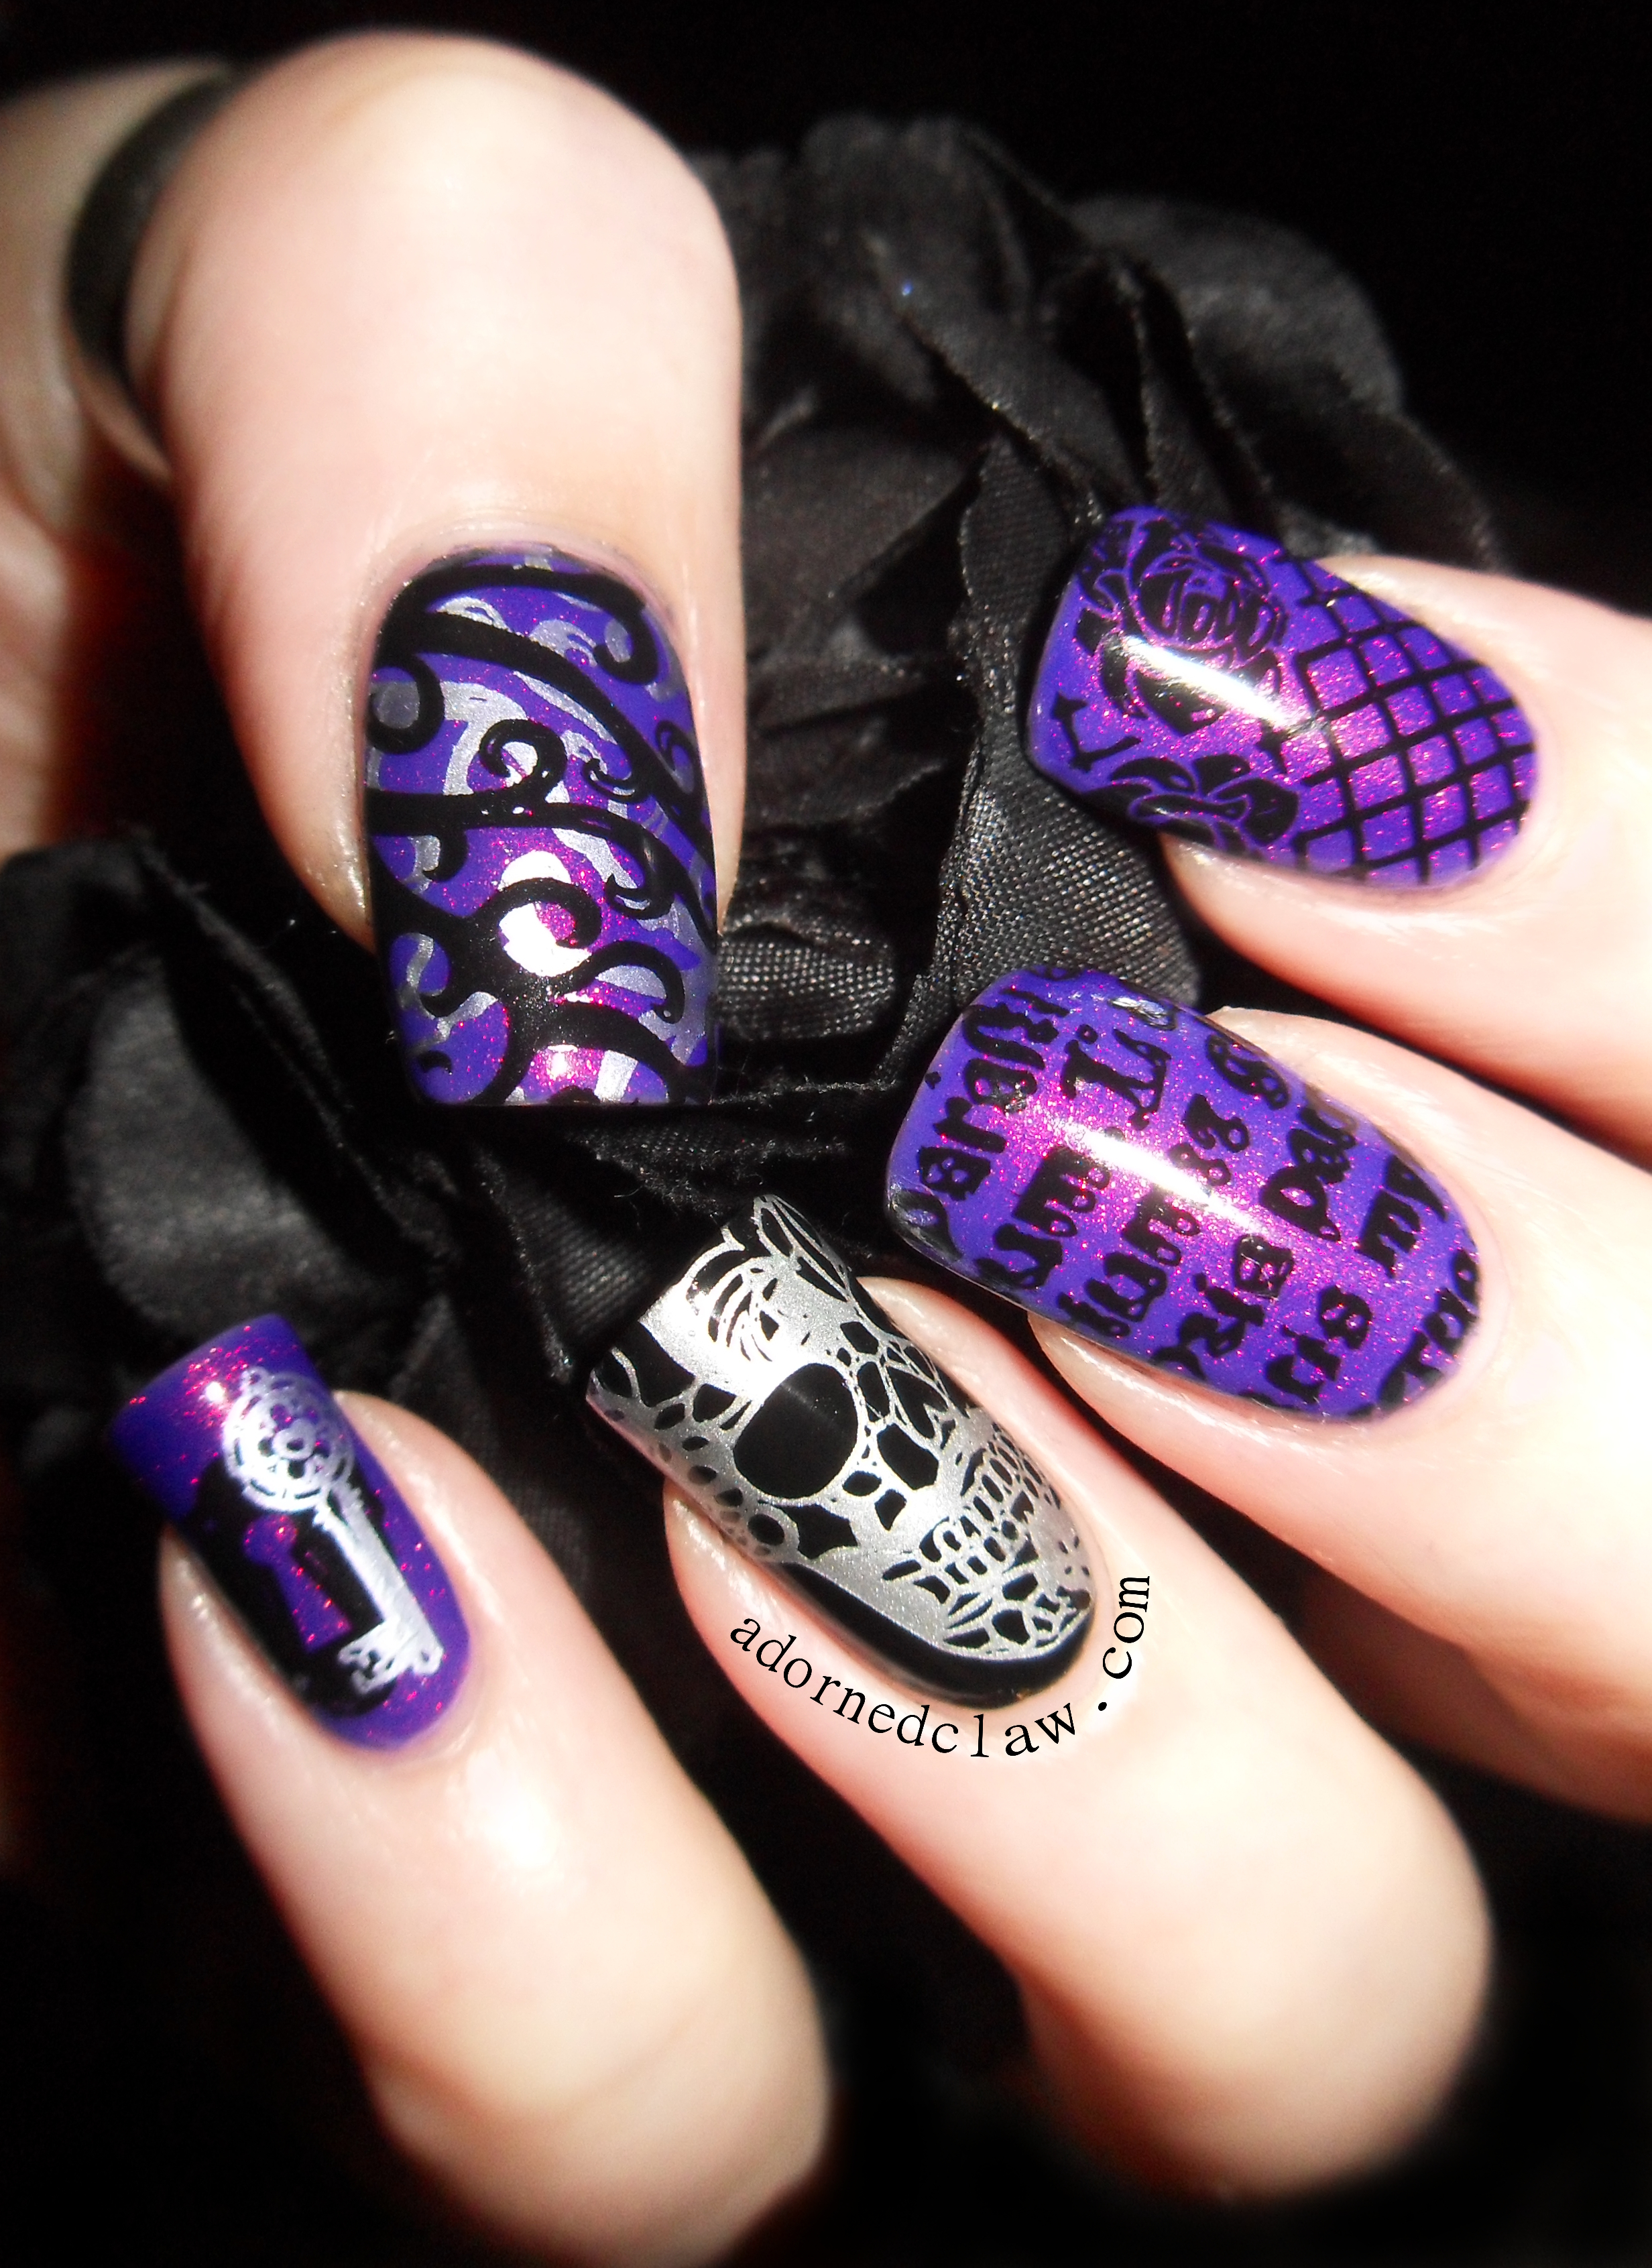
Moyou Gothic Collection Purple Glitter Nail art

Goth Nails!

The polishes I used are

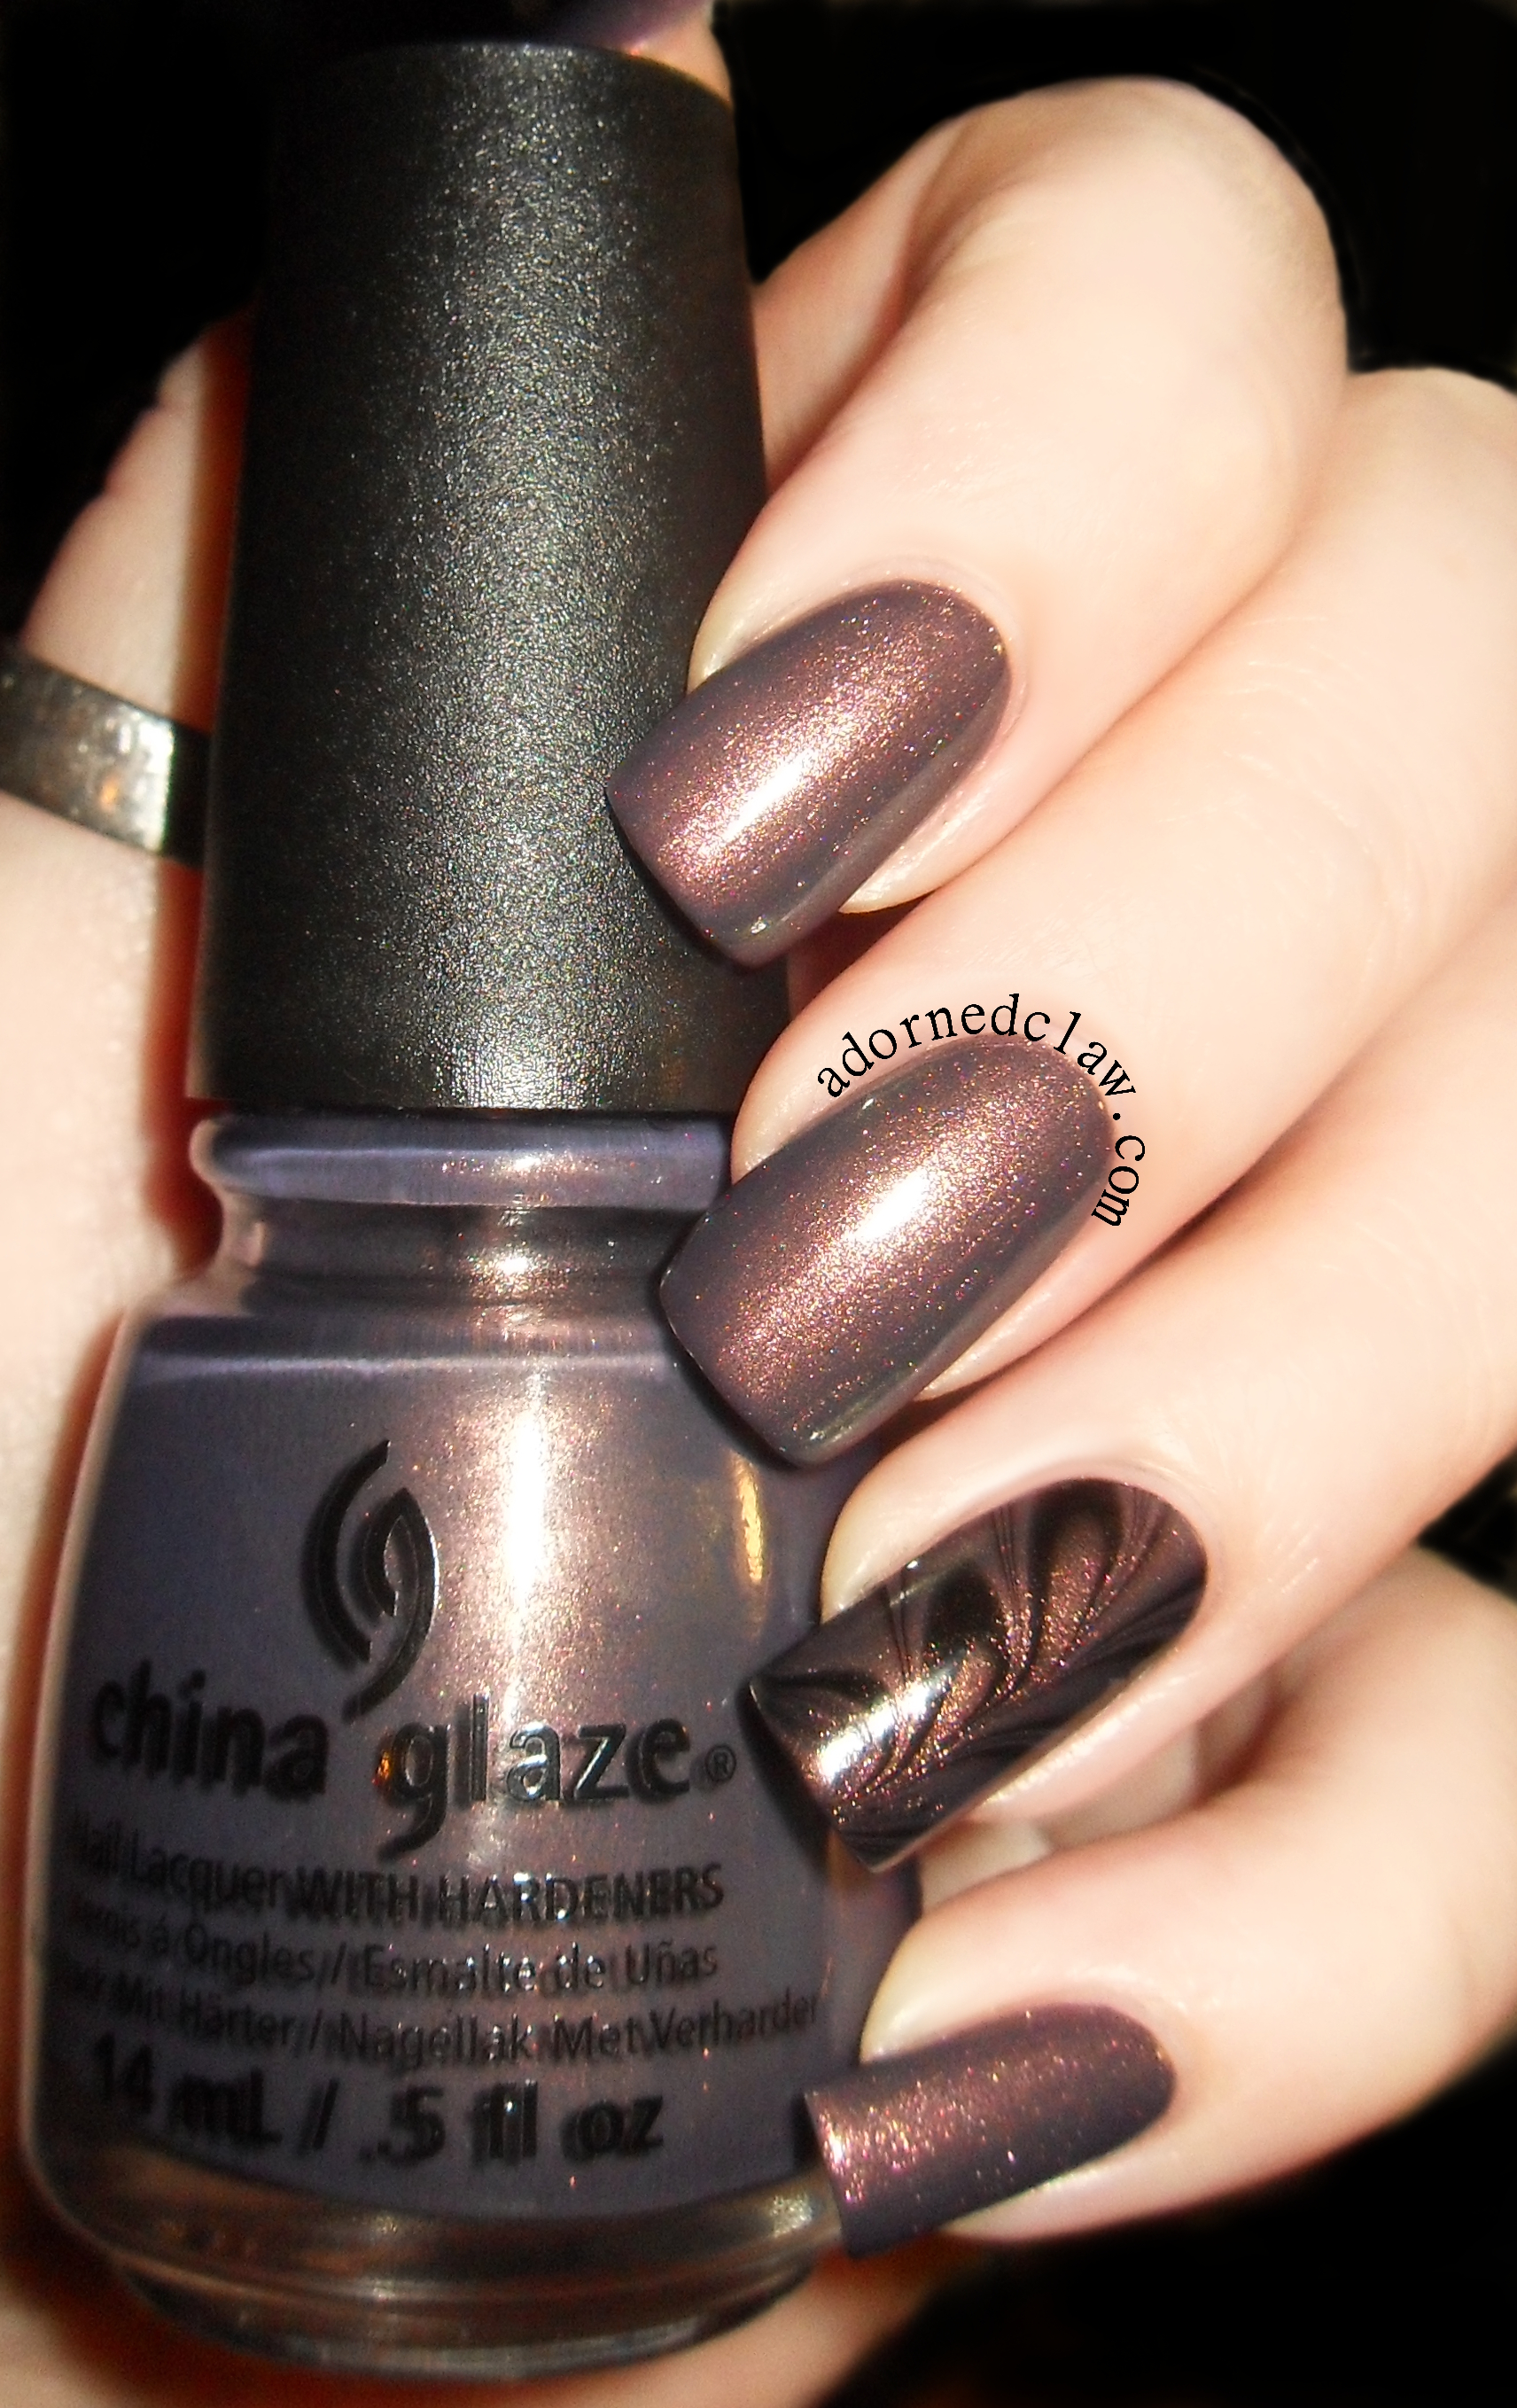
  • Good To Grape – Sally Hansen
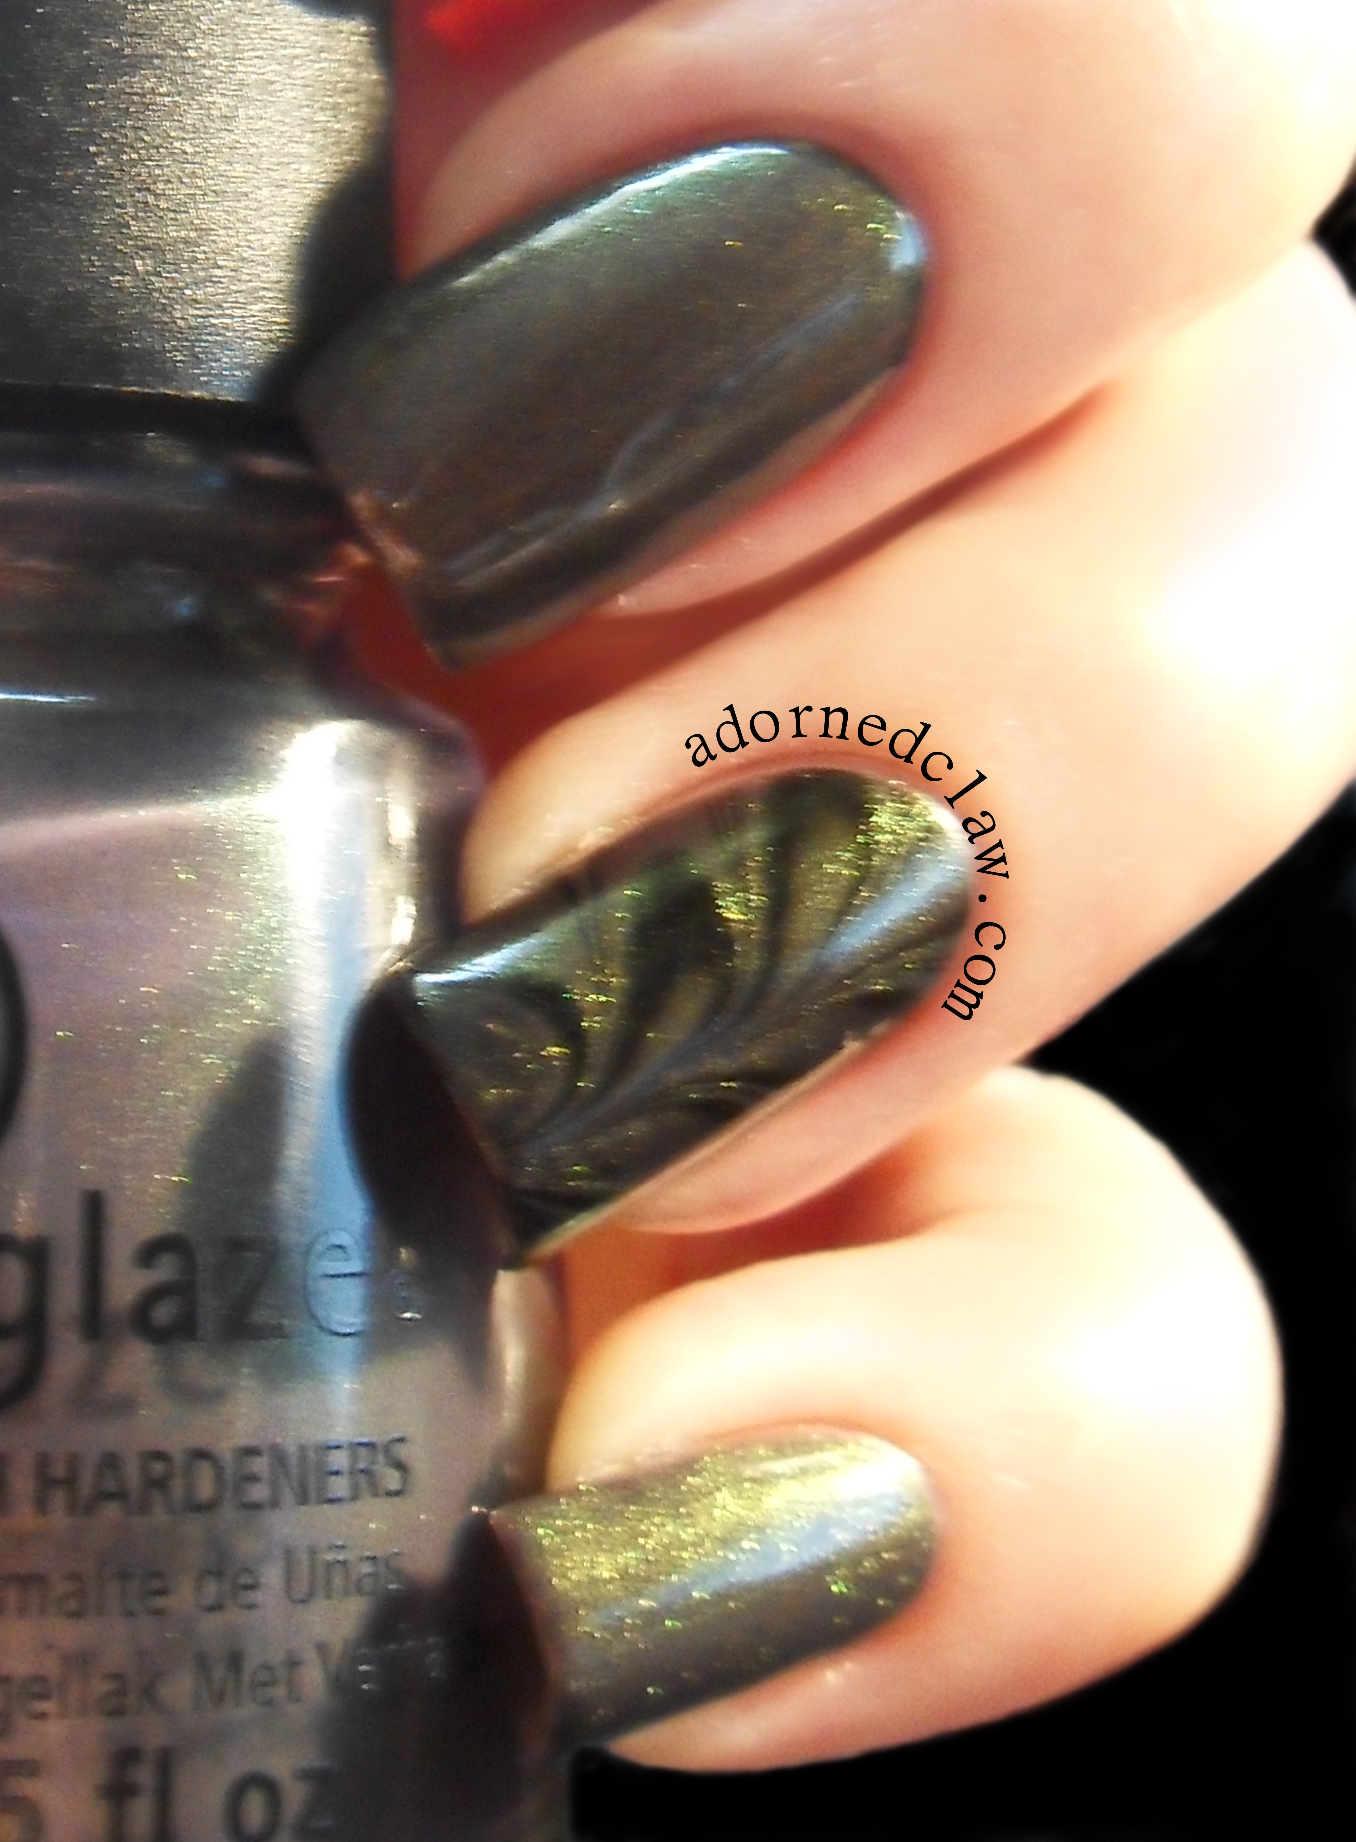
  • Fantasy Fire – Max Factor
  • Twilight – Filthy Gorgeous
  • Black – Konad
  • Moonstruck – Seventeen

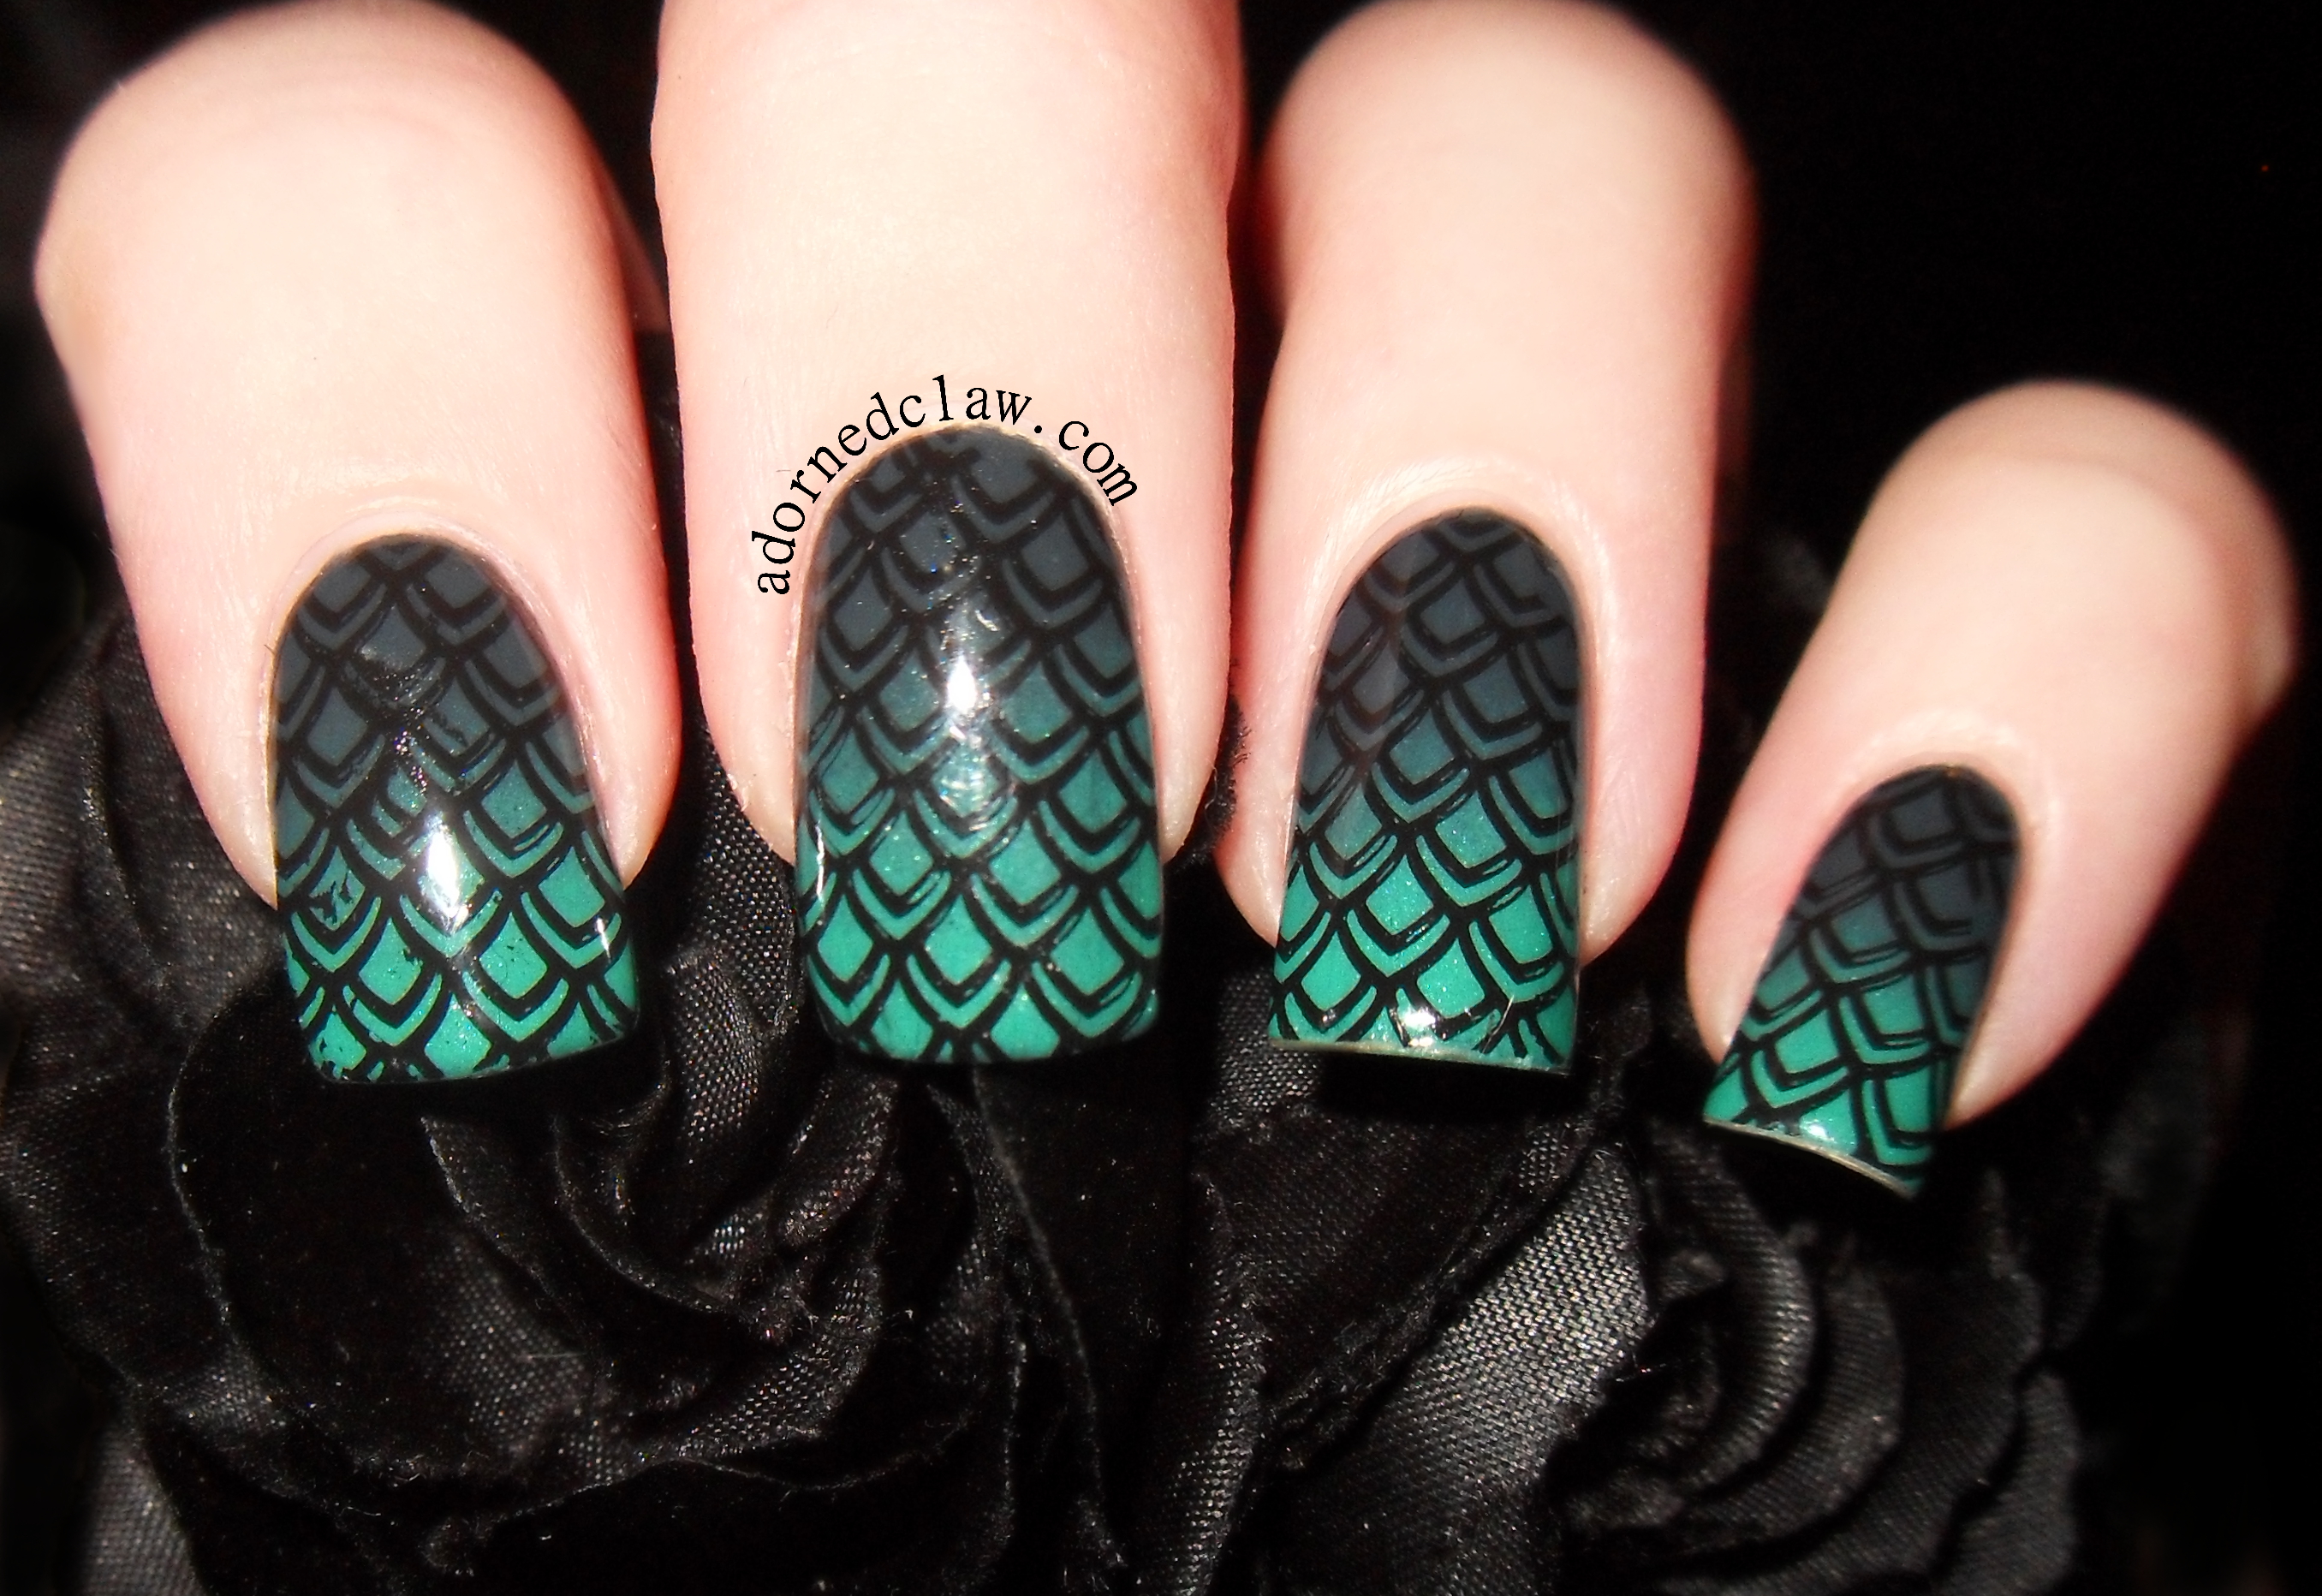
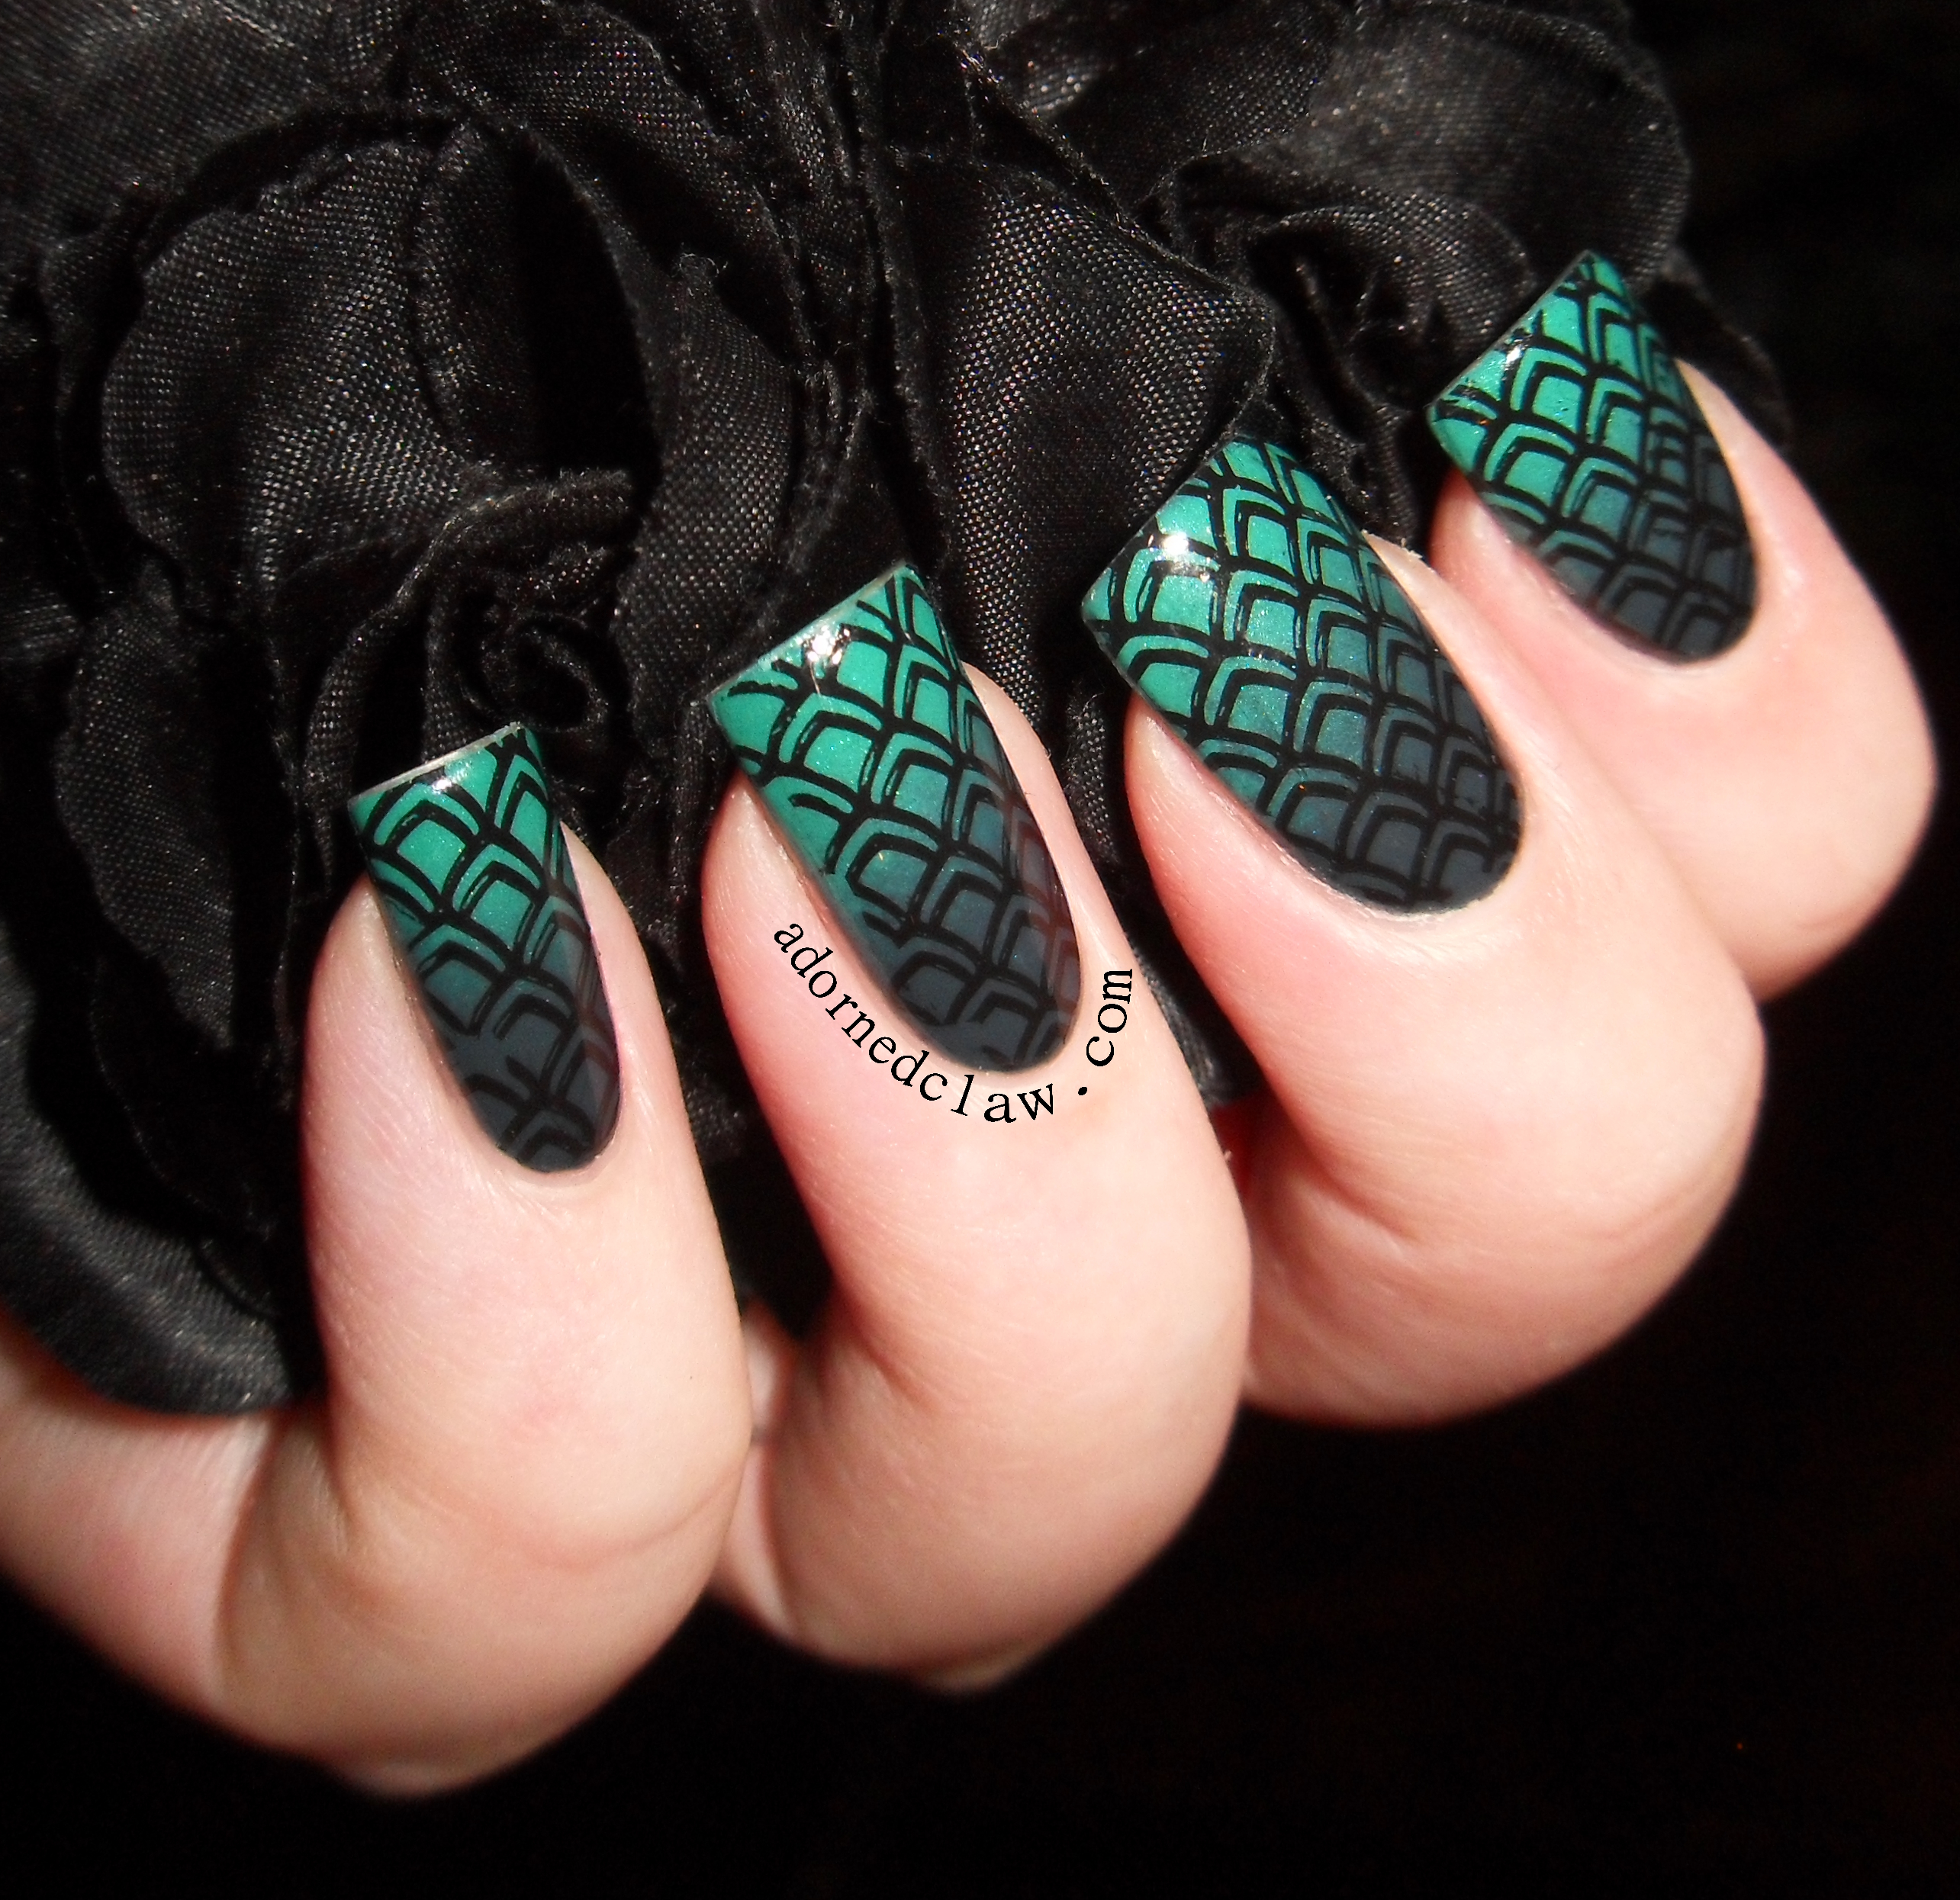
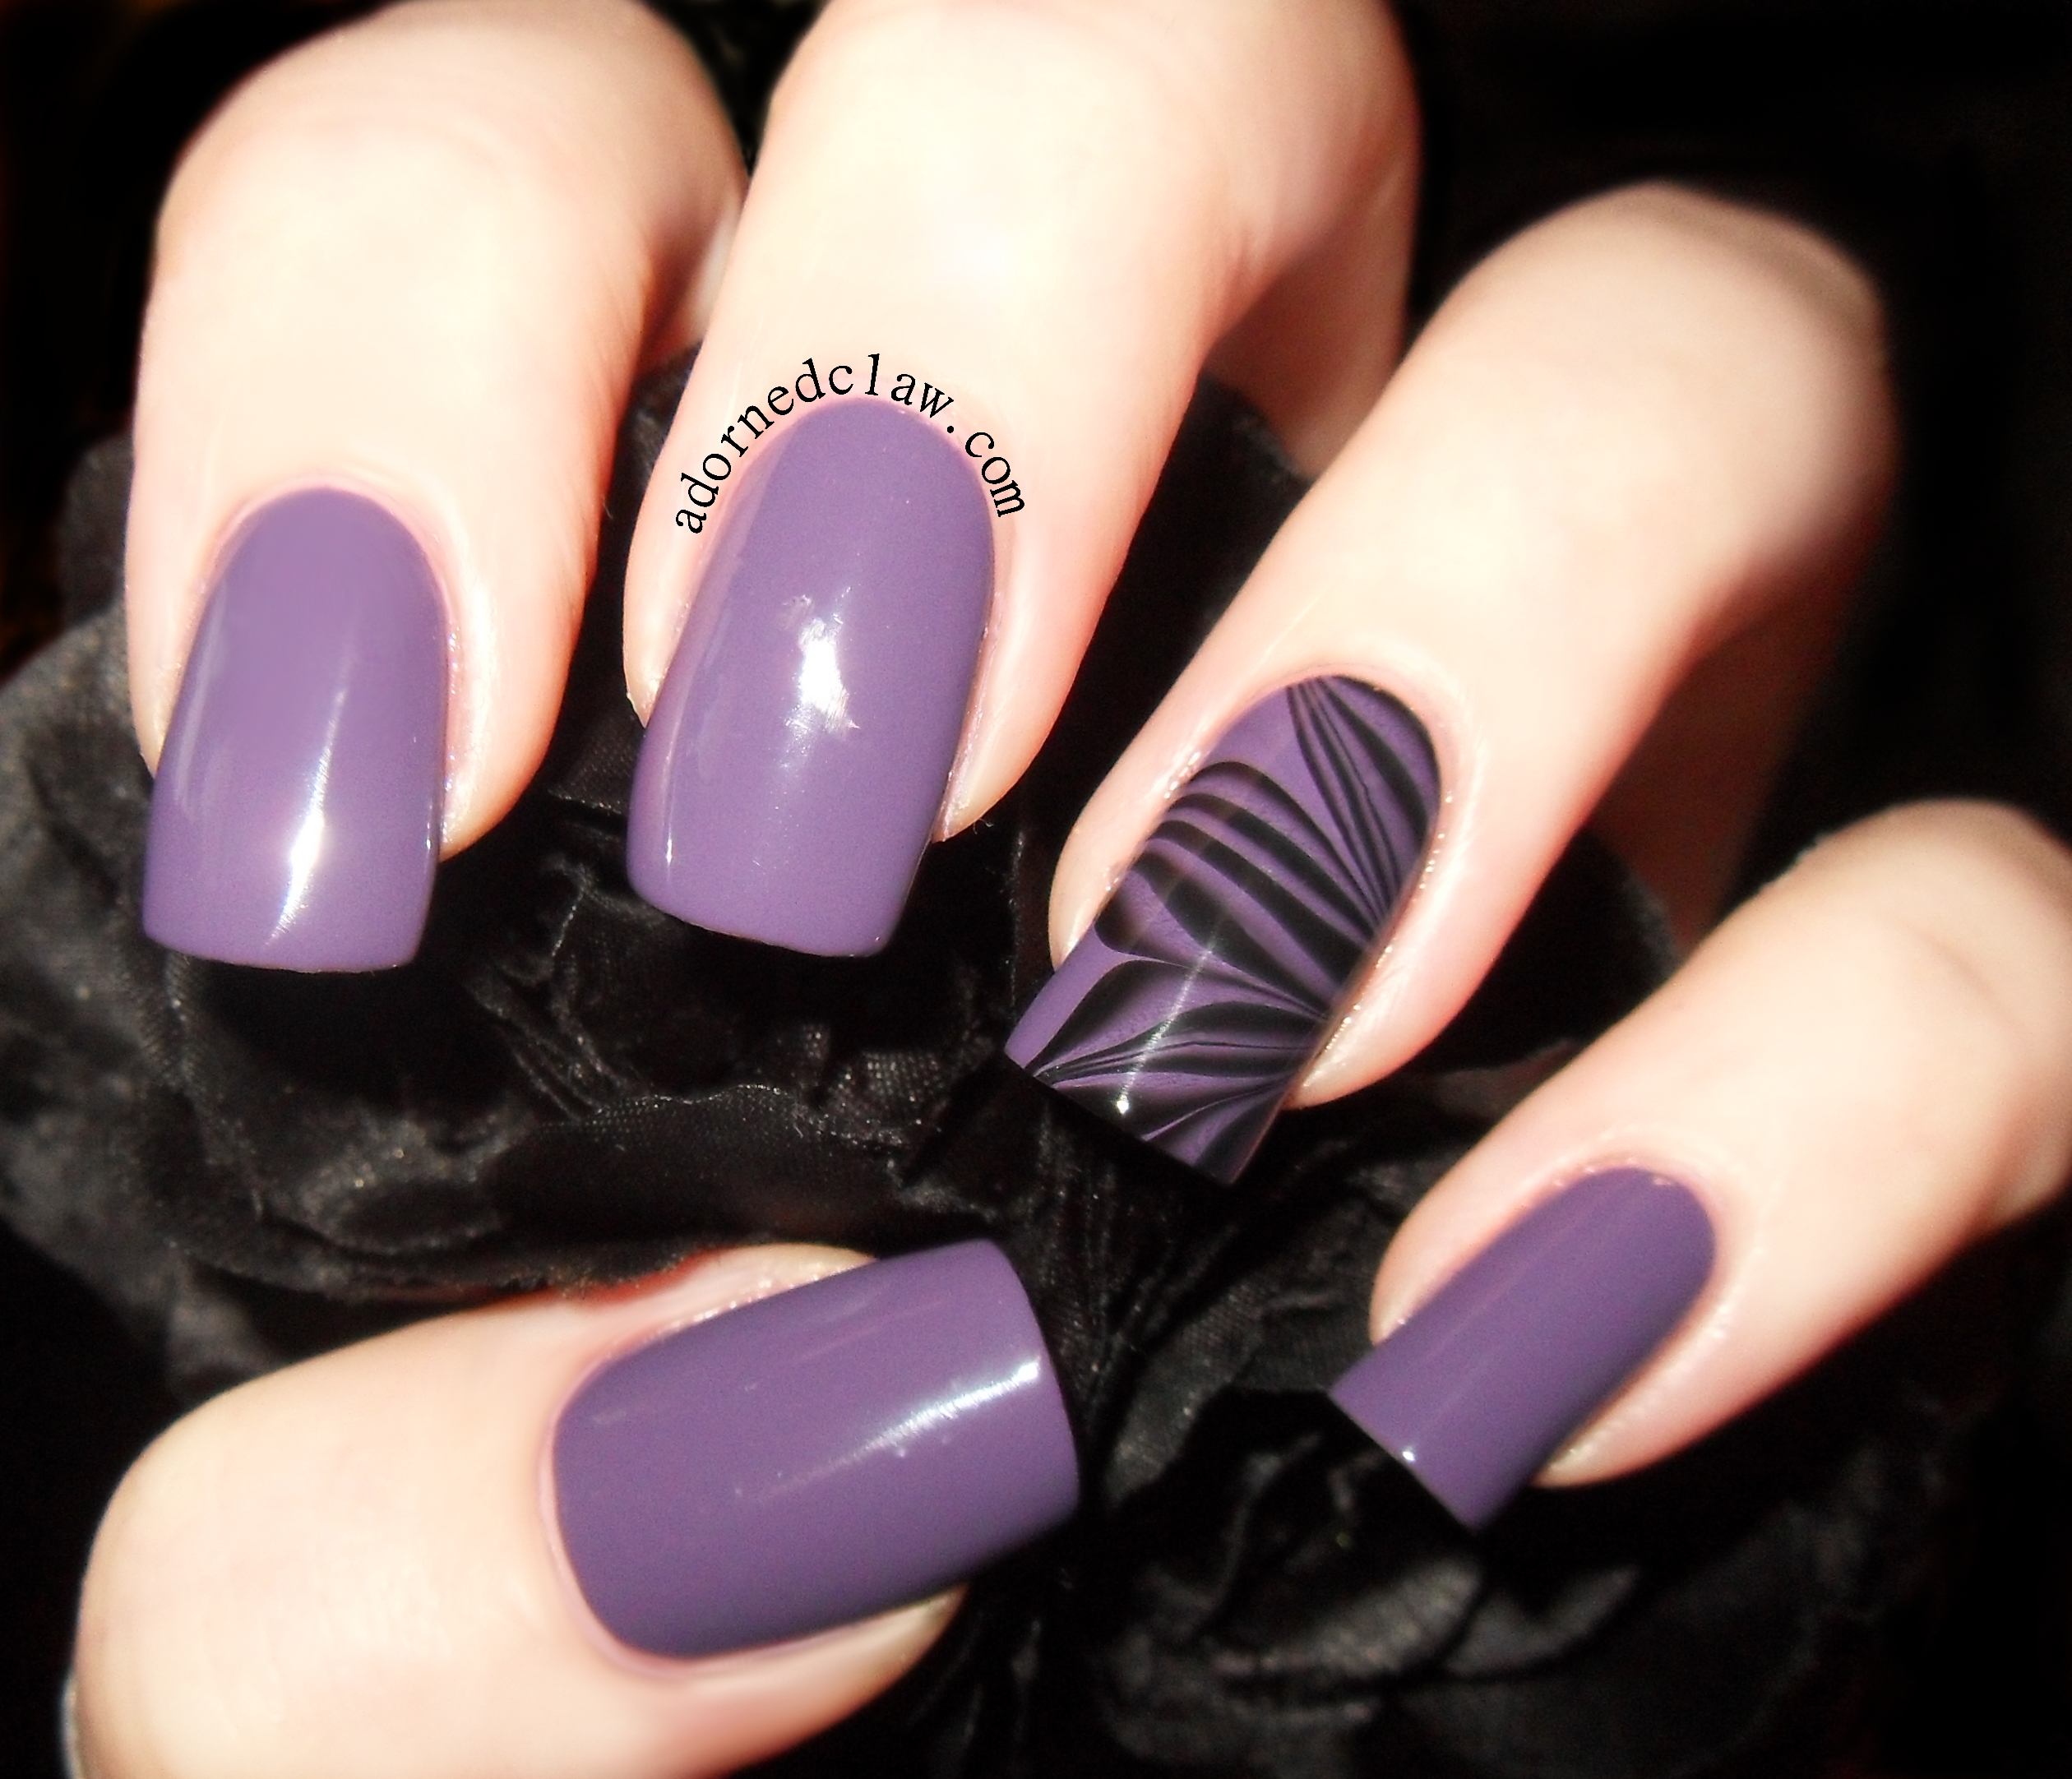
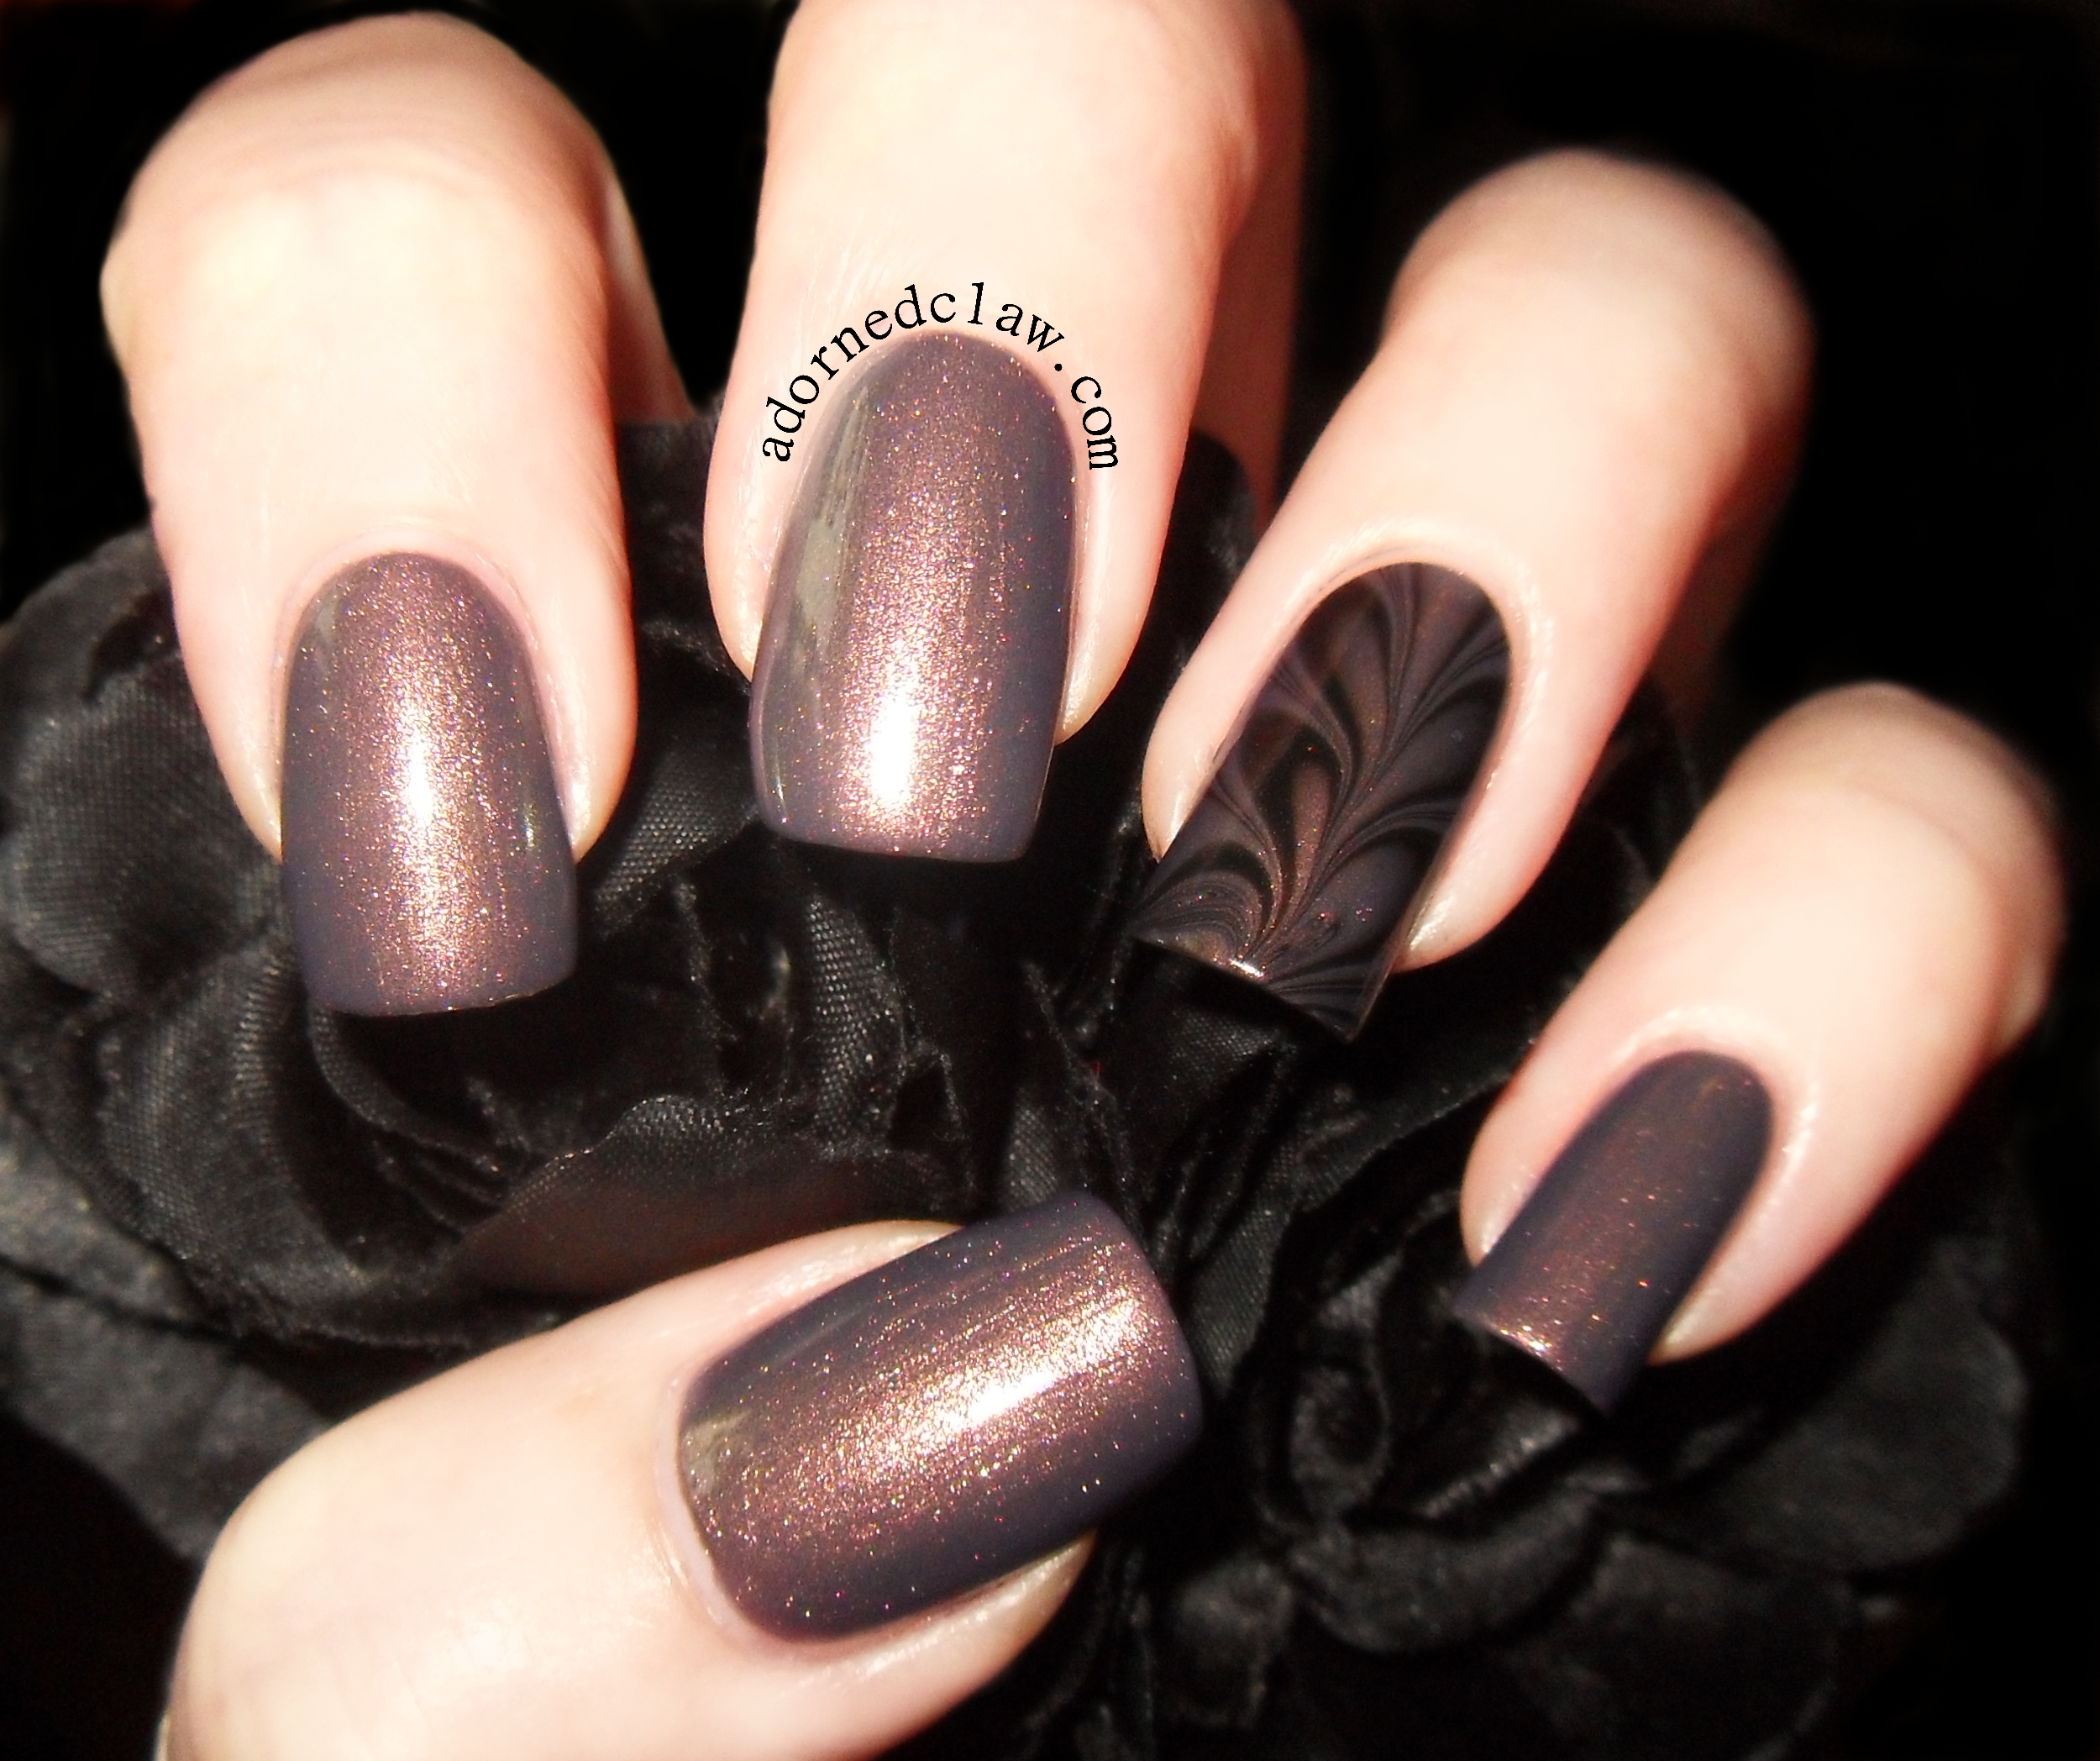
I started with a couple of coats of Good To Grape, followed by two coats of Fantasy Fire, on my ring finger I used two coats of Twilight.

On my thumb I used the tree image from plate 1 double stamped with konad black and moonstruck, on my index finger nail the rose and fishnet image along with the lace skull on my ring finger nail are both from plate 3, the text on my middle finger is from plate 4 and finally on my little finger nail the key and lock are both from plate 2.

Then a nice thick coat of Seche Vite!

Moyou gothic collection nail art

Fantasy Fire, Good To Grape, Twilight and Moonstruck!


Candy Corn Halloween Nails!

Hello!

Candy Corn Halloween Nail Art

Candy Corn

Today I have candy corn inspired nails!

For this mani I used

  • Ivory Skull – Sally Hansen
  • Sunny Days – Rimmel
  • Liquid Vinyl – Orly
  • Black Nail Art Pen – Barry M
  • Hot Chilli Pepper – Rimmel
  • Out The Door Topcoat
  • Nail Tape
  • Make Up Sponge
Candy Corn Nails

Candy Corn Nails

After my first coat of white polish had dried I used Hot Chilli Pepper, Sunny Days and Ivory Skull to create the gradient, it too ages! It took four layers of sponging to get the colours blended nicely.

The orange polish has a lot more pigment than the yellow so I found (out the hard way, this is my second attempt at this gradient the first was a tragic failure,) that only adding around quarter of the amount of orange polish to the sponge was the only way to stop it from spreading too much.

After my gradient had dried I added a coat of Out The Door… I have to admit I’m starting to miss Seche Vite, but that’s something for another post! When that had dried I used striping tape to create the triangular candy corn shape then carefully painted on a couple of coats of Liquid Vinyl and removed the tape!

I used my trusty Barry M nail art pen to curve the tips of the triangles, then finished it with another layer of top coat.

Candy Corn Halloween Nail Art

Candy Corn

This mani also covers one of this weeks prompts for the pick and mix challenge! Which is a three colour gradient, I’ll have to see if I have time to do the other prompt later on this week 🙂


Teal Gradient

Hi!

This week is the beginning of the 52 week pick and mix challenge! (I would have posted this earlier but I have been away)

THE RULES
Each week, there are 2 prompts. It is your choice whether to do just one, both, or combine them.
The first option is a pattern – these are alphabetical.
The second option is a colour or a range of colours. As far as possible, these should be oldies or untried.

Teal Grey Gradient Scales

Teal Grey Gradient Scales

This challenge looks amazing! I love how relaxed it is 🙂

week pick and mix

52 week pick and mix

For the gradient I used Rise and Shine from Sinful Colors and Mind Your Mittens from Essie. This is the first time I have tried Mind Your Mittens, its been sitting in my polish box for ages and for some reason I just keep overlooking it, it really is a lovely dark grey/blue!

Teal And Grey

Teal And Grey

The stamp is from Messy Mansion stamping plate MM21 along with Konad special polish in black!

Rise and shine with mind your mittens

Rise and Shine with Mind Your Mittens

I was only just in time with this post oO hopefully I’ll be able to get the rest of them done before the last moment! 😀


China Glaze – All Aboard and Choo-Choo Choose You!

Hello!

Today I have two polishes to show you from the China Glaze All Aboard Collection!

These have been kindly supplied to me for review from nailpolish.co.uk! They have also given me a rather lovely 10% discount code to share with you! 🙂 and you can find that at the end of this post!

China Glaze All Aboard

All Aboard

The first polish is All Aboard. This is a mid purple cream with a grey/blue undertone. This is a really lovely autumnal purple shade.

I found the formula to be slightly thin but it was very easy to apply, dried quickly and took 3 coats to be opaque. I really like this colour and I couldn’t resist a little accent nail!

Oh and it water marbles really nicely too!

One thing I did find a little annoying is that when painted over O.P.I natural nail base coat it bubbled like crazy, But when I applied it over my usual Collection Ridge filling base coat it was absolutely fine.

This is three coats of All Aboard over Collection ridge filling base coat, with no topcoat.

China Glaze All Aboard

China Glaze All Aboard

This polish is called Choo-Choo Choose You.

Choo-Choo Choose You

Choo-Choo Choose You

This is a really pretty purple grey duo-chrome shimmer. The application was really easy, the polish flows really nicely from the brush. I did find the polish was a little patchy on the first couple of coats but is fully opaque in three.

This is three coats of Choo-Choo- Choose You over O.P.I Natural Nail base coat.

China Glaze Choo-Choo Choose You

China Glaze Choo-Choo Choose You

It really was a pain to show the colour shift in this polish but after some hand yoga and some creative camera placement I managed to get a rather rubbish picture lol!

This is favorite from these two polishes, it really is lovely!

China Glaze Choo-Choo Choose You

China Glaze Choo-Choo Choose You

I almost forgot! The black polish I used for the water marble accent nails is Black from Barry M this is also available from nailpolish.co.uk But I brought my bottle on the high street ages ago 🙂

The discount code is “CLAW” which gives 10% off all orders until 31st March 2015.


Sleepy Owls – GOT Polish Brown

Hello!

Sleepy Owls MM38

Sleepy Owls MM38

Here are my brown nails for the final week of the GOT polish challenge.

I’m not a big fan of brown nail polish, so I only have a very limited number of bottles to choose from! The Brown polishes I used are

  • O.P.I – You Don’t Know Jacques!
  • Revlon – Hot For Chocolate
  • Maybelline – Sugar Crystals
  • Seventeen – Moonstruck
  • Out The Door Topcoat
You Don't Know Jacques! And Hot For Chocolate

You Don’t Know Jacques! And Hot For Chocolate

I started off with a couple of coats of the O.P.I polish, then I stared at it for a while I had no inspiration what so ever… so I added the gradient with Hot For Chocolate, after it was all dry, cleaned up and top coated it was still “meh”

I think the phrase that sums this up is “You can’t polish a turd, but you can roll it in glitter!” A thick coat of Sugar Crystals later and it wasn’t looking so nondescript.

The image is from plate MM38 from Messy Mansion, I think the little owls are really cute!

Messy Mansion Plate MM38

Messy Mansion Plate MM38

Don’t forget to have a look at the pinterest board!

🙂


Patchwork Skin Halloween Nails

Hello! 🙂

Patchwork Flesh Halloween Nails

Patchwork Flesh Halloween Nails

Today I have some Halloween nails inspired by the… Ummm… Sewing skills of Ed Gein and the fictional Buffalo Bill from Silence Of The Lambs.

Halloween Skin Suit Nails

Skin Suit Nails

  • Butter London – Yummy Mummy
  • O.P.I – Tickle My France-y
  • Ciate – Pocket Money
  • Color Club – Nomadic In Nude
  • Revlon – Emerald City
  • Sinful Colors – Inkwell
  • Color Club – Earthy Angel
  • Barry M – Nail Art Pen Black
  • E.L.F – Matte Finisher
  • Seche Vite

I started out with a couple of coats of Tickle My France-y, then I added the patches of the other nude colours. When it was dry I used the nail art pen to add the stitches then applied a coat of Seche Vite.

Then with a tiny piece of sponge I added a mixture of Inkwell and Emerald City mixed with topcoat over the stitches to give it a bit more of a ‘dried out skin’ look!

Ed Gein Buffalo Bill Psycho Inspired Nails

Ed Gein, Buffalo Bill Inspired Nails

😀