Category Archives: Nail Stamping

Got Polish Challenge -Skittle! Matte Black and White.

For the GOT Polish Challenge this week I have this black and white matte skittle to show you 🙂

But first here’s a quick recap of the rules!

THE RULES

  • The polish you use should be at least one year old.
  • If you haven’t been a polishaholic that long, you can use the oldest polishes you have.
  • The polish should be previously used, but if you’re stuck, you could free a yearling from Mount Untried.
  • You can use more than one polish as long as it fits the theme and the rules.

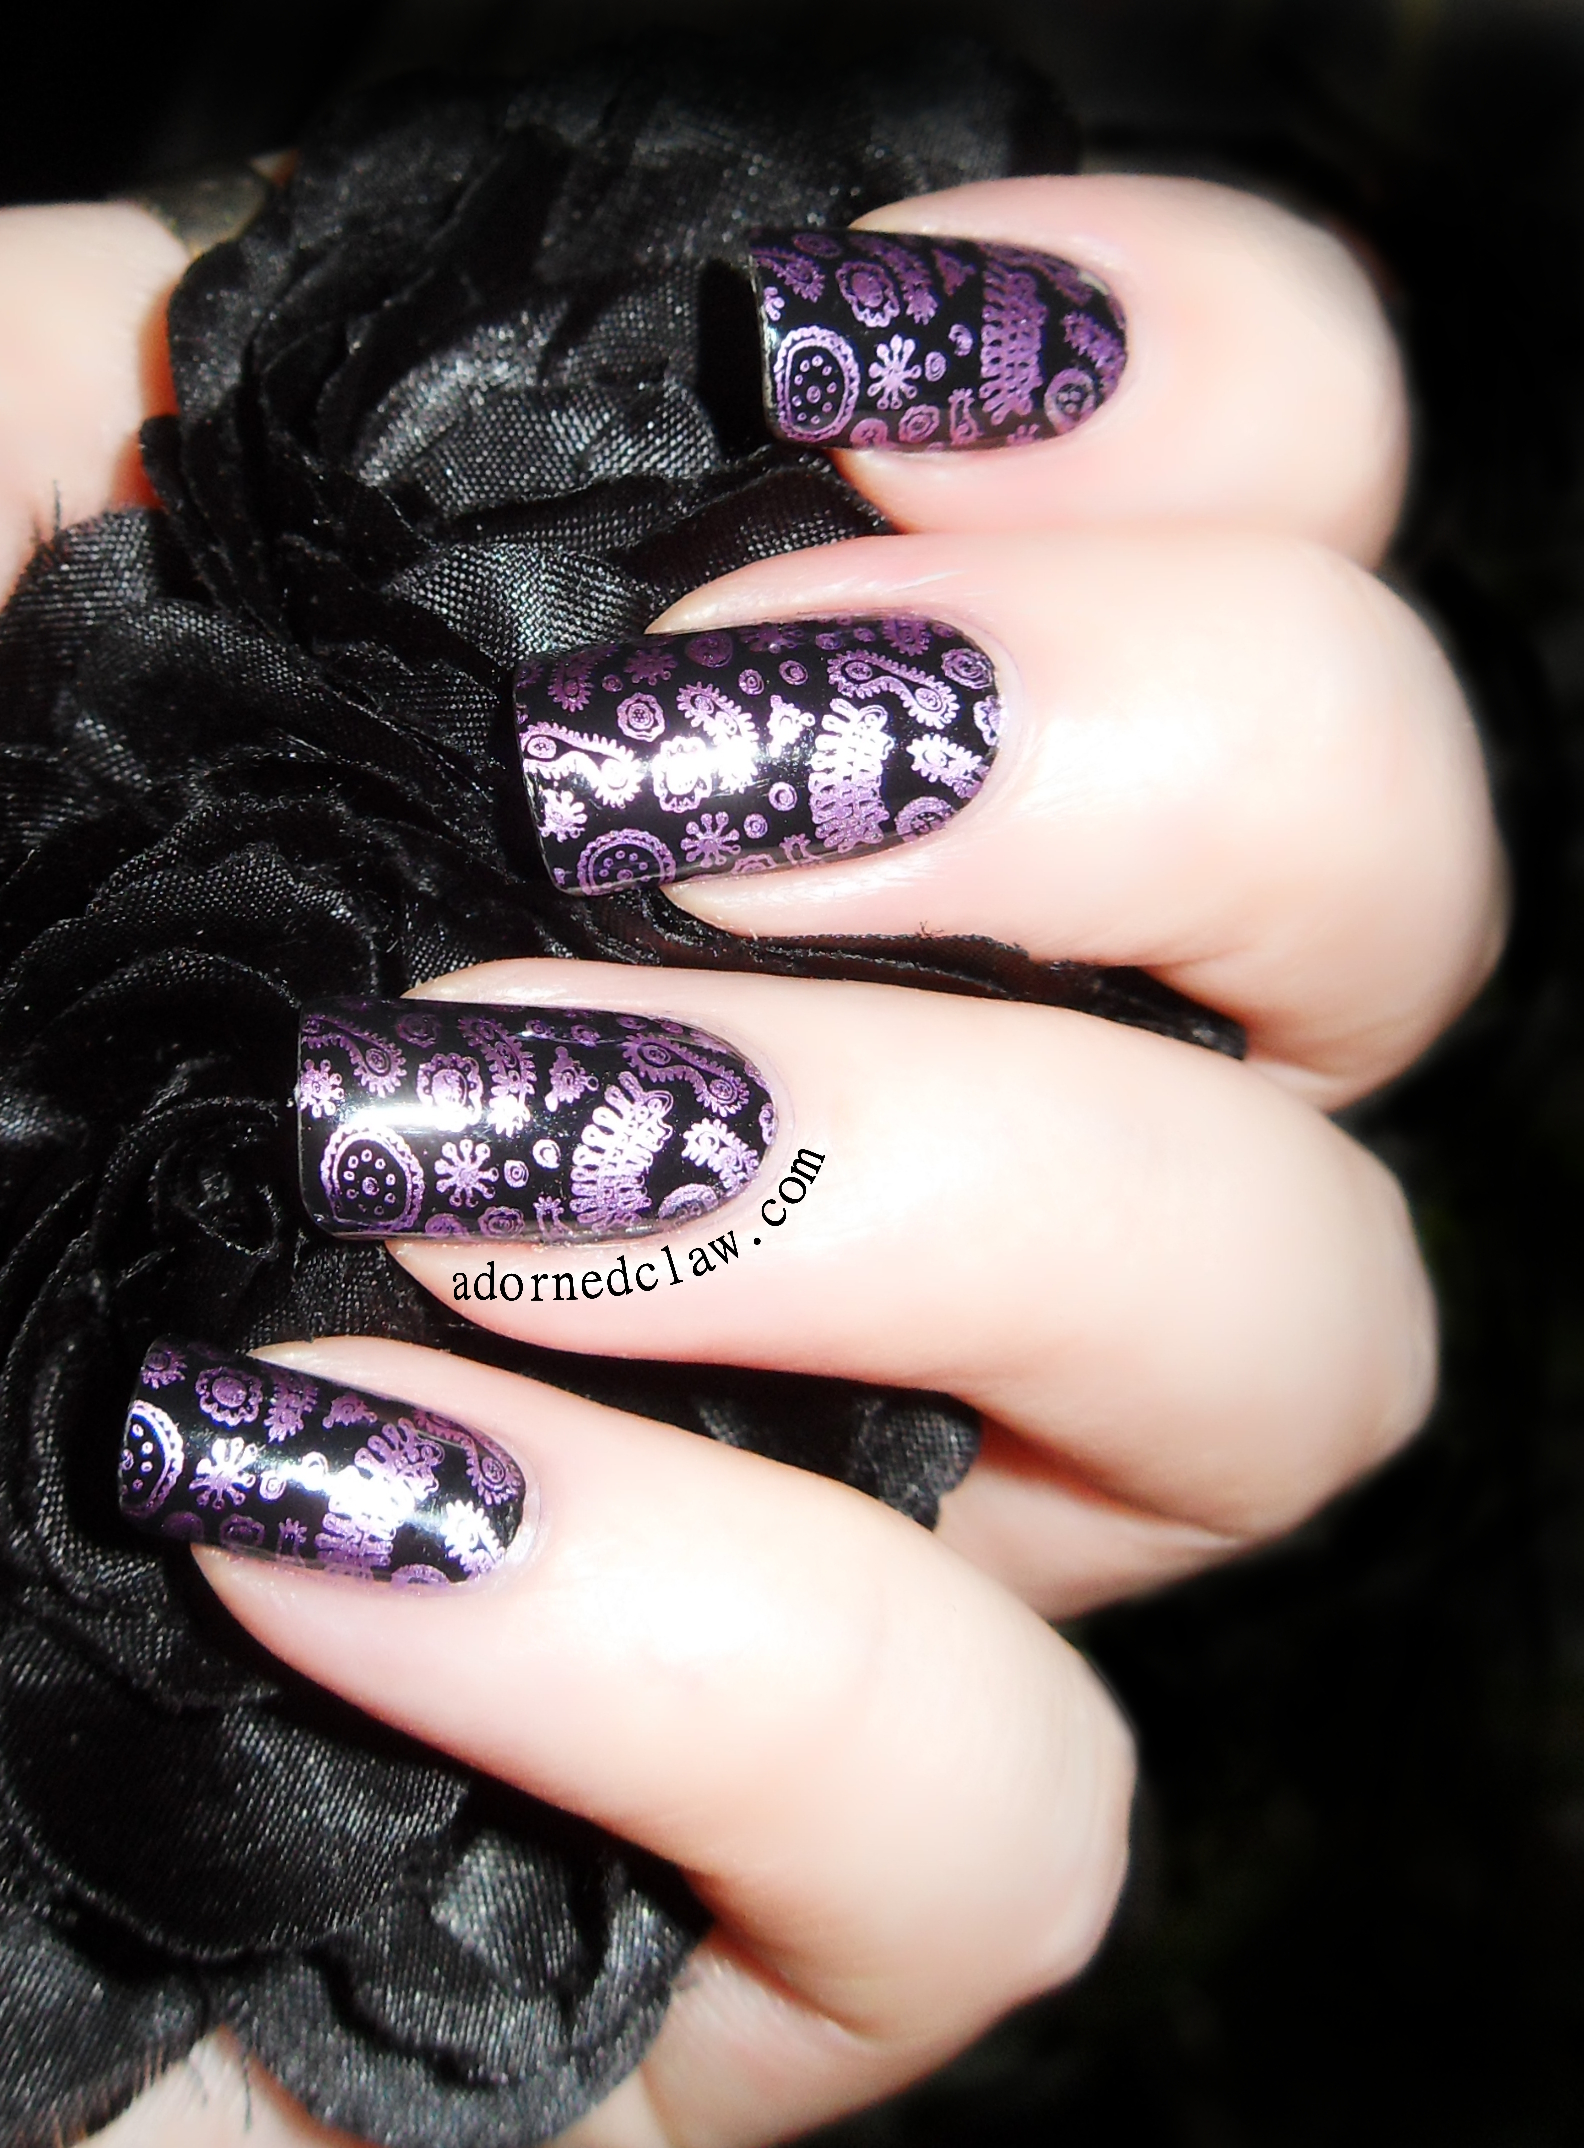
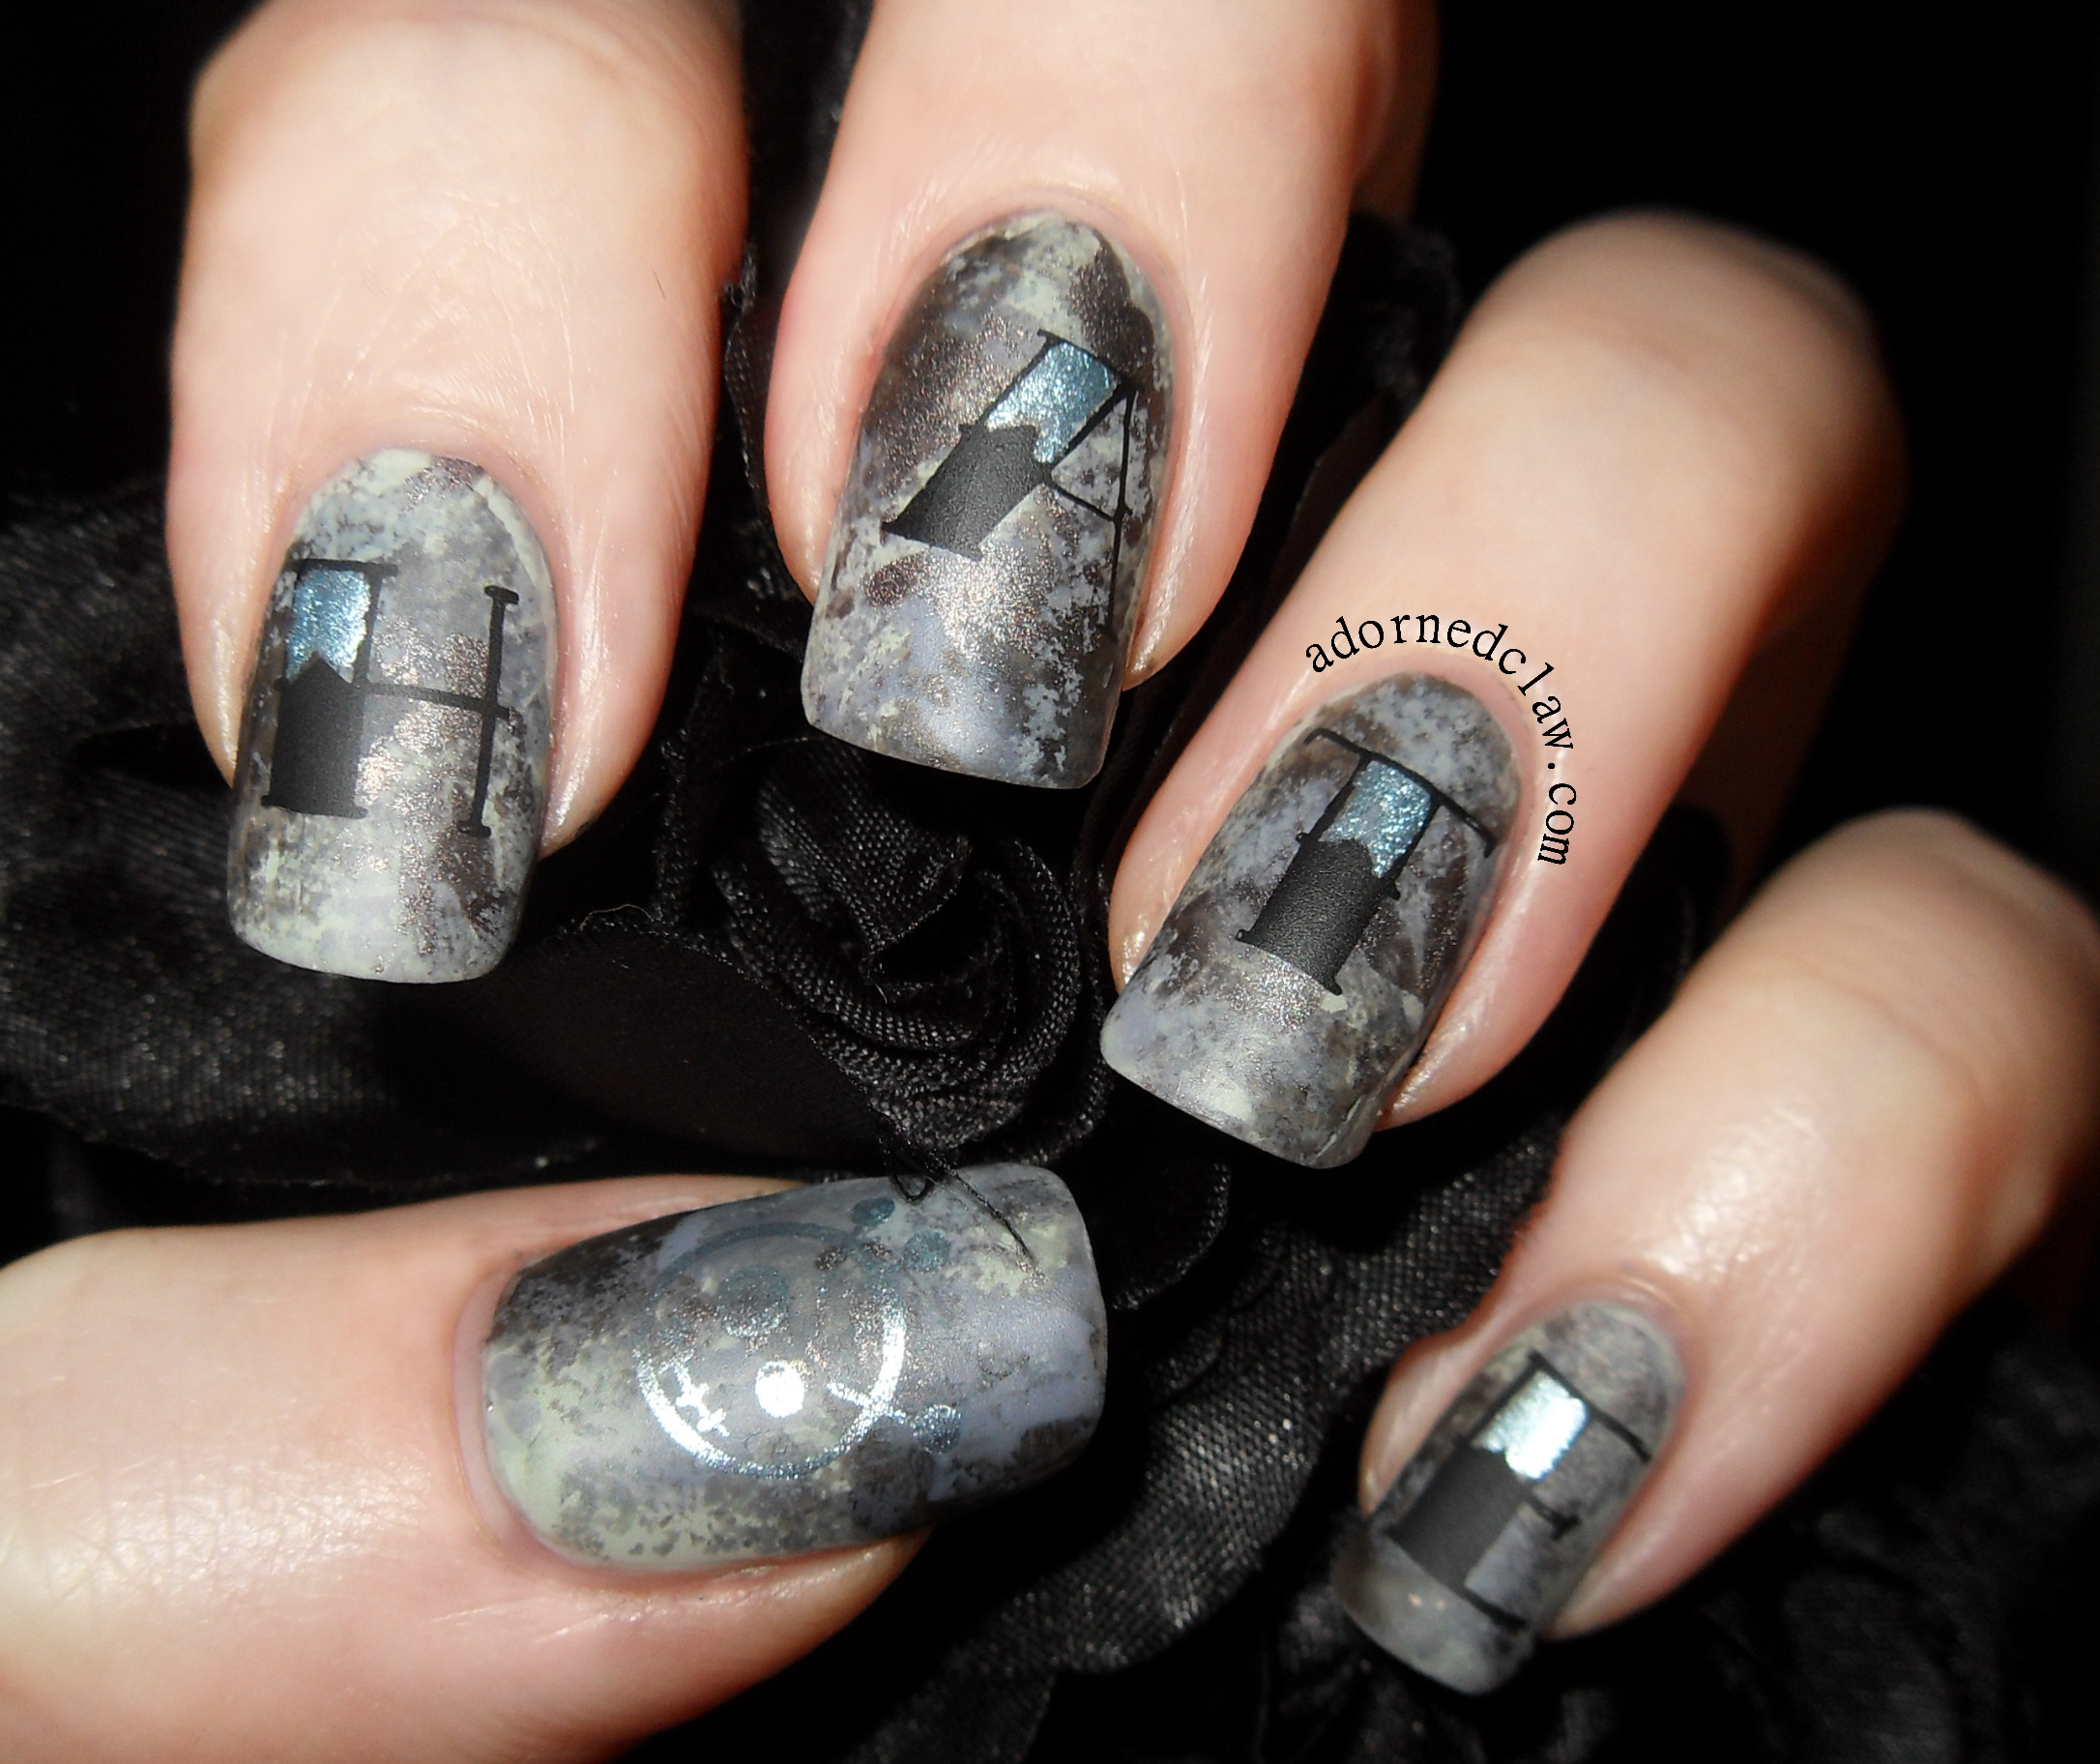
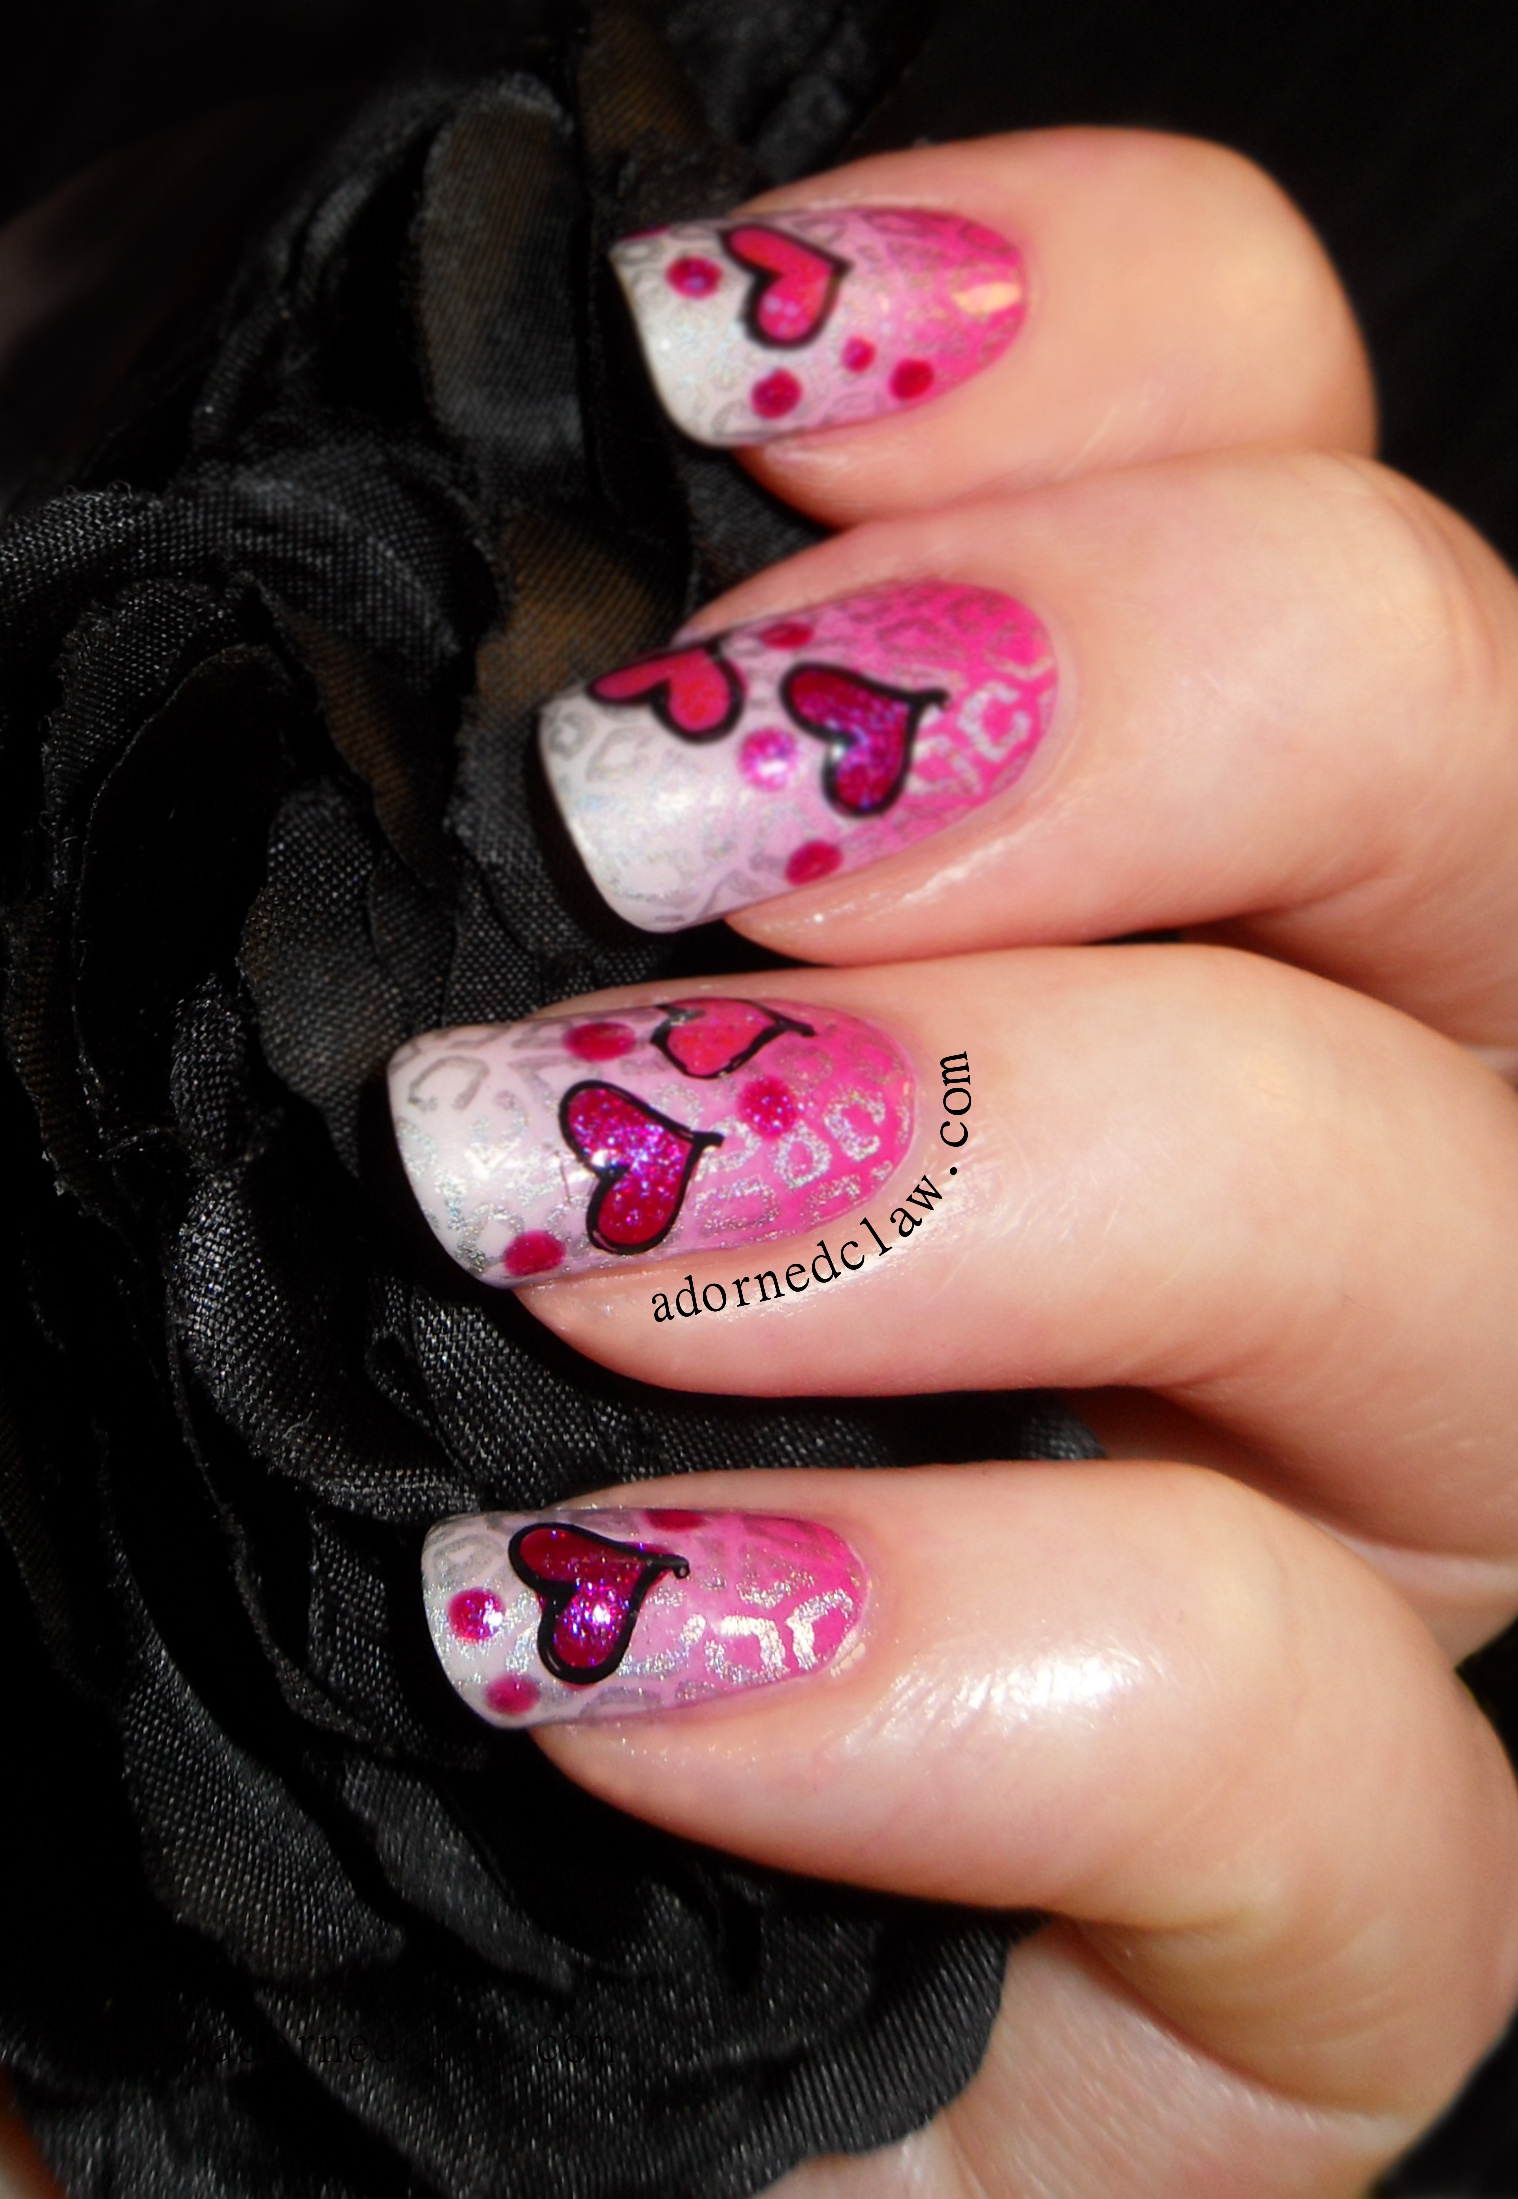
I used three polishes for this, (four if you count the matte topcoat) White On White from China Glaze, Barry M Black and Konad SP in Black.

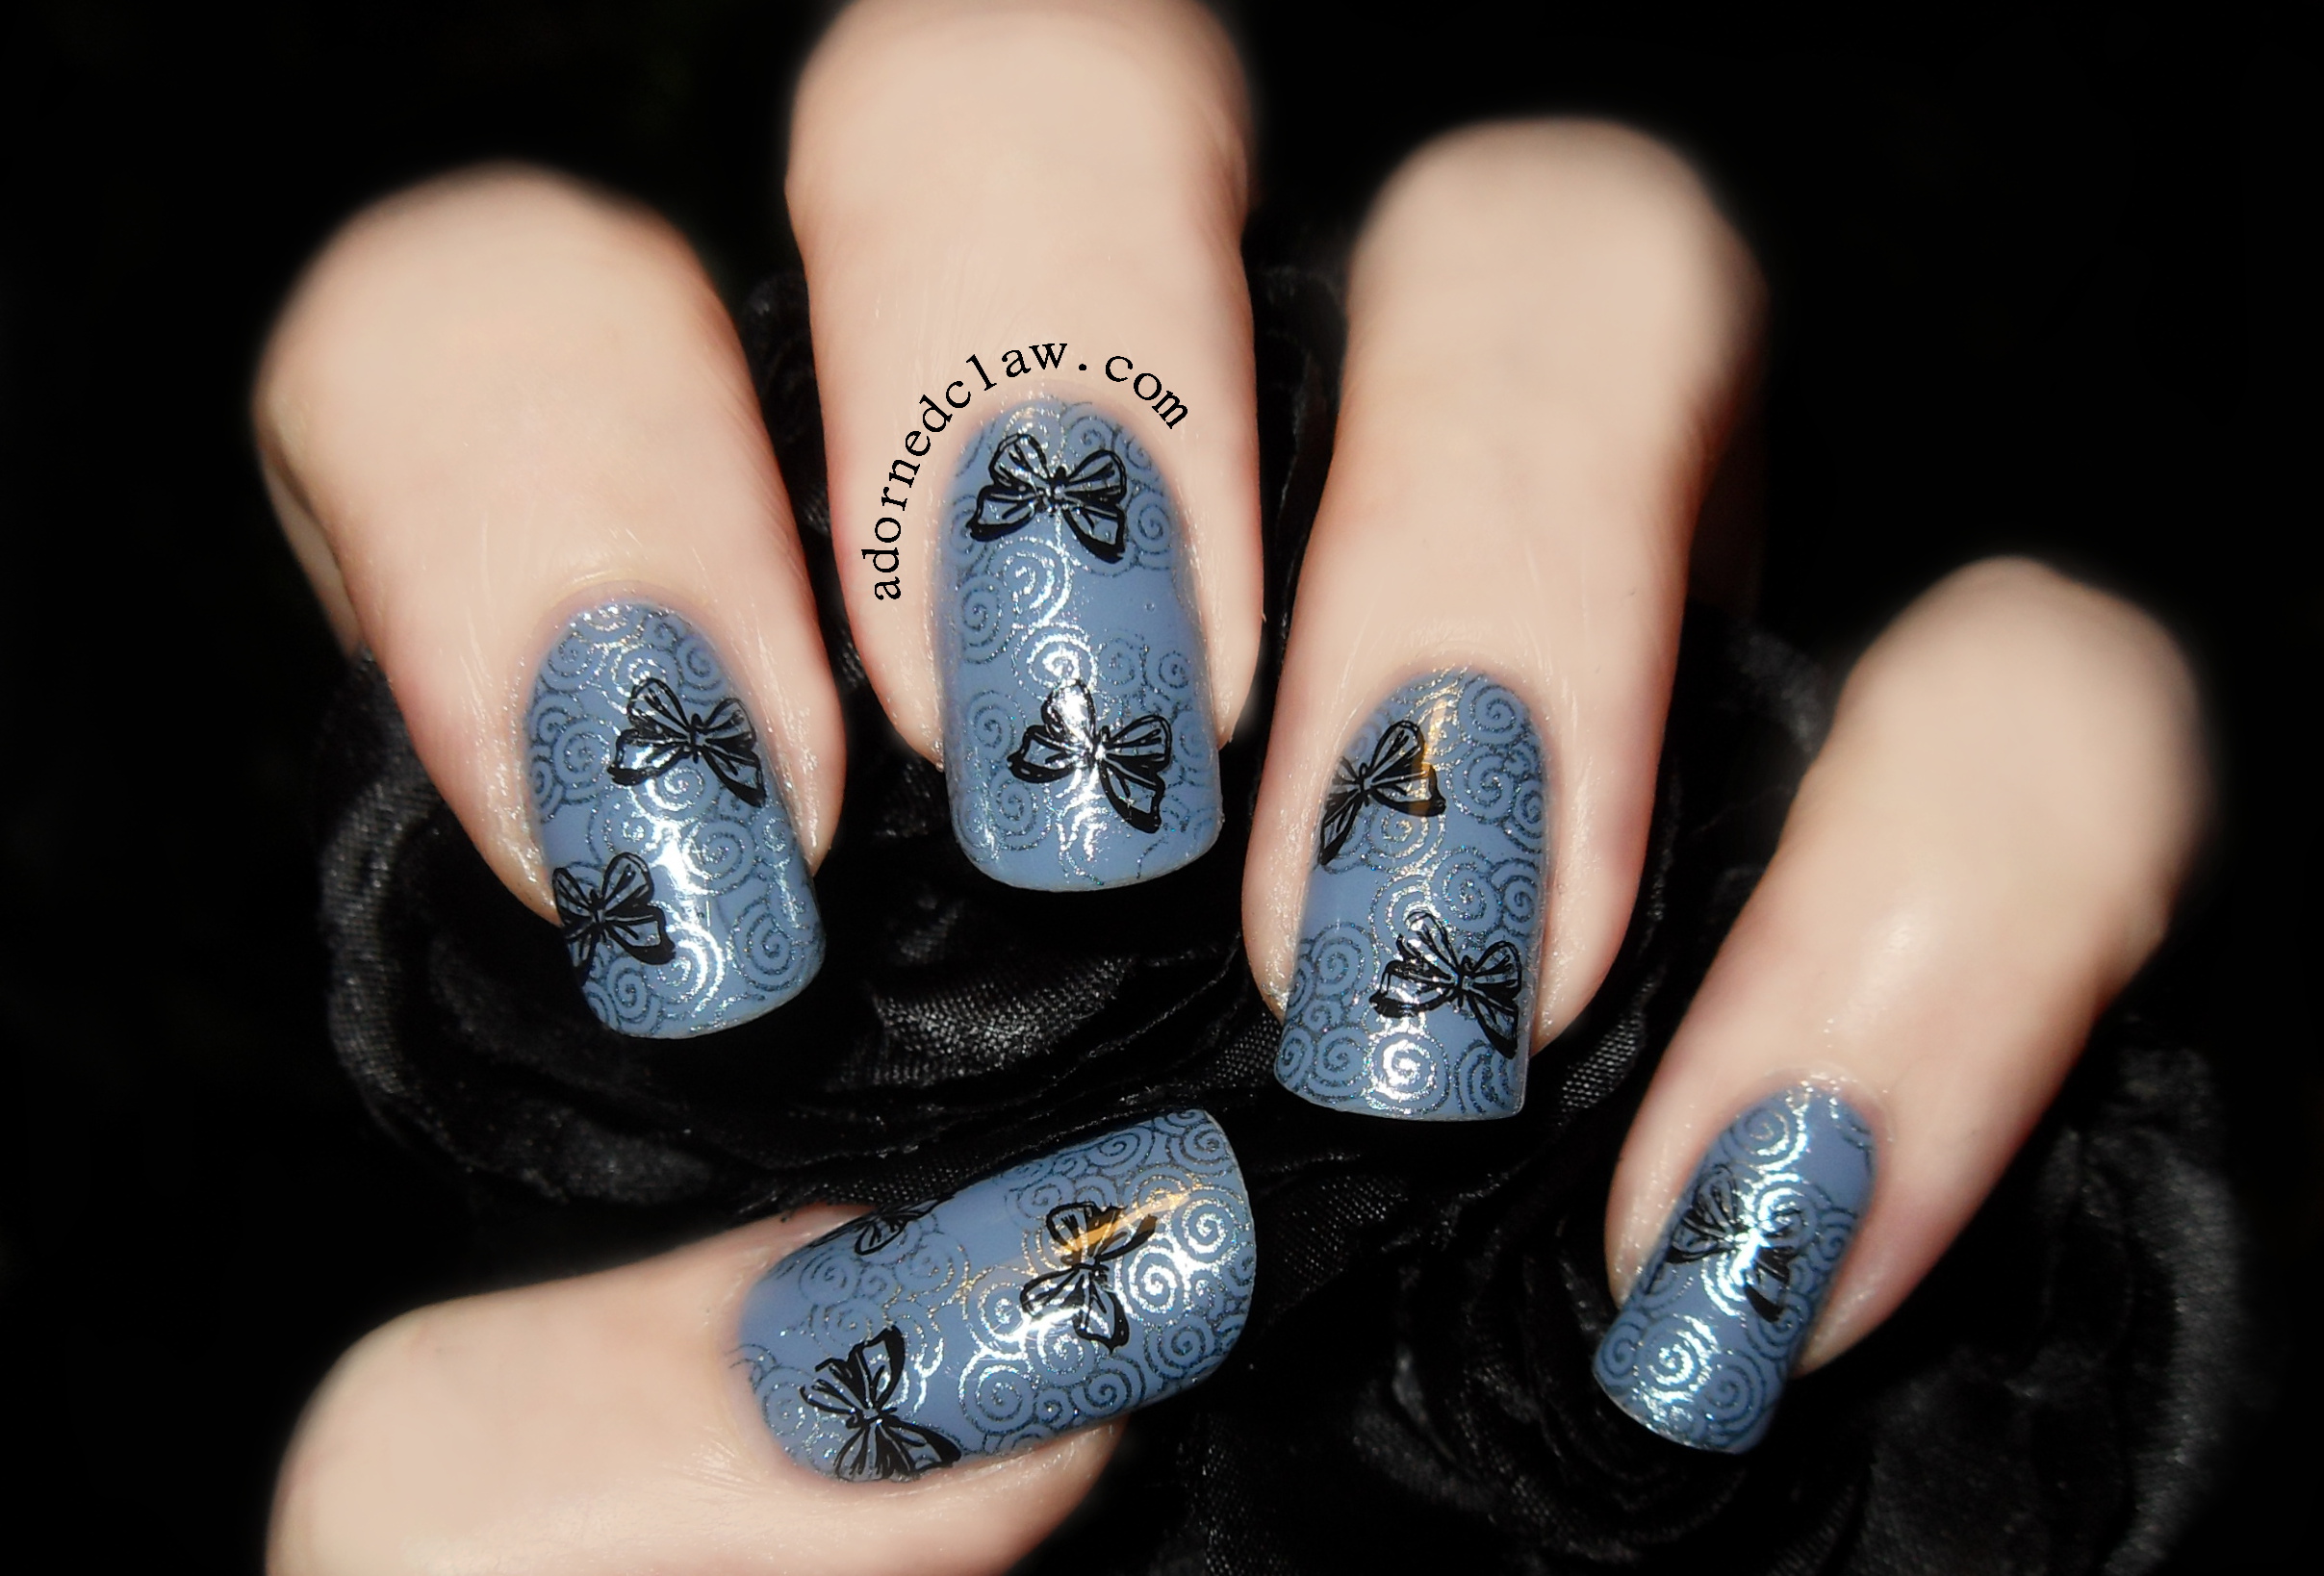
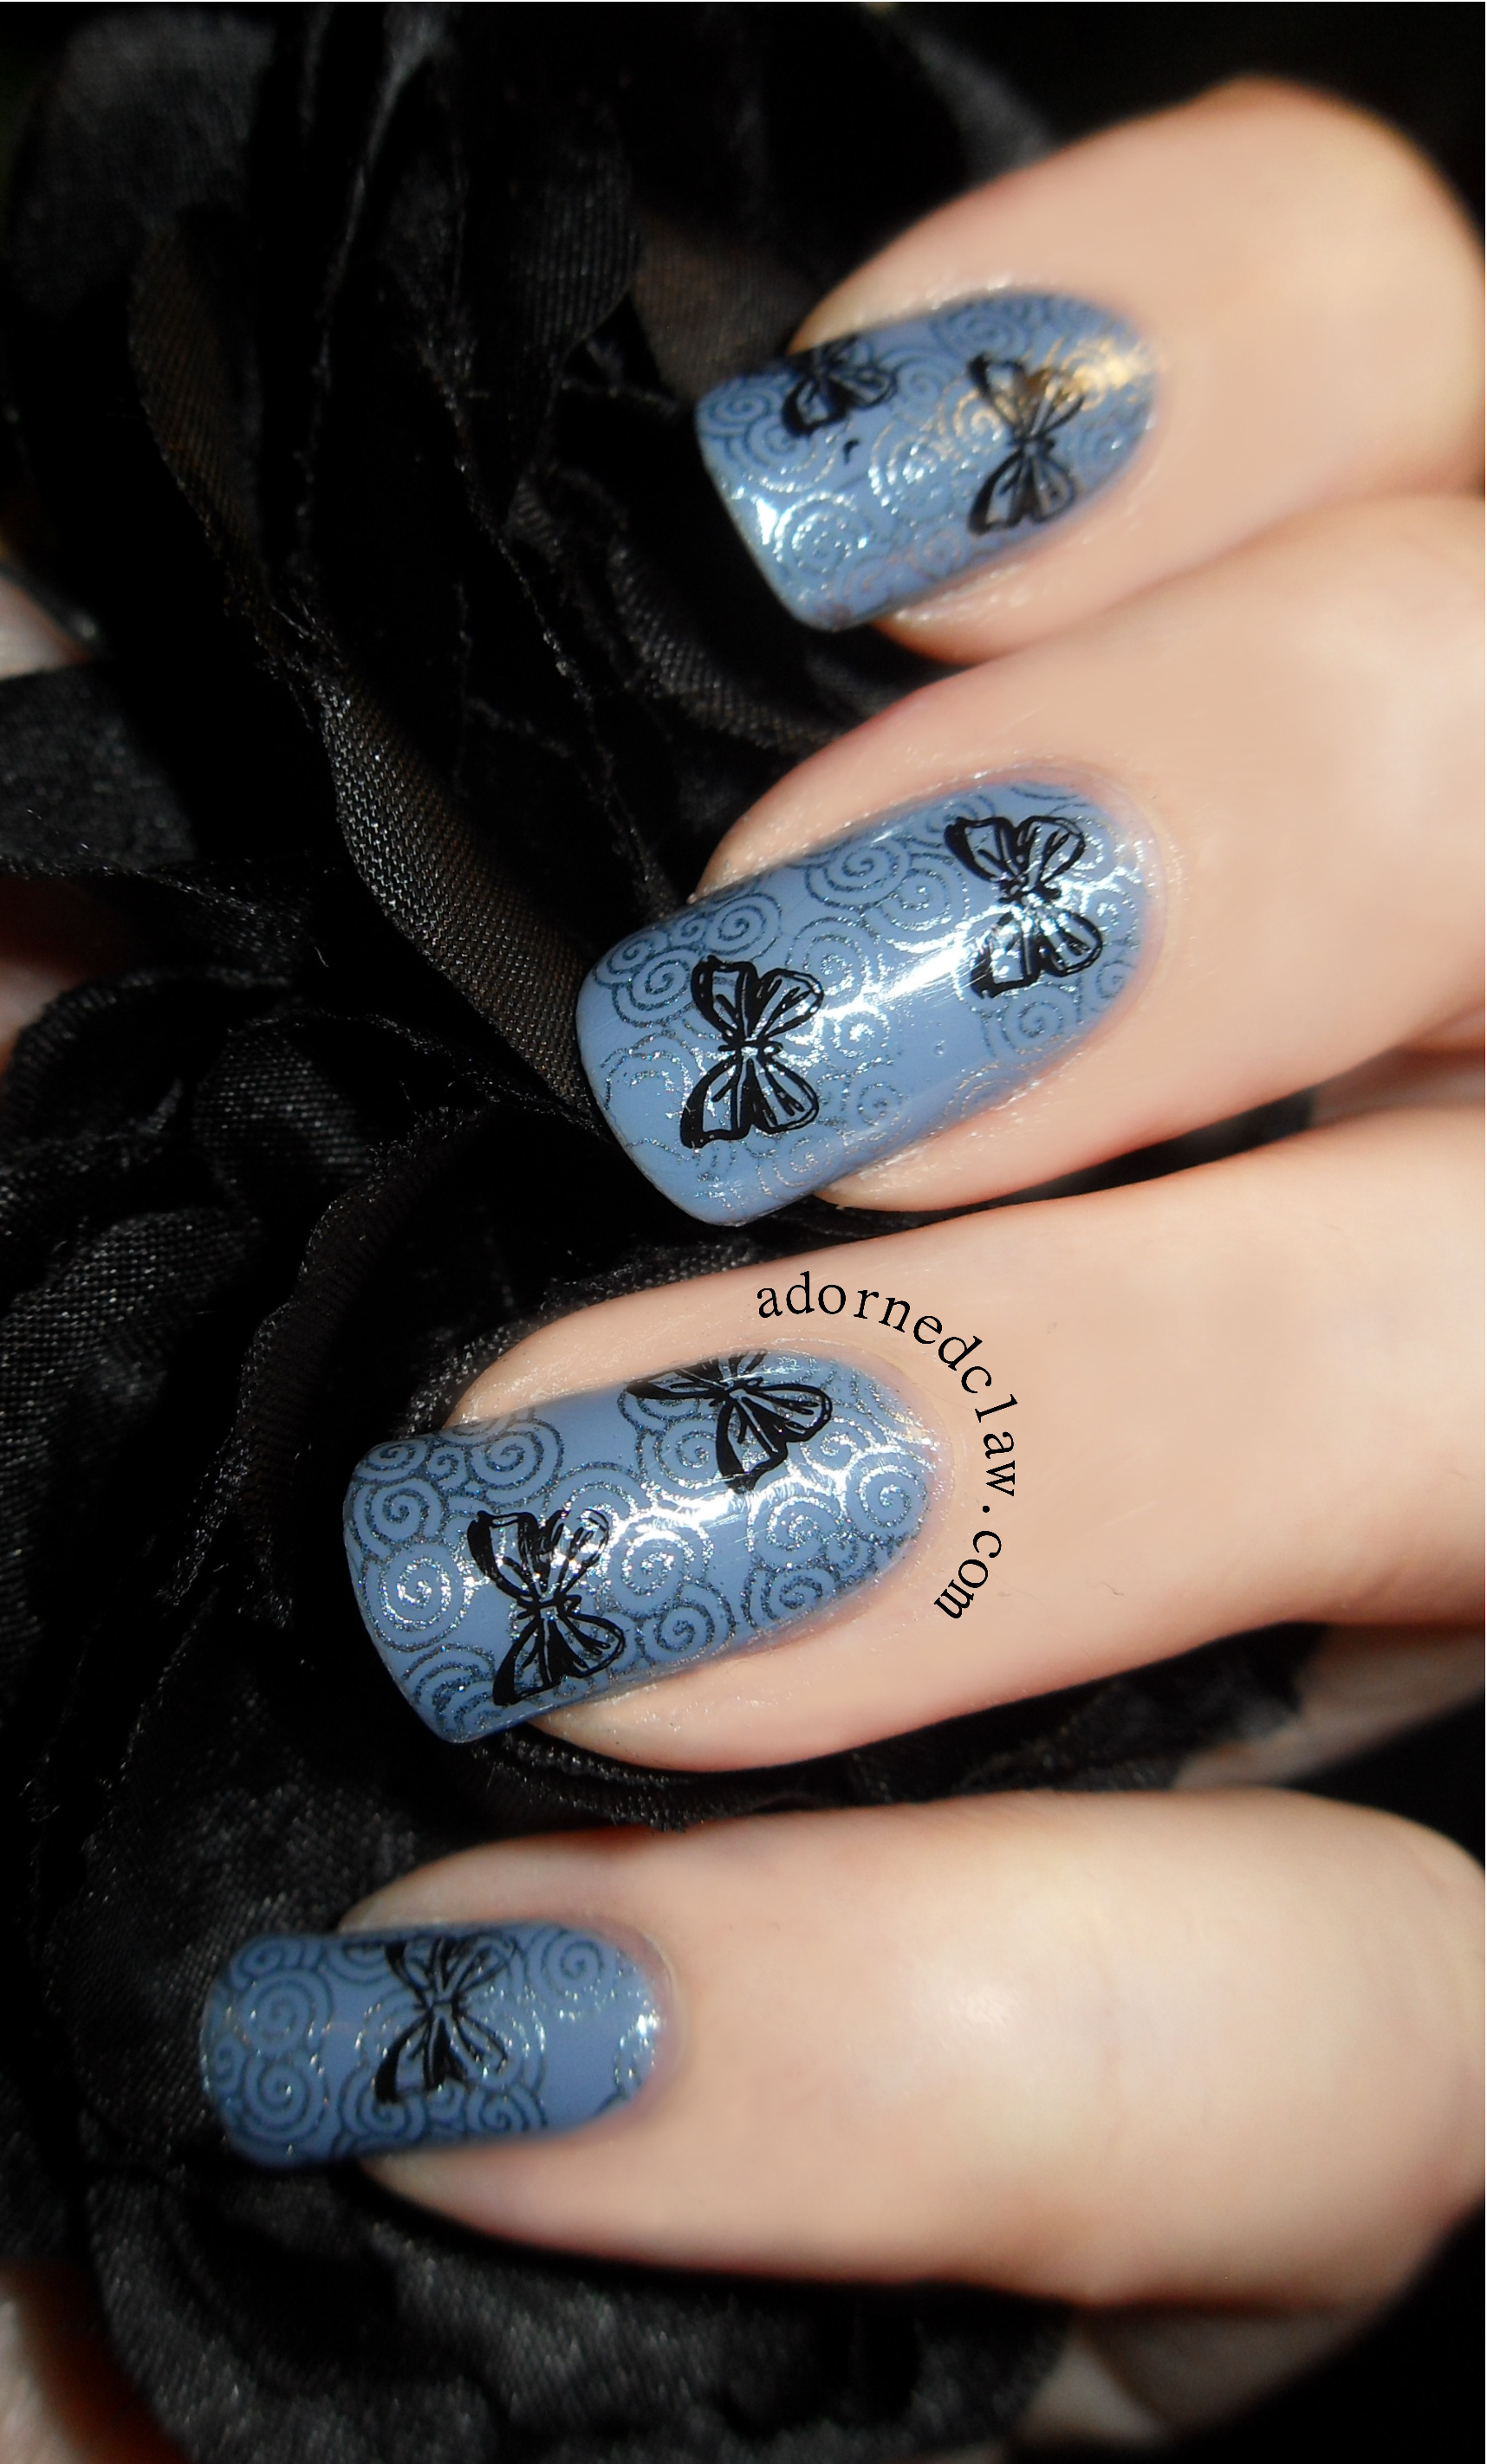
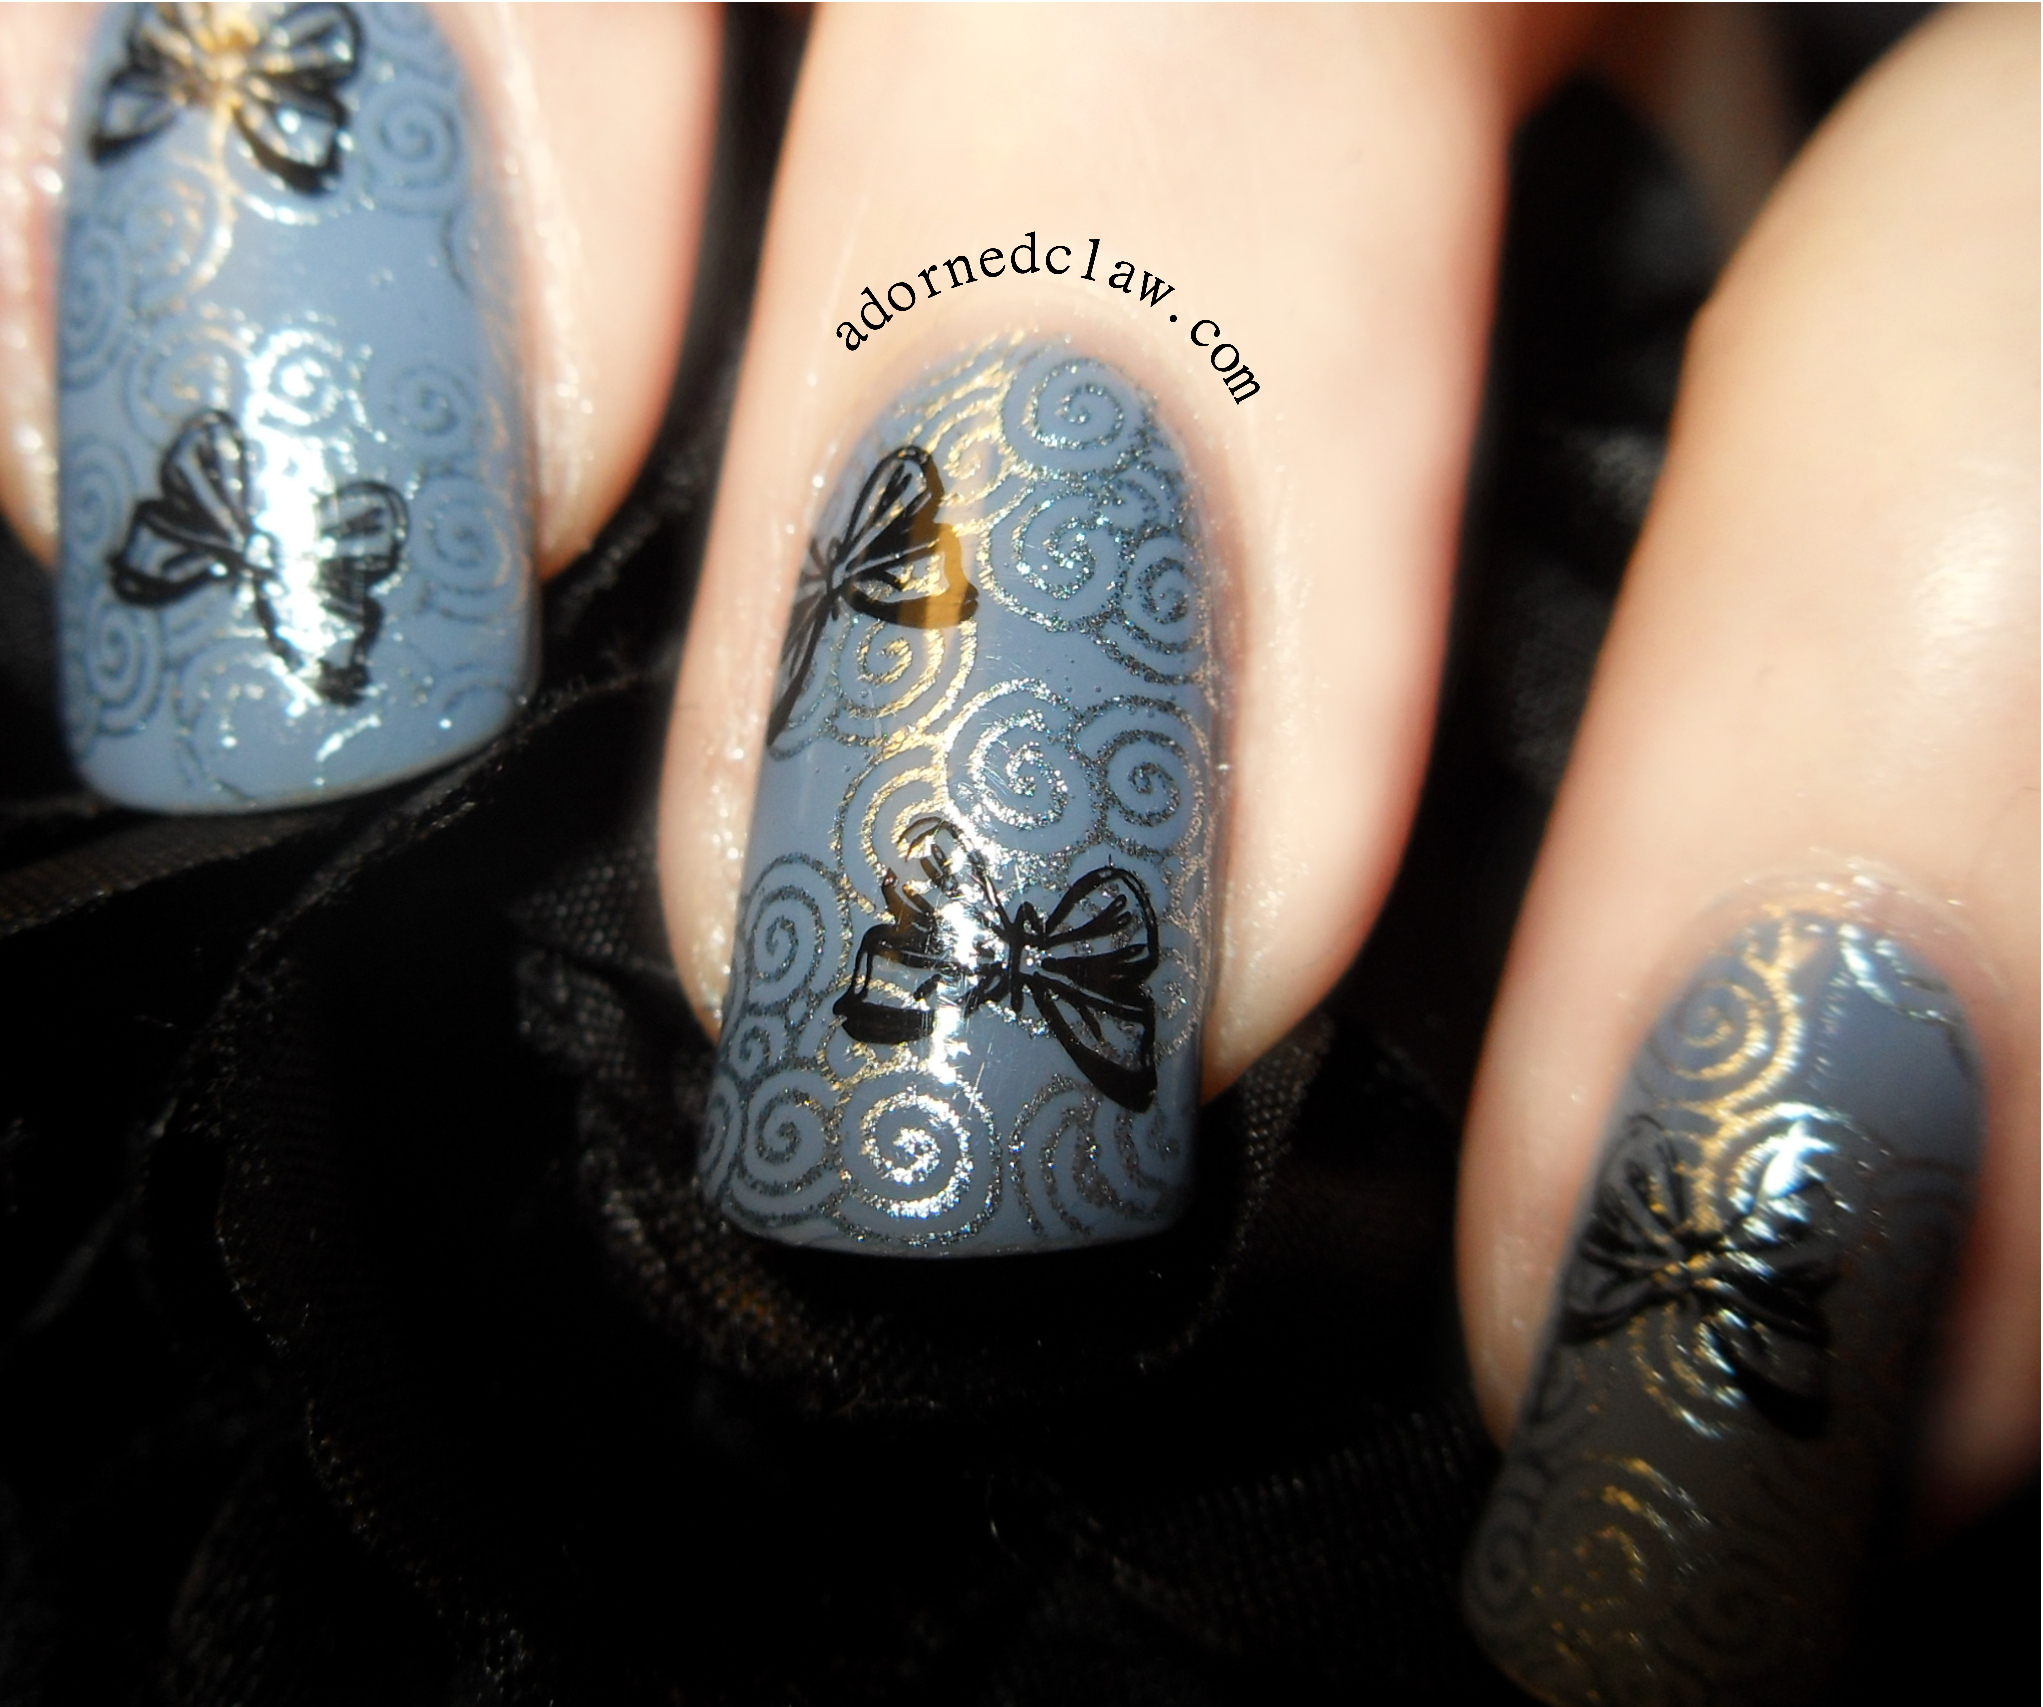
My camera decided that it hated these nails so there’s only one picture today :/

Black and White Matte Skittle

Black and White Matte Skittle

I started off by painting my thumb, index and ring fingers with two coats of the White polish, and my middle and little finger with two coats of the Black

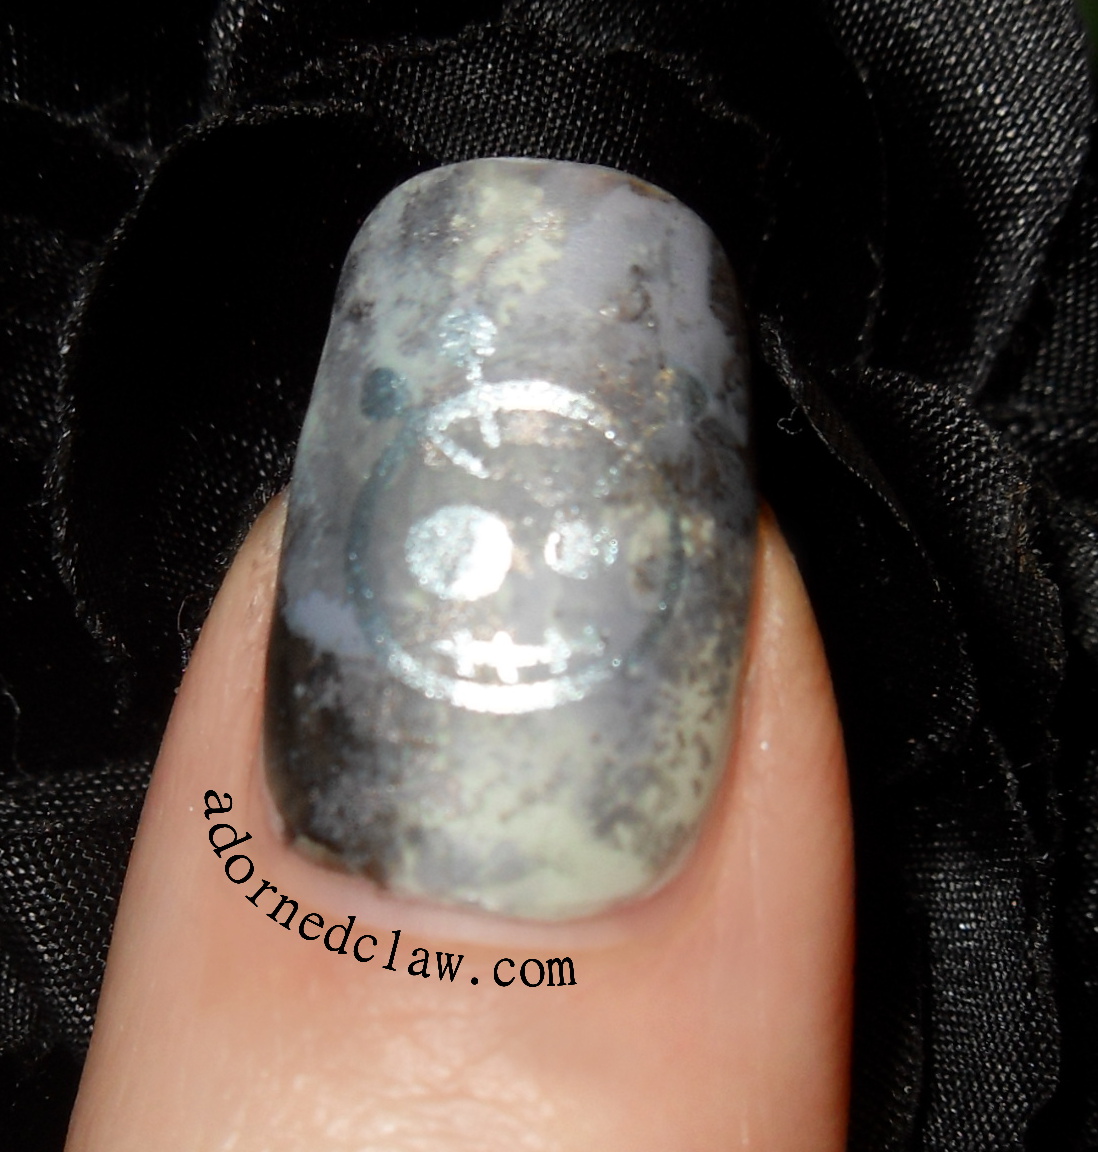
Starting with my thumb, the stamp I chose is from plate MM09 from Messy Mansion, then I applied a coat of my usual topcoat and waited for it to dry.

I used a makeup sponge for the gradient on my index finger, it took two coats before I was happy with the amount of black.

My middle finger was easy, I just applied the white polish with a medium sized dotting tool.

The water marble on my ring finger was a bit of a pain, the black polish was a bit too thick to spread on the water, so I ended up using  a little dish to thin some of the polish with a little acetone, I used a striping brush to add drops of it to the water. I’m really happy with how it turned out! all those different shades of grey!  My water marble was going so well, until an annoying little bubble that I didn’t notice before I added my topcoat and I ended up dragging some polish across the design. Grr!

I changed my mind on what I was going to do on my little finger. Originally I was going to do something with striping tape but after doing all my other nails I really didn’t feel like doing anything complicated so I just taped over the end of my nail and applied white over the black, I should probably have just removed the black polish and started again but for some reason, I didn’t think of it at the time lol. It took three coats to cover the black, and the edge is a bit fuzzy. but I think it turned out ok! 🙂

Then I decided that it needed some nail studs so I stuck them on with some more topcoat, when it was dry I applied a coat of Matte. And it was all finished!

Golden Oldie Challenge

Don’t forget to check out the GOT Polish challenge Pinterest page! You can find that right Here


Blue Jelly Sandwich! Using My First Franken Polish!

I made my first franken polish! 😀

I had a clear mini polish ( I think it was a top coat) from a cheap glitter set I picked up, and I knew that I was never going to use it so instead of leaving at the back of a draw, forgotten and covered in dust I decided to mix it with some other polishes to make something I would (hopefully) like and use!

Blue Jelly Sandwich

Blue Jelly Sandwich

I emptied the mini clear polish into a larger nail polish bottle then I added around eight drops of Propaganda from Illamasqua, I really love the dark blue colour of Propaganda, it’s so intensely pigmented that eight drops was enough for the blue colour.

I wanted my blue jelly to have a bit of shimmer so I mixed in some Mikado from Astor, this is a teal/green duo-chrome (ish) colour. I have swatched this polish once and it’s not as nice on as it looks in the bottle, so i’m glad that I got to use it for something. I must have added around twenty drops of it before I was happy with it.

Then I added four/five drops of Strap On Your Moon Boots from China Glaze, as you can’t go wrong with a bit of holo sparkle!

My First Franken Polish

My First Franken Polish

For the stamp I used Ivory Skull from Sally Hansen and Moyou Suki collection plate 02 I used three coats of my franken jelly polish with a stamp between each layer!

I’m rubbish at naming things so… What do you think I should I call my new polish?


Microbes or Plankton? 2True Artimis Over Black

A little while ago I heard on the nail polish grapevine that 2True Pro Metallica collection are good for stamping, I have never really liked the 2True polishes but as they are on offer (half price in Superdrug) I thought I would give one a try!

And OMG it’s AMAZING!!!

2True Artemis over Black

2True Artemis over Black

This polish is called Artemis, I picked out this one because it’s purple! And if it turned out to be rubbish I would at least have a chrome polish in a colour I like.

But for stamping this polish is incredible, it holds it’s colour really well over black, unlike some other polishes that loose their colour intensity and turn silvery grey.

2True Artemis Messy Mansion Plate MM25

Messy Mansion Plate MM25

I decided that the image to test this polish out with should be very intricate and detailed.  The image is from Messy Mansion plate MM25. I have to say I’m not sure if it’s microbes or plankton lol. The only other polish I have had any luck with on this image is Konad SP in Black. The 2True polish worked so surprisingly well!

I found that this polish is a bit on the stinky side and I did notice there was a bit of staining while I was cleaning up my cuticles, but as I will only be using it as a stamping polish, it’s not too much of an issue 🙂

The image transferred to my nail so perfectly I hardly had to clean my stamper between doing each of my nails!  and there was no dragging when I applied my topcoat!

2True Artemis

2True Artemis

I’m now going to go buy the rest of this collection! Hopefully they will be just as good! 😀


Swirly Clouds! With Moyou Suki 08

I decided that the Ducato polish from my last post would make a nice base colour for some stamping, and I finally get to use one of my new Moyou plates! 😀

I used plate 08 from the Suki collection.

Moyou Suki 08 over Ducato Polish

Suki Collection 08

I’m so glad that the cloud pattern on the plate is big enough for my whole nail, even my thumb! I find that on a lot of the large image/picture plates most of the individual patterns are just too small.

For stamping the clouds I used Lumin-Iceant from Color Club. The range of foil polishes from Color Club are amazing for stamping! 😀

The butterflies (I think they look more like bows) are also from the same Suki plate, I used Konad special polish in Black. it was a bit fiddly to clean the stamp up quickly enough before applying them to my nails.

Moyou Suki 08 over Ducato Polish

Moyou Suki 08 over Ducato Polish

I really like the grey/silver combination even tho my camera decided to show more of the blue tones in this polish.

I think that if i redo this mani I’ll use a couple of larger butterflies rather than lots of small ones!

Moyou Suki 08 over Ducato Polish

Moyou Suki 08 over Ducato Polish


Anti Valentines Nail Art!

Today I have some very Anti Valentine’s day nails to show you!

Anti Valentines Day Nails

Anti Valentines Day Nails

I don’t think I could have made this any less valentine’sy!

I started out with two coats of Pumice From Sally Hansen, then using a make up sponge I applied patches of Pure Midnight which is also a Sally Hansen Polish.

Then I used a combination of cling film and tiny bits of sponge to add Barry M Grey, China Glaze Galactic Grey and Color Club Shabby Drab to create the stone effect.

Anti Valentines Nail Art

Anti Valentines Nail Art

I used two Bundle Monster Plates BM-426 and BM-413 for the stamping, I used Konad Special Polish in Black, then with a thin brush I added some Lumin-iceant from Color Club to the letters.

I also used Lumin-iceant for the stamping on my thumb, unfortunately it doesn’t show as well as I would like 😦

Anti Valentines day Nail Art

Anti Valentines day Nail Art

I finished it off with a coat of Seche Vite, but then decided it would look better in matte so I added a coat of Matte Finisher from E.L.F!

I think that’s enough hate nails from me! And I hope you have a lovely Valentine’s day what ever you are doing! 🙂


Crumpet’s Got Polish Challenge – Valentines Day

Here are my Valentines day nails for todays got polish challenge! I have to say I’m really not into the whole Valentines day thing, I find it all far to commercialized and a bit cheap… But enough of me grumbling lol!

GOT Polish - Valentine's Day

Valentine’s Day Nail Art

I started out by making the little stamped decals using Bundle monster BM-401, for the stamping I used Konad special polish in black.  Then color club ulterior motive for half of the hearts and Maybelline Flash Cosmic with a coat of Barry m shocking pink over the top for the rest.

GOT Polish - Valentine's Day

Valentine’s Day nail art

While I was waiting for my decals to dry I used Sinful Colors Bubbly and Barry m shocking pink to create a sponged gradient, Bubbly is a polish from my unused pile along with the Maybelline glitter polish. Then I stamped with China Glaze Cosmic Dust using Moyou Pro Collection XL plate 04 for the leopard print.  I used topcoat to stick on the decals, and added a few dots of Ulterior motive. then another layer of top coat to even it all out!

GOT polish - Valentine's Day

Valentine’s Day Nails

This didn’t turn out quite how I was expecting! But for pink and girly it’s not that bad….

Remember to have a look at the GOT polish Pinterest page for more Valentine’s Day nail art!