Tag Archives: Nail polish

Here’s week three of the GOT polish Challenge! Today the theme is Blue!
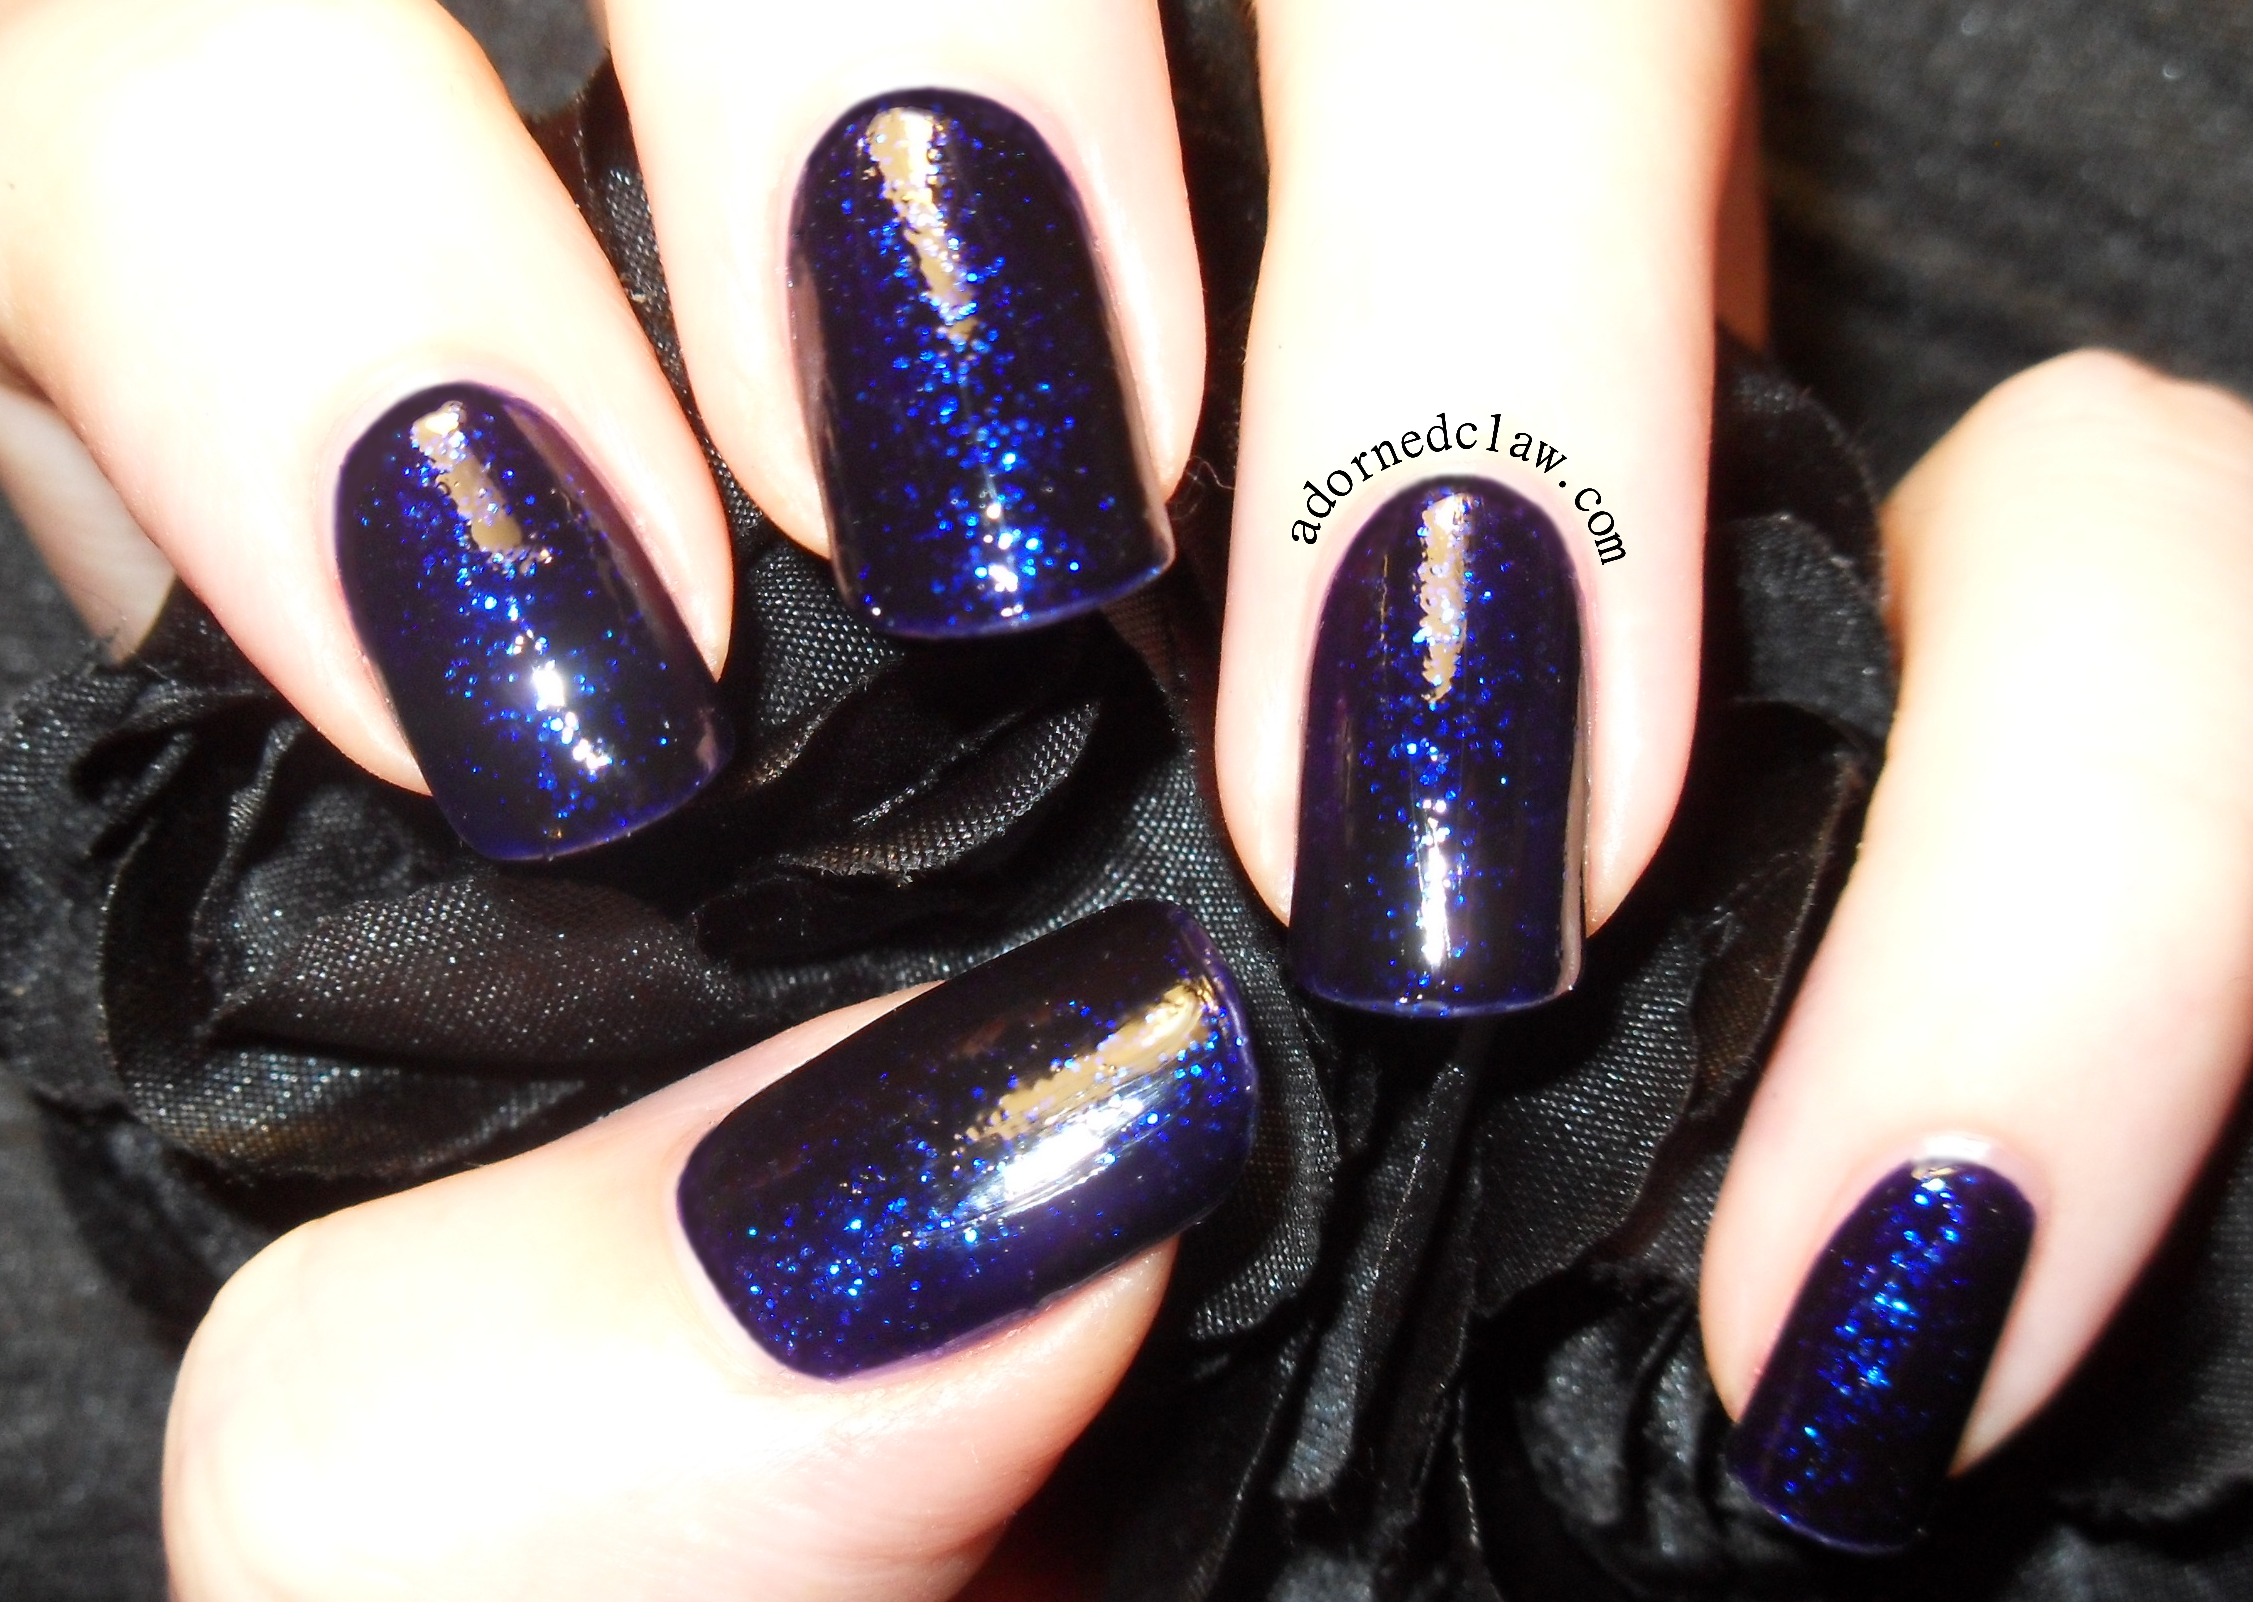
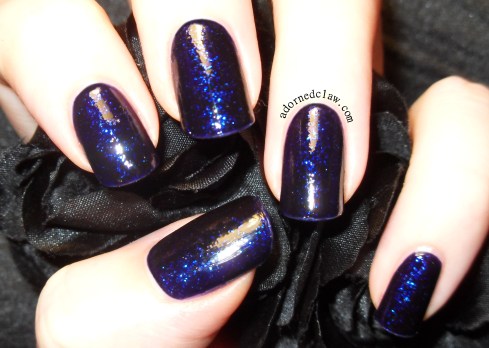
I have a lot of blue polishes so today I’m going to show you my favorite blue polish ever! This shade is called Bleu Cosmos from Bourjois and it was sadly discontinued a long time ago!
Bourjois Bleu Cosmos
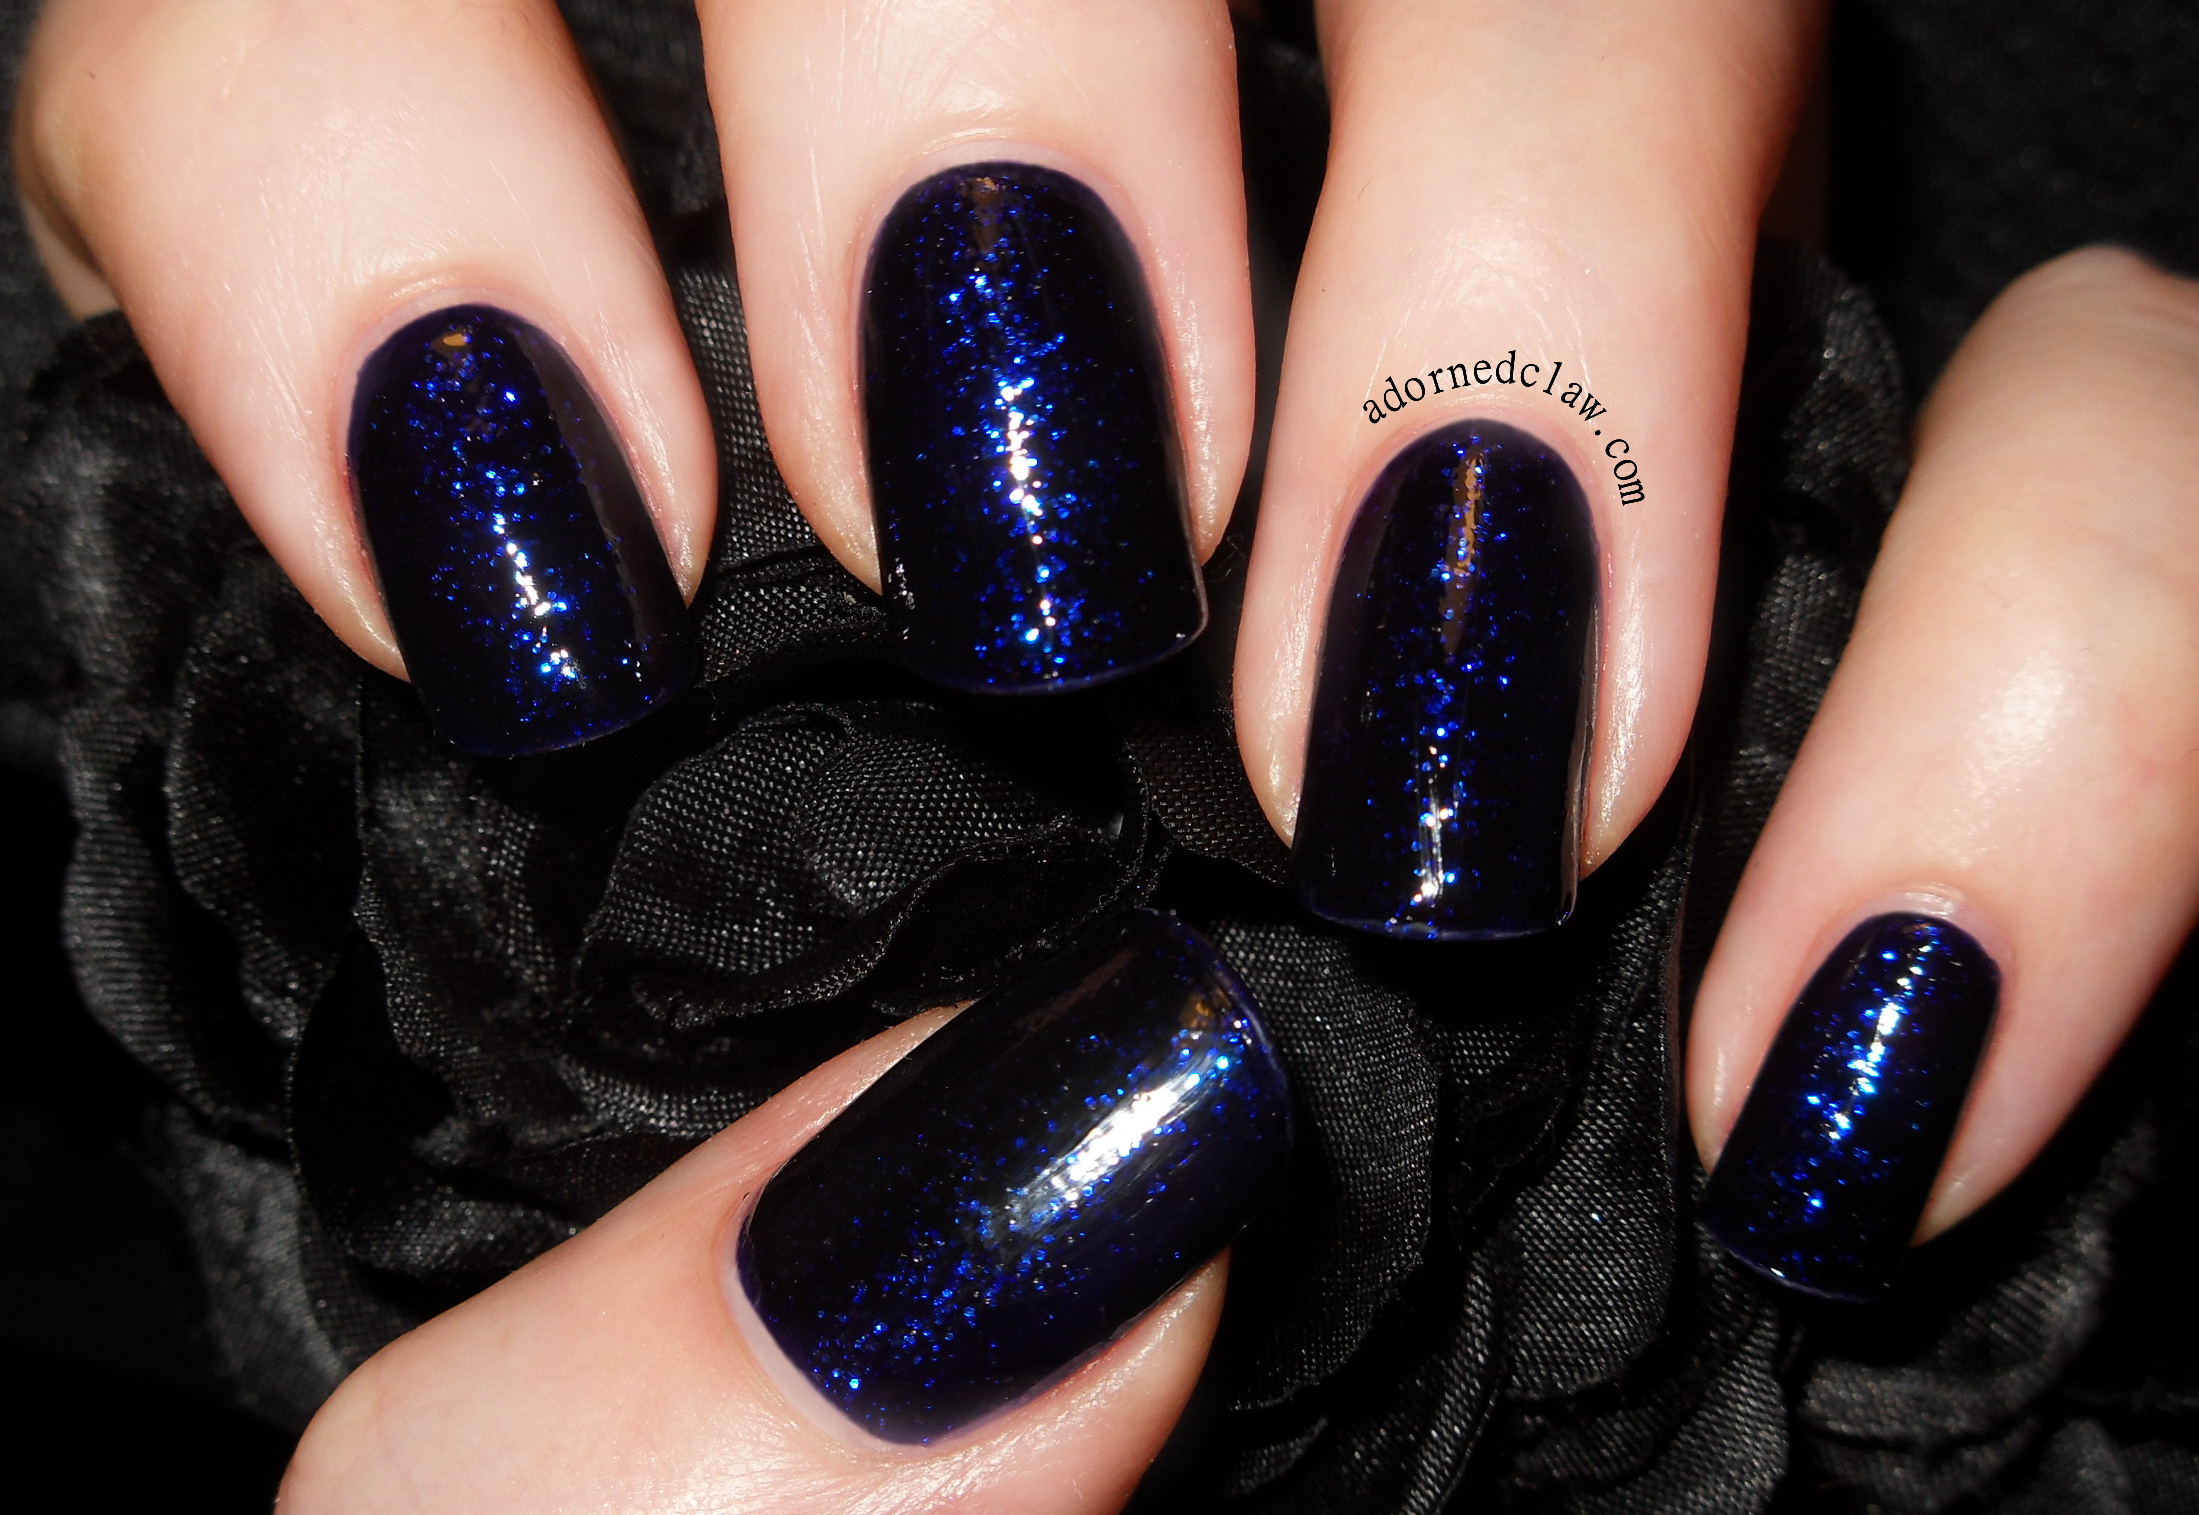
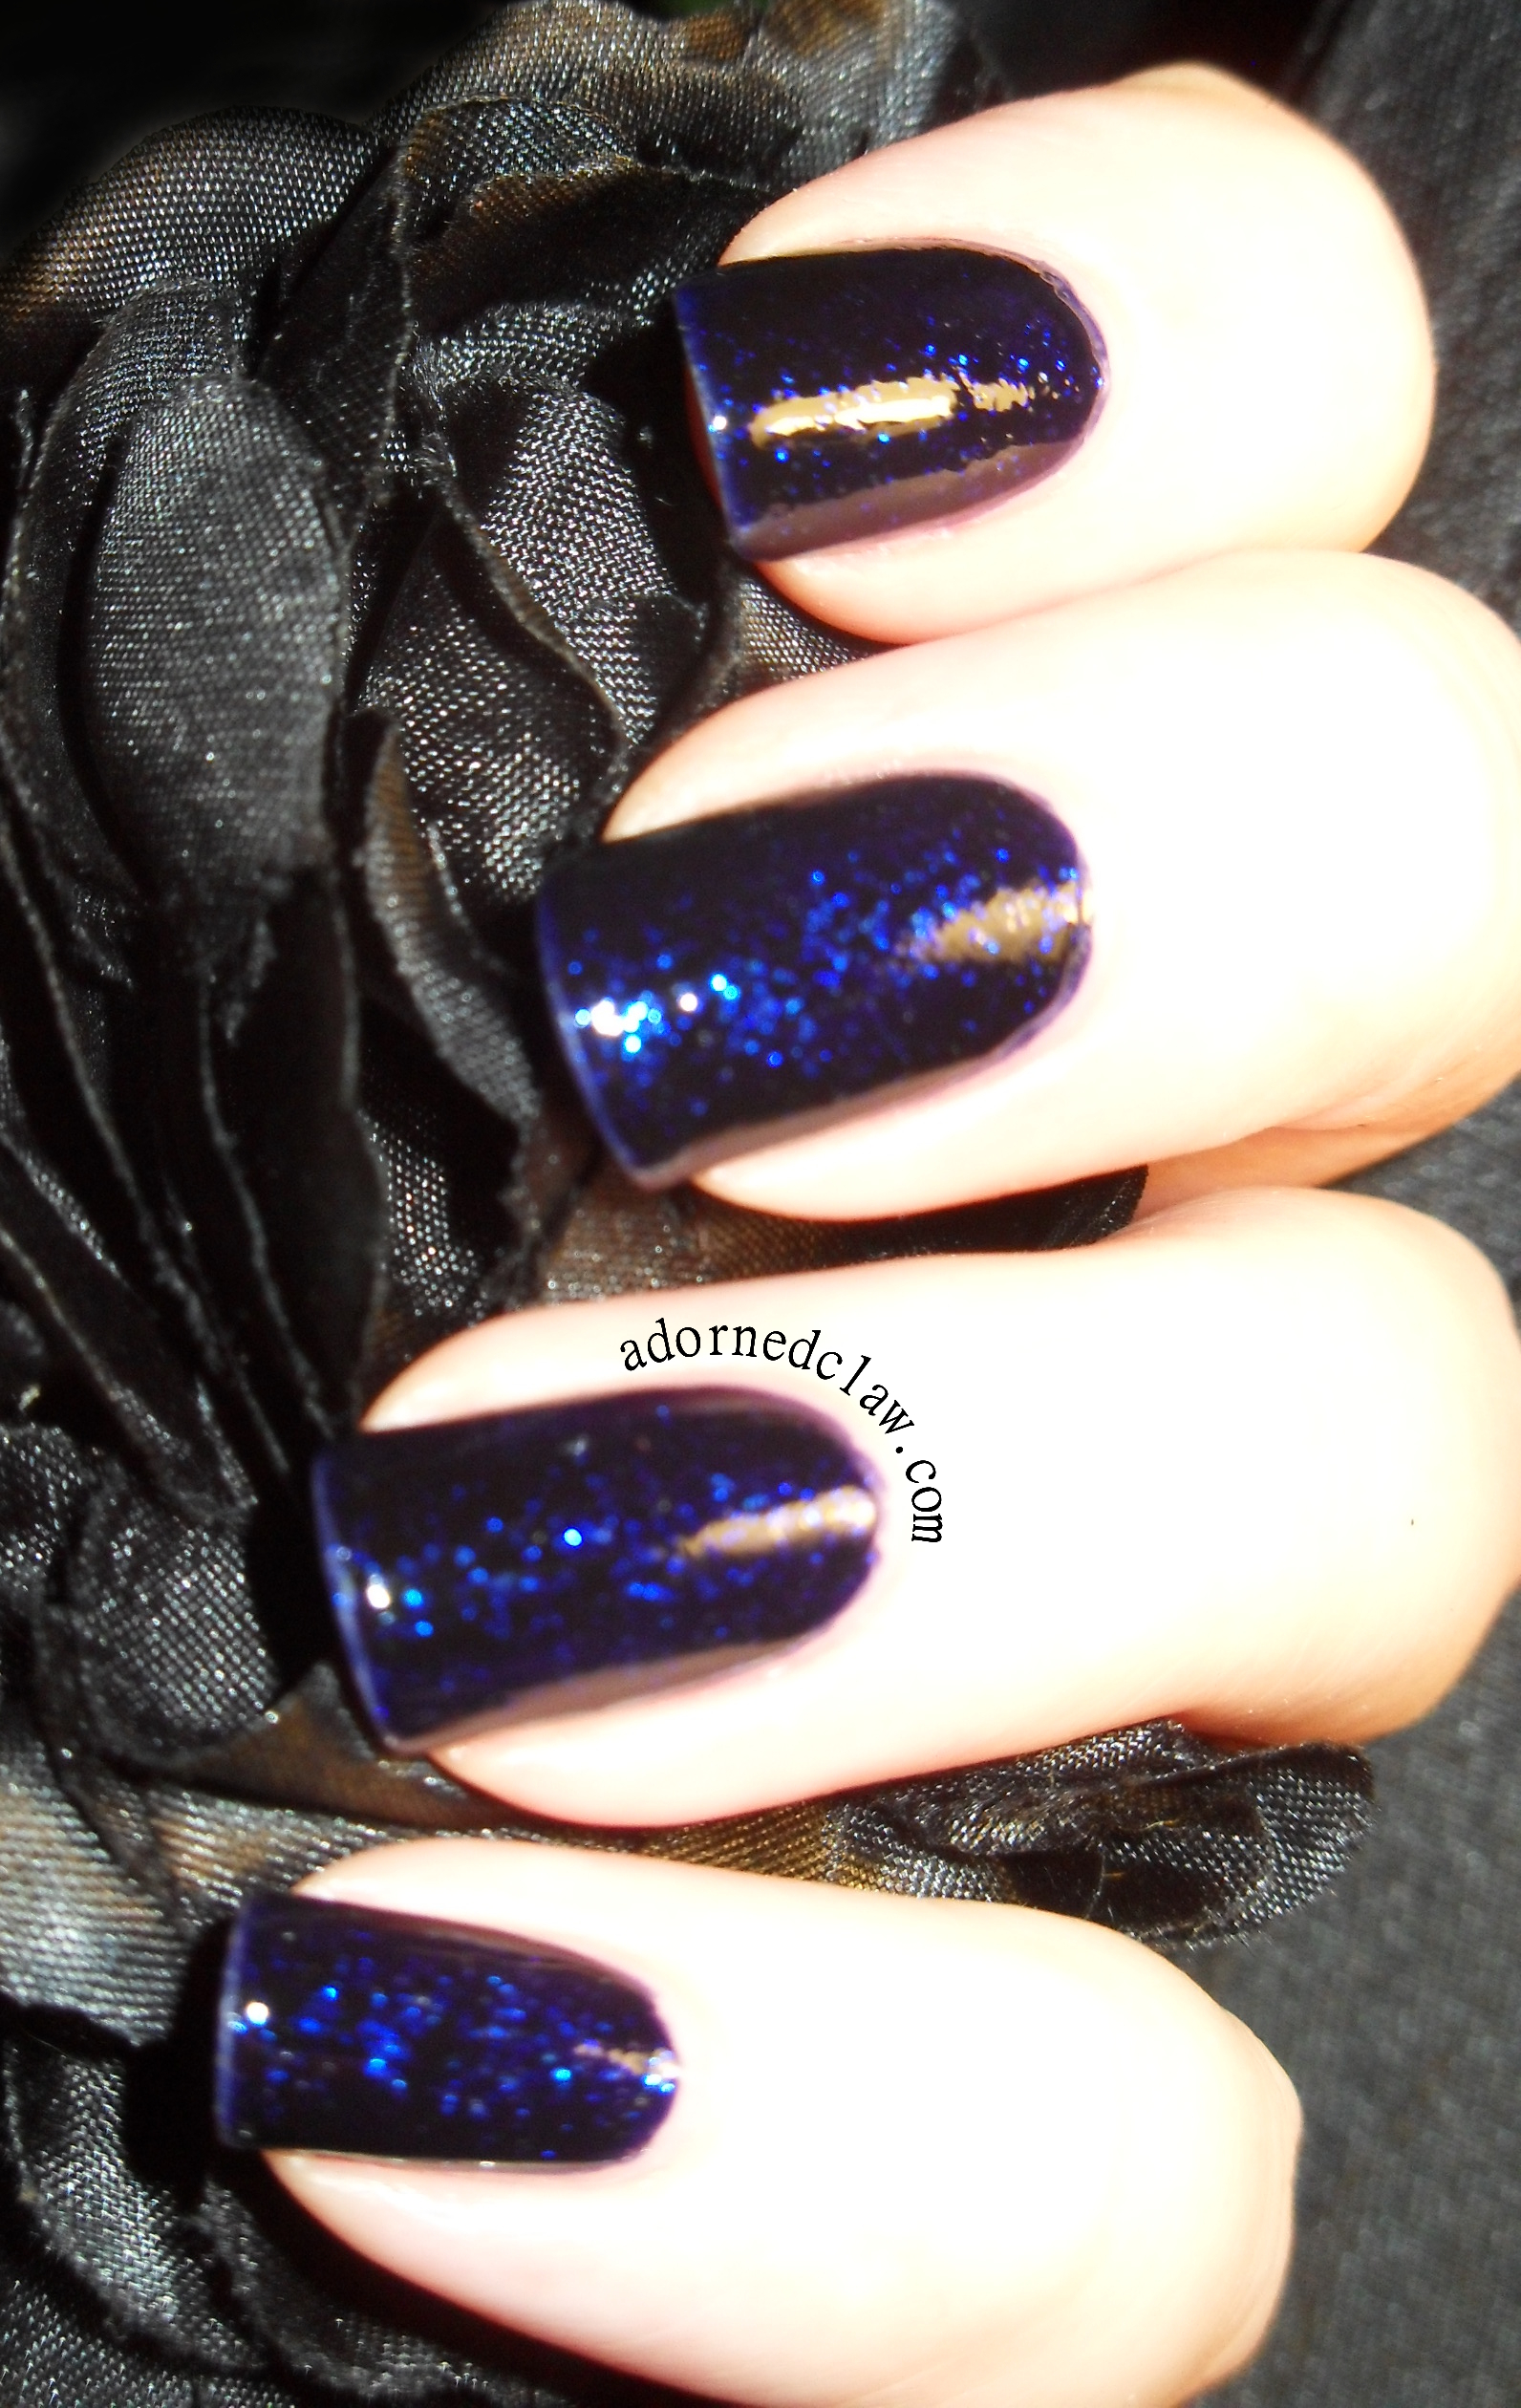
It’s a lovely dark rich blue, almost black, jelly with huge amounts of blue, silver, purple and green iridescent glitter.
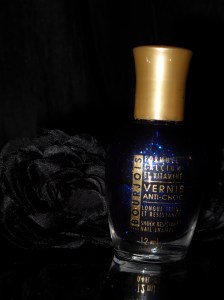
Bleu Cosmos Bottle
When was the last time you saw one of these bottles in a shop? Lol

This is three this coats over base coat, as I remember this polish tends to stain a bit. Even with no topcoat it’s still really glossy.
Unfortunately It had gone all thick and gooey so I had to thin it a bit before using it. but I have to say with how old it is, and how much I used it in the past, I’m surprised it wasn’t solid! 🙂

Look at the sparkles!
It’s so sparkly! I don’t think I’m ever going to find another bottle of this polish  but I will keep looking! 😀
Have a look at the Pinterest Board with more amazing GOT Polish nails! 🙂
6 Comments | tags: Black, blue, Bourjois Bleu Cosmos, Glitter, GOT Polish Challenge, iridescent, Jelly, Nail polish, Nail Varnish, nailpolish, swatches | posted in Challenges, Swatches
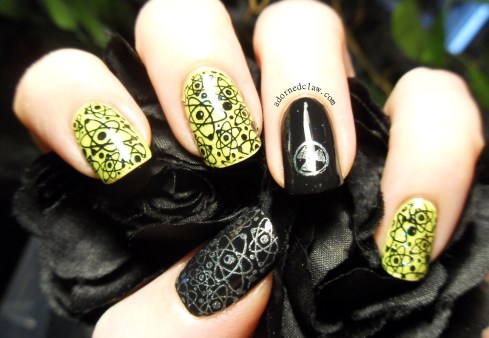
I’m not really going to do science, just some science inspired nails 😀
The plate I used today is from Messy Mansion, its plate MM25 and you can find it right here. 😀
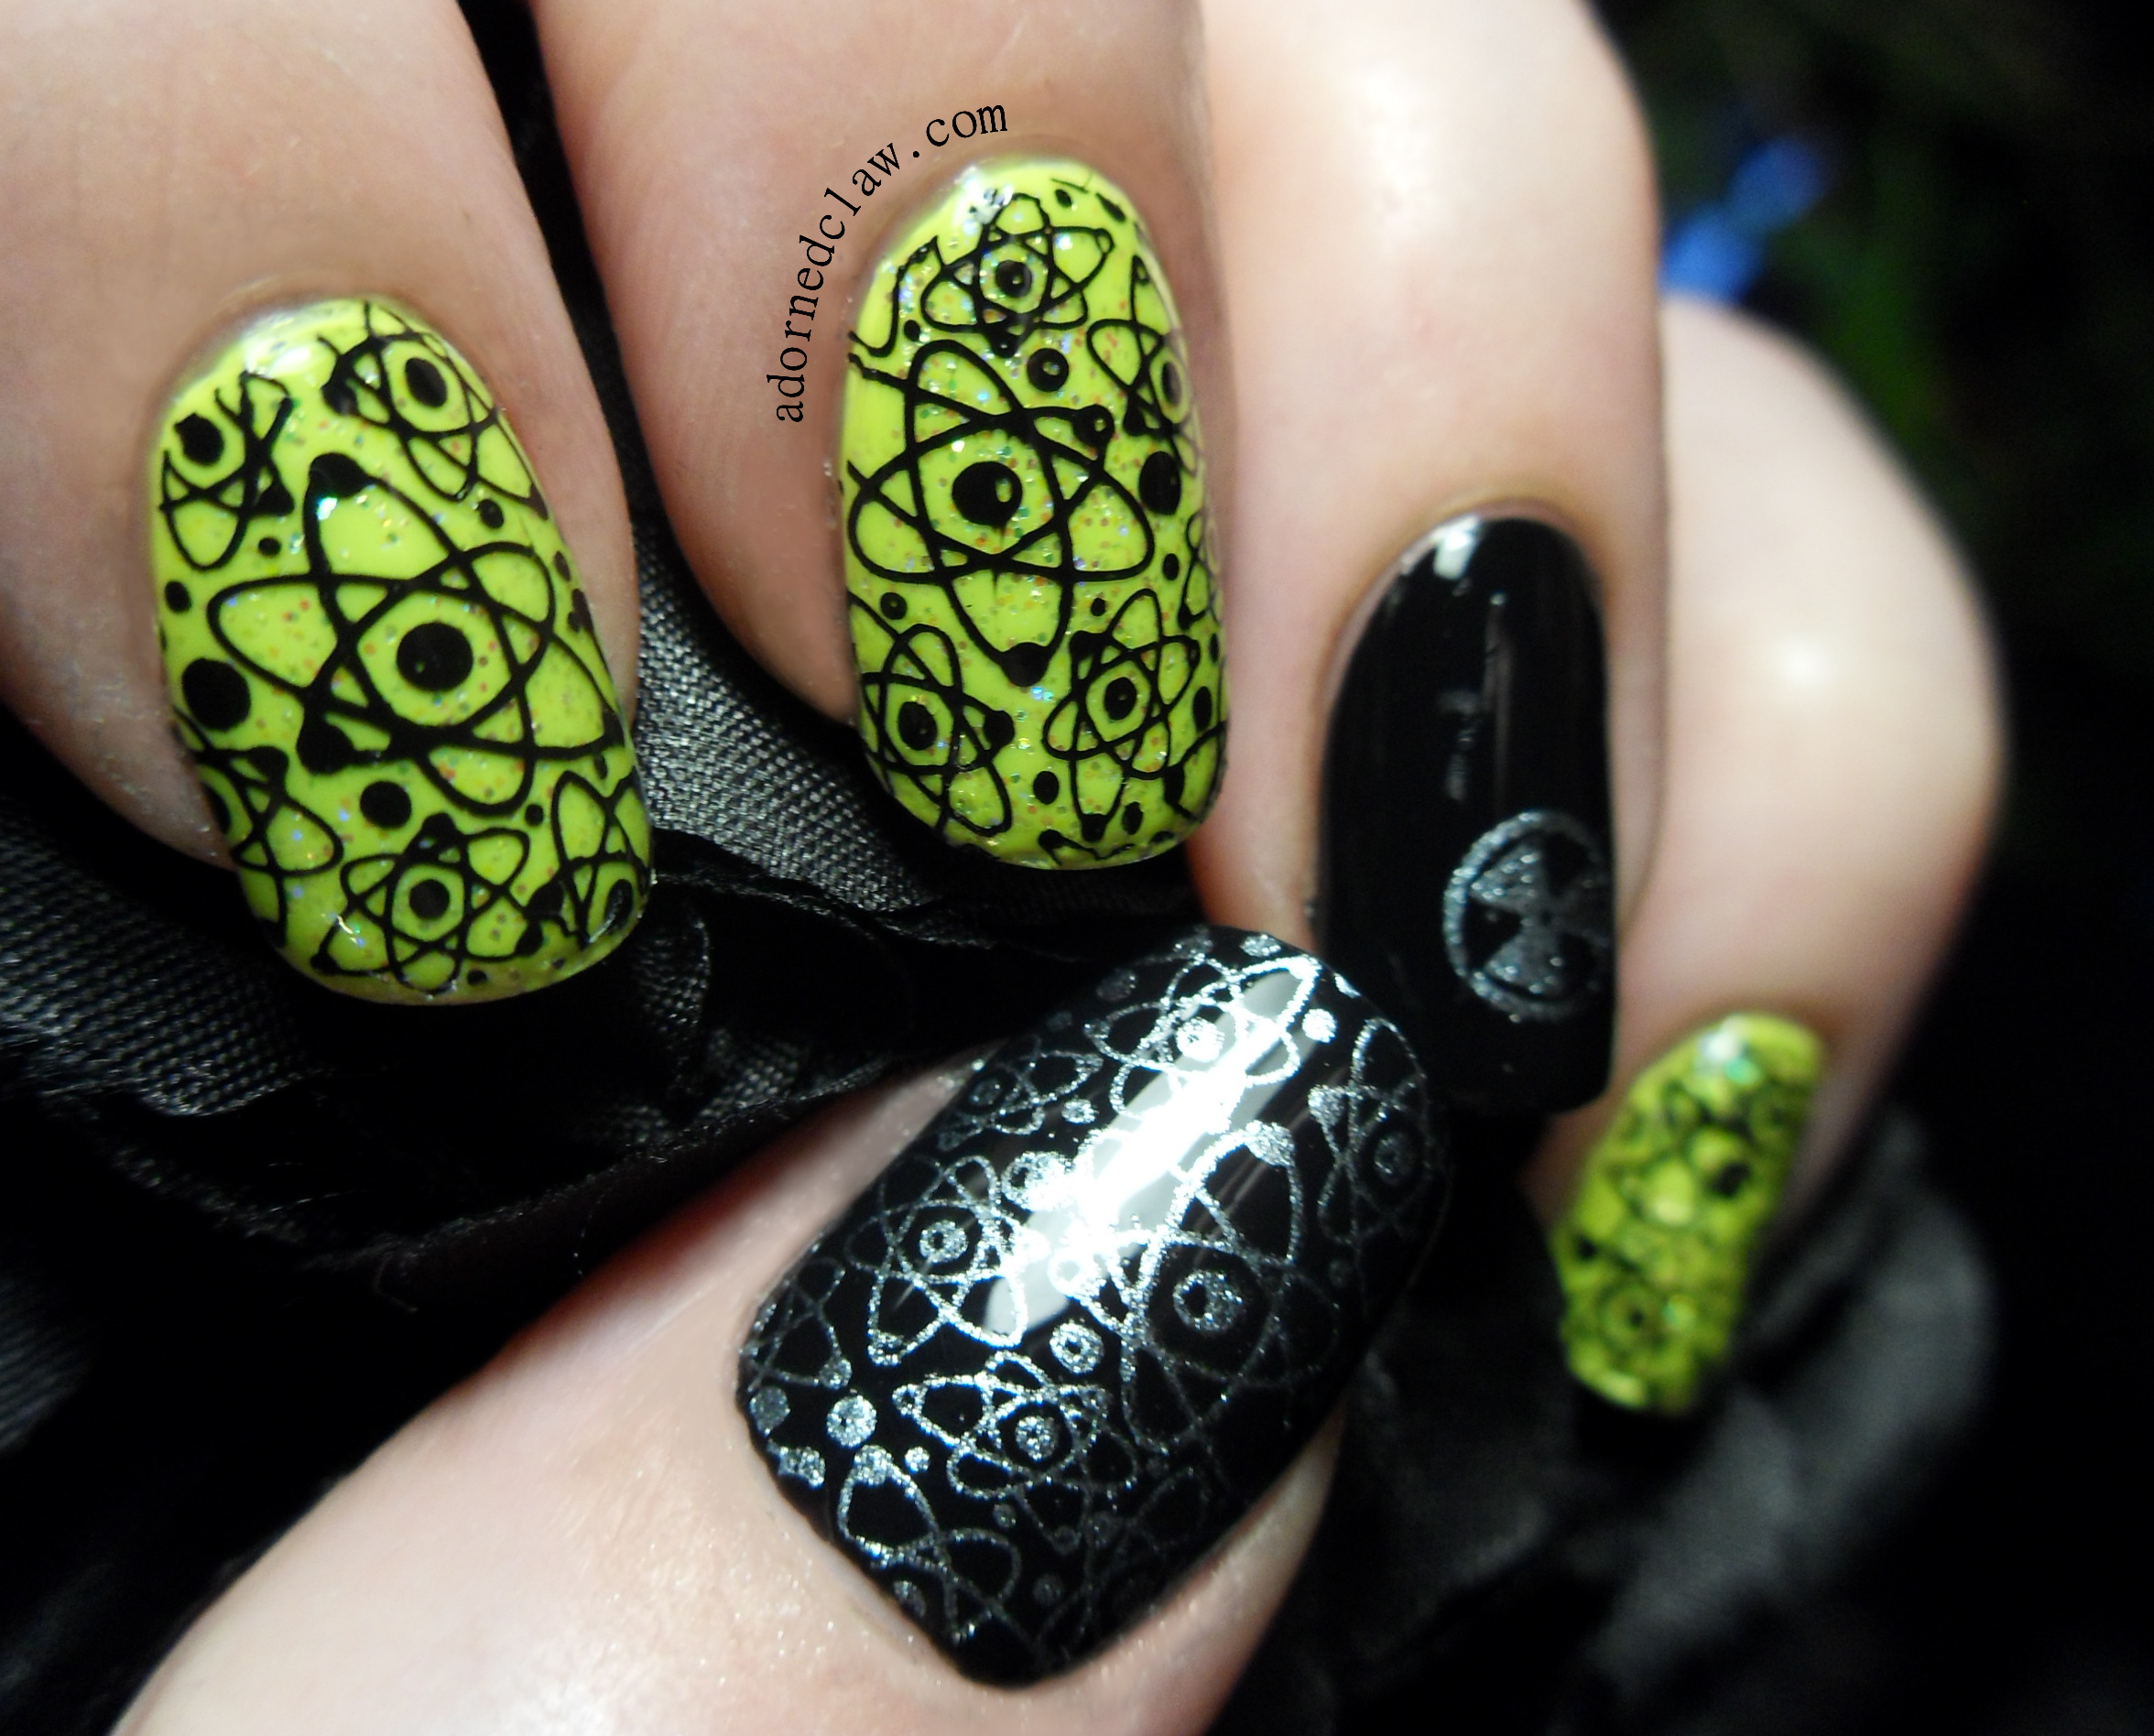
Science Nails!
I started by painting my thumb and ring finger with two coats of Revlon Black Magic
On my other fingers I added a coat of French White from Nina Pro with two coats of Barry M Acid Yellow over the top, I used the coat of white polish to make the yellow really glow!
When that was all dry I topped it off with a coat of Barielle Shades Stardust for some sparkles and then and then a thin layer of topcoat.

Science!
For the stamping I used Barielle Shades night moves for the silver and Konad Special Stamping Polish in Black for the images over the yellow.
Then a coat of color club topcoat to seal in the design, there was a tiny bit of streaking form the konad polish
I didn’t really like this when I had finished it I think it was because of the colour and that I ended up using a lot of polish it felt very thick
But now that I’m looking at the photographs I really like it! 🙂
11 Comments | tags: Barielle Shades Night Moves, Barielle Shades Stardust, Barry M Acid Yellow, Black, Glitter, iridescent, Messy Mansion, Messy Mansion MM25, Nail Art, Nail polish, Nail Stamping, Nail Varnish, nailpolish, Neon, Nina Ultra Pro French White, Revlon Black Magic, silver, Yellow | posted in Nail Art, Nail Stamping
Something rather strange happened today… I was planning on creating a stamped gradient but I did the sponging and my nails where so pretty that I just couldn’t bring myself to stamp over them! oO
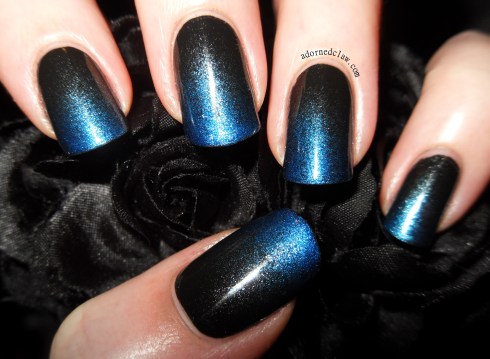
Blue Black Gradient
I started with two coats of Black Magic from Revlon, and made the gradient with Sally Hansen Diamond Strength in Pure Midnight and Cold Metal from Color Club.
It’s so shimmery and sparkly! 😀
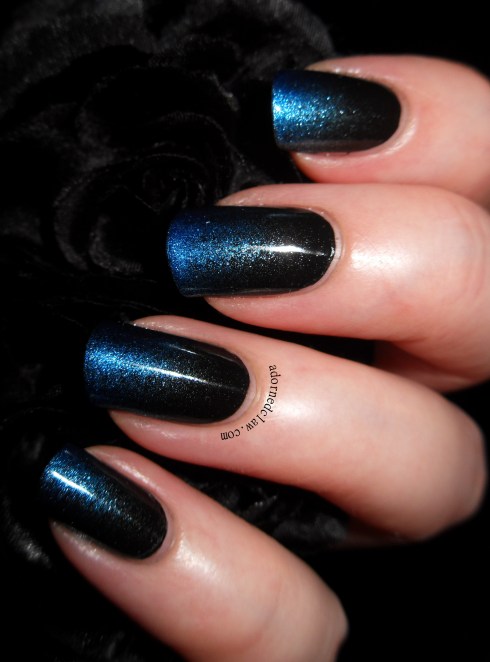
Blue Black Gradient
I think this is a case of less is more!
5 Comments | tags: Black, blue, Blue Black Gradient, color club, Color Club Cold Metal, Foil Polish, gradient, Nail Art, Nail polish, Nail Varnish, nailpolish, Revlon, Revlon Black Magic, Sally Hansen, Sally Hansen Pure Midnight, Seche Vite | posted in Gradient, Nail Art
This is the second polish I have to show you from the amazing collection of nail varnishes brought back from Japan for me by a rather lovely friend of mine!
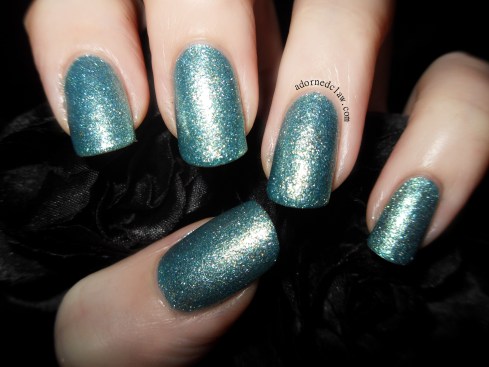
Berry Color Nail
This brand is called Berry Color Nail, unfortunately I have no idea what shade this is, my Japanese really isn’t that good lol. But if you know what if is please let me know! 😀
Again this is a colour that I wouldn’t have chosen myself, as I’m not really drawn to pale colours. But after applying it I think this is really rather pretty!

Tiny Bottle
This is pale blue/green with gold, silver and iridescent micro glitters, it applied really easily, which is amazing considering the amount of glitter they managed to cram in!
It did take a bit longer to dry than I’m used to, but I think some fast dry top coat would sort that out!
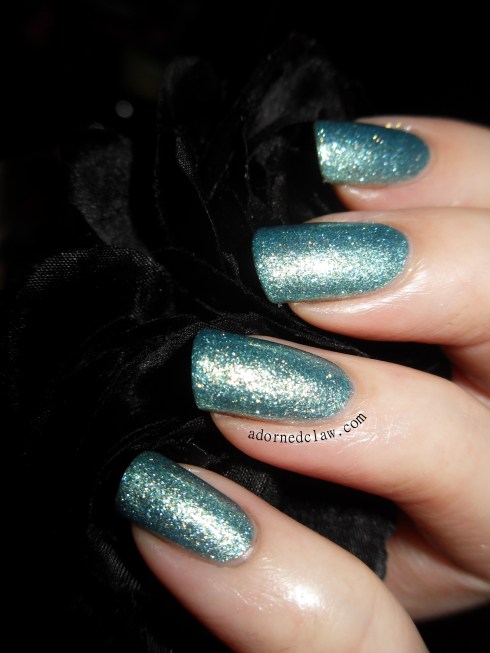
BCN
It only took two coats to be opaque! When it dried the polish was really smooth and glossy, there was no grittiness as with some heavy glitter polishes.
I really think that I need more glittery nail polishes like this! 😀
1 Comment | tags: Berry Color Nail, Glitter, Gold, Green, iridescent, Japanese Nail Polish, Manicure, Nail polish, Nail Varnish, nailpolish, silver, swatches | posted in Swatches

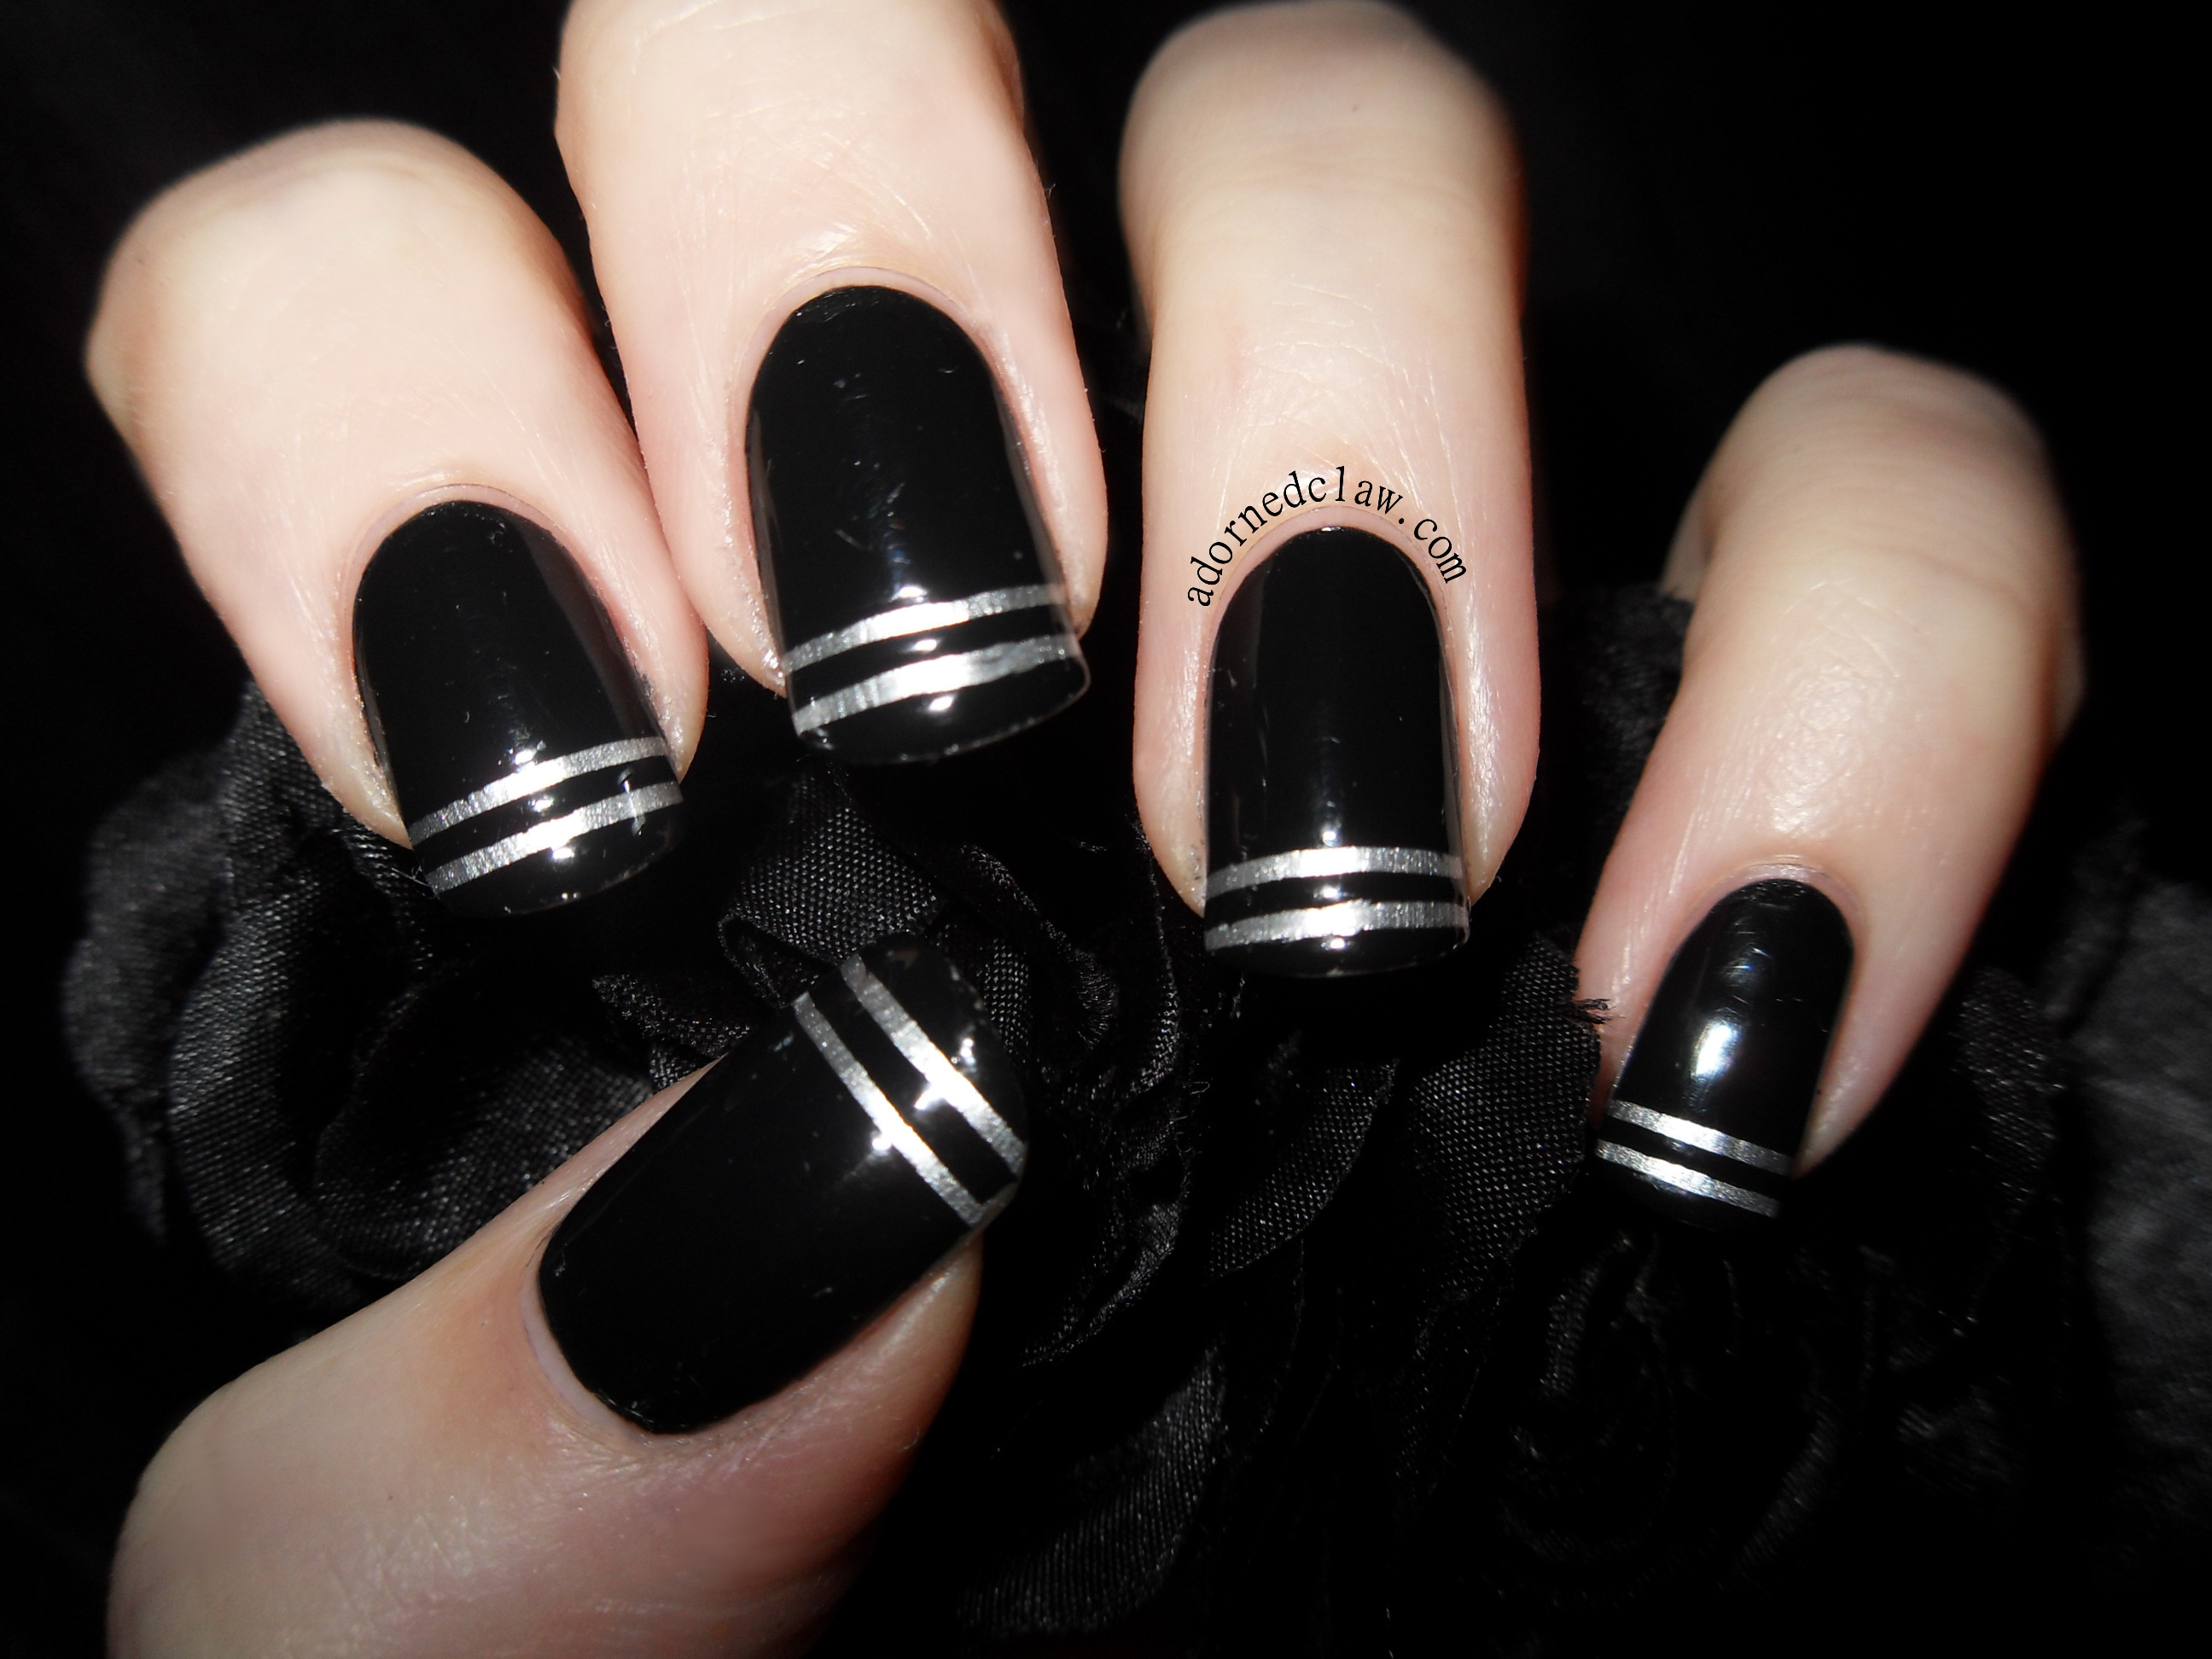
Here are my stripey nails for the Golden Oldie Thursday Challenge 🙂 After all the pink flowers from my last post I needed something simple and not too complicated!

GOT polish Stripes
I started off with a thin coat of silver polish from Eyeko just on the top half of my nail, when it was dry I used some striping tape to mask off where I wanted the stripes to be, then I applied a thick coat of the vamp polish and removed the tape before it dried!
It’s so easy! the only fiddly bit was lining up the tape! I really should use my striping tape more! 😀

Eyeko polish
Look at how old those bottles are! 😀 The silver one was the first metallic/chrome polish I ever brought I think it was from Superdrug! The vamp polish joined my collection a couple of years later, it’s a blue black, and there’s nothing nasty about it!
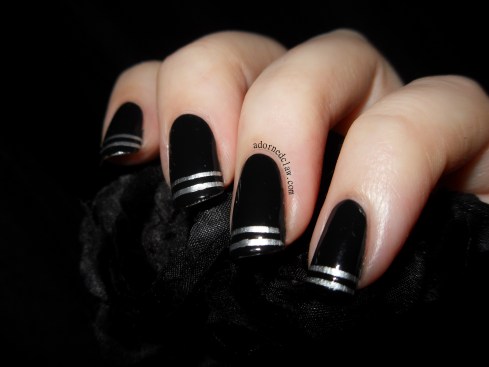
GOT polish Stripes
Don’t forget to check out the Pinterest page of the other fantastic Got Polish Challenge nails! You can find that right here 😀
15 Comments | tags: Black, Eyeko, Eyeko Silver Polish, Eyeko Vamp Polish, GOT Polish Challenge, Nail Art, Nail polish, Nail Varnish, nailpolish, silver, Stripe, Striping Tape Nail Art | posted in Challenges, Nail Art
I have been making stamped decals again! 😀 this time I used images from two of my Moyou plates, 01 and 02 from the Suki Collection.
The polishes I used!
- Barielle Shades – Grape Escape
- Color Club – Ulterior Motive
- Revlon – Sweet Revenge (the pink one from the duo)
- Barry M – Shocking Pink
- Sally Hansen – Ivory Skull
- Revlon – Calla Lily
- Konad Special Polish – Black
- Color Club – Topcoat
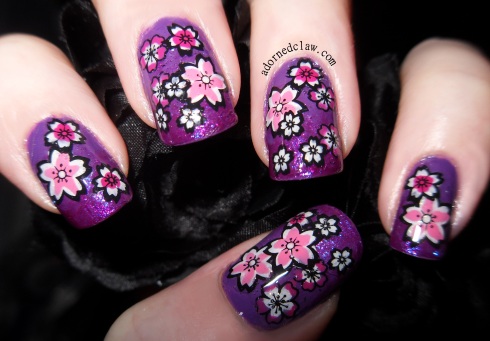
Pink and Purple Cherry Blossom
I started off by making the flowers, you can find how I made them here.
I used Grape Escape and sponged on a little Ulterior Motive on the tips as the base colour, when that was dry I applied the flowers using the Color Club Topcoat like glue! 😀
When that was all dry, I applied a couple more coats of topcoat to seal all of my decals in! In some places on my nails there must be at least 6 layers of polish, it feels really thick like Gel! It took ages to dry, about half an hour
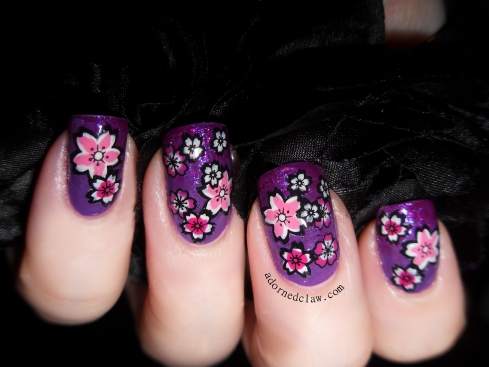
Cherry Blossom
I really liked making the cherry blossom decals, even tho the tiny flowers where a bit fiddly to paint! The time it took to get them all on my nails was rather a lot longer than I would have liked, then getting them to stick was a pain! I think that it’s because I made them to thick, but I’m going to have to try out some other clear polishes to find the best one for decal making! 😀
This is still quite a new technique to me, practice makes perfect and all that! 😀
10 Comments | tags: Barielle Shades, Barielle Shades Grape Escape, Barry M, Barry M Shocking Pink, Cherry Blossom, color club, Color Club Ulterior Motive, Glitter, Konad special polish, MoYou, Nail Art, Nail polish, Nail Stamping, Nail Varnish, Pink, purple, Revlon, Revlon Calla Lily, Revlon Sweet Revenge, Sally Hansen, Sally Hansen Ivory Skull | posted in Nail Art, Nail Stamping