Hi! 🙂
Today I have a sparkly mani I created using striping tape to show you.

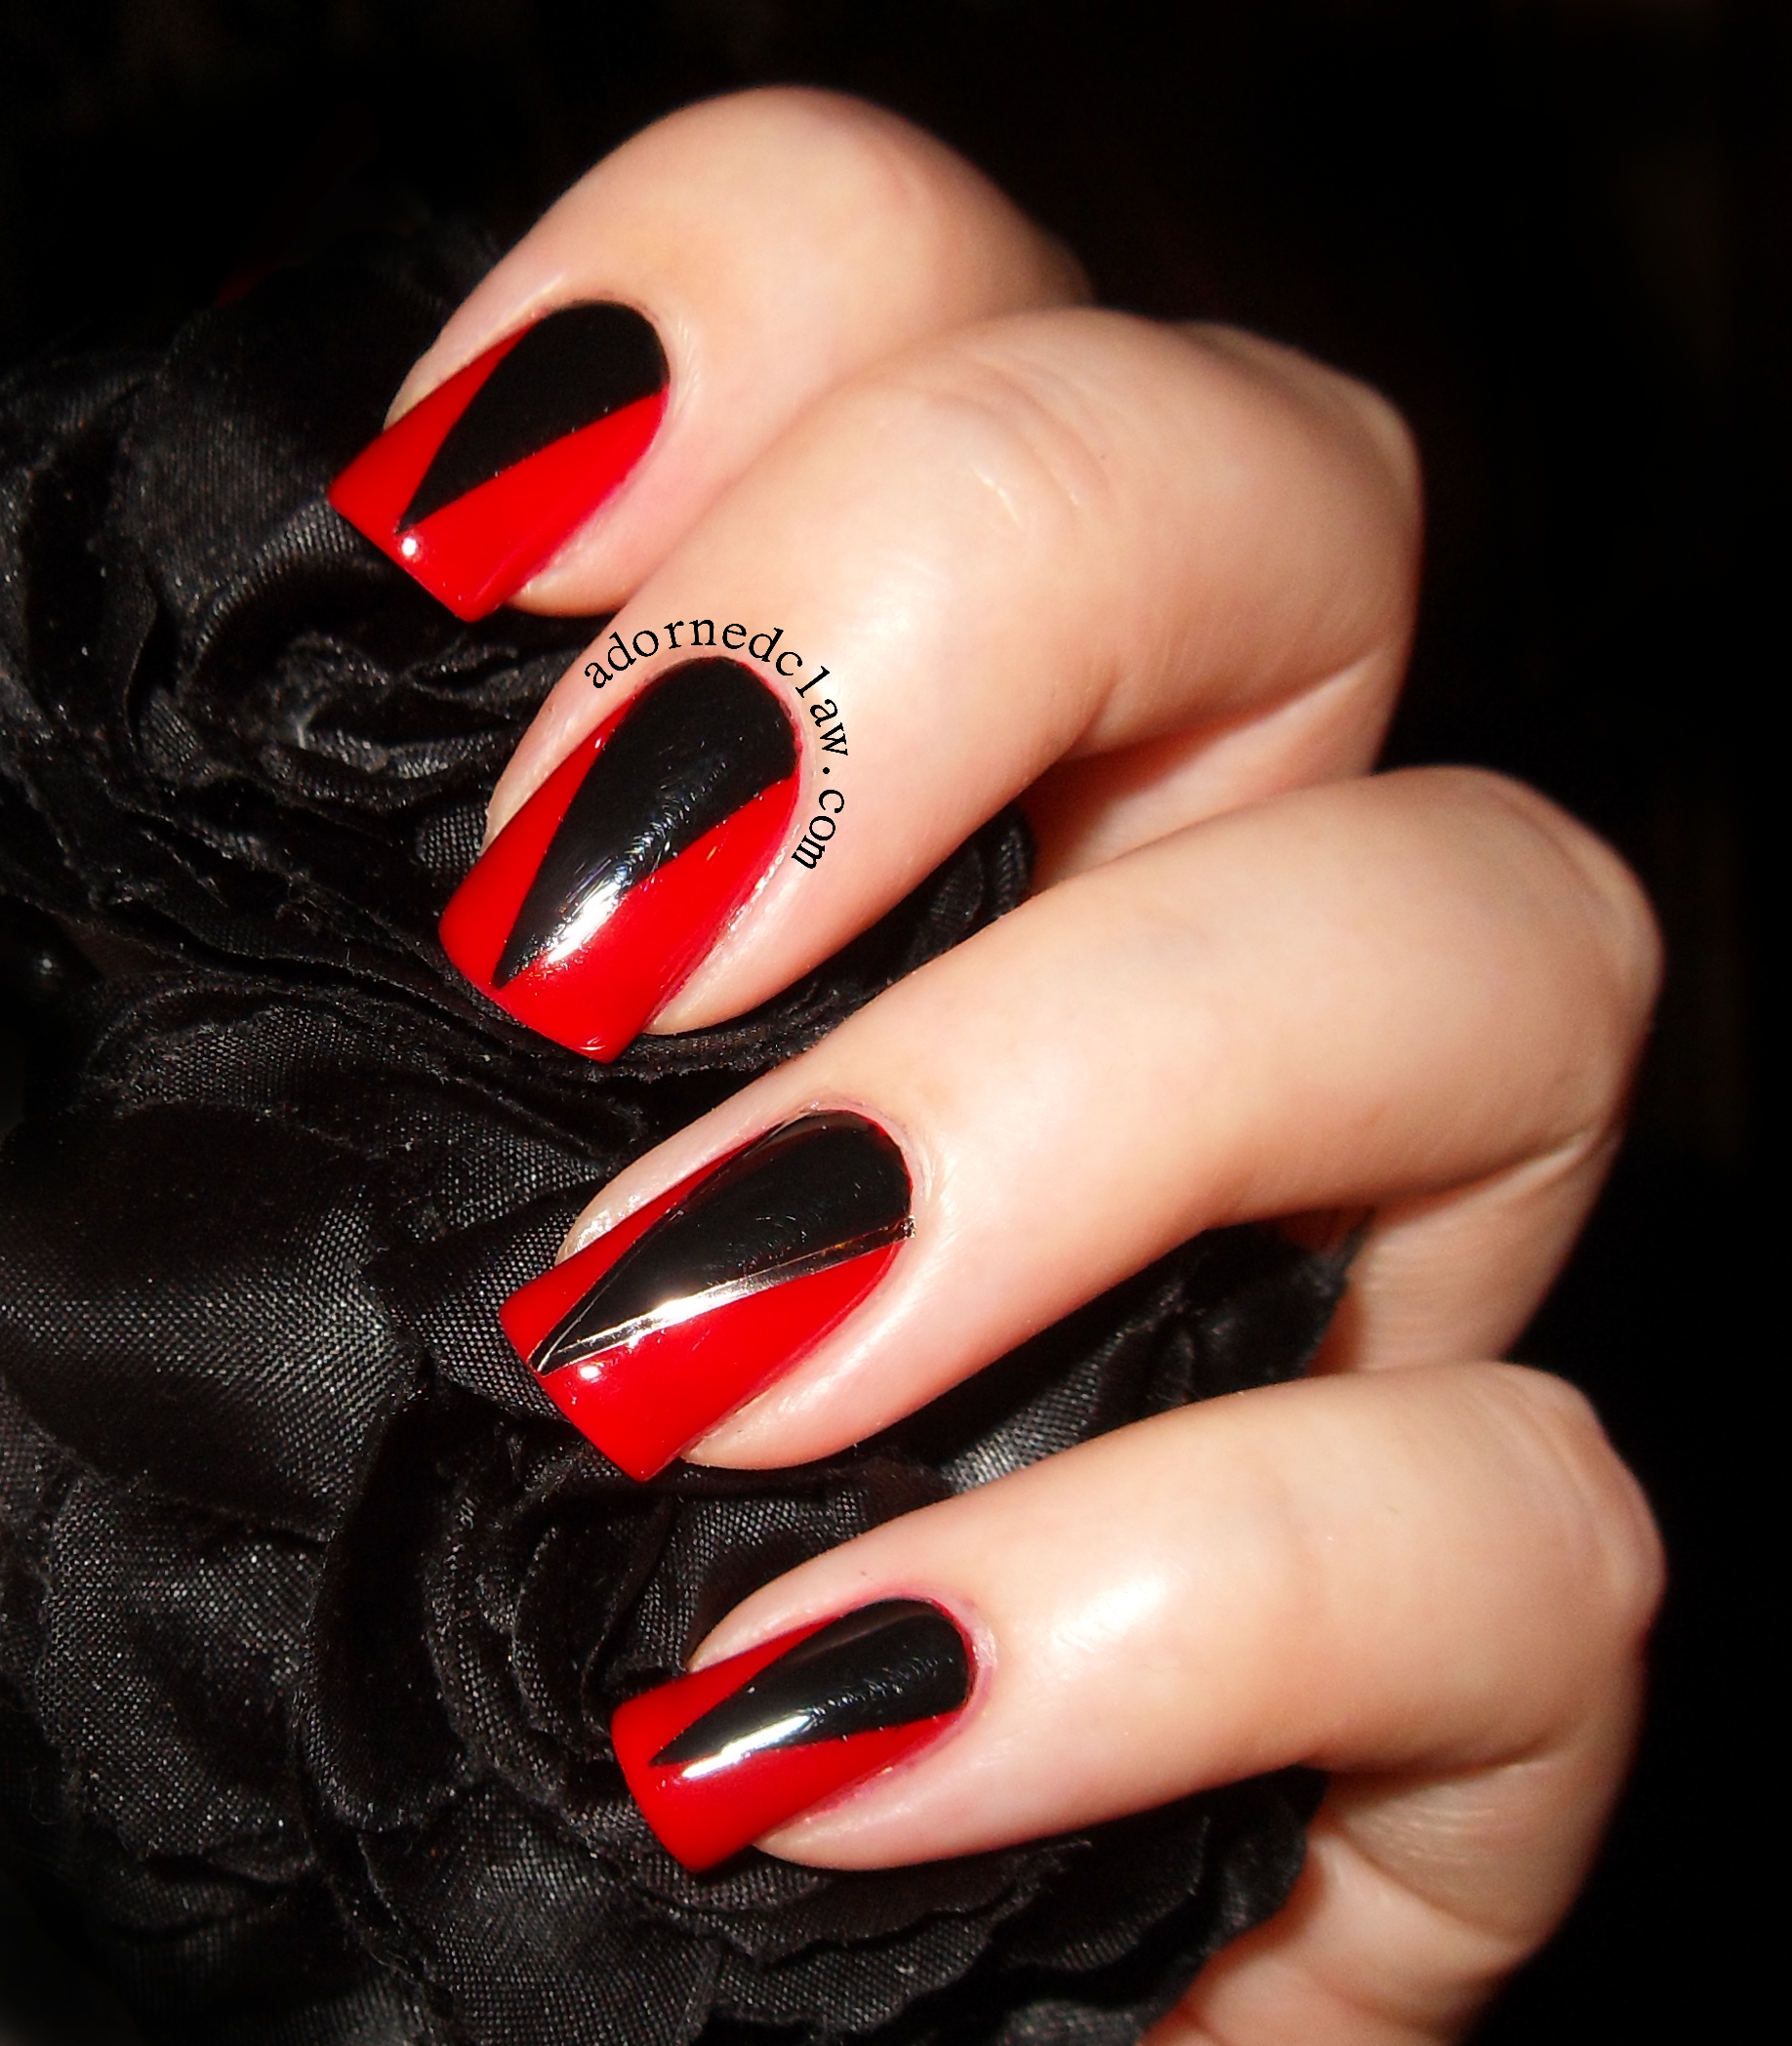
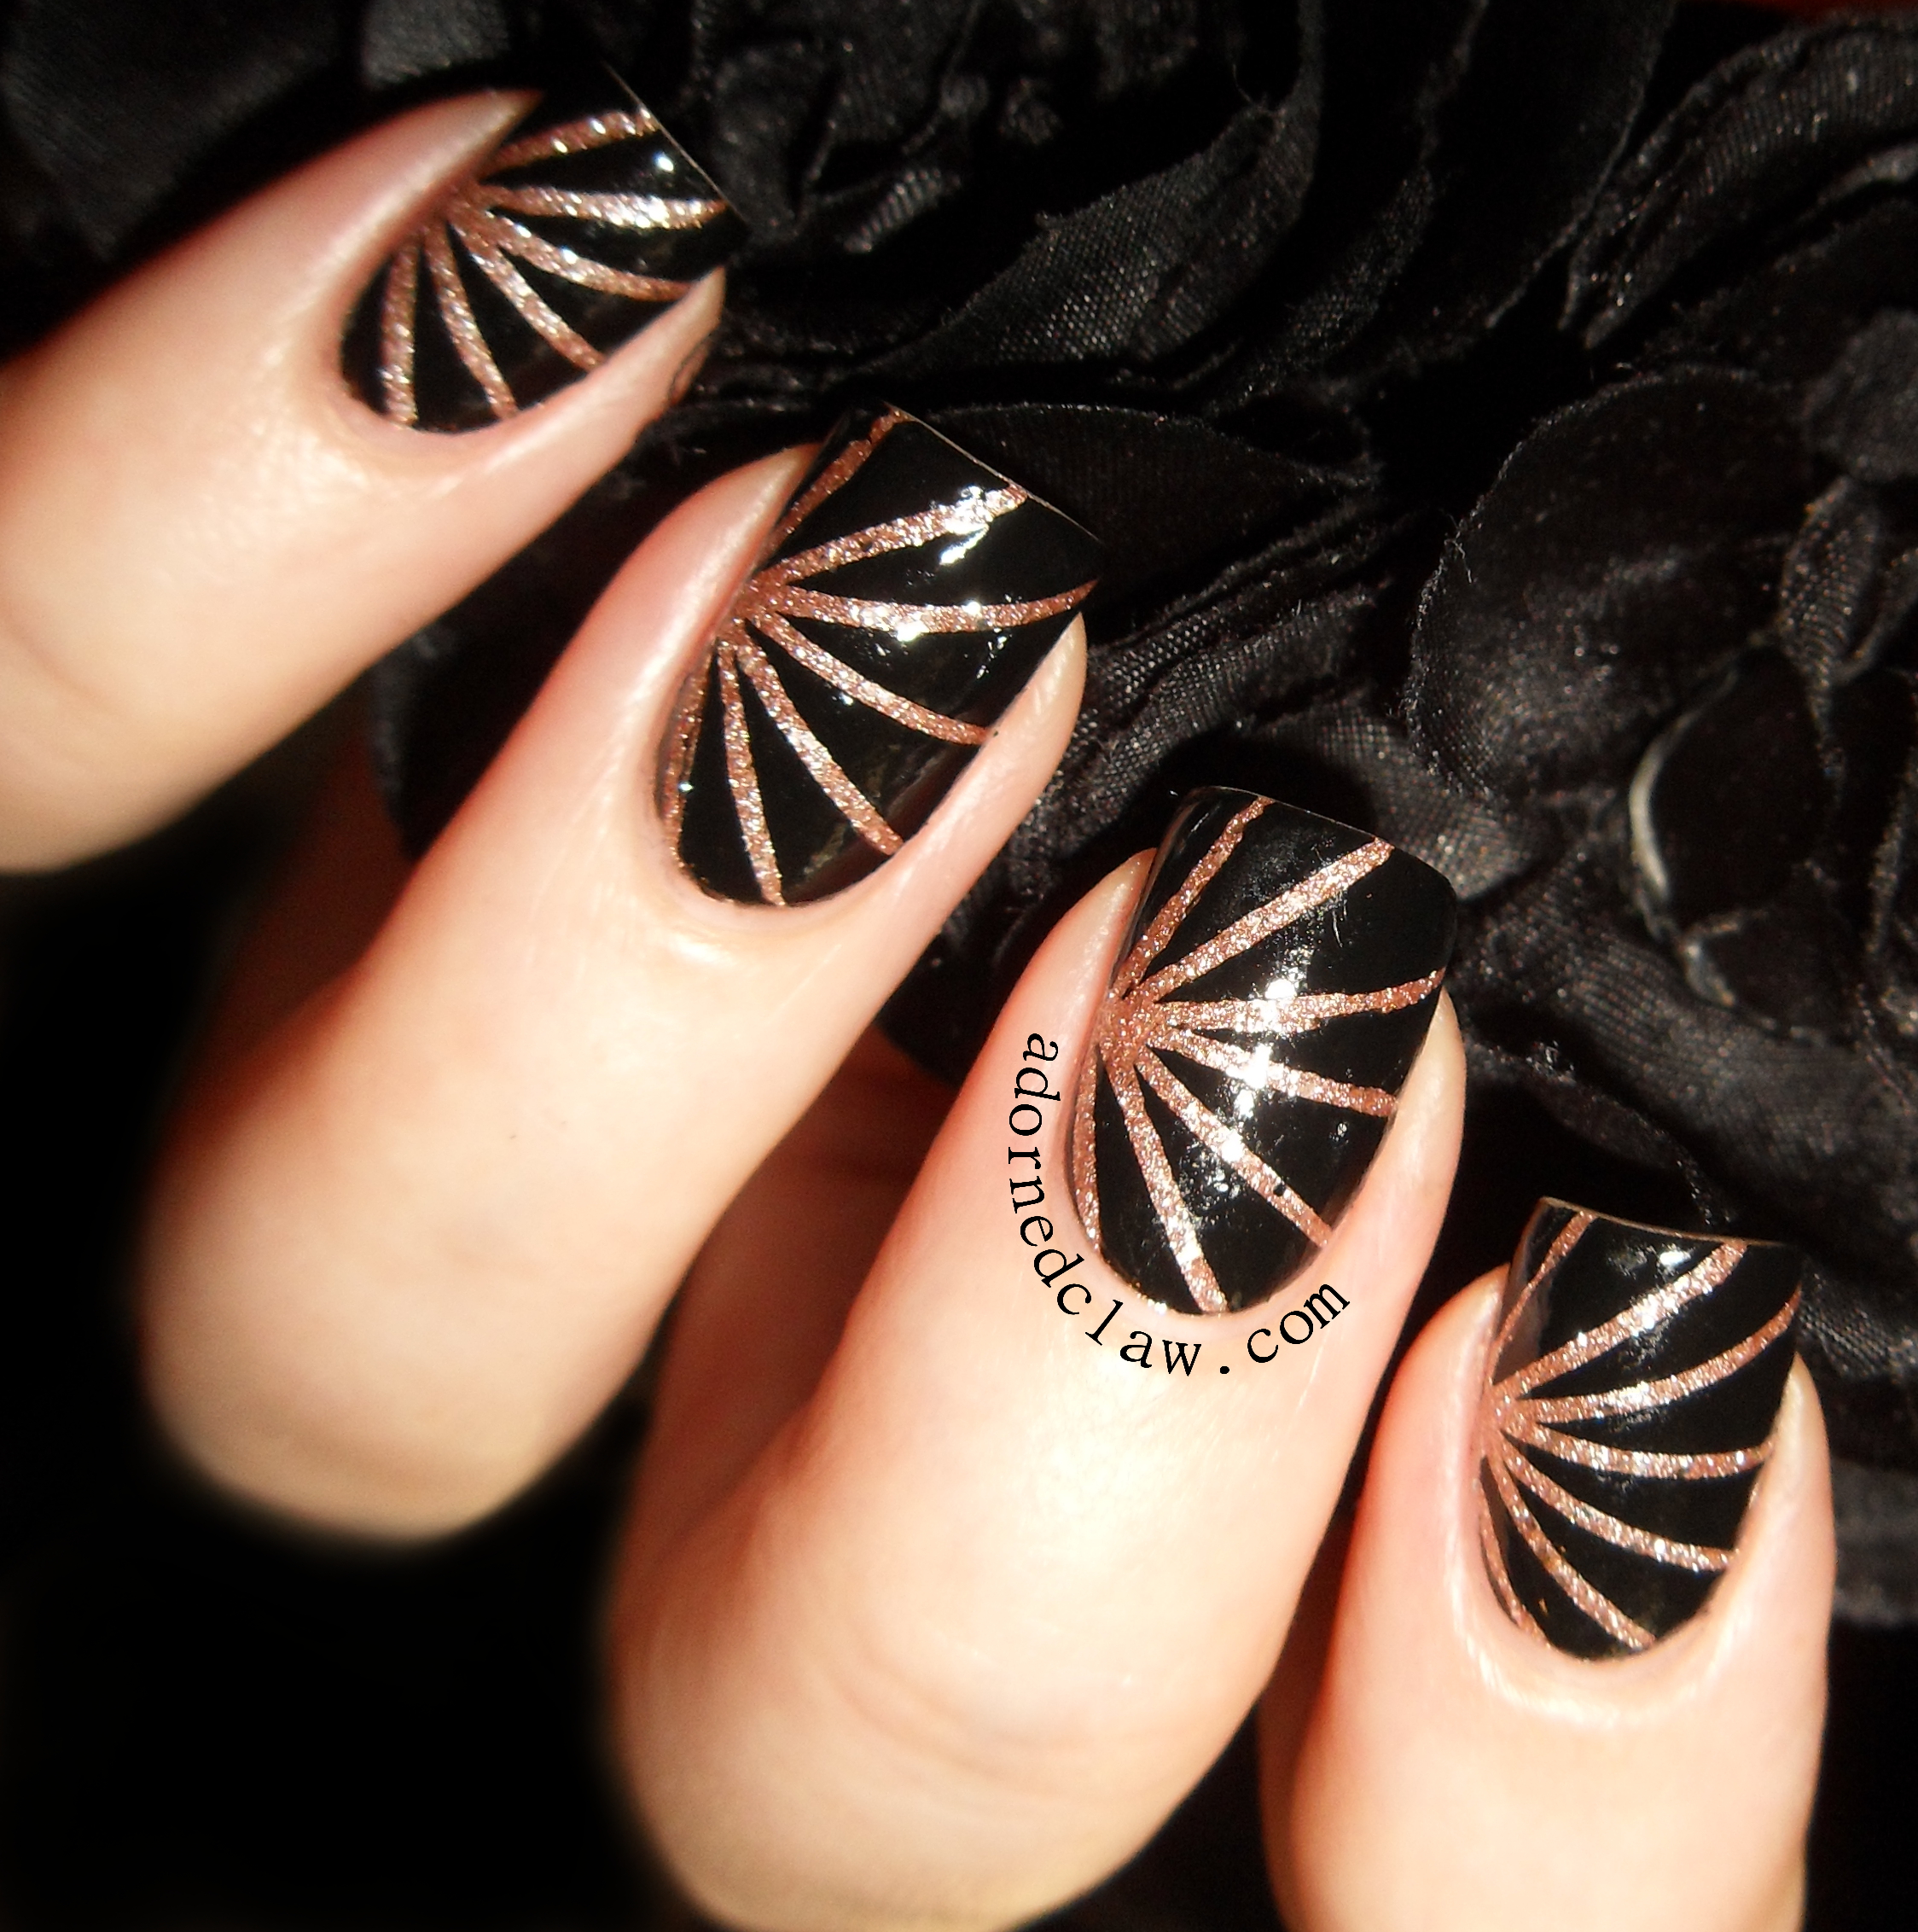
Striping Tape Nail Art
for this I used
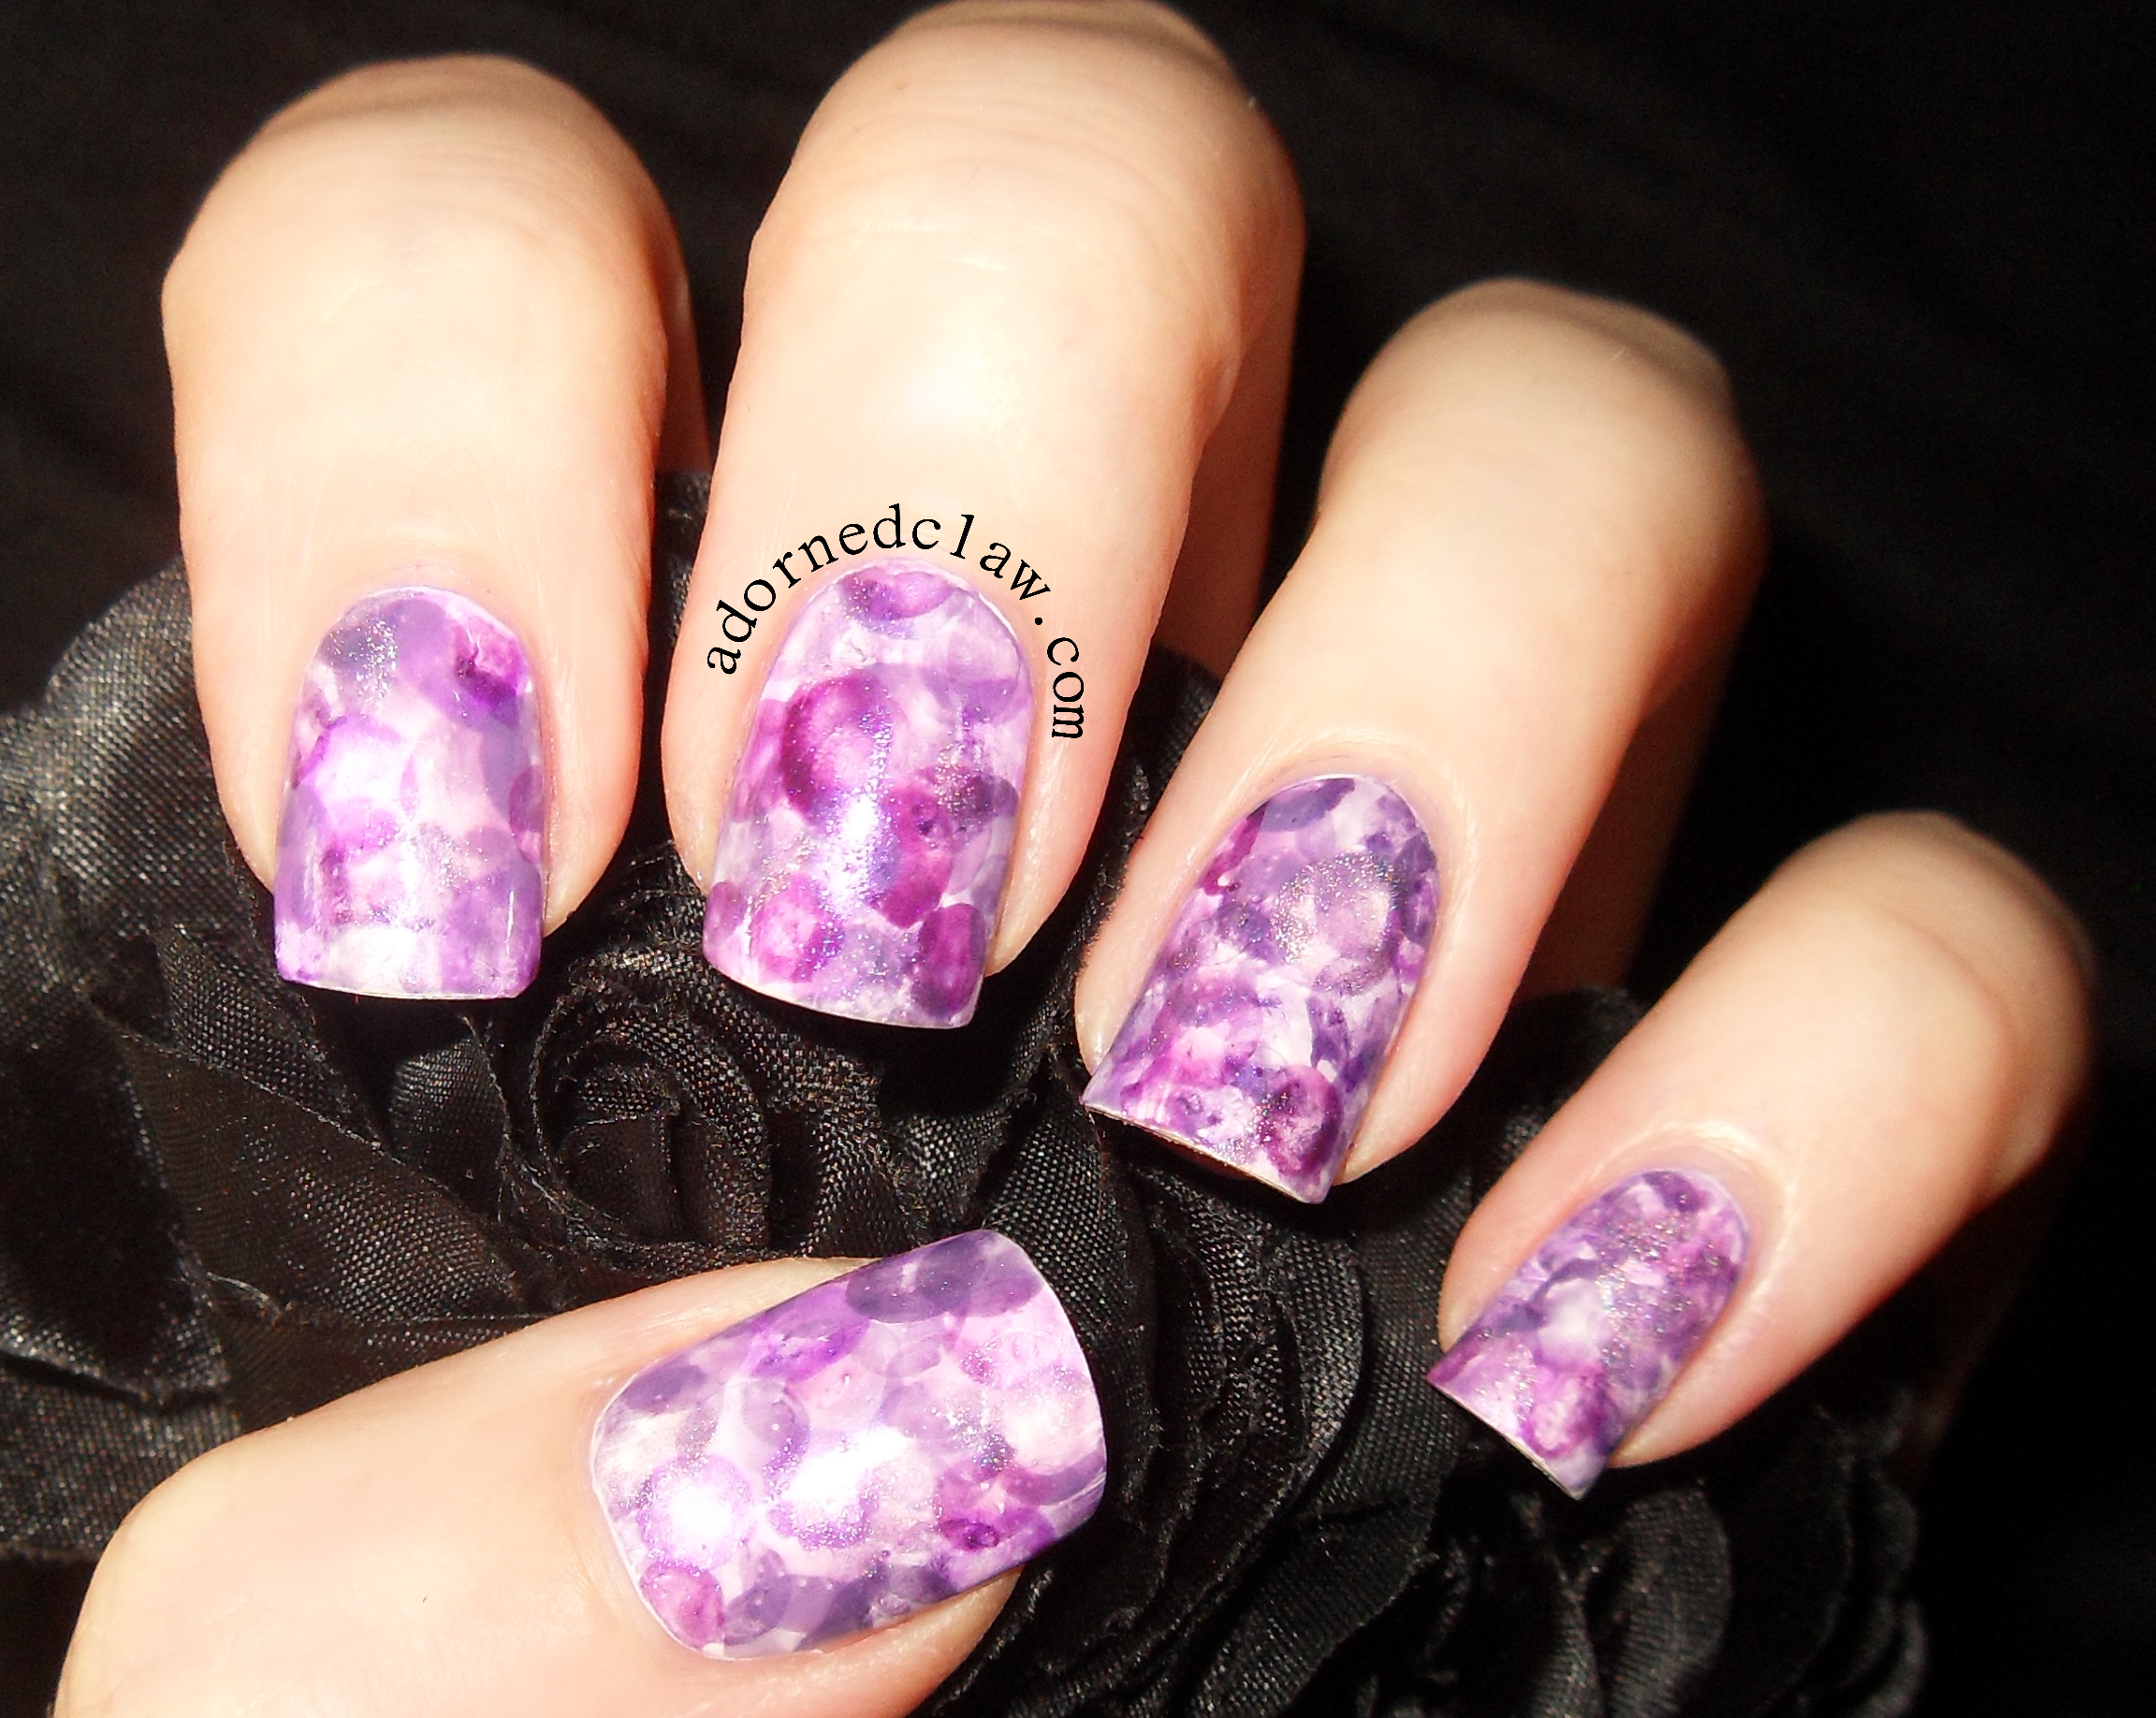
- Rimmel Space Dust – Aurora
- Filthy Gorgeous – Twilight
- Striping Tape
- Seche Vite
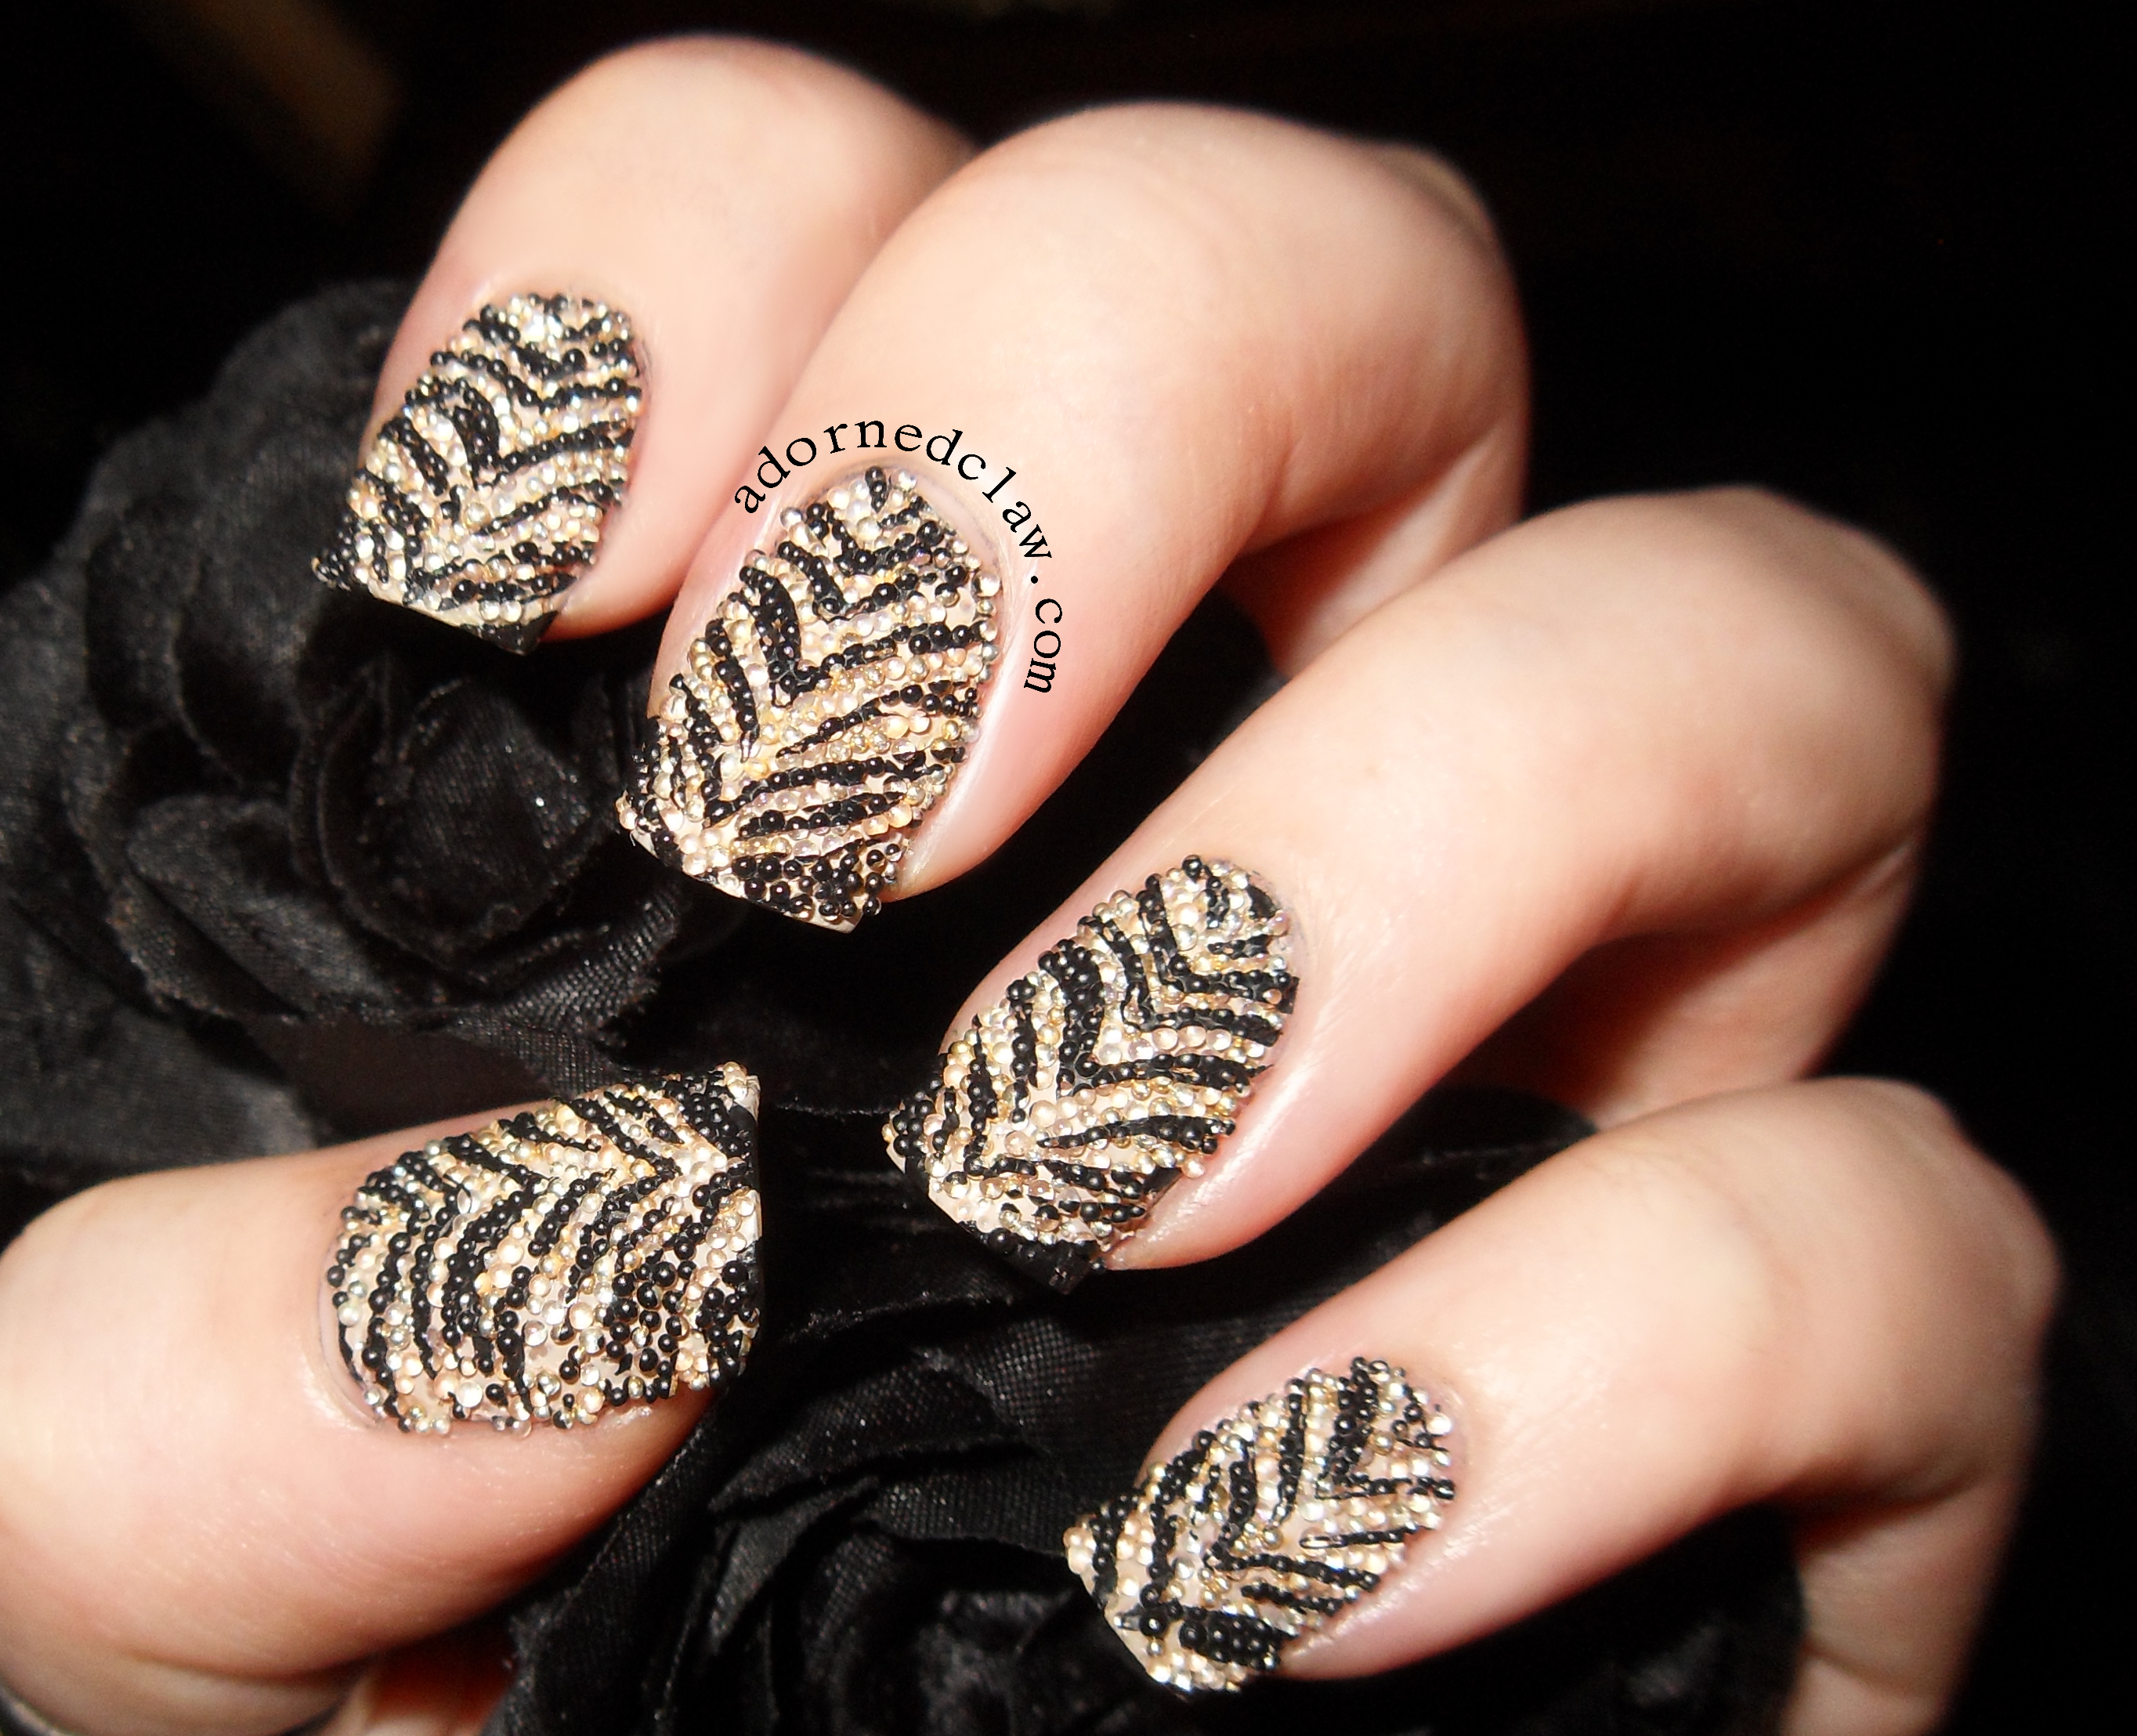
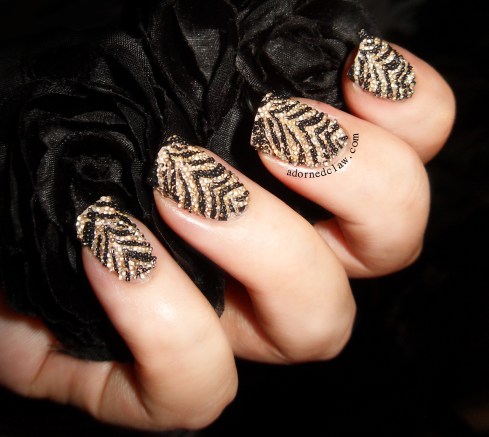
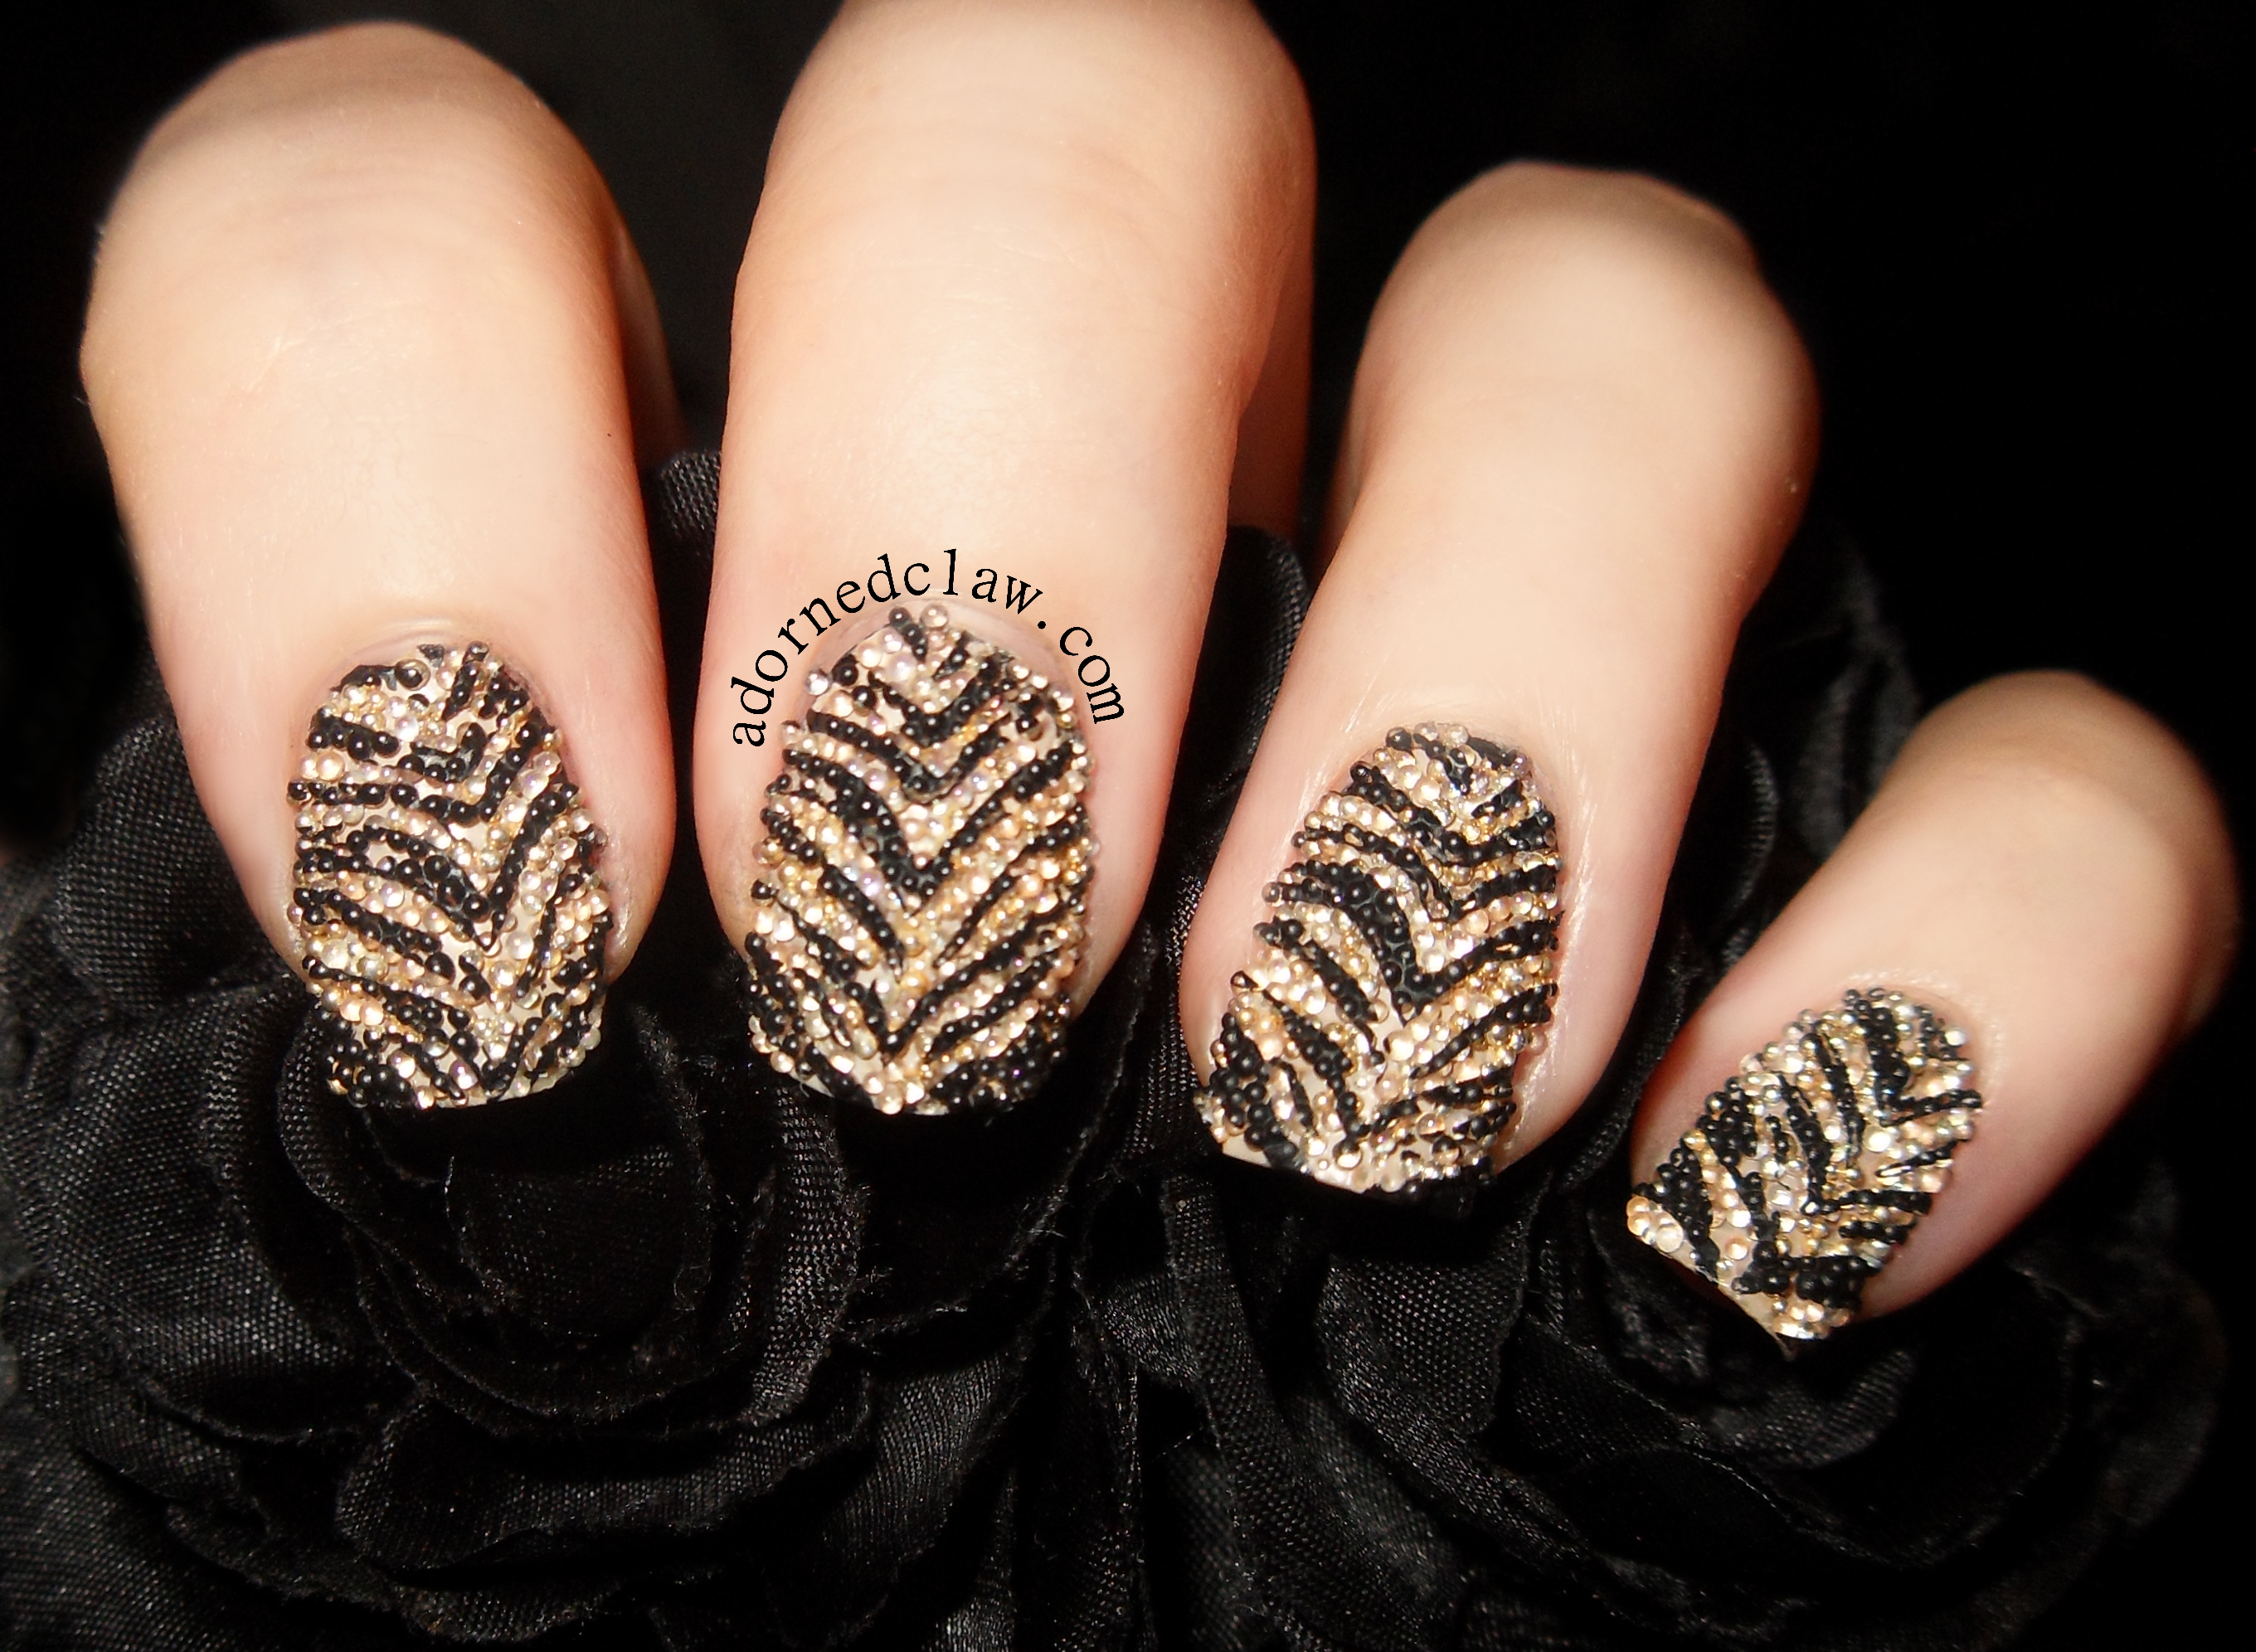
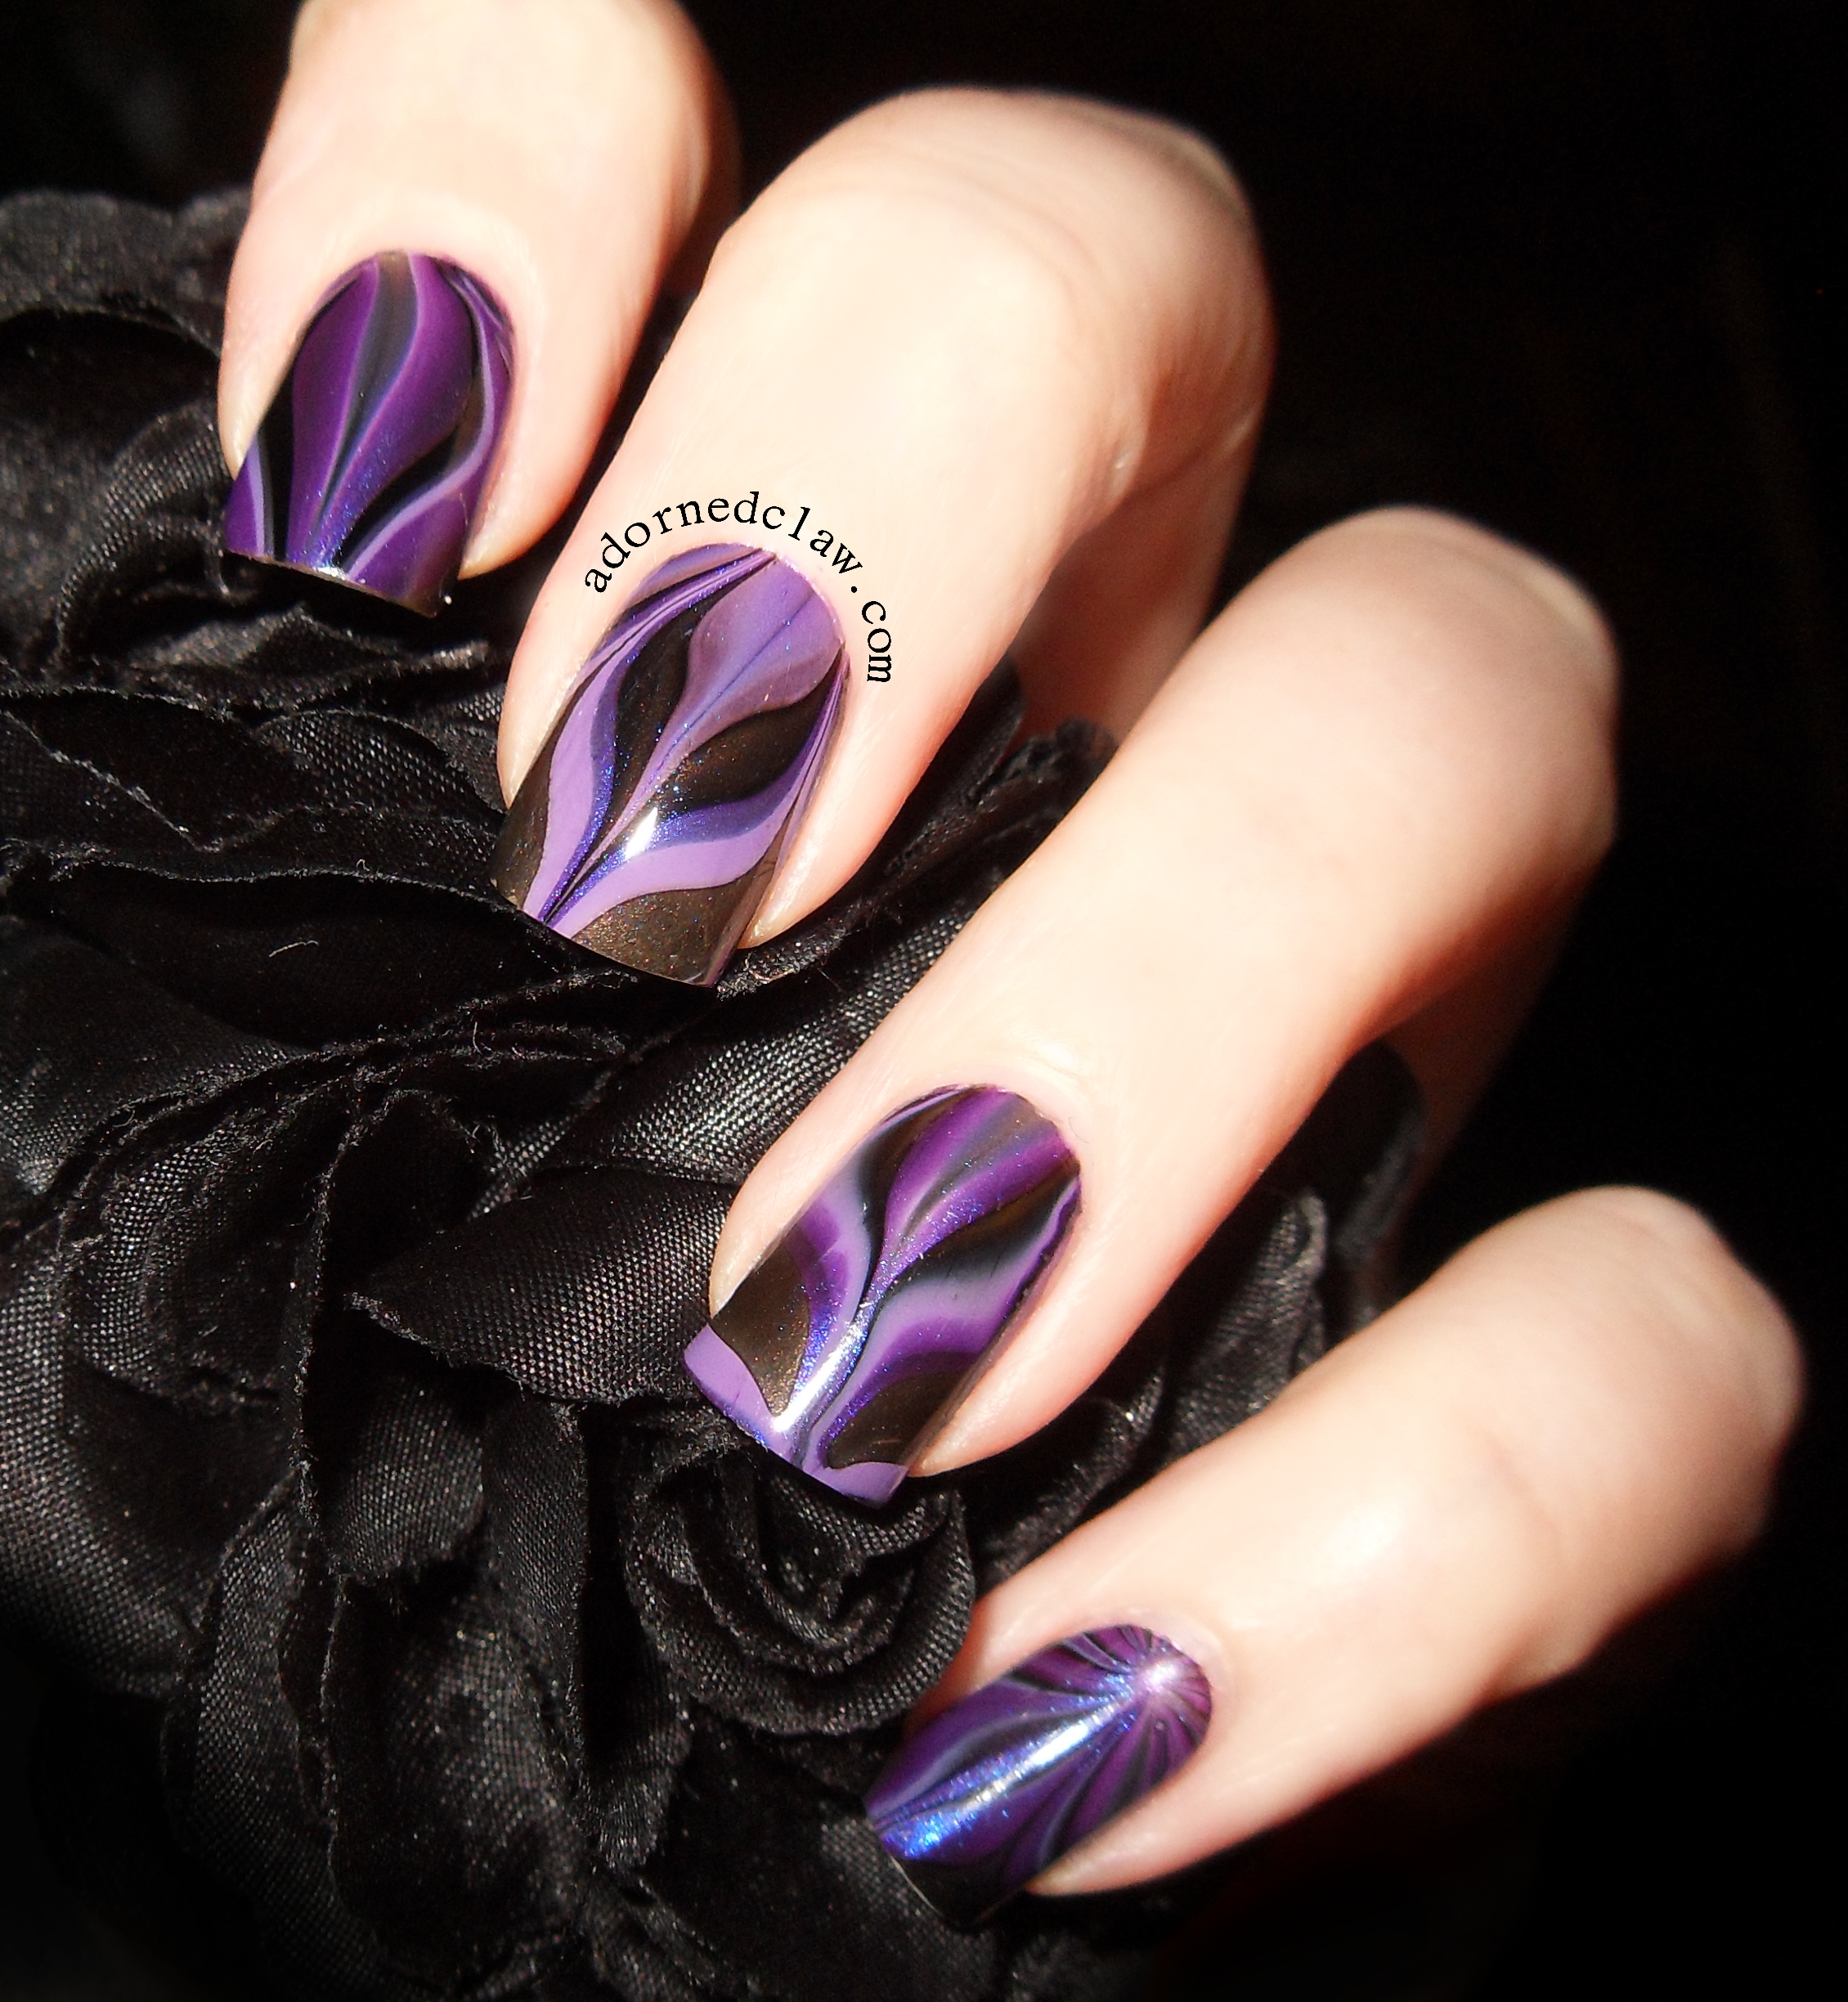
I began with two coats of Aurora, this is a really pretty polish! It is a slightly textured nude with loads of silver glitter, I added a thick coat of Seche Vite to even out the the texture to help stop the black polish from bleeding under the tape.
I used seven strips of tape for each nail, apart from my pinky which only needed six. Starting with my thumb nail I applied the tape, then carefully dabbed on the black polish, then using tweezers removed the tape while the polish was still wet. Then I applied another coat of Seche Vite over the top and continued with my other nails.

Rimmel Aurora and Filthy Gorgeous Twilight
I never realized how much easier a decent quality striping tape is to use! There was no curling up, sticking to itself or refusing to stick to my nail! 😀
Sparkly Pink And Black Nails