Tag Archives: Holographic

Rainbow Nails
here are my rainbow nails for day 9 I started with a coat of white, I used Ivory Skull from Sally Hansen.
Then I used these polishes for the gradient,
- Illamasqua – Poke
- China Glaze – Frostbite
- Sinful Colors – Happy Ending
- Maybelline – Electric
- Rimmel – Double Decker Red
It took three coats, then I applied a thin coat of Prism from Filthy Gorgeous for some sparkle.
After fighting with nail tape for around half an hour I gave up and freehand painted the stripes, which is why they are a bit wobbly lol!

rainbow nails
I think these are a bit too bright and colorful for me!
6 Comments | tags: 31DC2014, China Glaze Frostbite, gradient, Holographic, Illamasqua Poke, Maybelline Electric Yellow, Nail Art, Nail polish, Nail Varnish, nailpolish, Rainbow Nails, Rimmel London Double Decker Red, Sally Hansen Ivory Skull, Sinful Colors Happy Ending | posted in Challenges, Gradient, Nail Art

Green Splatter Nails
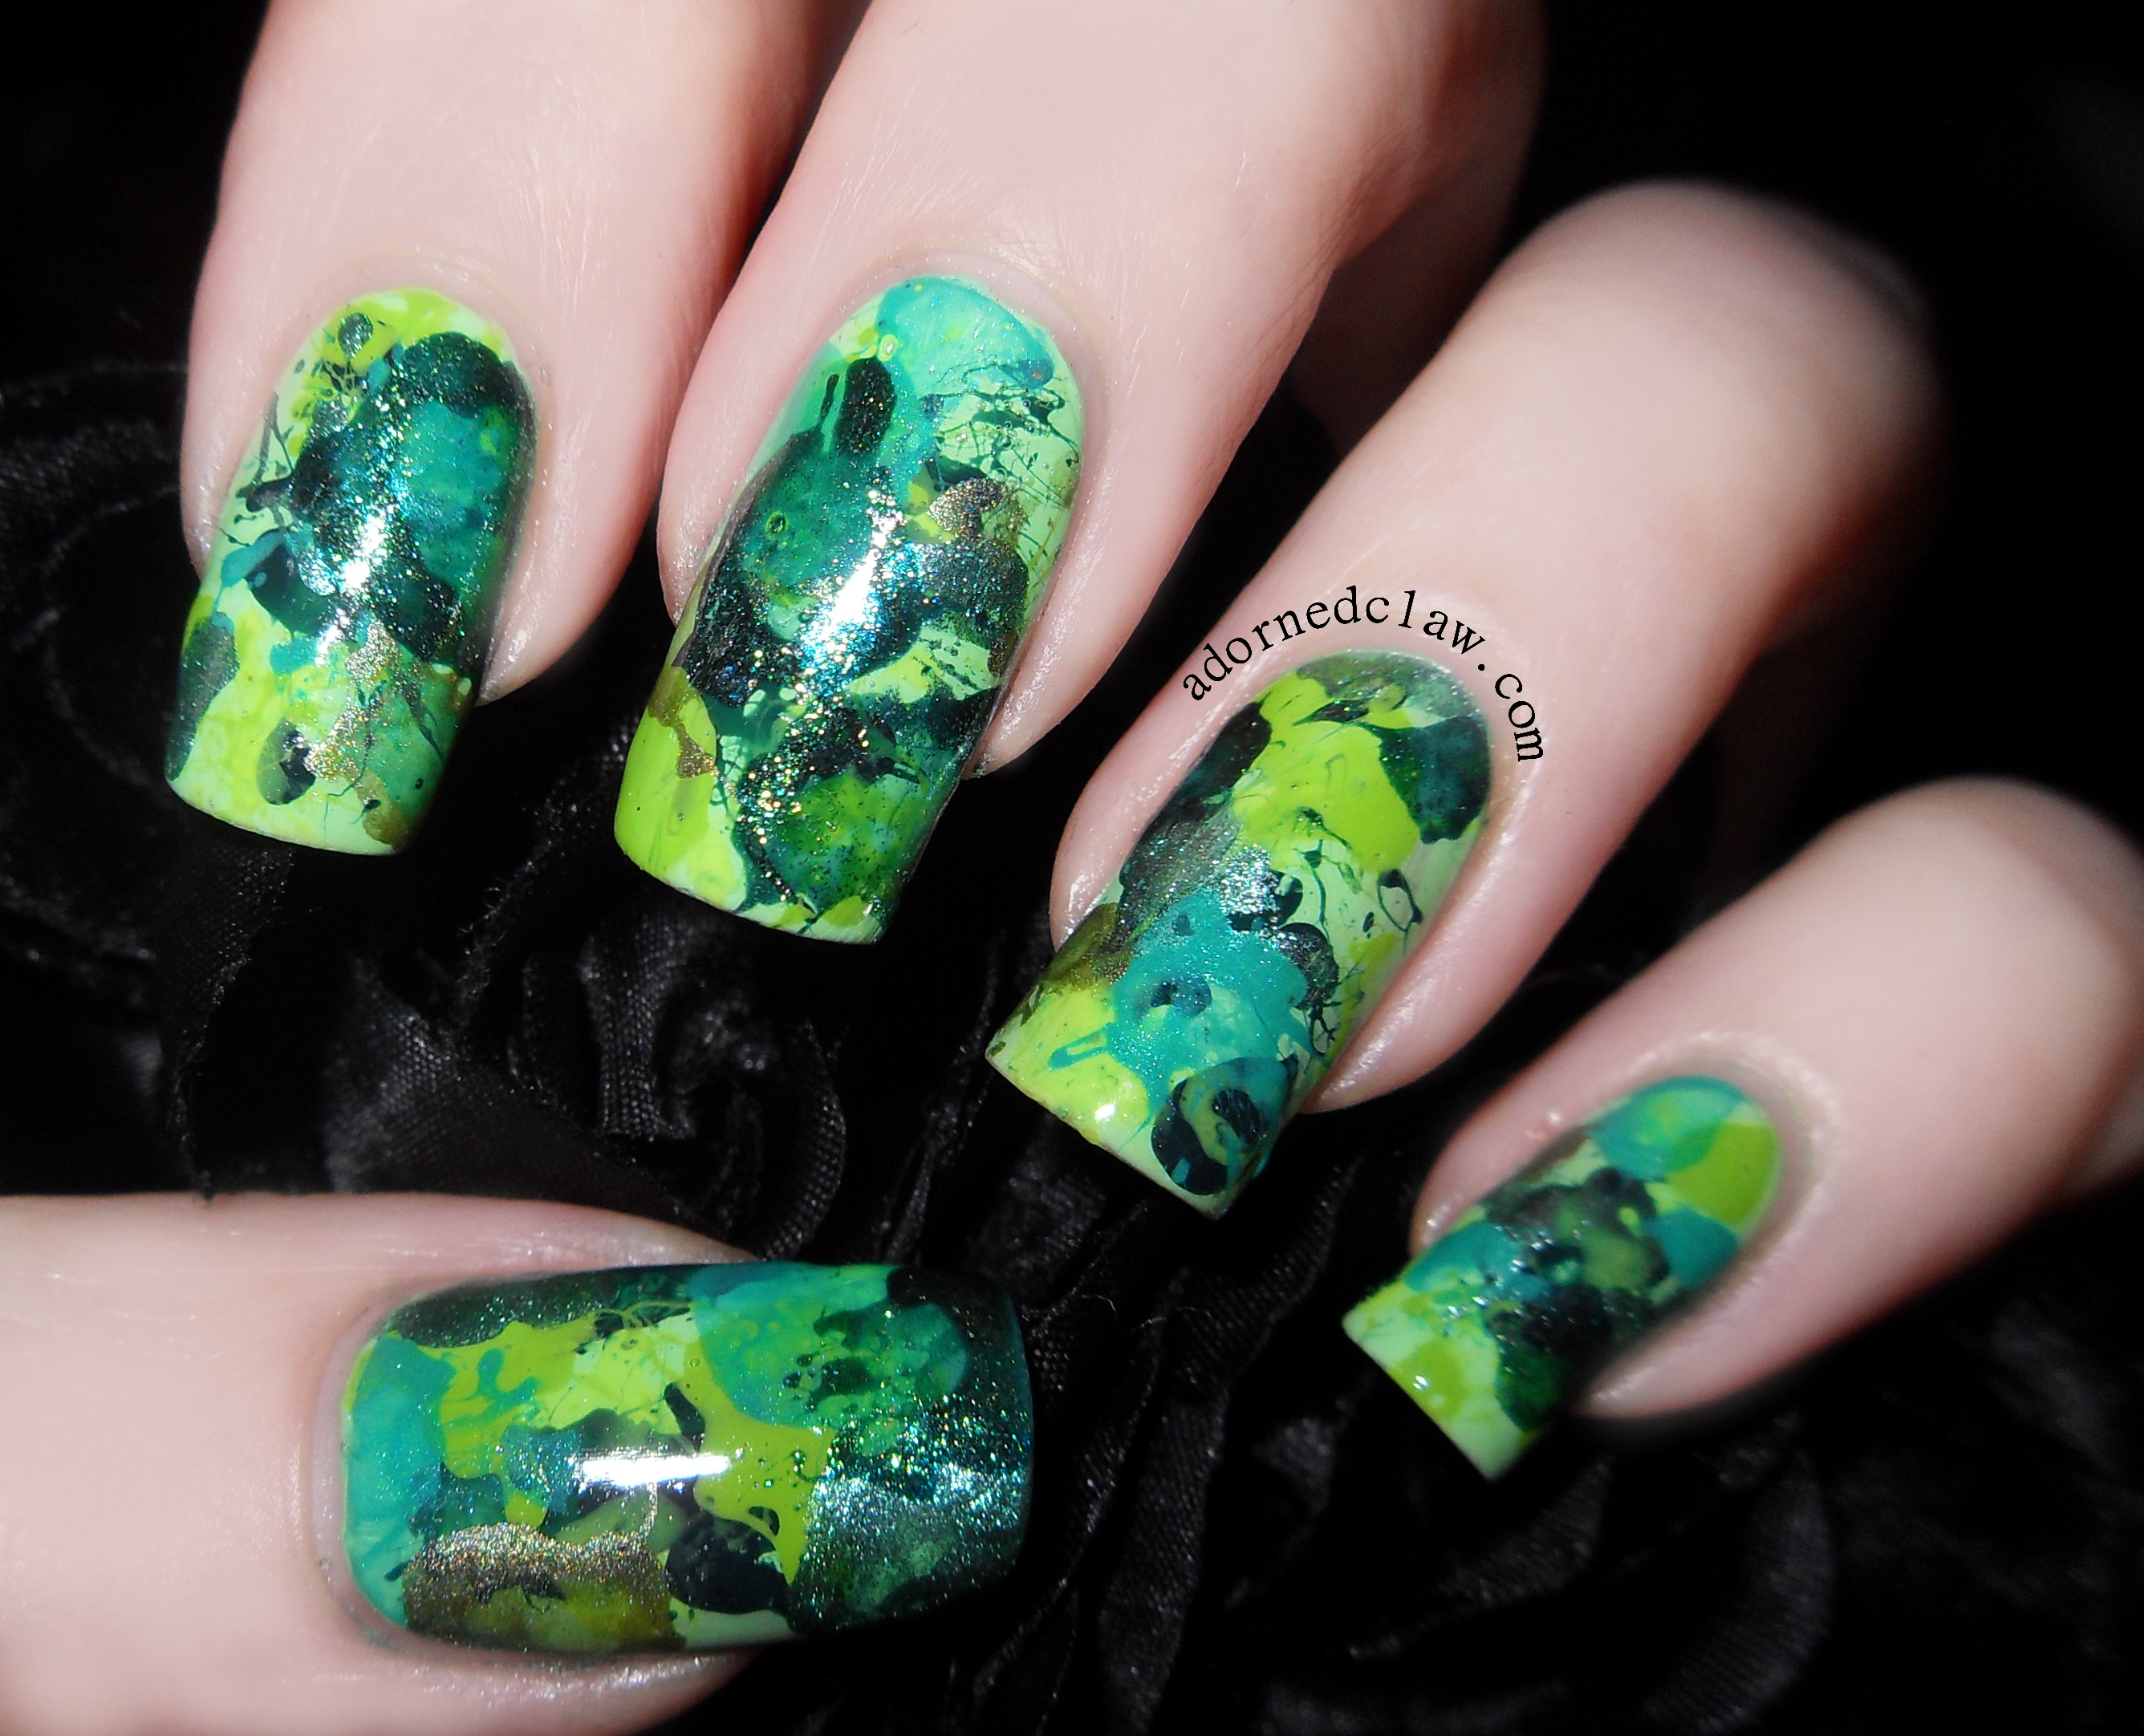
Here a are my green nails for day 4! I really couldn’t decide on which polishes to use, So I ended up using nearly all of them (well the green ones)
I used
- Sinful Colors – Pistache
- Color Club – Artsy Crafty
- Barry M – Acid Yellow
- 2True Metallica – Arete
- Sinful Colors – Rise And Shine
- China Glaze – OMG a UFO
- Color Club – Perfect Mol-Ten
- Zoya – Logan
- Sally Hansen – Grass Slipper
I started with two coats of base coat (green stains my nails more than any other colour) then a coat of Pistache.
After that had dried, using a cotton bud (q tip) with the ends cut off I blew the green polishes onto my nails.
I alternated between light and dark shades to make sure there was a good mix of green!
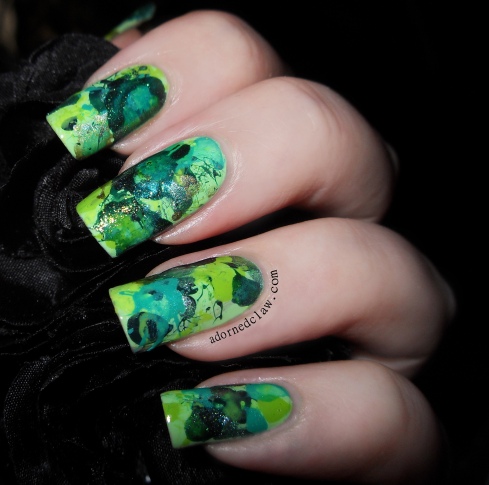
All Of The Green!
This was really messy and took ages to clean up but it was a lot of fun! 😀
4 Comments | tags: 2True Arete, Barry M Acid Yellow, China Glaze OMG a UFO, Color Club Artsy Crafty, Color Club Perfect Mol-Ten, Glitter, Green, Green Splatter Nails, Holographic, Nail Art, Nail polish, Nail Varnish, nailpolish, Sally Hansen Grass Slipper, Sinful Colors Pistache, Sinful Colors Rise And Shine, Splatter, Zoya Logan | posted in Challenges, Nail Art
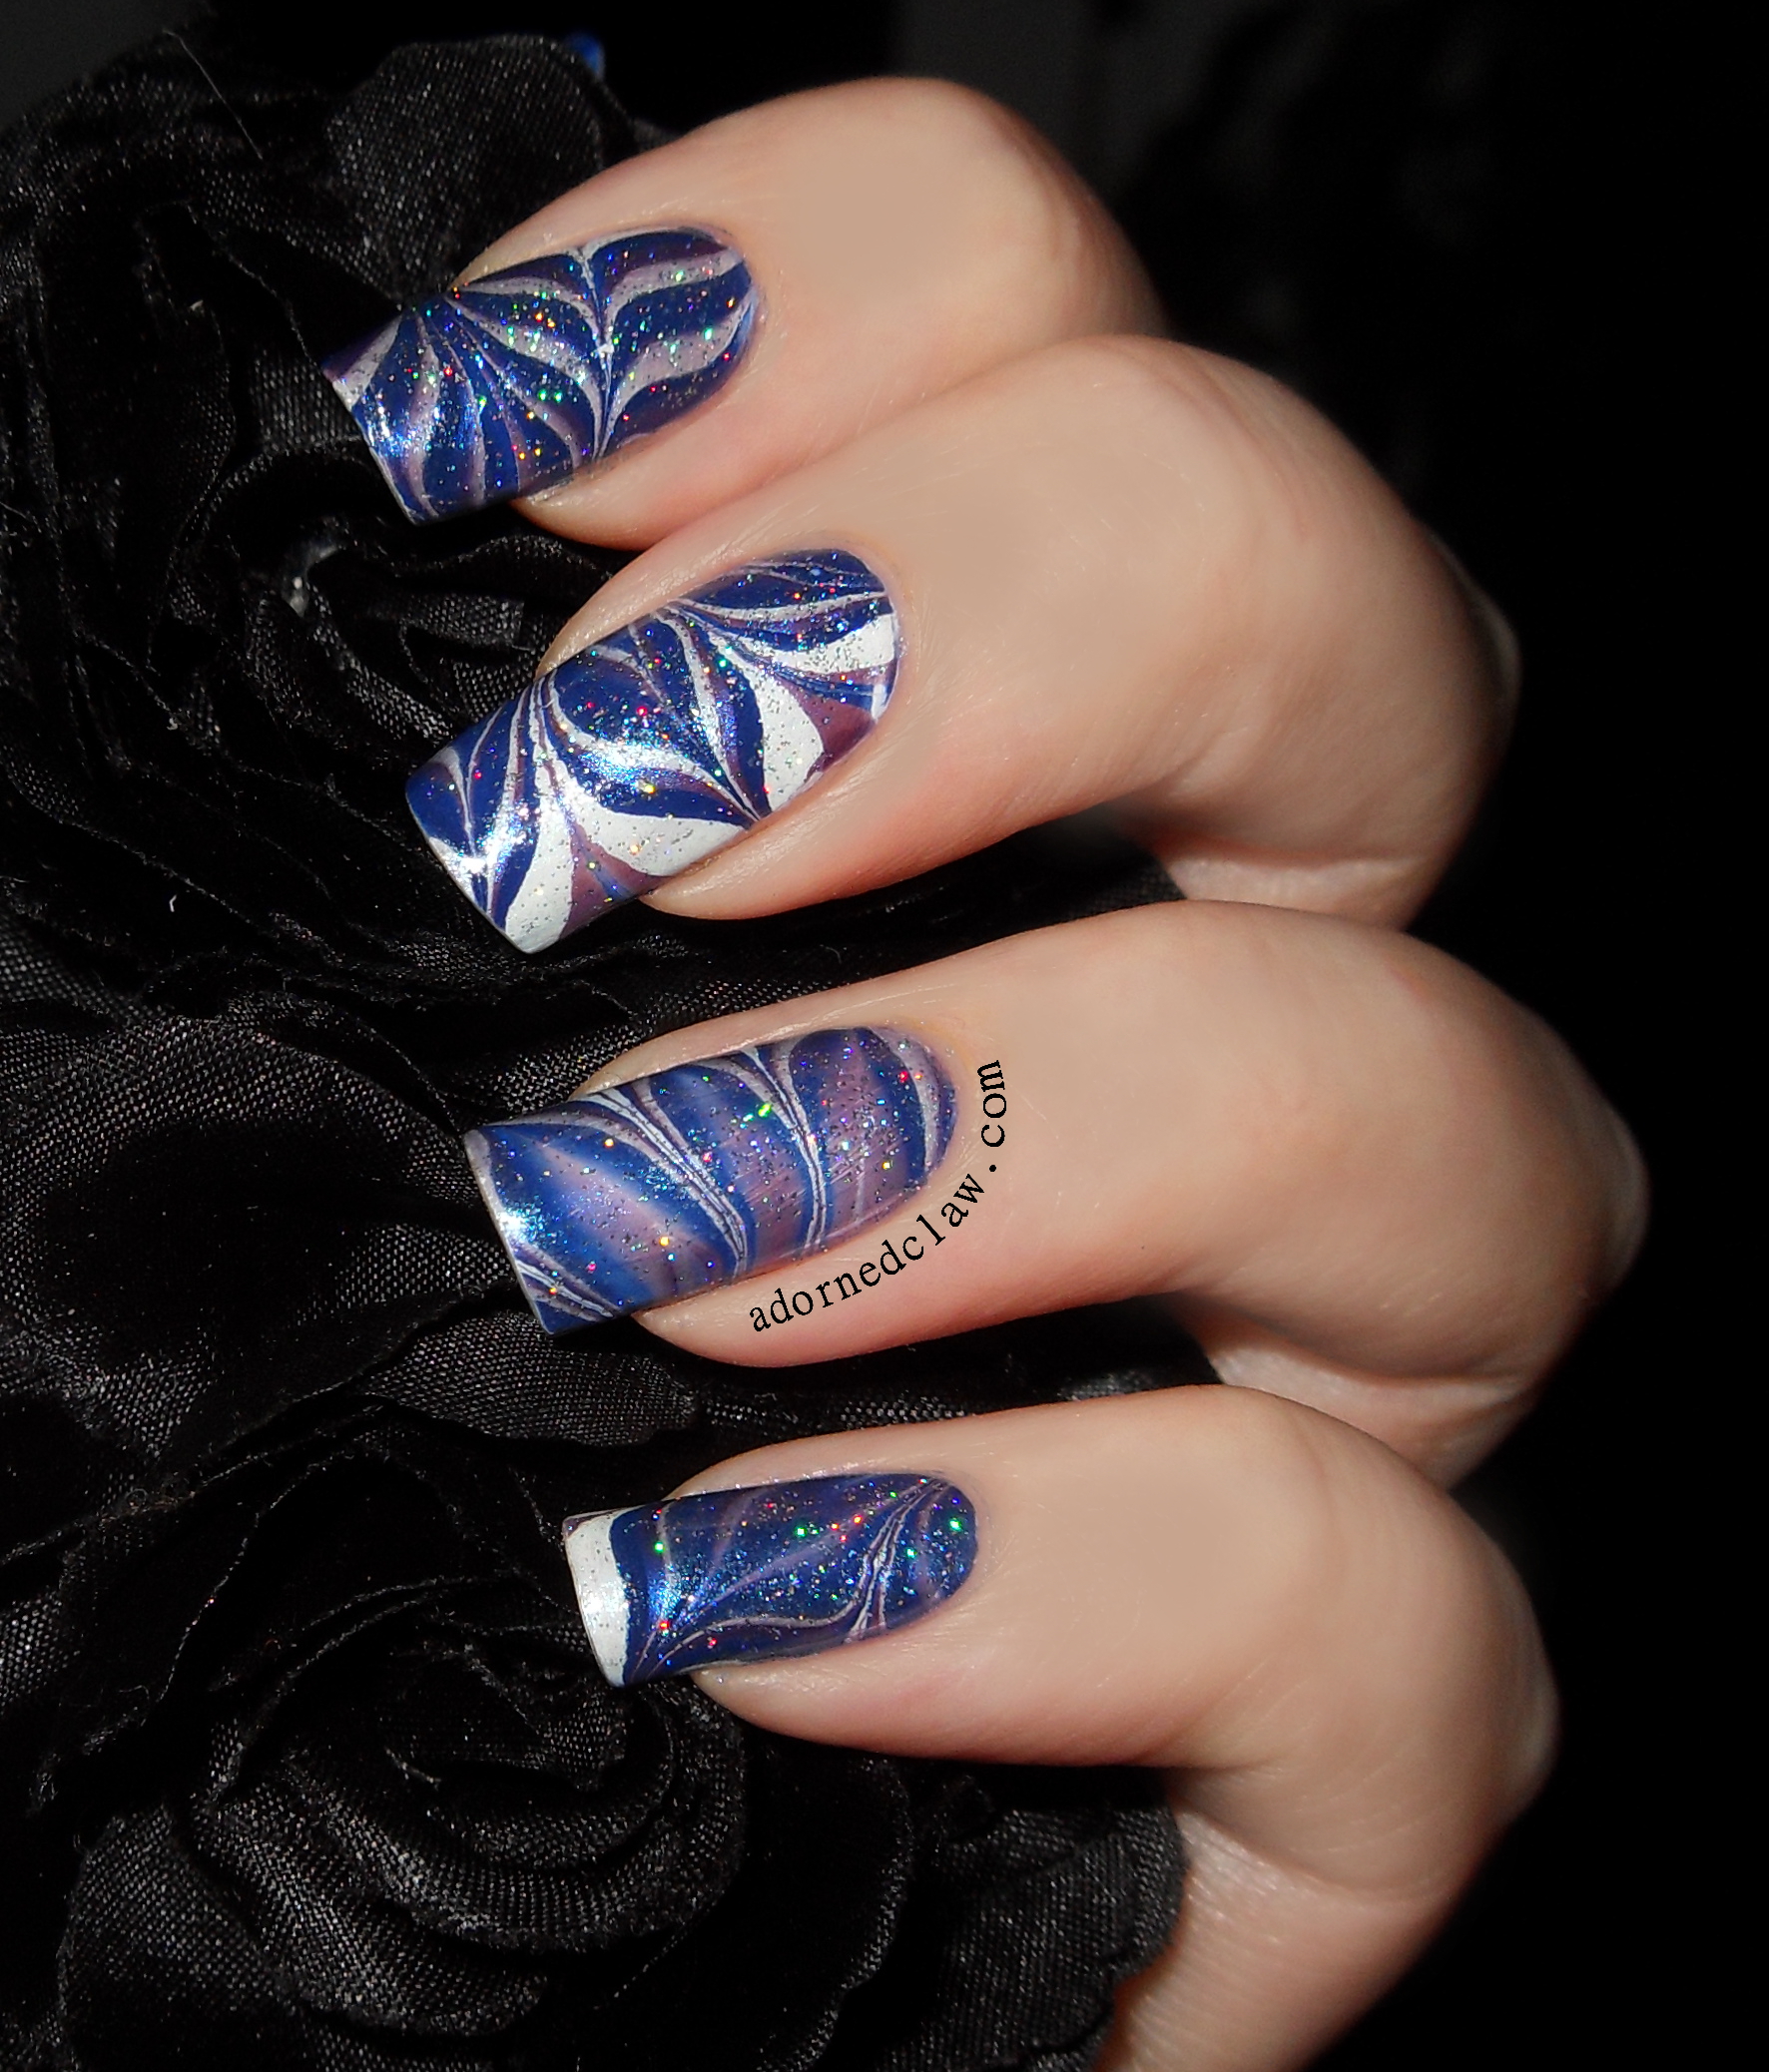
I actually had some time to do some nail art! Yay! 😀 So here is a very sparkly water marble!
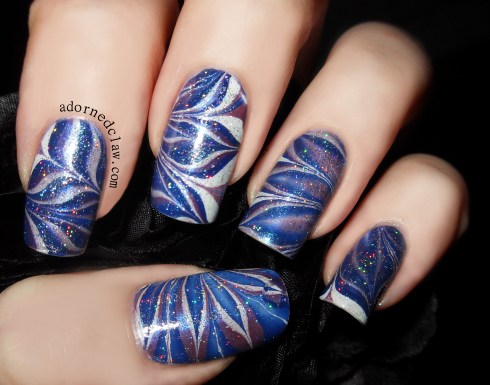
Sparkly Blue Water Marble
The polishes I used are
- White on White – China Glaze
- Tempest – China Glaze
- Thinking Of Blue – Sally Hansen
- Dive Deeper – Sally Hansen
- Sparkling Silver – No7
- Topcoat – Color Club
I started with a coat of White on White, when that was dry I taped my fingers and started on the water marble. I started with two drops of Thinking of Blue, Tempest then Dive Deeper, followed by two rounds of one drop of each polish in the same order (if that makes any sense)
I created the petal pattern by dragging the polish out from the center with a tooth pick, and then back from the outside to the center between the petals.
After I dipped my nails, waited a bit for them to dry and cleaned round my cuticles I added a coat of Sparkling silver then I finished it off with my top coat!

Sparkly Blue Water Marble
I really do like how my middle finger turned out! 😀
1 Comment | tags: blue, china Glaze Tempest, China Glaze White on White, Glitter, Holographic, iridescent, Manicure, Nail Art, Nail polish, Nail Varnish, nailpolish, No7 Sparkling Silver, purple, Sally Hansen Dive Deeper, Sally Hansen Thinking Of Blue, Water Marble, White | posted in Nail Art, Water Marble
I made my first franken polish! 😀
I had a clear mini polish ( I think it was a top coat) from a cheap glitter set I picked up, and I knew that I was never going to use it so instead of leaving at the back of a draw, forgotten and covered in dust I decided to mix it with some other polishes to make something I would (hopefully) like and use!

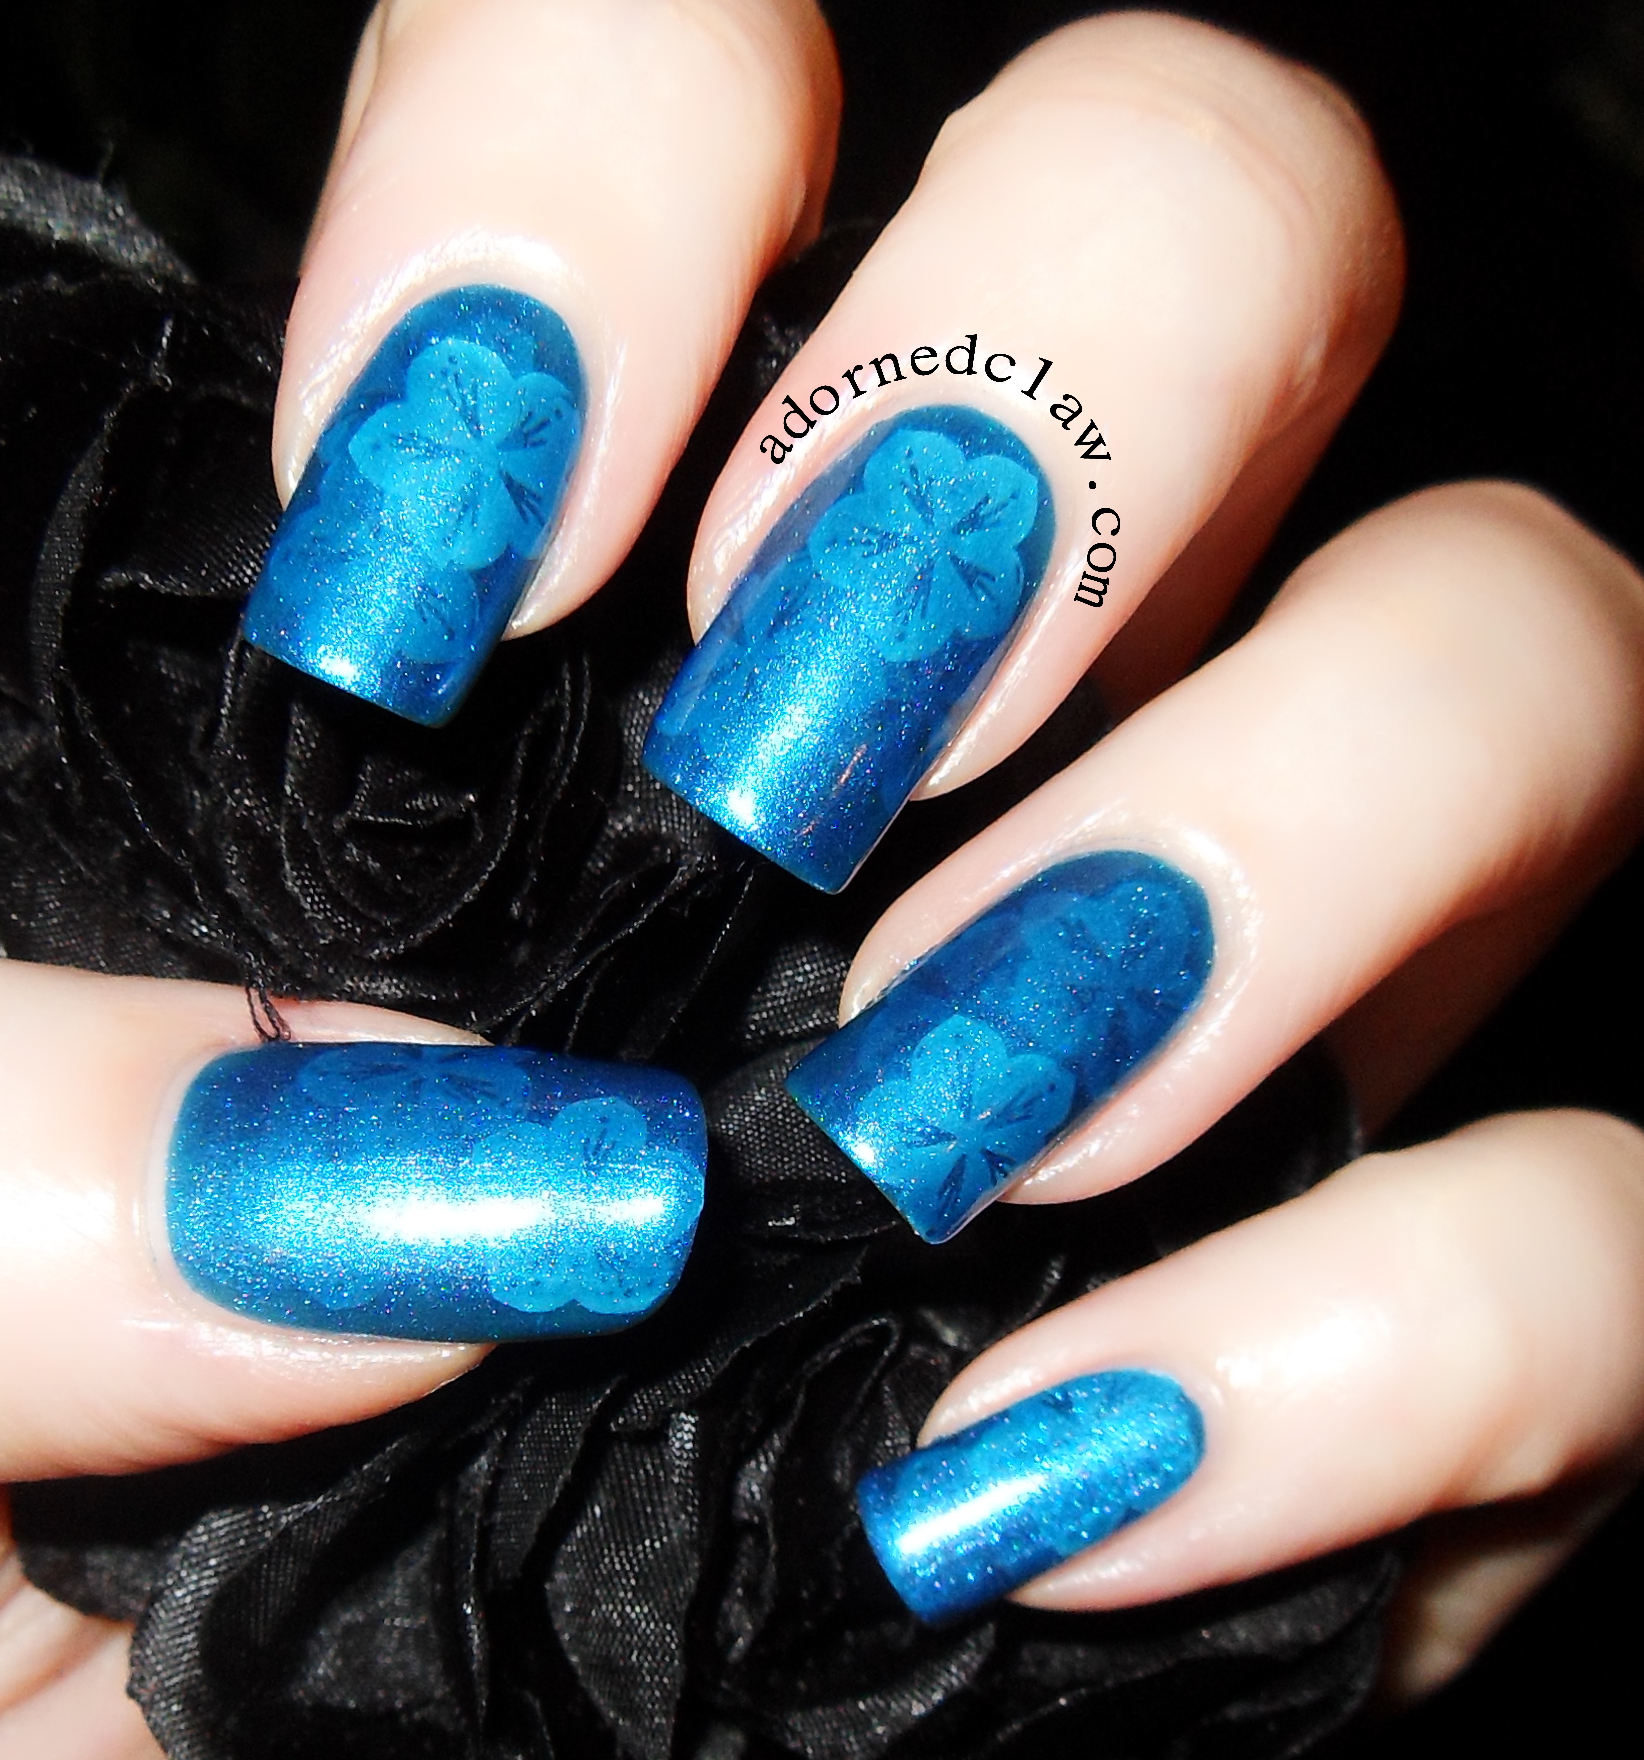
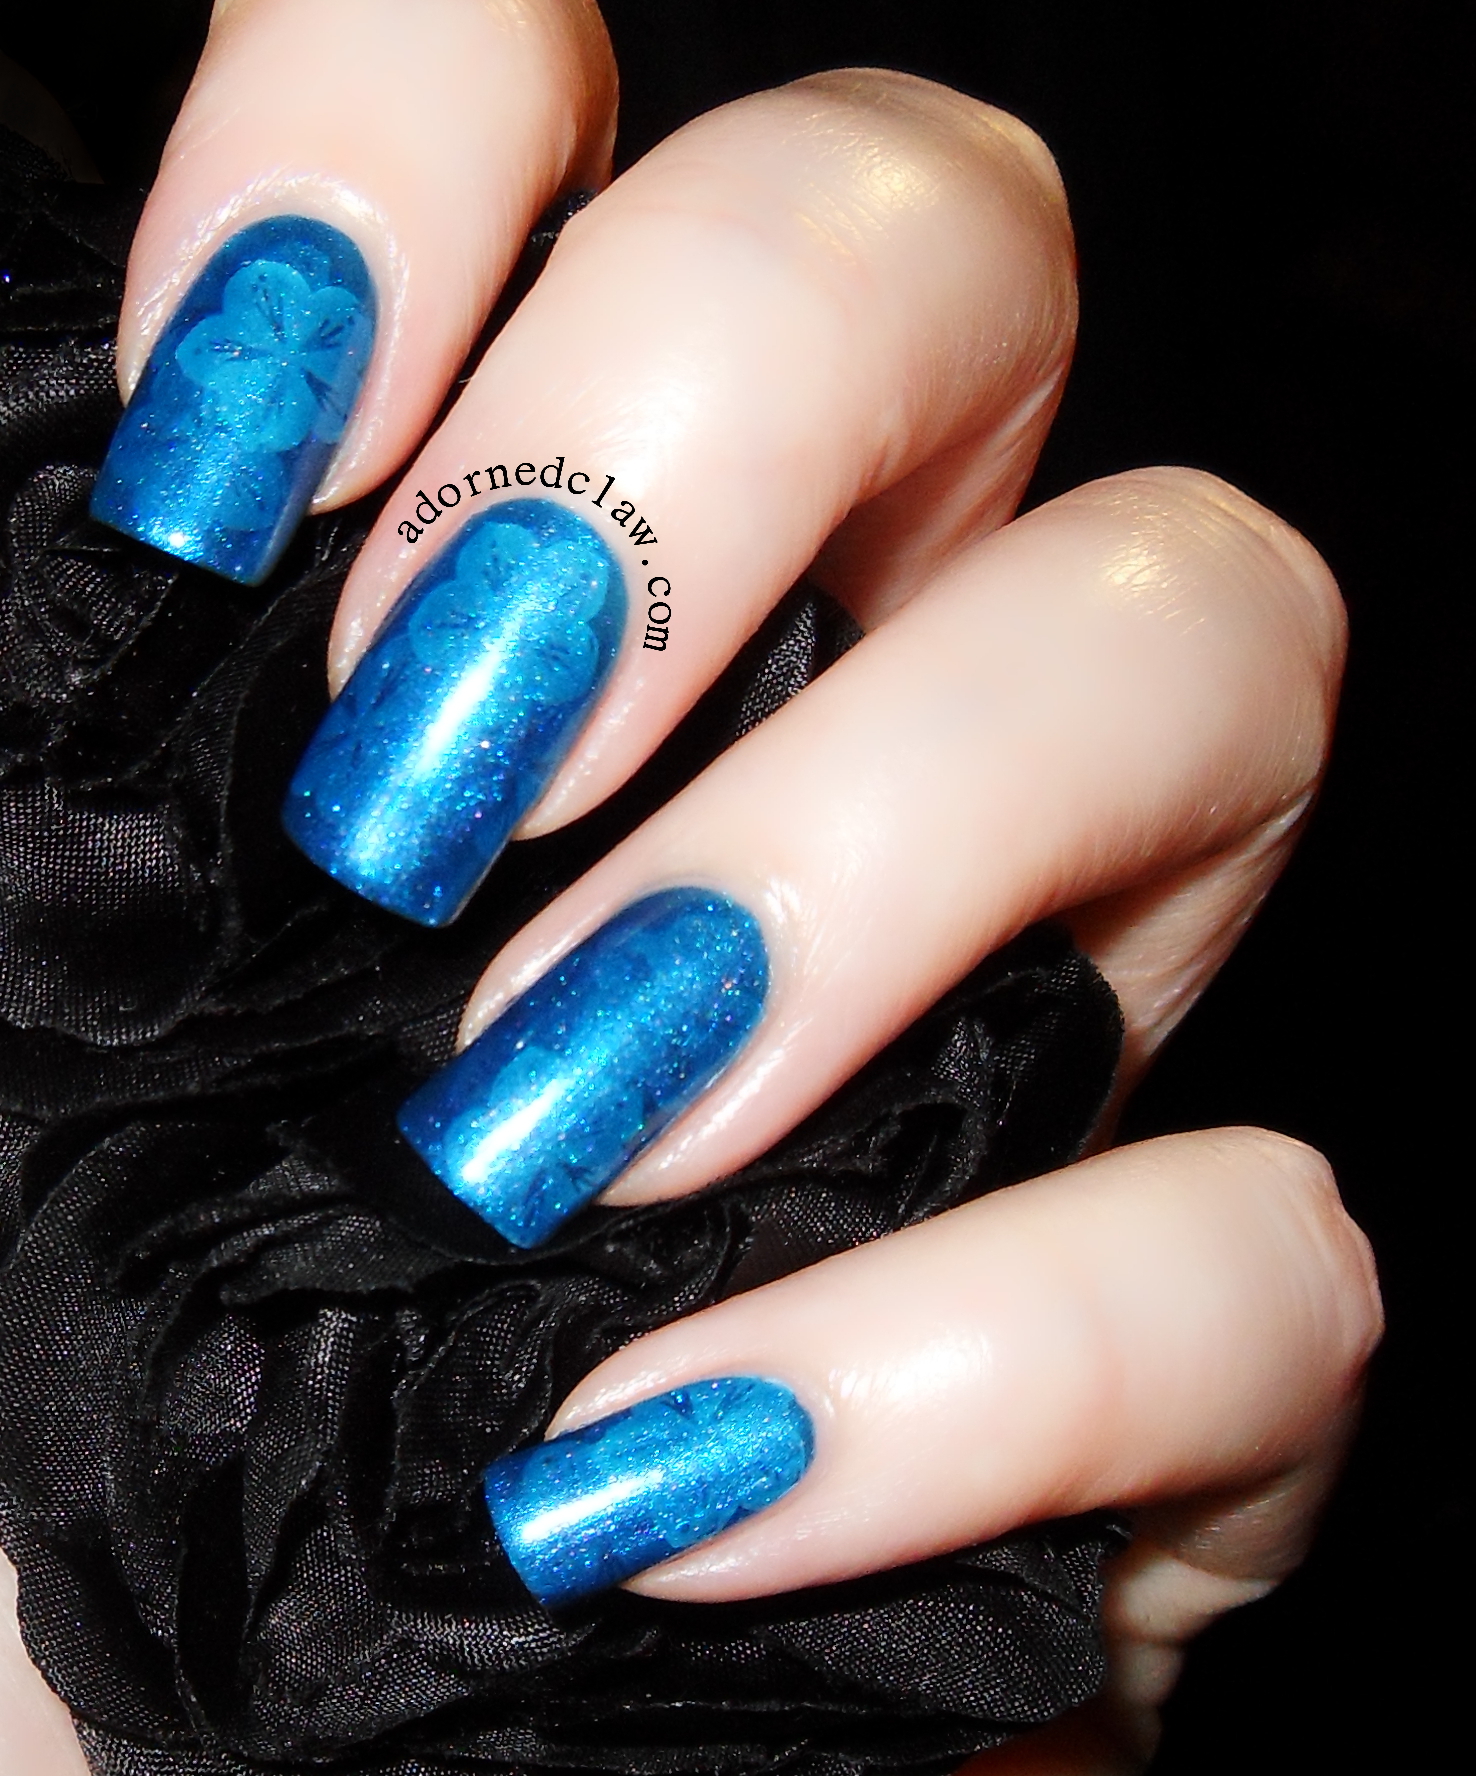
Blue Jelly Sandwich
I emptied the mini clear polish into a larger nail polish bottle then I added around eight drops of Propaganda from Illamasqua, I really love the dark blue colour of Propaganda, it’s so intensely pigmented that eight drops was enough for the blue colour.
I wanted my blue jelly to have a bit of shimmer so I mixed in some Mikado from Astor, this is a teal/green duo-chrome (ish) colour. I have swatched this polish once and it’s not as nice on as it looks in the bottle, so i’m glad that I got to use it for something. I must have added around twenty drops of it before I was happy with it.
Then I added four/five drops of Strap On Your Moon Boots from China Glaze, as you can’t go wrong with a bit of holo sparkle!

My First Franken Polish
For the stamp I used Ivory Skull from Sally Hansen and Moyou Suki collection plate 02 I used three coats of my franken jelly polish with a stamp between each layer!
I’m rubbish at naming things so… What do you think I should I call my new polish?
6 Comments | tags: blue, Frankenpolish, Glitter, Holographic, iridescent, Moyou Suki Collection, Nail Art, Nail polish, Nail Stamping, Nail Varnish, nailpolish, Sally Hansen Ivory Skull | posted in Franken Polish, Nail Art, Nail Stamping
Just a quick post today! A really simple glitter placement!
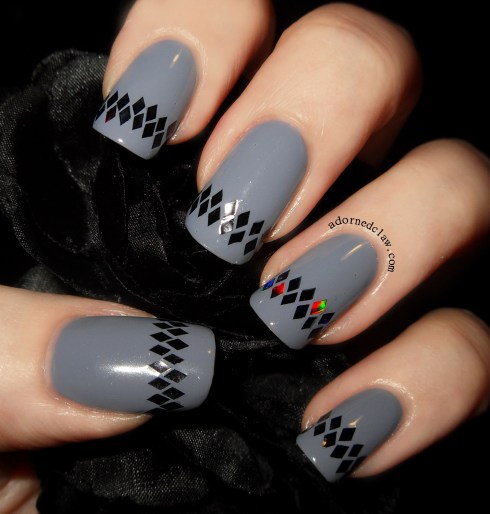
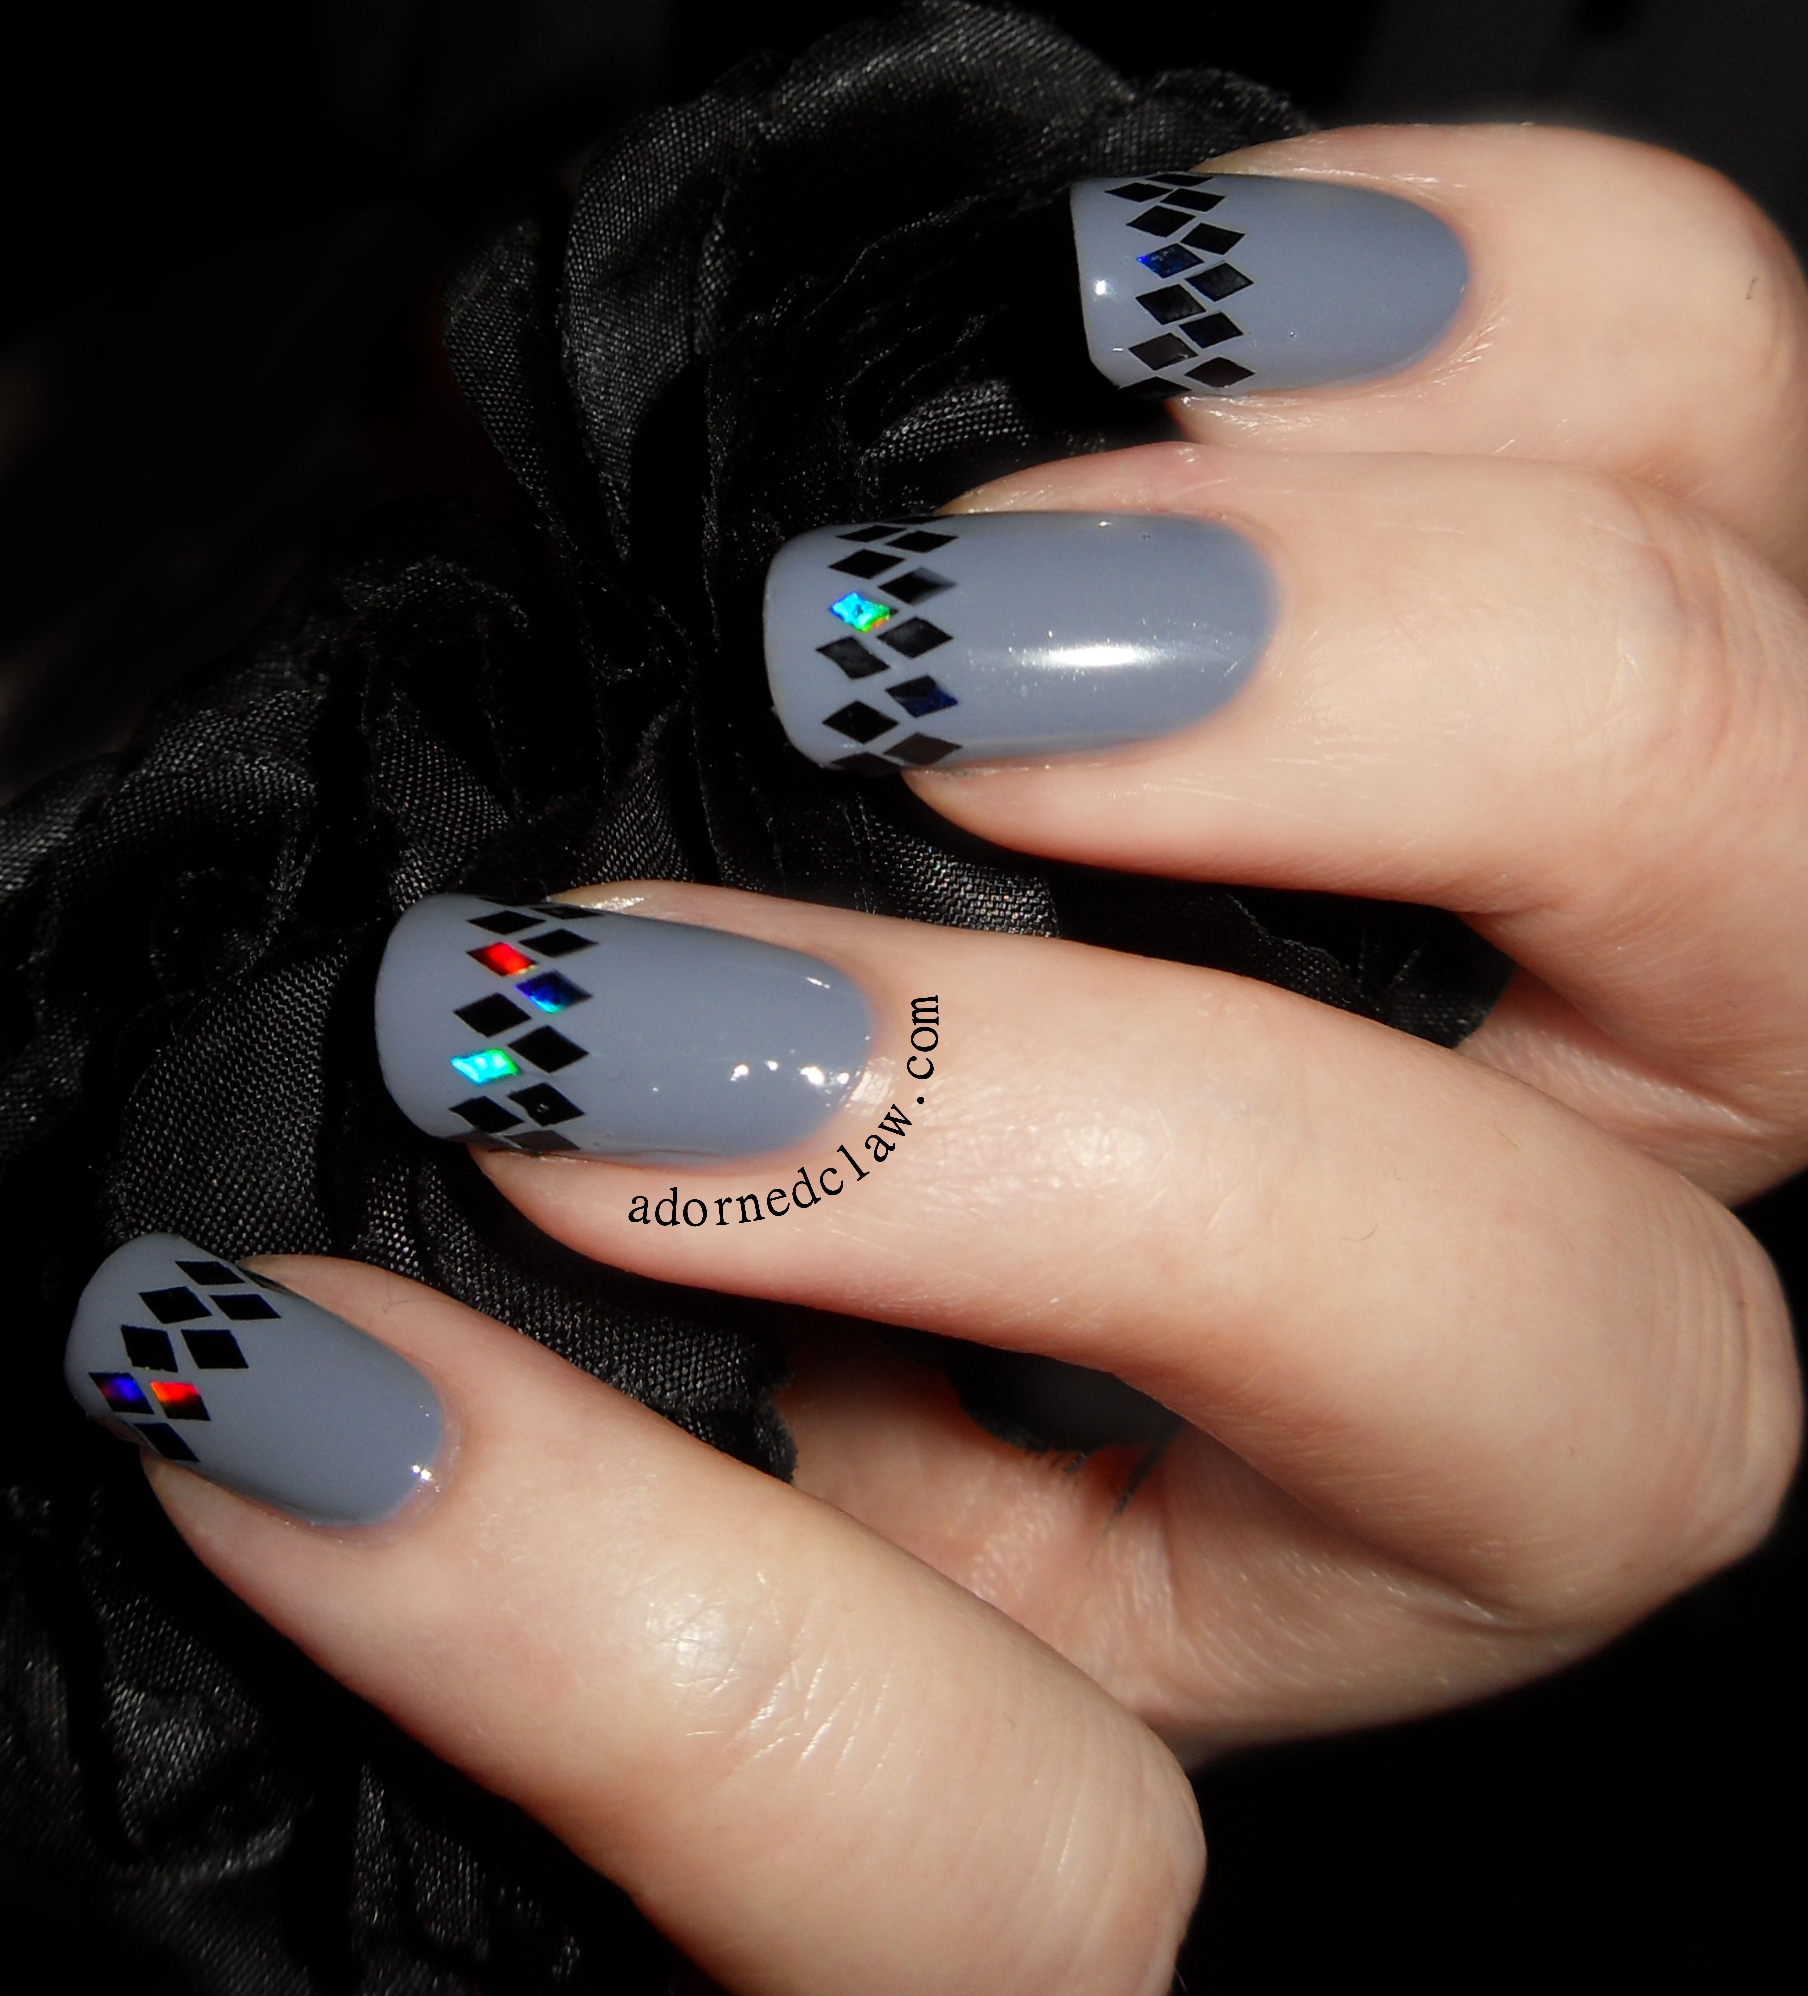
Shabby Drab With Black Holo Glitter
The base colour is Shabby Drab from Color Club. I really like this creamy warm purpley grey shade! The consistency of this polish is wonderful, it applies like a dream and it’s opaque in two coats!
I’m really being drawn to grey at the moment, I think it might be the weather.

shiny holo glitters
I love this black holographic glitter sooo much! I applied each glitter with a toothpick, it didn’t take too long at all, just a few minutes per nail! Then I finished it off with a coat of Seche Vite. 😀
3 Comments | tags: Black, Color Club Shabby Drab, Glitter, Glitter Placement, grey, Holographic, Nail Art, Nail polish, Nail Varnish, nailpolish | posted in Nail Art
Today I have some very Anti Valentine’s day nails to show you!
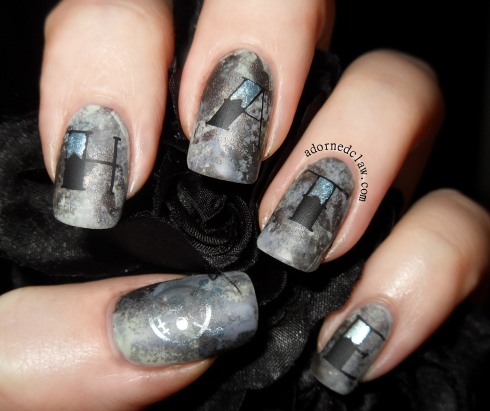
Anti Valentines Day Nails
I don’t think I could have made this any less valentine’sy!
I started out with two coats of Pumice From Sally Hansen, then using a make up sponge I applied patches of Pure Midnight which is also a Sally Hansen Polish.
Then I used a combination of cling film and tiny bits of sponge to add Barry M Grey, China Glaze Galactic Grey and Color Club Shabby Drab to create the stone effect.
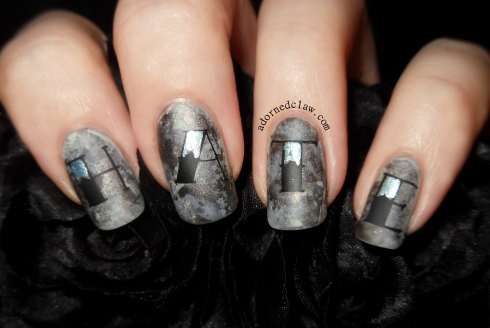
Anti Valentines Nail Art
I used two Bundle Monster Plates BM-426 and BM-413 for the stamping, I used Konad Special Polish in Black, then with a thin brush I added some Lumin-iceant from Color Club to the letters.
I also used Lumin-iceant for the stamping on my thumb, unfortunately it doesn’t show as well as I would like 😦
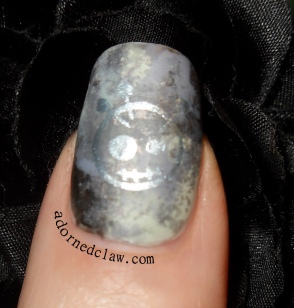
Anti Valentines day Nail Art
I finished it off with a coat of Seche Vite, but then decided it would look better in matte so I added a coat of Matte Finisher from E.L.F!
I think that’s enough hate nails from me! And I hope you have a lovely Valentine’s day what ever you are doing! 🙂
12 Comments | tags: Barry M Grey, Black, BM-413, BM-426, Bundle Monster CYO, China Glaze Galactic Grey, Color Club Lumin-Iceant, Color Club Shabby Drab, E.L.F Matte Finisher, grey, Holographic, Konad special polish Black, Matte, Nail Art, Nail polish, Nail Stamping, Nail Varnish, nailpolish, Sally Hansen Pumice, Sally Hansen Pure Midnight, Seche Vite, silver, Valentine's day | posted in Nail Art, Nail Stamping