This is how I made my Panda stamped decals!
Things you’ll need
- Something plastic, I use the lid of a cotton bud box, but anything plastic, shiny, transparent and flexible (that you don’t mind covering in nail polish) should do.
- Clear nail polish or top coat, make sure it’s not the fast dry stuff or you won’t be able to remove your decals from the plastic! I used Color Club Top coat.
- Stamping stuff! plate, stamper, scraper and stamping polish. I used BM-424 from Bundle Monster and Konad Special Polish In Black
- Thin nail art brush.
- nail polish (one coat/high pigment polish works best) I chose Ivory Skull From Sally Hansen
- Acetone.
- Fingernails! 😛
- And quite a bit of time.
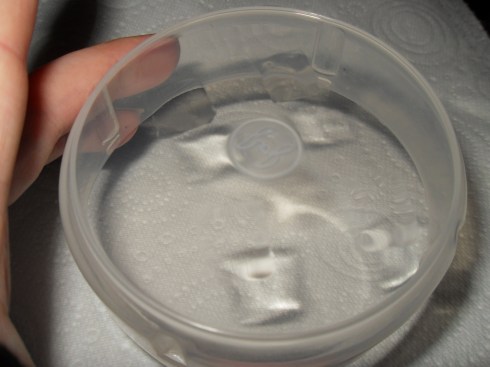
cotton bud lid + nail polish
Start off by painting squares or rectangles of clear polish directly onto your plastic surface, you want them to be a little bit larger than the image you are going to be using, then leave them until dry.
Sorry about the rubbish picture! My camera really protested about photographing clear stuff on clear stuff 

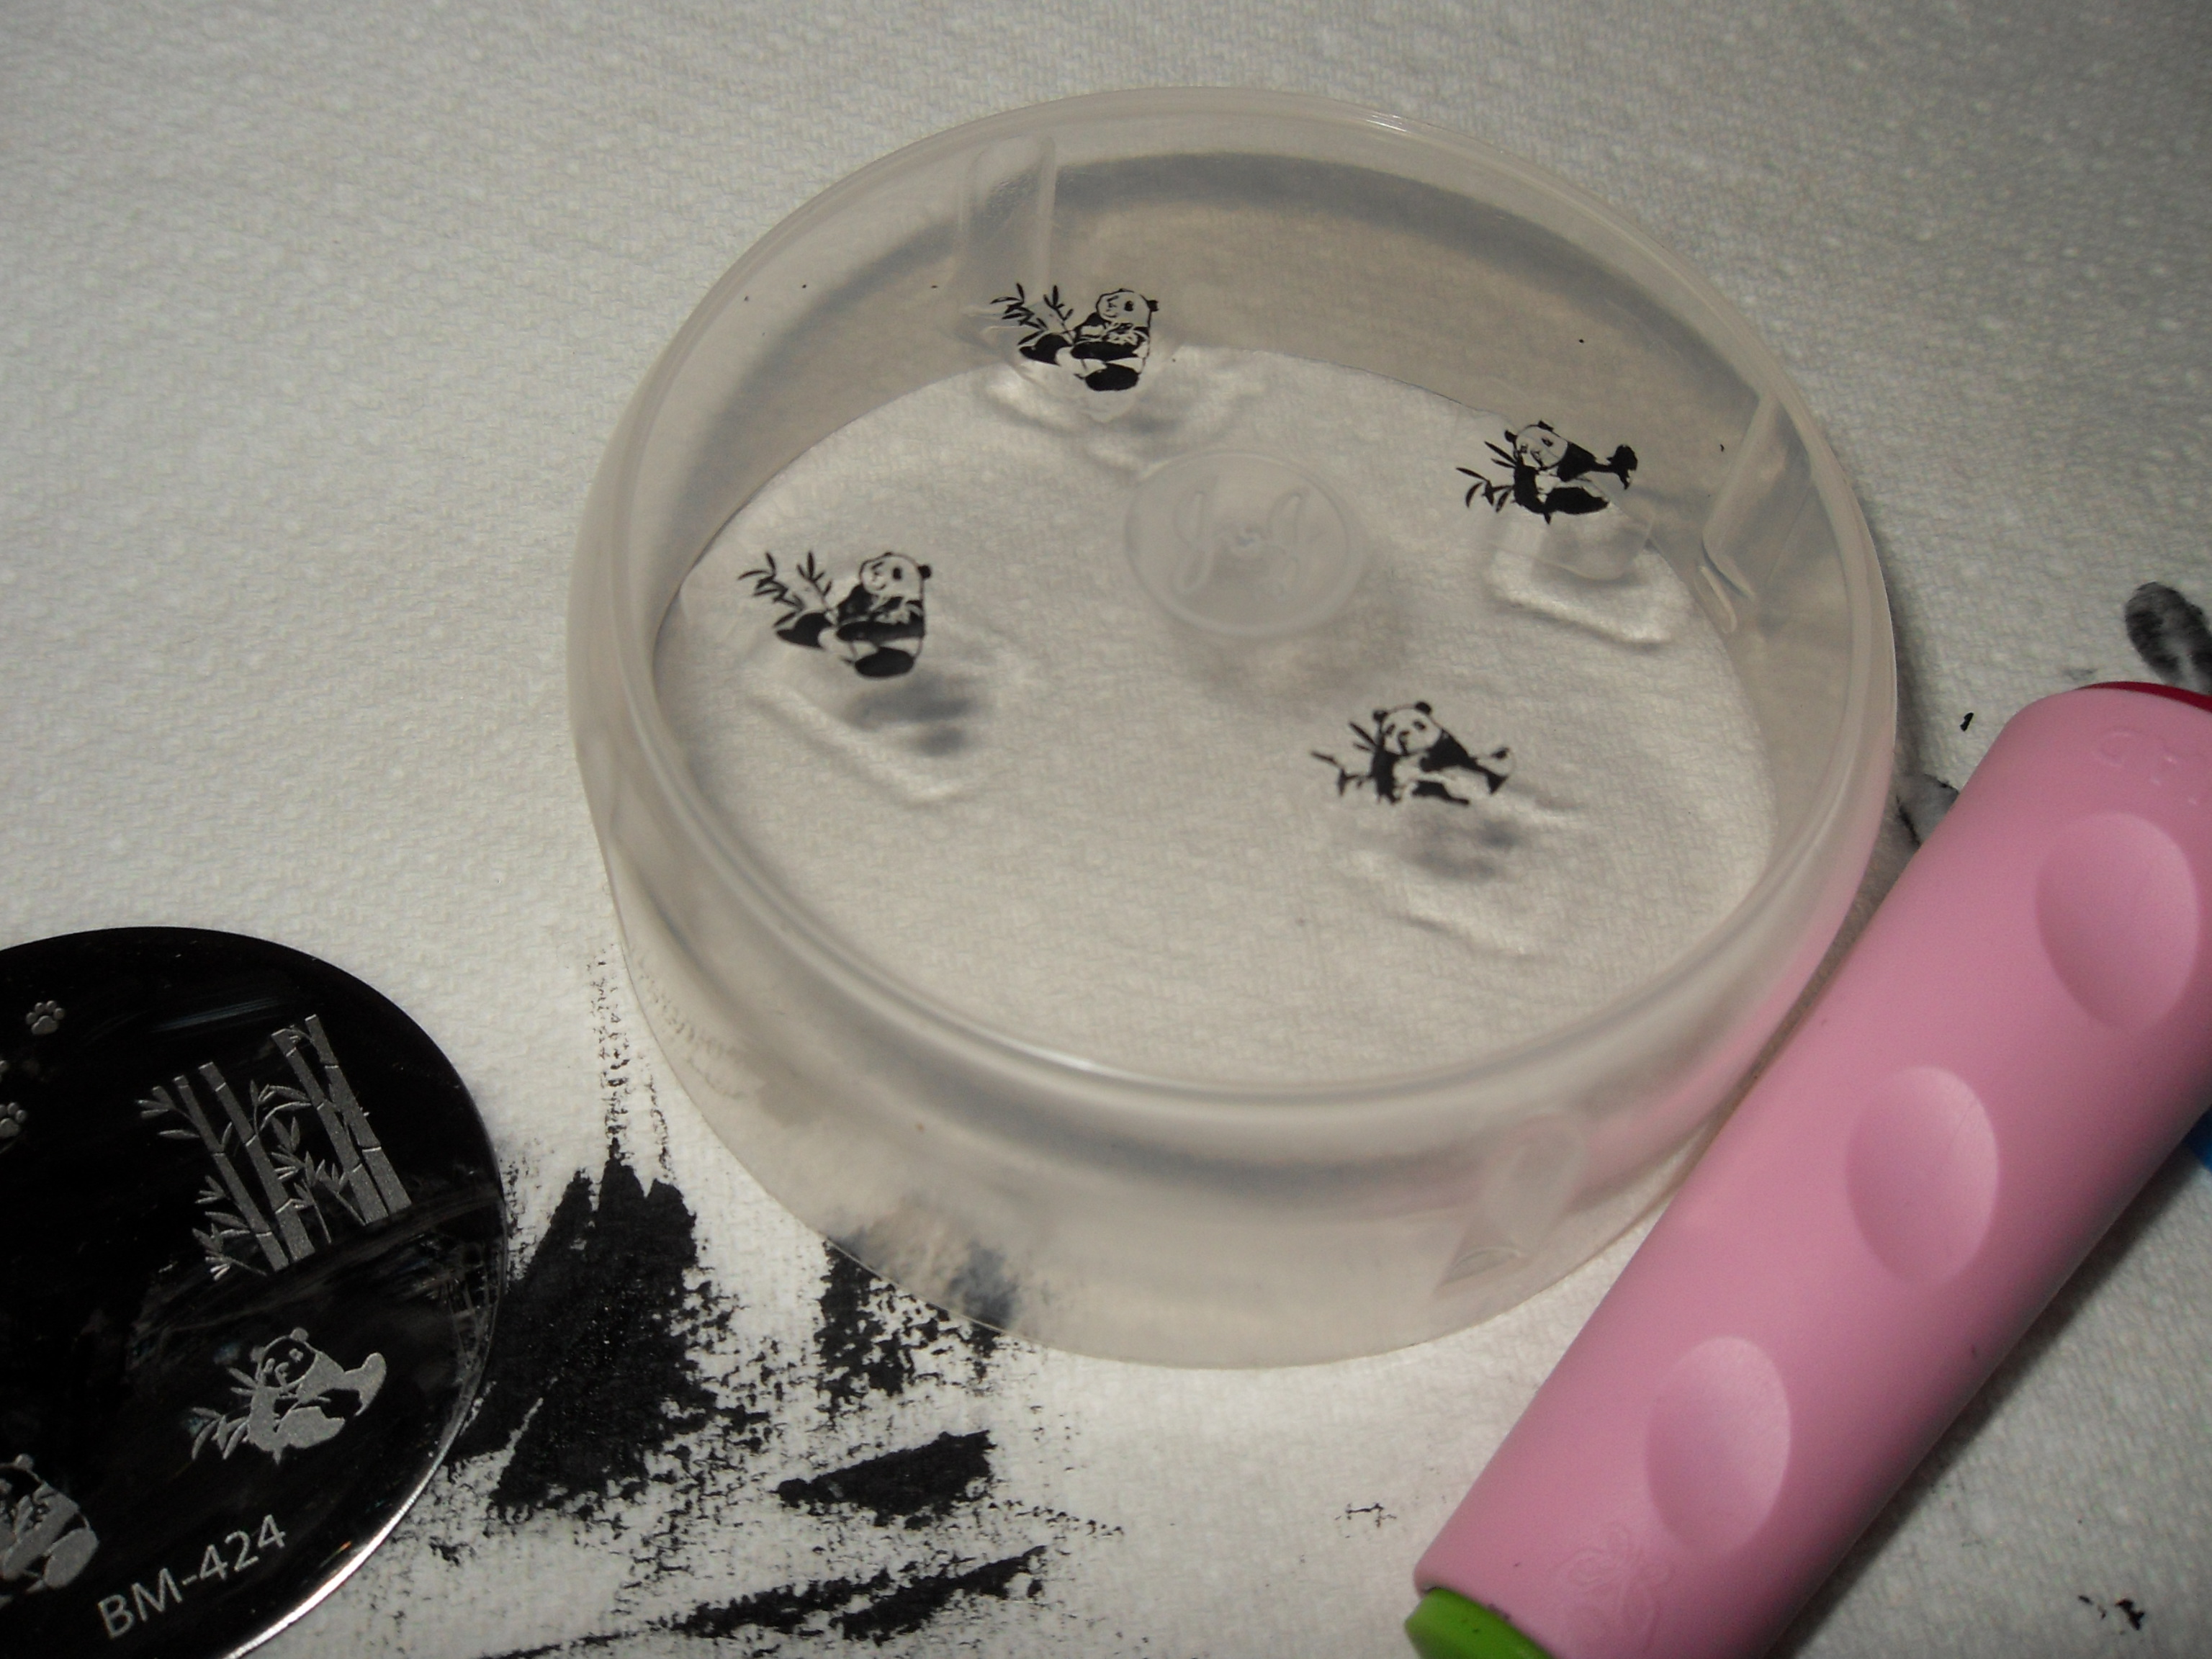
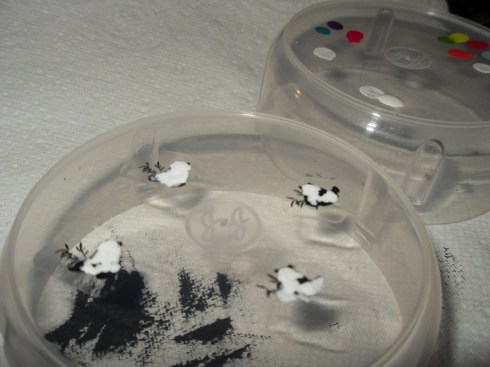
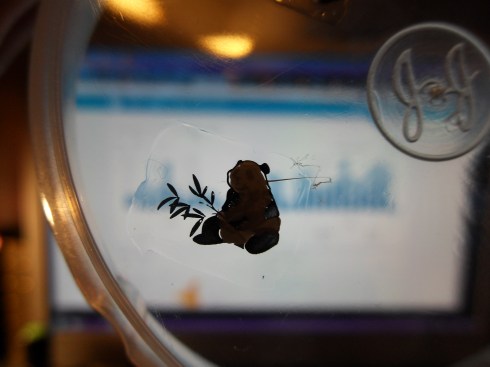
stamping
Stamp the image you want to use on to the dry polish rectangles! I find it easier to hold my plastic lid upside down and line up the image by looking through the polish.
I have found that the best kind of image to use for making stamped decals are ones with an outline and not a huge amount filled in.
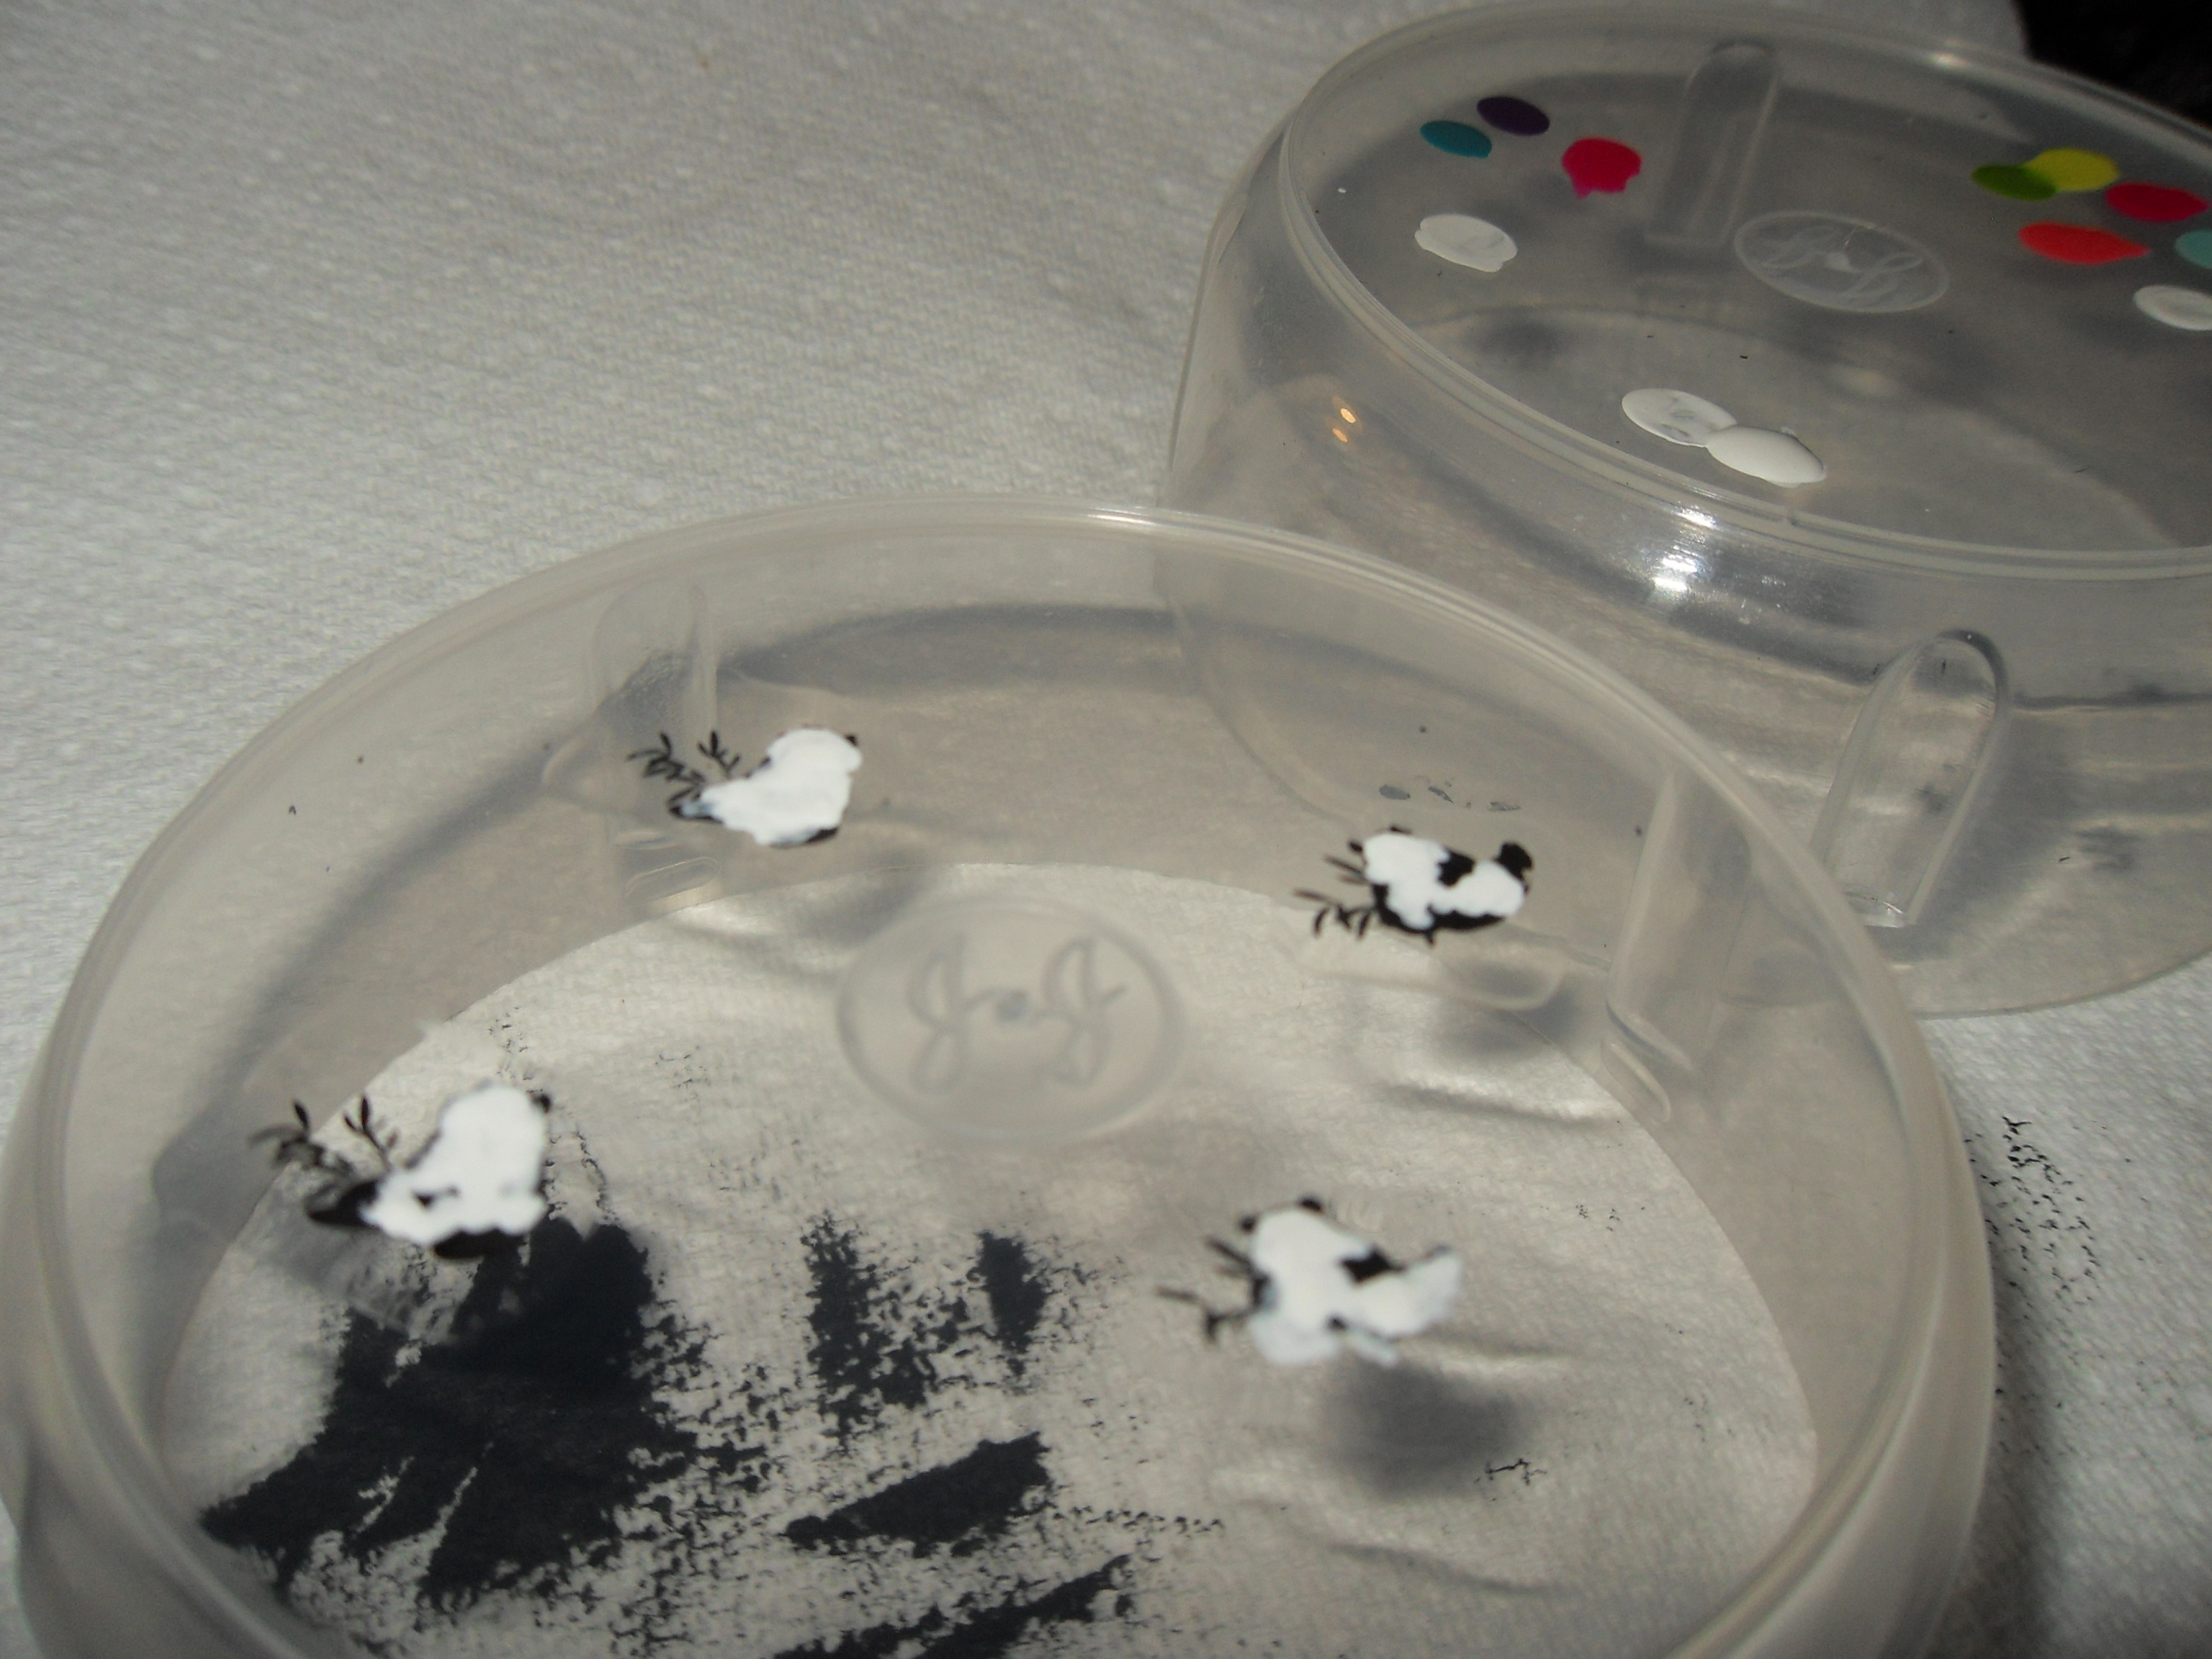
paint by numbers
Now you can start colouring in! Using a thin brush you’ll want to very gently dab the polish on, if you use brush strokes you can smudge the stamped image
If you are worried about doing that you can add another coat of the clear polish on top of the stamp and leave it to dry before painting it.
Oh and keep your Acetone close by, the thin nail art brush will dry out really quickly!
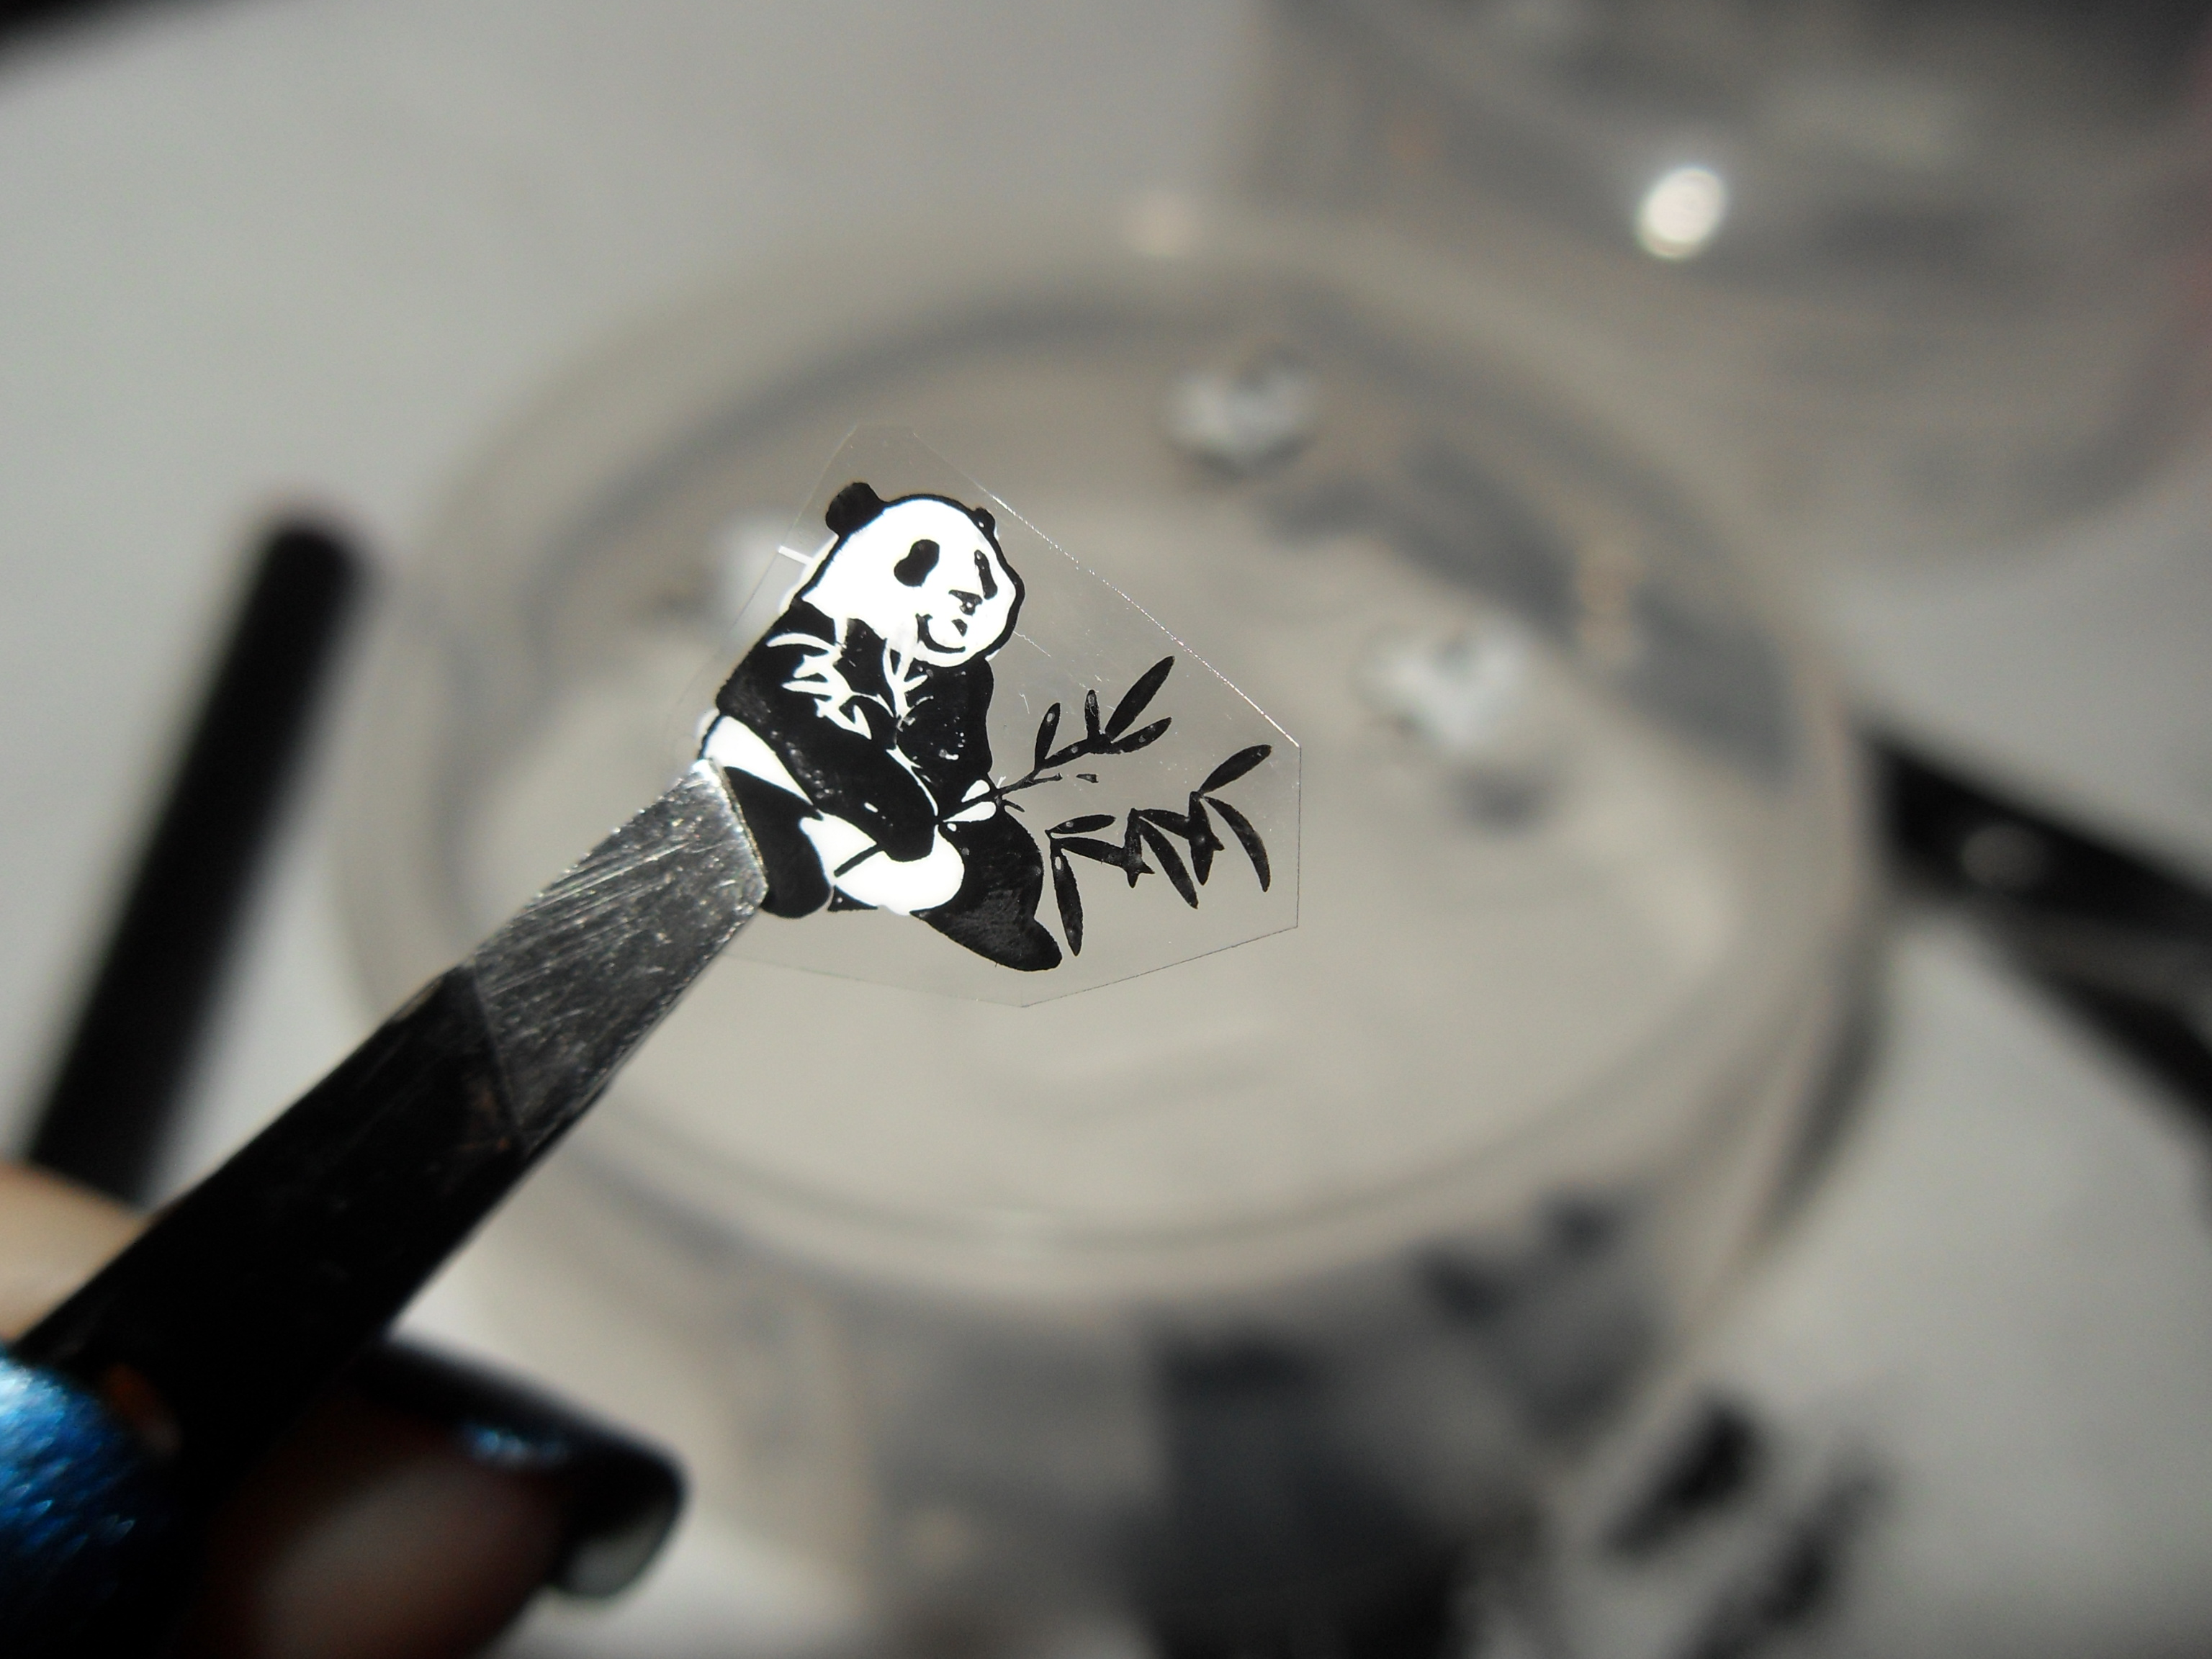
see the bits i missed
I like to hold mine up to a light source to check for bits I missed and then add a few more dabs of polish to cover them!
With this technique you’ll end up with a decal that’s the opposite way round to the image on the stamping plate.

trim off the extra polish
When your decals are dry (I leave mine for at least a couple of hours) they should be easily removed from the plastic, I peel them off with my nail but you could always use tweezers.
Then with some scissors carefully trim off the excess clear polish.

stick it on
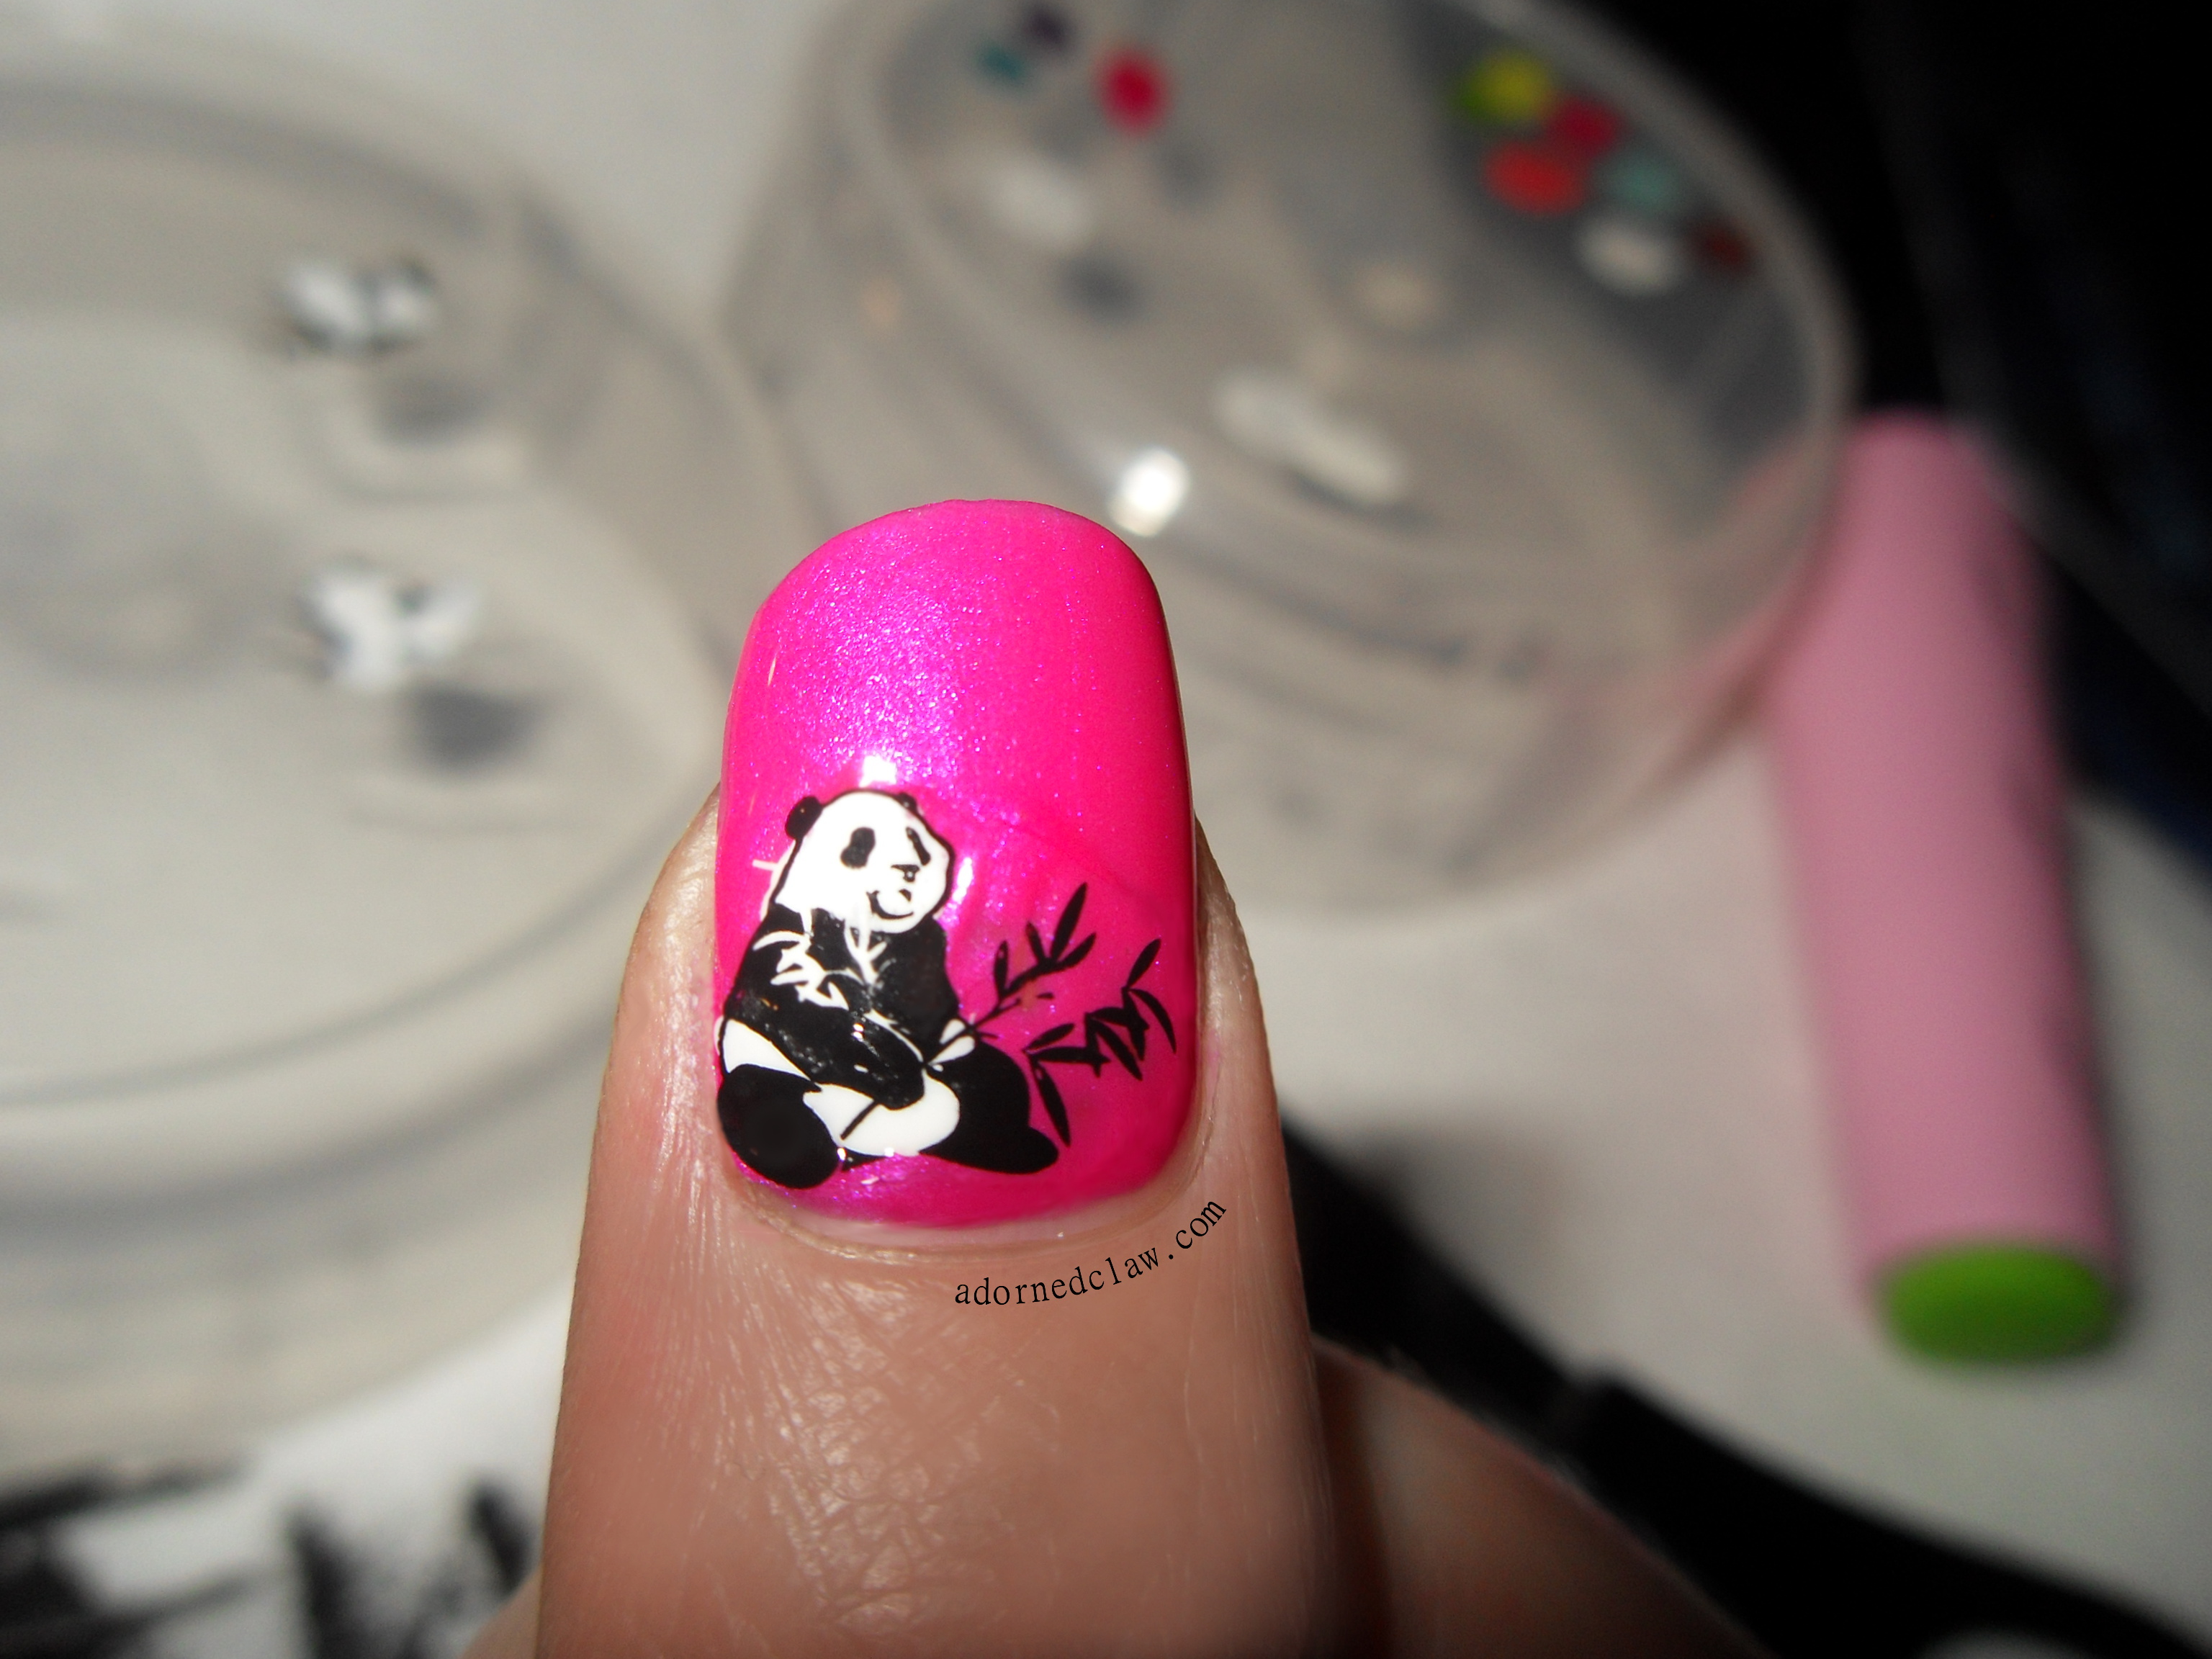
To stick your decal to your nail I like to press mine on to almost dry polish and very gently press it down, then add a coat of topcoat to seal it in. But be really careful, as you won’t be able to reposition the image once it’s on your nail,
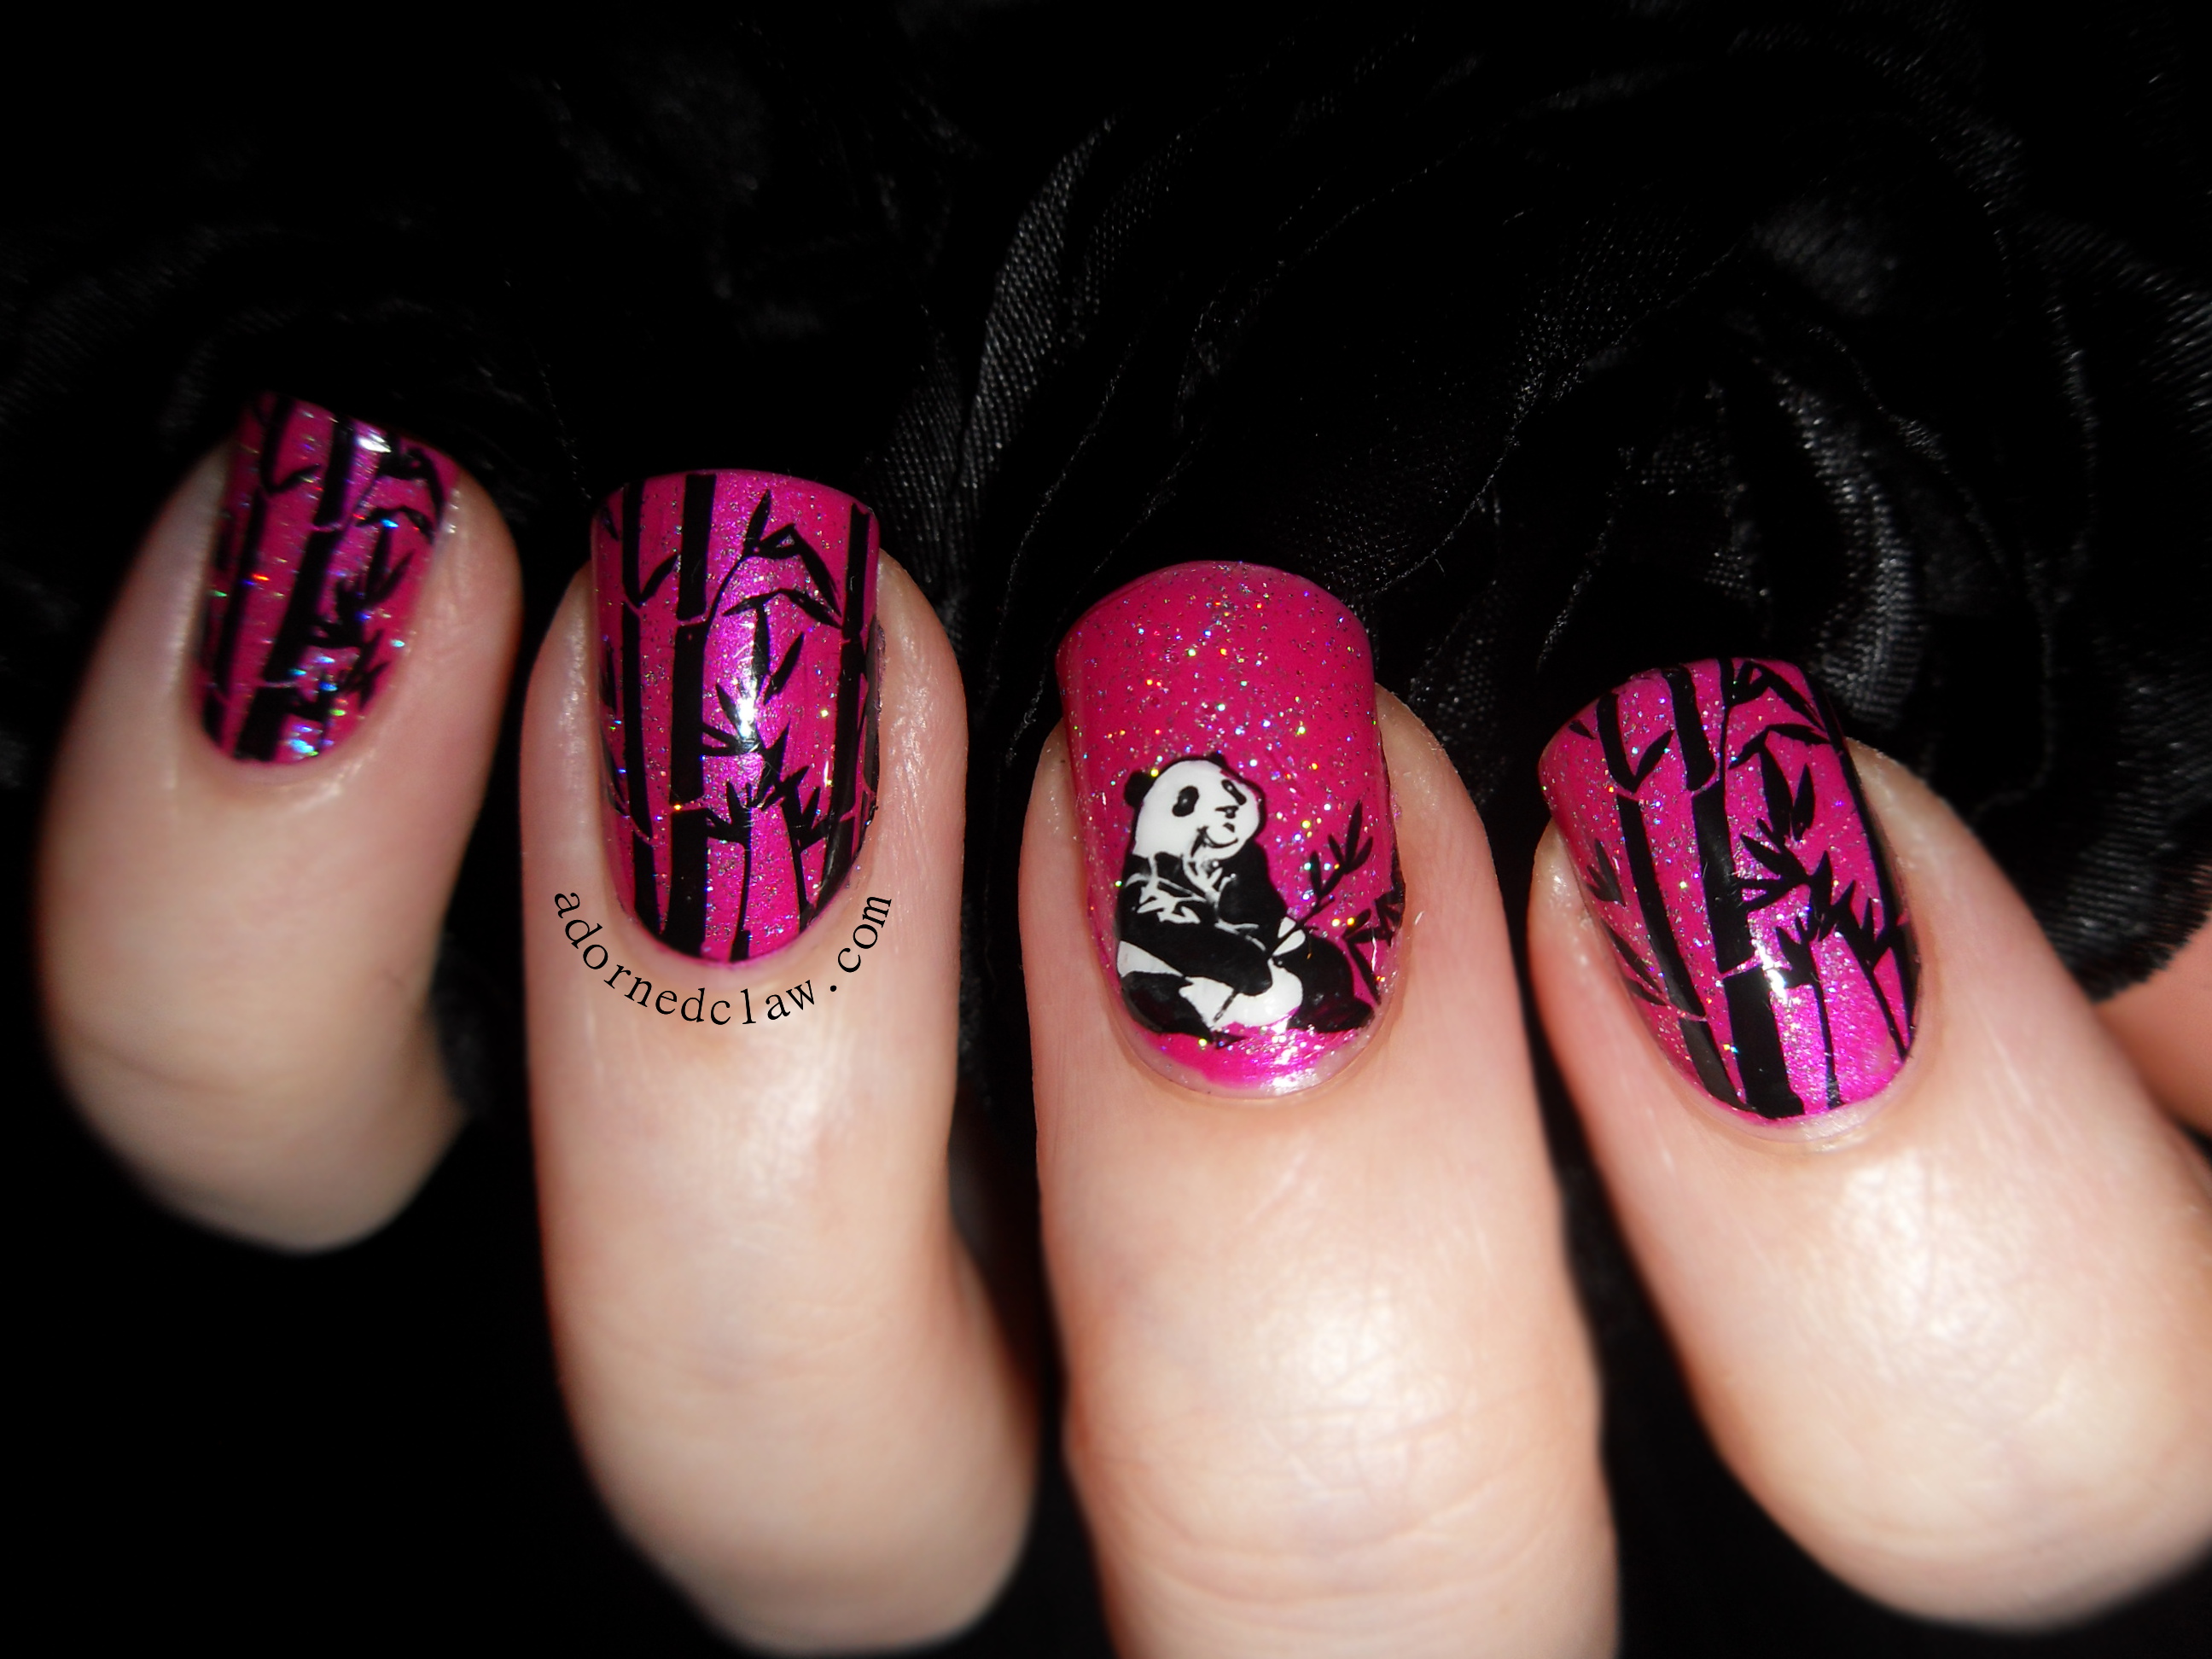
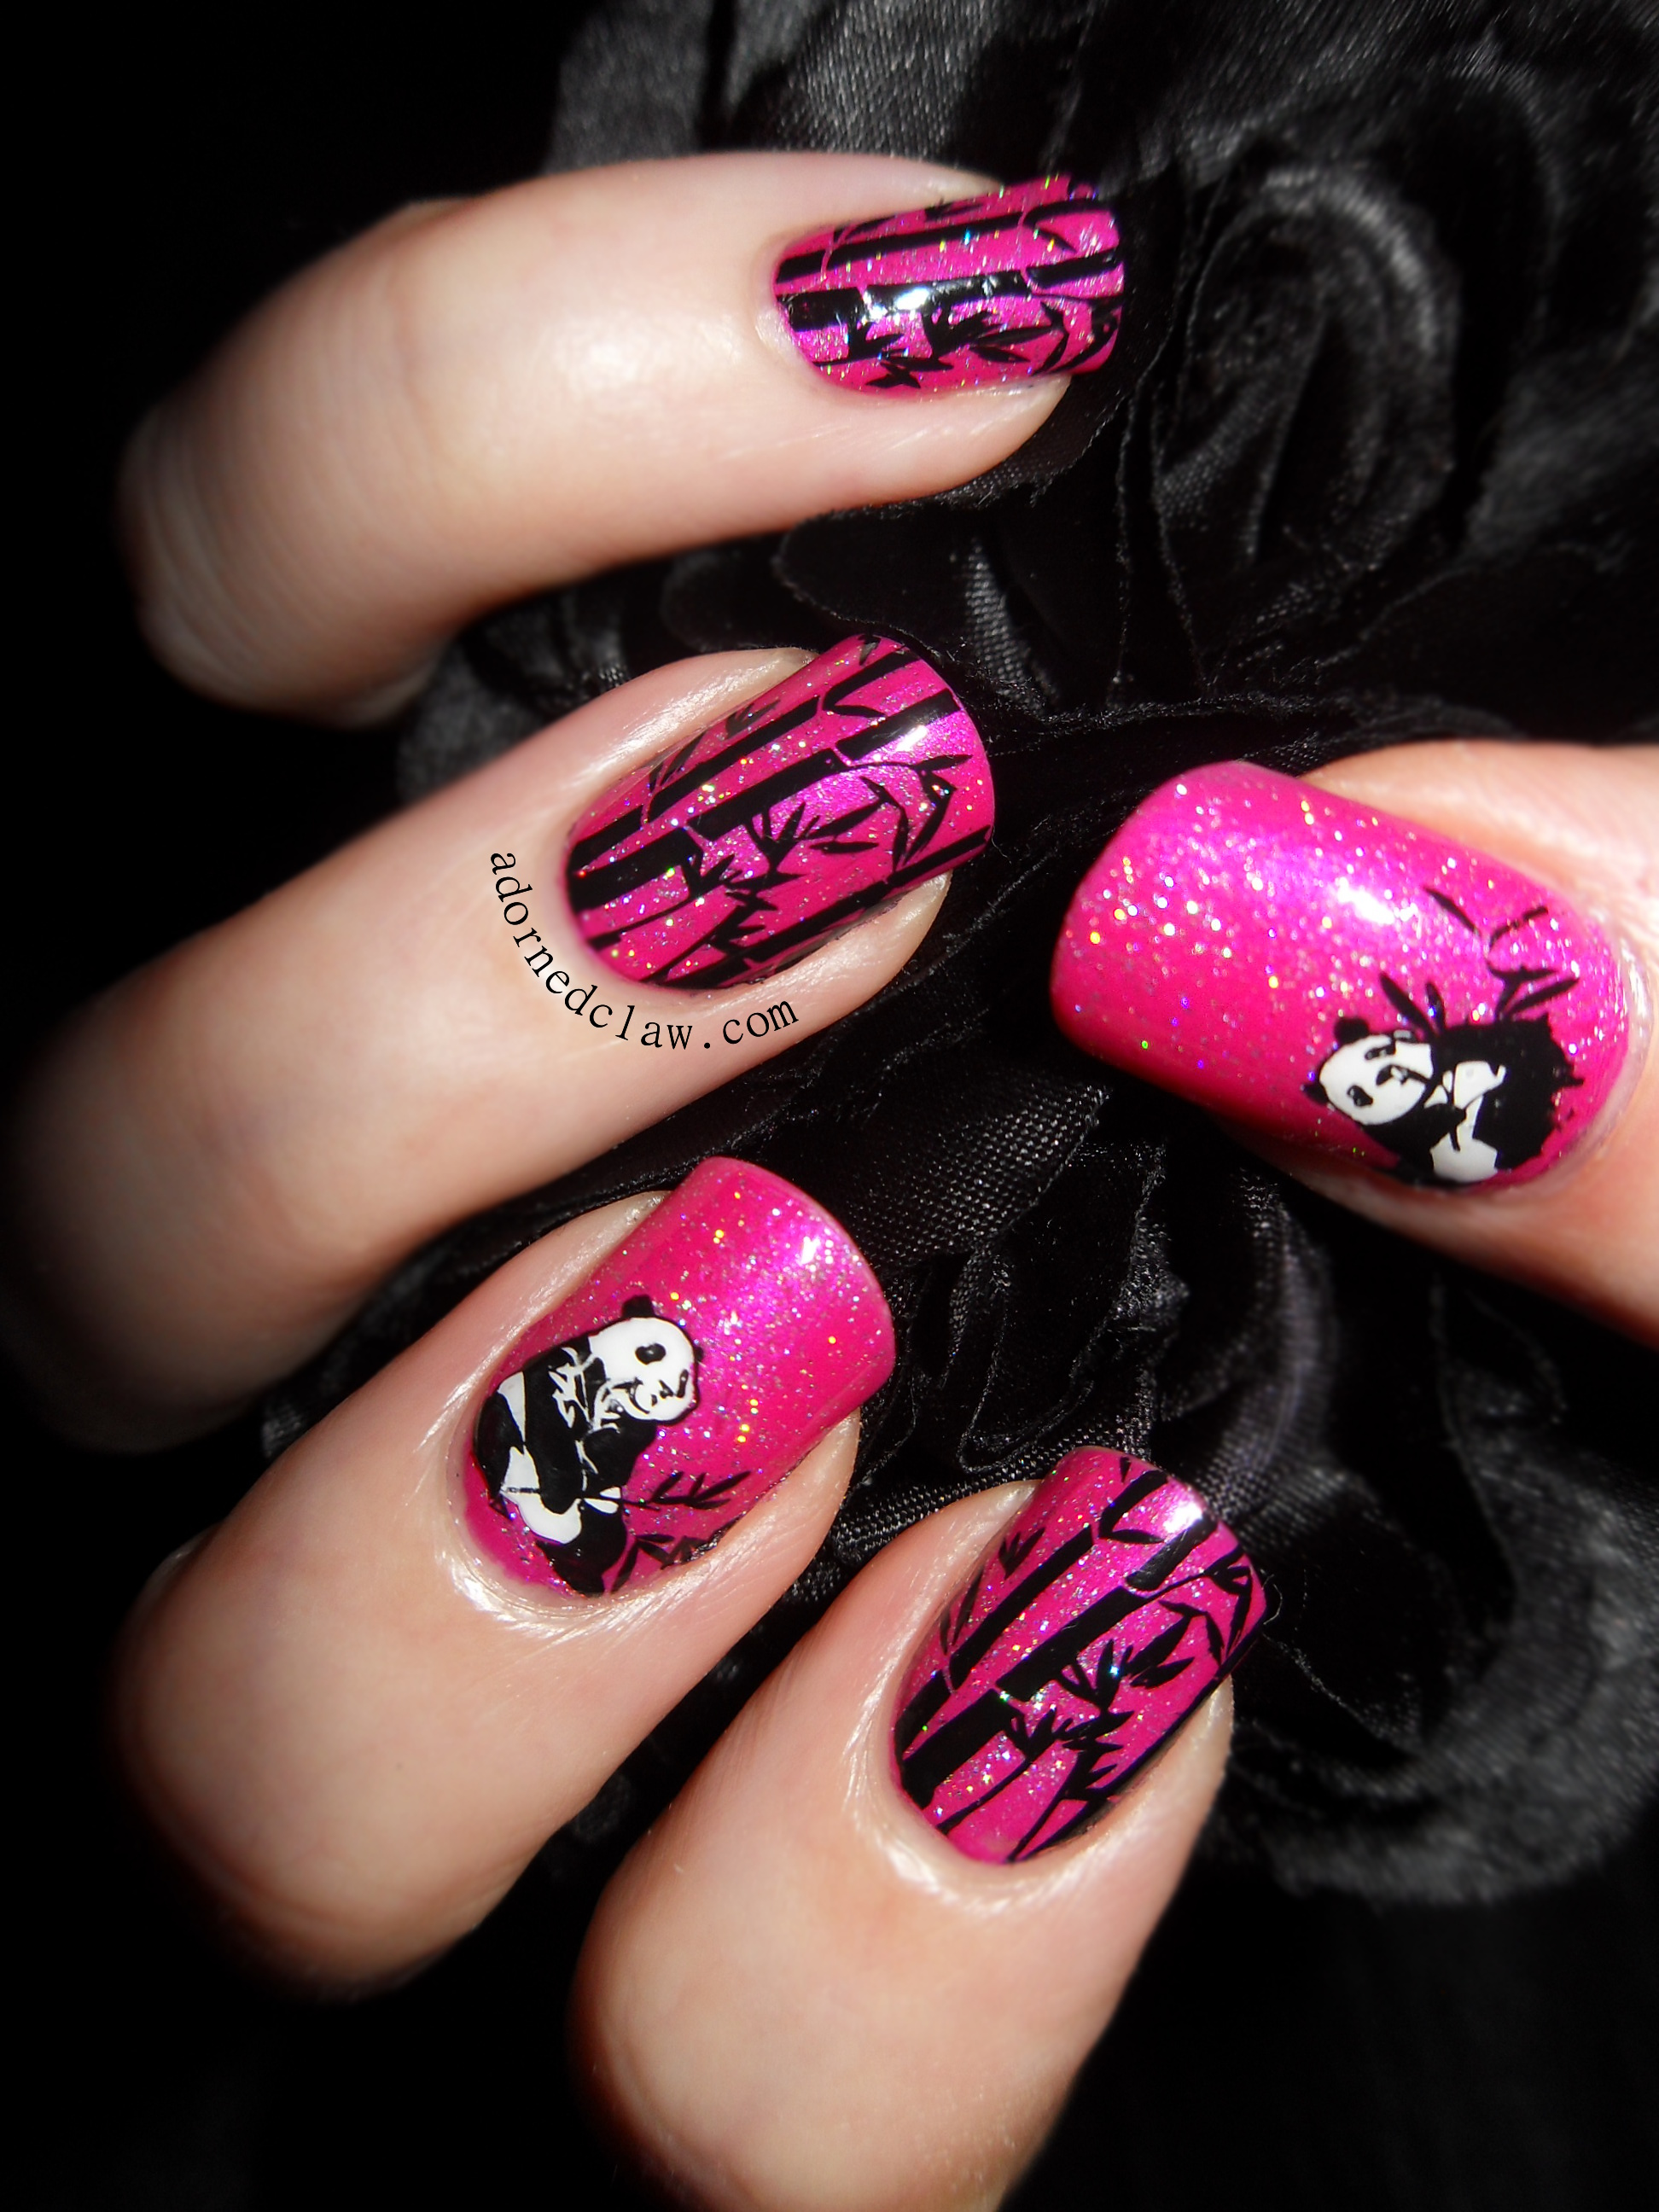
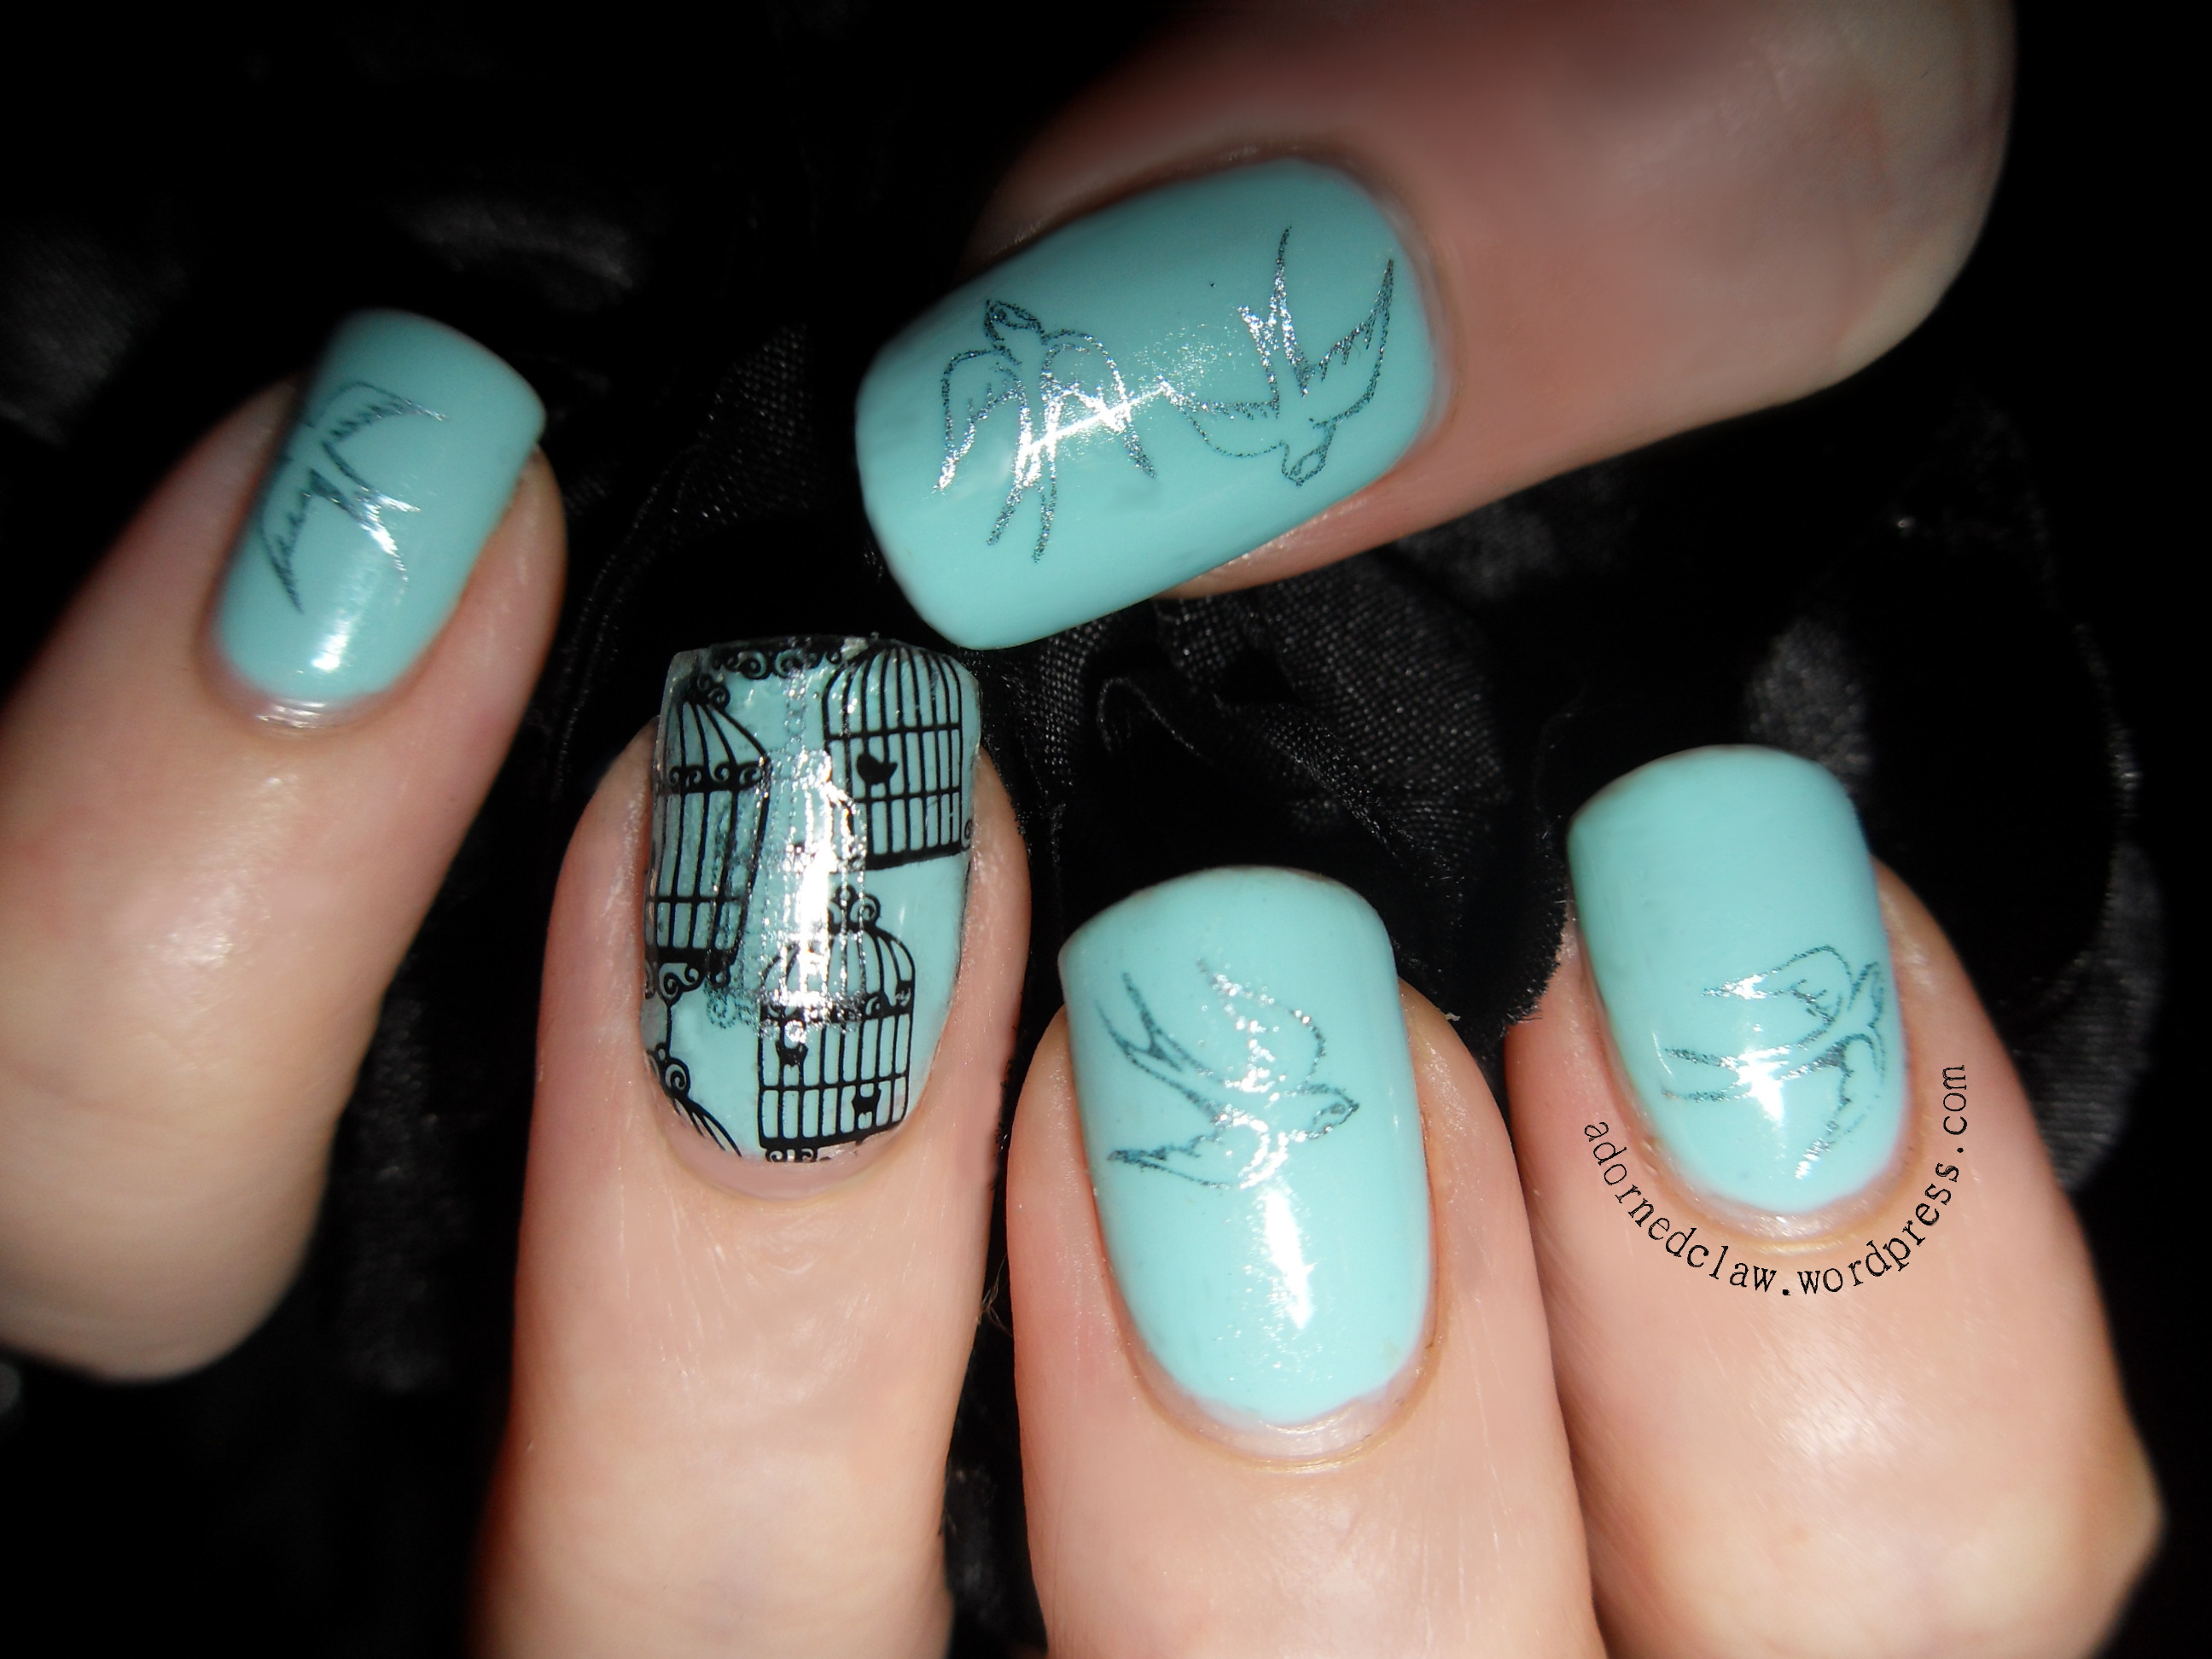
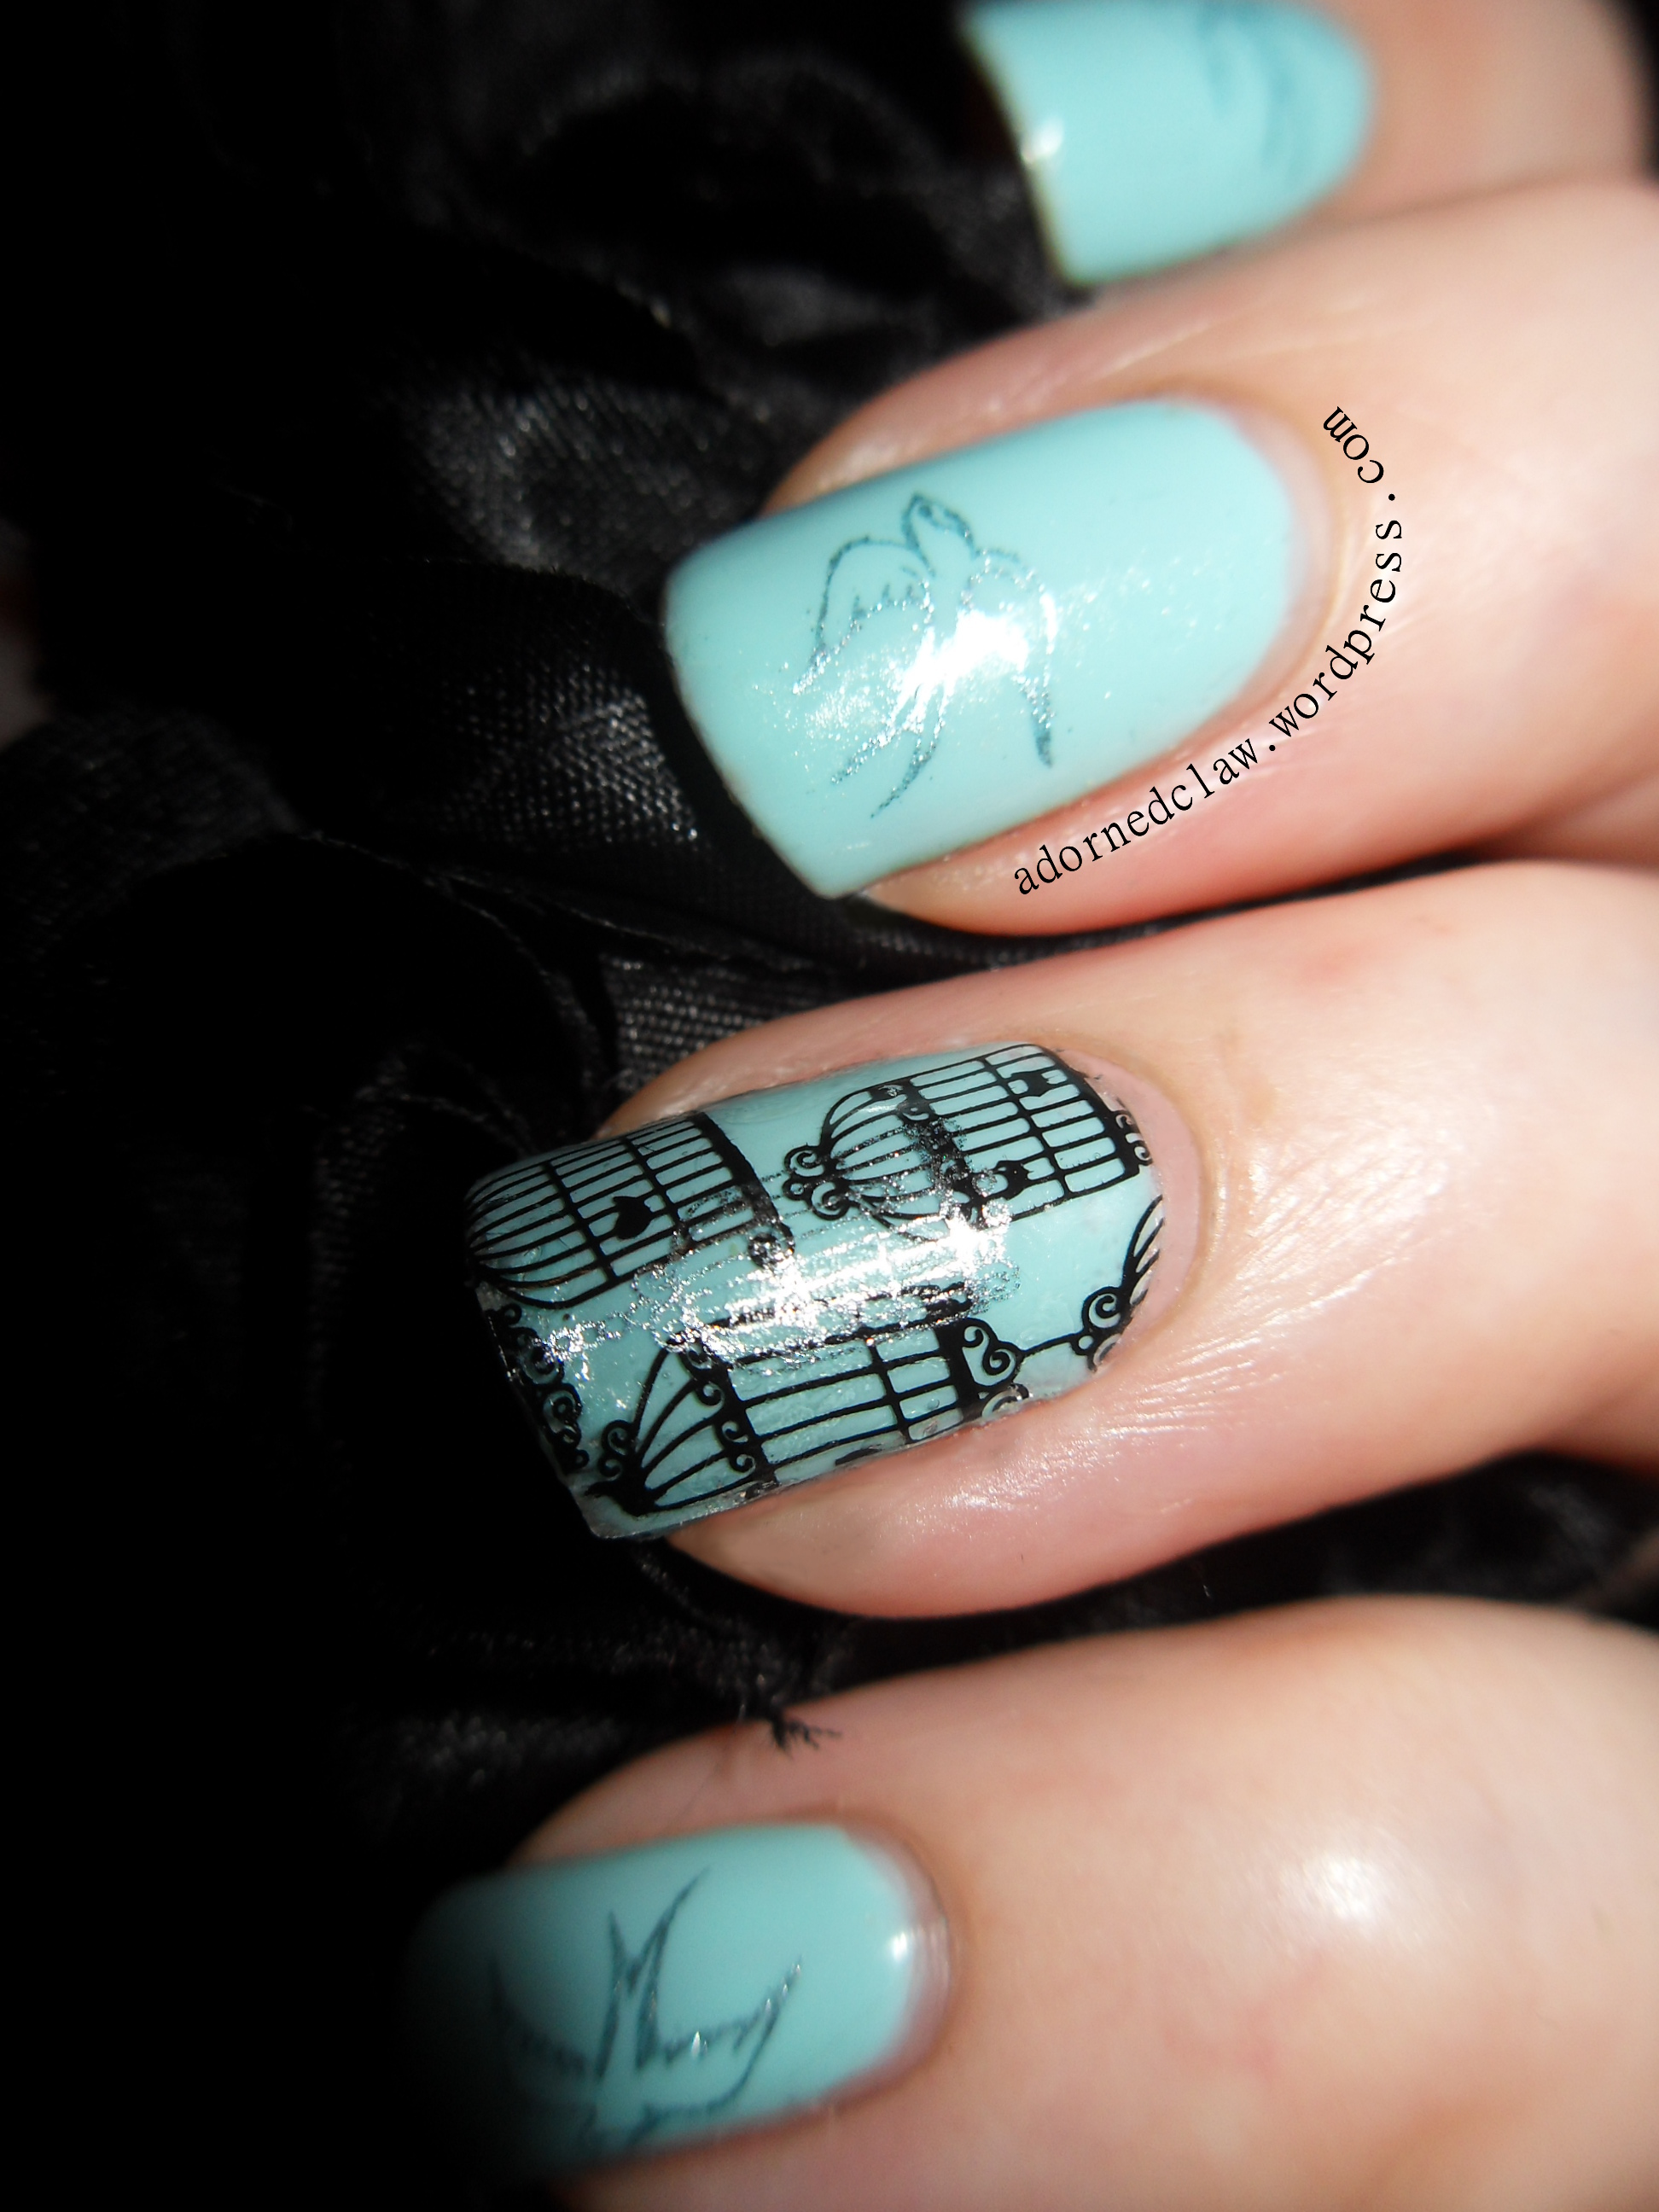
Here’s a picture of it all finished!

Panda Nails
My original pink panda post is here
I hope I have managed to explain this technique clearly enough! 🙂 but I’ll be more than happy to answer any other questions about it!