Tag Archives: Manicure

Dragon Nail Art For My Birthday! :D

It’s my birthday today! Yay! 😀

As I didn’t (as ever) get a pet dragon as a birthday gift, (it’s not like I don’t keep asking,)

I shall have dragon inspired nails instead! 😀

Dragon Nail Art - MM21

My Birthday Dragon Nails!

I started with two coats of Black Magic from Revlon. I used Cosmic Dust From China Glaze for the stamping. I keep saying to myself that I really should get the rest of the polishes from the China Glaze Holographic collection, but for some reason I keep forgetting :/ they are so wonderful for stamping!

The images are from the Scaly Things MM21 plate by Messy Mansion, and I finished it with a coat of Seche Vite.

Dragon Nail Art

Dragon Nails!

I like these dragon nails! I really want to do this but with a green glitter polish as the base colour 😀

Because it’s my birthday I’m going to go have cake for breakfast! 😀


GOT Polish Challenge – Pink!

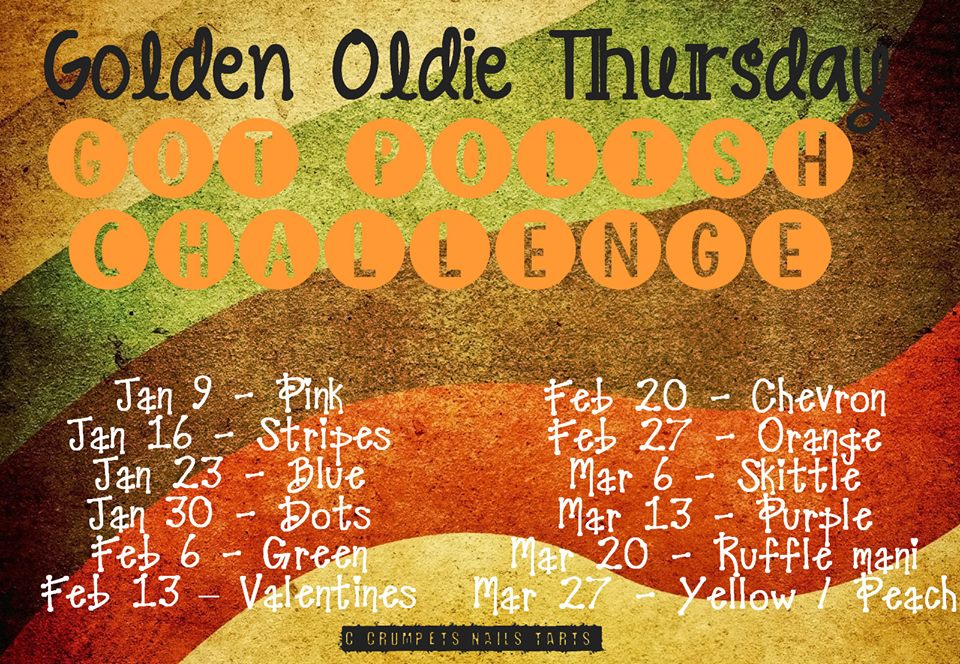
I have to say that this is the first challenge I have decided to take part in and I’m really looking forward to it!

Many thanks to Debbie over at The Crumpet for organizing it, and all of the lovely people at Crumpet’s Nail tarts Facebook group! 🙂

There’s even a Pinterest board here If you’d like to go see some more of the other lovely nails from the challenge!

Golden Oldie Challenge

THE RULES

  • The polish you use should be at least one year old.
  • If you haven’t been a polishaholic that long, you can use the oldest polishes you have.
  • The polish should be previously used, but if you’re stuck, you could free a yearling from Mount Untried.
  • You can use more than 1 polish as long as it fits the theme and the rules.
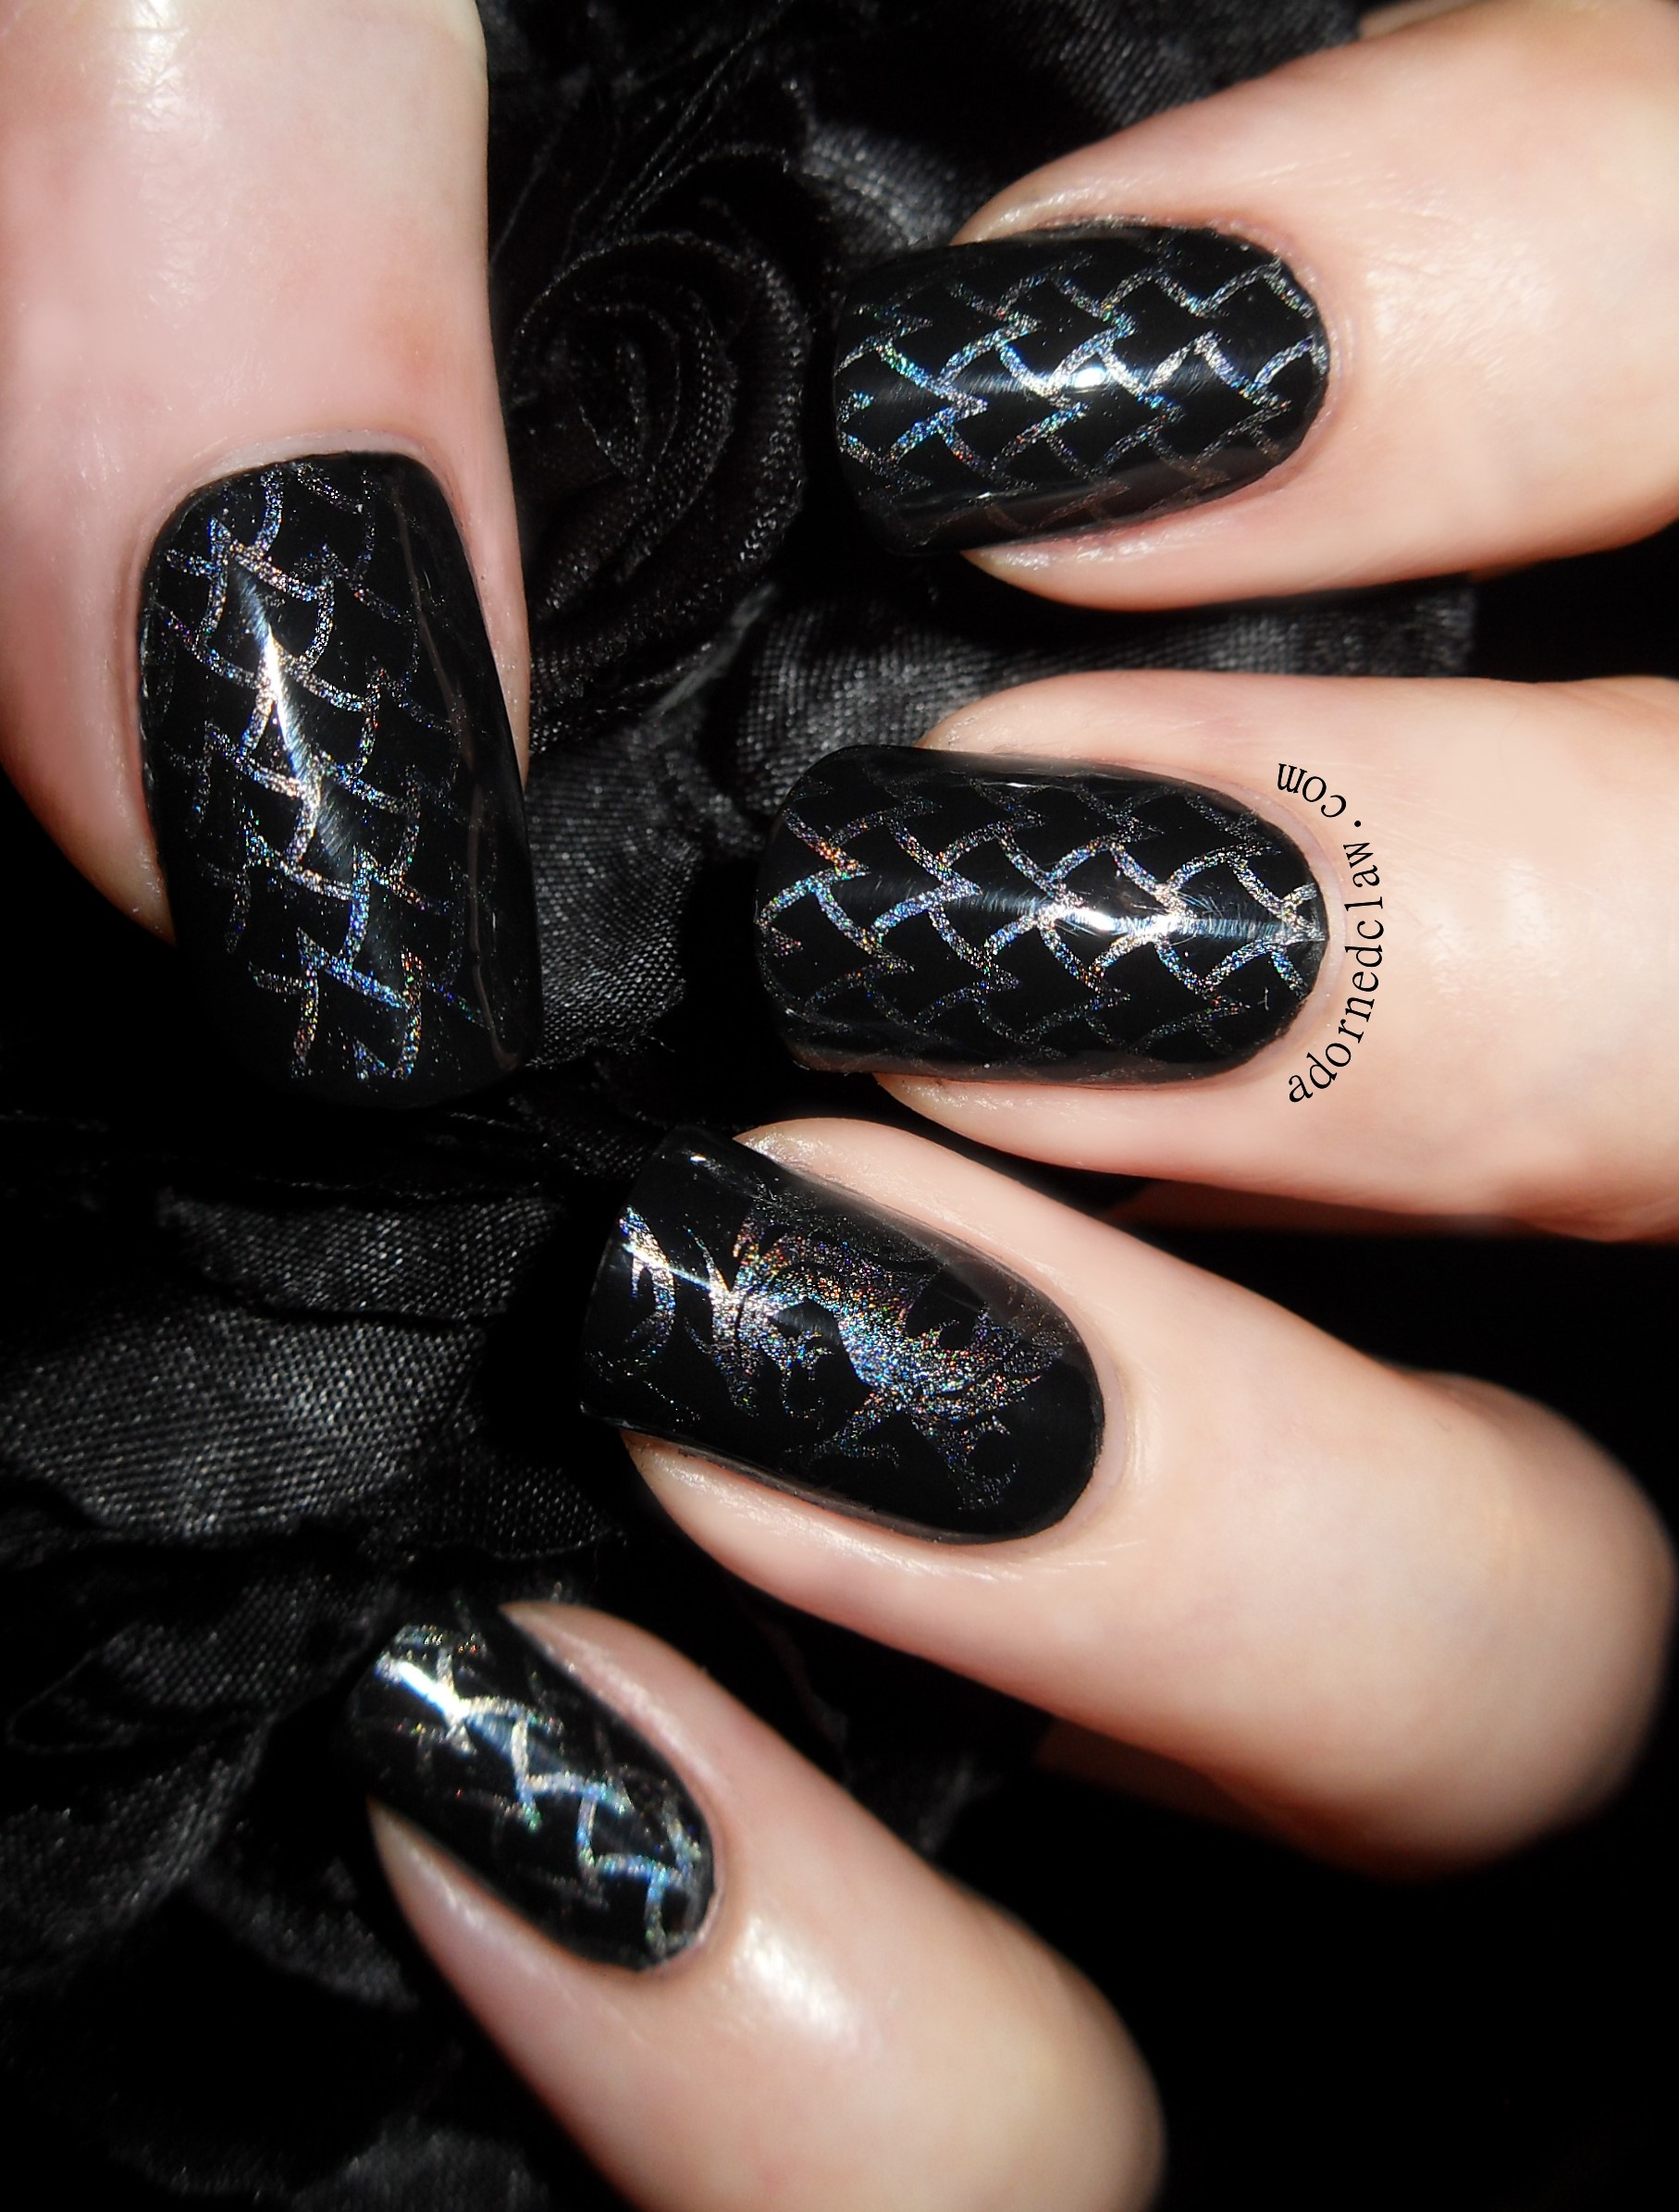
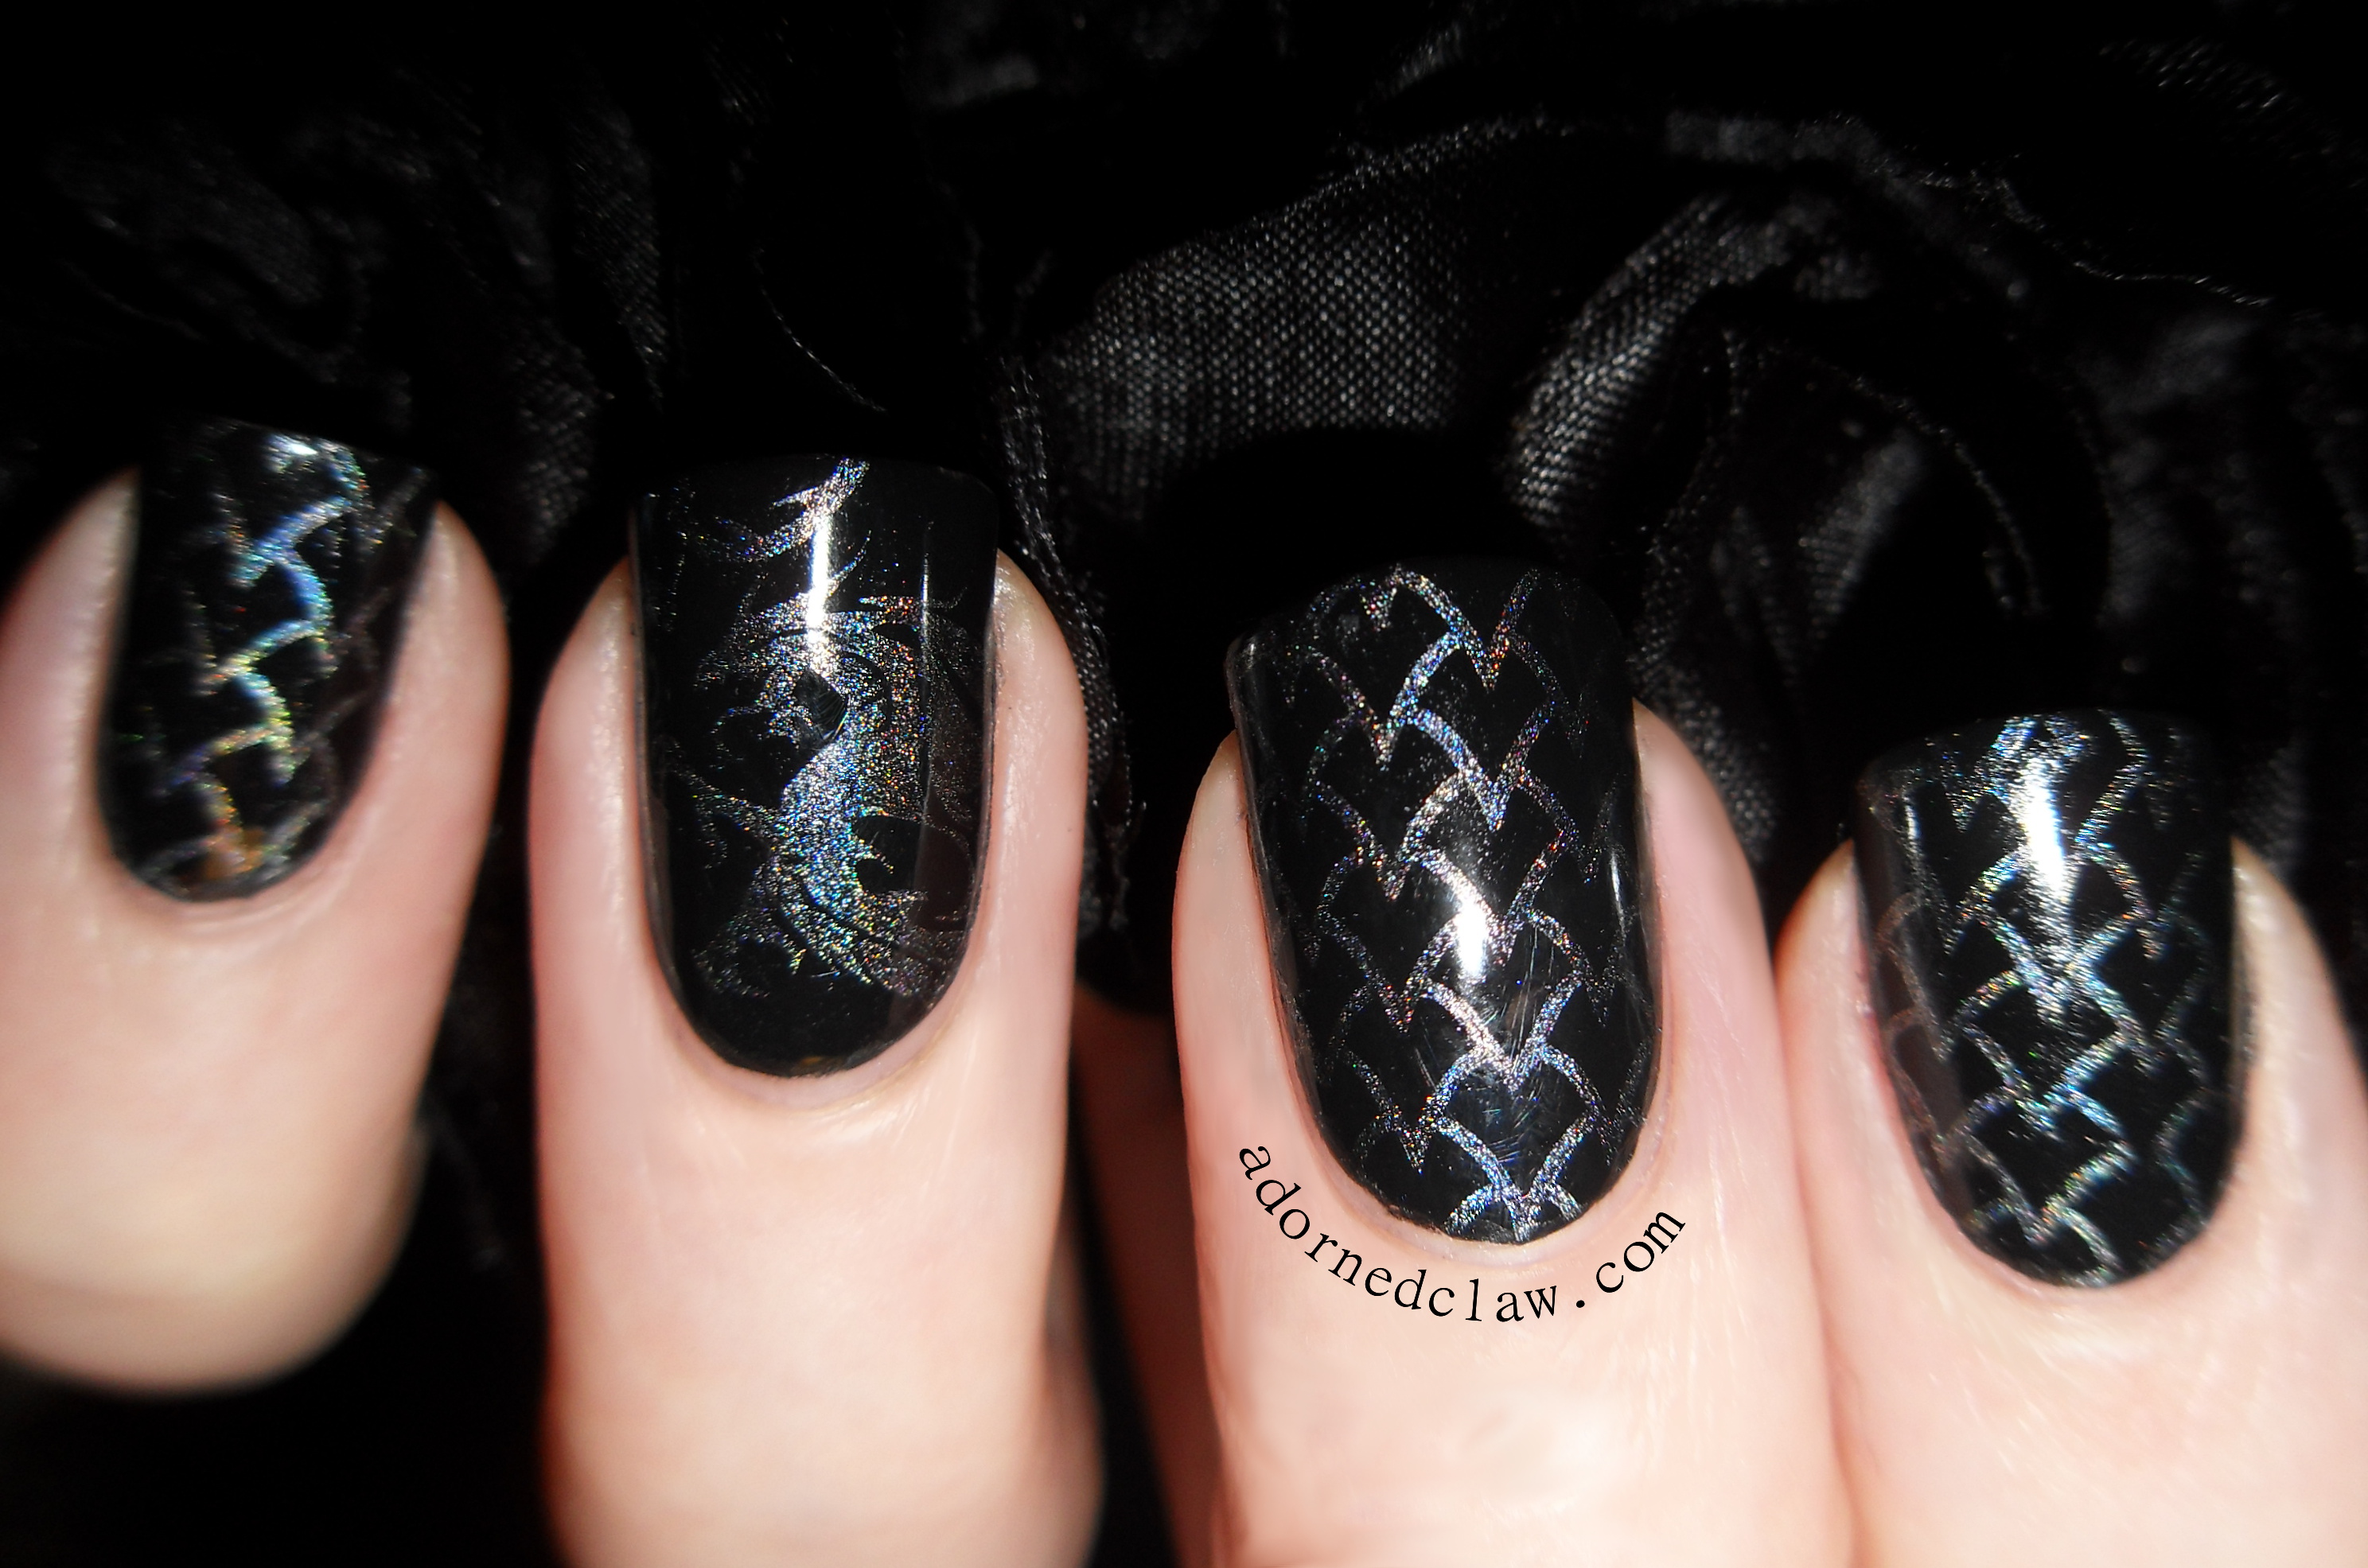
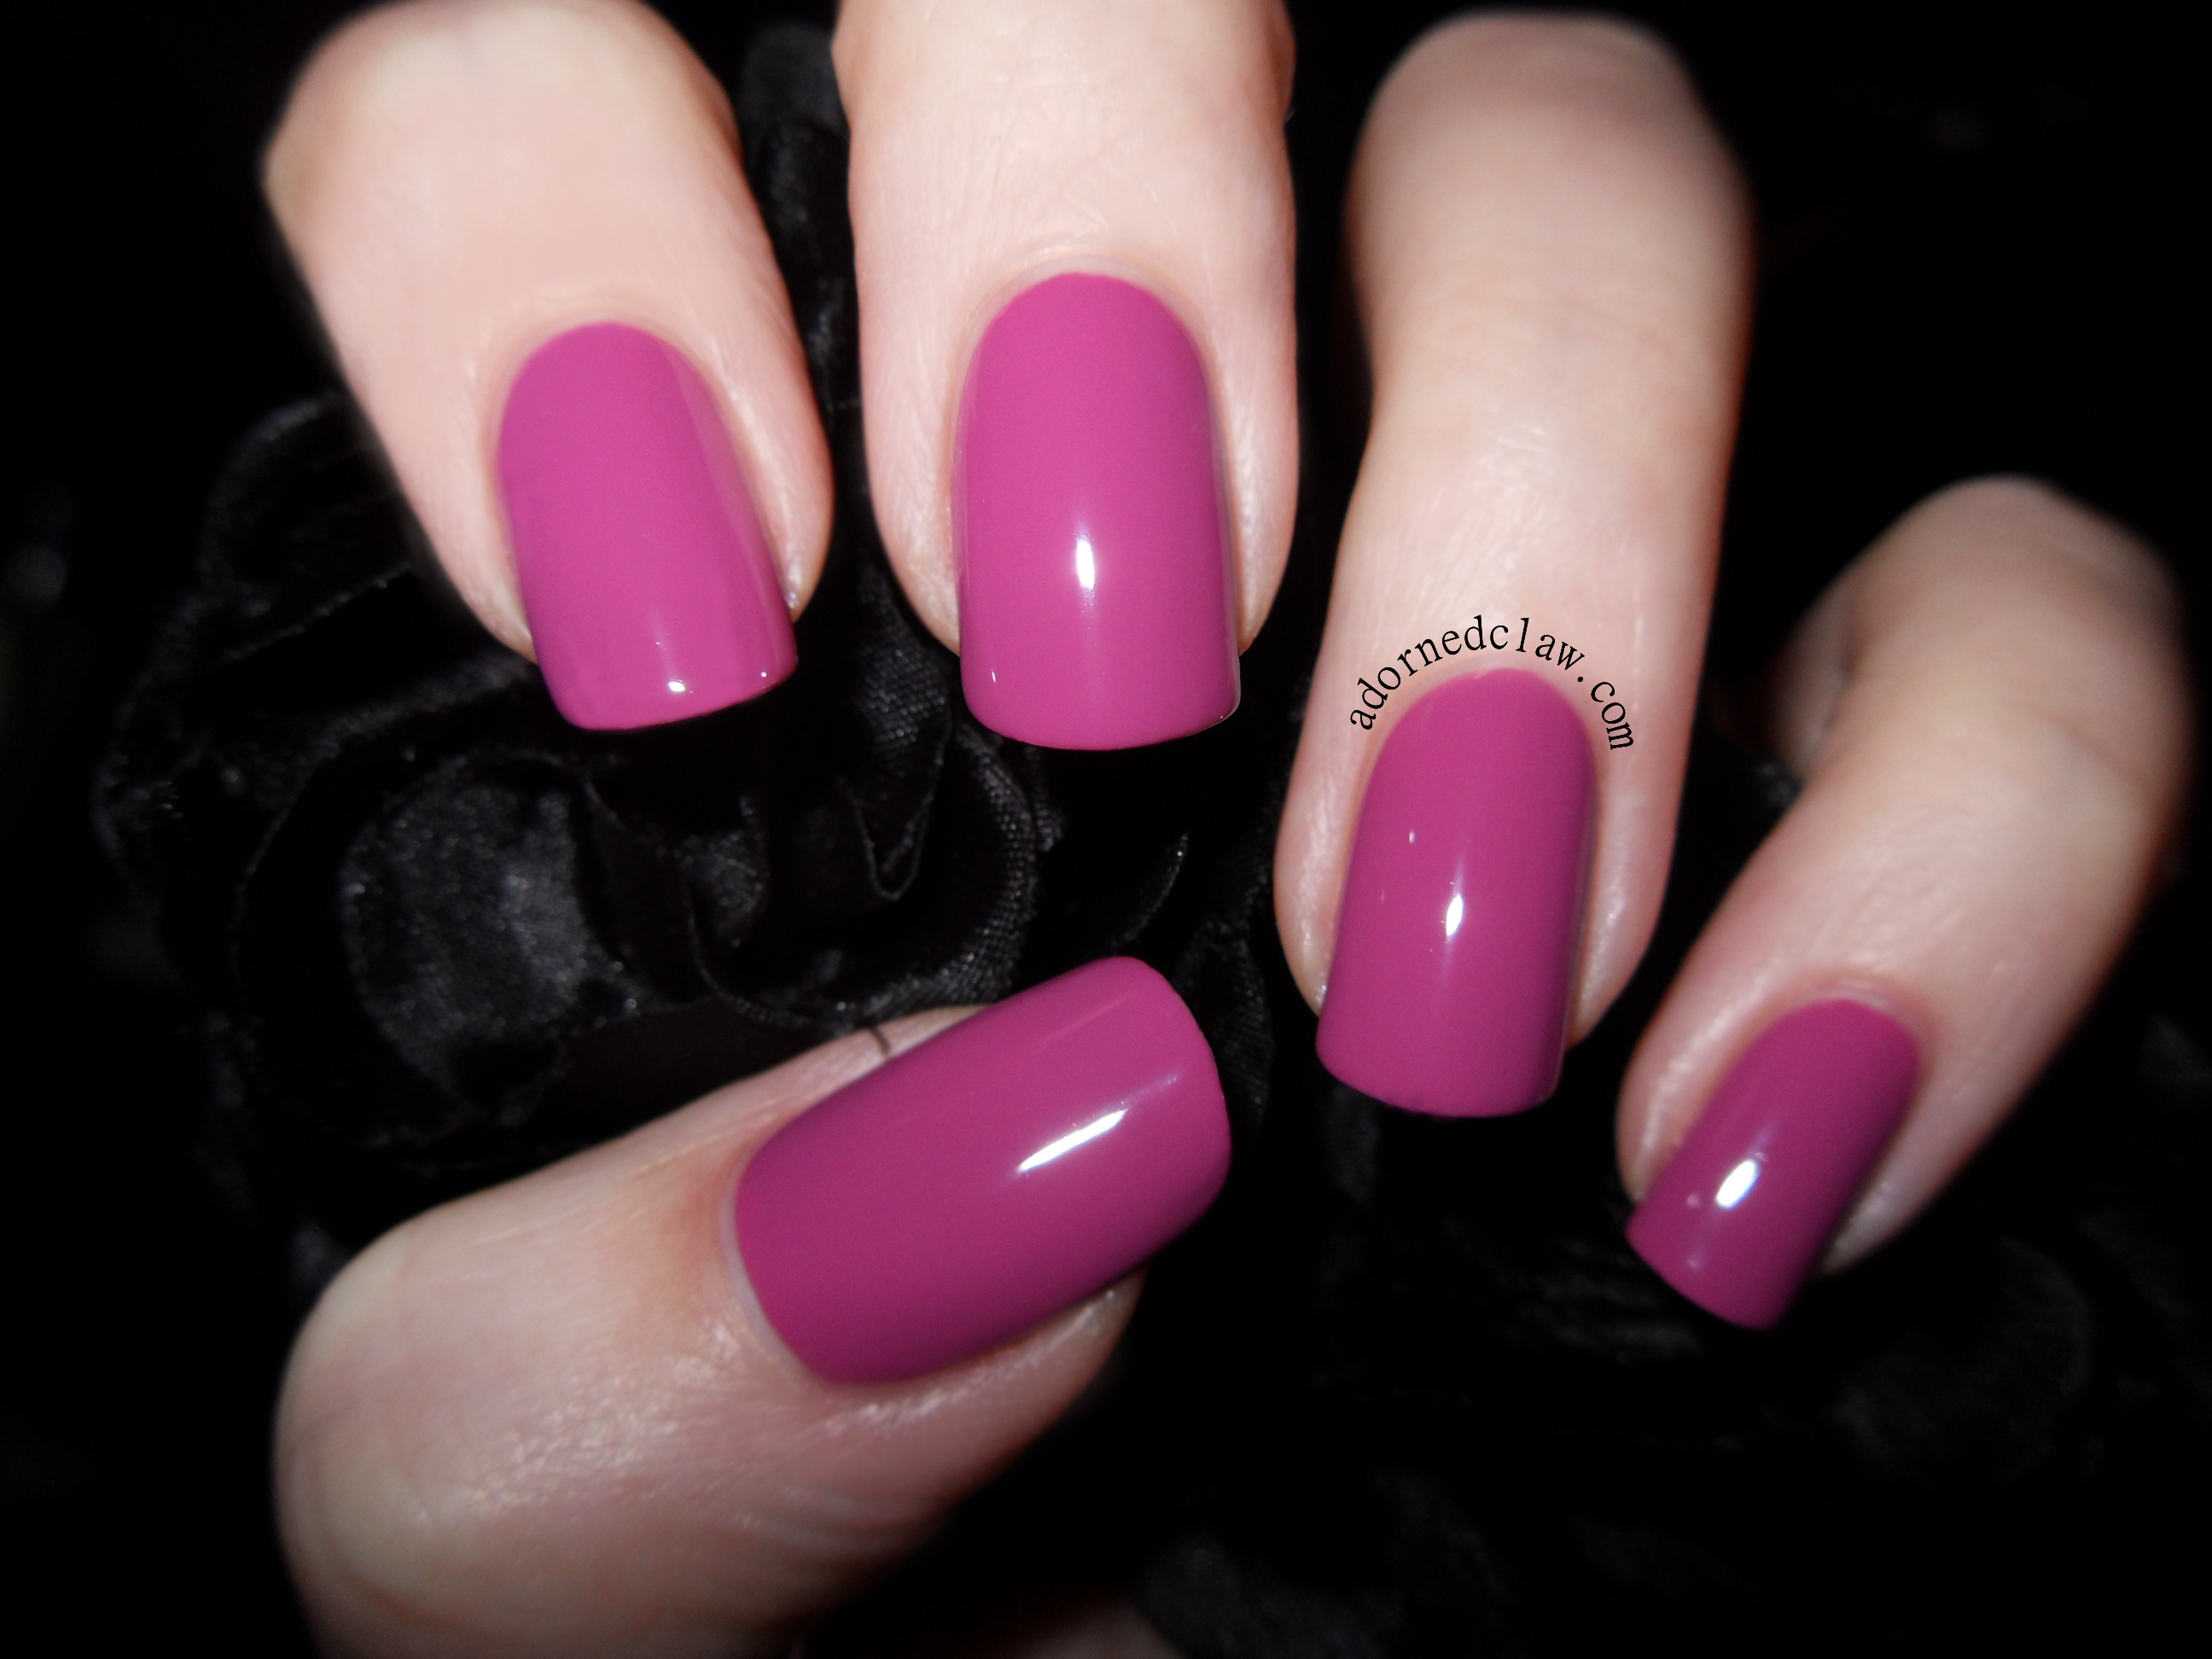
My GOT Pink Nails

Avon Futura Kir Royal

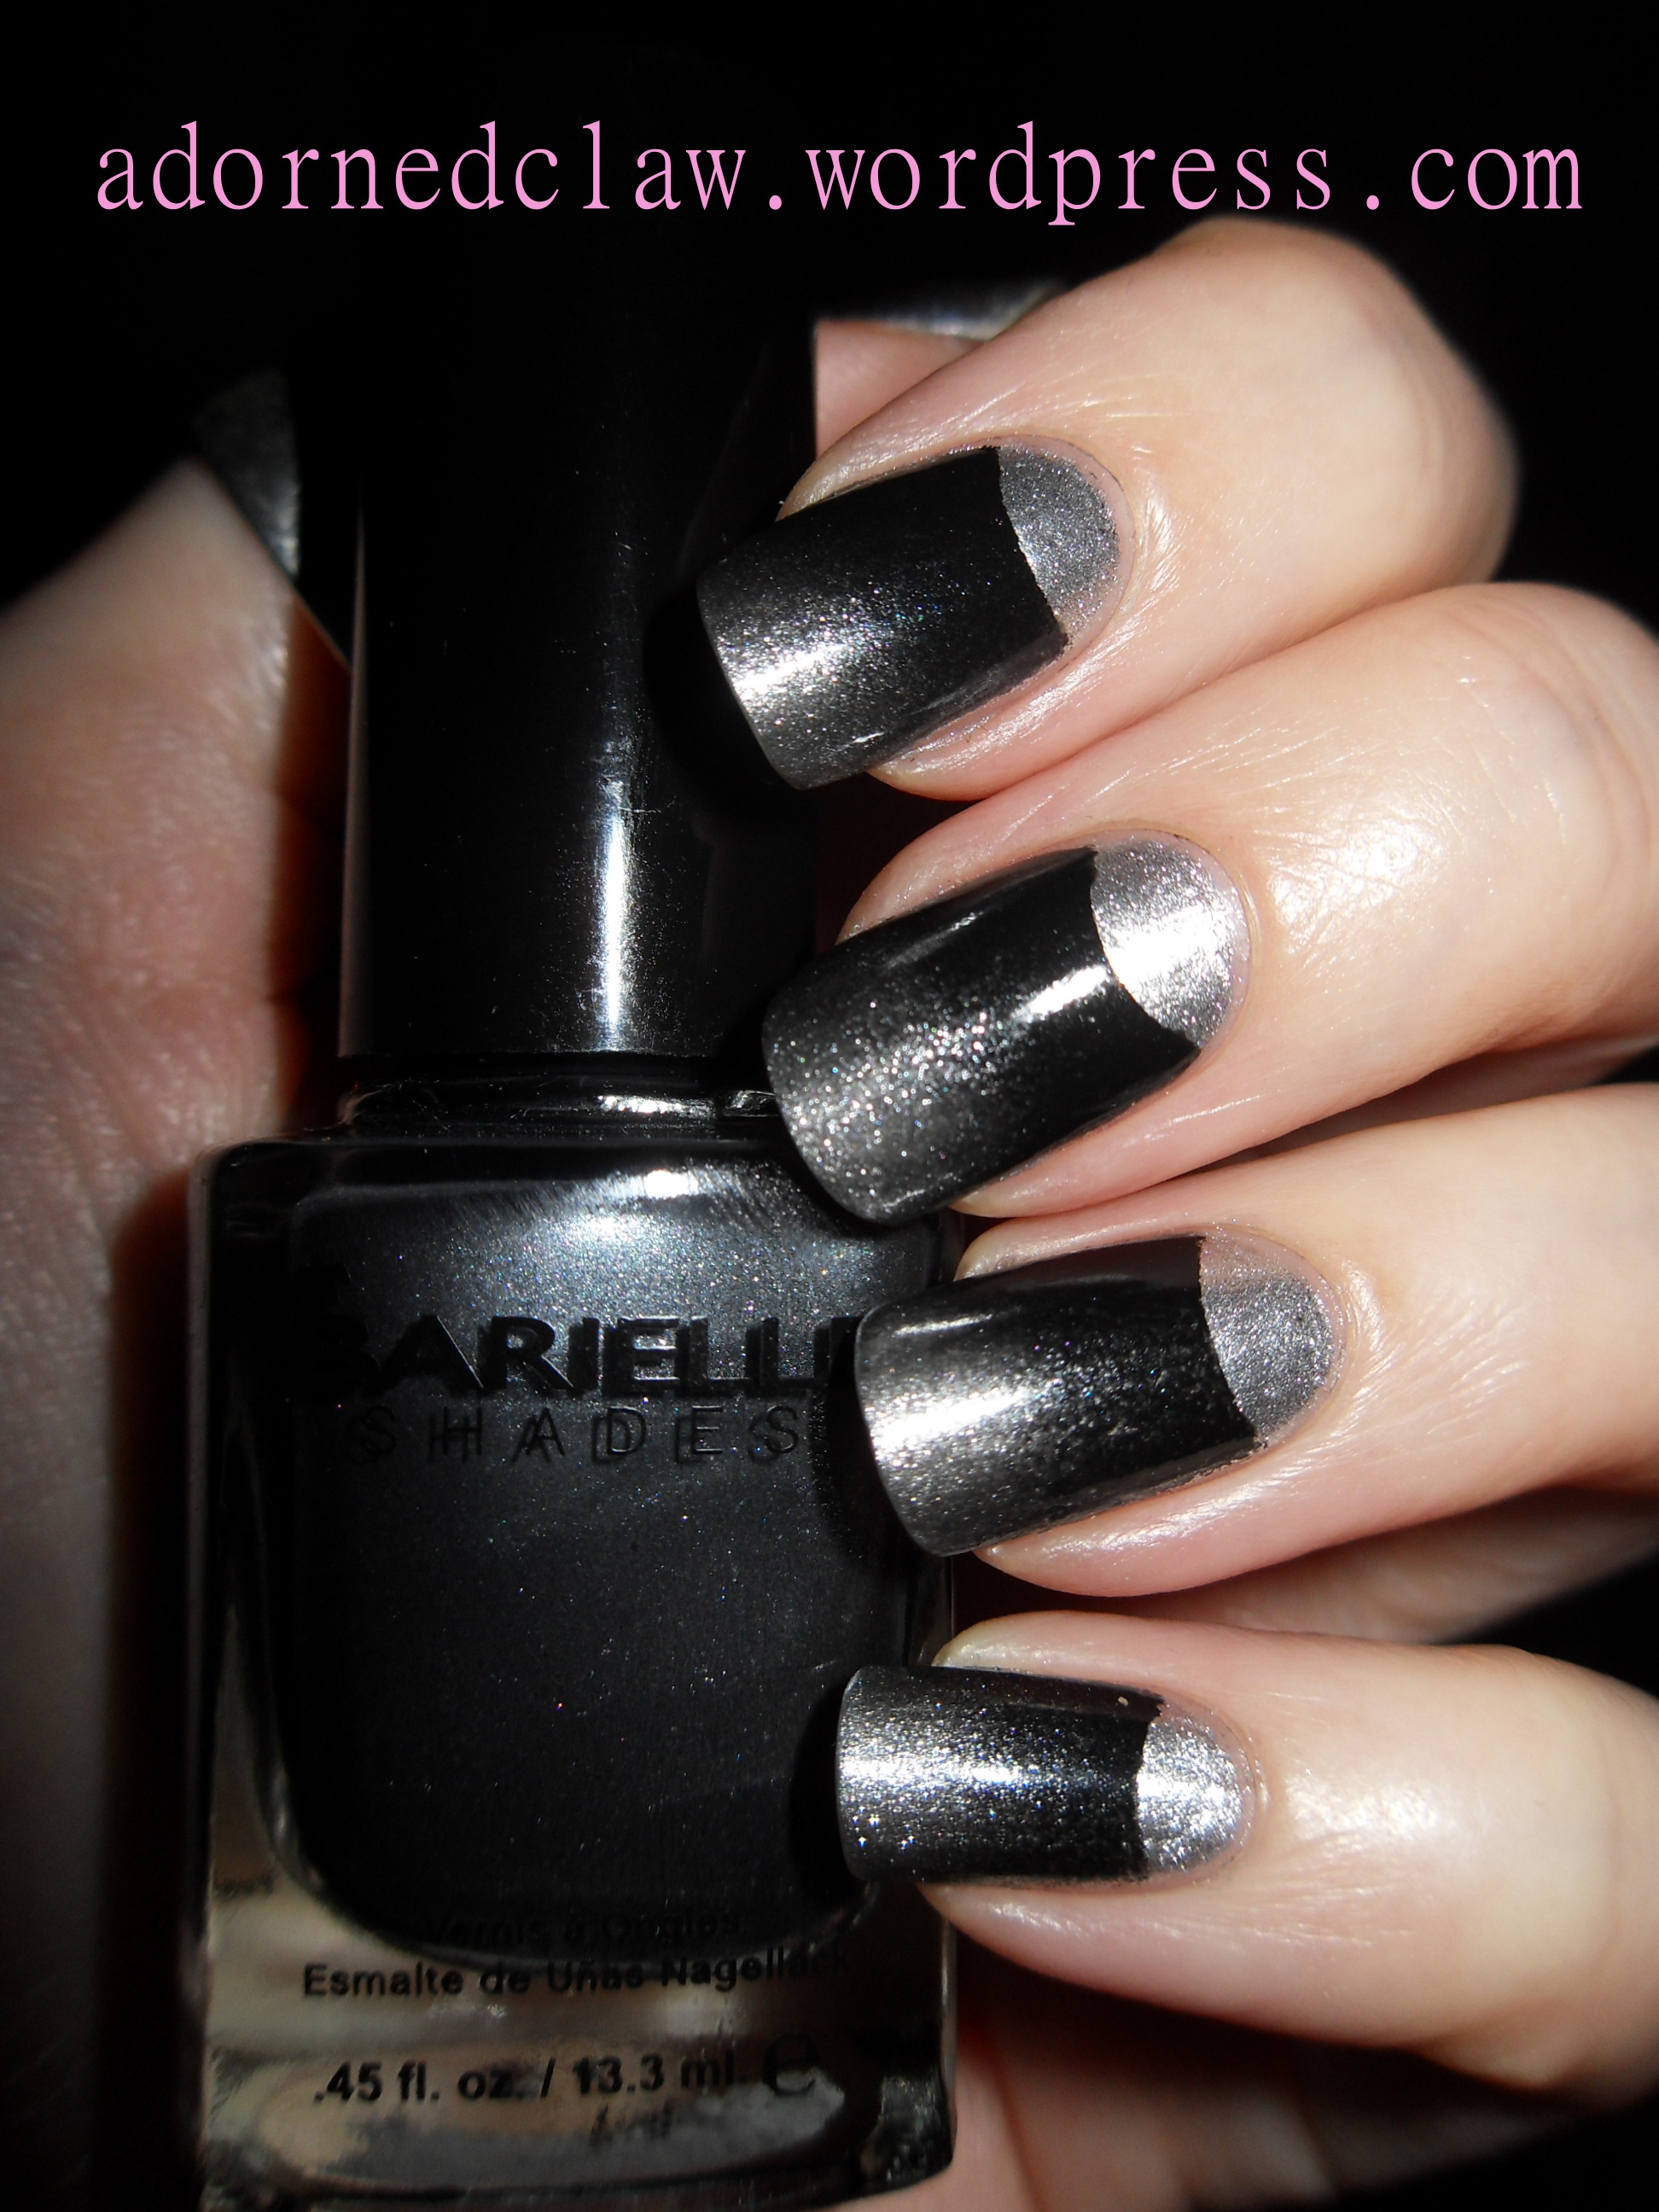
Avon Futura Kir Royal F65

What makes this polish worthy (over all my other pink polishes) to be showcased in the GOT challenge?

This is a shade called ‘Kir Royal’ and it’s from the Avon Futura range, and as far as I know (tho I could be wrong) this polish was made in the late 80’s!

Avon Futura Kir Royal

Avon Futura Kir Royal

Just look at that packaging!

I applied two coats (over two coats of base coat) and OMG the smell! The fumes! Ugh! I think it even made my sinuses crinkle up, and I ended up sticking my hand out of the window lol.

I dread to think about what chemical nastiness is in this!

Avon Futura Kir Royal F 65

It’s actually a nice colour and it’s incredibly glossy, but applying it was a nightmare! The brush is really stiff and scratchy, it was like trying to paint my nails with a toothbrush! That could just be that the brush is so old it has gone stiff but the bristles where very thick so maybe all old polishes where like that.

I have to admit that this is one of my untried polishes, rather than one I haven’t used for a long time, I do have another one from this range which is the same age that I’m going to be using later on in this challenge! 🙂

Oh if you have any info on this polish or polish range I would love to hear about it! I have done a bit of research but I really can’t find that much about them 🙂


China Glaze and Barry M Dotted Gradient Nails

My new Dotting tools turned up in the post today, along with my new set of Nail art Brushes! Yay!

So here is a Dotty Gradient!

Dotty Gradient

Dotty Gradient

For this I used Stella from China Glaze, This polish is a dark metallic purple red, and Black from Barry m.

I started with one coat of Stella, then used a sponge to create the gradient, this took two coats, then I used one of the medium sized dotting tools to add the dots, I finished it off with some fast drying topcoat from Color club.


Halloween Spooky Green Spider Nail Art!

Behold! My spooky spider Halloween nails! 😀

Spooky Spiders!

Spooky Spiders!

I started off with a couple of coats of Happy Ending from Sinfulcolors which is a bright green with gold shimmer, when it was dry I used the cling film technique with Emerald City Which is a sparkly Matte polish from Revlon, I followed that with a coat of Seche Vite.

The spiderweb image is from Moyou from the Pro Collection XL 05 I used Night Moves from Barielle Shades, I find that It’s a really good silver polish for stamping, then another coat of Seche Vite.

For the spiders I used Konad special polish in black and my unbranded Halloween plated that I picked up on ebay, they are not the best quality but I like the images 🙂 And then, yes you have guessed it, another coat of SV. I like to use SV in between each layer of stamping in case I mess up the next image, this way I can carefully take off the offending bit of polish with a cotton bud dipped in acetone with out having to start again 🙂

Green Halloween Spider

Green Halloween Spider


Silver and Black Gradient Half Moon Nails.

Silver and Black Half Moon Nails

Silver and Black Half Moon Nails

For this I used three polishes, Coalest Day of the year and Night Moves Both from Barielle Shades and Black on Black from sinfulcolors (I really need to get another bottle soon)

I started with two coats of Night Moves which is a lovely bright silver foil. after waiting for it to dry, I used my trusty Ring binder hole reinforcements to create the half moon shape.

Then using Black on Black, Coalist Day and a bit more of the night moves I sponged on the gradient. this took three thin coats. while the polish was still wet I carefully removed the hole reinforcements with tweezers, then applied a coat of Seche Vite!


Ombre Nails Tutorial (only using black and white polish)

Ombre Nails

Ombre Nails

An Ombre Manicure Is a really easy! It is a gradient from nail to nail with five nail polishes which are applied each on one full nail (rather than a gradient over one nail, which is a gradient manicure).

I have been wanting to an Ombre tutorial for a little while now but I haven’t found three shades of grey polish that would work… Madness!

So with the polish I already own I decided to mix my own shades!

Ombre Nails Tutorial Equipment

Ombre Nails Tutorial Equipment

This is what I used!

  • one cotton bud (q tip) with one end cut off.
  • a paint brush/nail art brush.
  • Nina Ultra Pro – French White.
  • Sinfulcolors -Black on Black.
  • Acetone.
  • A Dapen Dish or small container. (Just make sure it’s not plastic)
  • An old Plate
  • some paper

Begin by painting two coats of white on your thumb nails and black on your little finger nails. It’s best to wait until they have dried before continuing.

Then pour little acetone into the Dapen dish or small container this is to rinse the brush in later.

To start with put three drops of black polish with one drop of white together on the plate, using the cotton bud (with the end cut off) as a mixing tool, combine the two polishes until it is an even shade, you’ll have to be quite fast with mixing so the polish doesn’t dry to much. Then using the brush apply it to your ring finger nails,  use the paper to wipe the extra polish from the brush before rinsing it in Acetone.

On another part of the plate mix two drops of black with two drops of white. This shade is for the middle finger nails. after you have applied the polish remember to clean the brush to remove the extra polish

And for your pointer finger nails use a ratio of three drops of white to one drop of black.

If you need to apply a second coat, wait until the first coat has dried and follow the steps again! 🙂 Then apply some topcoat.

This technique can be used with lots of different colours, you just have to make sure that the amount of pigment in the individual polishes you choose to use is roughly the same!