Category Archives: Nail Art
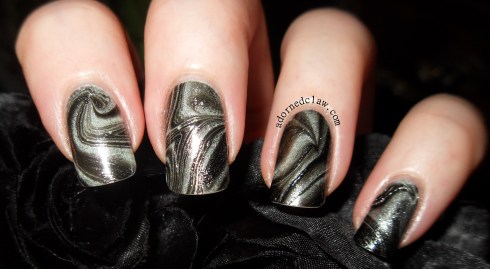
This is my first ever (just about) successful water marble! 😀 It’s taken me ages just to get this technique to actually work! *does happy dance*
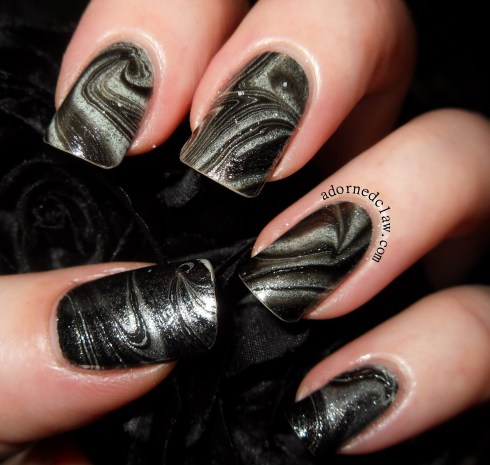
Black and silver water marble
It’s far from perfect, there are loads of bubbles and I missed a big bit on my thumb  also the clean up was an absolute nightmare! Even with taping up my fingers, the silver polish is lovely but the sparkles are really sticky!
Black and silver water marble
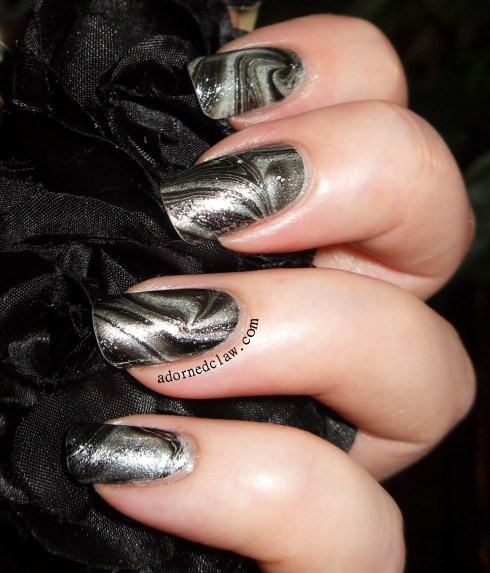
I started off with a base of Pumice from Sally Hansen, I created the water marble in a paper cup with two polishes from Orly, Liquid Vinyl which is a glossy black creme and Dazzle which is the sparkly silver metallic.
I found it worked best when the water was slightly cooler than skin temperature rather than at room temperature, I was in my kitchen and it tends to be a bit cold in there!
Black and silver water marble
I am so happy that I have finally managed to do a water marble! 😀
19 Comments | tags: Black, Nail Art, Nail polish, Nail Varnish, nailpolish, Orly, Orly Dazzle, Orly Liquid Vinyl, Sally Hansen Pumice, silver, Water Marble | posted in Nail Art, Water Marble
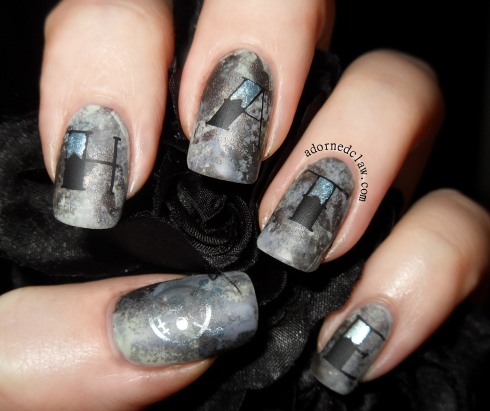
Today I have some very Anti Valentine’s day nails to show you!
Anti Valentines Day Nails
I don’t think I could have made this any less valentine’sy!
I started out with two coats of Pumice From Sally Hansen, then using a make up sponge I applied patches of Pure Midnight which is also a Sally Hansen Polish.
Then I used a combination of cling film and tiny bits of sponge to add Barry M Grey, China Glaze Galactic Grey and Color Club Shabby Drab to create the stone effect.
Anti Valentines Nail Art
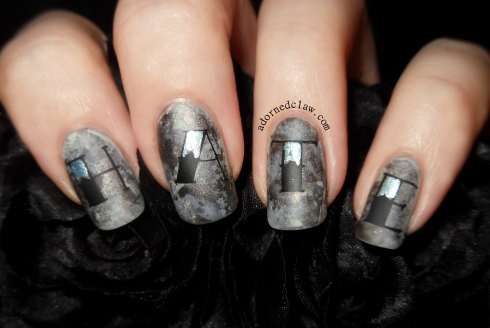
I used two Bundle Monster Plates BM-426 and BM-413 for the stamping, I used Konad Special Polish in Black, then with a thin brush I added some Lumin-iceant from Color Club to the letters.
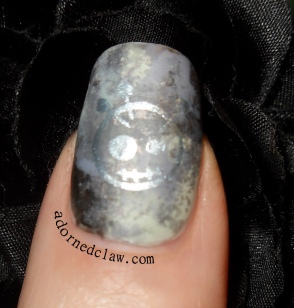
I also used Lumin-iceant for the stamping on my thumb, unfortunately it doesn’t show as well as I would like 😦
Anti Valentines day Nail Art
I finished it off with a coat of Seche Vite, but then decided it would look better in matte so I added a coat of Matte Finisher from E.L.F!
I think that’s enough hate nails from me! And I hope you have a lovely Valentine’s day what ever you are doing! 🙂
12 Comments | tags: Barry M Grey, Black, BM-413, BM-426, Bundle Monster CYO, China Glaze Galactic Grey, Color Club Lumin-Iceant, Color Club Shabby Drab, E.L.F Matte Finisher, grey, Holographic, Konad special polish Black, Matte, Nail Art, Nail polish, Nail Stamping, Nail Varnish, nailpolish, Sally Hansen Pumice, Sally Hansen Pure Midnight, Seche Vite, silver, Valentine's day | posted in Nail Art, Nail Stamping
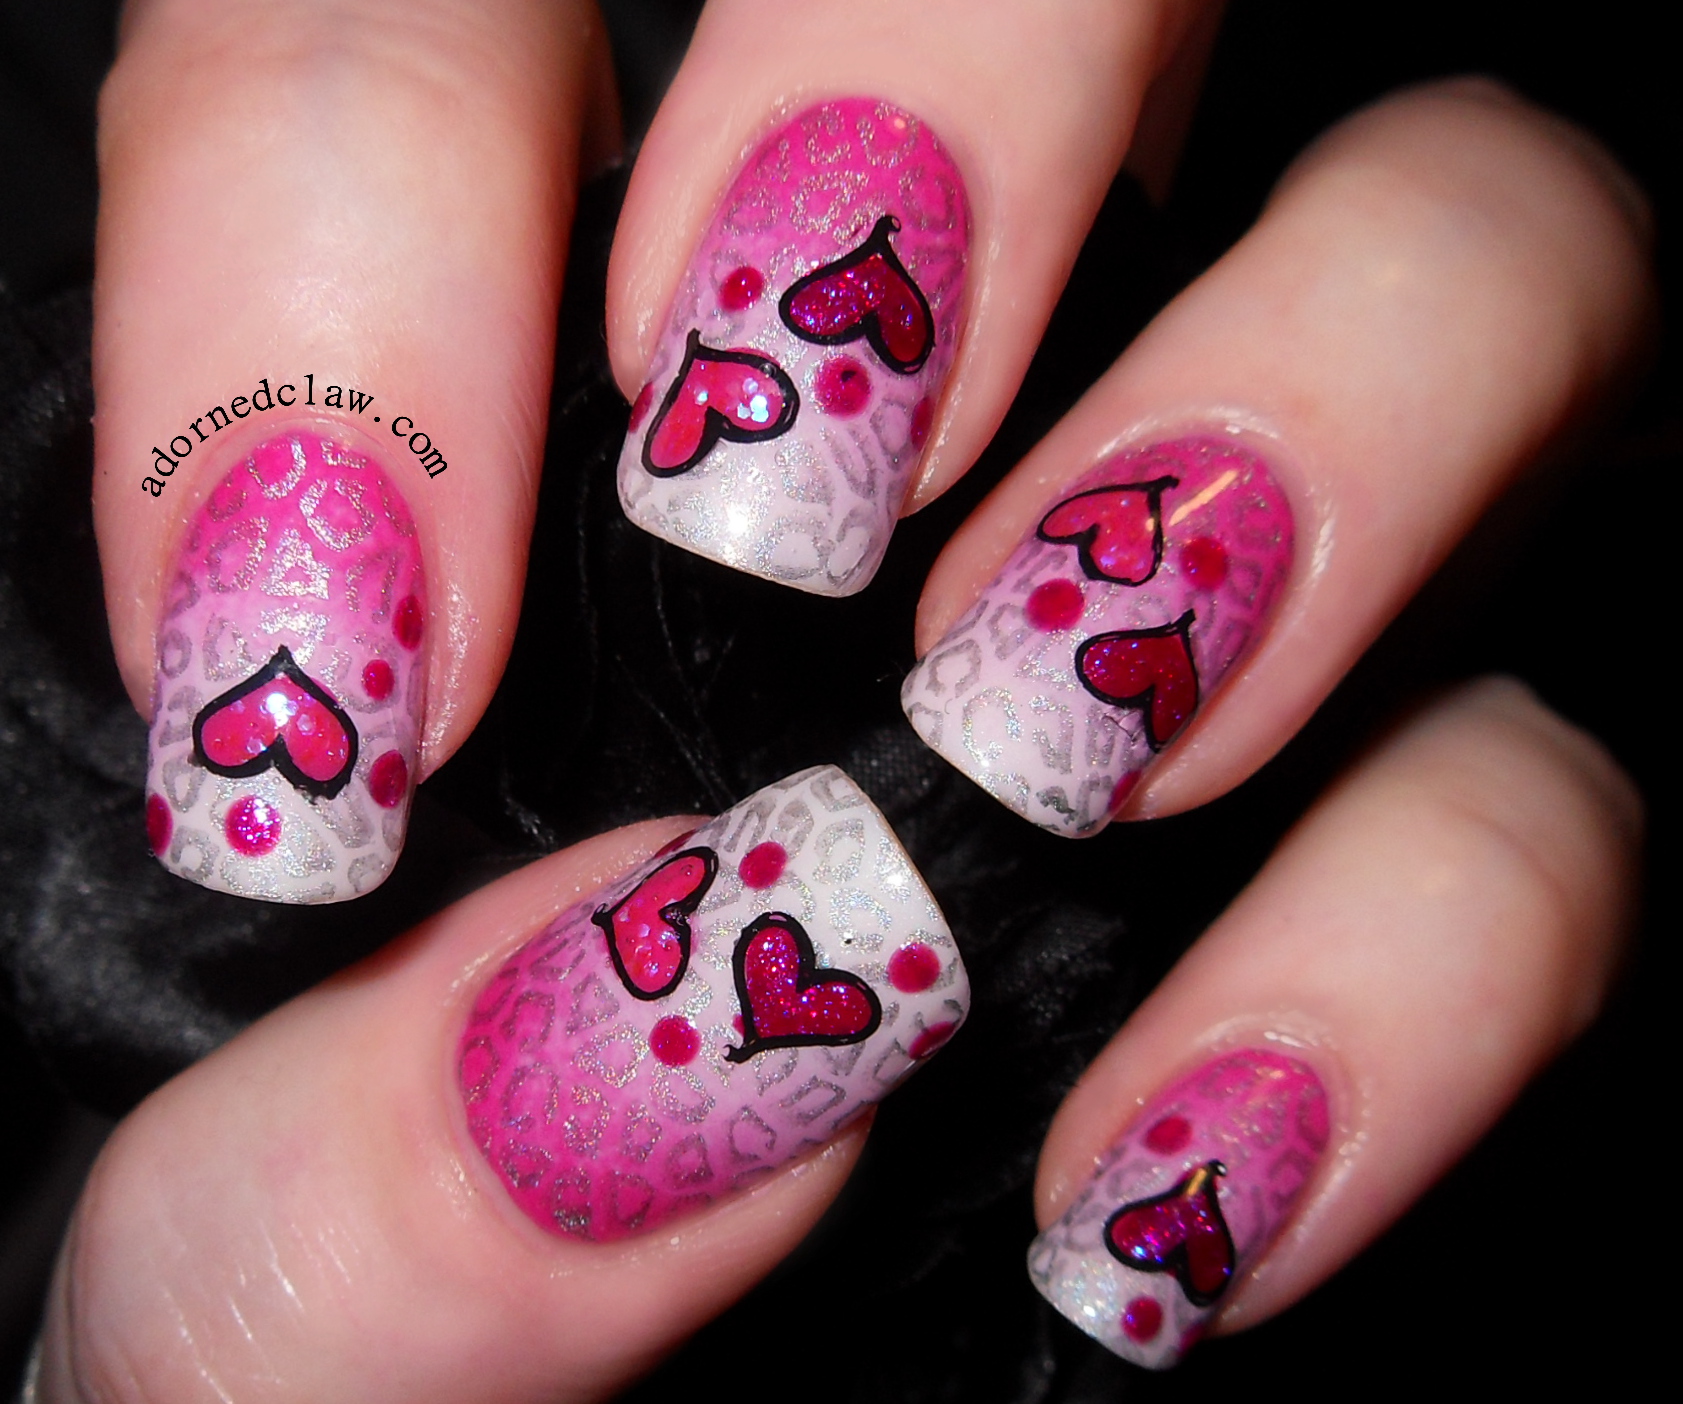
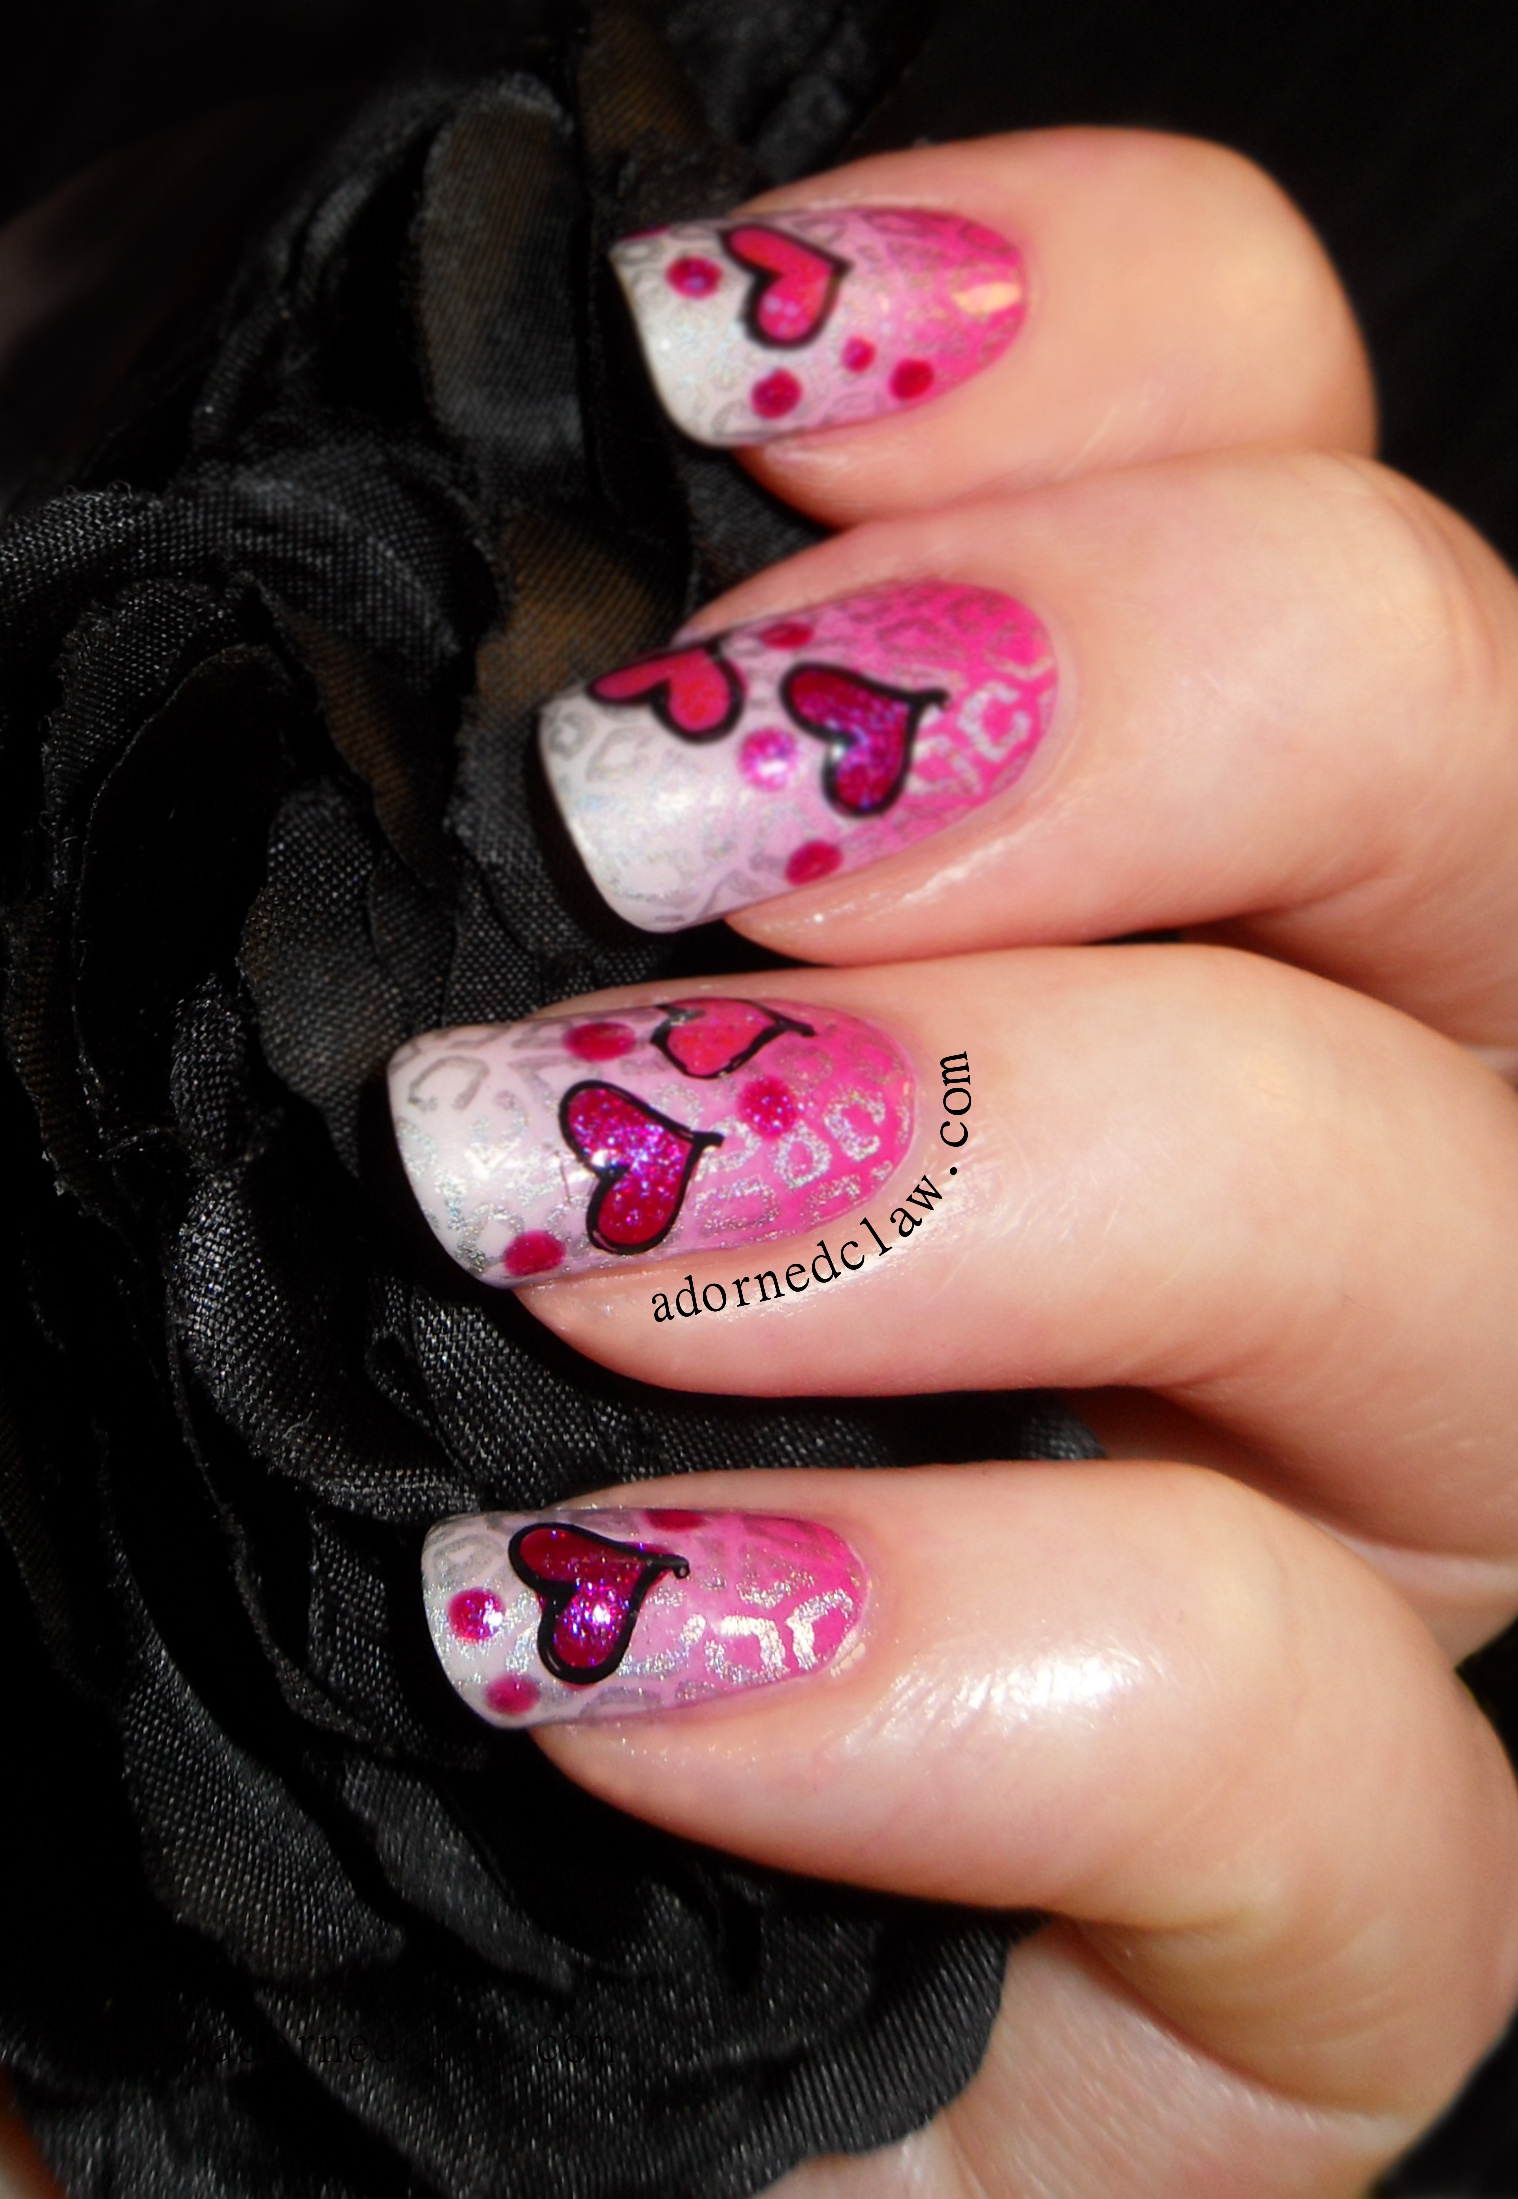
Here are my Valentines day nails for todays got polish challenge! I have to say I’m really not into the whole Valentines day thing, I find it all far to commercialized and a bit cheap… But enough of me grumbling lol!

Valentine’s Day Nail Art
I started out by making the little stamped decals using Bundle monster BM-401, for the stamping I used Konad special polish in black. Then color club ulterior motive for half of the hearts and Maybelline Flash Cosmic with a coat of Barry m shocking pink over the top for the rest.
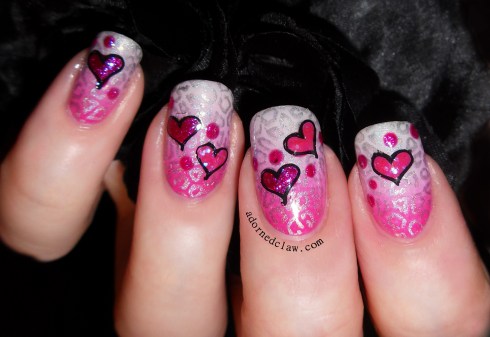
Valentine’s Day nail art
While I was waiting for my decals to dry I used Sinful Colors Bubbly and Barry m shocking pink to create a sponged gradient, Bubbly is a polish from my unused pile along with the Maybelline glitter polish. Then I stamped with China Glaze Cosmic Dust using Moyou Pro Collection XL plate 04 for the leopard print. I used topcoat to stick on the decals, and added a few dots of Ulterior motive. then another layer of top coat to even it all out!

Valentine’s Day Nails
This didn’t turn out quite how I was expecting! But for pink and girly it’s not that bad….
Remember to have a look at the GOT polish Pinterest page for more Valentine’s Day nail art!

18 Comments | tags: Barry M Shocking Pink, Bundle Monster CYO, China Glaze Cosmic Dust, Color Club Ulterior Motive, Glitter, GOT Polish Challenge, gradient, Holographic, Konad special polish Black, Manicure, Maybelline Flash Cosmic, Moyou Pro Collection, Nail Art, Nail polish, Nail Stamping, Nail Varnish, nailpolish, Pink, Sinful Colors Bubbly, Valentine's day, White | posted in Challenges, Gradient, Nail Art, Nail Stamping
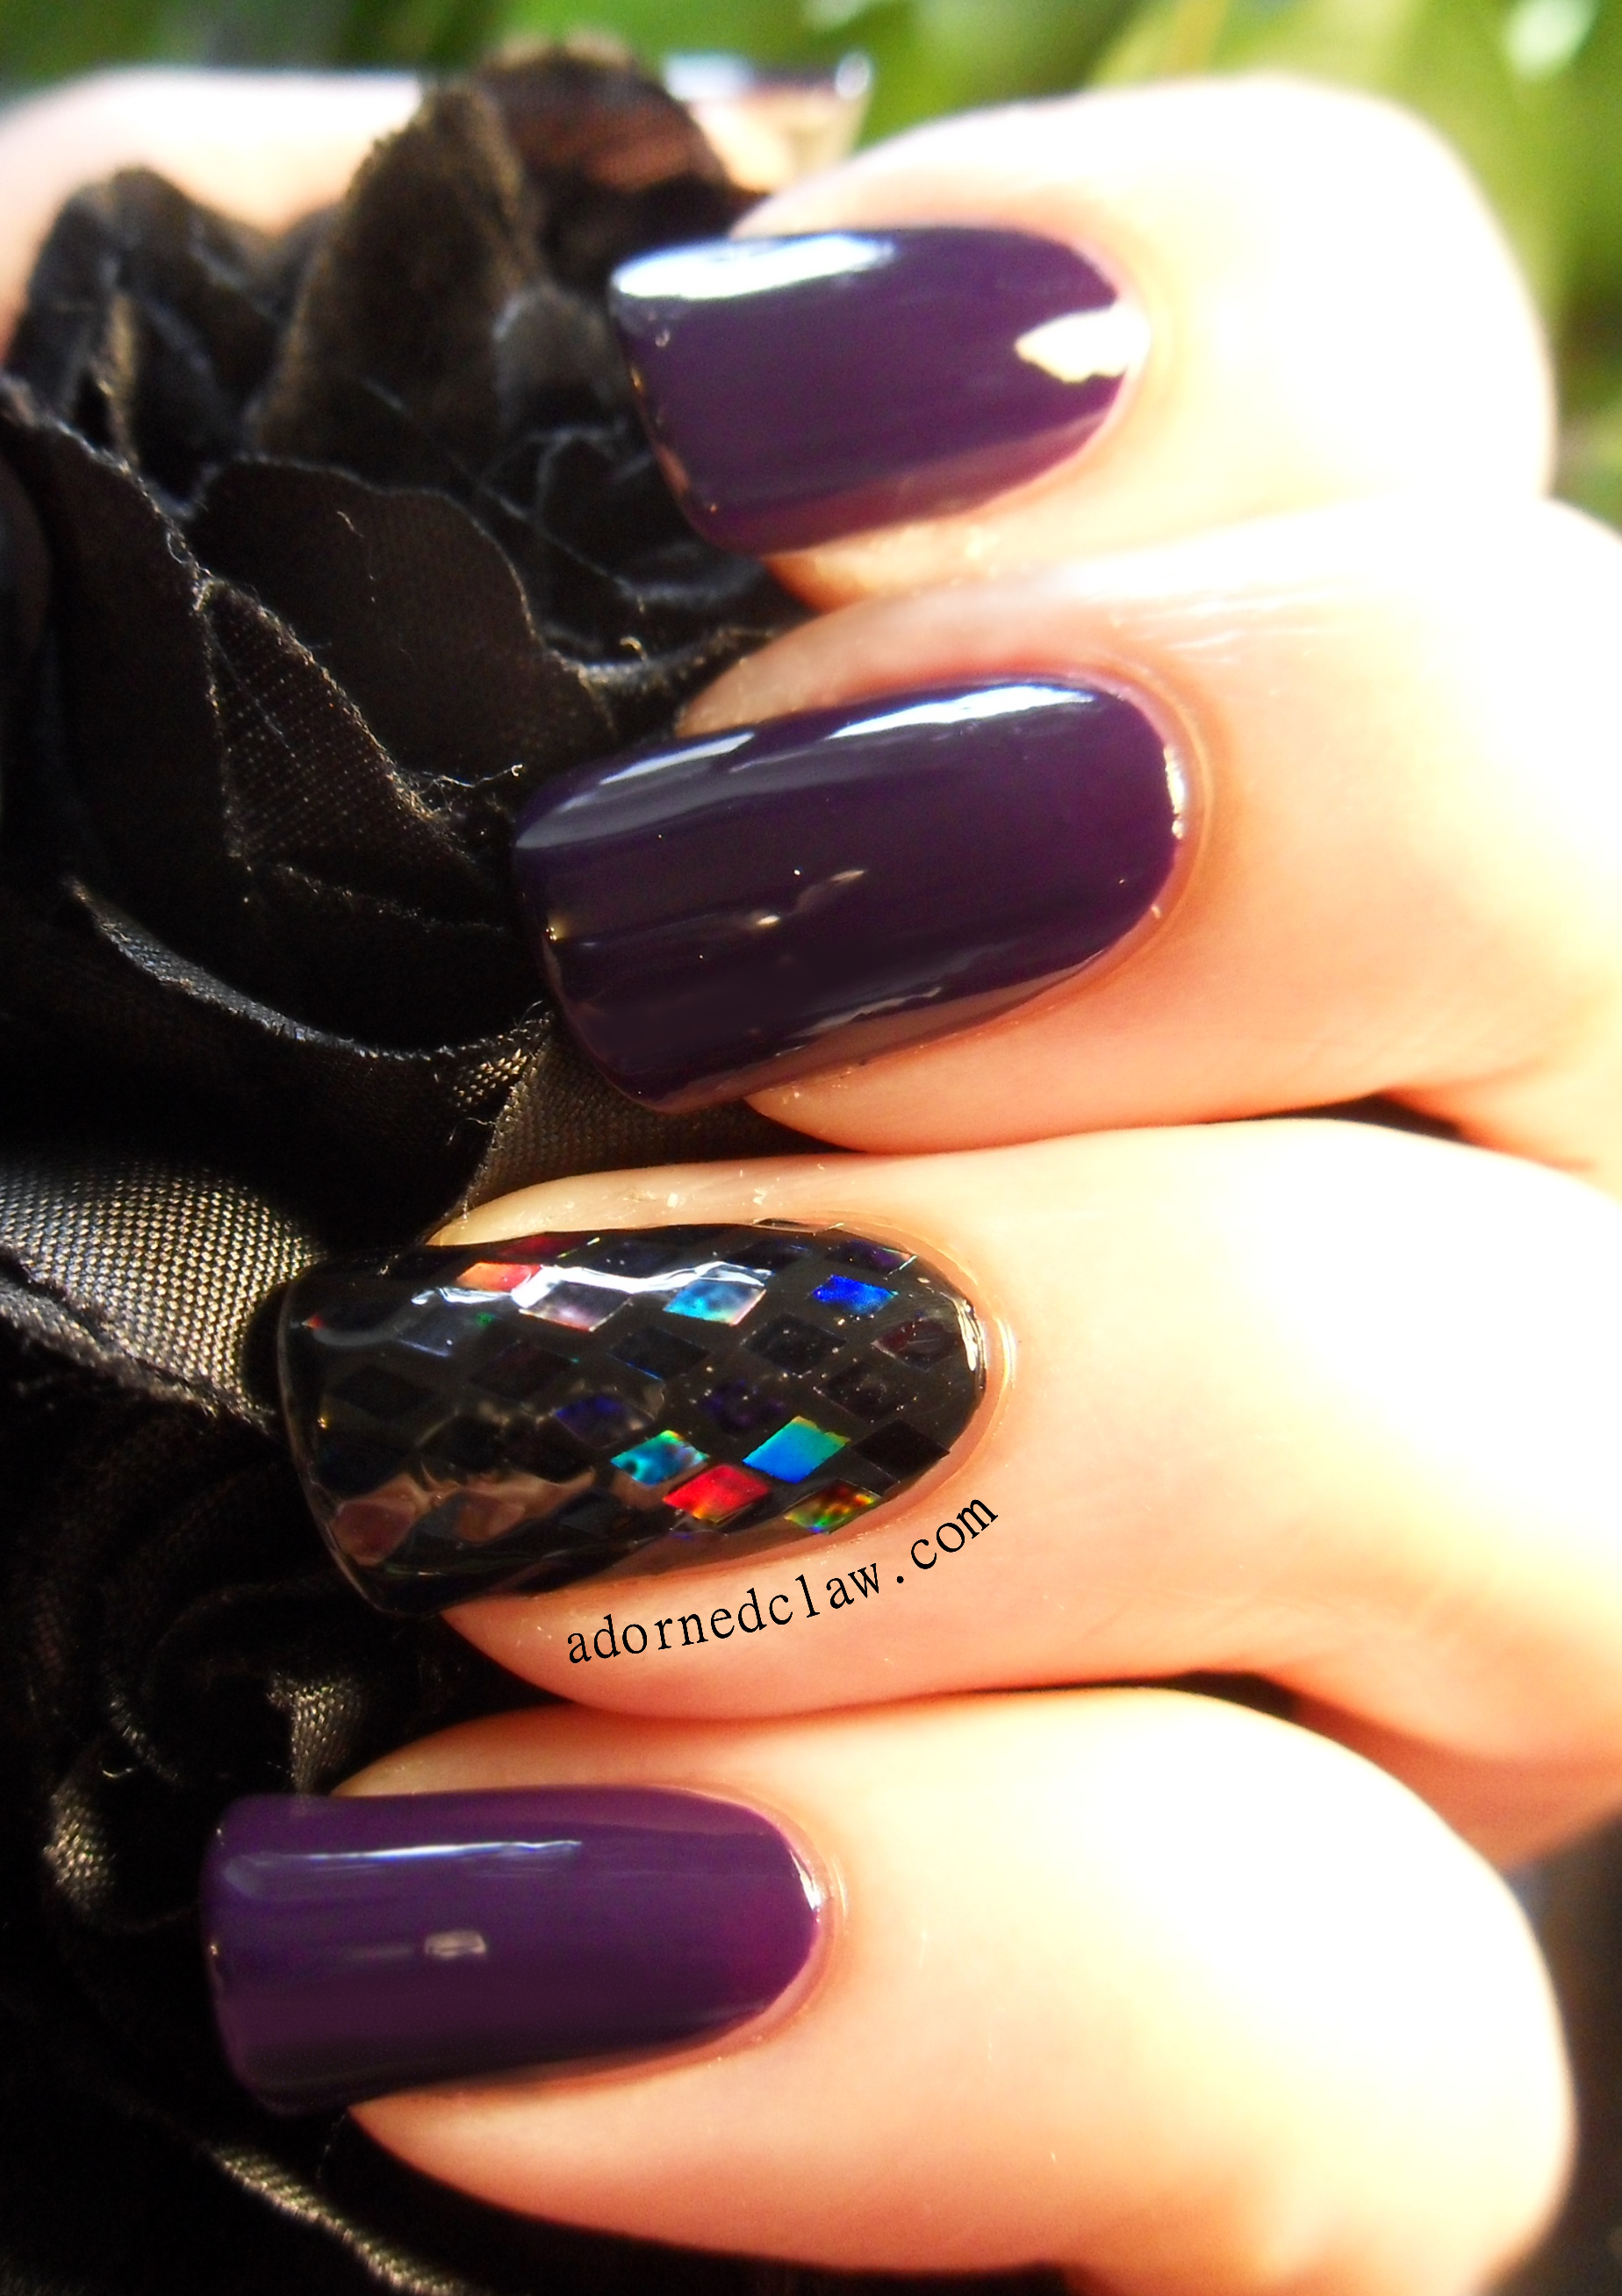
I have shiny purple nails to show you today! As well as my first attempt at individual glitter placement! 😀
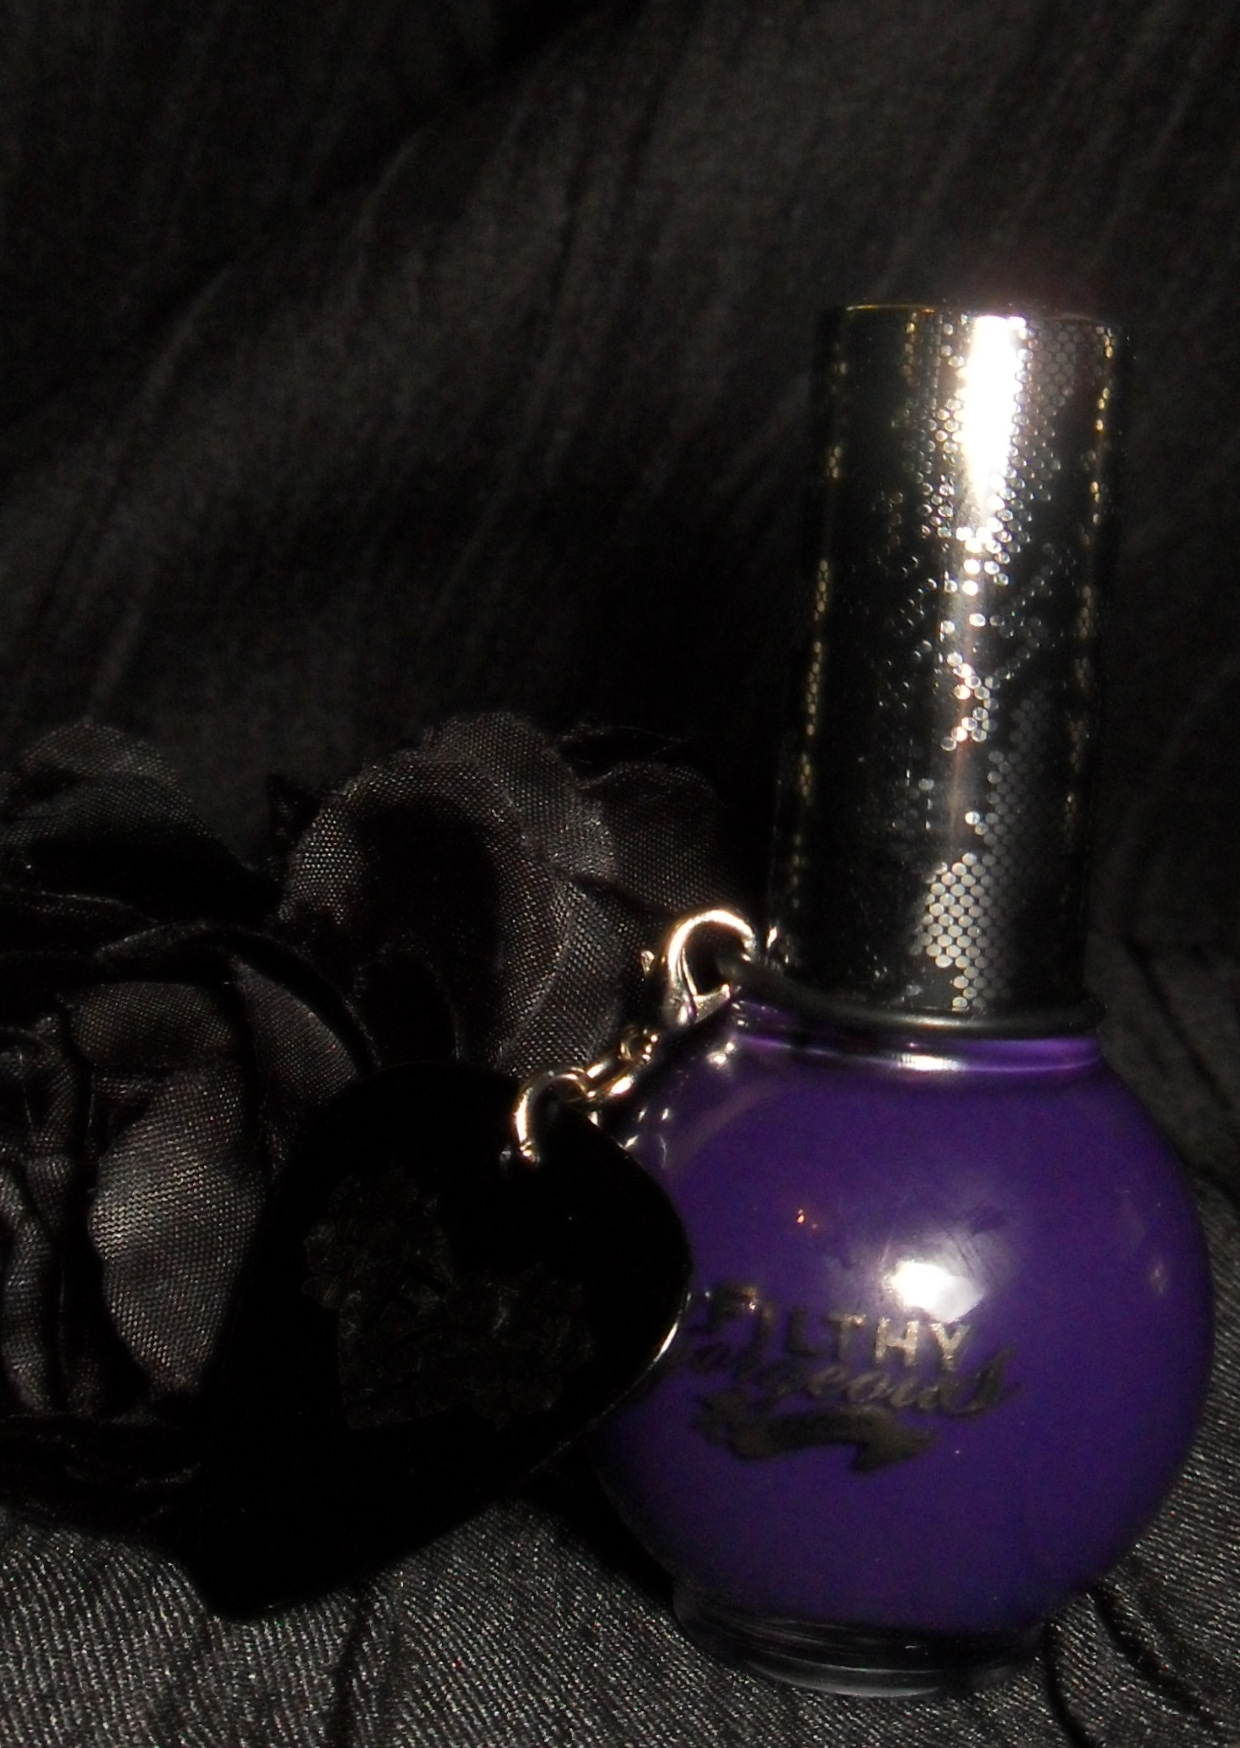
The purple creme polish is from a brand called Filthy Gorgeous, the shade is called Pulp!

Black Holographic Glitter is so shiny!
Pulp is a really nice dark plum, I found the formula to be a quite thin and sheer, but the coverage was ok after three coats. It’s very glossy and dried reasonably quickly but it could probably have done with a fourth coat.

Filthy Gorgeous Pulp
The bottle is really cute! (sorry about the terrible picture)

shiny shiny shiny!
For my accent nail I used two thick coats of Black Magic from Revlon, while it was still wet I used a damp toothpick to place individual bits of the black holographic glitter onto the wet polish. It really didn’t take as long as I thought it would, it was only about 5 minutes! I think that if I had done all of my nails like this it would have taken ages, especially on my right hand lol!
After the polish was dry I applied a coat of Seche Vite, then I carefully filed away the scratchy bits of glitter that where poking over the edge of my nail and added some more topcoat to seal the filled edge!
😀
Comments Off on Filthy Gorgeous With Black Holographic Accent! | tags: Black, Filthy Gorgeous Pulp, Glitter, Holographic, Nail Art, Nail polish, Nail Varnish, purple, Revlon Black Magic | posted in Nail Art
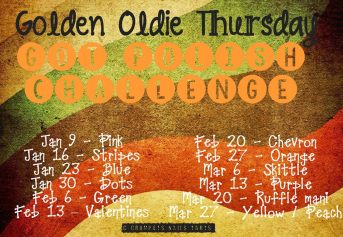
A quick reminder of the rules :
- The polish you use should be at least one year old.
- If you haven’t been a polishaholic that long, you can use the oldest polishes you have.
- The polish should be previously used, but if you’re stuck, you could free a yearling from Mount Untried.
- You can use more than 1 polish as long as it fits the theme and the rules
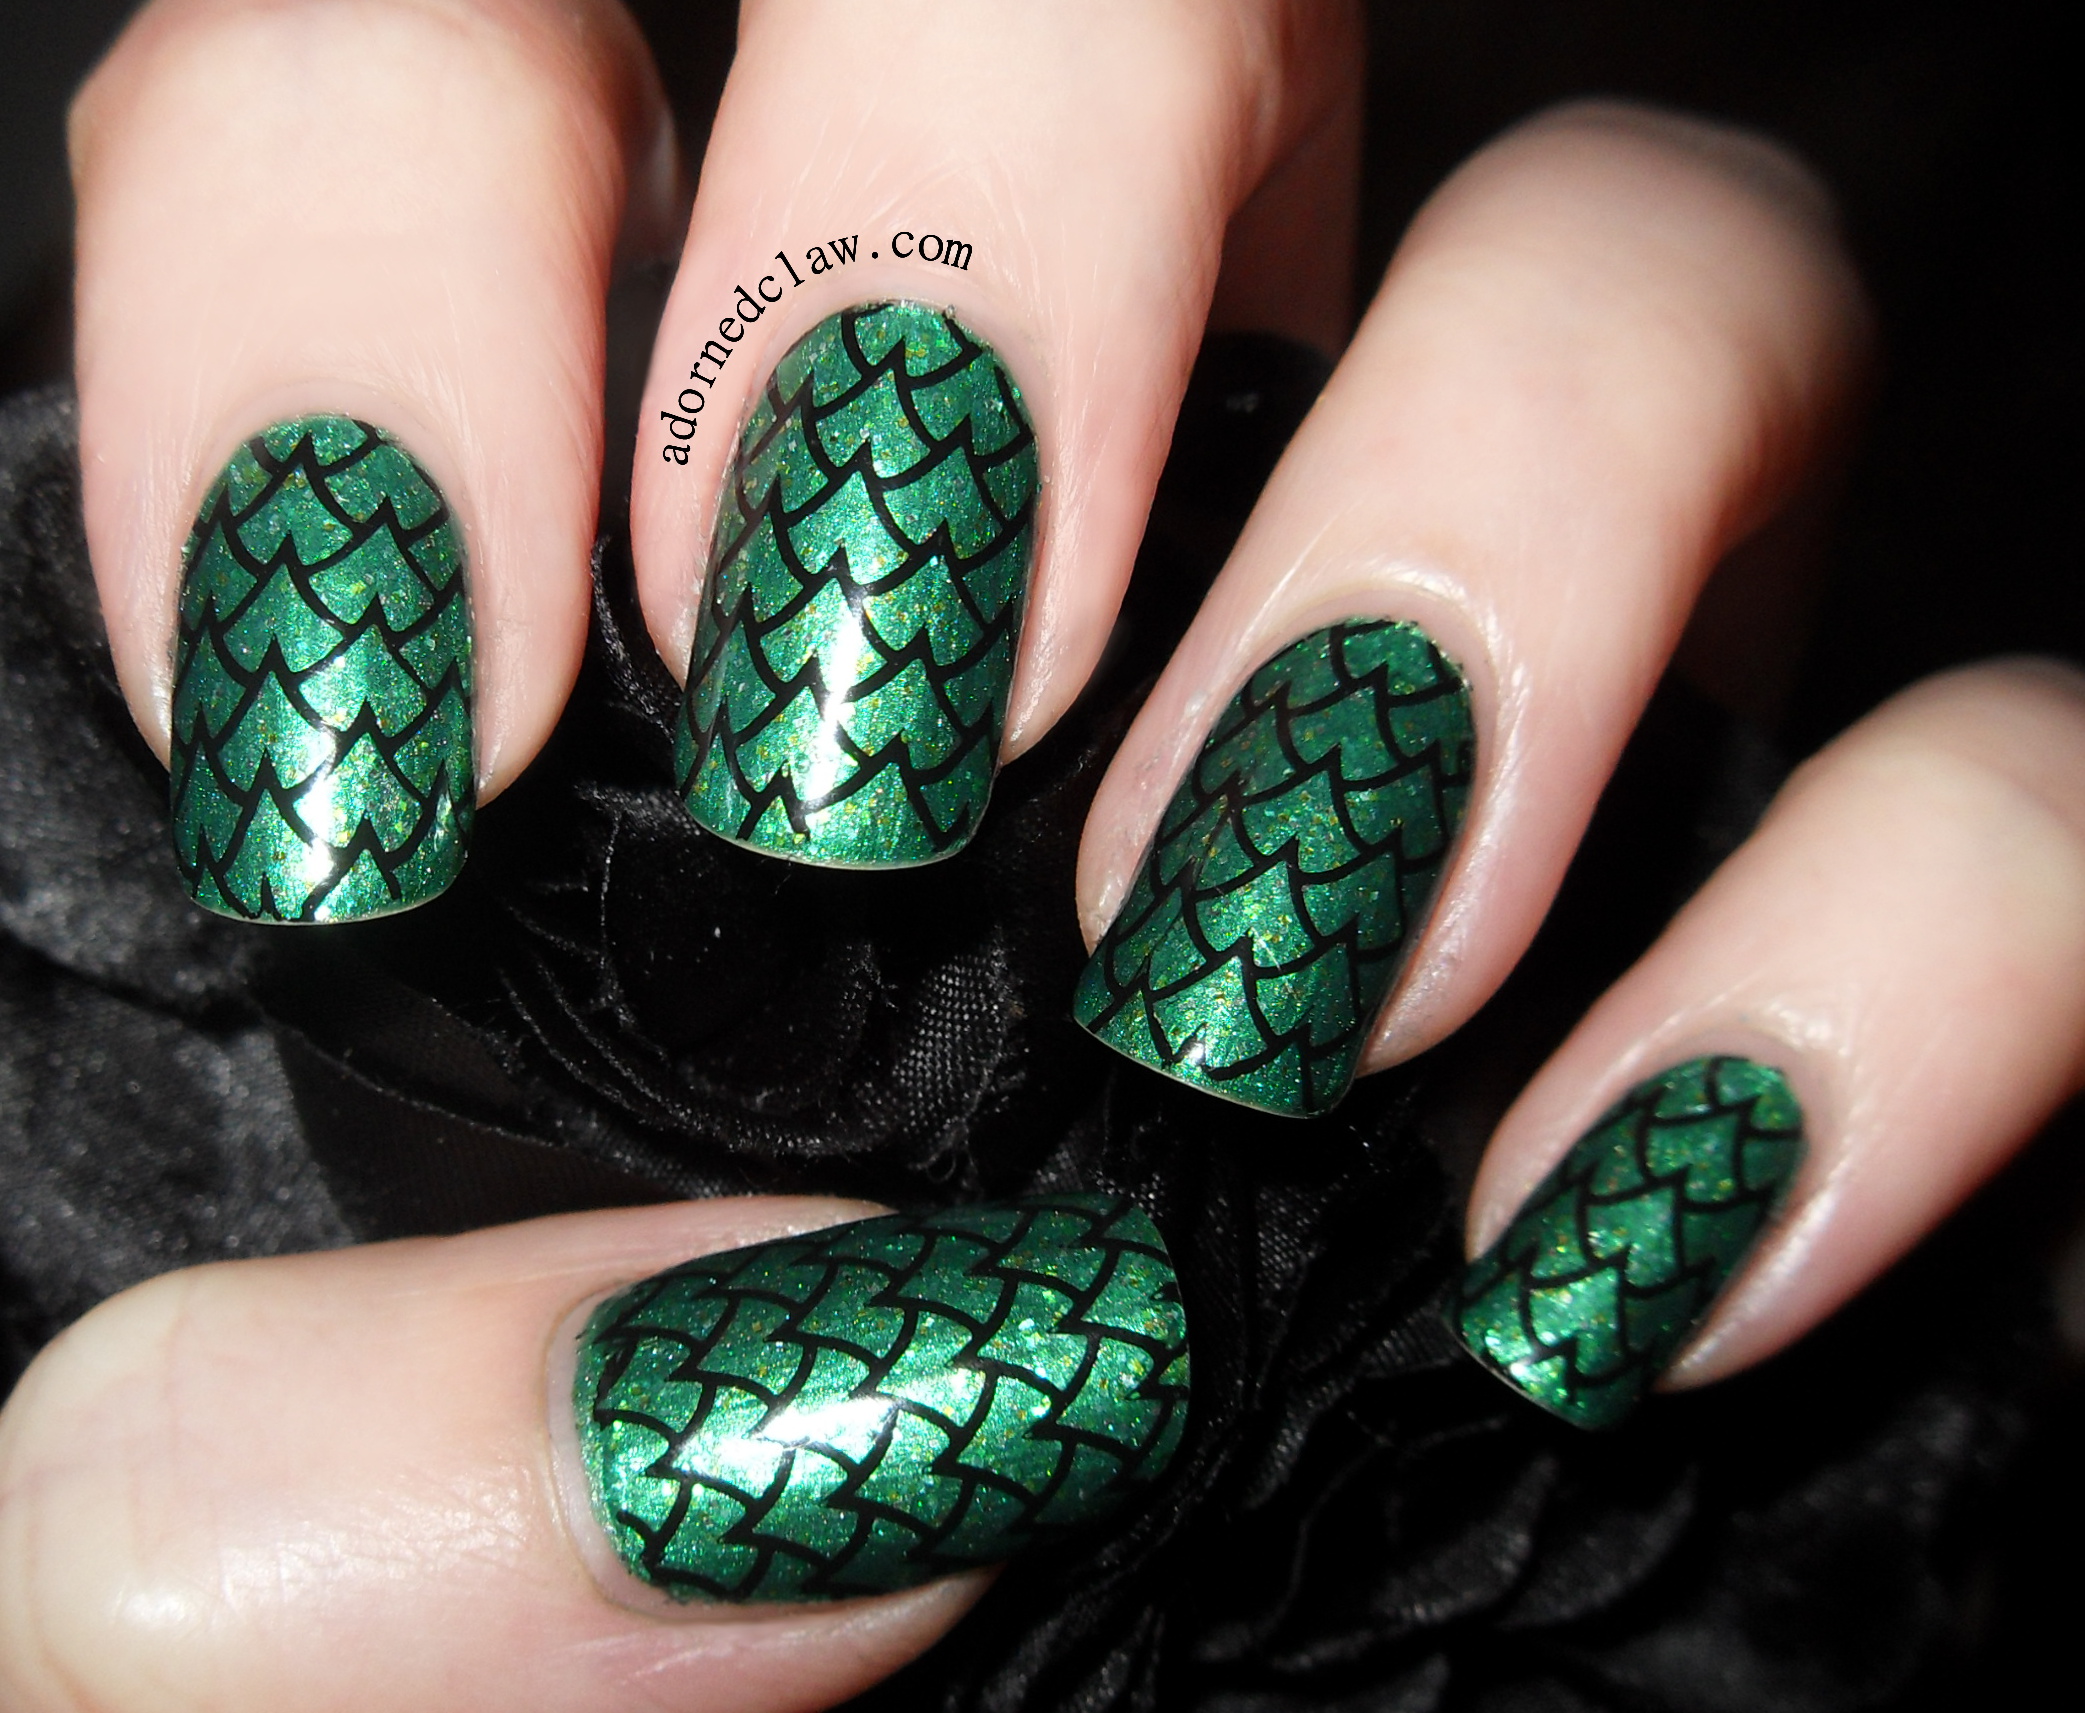
I have to say green is not my favorite polish colour and I only own a couple of bottles of green, but luckily I do have this rather old one! The shade is called Froggy and it was made by a brand called Lizzy French. I think I have had this polish for about 12 years!

Green Dragon Scales
The polish is an almost metallic pearl/shimmer with silver, gold and green glitter, As it was so old I ended up having to thin it down quite a lot which made the application a nightmare!

Lizzy French – Froggy
I applied three coats of Froggy over base coat. With the first coat of polish the streaking was dreadful, along with the visible brush strokes, the second coat dissolved the polish underneath, there was crinkling/bunching up and bald spots as well! Ugh the horror! For the final coat I applied the polish in a really thick layer, really quickly, I’m glad it worked because I was ready to give up on the whole thing.
For the stamping I used Konad special polish And Messy Mansion Plate MM21.
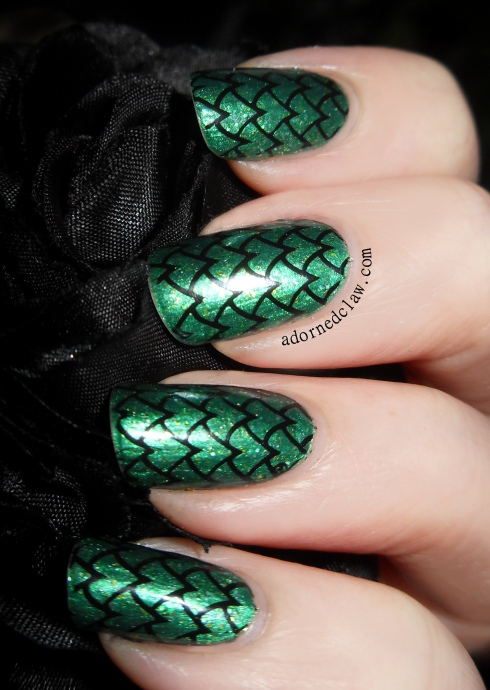
Green Scaley Nails
Don’t forget to have a look at the GOT Polish Pinterest page for loads of other fantastic Challenge nails 😀

3 Comments | tags: Dragon Nail Art, Glitter, GOT Polish Challenge, Green, Konad special polish Black, Lizzy French Froggy, Messy Mansion, messy Mansion MM21, Nail Art, Nail polish, Nail Stamping, Nail Varnish, nailpolish | posted in Challenges, Nail Art, Nail Stamping
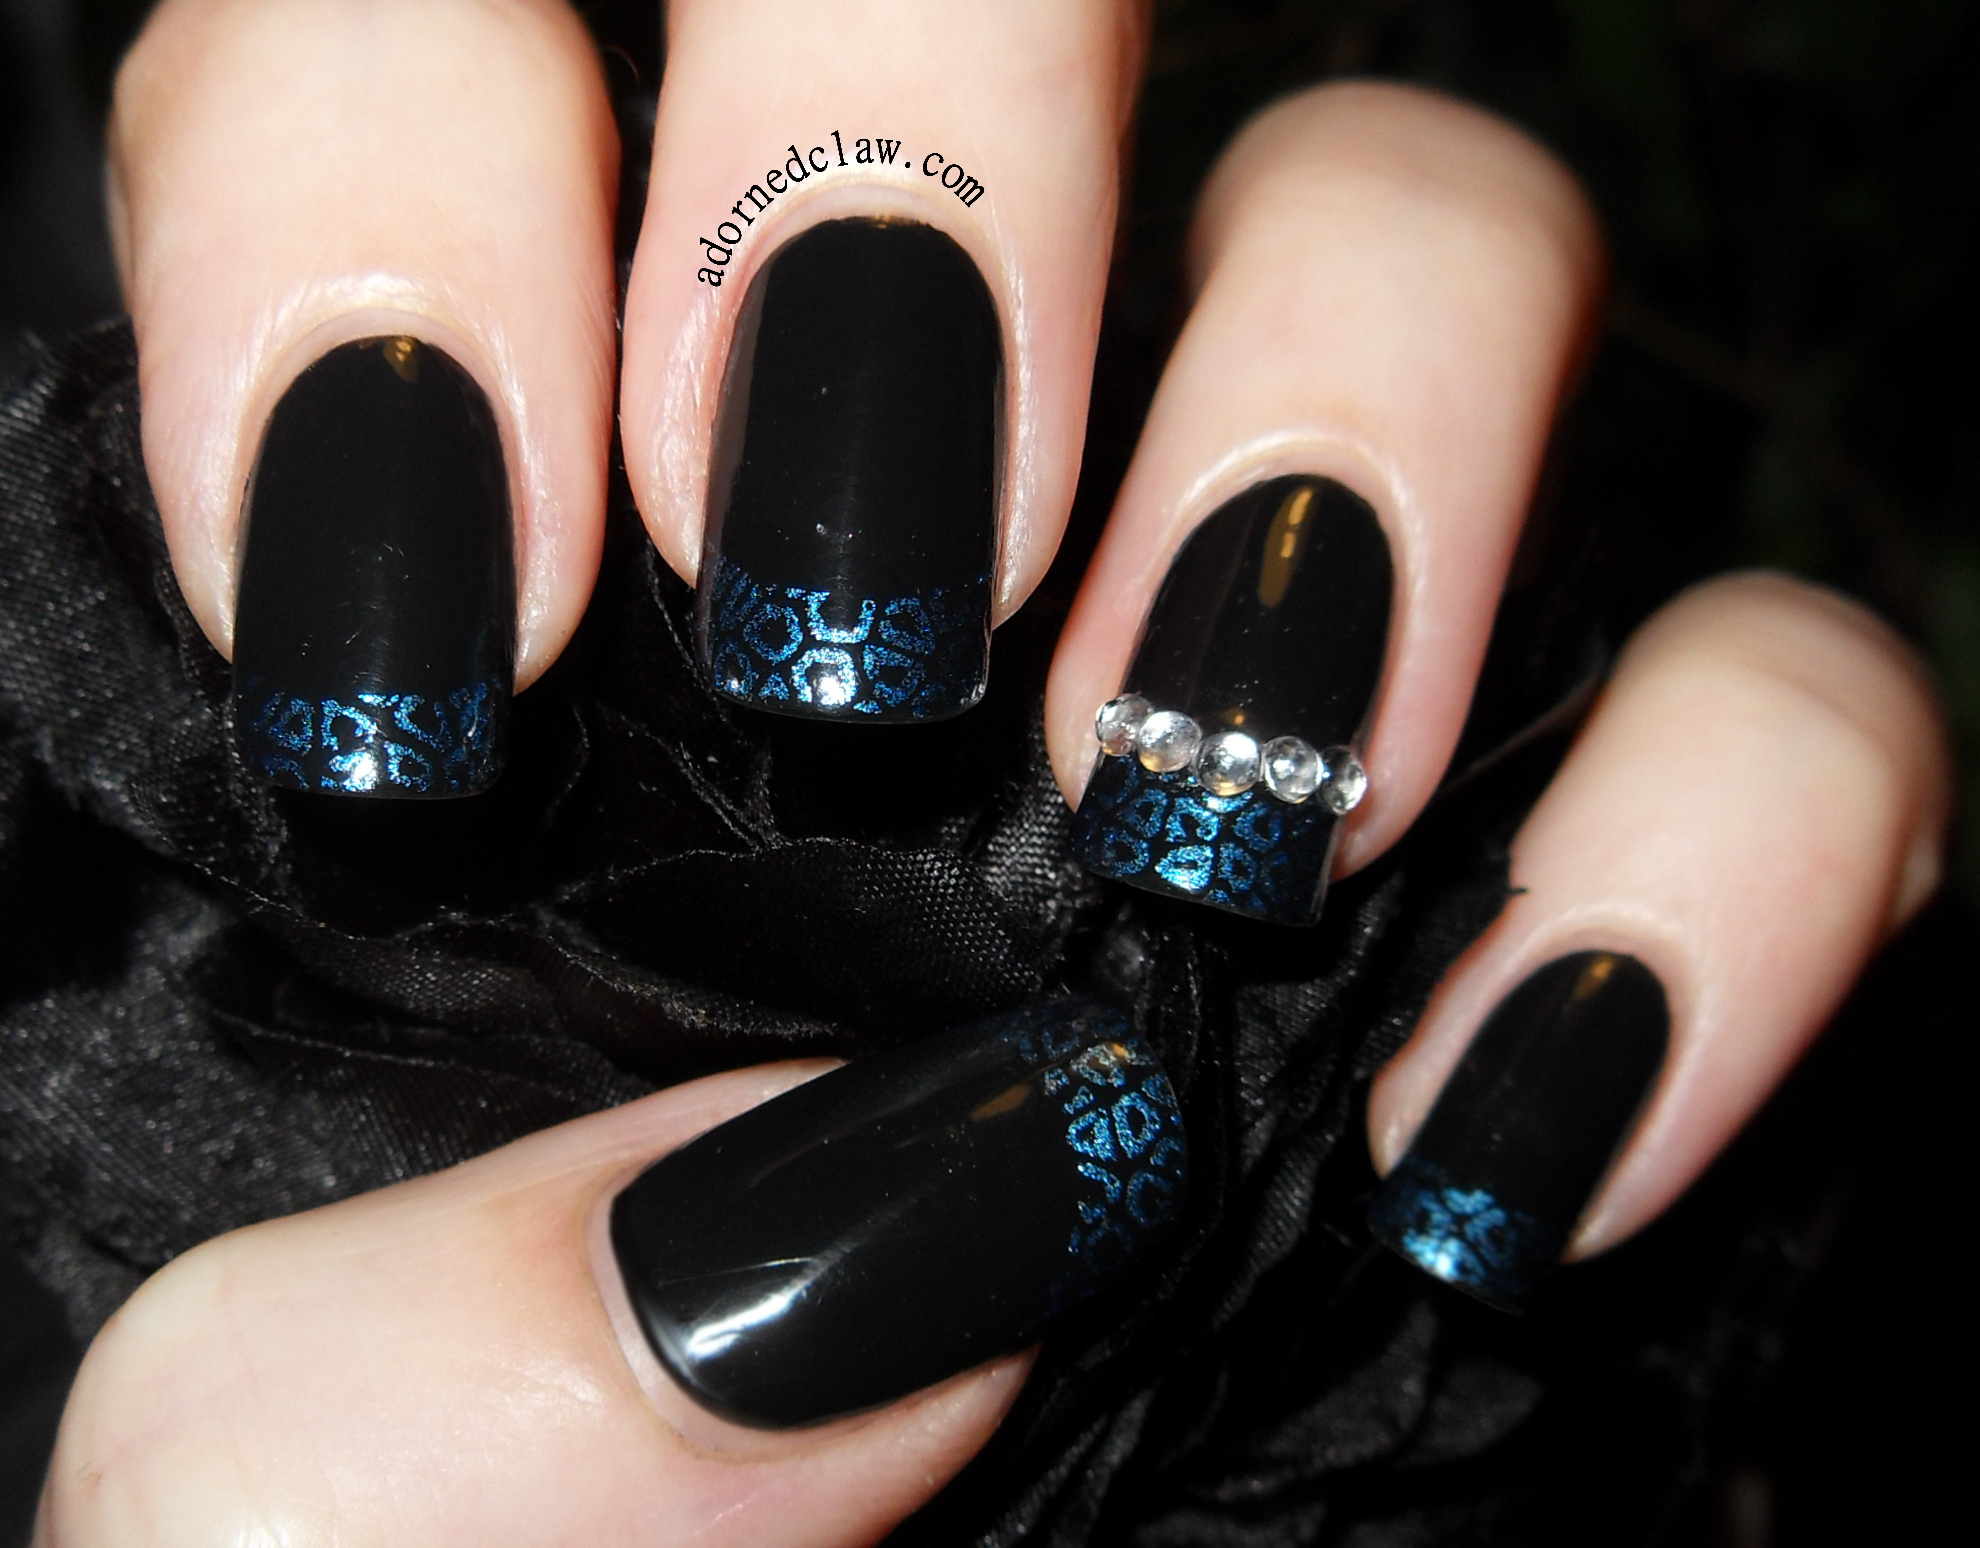
Here’s my Blue Leopard French Tip nails I painted a couple of days ago!

Blue Leopard
I used Revlon Black Magic as the base colour, then using my trusty french tip guides I stamped the leopard print on tips of my nails, I find that this is much easier than trying to get french tip shaped stamps lined up!
The blue polish I used is Cold Metal from Color Club. It’s amazing for stamping! 😀 then I added the sparkly rhinestones to my ring finger I used tweezers to position them in a dab of wet topcoat.
I finished off my nails with a coat of Seche Vite!

Blue Leopard French Tip
2 Comments | tags: Black, blue, Color Club Cold Metal, French Tip, Leopard Print, Moyou Pro Collection, Nail Art, Nail polish, Nail Stamping, Nail Varnish, nailpolish, Revlon Black Magic | posted in Nail Art, Nail Stamping