Today I have six rather lovely nails inc. polishes to show you Franklins Row, St Mark’s Square, Old Bond Street, Cheyne Walk, Clifford Street and Oxford Street.
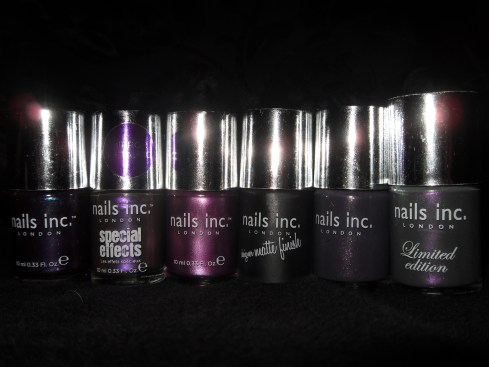
Franklins Row, St Mark’s Square, Old Bond Street, Cheyne Walk, Clifford Street and Oxford Street.
St Mark’s Square
St Marks Square
This is a really nice lilac foil, really nice to apply, good consistansy and flow from the brush, fast drying, not as much pigment as I would like but it is a very pretty colour, this was two coats.
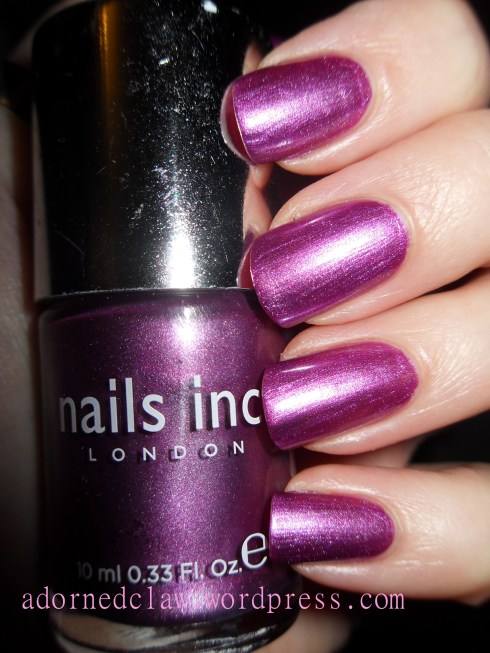
Clifford Street
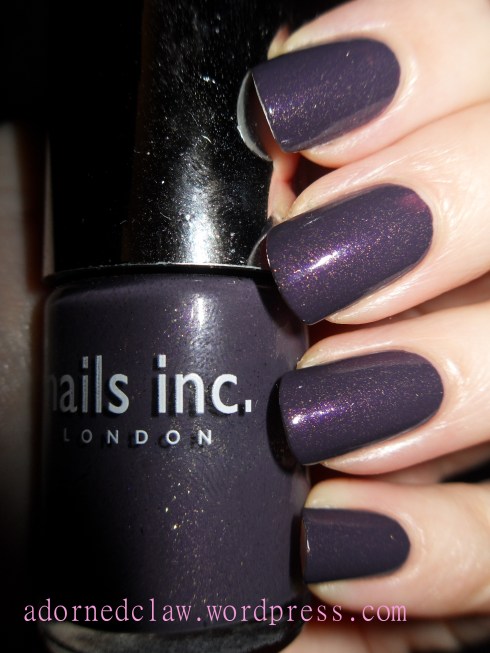
Clifford Street
Clifford Street is a lovely dark purple grey creme with gold iridescent glitter, it is lovely to apply, really nice consistancy, good amount of pigment, the gold glitter adds depth to the polish. there was some dragging while I was applying this polish, this was two coats that dried quickly.
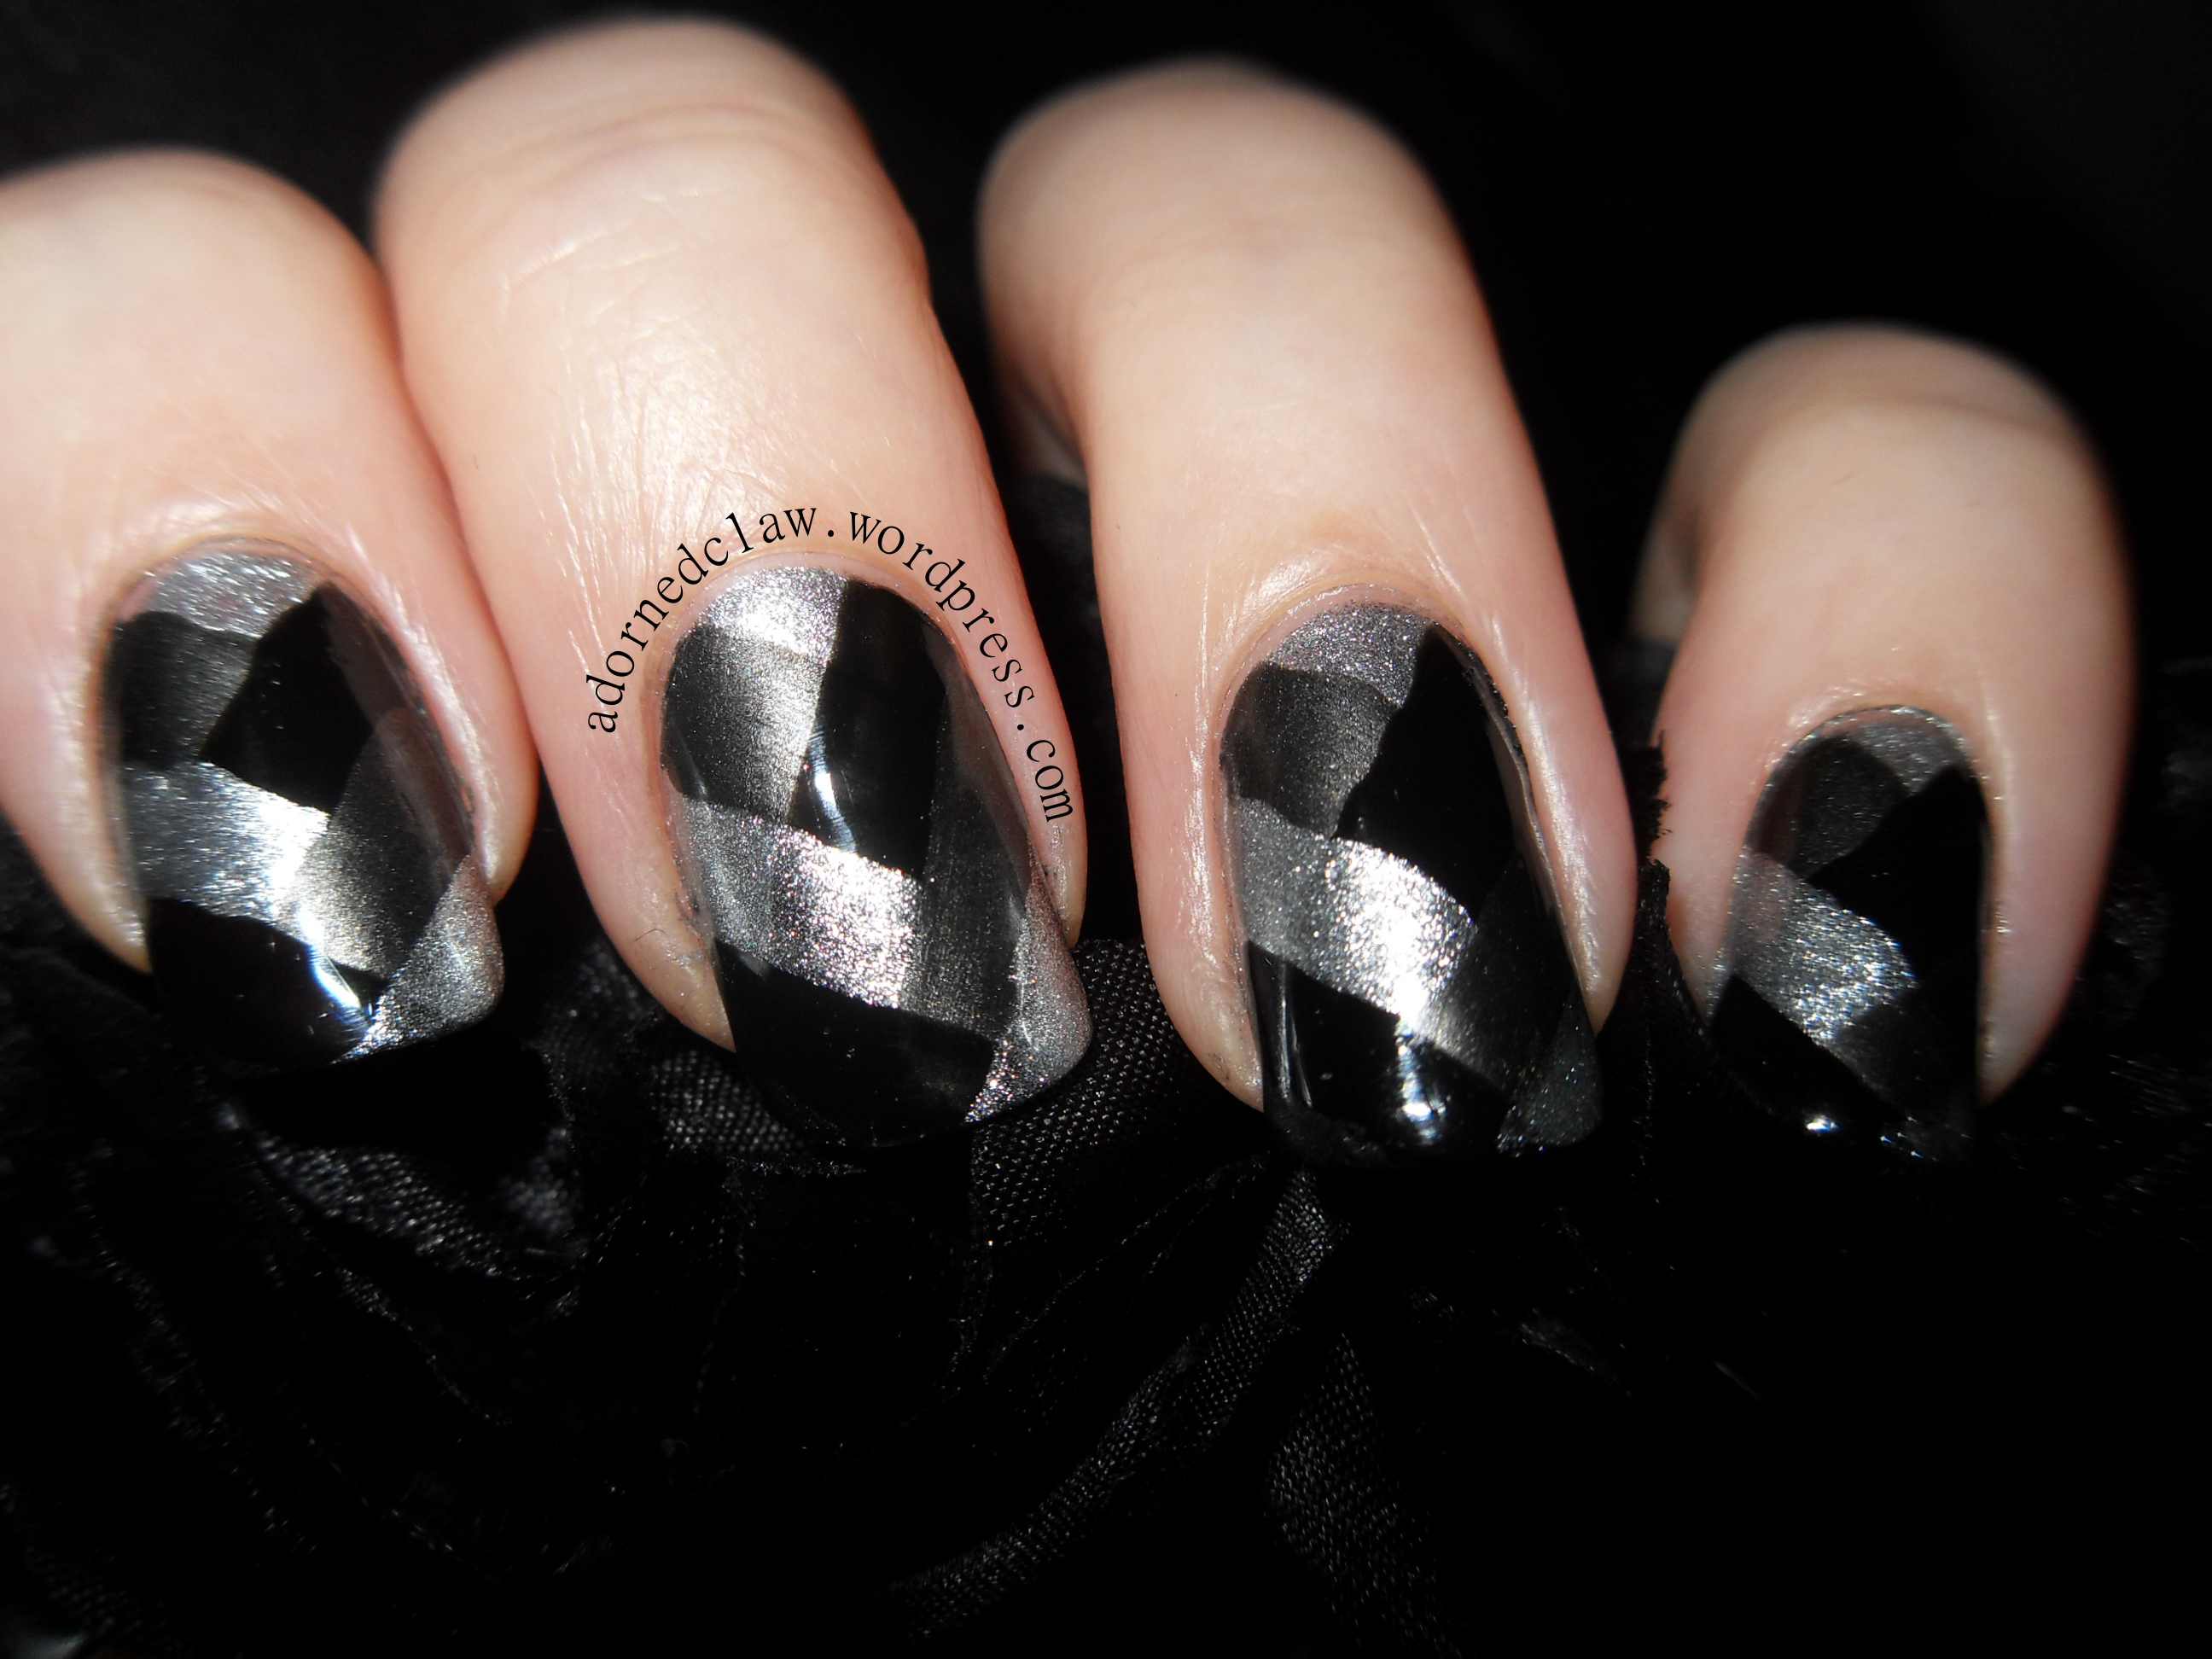
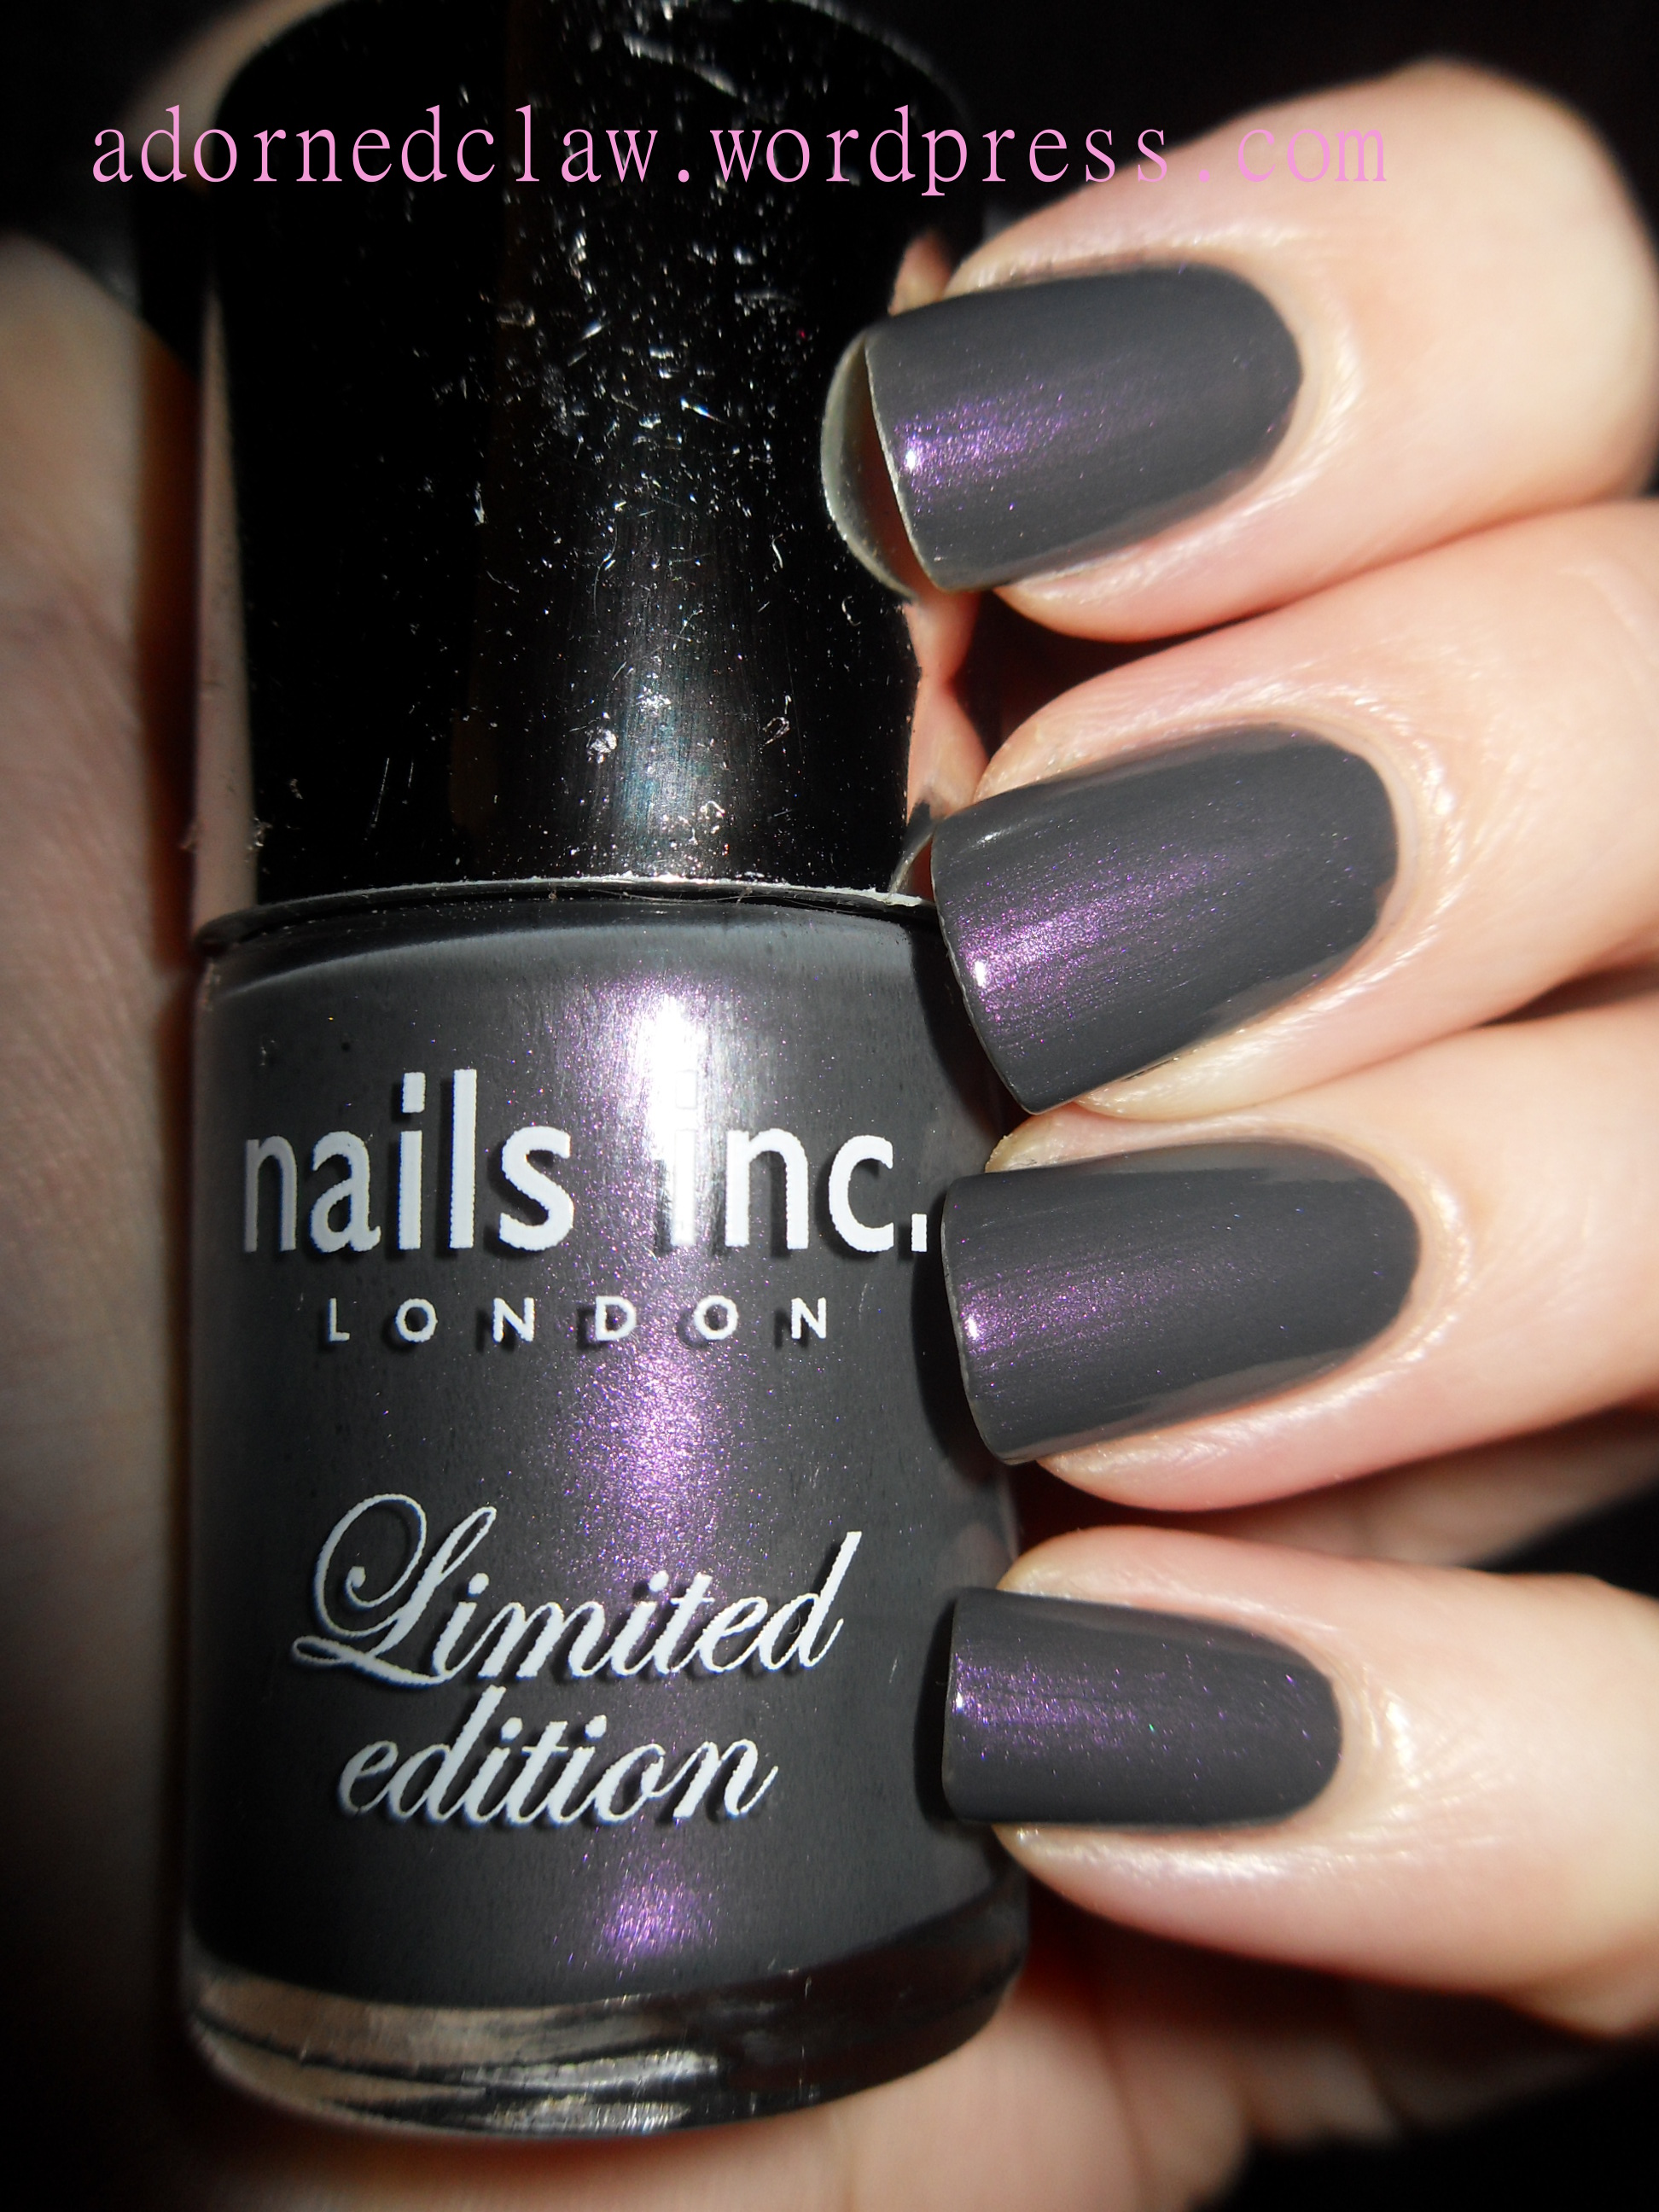
Old Bond Street

Old Bond Street
Old Bond Street is a lovely mid grey with pink shimmer. this is a really lovely polish, such a shame it is a limited edition it is great to apply and fast drying,
Franklins Row

Franklins Row
Franklins Row is a dark purple with purple and blue iridescent glitter and blue shimmer. This is an amazing colour, so sparkly! This was three coats it has a slightly sticky consistency probably from all the glitter the flow from the brush is much slower and so is harder to apply than the others.
Cheyne Walk
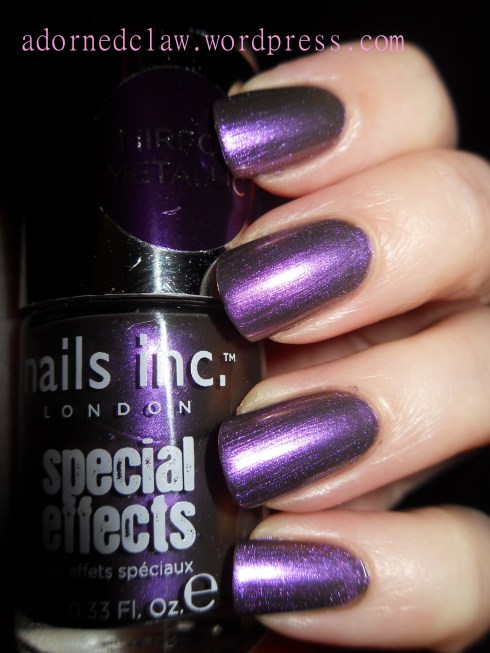
Cheyne Walk
Cheyne Walk is from the Mirror Metallic range it has a pink/purple metallic finish this too 3 coats. It is a very pretty colour, easy to apply, but slower drying than I would like.
Oxford Street
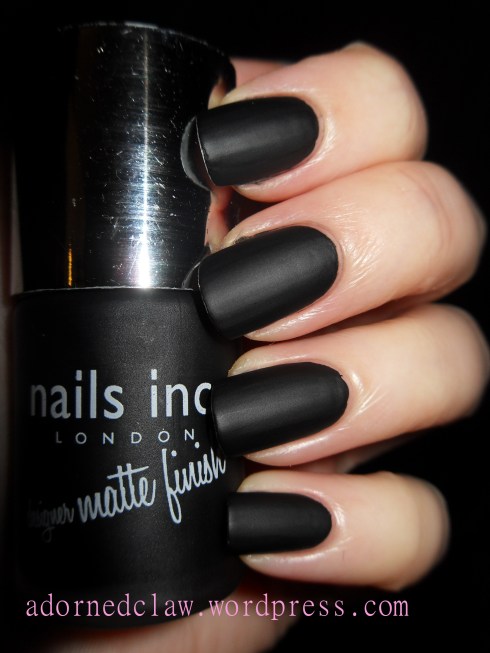
Oxford Street Matte
Oxford Street is a matte black this was one coat dried in a matter of seconds, a bit tricky to apply because it dries so quickly, but this is a fantastic matte polish, it states on the bottle that this won’t last as long as the other Nails Inc. products. Unfortunately this is a hard to find limited edition! It has lots of pigment so was very messy to remove.