Author Archives: Ruth

Chanel Swatches!

Hallo! 🙂

After my last post I realized that I haven’t shown my Chanel polishes nearly enough love lately, so here they are in all their glory! 😀

I have had these for quite a while so the bottles are looking a little on the “well loved” side… But if you are anything like me then that shouldn’t matter too much as it’s the scrummy insides that you want lol!
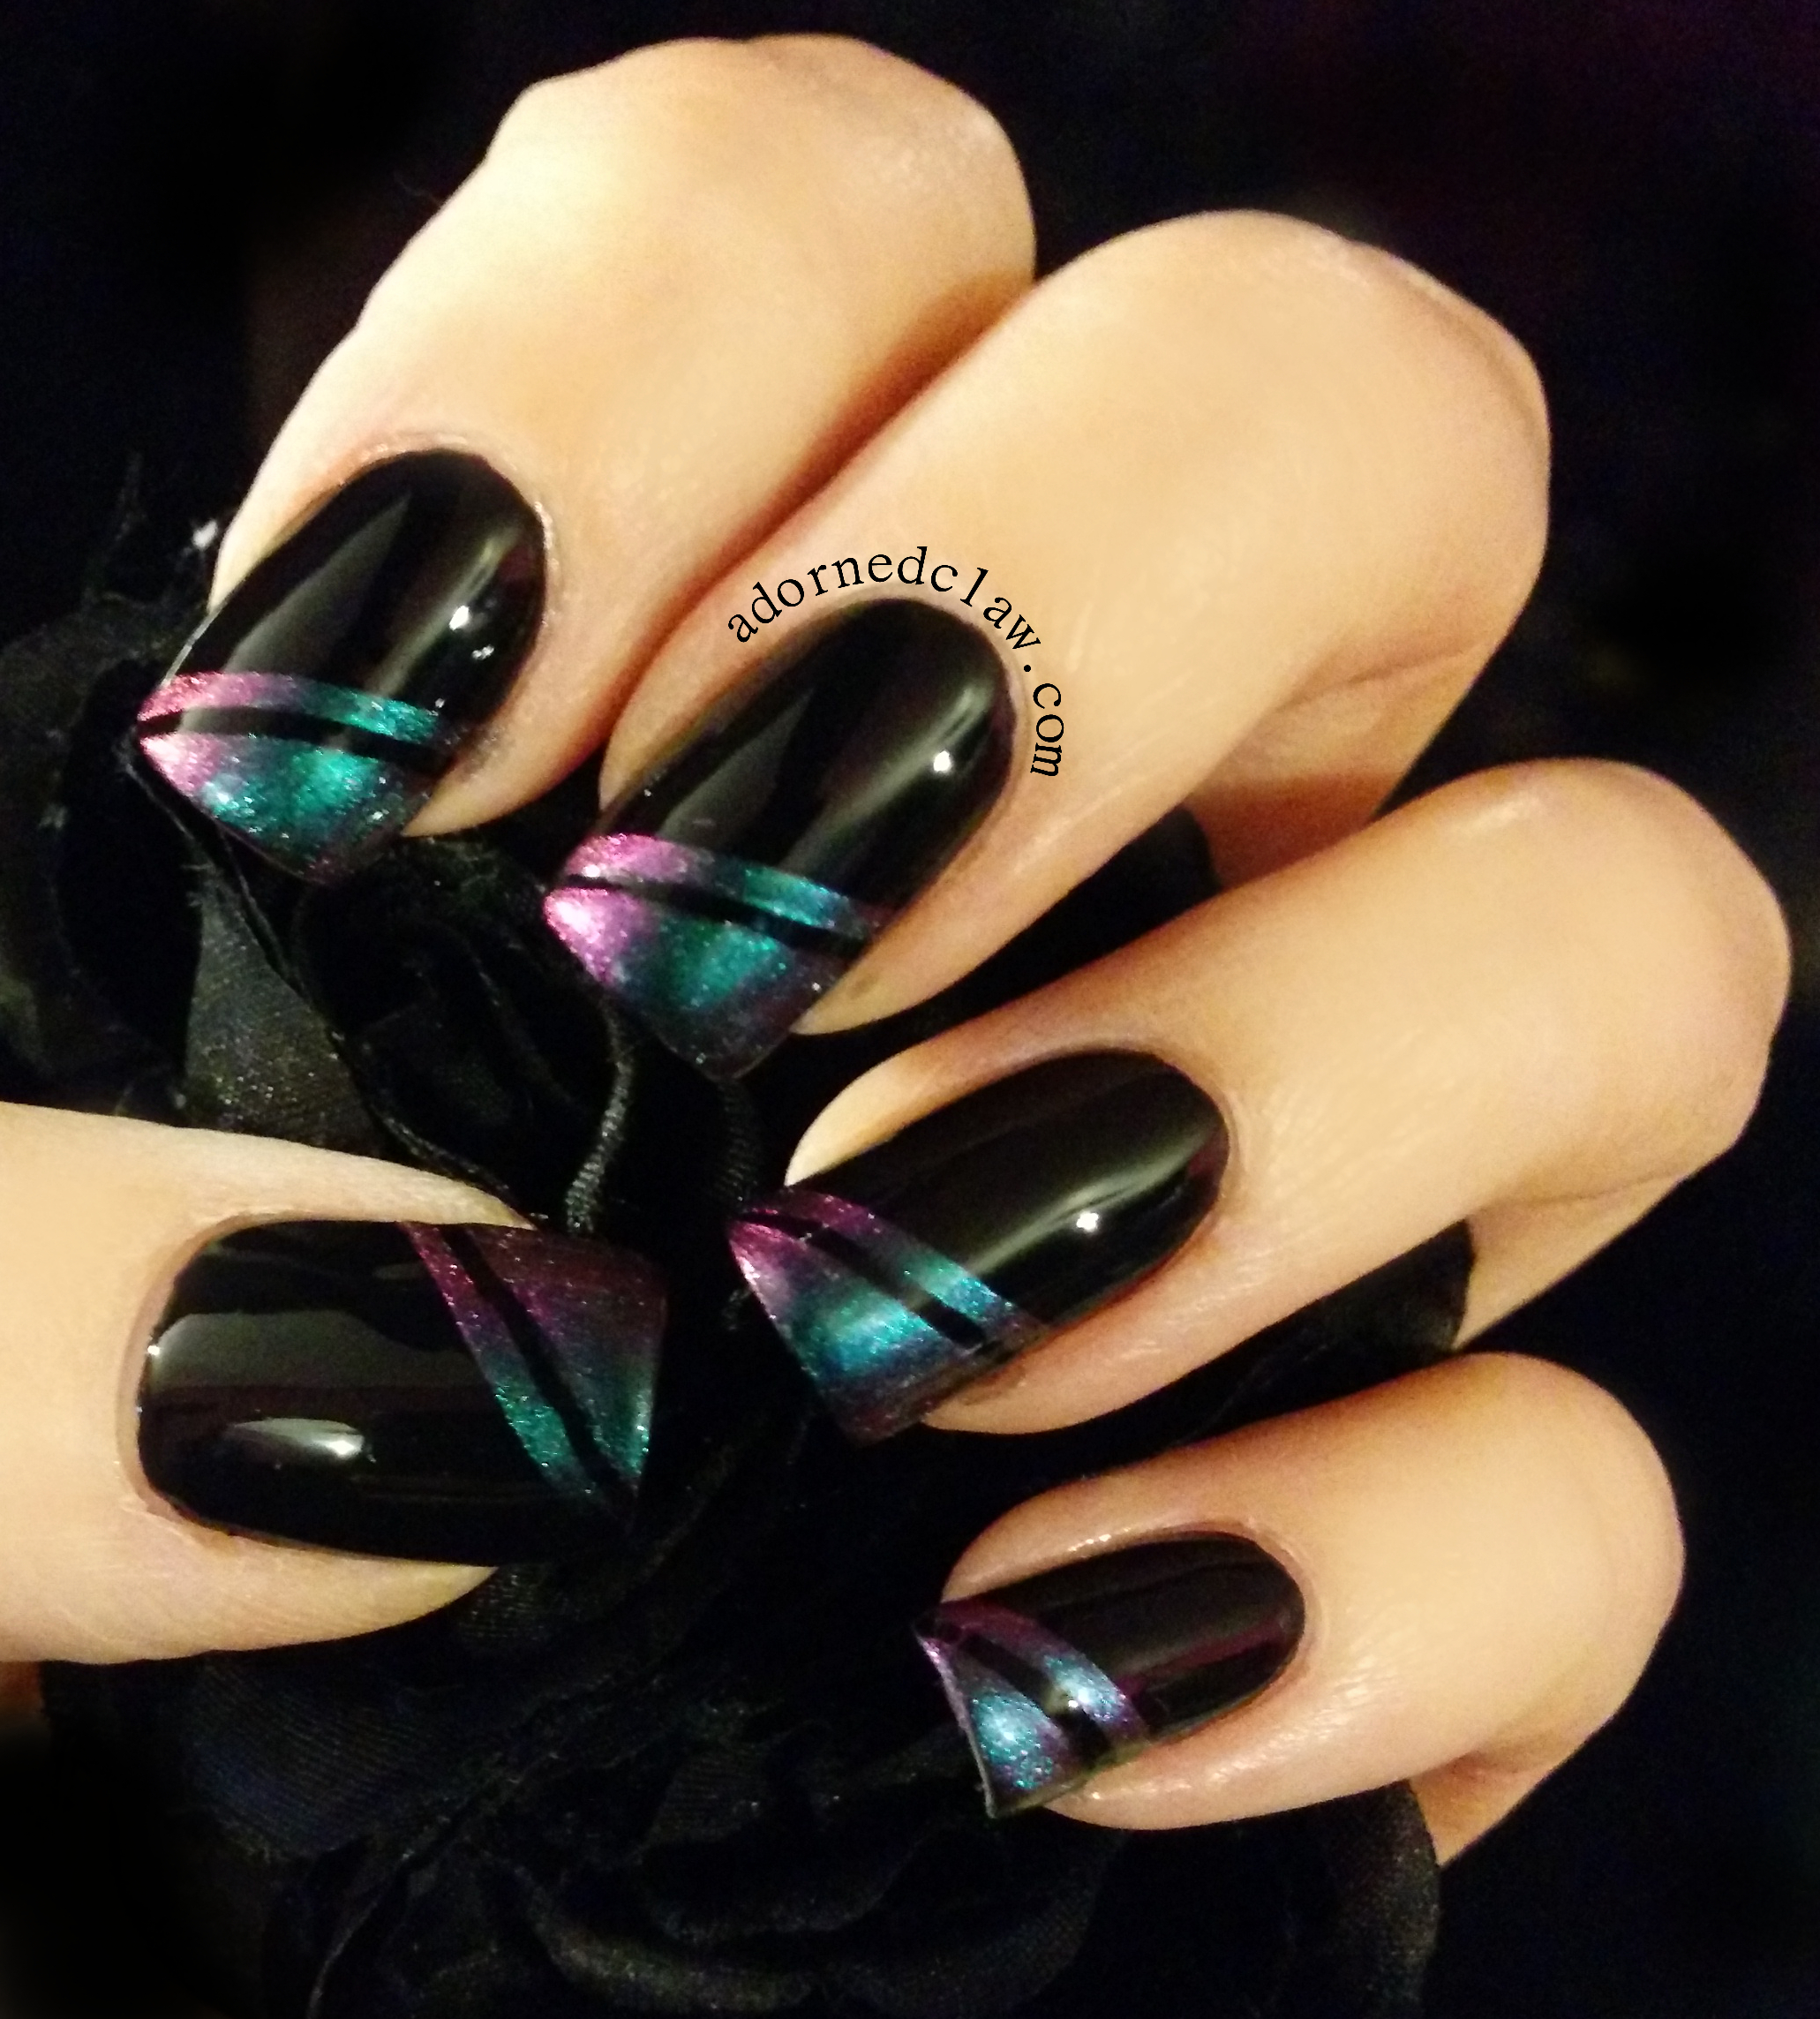
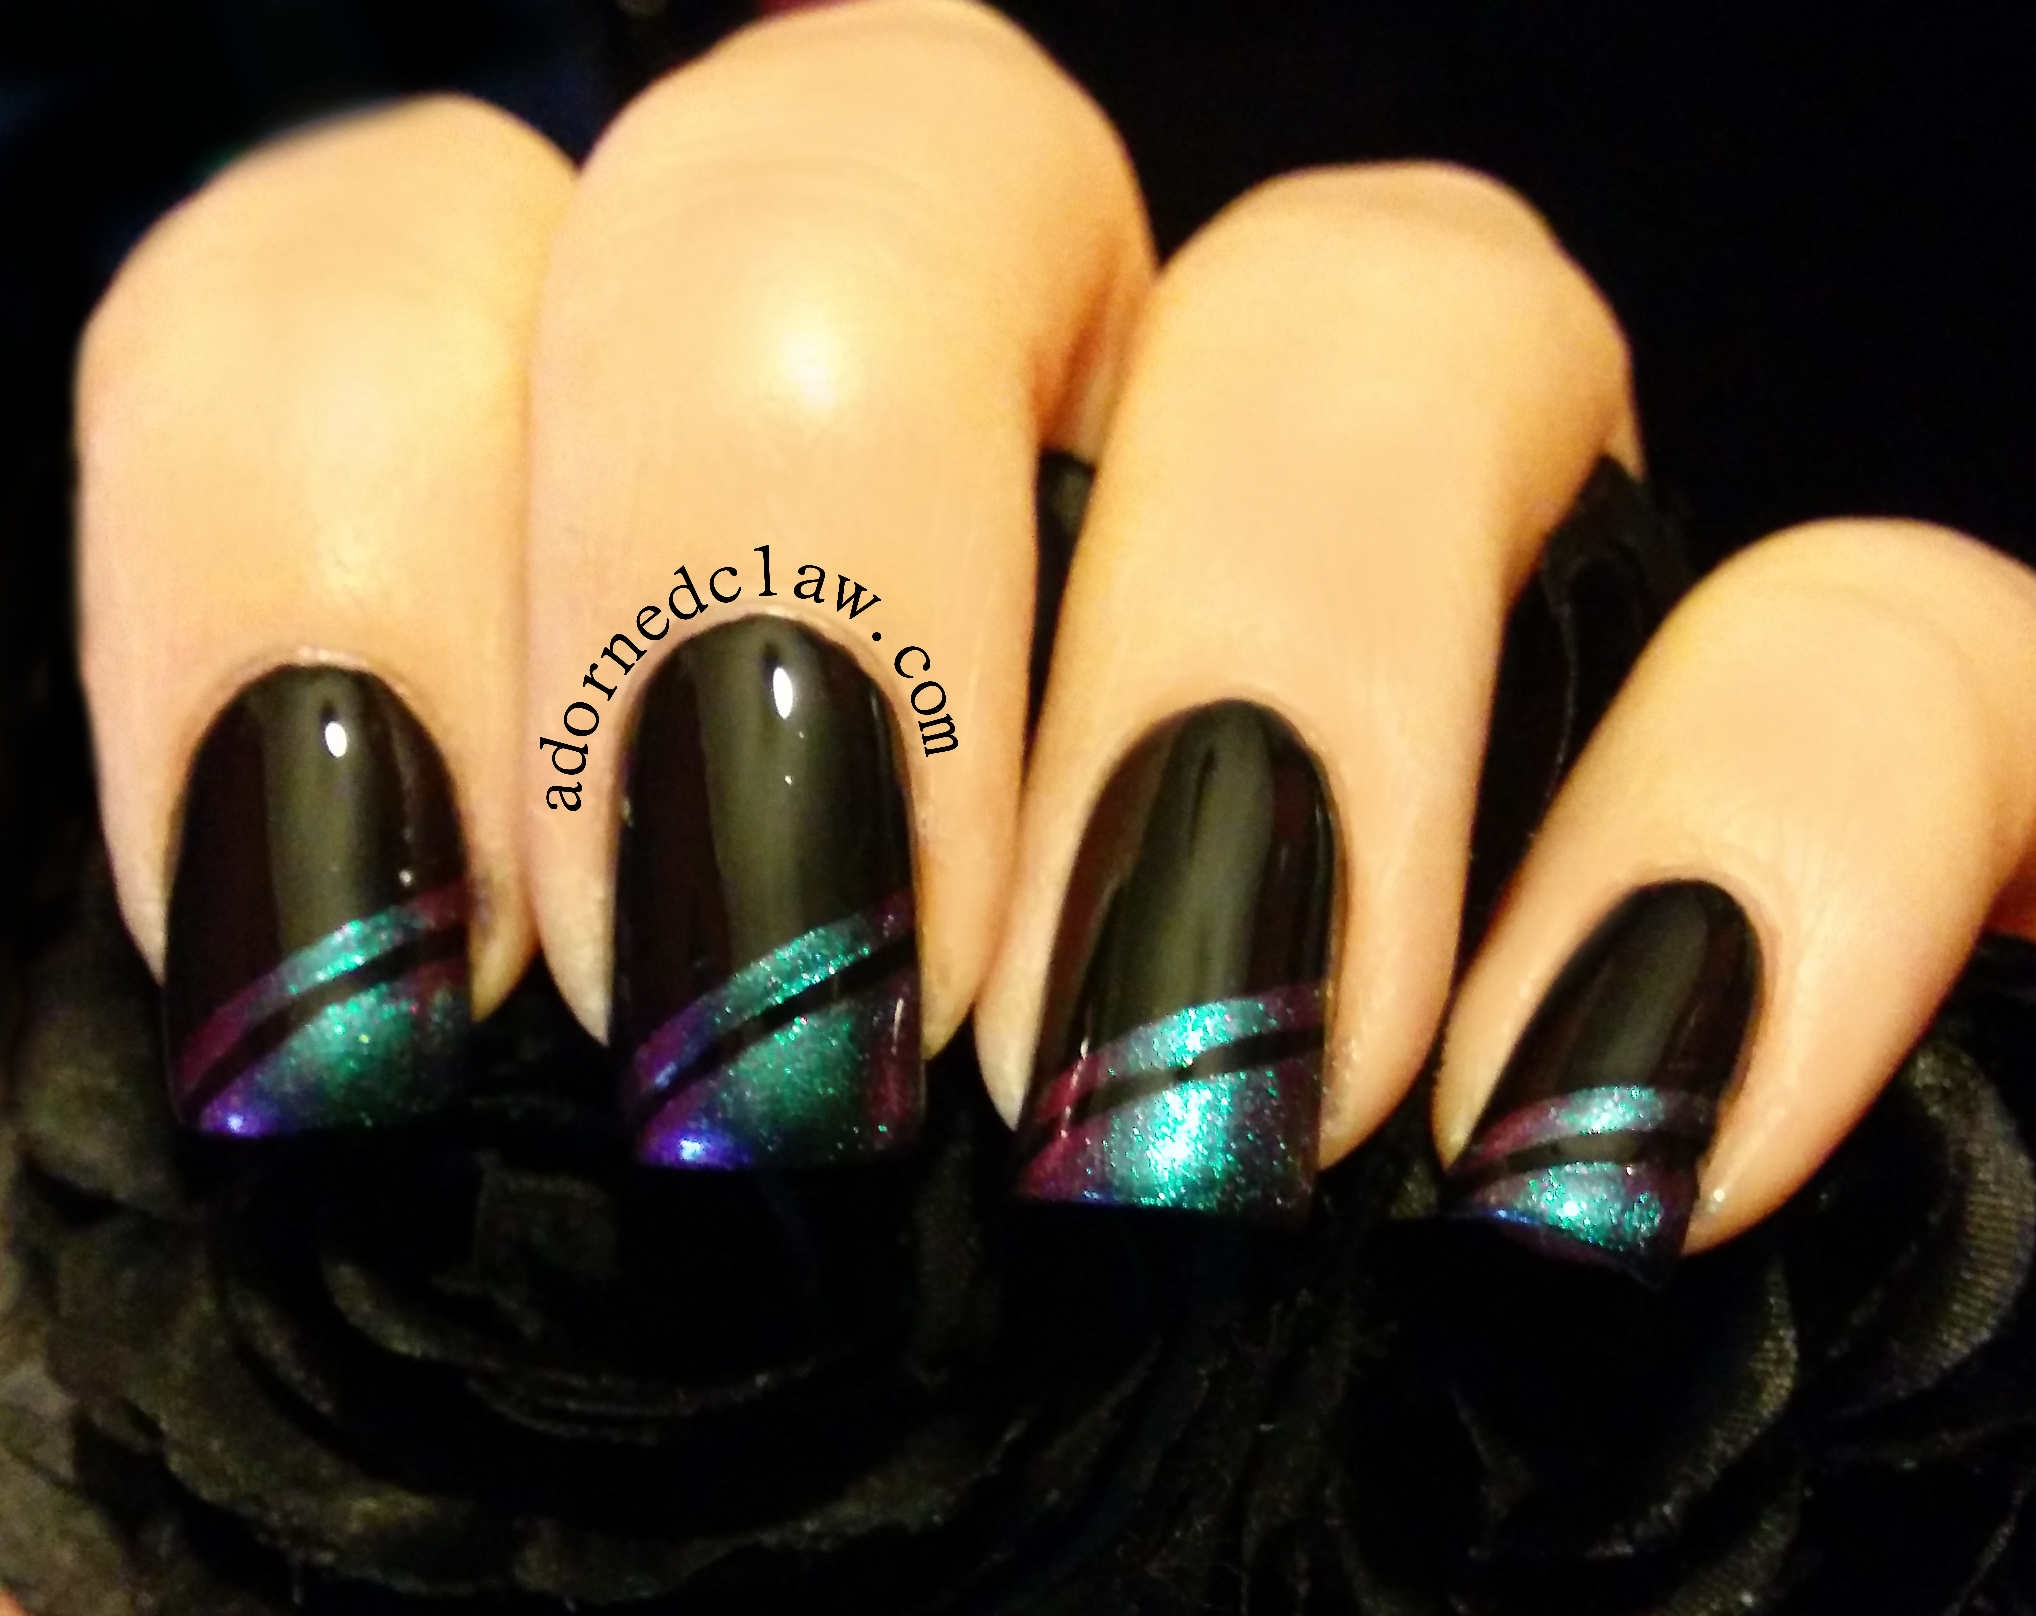
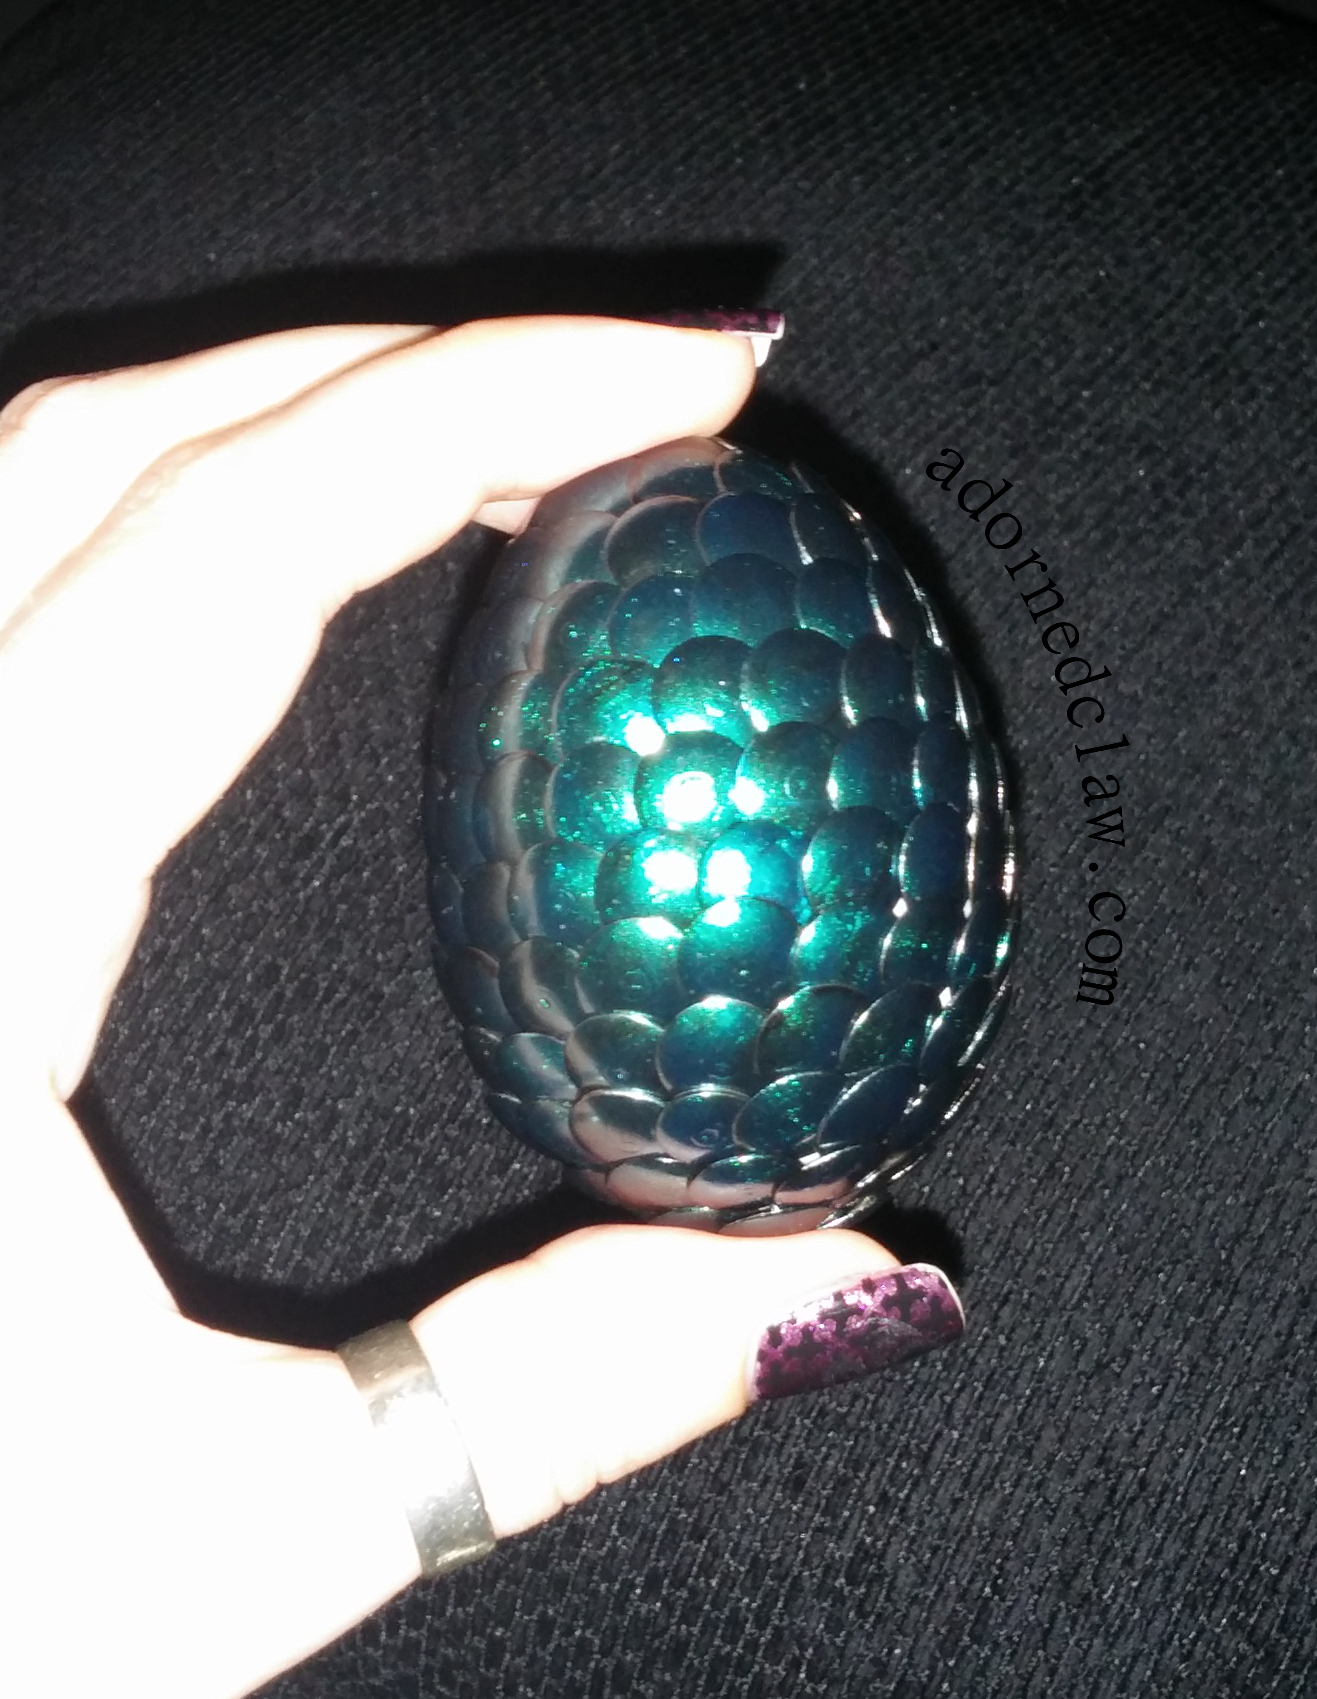
Chanel Black Satin

Black Satin

This is Black Satin, it’s probably the blackist black nail polish I own, this is two coats over base coat, but you could easily get away with one!

Chanel Black Satin 219

Black Satin

The formula is wonderful, creamy, self leveling and with the slightly longer bristles in the brush it really is one of the easiest black polishes to apply!

This intense red polish is called Dragon.
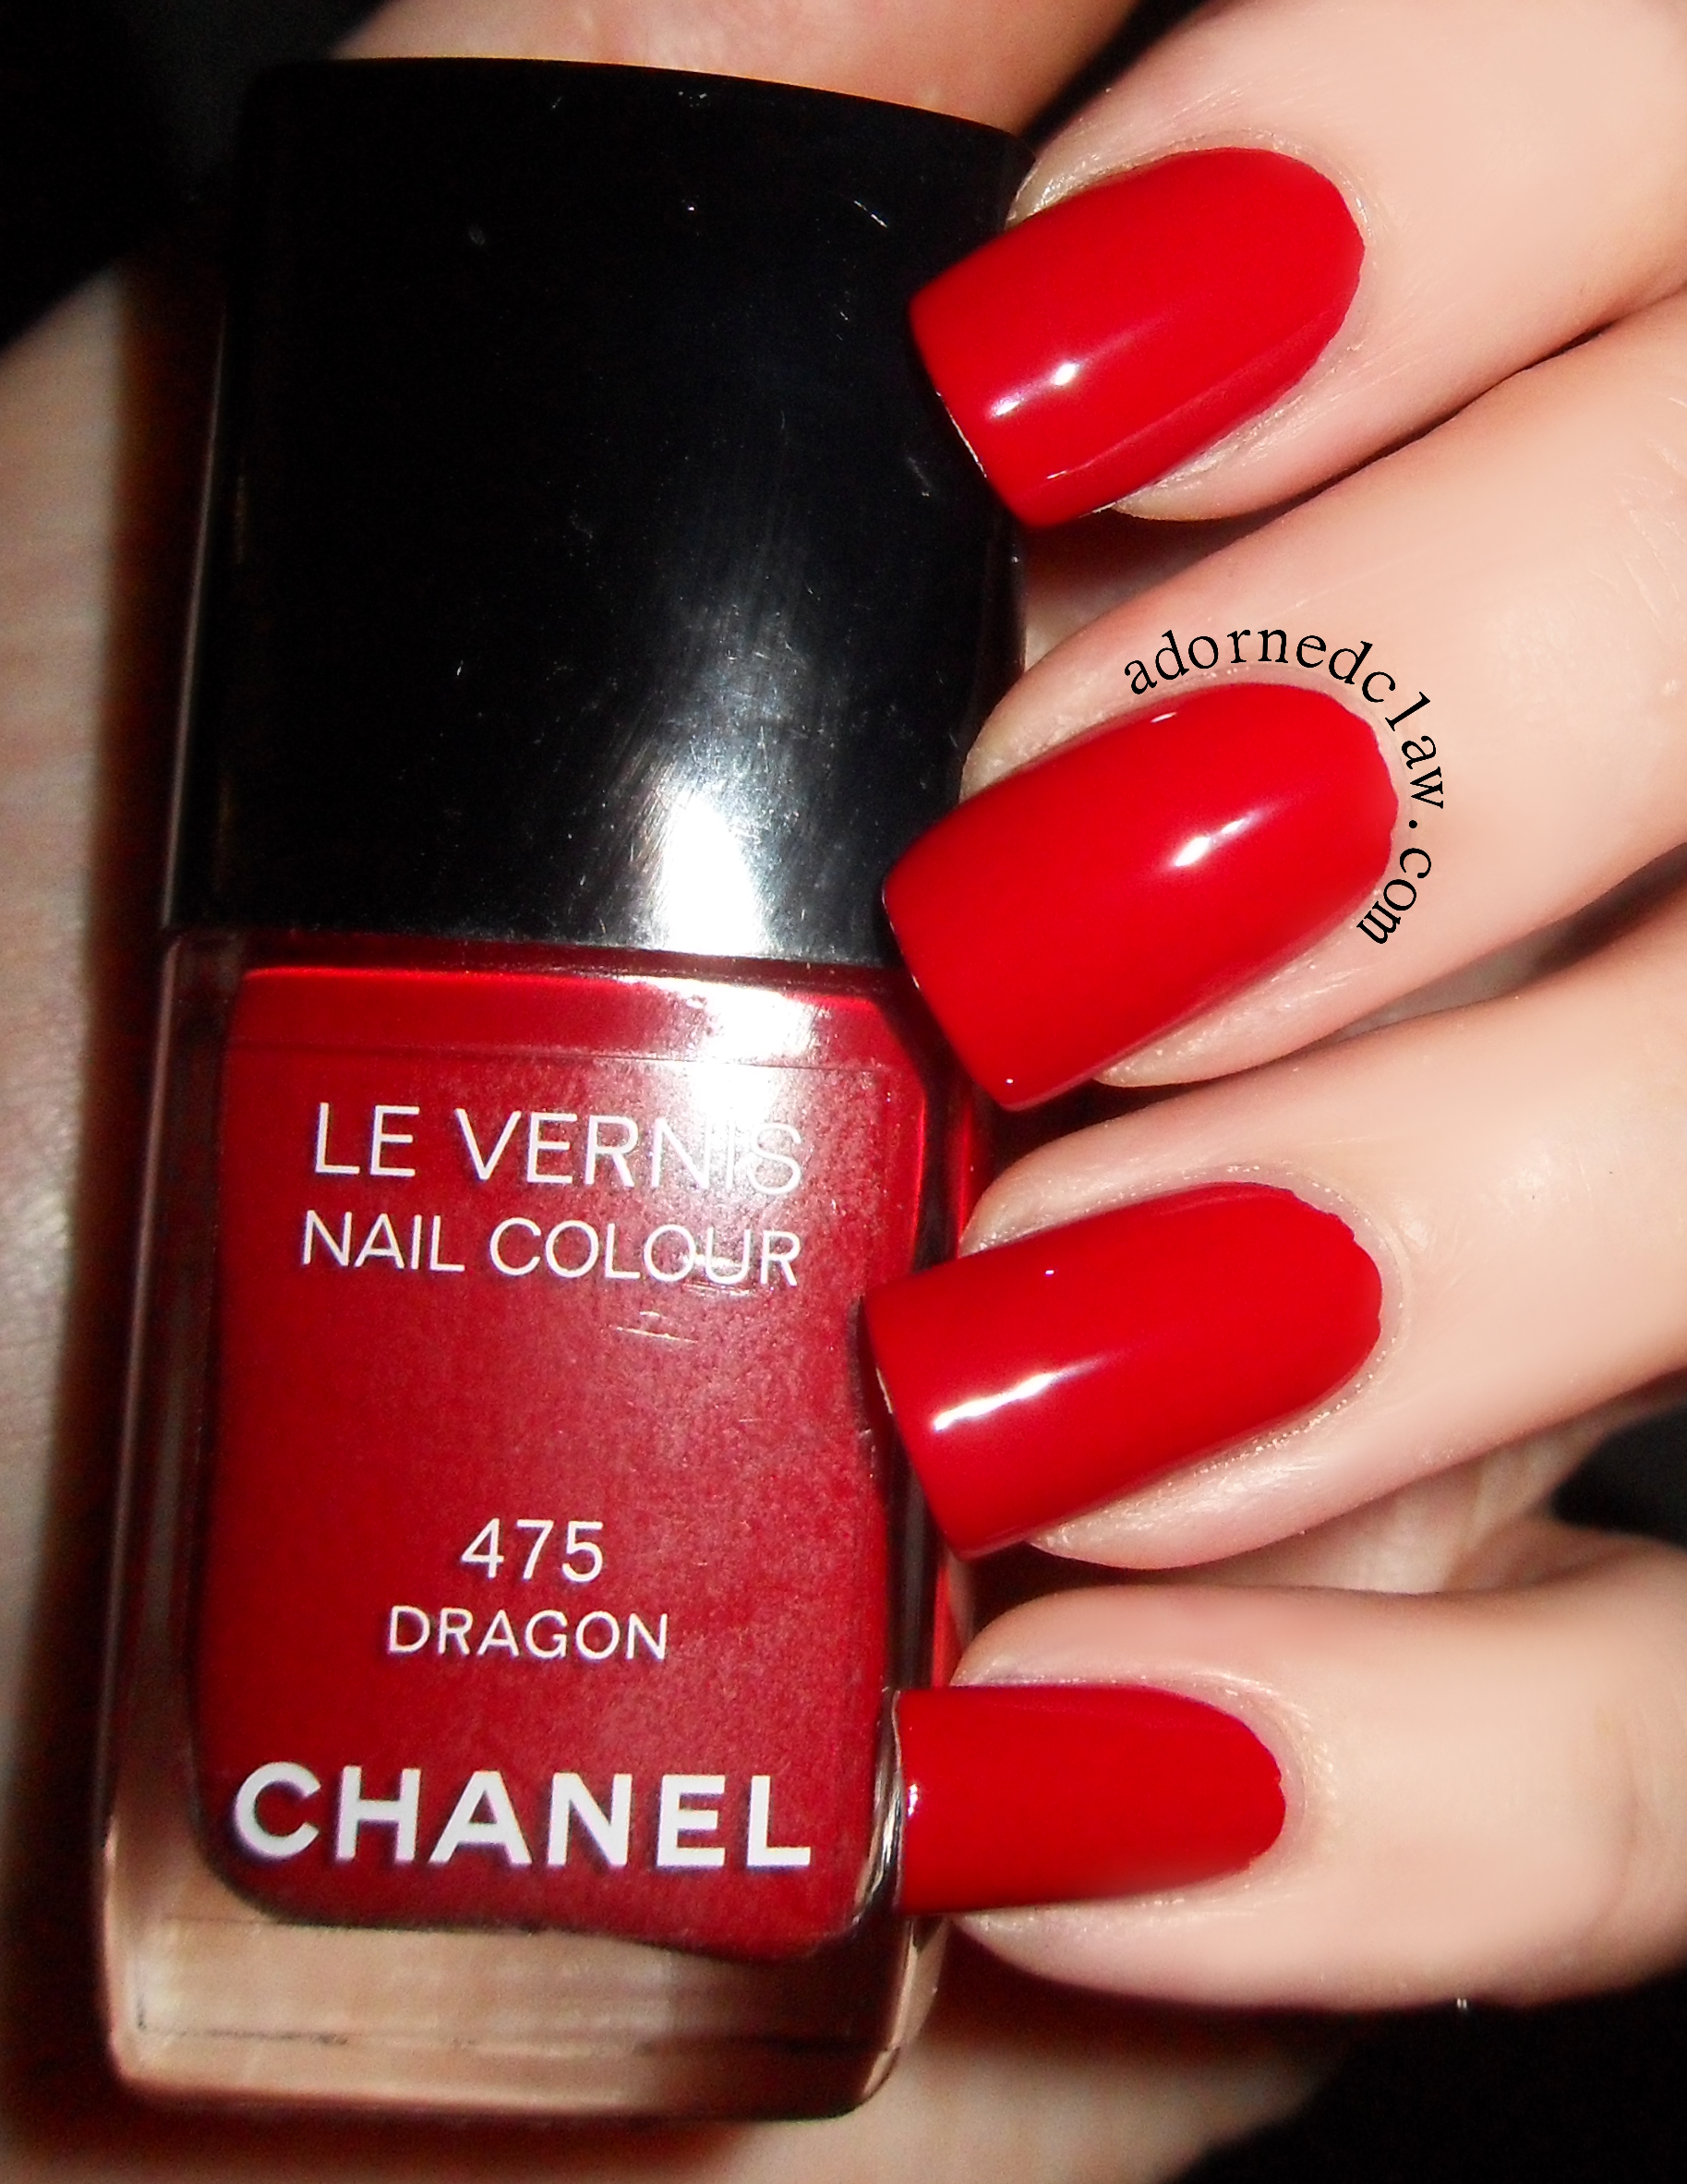
Chanel Dragon

Dragon

Dragon is a bright red cream, the formula is just as wonderful as Black Satin. This is also two coats, for some reason I completely forgot to wrap my tips Ooops!
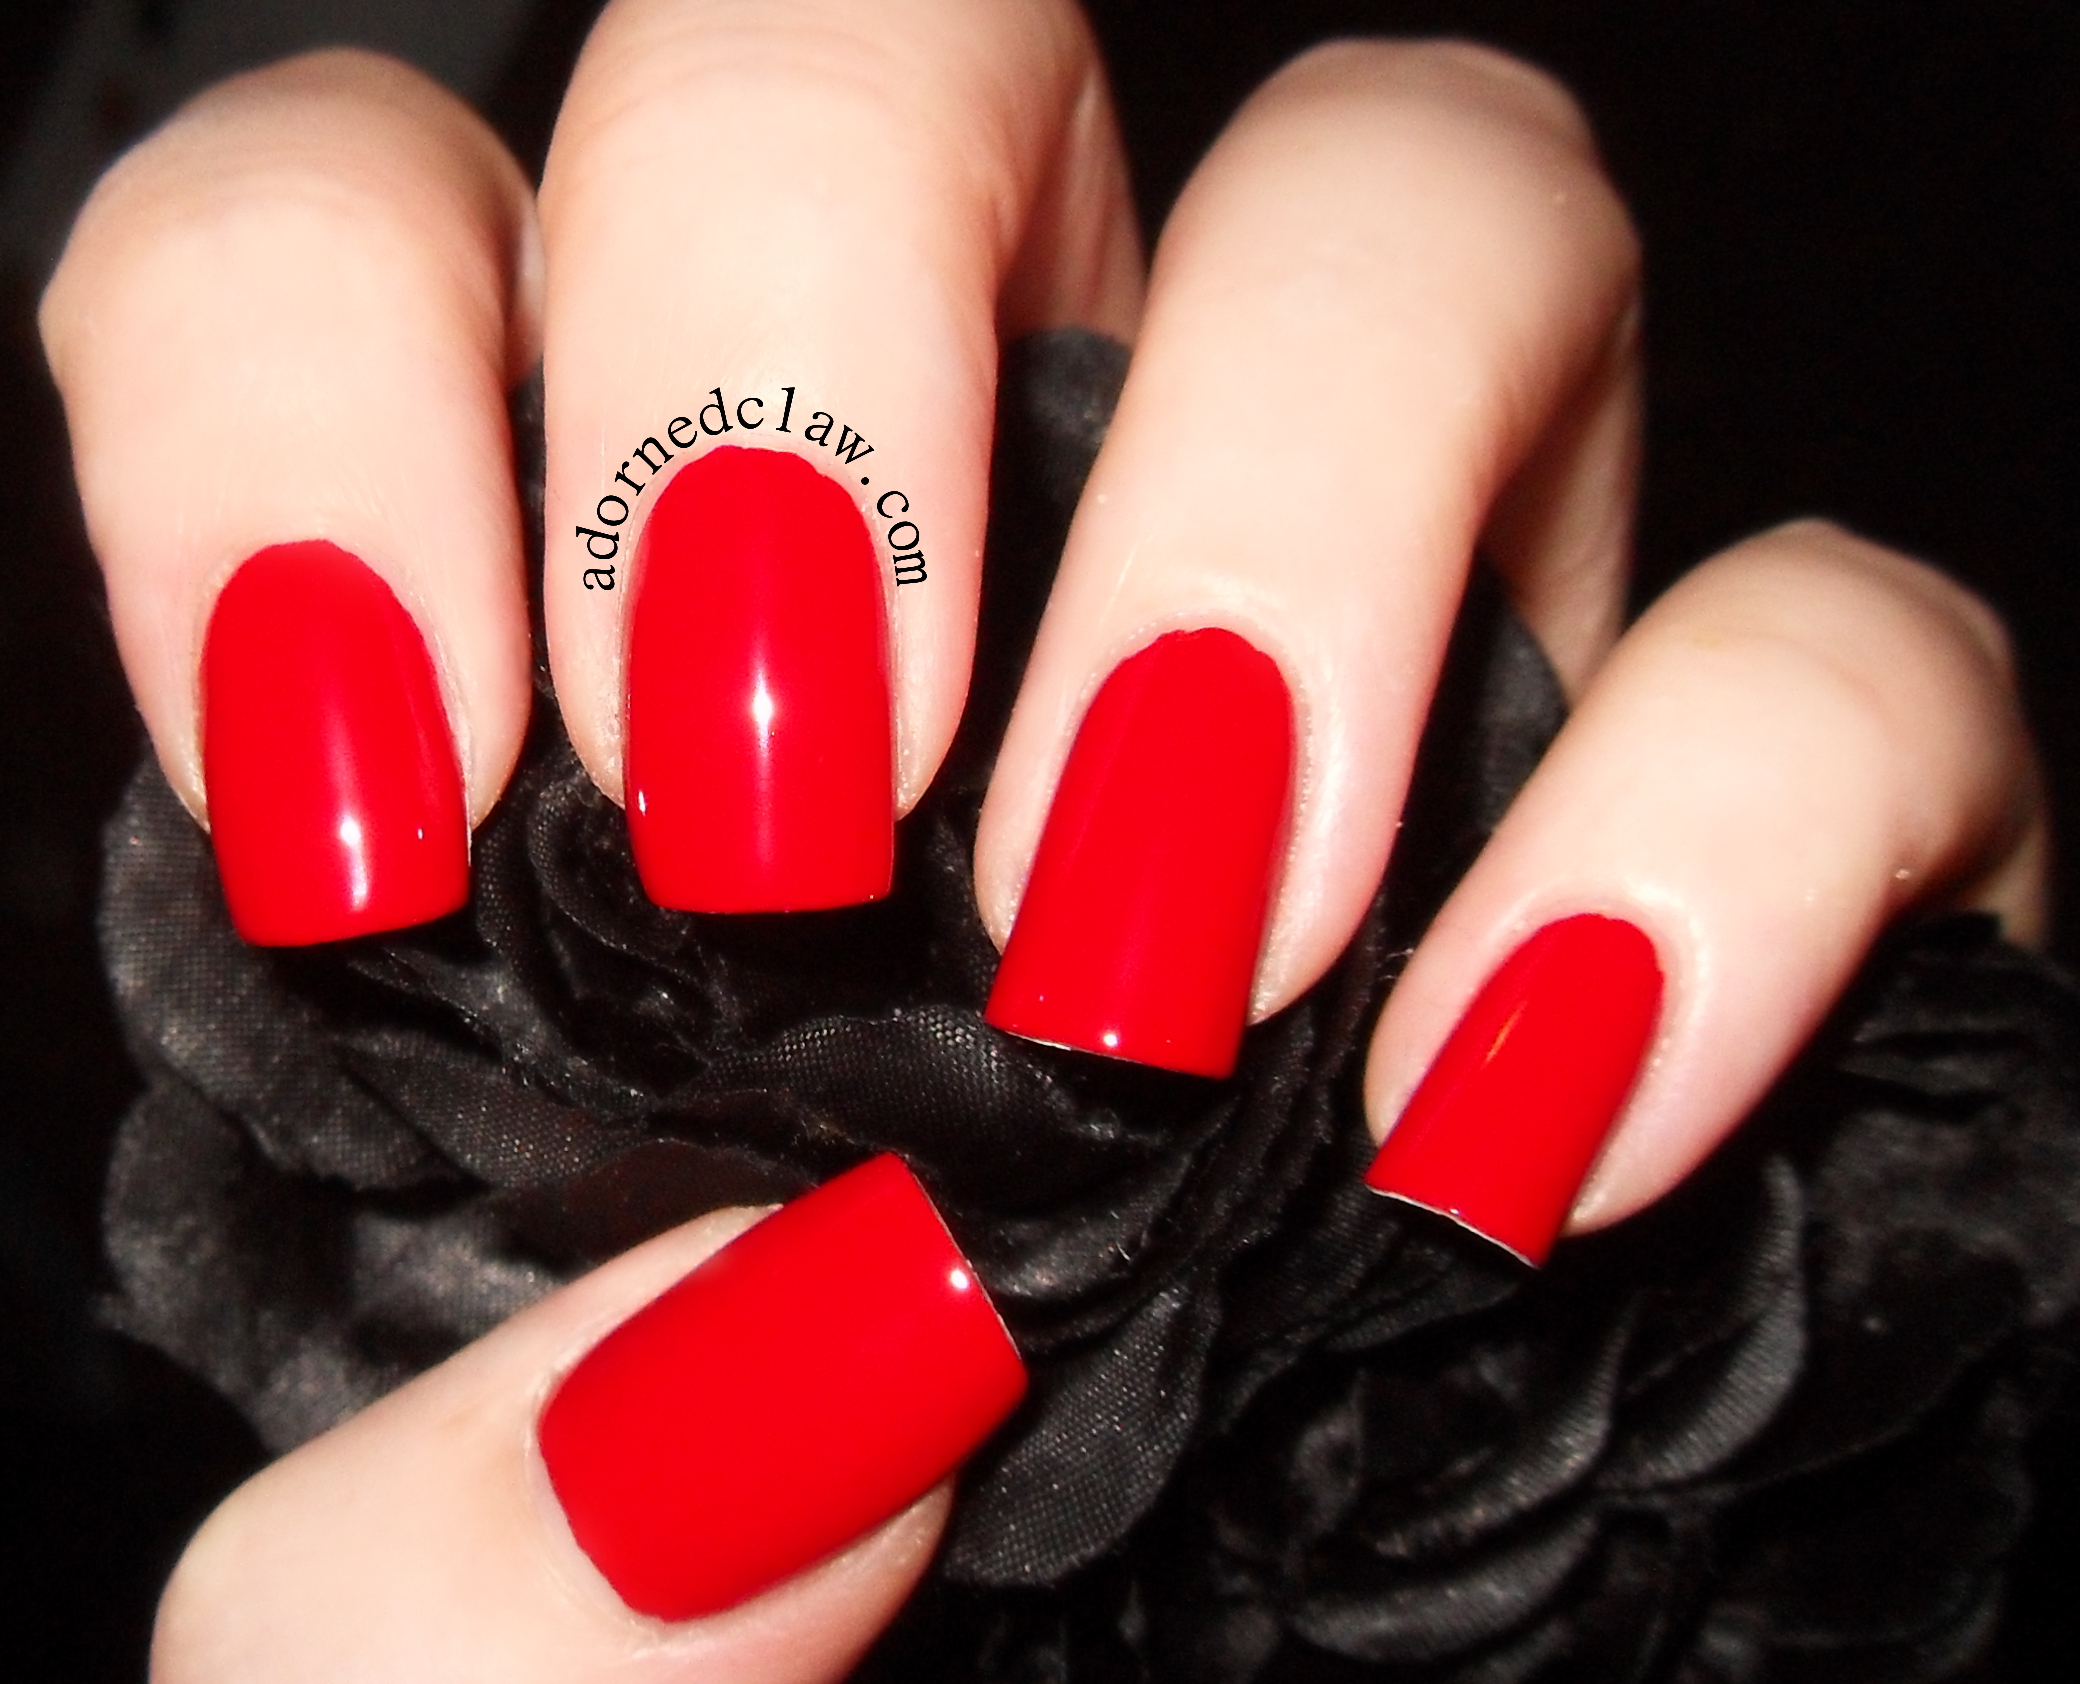
Chanel Dragon 475

Dragon

This one is called Black Pearl.
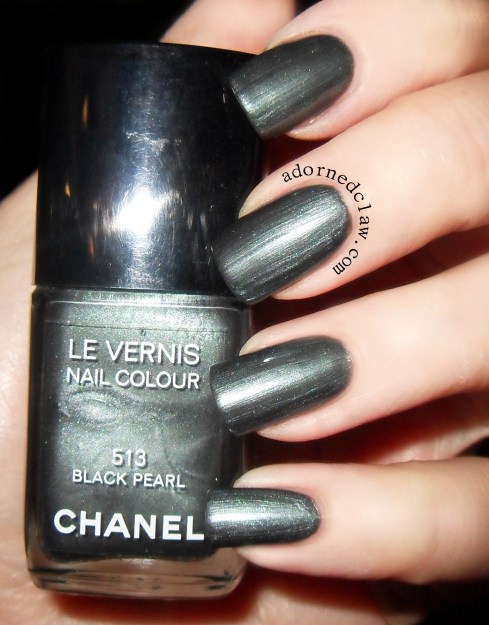
Chanel Black Pearl

Black Pearl

It’s a shimmery dark silver grey, I find the formula for this polish to be a tiny bit thinner than the others, it wasn’t difficult to apply, just not as easy as the others.

I applied three coats, I really like the subtle iridescent shimmer in this polish, It makes the polish slightly different, and maybe a bit more special than all the other dark silver shimmers polishes out there!
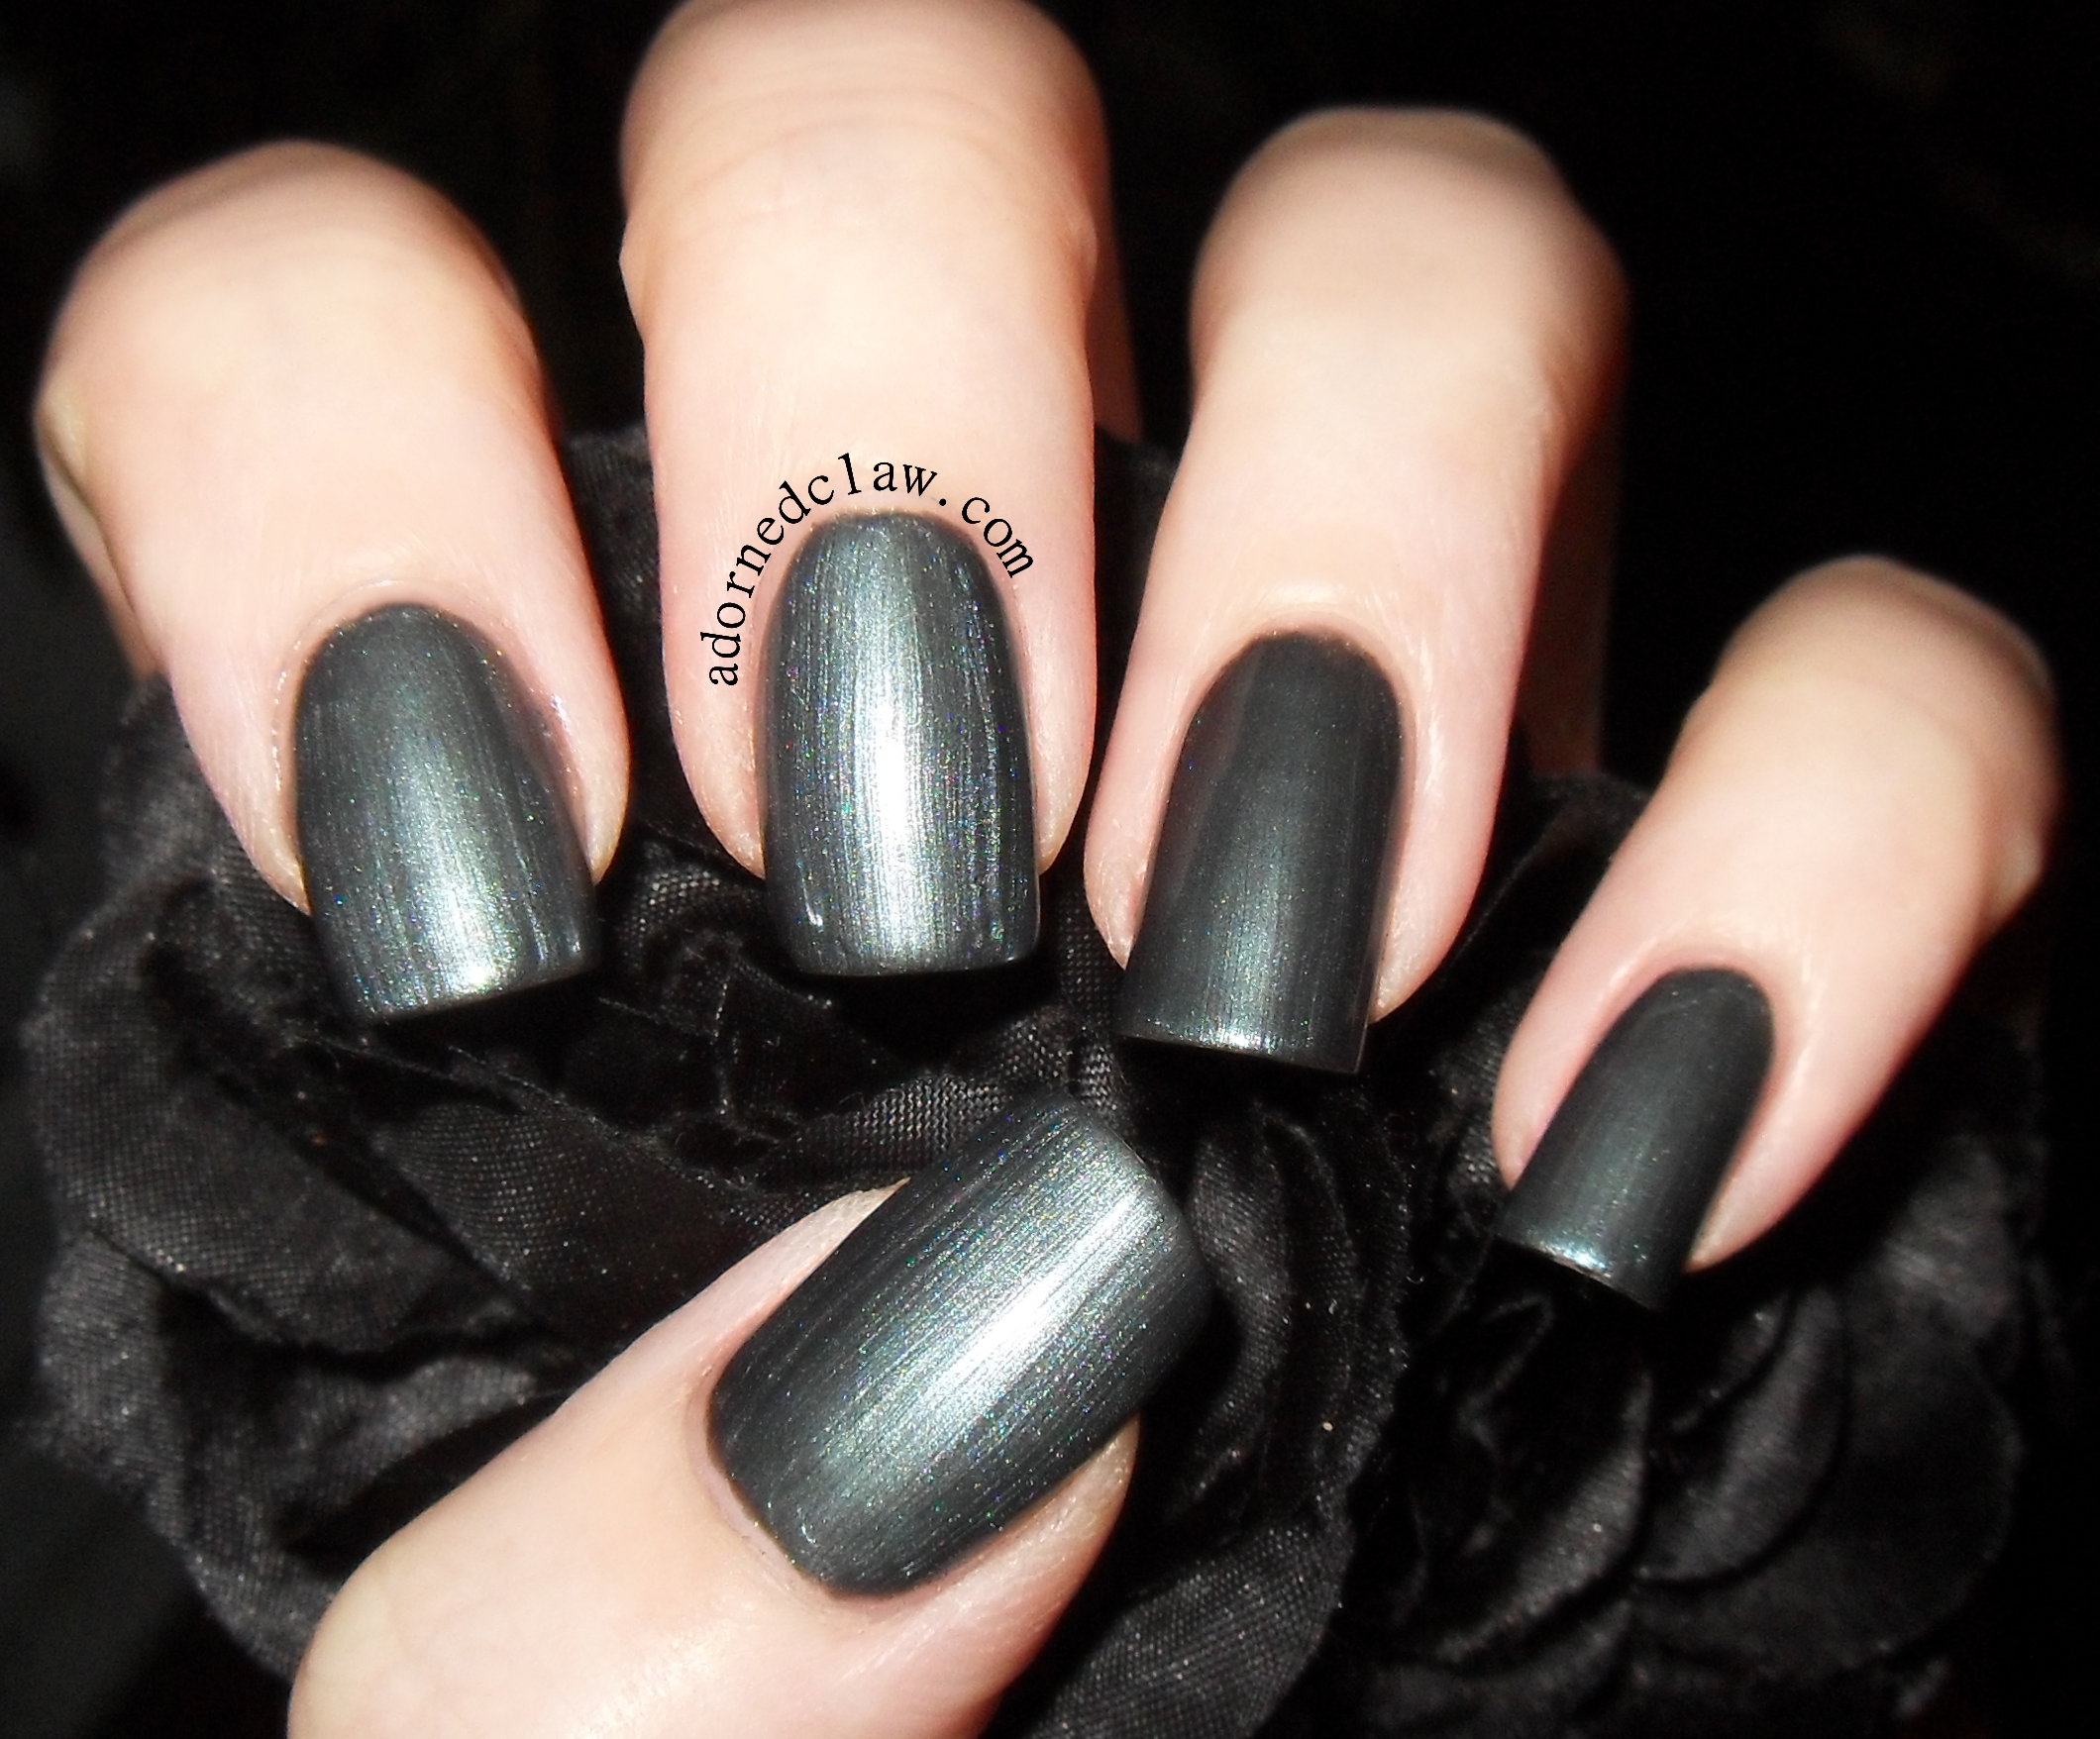
Chanel Black Pearl 513

Black Pearl

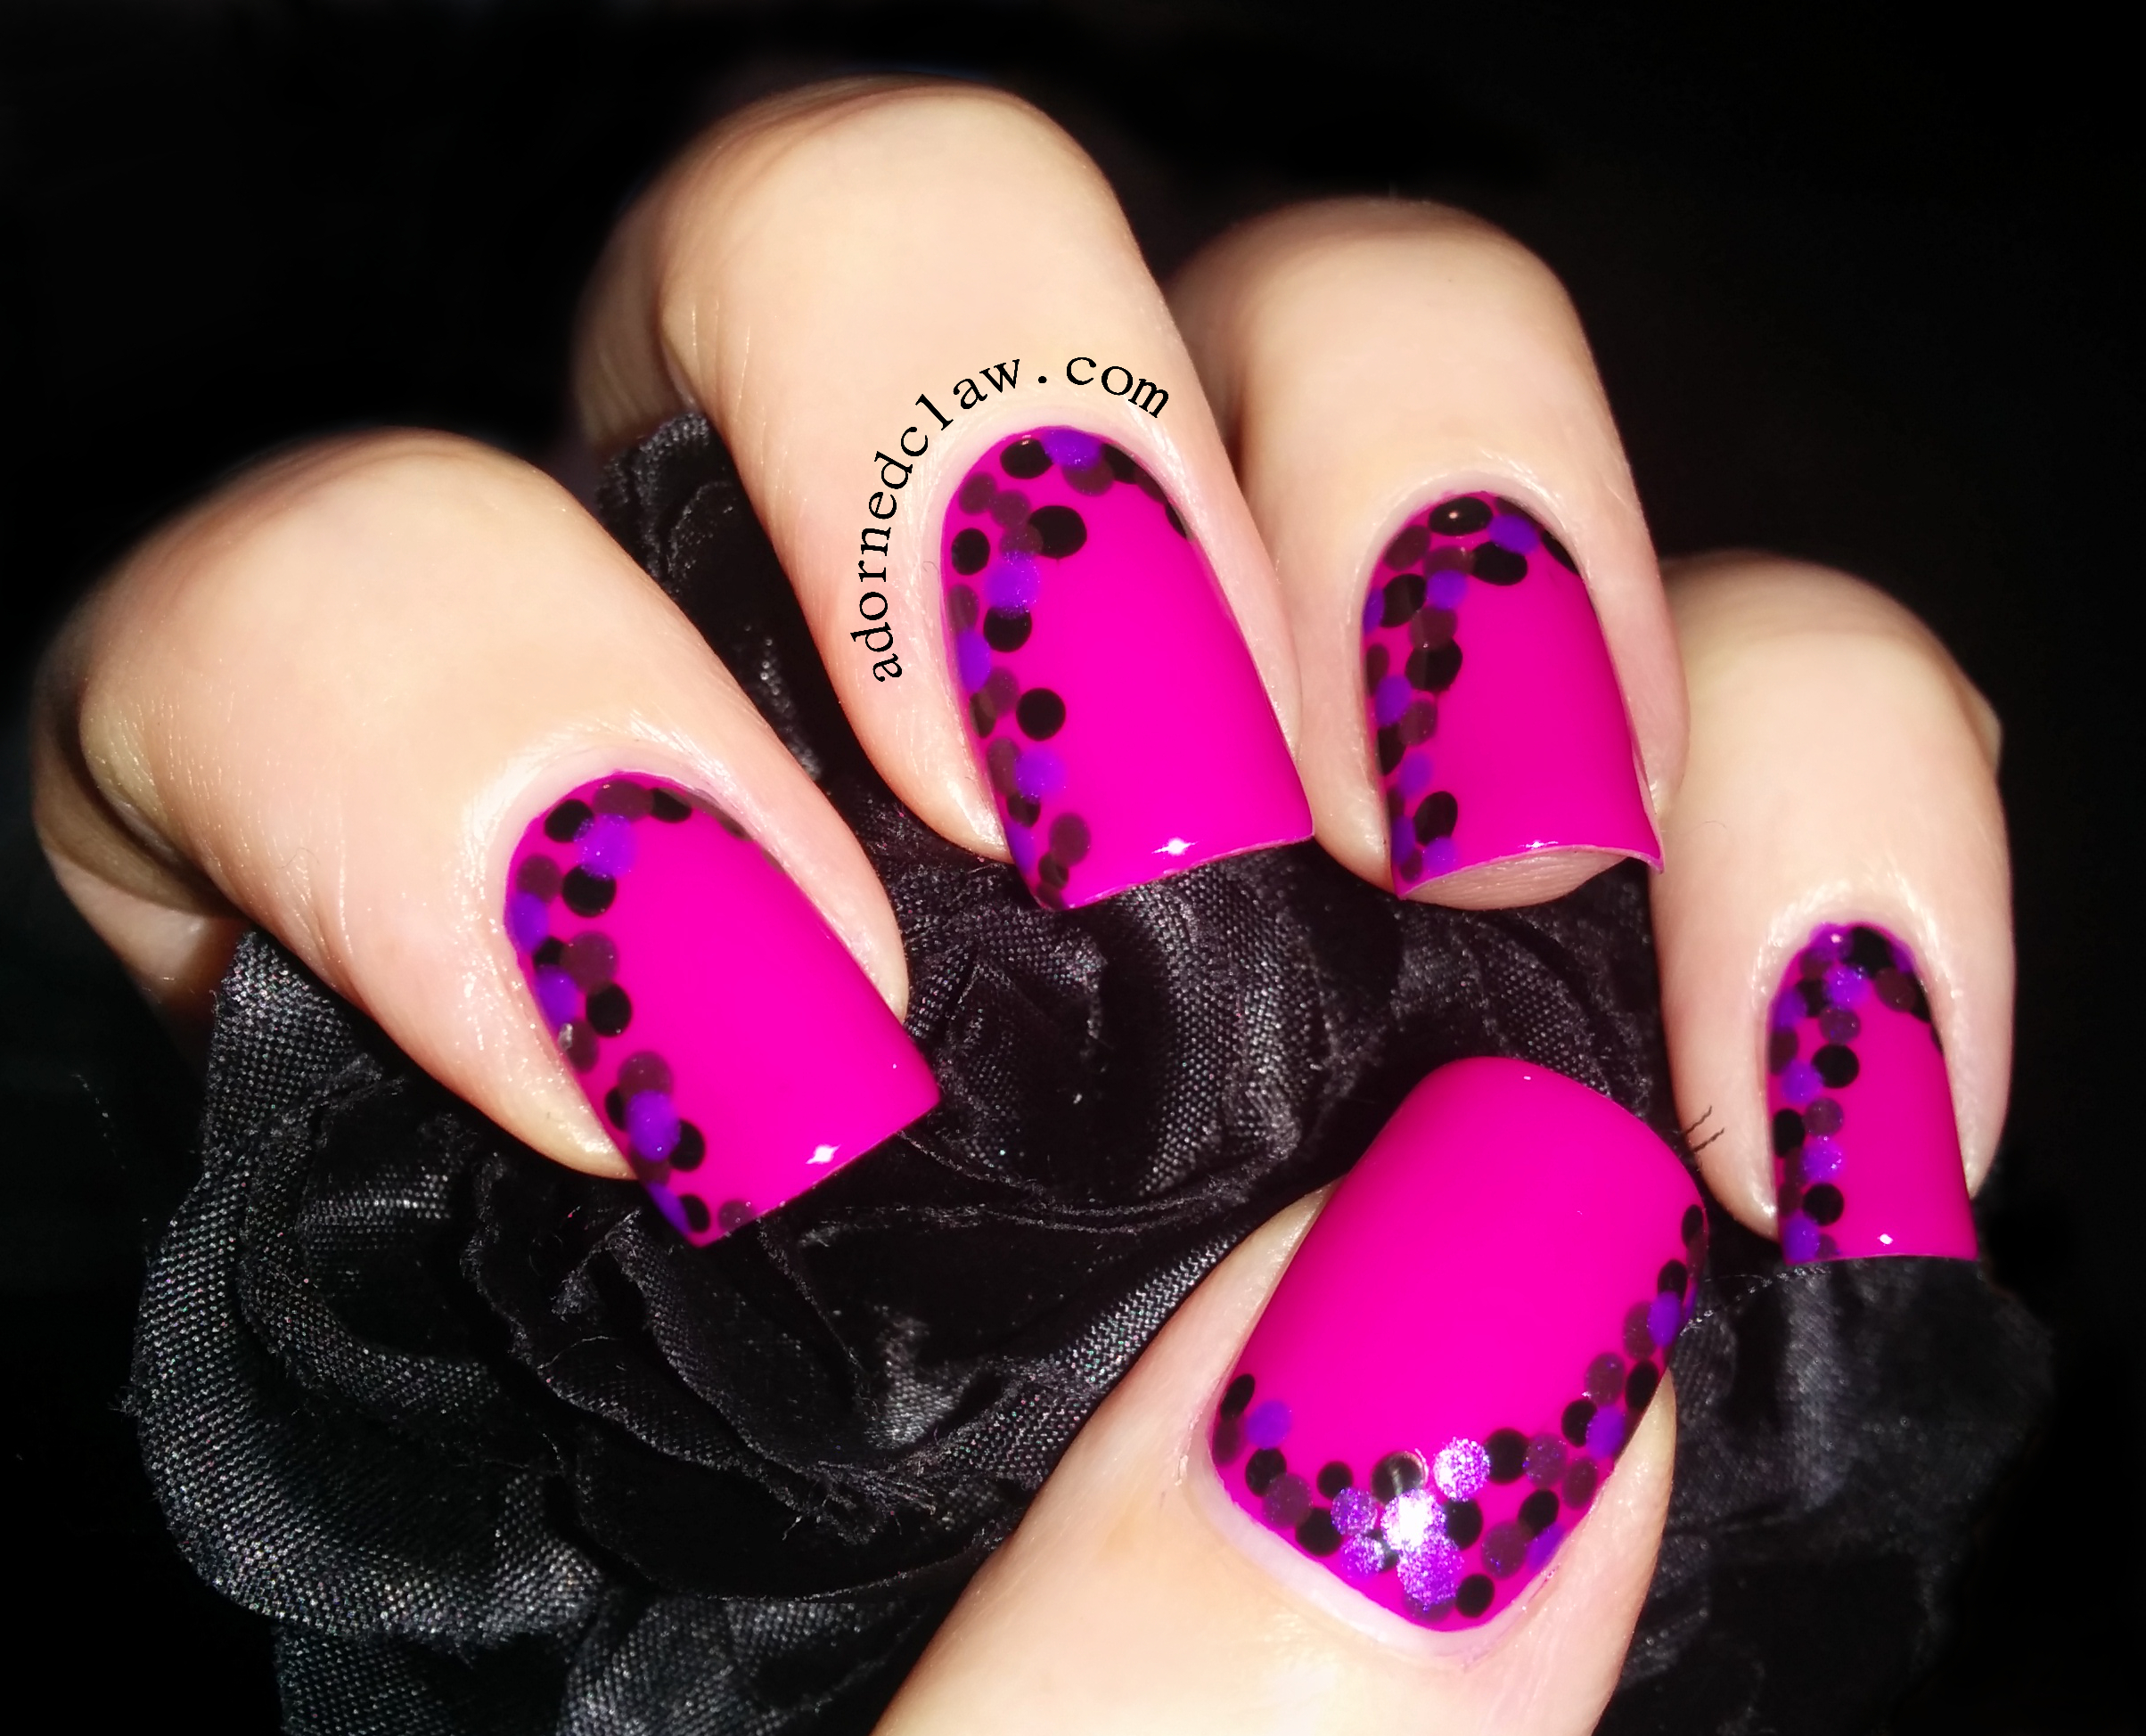
This bright pink cream is called Splendeur.
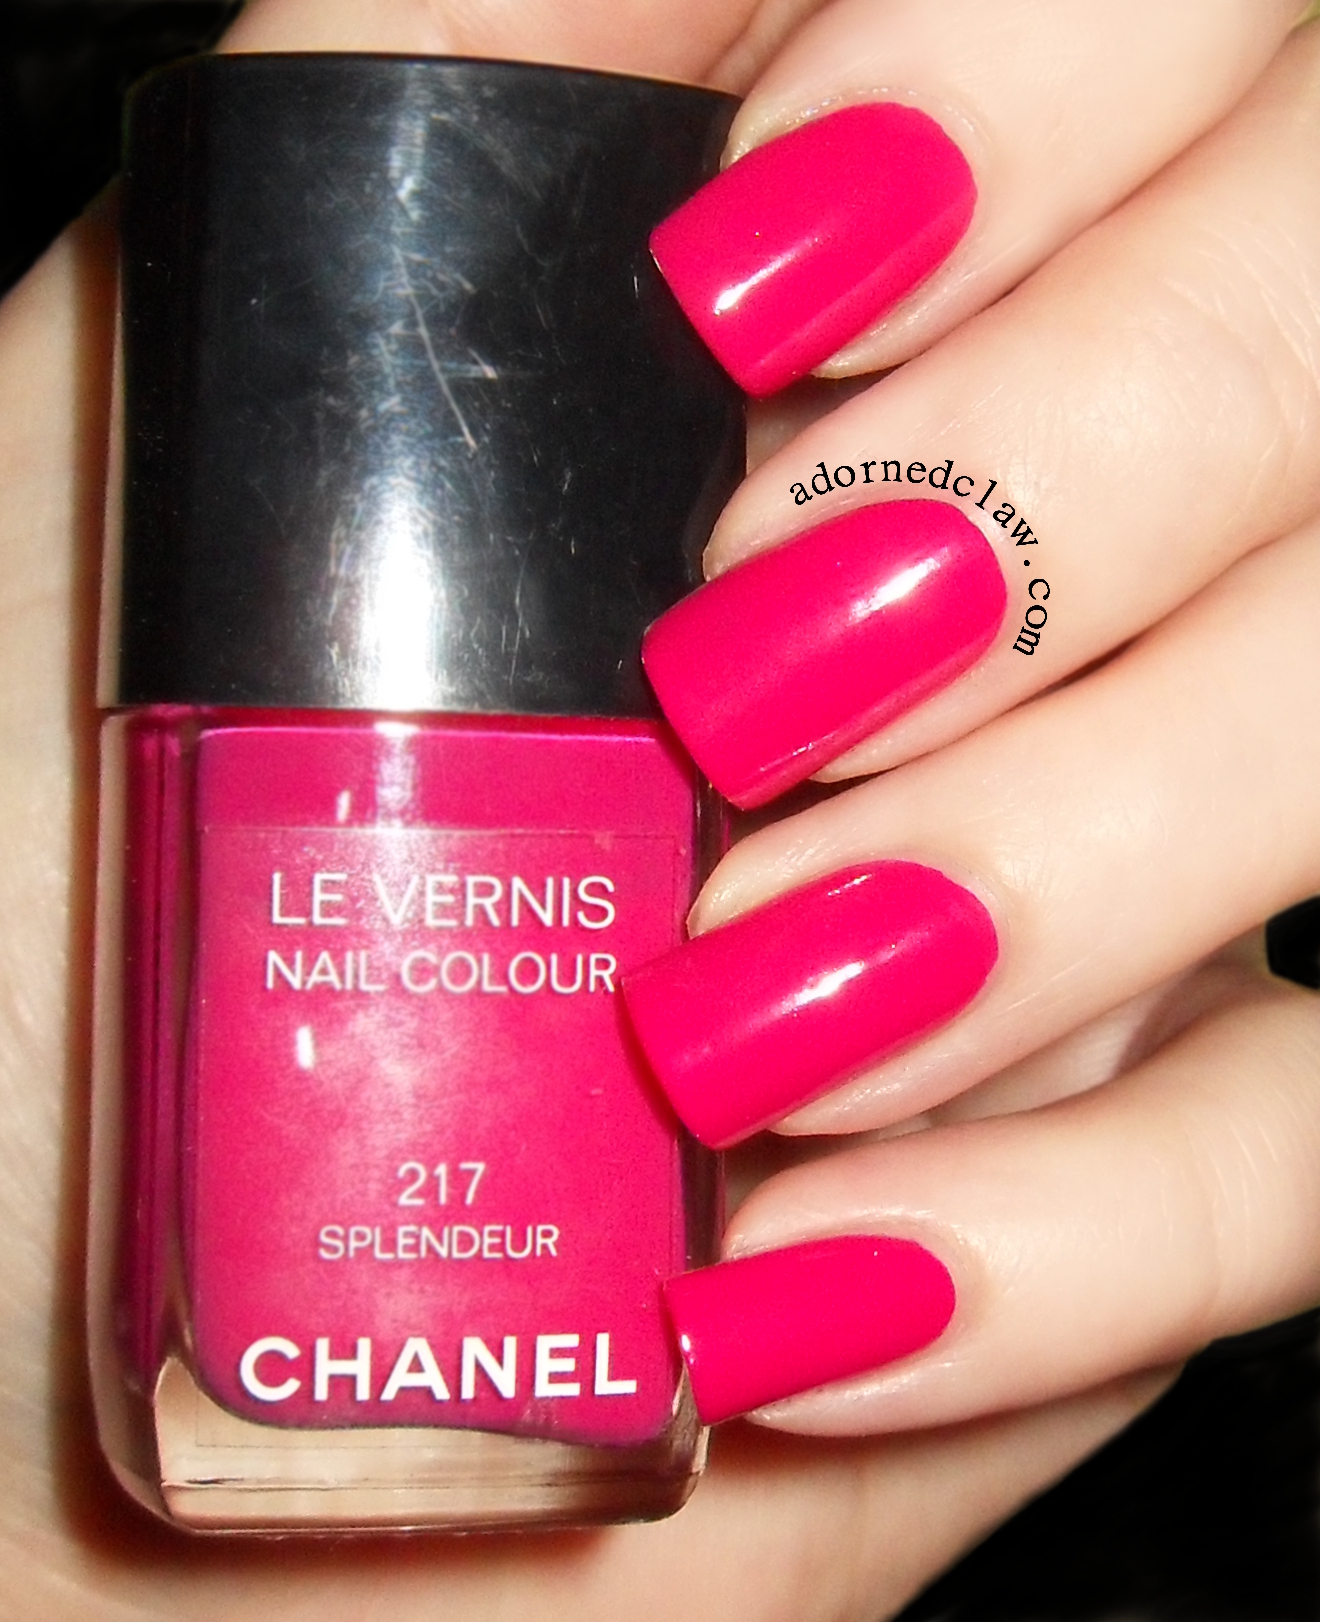
Chanel Splendeur

Splendeur

This applied polish in one coat! the coverage is amazing! Splendeur is a fabulous pink, it’s almost a neon but still really glossy.
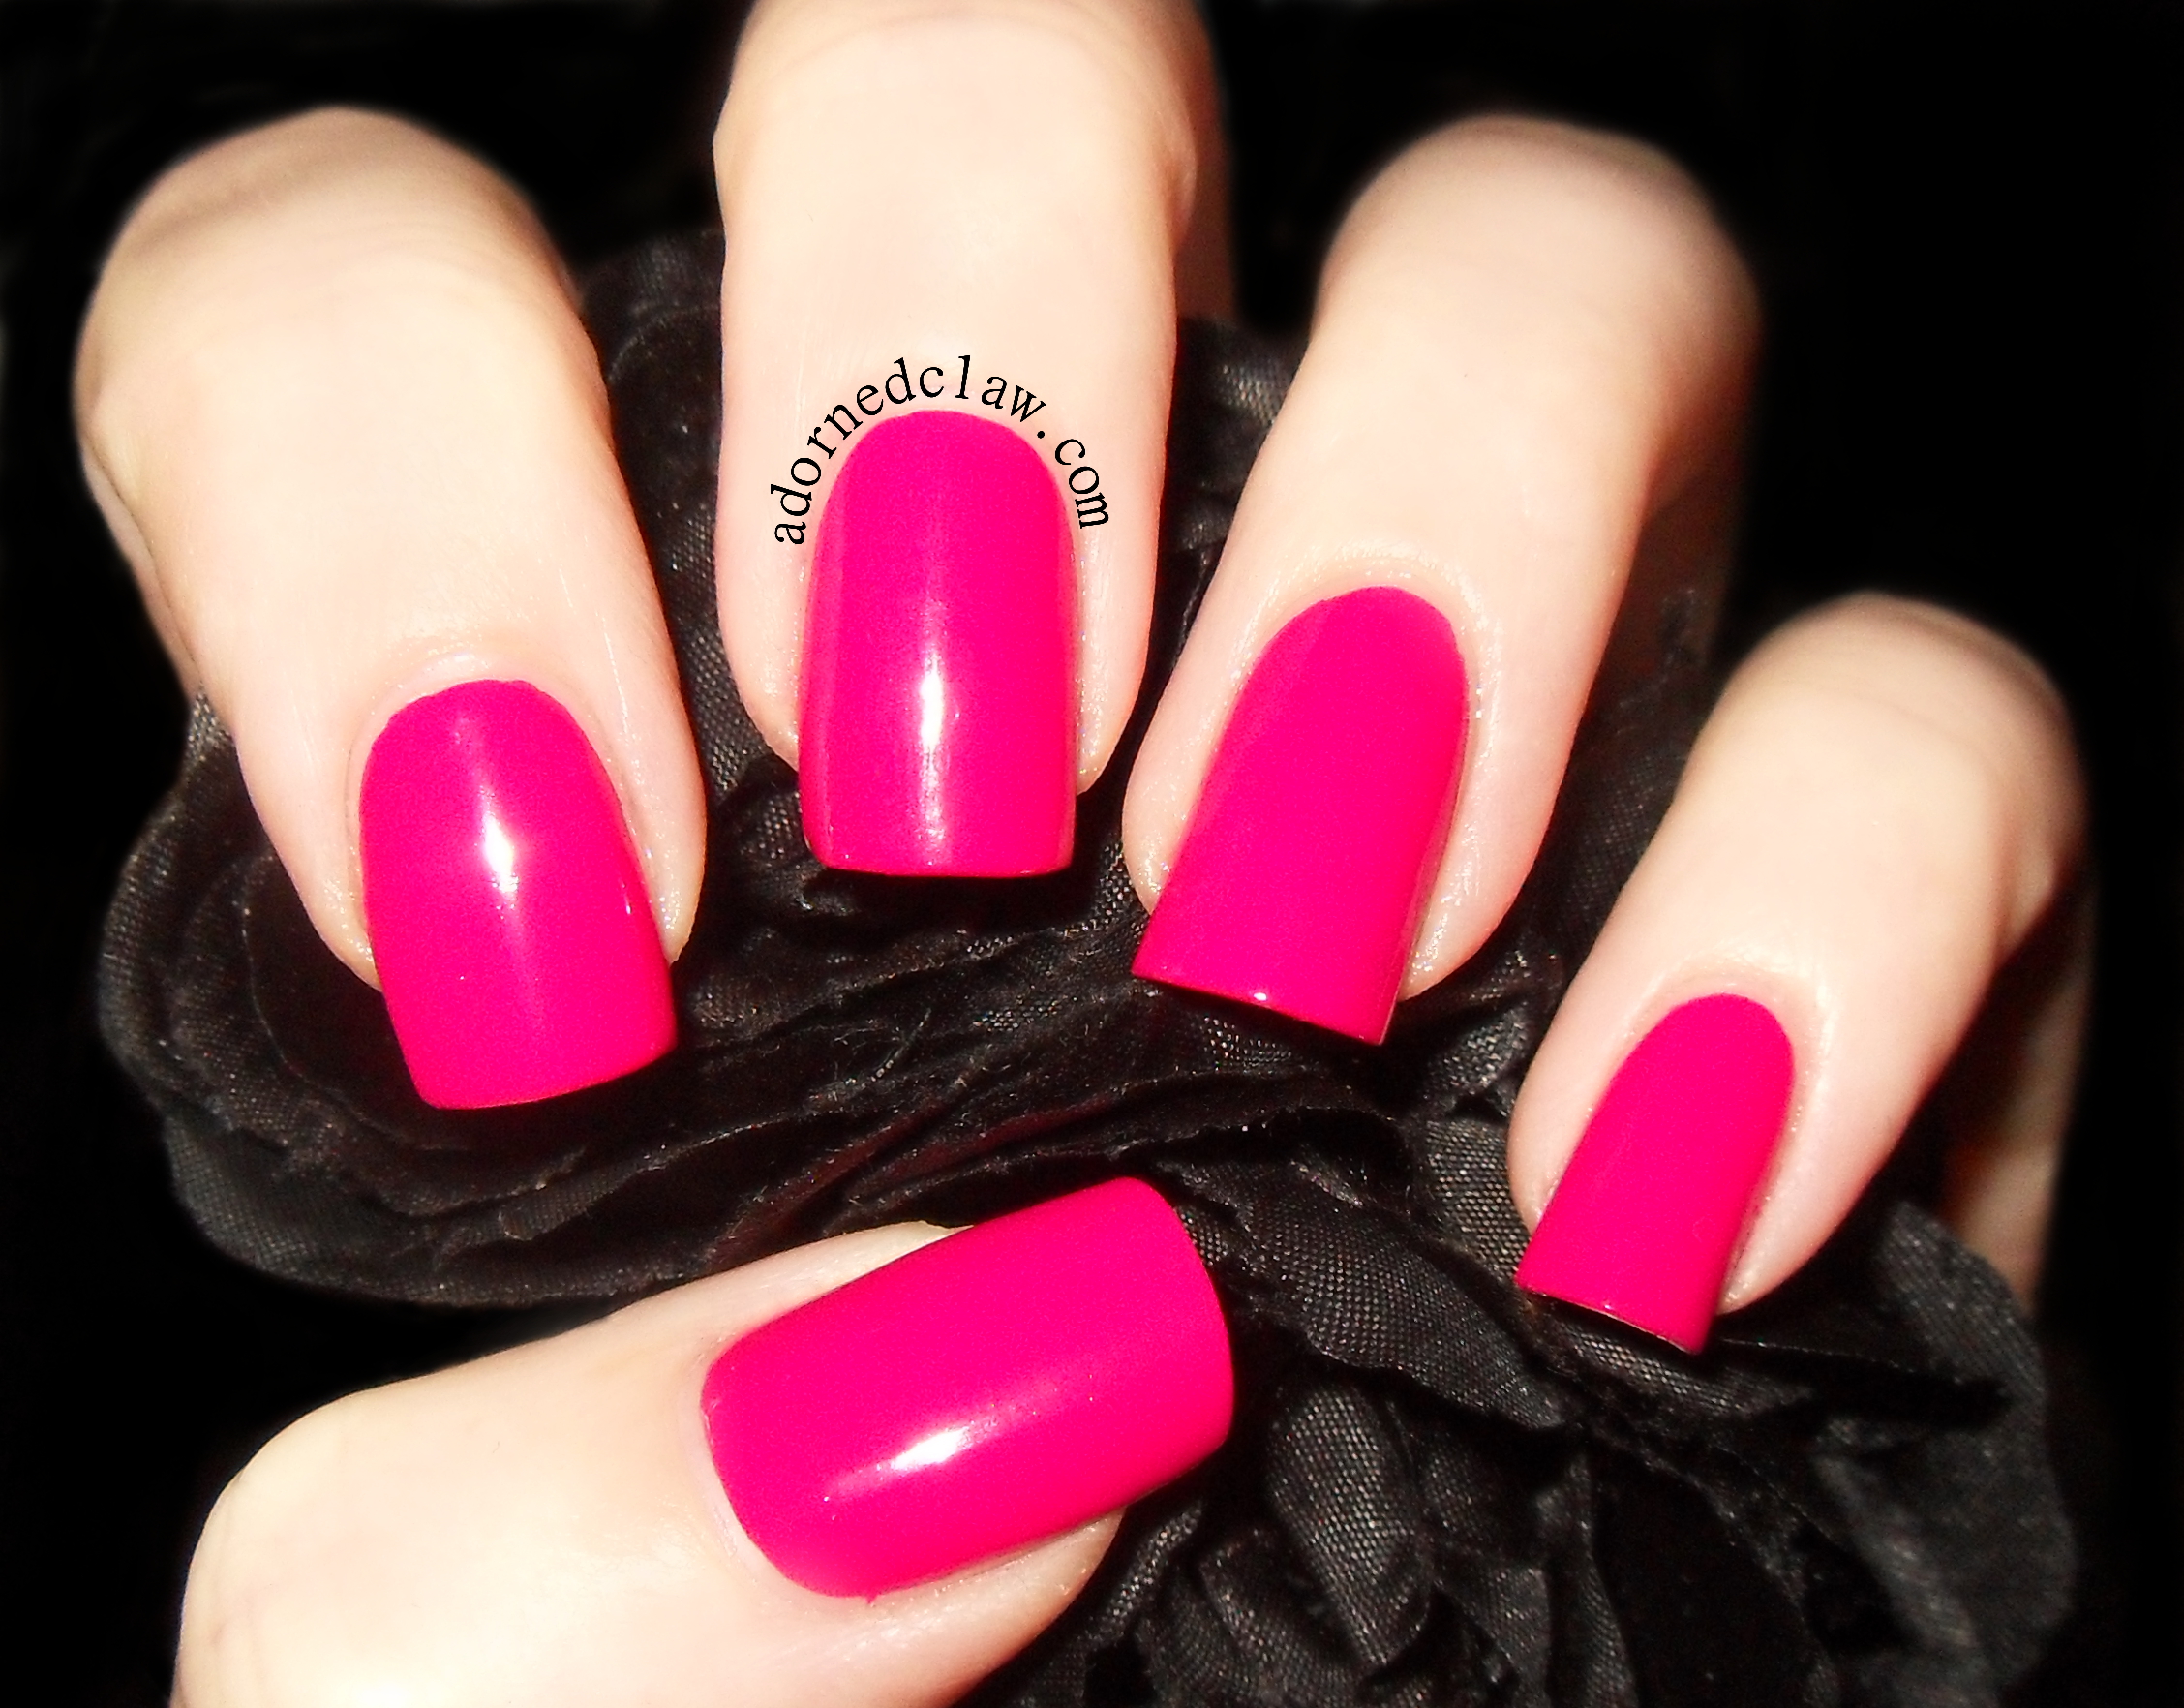
Chanel Splendeur 217

Splendeur

This is Paradoxical, it’s one of my favorites!
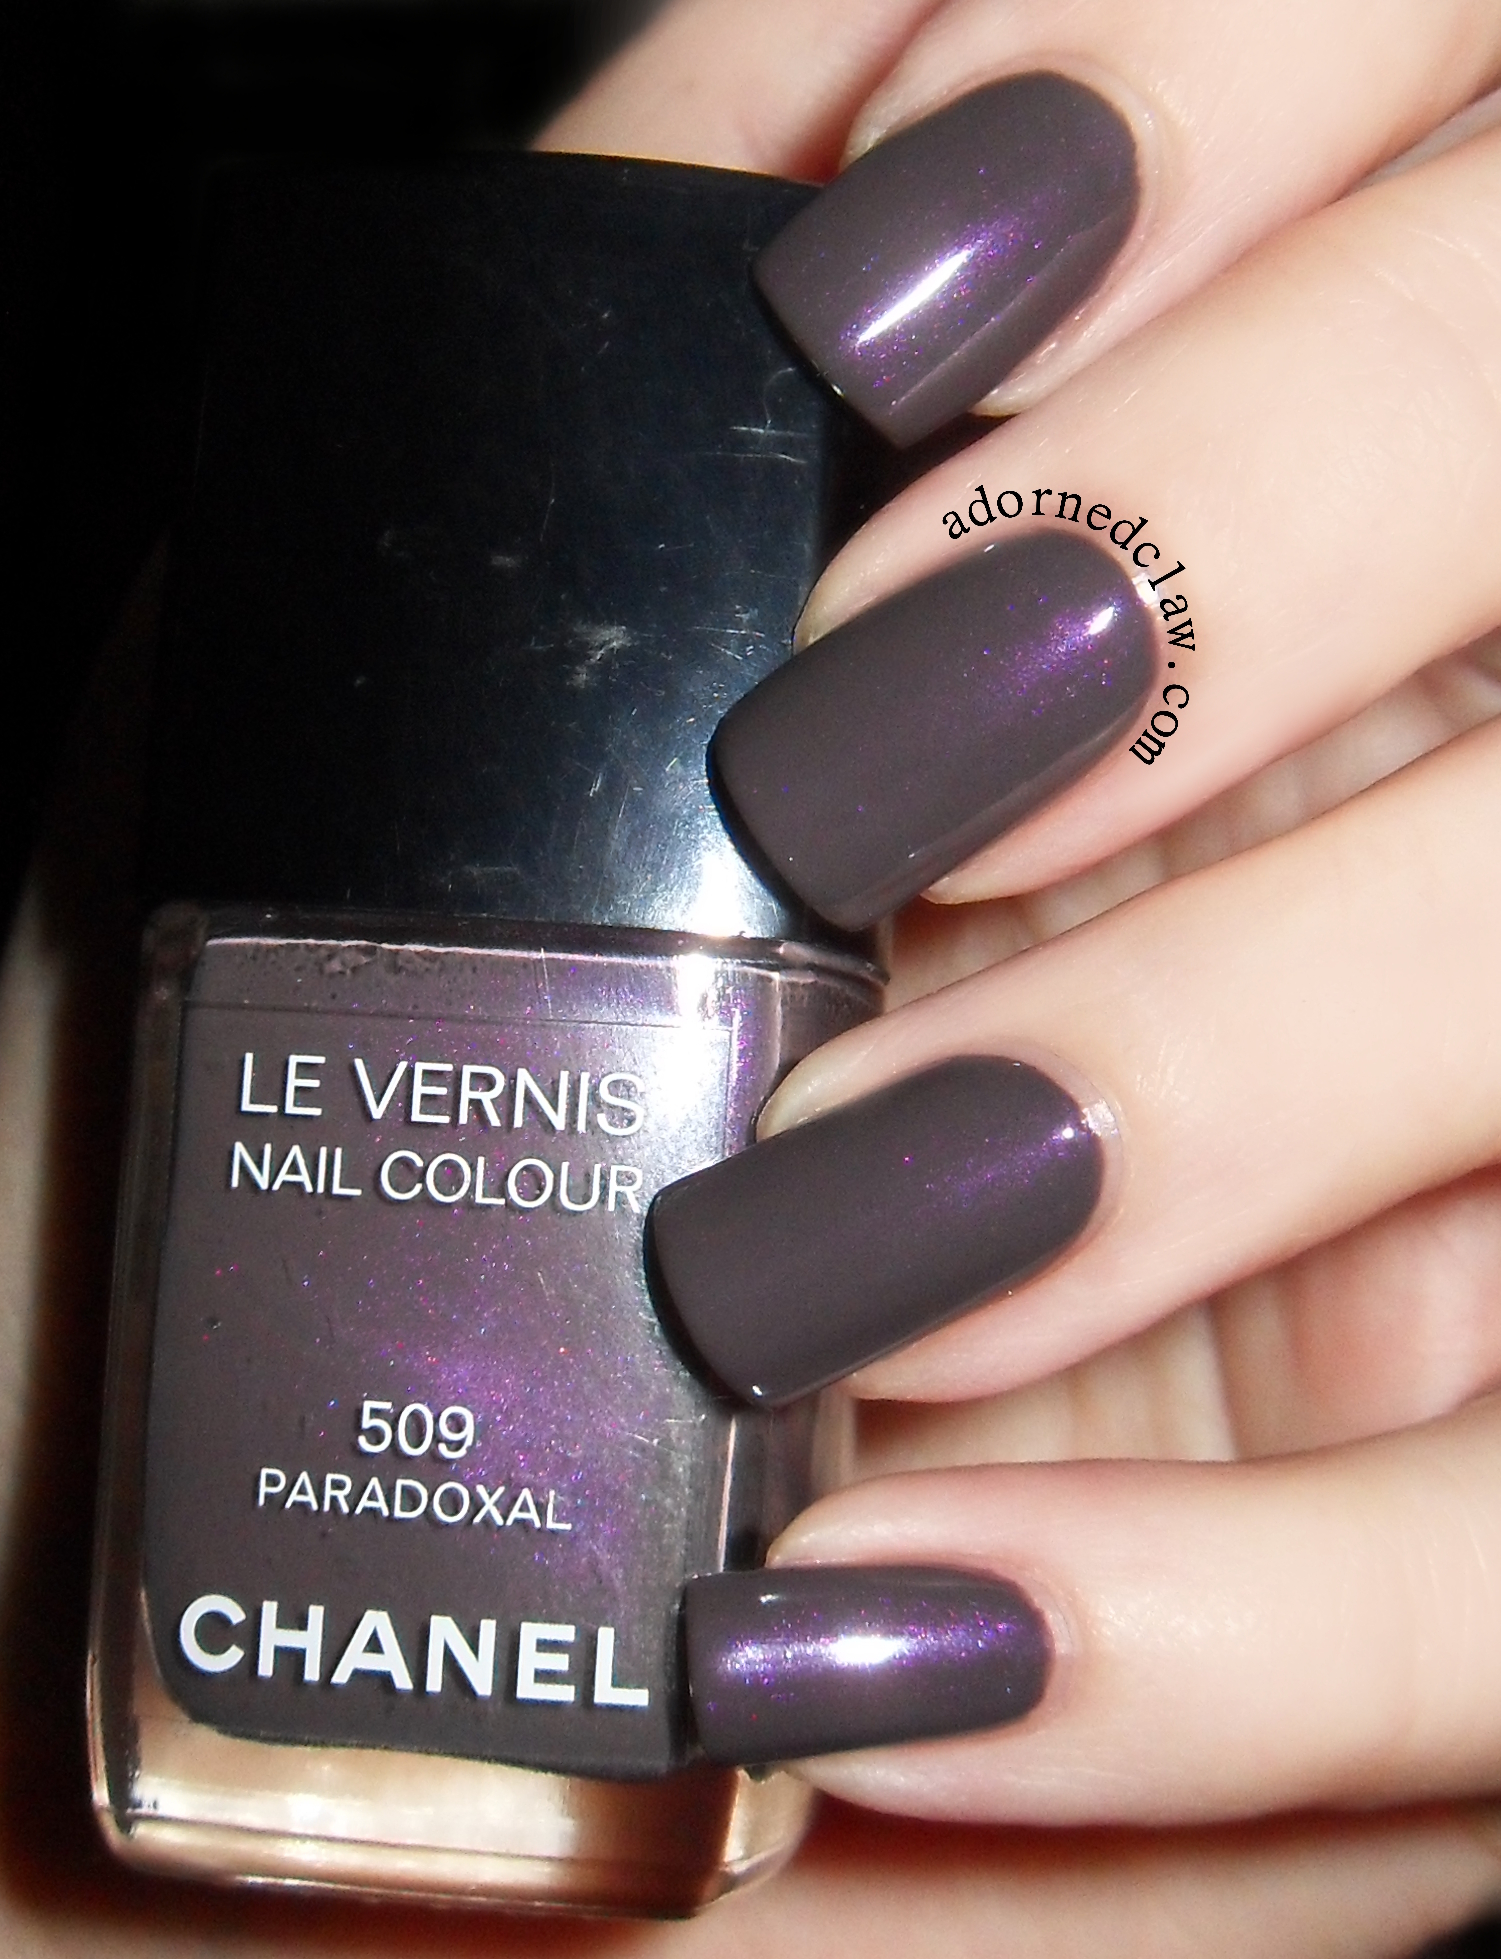
Chanel Paradoxical

Paradoxical

This is a lovely warm grey with a purple iridescent shimmer. this took two coats to be opaque and dries really quickly!
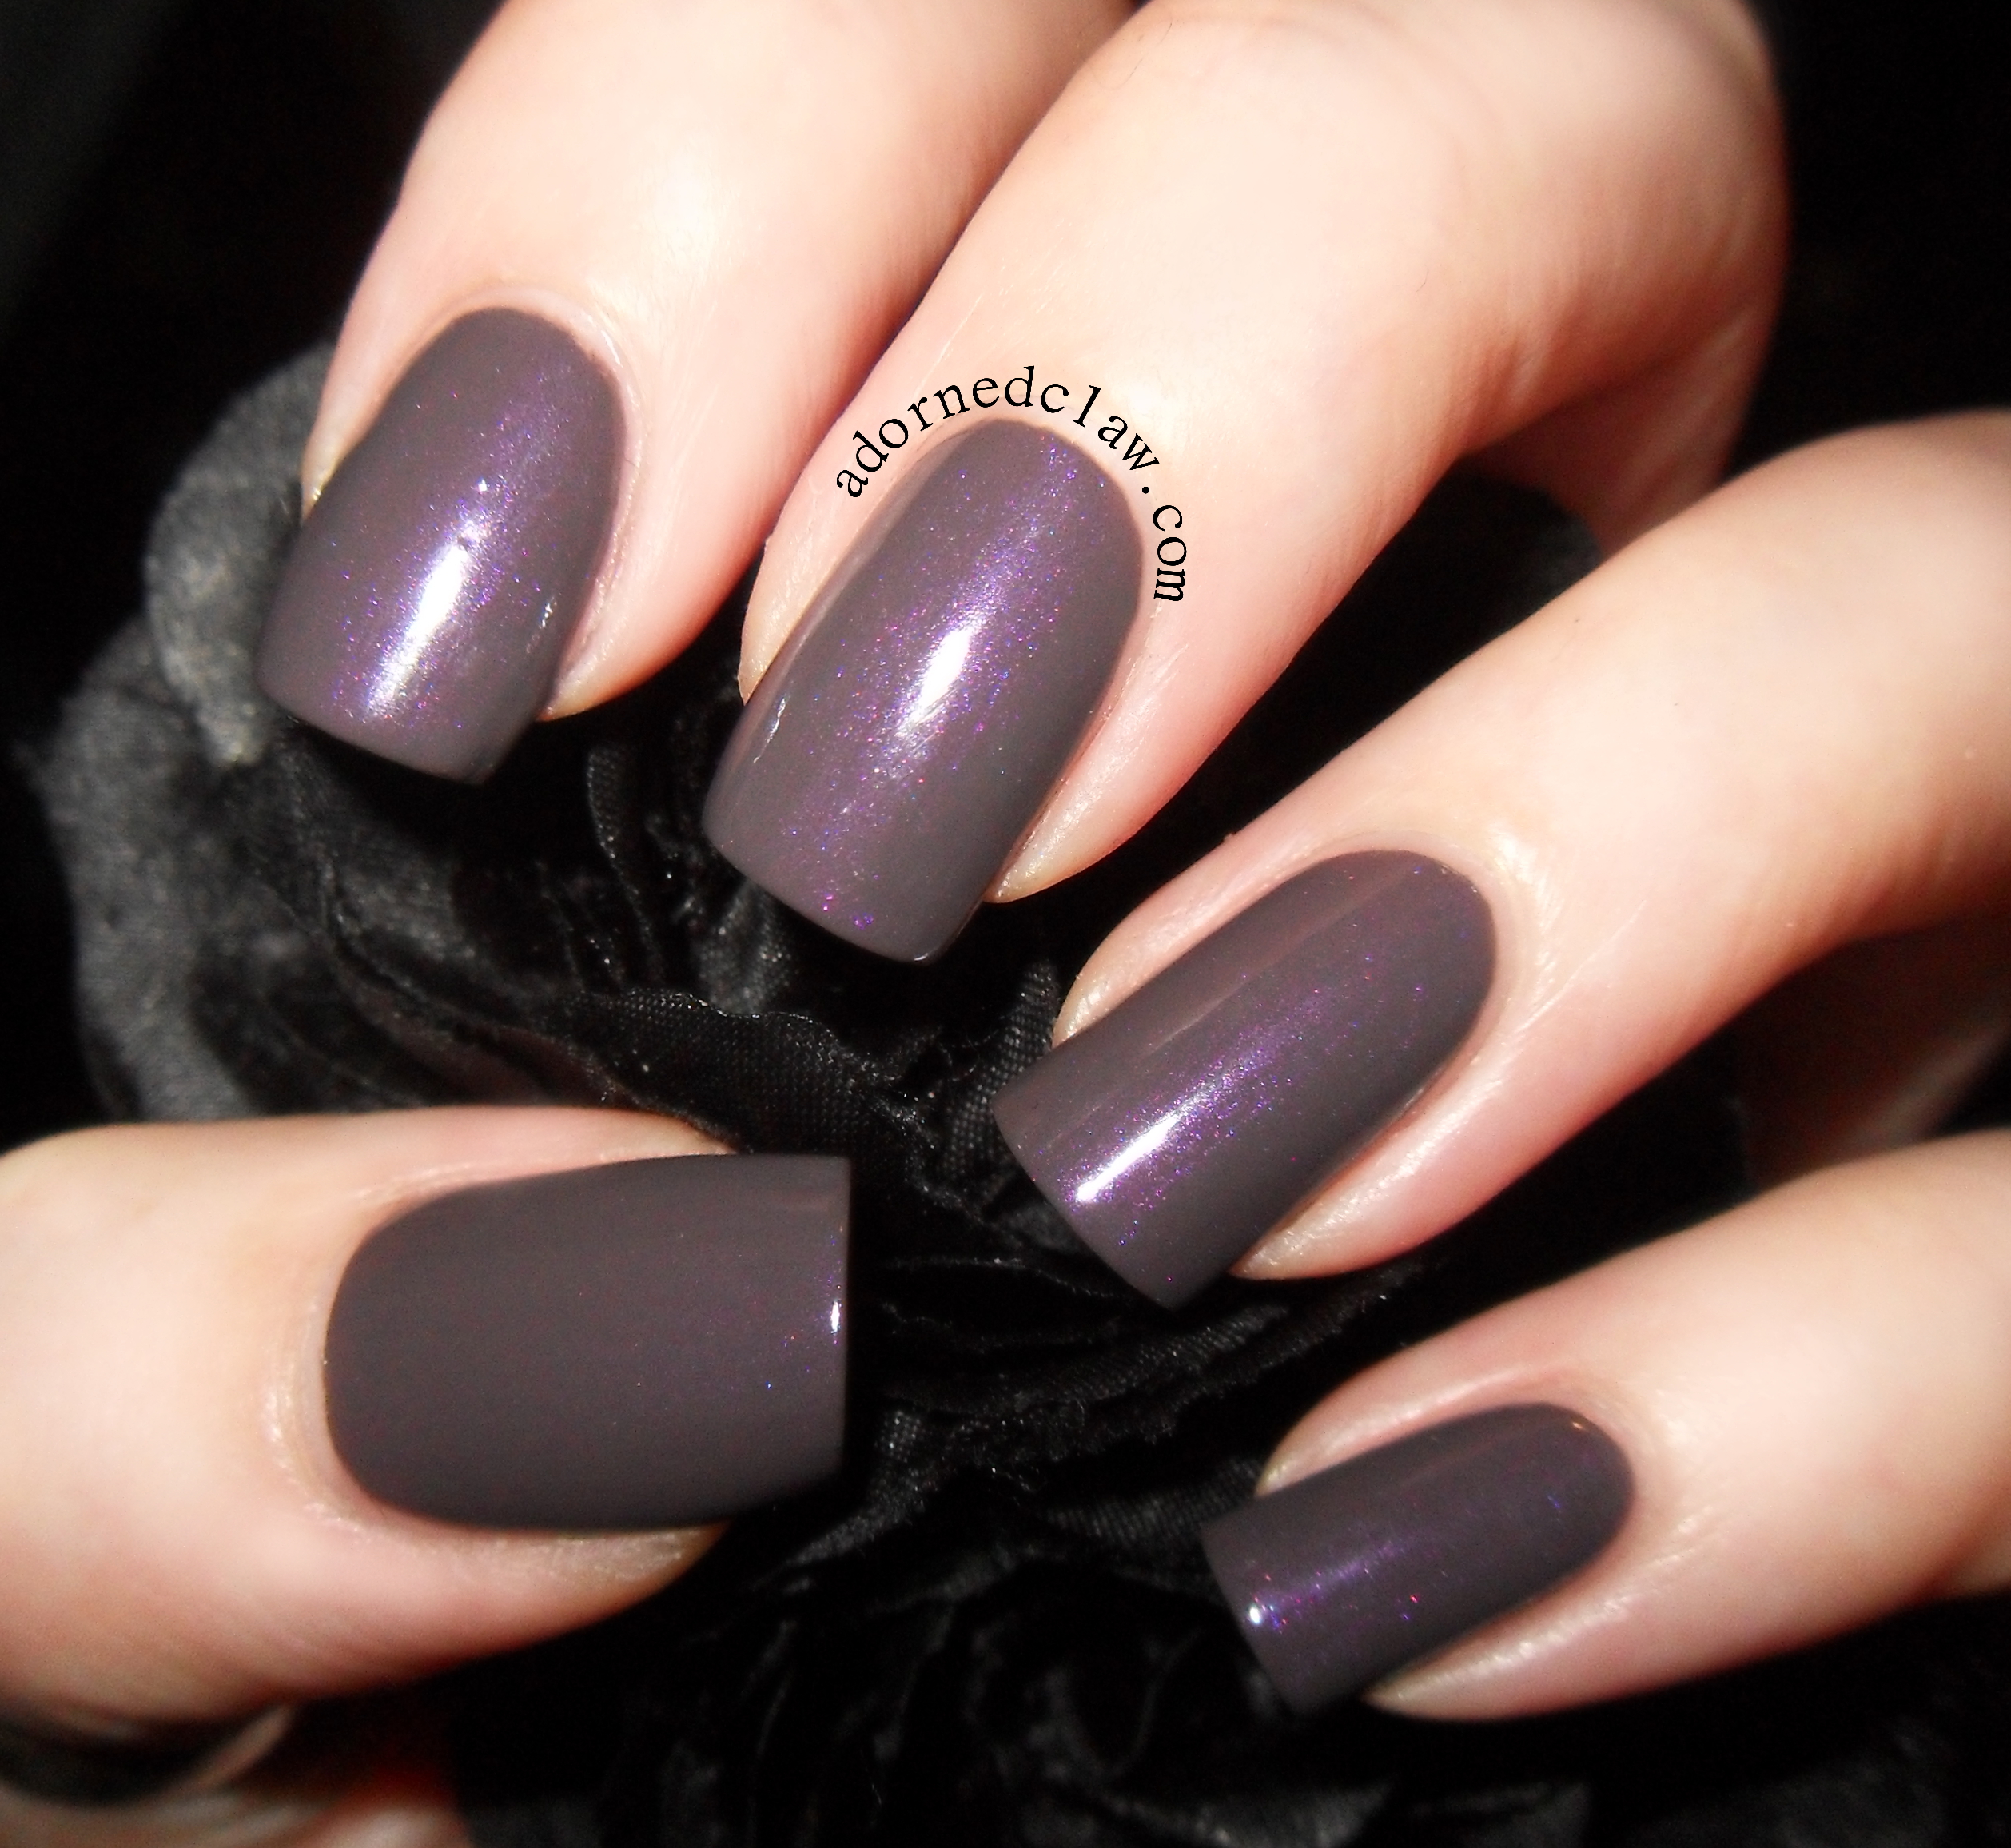
Chanel Paradoxical 509

Paradoxical

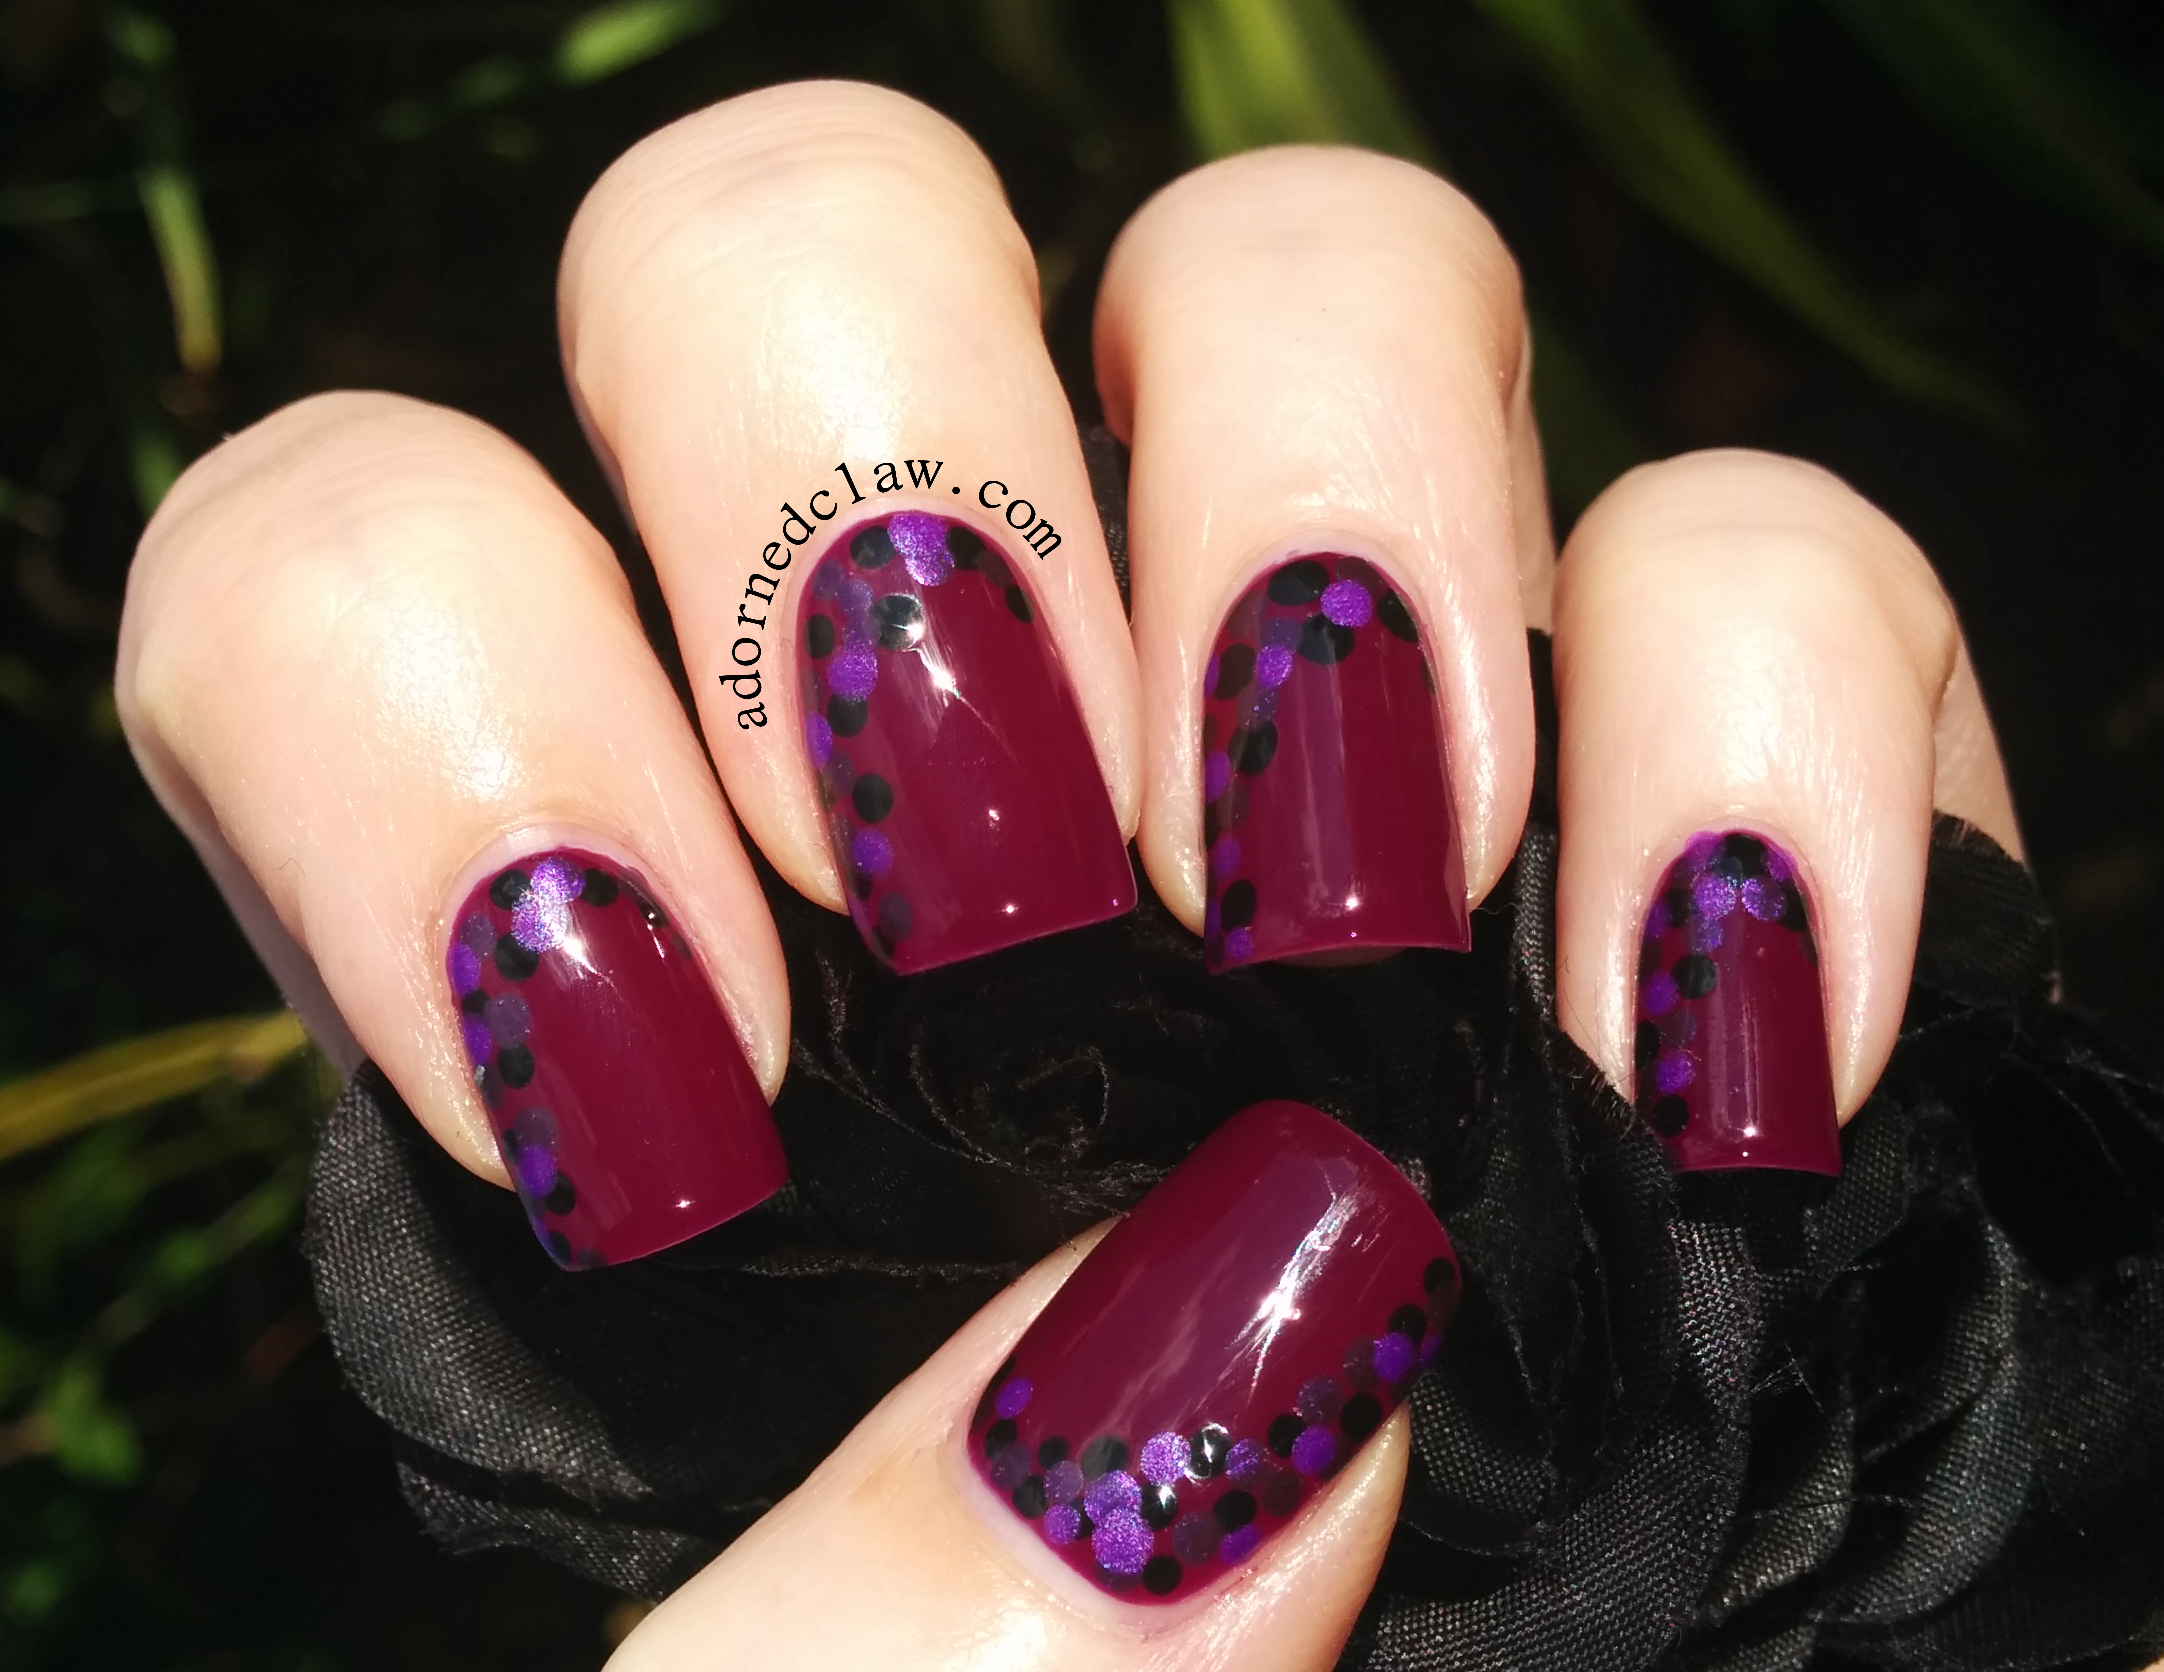
This is the classic Rouge Noir
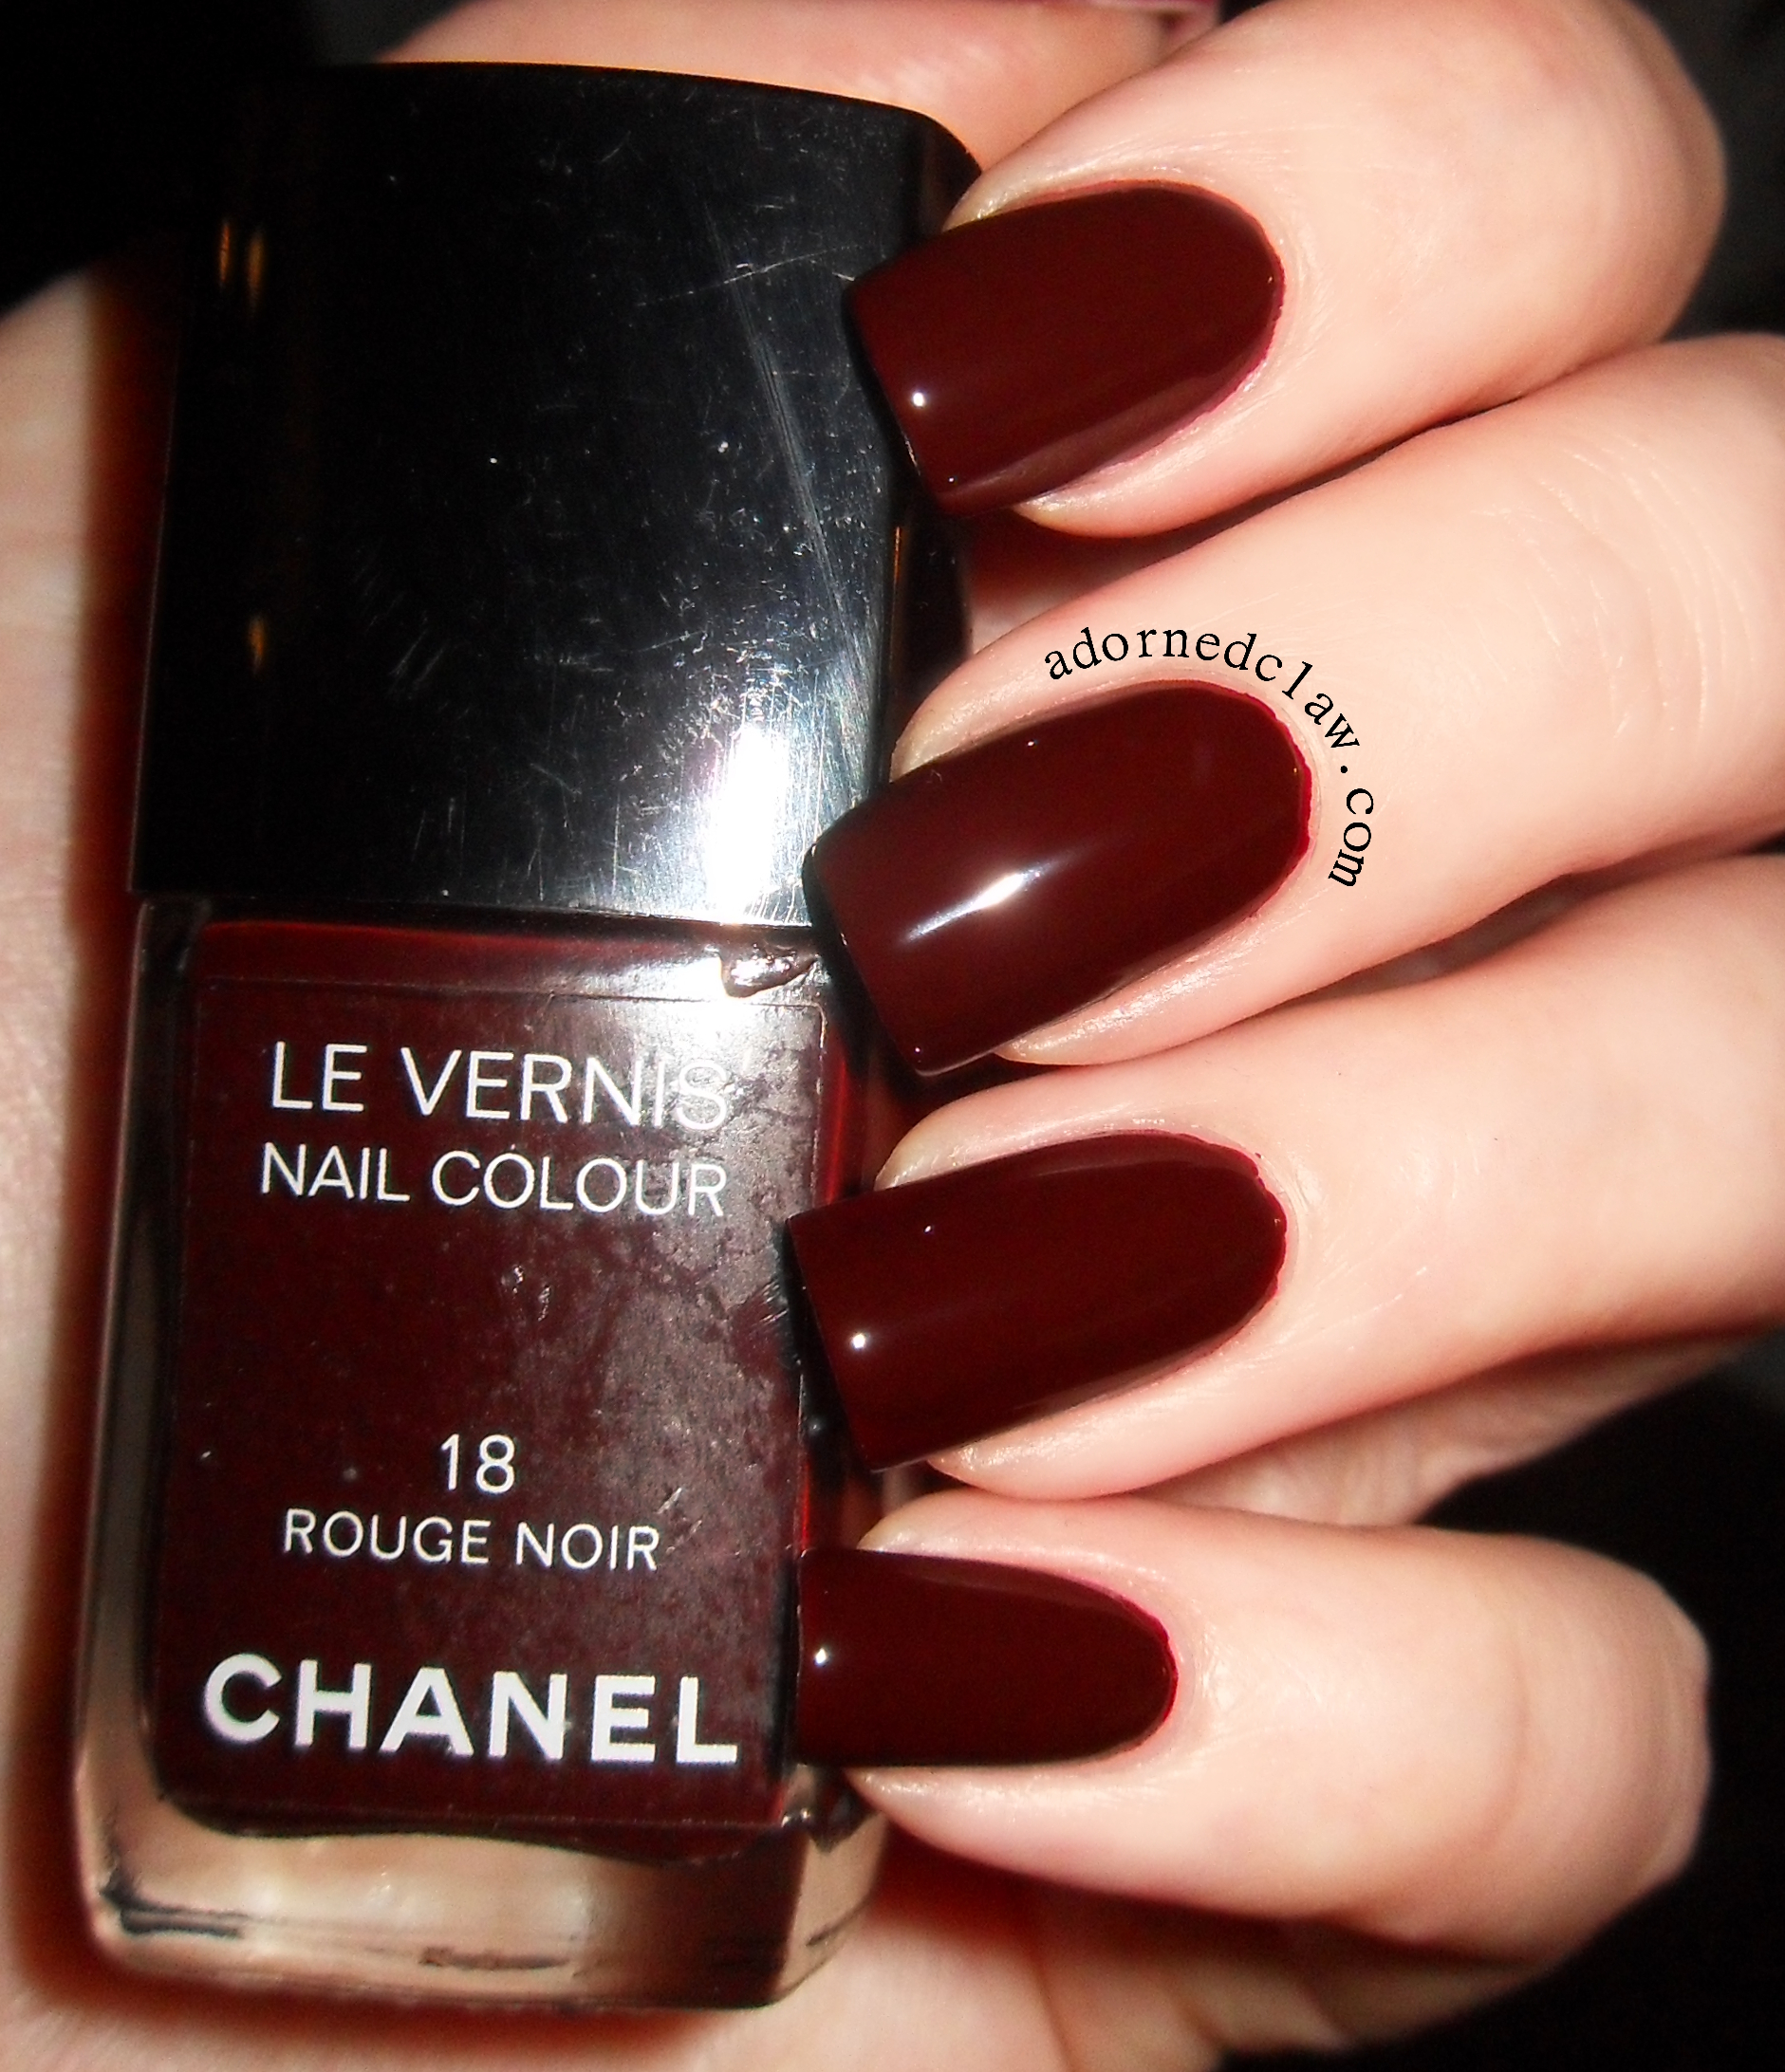
Chanel Rouge Noir

Rouge Noir

Out of all of these polishes this was the most tricky to apply. The formula is slightly sheer/almost a jelly so this took three coats to be opaque, the colour is a lovely dark wine red and it’s incredibly glossy.
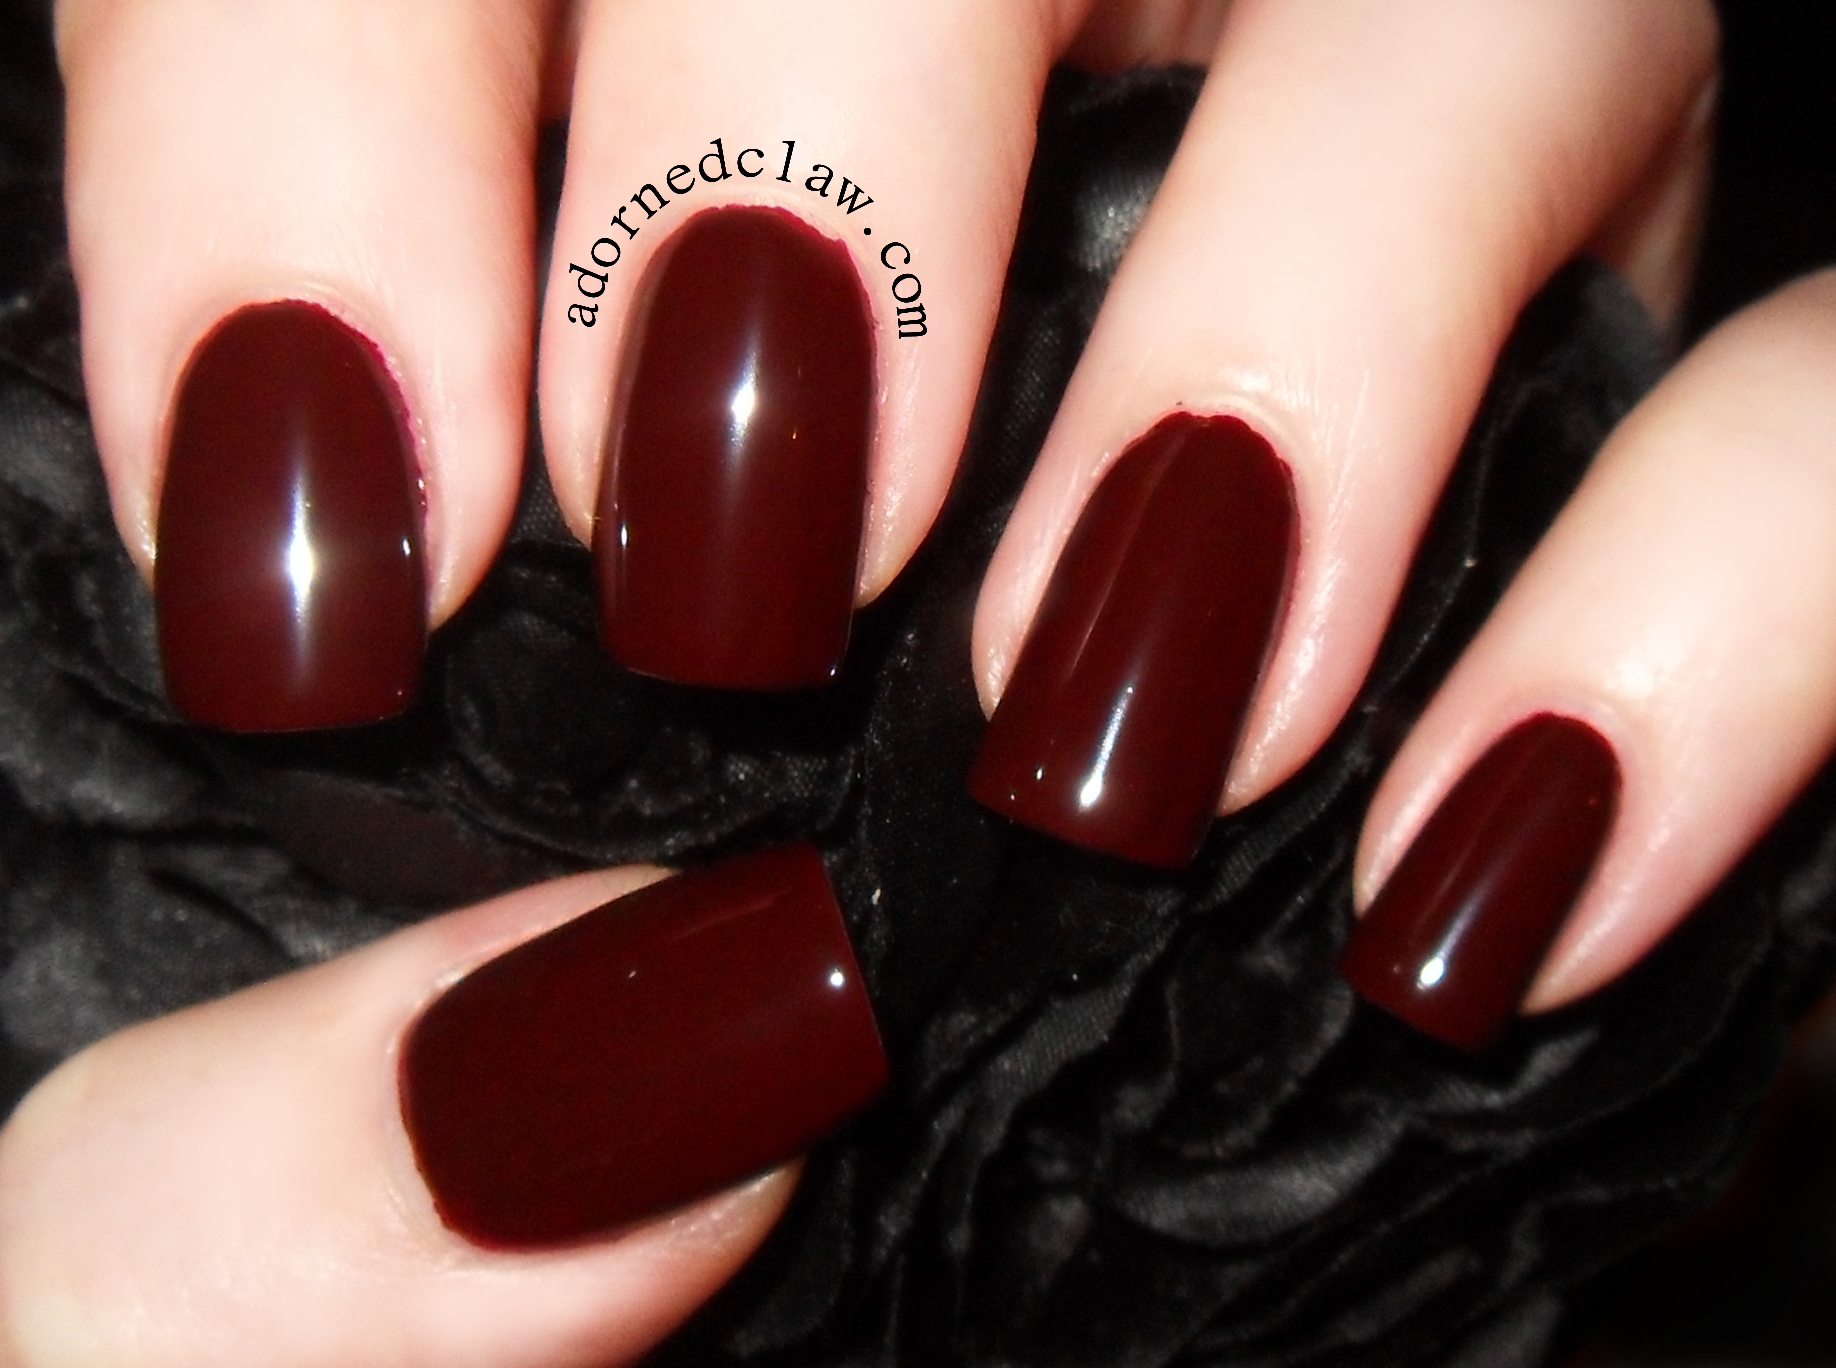
Chanel Rouge Noir 18

Rouge Noir

The last polish is Vendetta
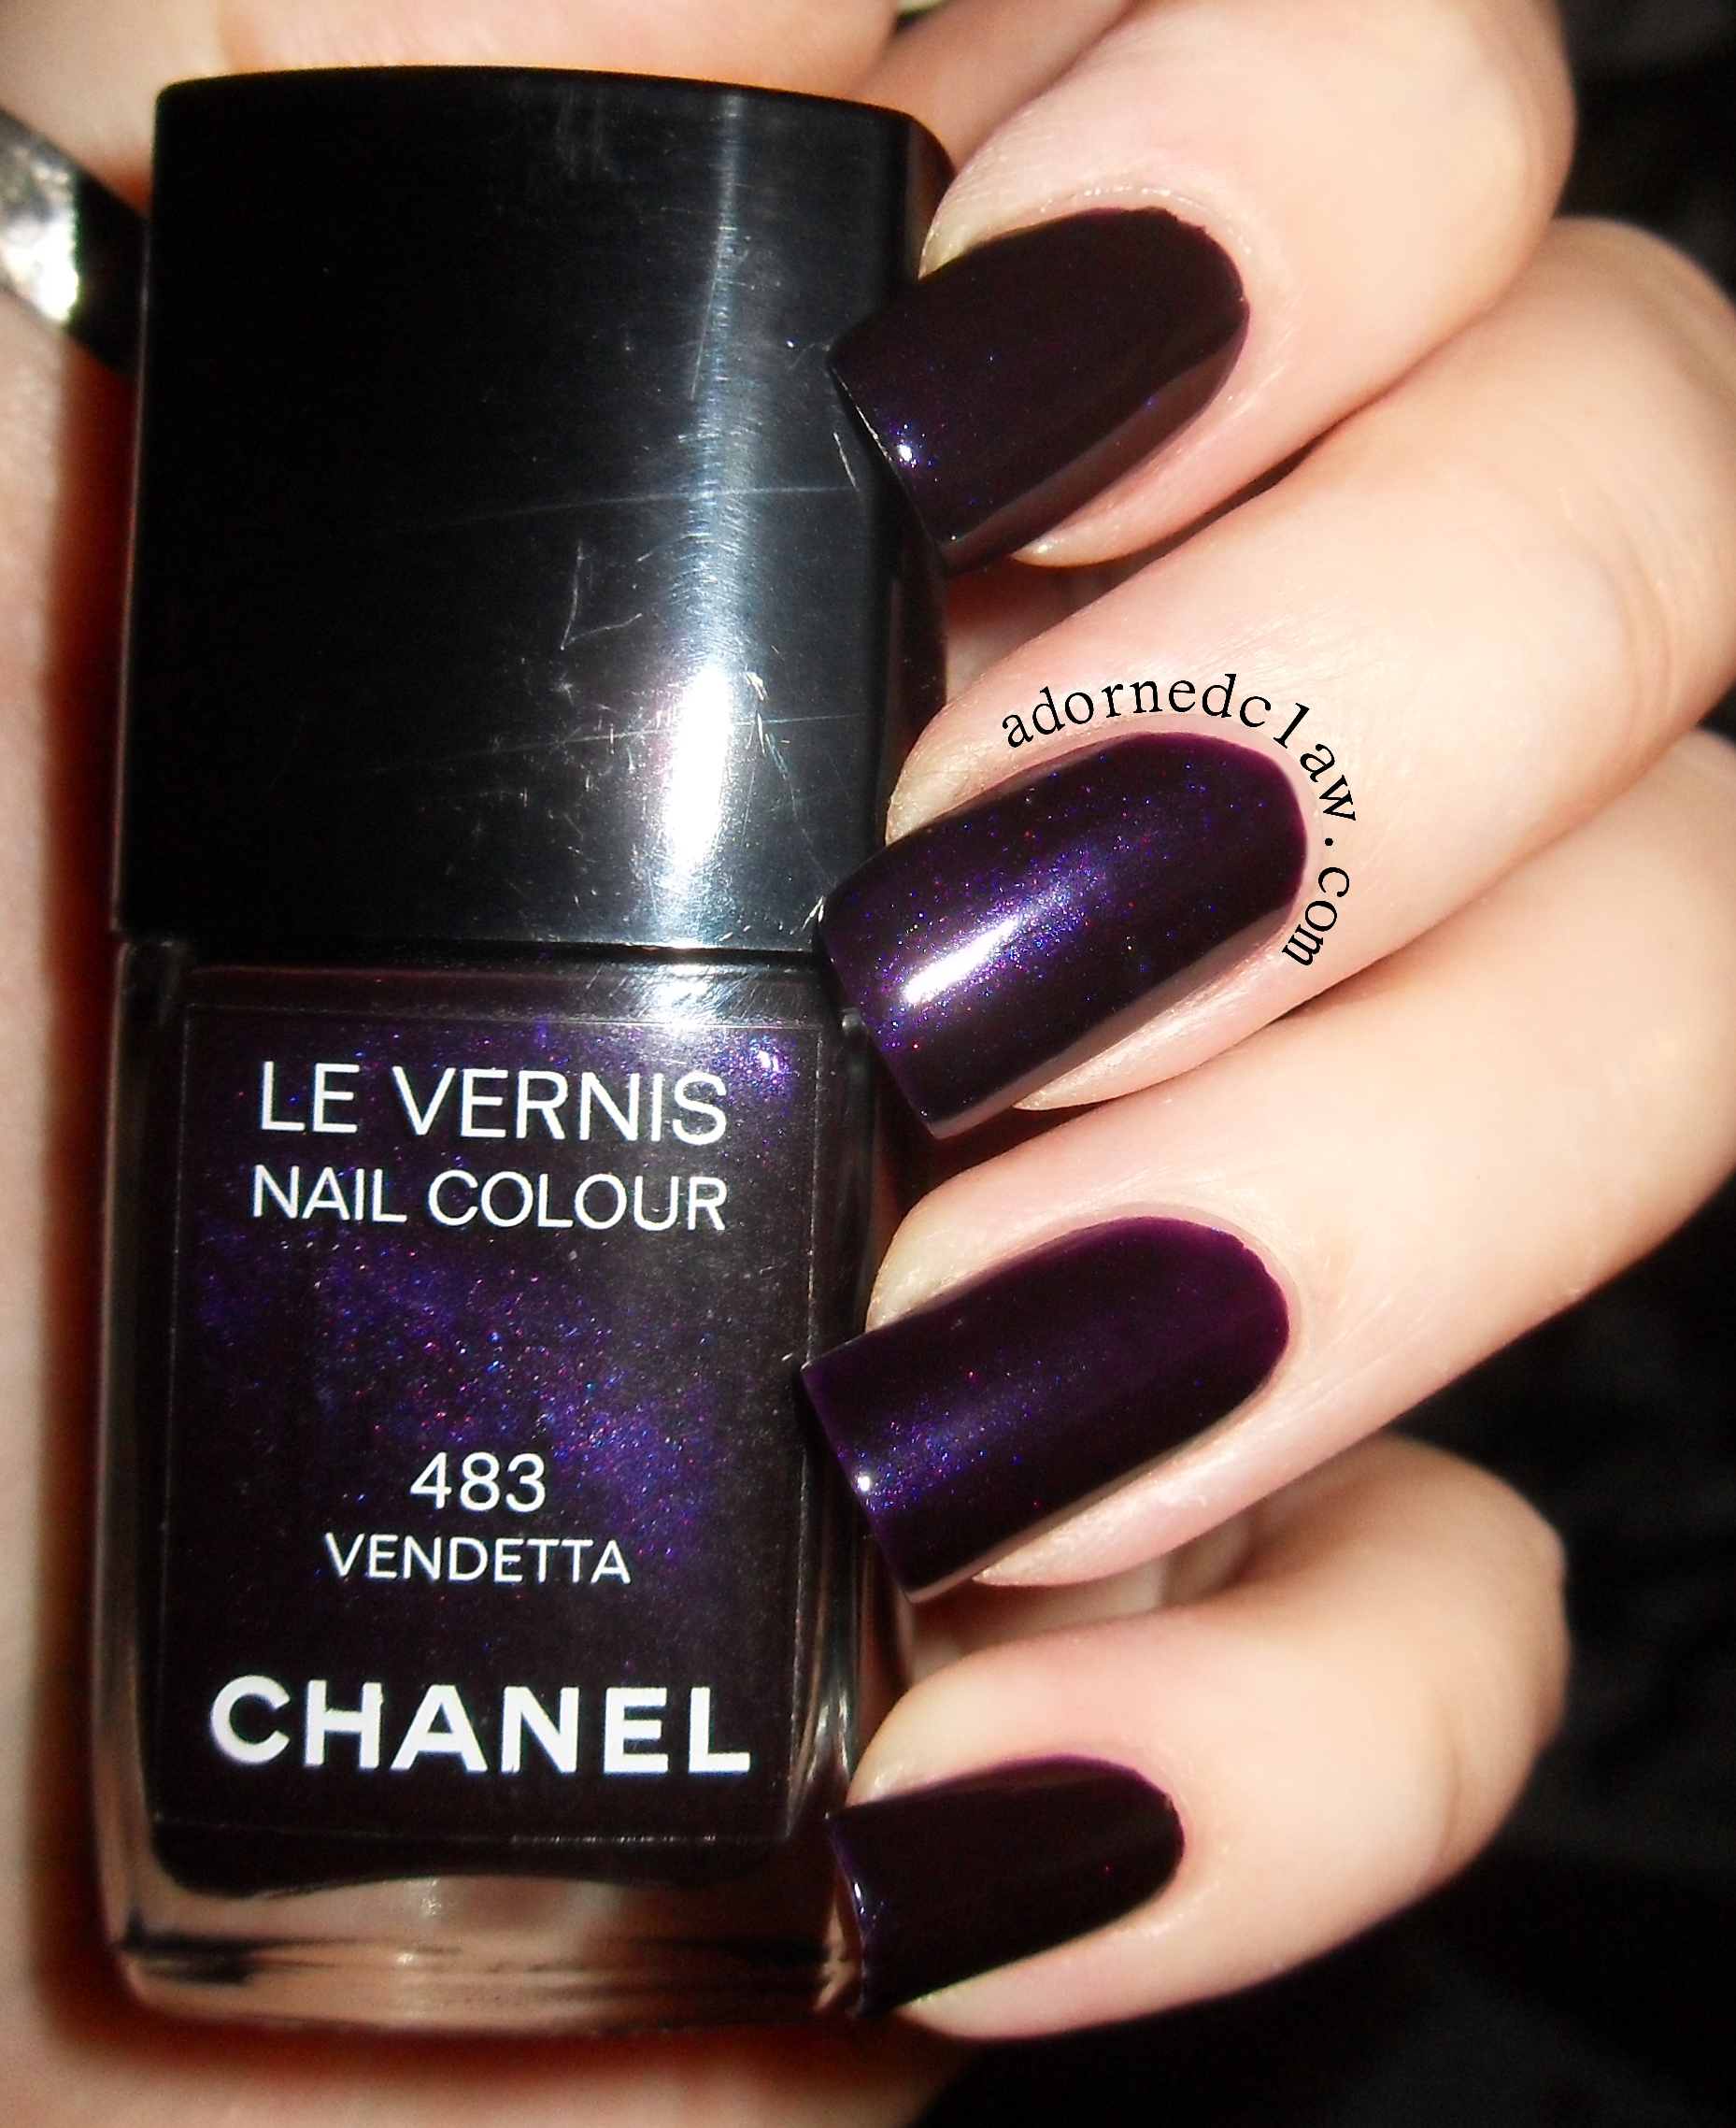
Chanel Vendetta

Vendetta

This is a stunning dark purple, and the formula is amazing, it only took one coat and dried in about 60 seconds!

It was really difficult to capture the intense purple shimmer with my camera, it looks so much better in real life!
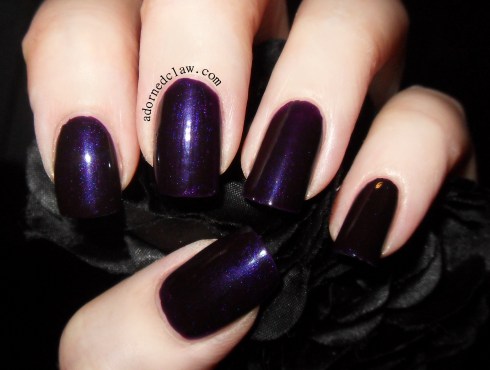
Chanel Vendetta 483

Vendetta

Vendetta, Paradoxical and Black Satin are definitely my favorites from my little collection of Chanel polishes!

I just have to keep telling myself to stay away from the Chanel counters when I’m out shopping just in case I “accidentally” buy all of them!

😀


GOT Polish Challenge – Over a Black Base

Hi! 😀

Today’s prompt for the Got Polish Challenge is “Over a black base”

Chanel black satin with sally hansen nail prisms

Chanel Black Satin with Sally Hansen Nail Prisms

So how could I not dig out some of my favorite polishes of all time!

Nail Polish

Black satin from Chanel is with out a doubt one of the best black nail polishes ever! the formula is still glorious (I have had this bottle for around 3 years now)

The other polish, poor thing, it’s looking rather well loved, is Turquoise Opal from the Nail Prisms range by Sally Hansen. These where first released back in 2002! I have owned this bottle for at least 7 years!

Lovely, lovely striping tape

Lovely, lovely striping tape

I used one thin coat of Black Satin, then a coat of Seche Vite, when it was dry I applied two strips of striping tape, and carefully added a thin coat of Turquoise Opal.

Then I removed the tape with tweezers and added another coat of Seche Vite.

Turquoise Opal From Sally Hansen

Turquoise Opal From Sally Hansen

This mani is more topcoat than nail polish! 😀


Ruby Wing Dotticure

Hi!

Today I have a Ruby Wing colour changing dotticure to show you!

Ruby Wing Crowd Surf

Ruby Wing Crowd Surf

I picked this bright pink one up in my local Sally’s and the shade is called Crowd Surf.

I applied two coats of Crowd Surf over my usual base coat, the formula for this polish is lovely and it dries really quickly which is always a bonus!

For the dots I used a medium dotting tool with Barry M Black, Orly Velvet Rope and Poke from Illamasqua.

Outside!

Outside!

I really thought that it was only going to change colour a little bit. I was really surprised that it actually changes to much! I really like the dark purple shade!


GOT Polish Challenge – Over a White Base!

Hello! 🙂

GOT Polish Challenge Over a White Base

GOT Polish Challenge Over a White Base

It seems like ages since I last posted nail art for the GOT Polish Challenge! But that’s probably because it has been ages :/

got-polish-part-2

For today’s prompt I chose a very simple stamped design, I used White on White from China Glaze… I think my bottle is now more polish thinner than actual polish… It’s probably time to retire it and get a new one!

I used Propaganda from Illamasqua to stamp the image, and the stamping plate is 07 from Moyou’s Suki collection.

Illamasqua Propaganda Over White on White China Glaze

Illamasqua Propaganda Over White on White China Glaze

Propaganda is getting to be a vhtf polish 😦 I have only found a couple of other dark blue jelly polishes with a similar colour intensity these are Blue-Topia from Color Club and L’orial Midnight Mistress.

Moyou Suki 07

Moyou Suki 07

I think this looks like Willow pattern from ceramic plates lol!

Don’t forget to check out the GOT Polish pinterest page


Sparkly Striping Tape Nail Art!

Hi! 🙂

Today I have a sparkly mani I created using striping tape to show you.

Striping Tape Nail Art

Striping Tape Nail Art

for this I used

  • Rimmel Space Dust – Aurora
  • Filthy Gorgeous – Twilight
  • Striping Tape
  • Seche Vite

I began with two coats of Aurora, this is a really pretty polish! It is a slightly textured nude with loads of silver glitter, I added a thick coat of Seche Vite to even out the the texture to help stop the black polish from bleeding under the tape.

I used seven strips of tape for each nail, apart from my pinky which only needed six. Starting with my thumb nail I applied the tape, then carefully dabbed on the black polish, then using tweezers removed the tape while the polish was still wet. Then I applied another coat of Seche Vite over the top and continued with my other nails.

Glitter stripe nail art

Rimmel Aurora and Filthy Gorgeous Twilight

I never realized how much easier a decent quality striping tape is to use! There was no curling up, sticking to itself or refusing to stick to my nail!  😀

Striping Tape Glitter Manicure

Sparkly Pink And Black Nails


Nail Polish Dragon Eggs!

Hello I hope you are having a lovely weekend! 🙂

Today I have a nest of nail polish dragon eggs to show you!

Nail Polish Dragon Eggs

Nail Polish Dragon Egg

The eggs take a long time to make but I think the end result is worth it!

All you need for these are polystyrene egg forms, you can pick these up in most craft shops, Mine cost £2 for six, Drawing pins (or thumb tacks if your in the US) I picked mine up from Poundland. For these three eggs I used up just under 800 pins!

Oh yeah, you’ll need something to stick your pins in while your painting them, I used a cardboard box! Actually the part of making the eggs that took the longest was sticking the pins half way into the cardboard! It was so boring :/

I picked up some cheep black Laval polish (I didn’t want to use up of my nice/expensive ones on this) and used that to apply two coats to each pin, after the first coat I realized my mistake… I had to open all the windows, the Laval polish has a very VERY strong chemical smell. It might have just been the amount I was using but it was close to eye wateringly strong!

Nail Polish Dragon Eggs

Look at the sparkles!

After the pins where dry I added a coat of the colored polishes

Oh I didn’t make these at the same time! I made each of them over a few days, Trying to make all three at once may be a quick path to twitchy nail polish related madness! lol

Nail Polish Dragon Eggs

Black Polish with Models Own Purple Blue

For this egg I added a thick coat of purple blue from Models Own over the black, This one took the most pins to make around 350! and I used up nearly a quarter of the models own bottle oO Lucky I have quite a few polishes similar to this one!

Nail Polish Dragon Eggs

Elle’s Spell Dragon egg

This Egg was the first one that I made, and it’s definitely my favorite! I used a coat of Elle’s Spell over the black. It really is a shame the the duo-chrome glitter isn’t showing up in the picture 😦

Nail Polish Dragon Eggs

Jess Pixie Dragon Egg

This little one was the last one I made, If I make any more I’m going to stick with this size! The Teal polish is Pixie from Jess. Looking at the picture I’m thinking I should have added another couple of coats of black to the pins as the teal polish is rather sheer so the manufacturing marks on the pin head are showing through!

Even tho it was a bit stinky and took a long time, I really like the end result of my dragon eggs! I’m now going to go find them a home somewhere in my book shelf! 😀

Oh if you want to make your own here is a wonderful Dragon Egg tutorial from Accio Lacquer