Here are swatches of the last three Jess nail polishes I picked up, these ones are some of the glitter polishes!
The Jess nail polish collection is only available at Poundland for the bargain price of £1 a bottle!
You can find my swatches and reviews of some other Jess polishes here.

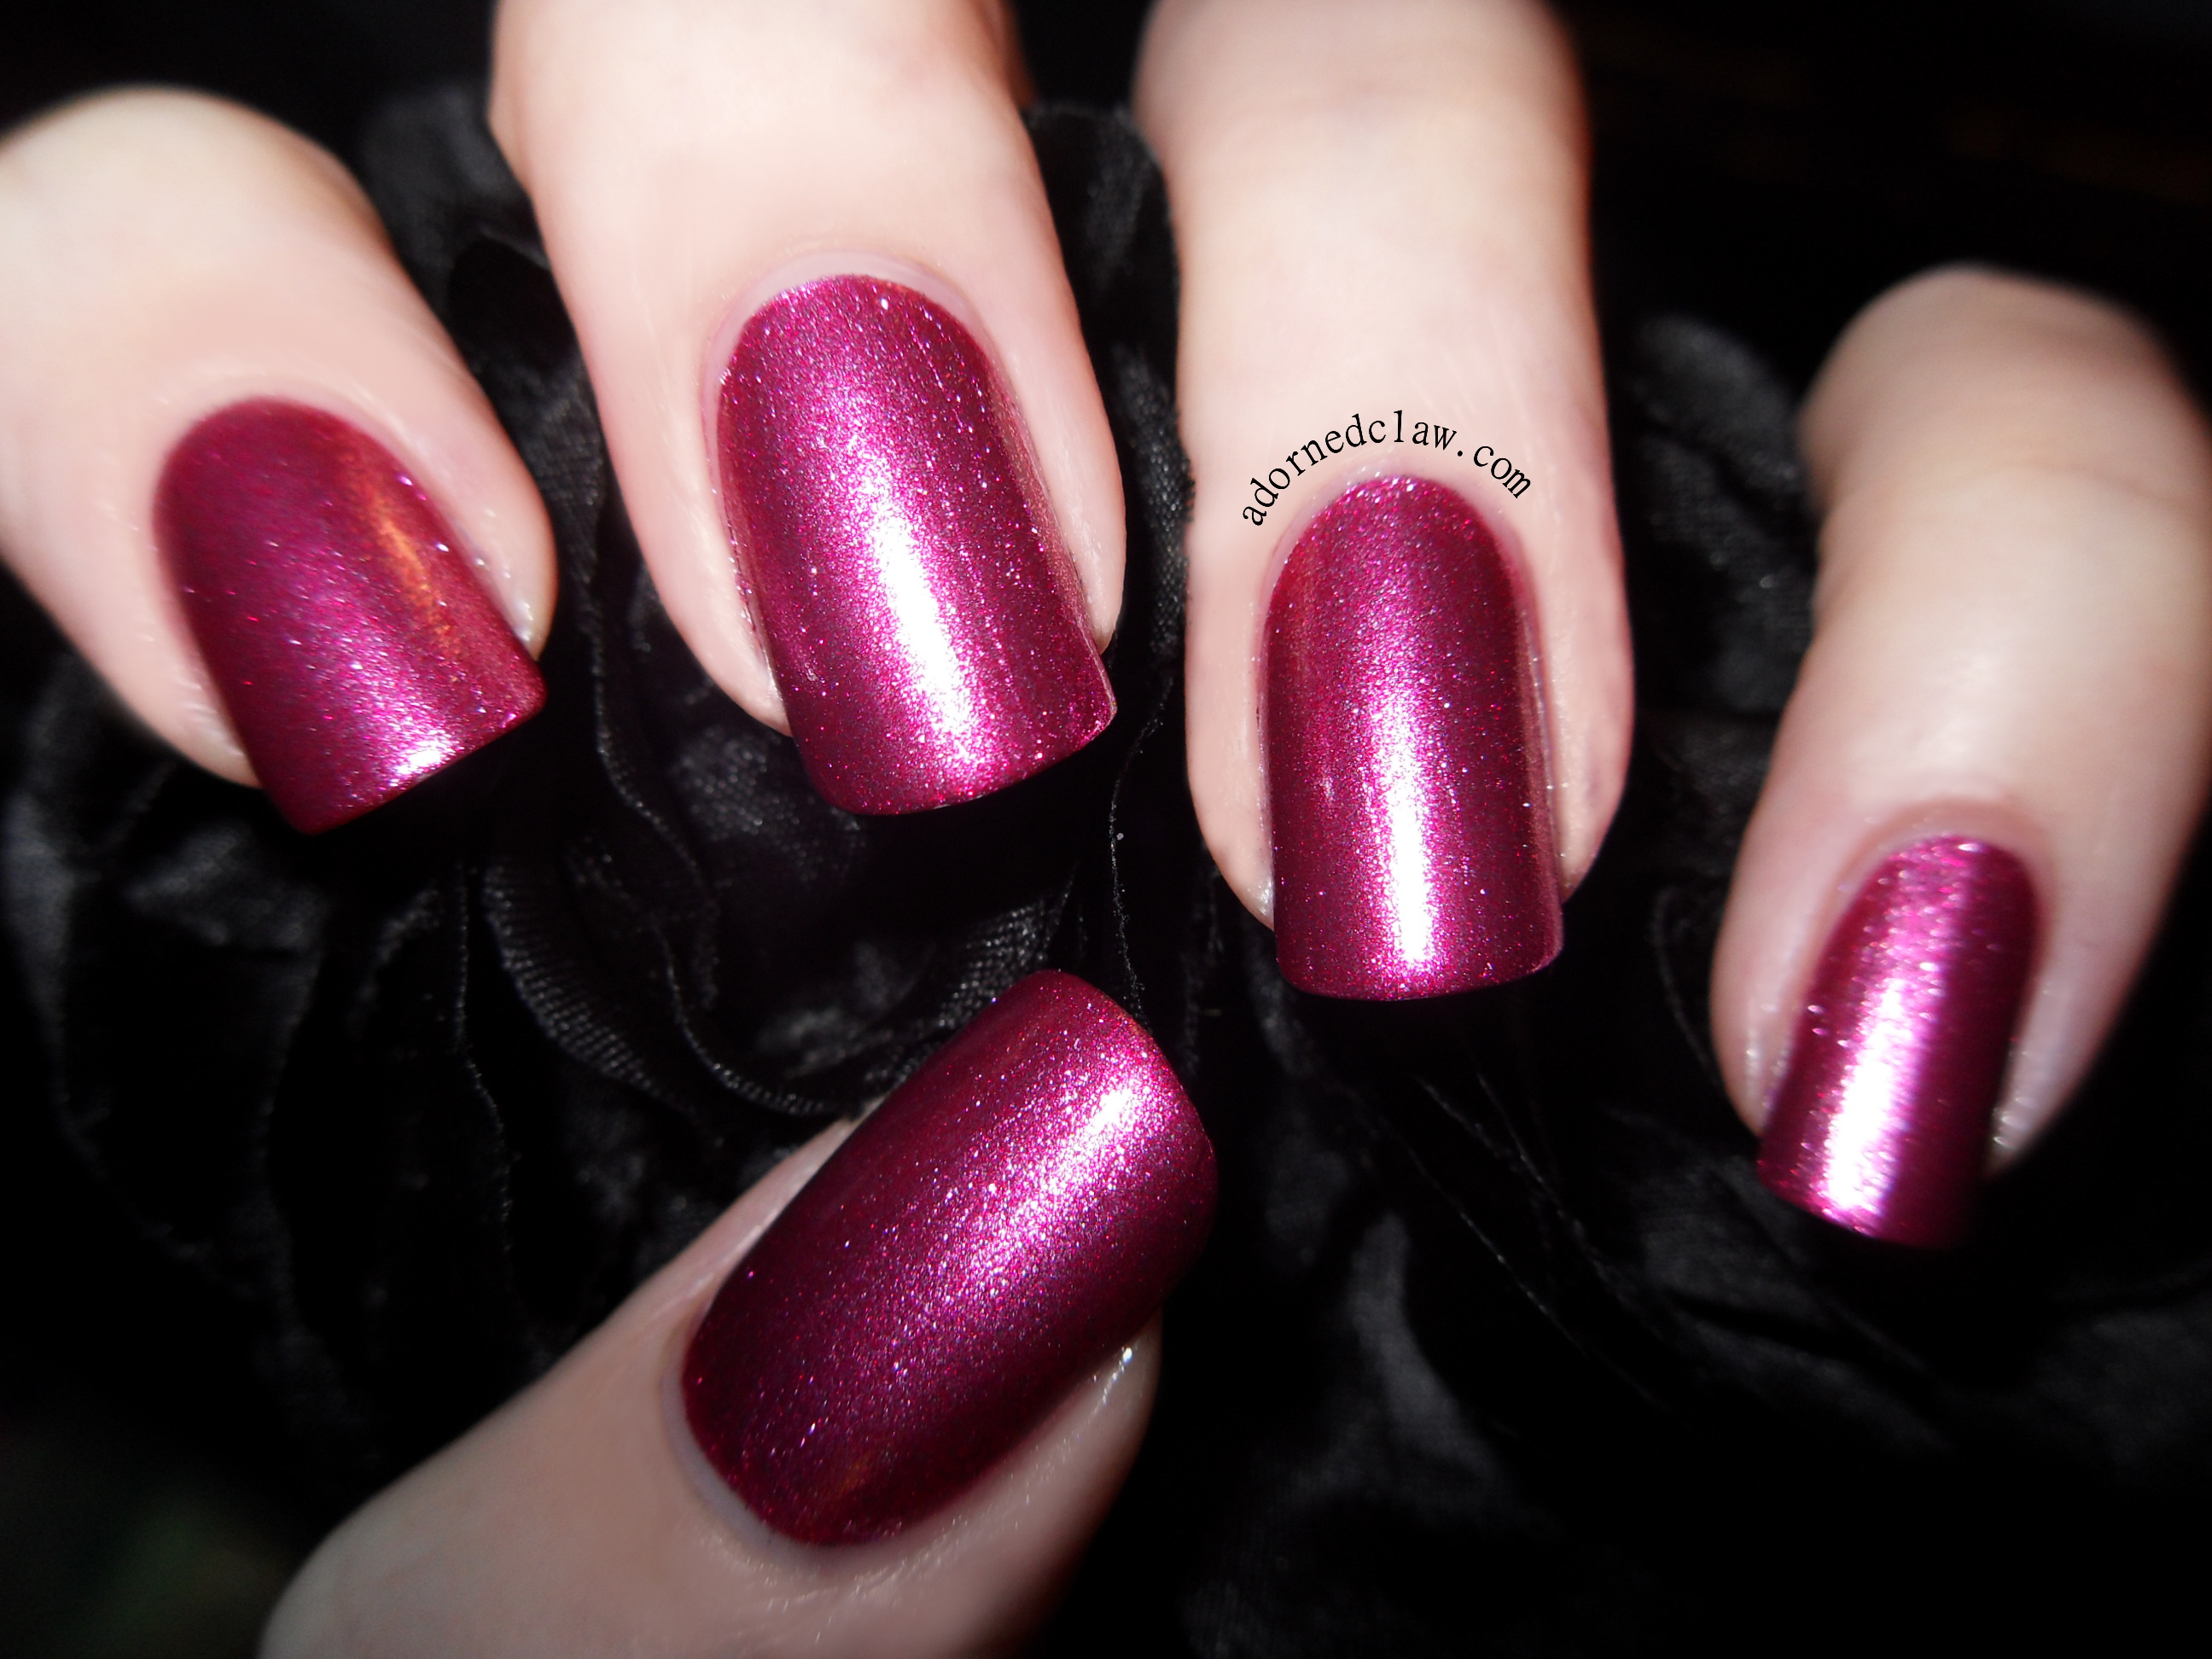
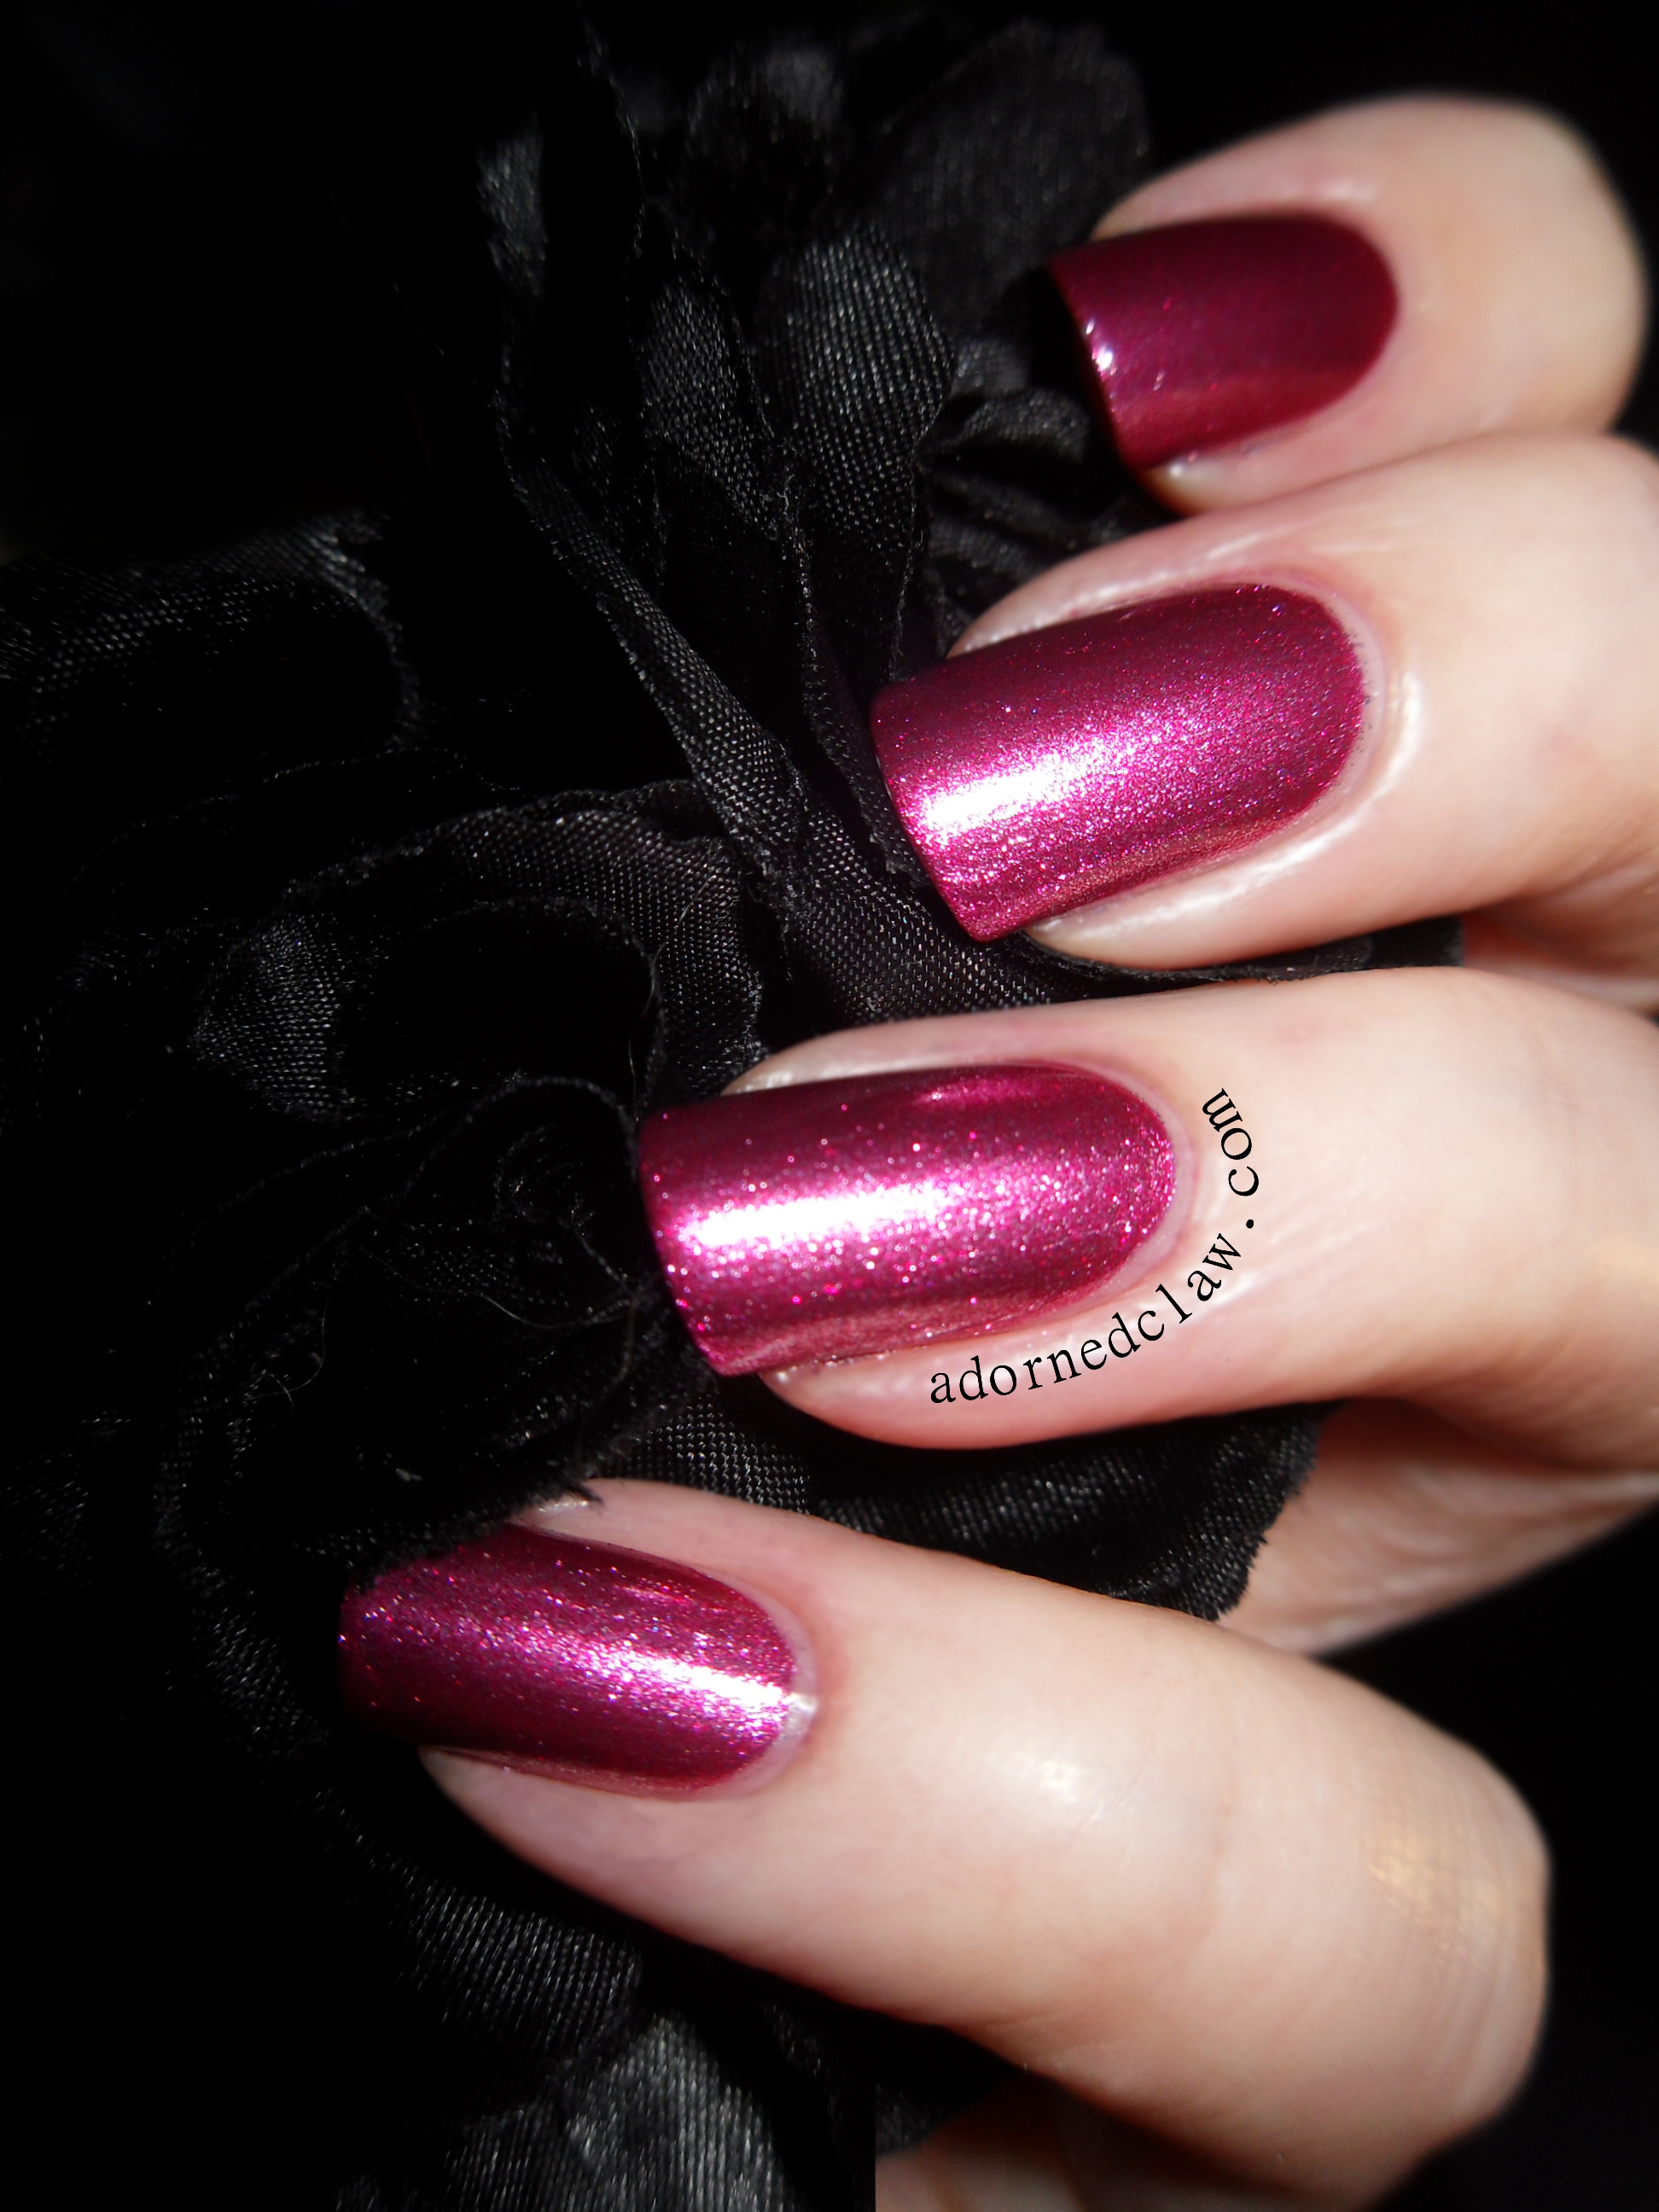
Breathless with Black undies
The first polish I have to show you is called breathless, it looked absolutely stunning in the bottle, pale blue with iridescent micro glitters…
Unfortunately on it’s own it was not nice, it made my nails look yellow ![]() so in these pictures I applied two coats over Black Magic from Revlon!
so in these pictures I applied two coats over Black Magic from Revlon!

Breathless
I rather like how this looks, the glitter takes on a coppery/gold to pinky/purple colour shift! (much better than the nicotine stain yellow) So over black this is really pretty! This polish smells bad! Full of chemicals but as it only cost £1, I think I can let it off!
Disco Diva
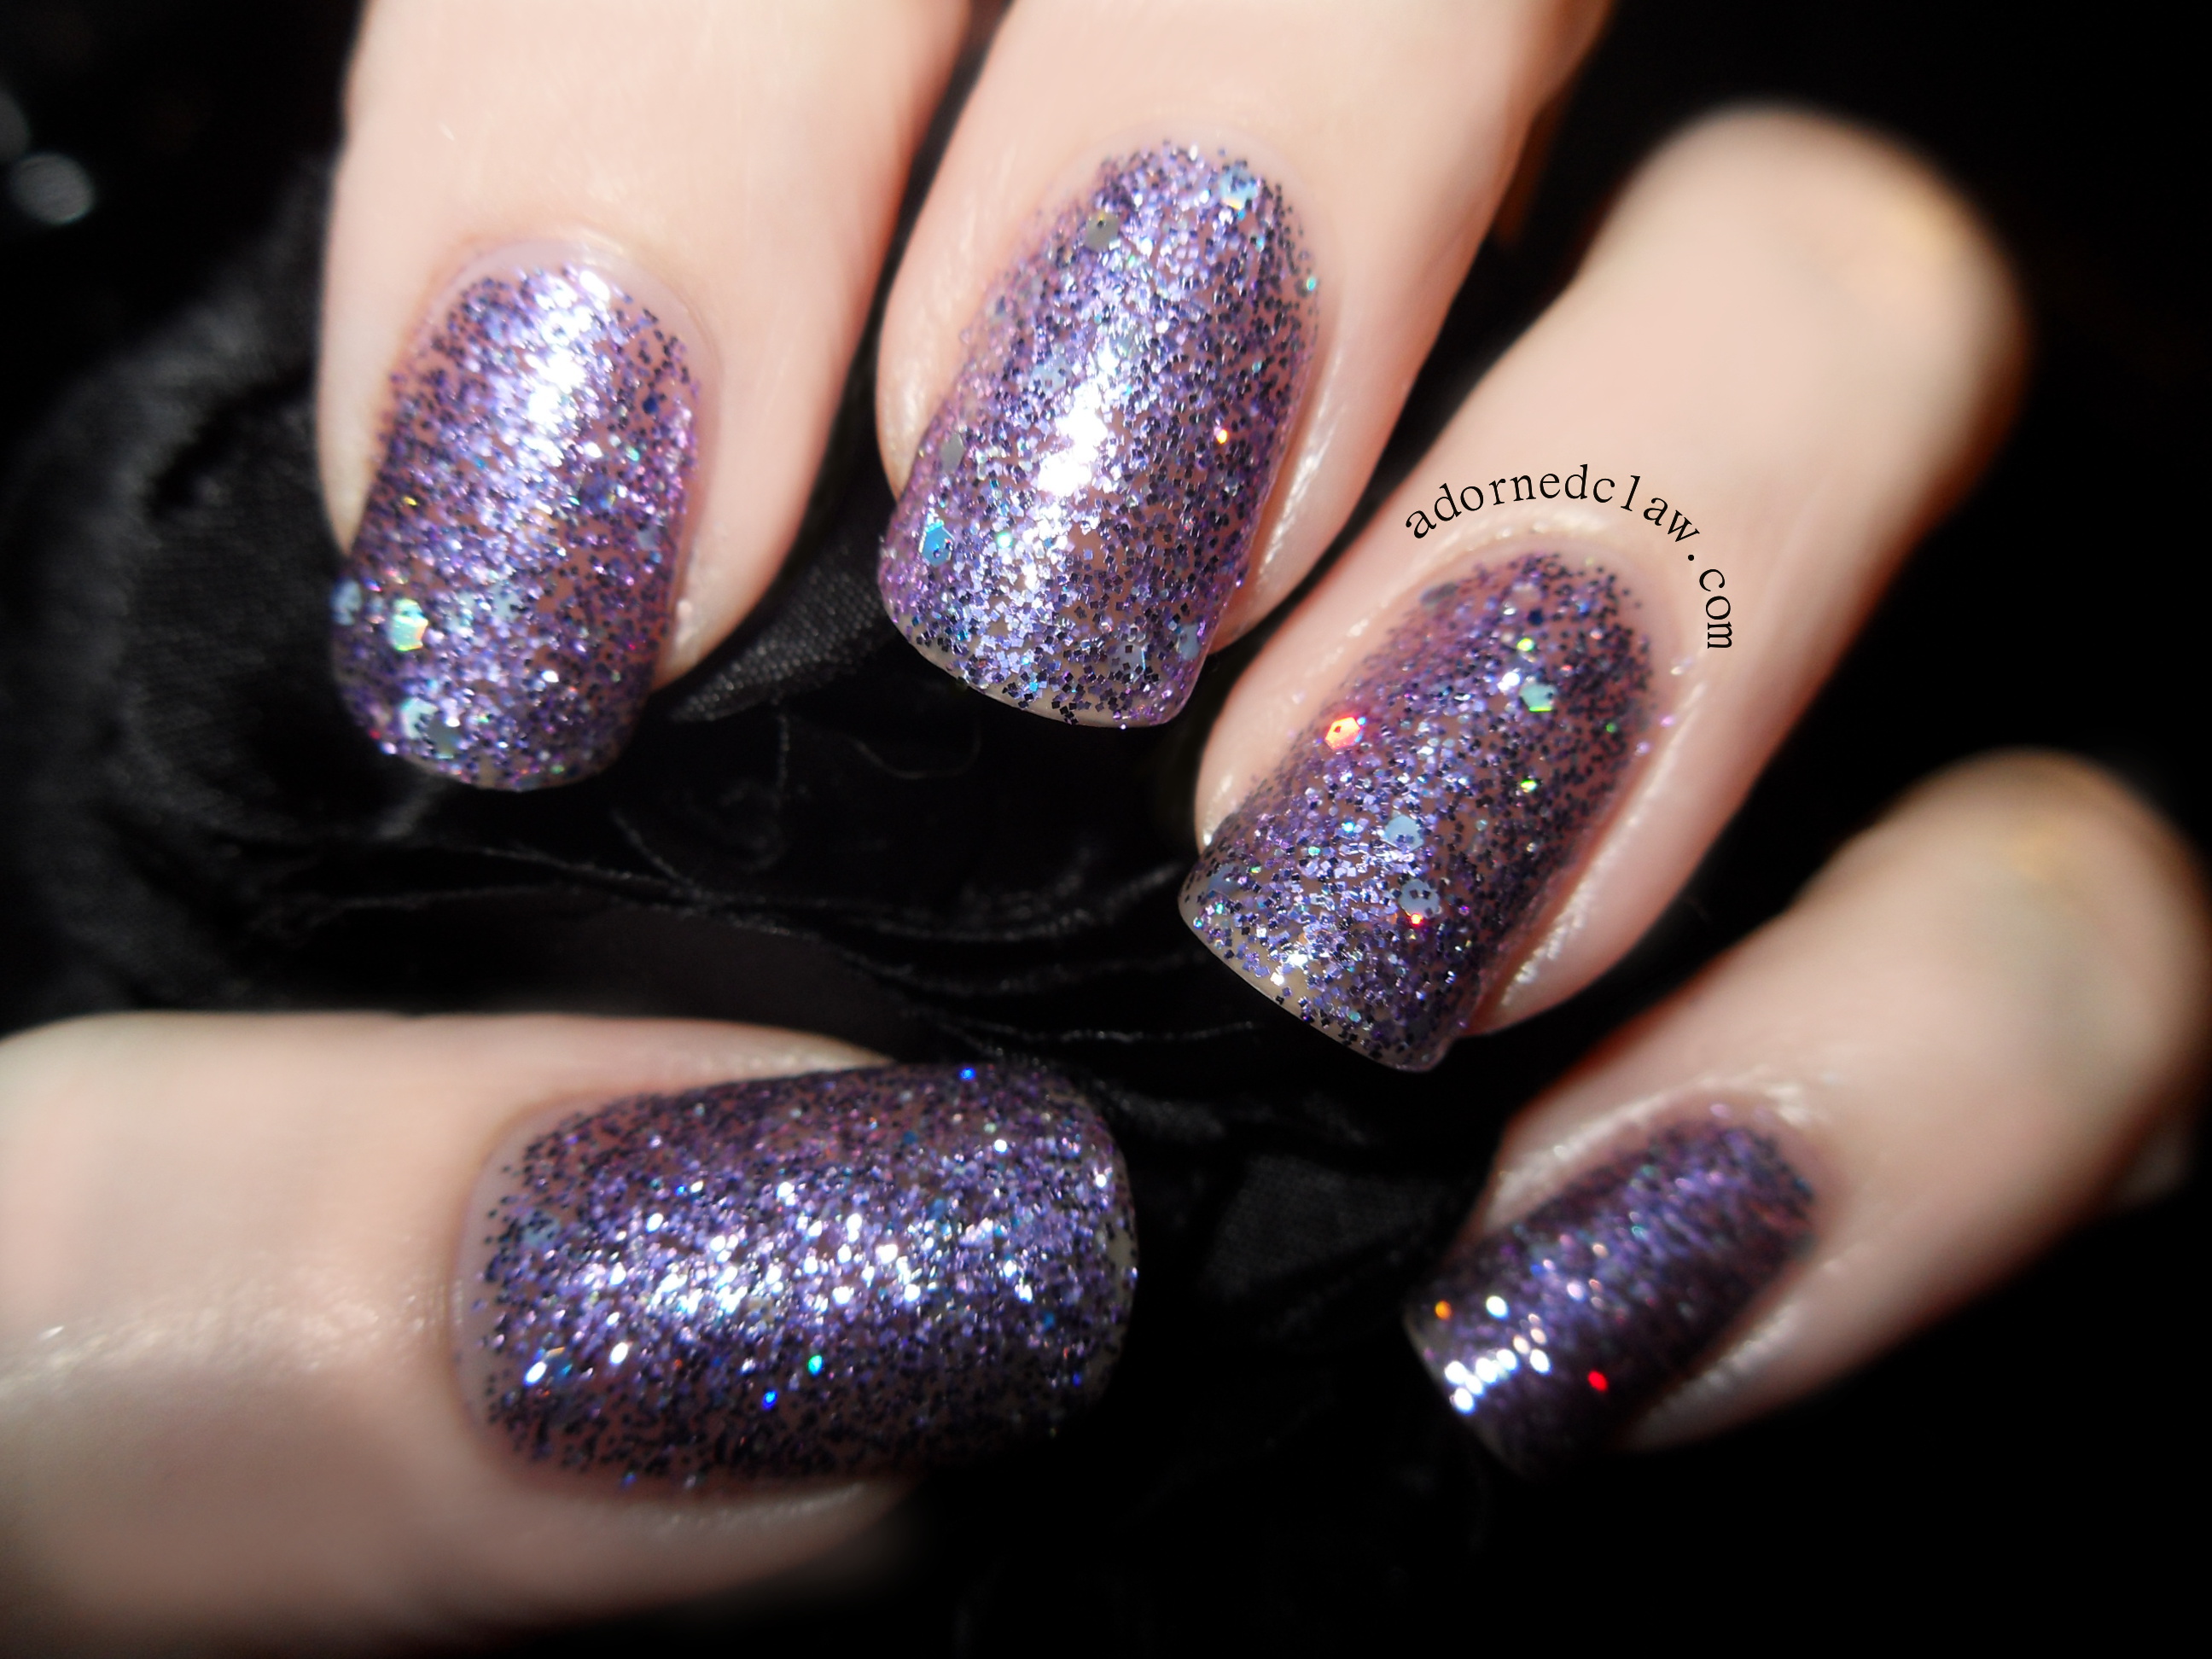
This polish is called Disco Diva, it’s a mix of lilac and holographic glitter with larger Holographic Hex glitters, in a clear base. I think that this polish would look much better as a topper.
But I was curious as to how many coats it would need to be opaque, this is three coats, not quite opaque but very close!

Disco Diva Jess Nail Polish
The main problem I found with this polish was getting the large glitters out of the bottle, it was almost impossible!
Most of the glitter had settled to the bottom of the bottle and as there are no mixing balls it took rather a lot of shaking lol!
I have to say that there is a fair amount of glitter in the formula and it applies really easily, (after all the shaking and poking about for the big glitters) but like all of the Jess polishes I have tried this one also smells bad while it’s drying!
I think Disco Diva would be a nice polish for a glitter gradient.

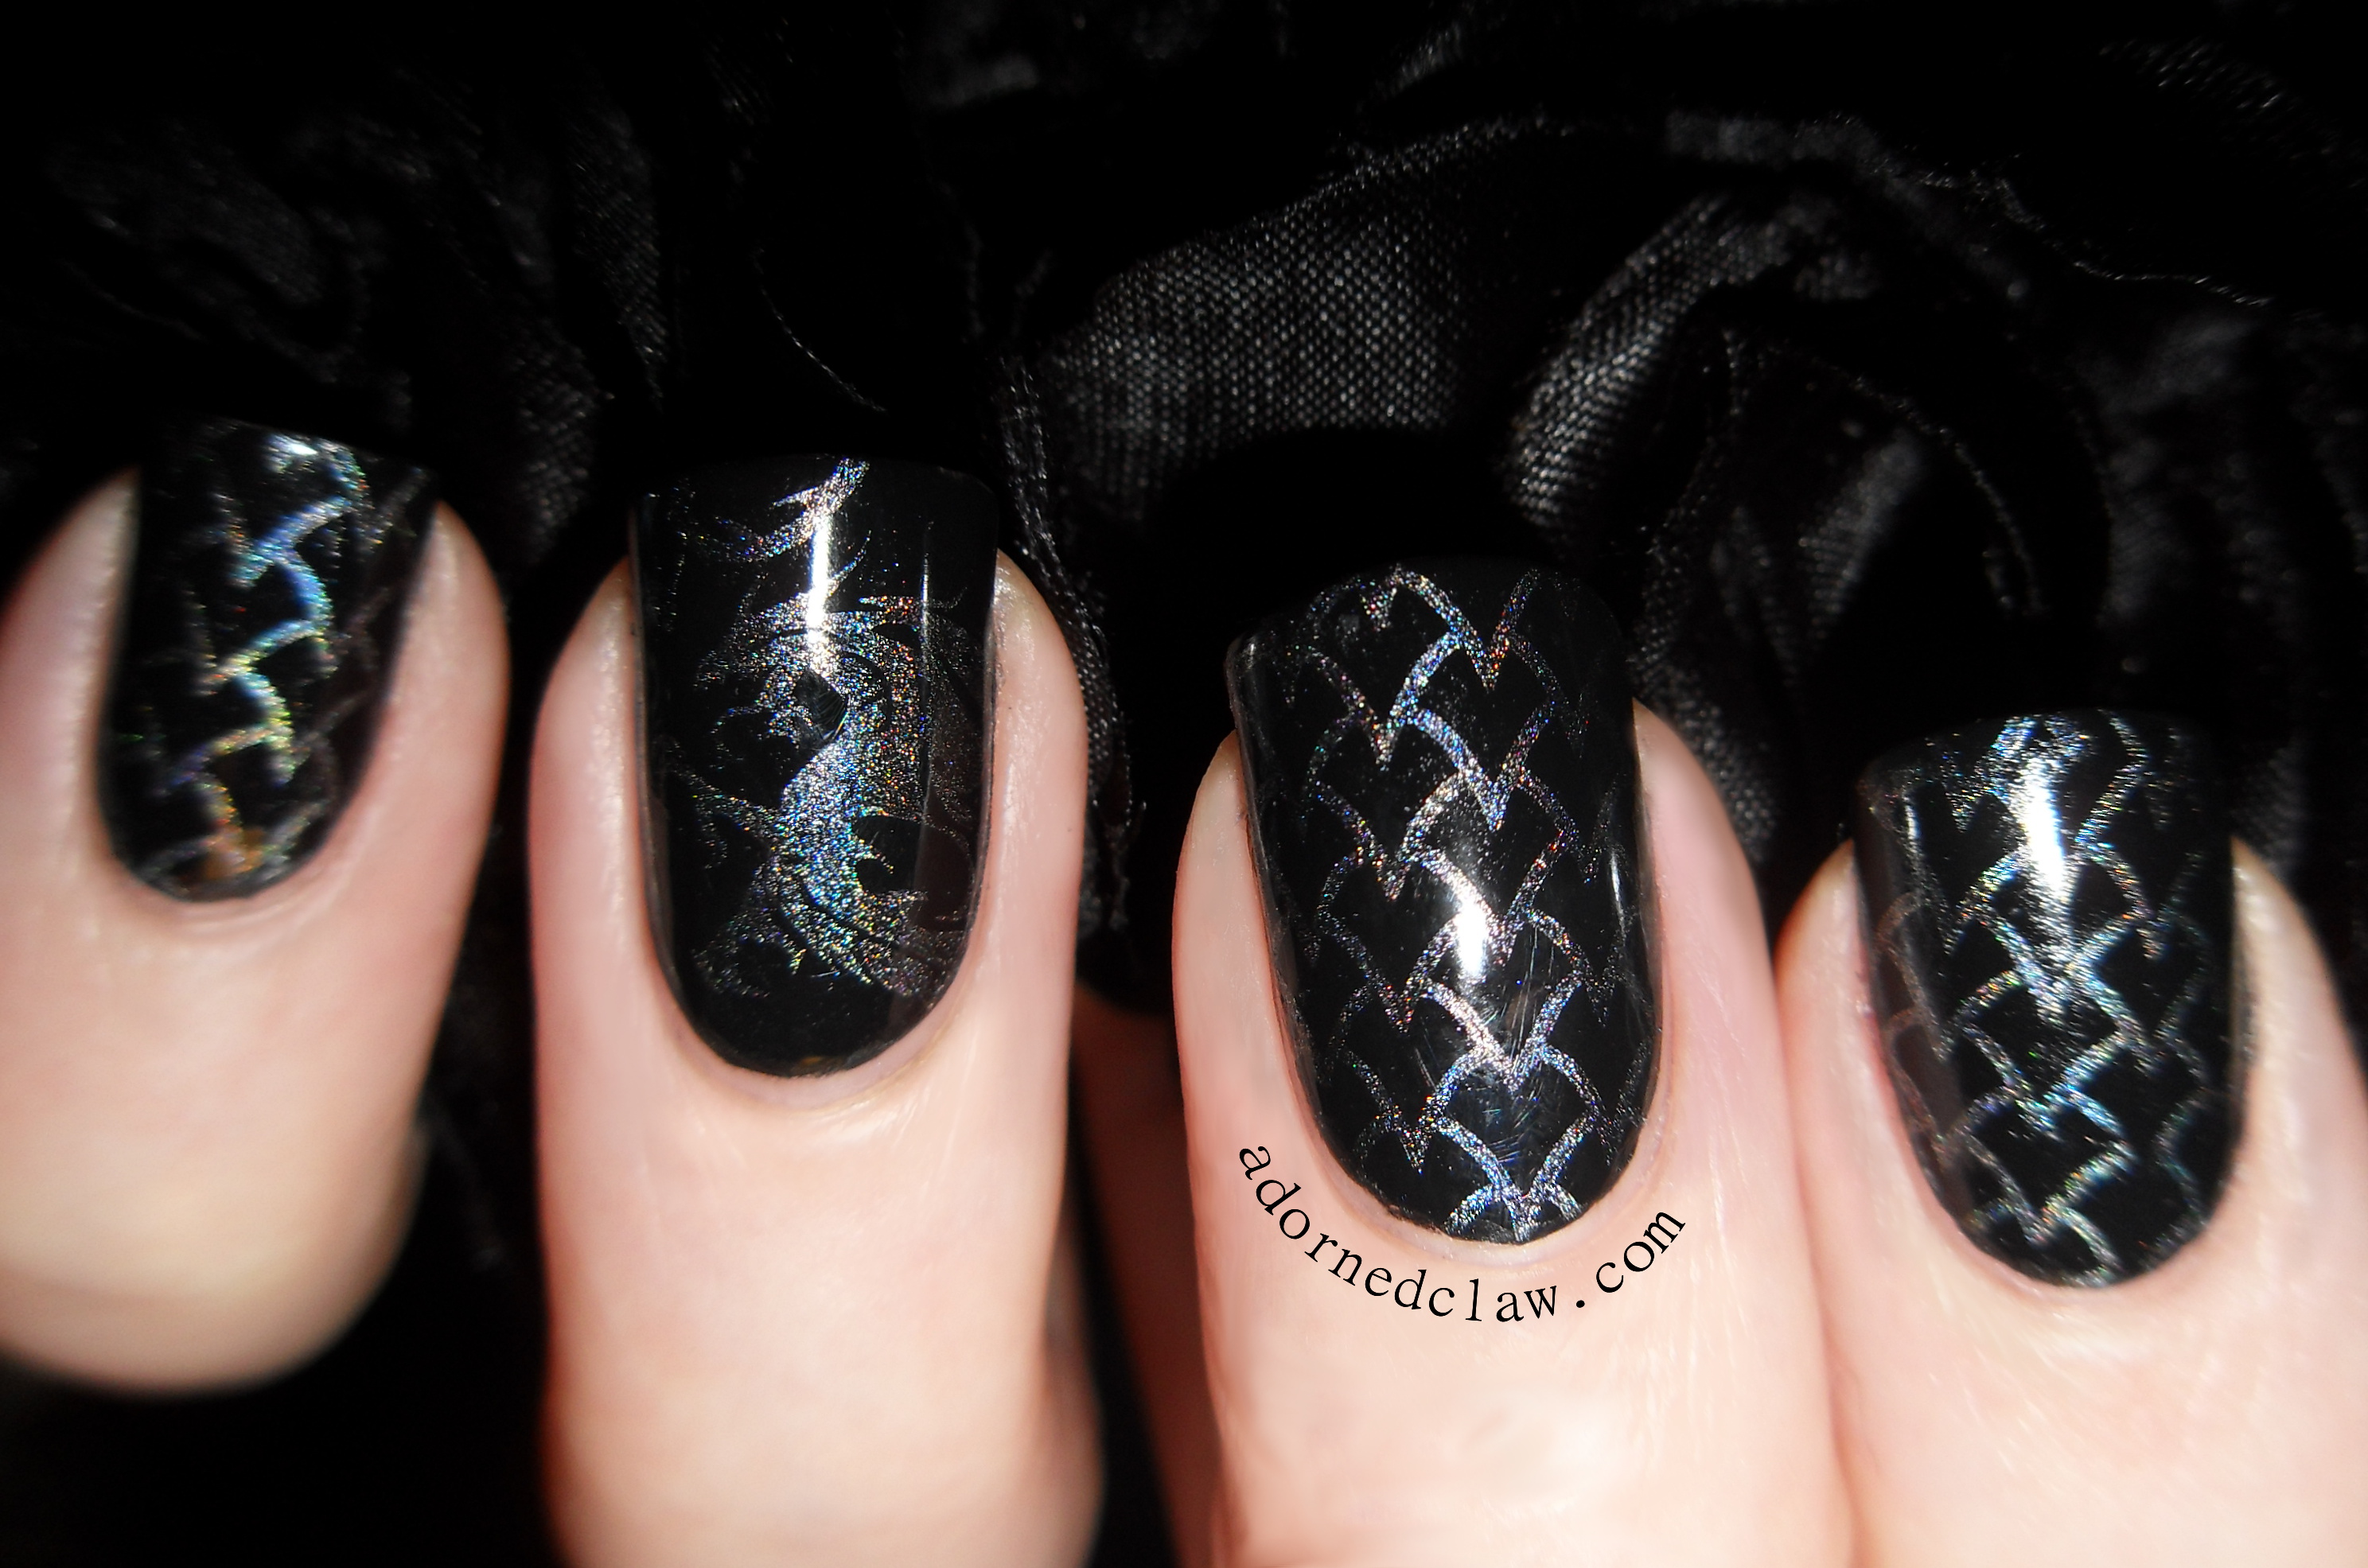
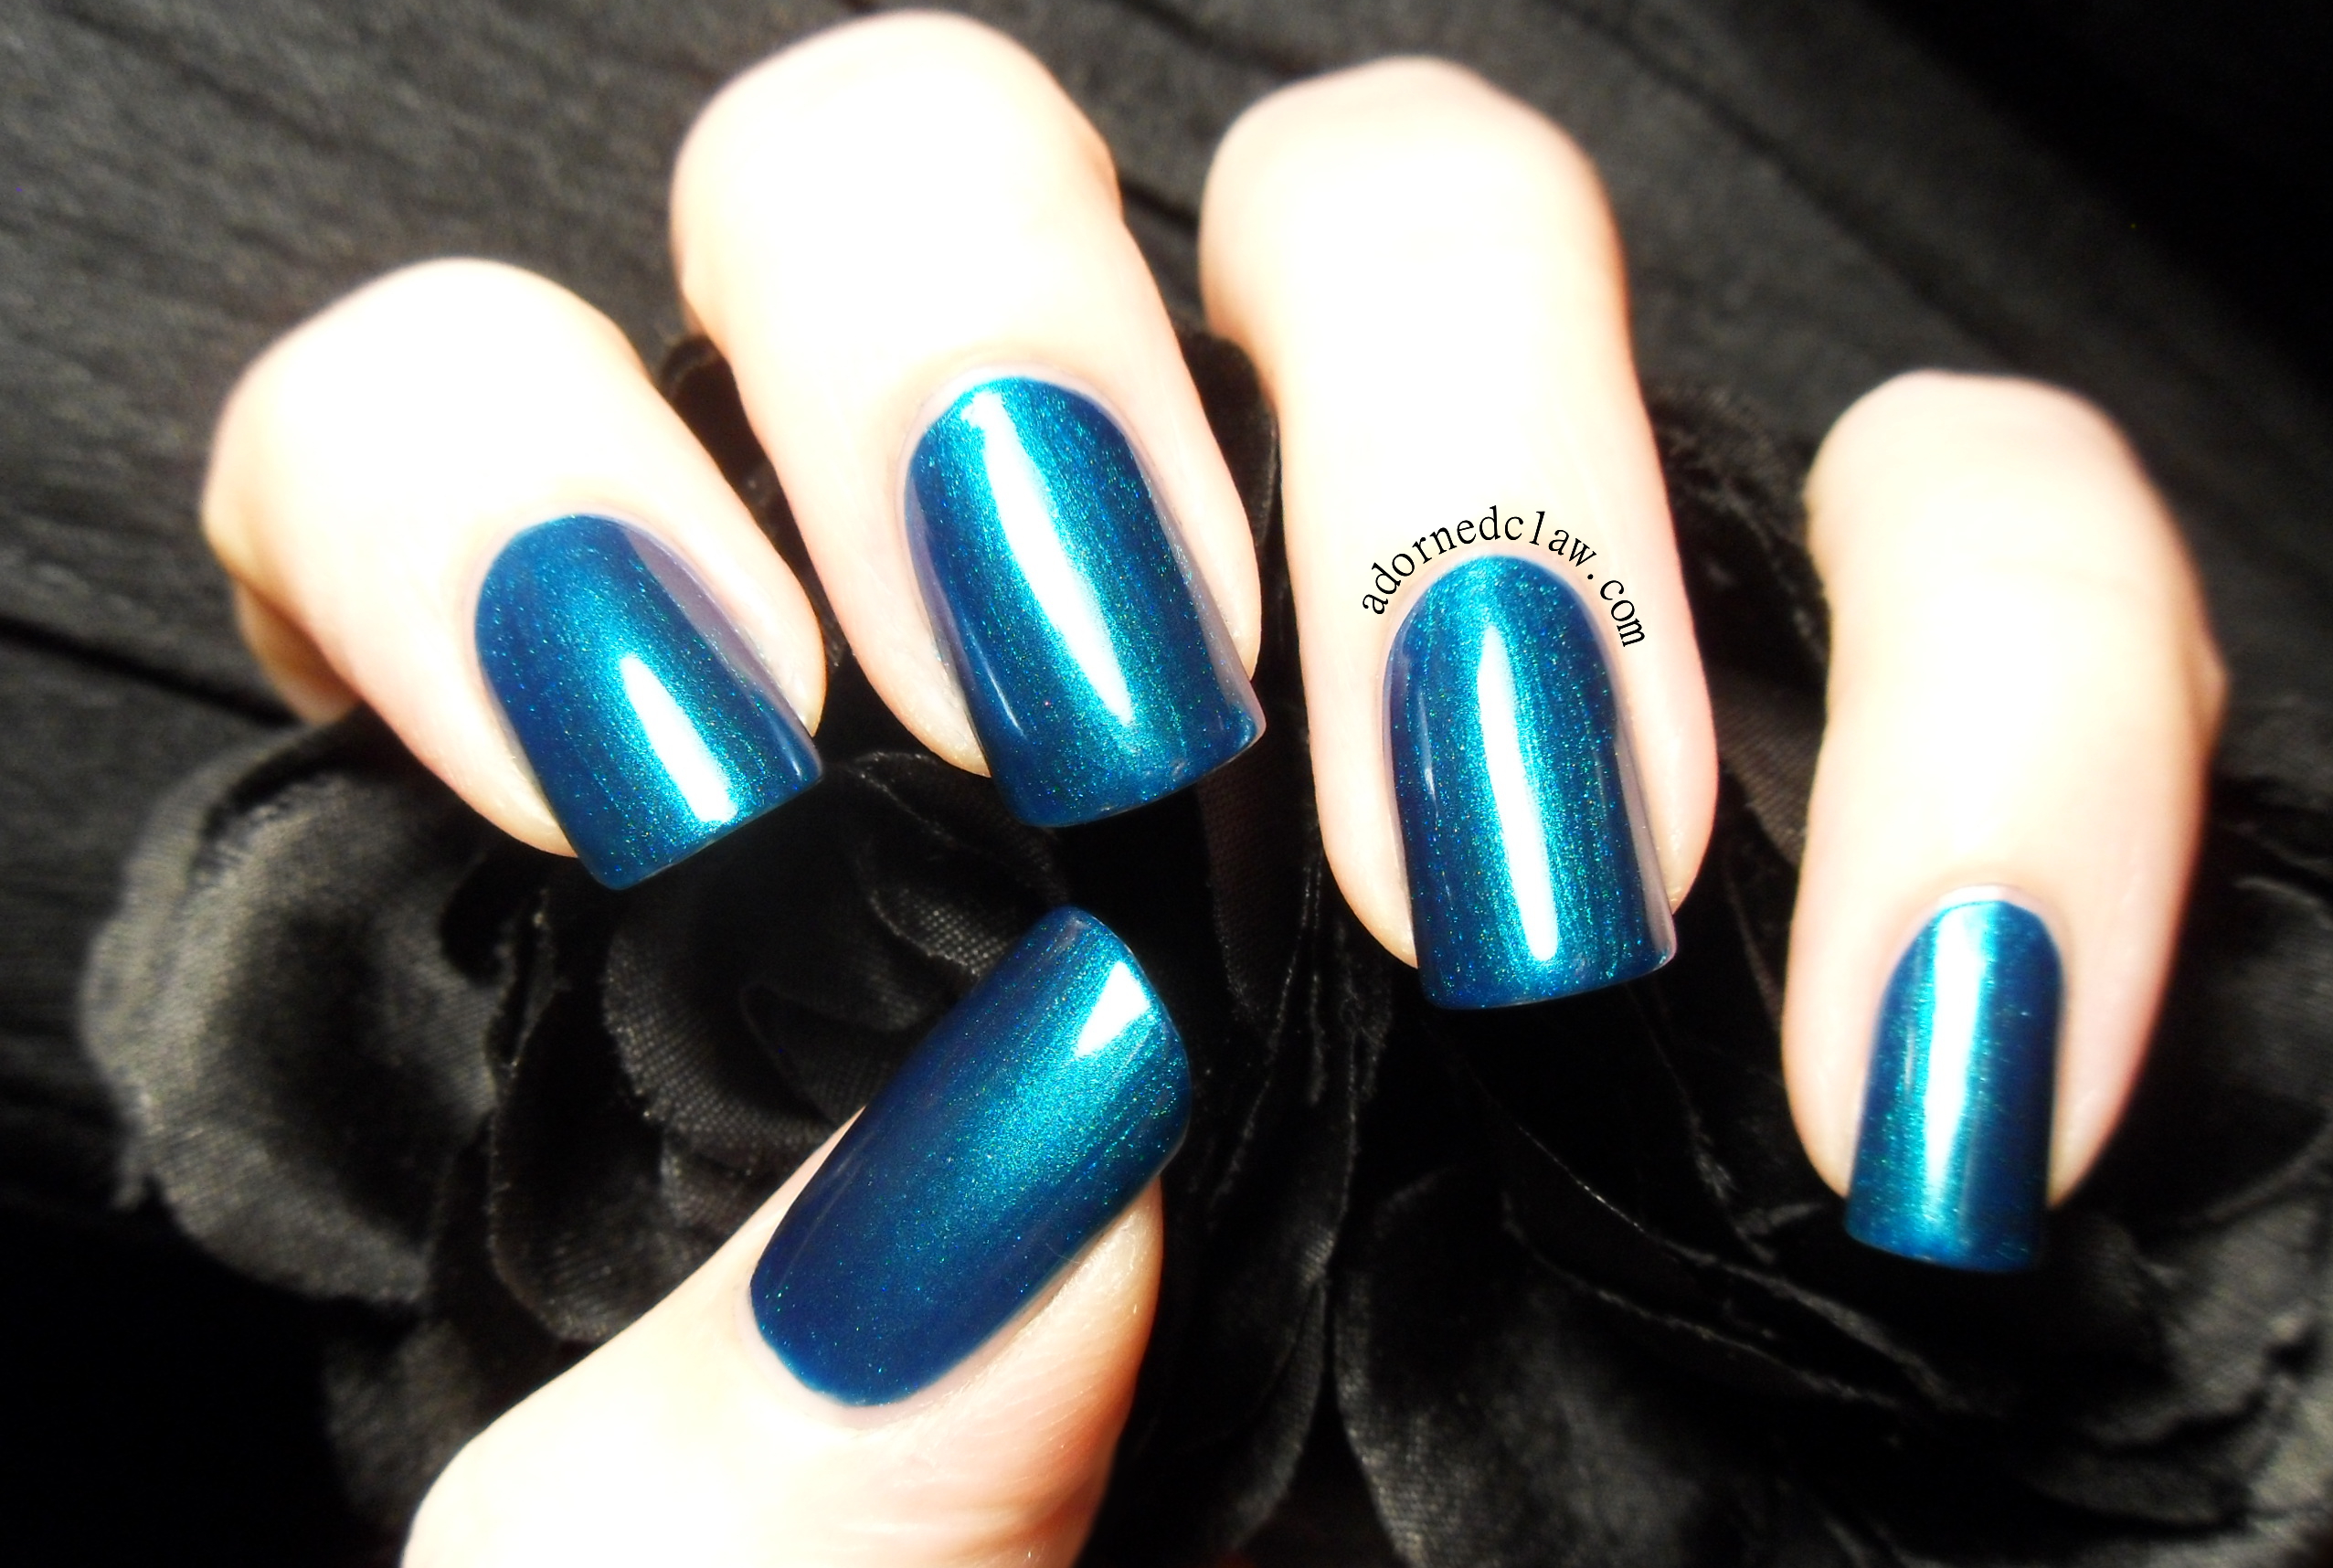
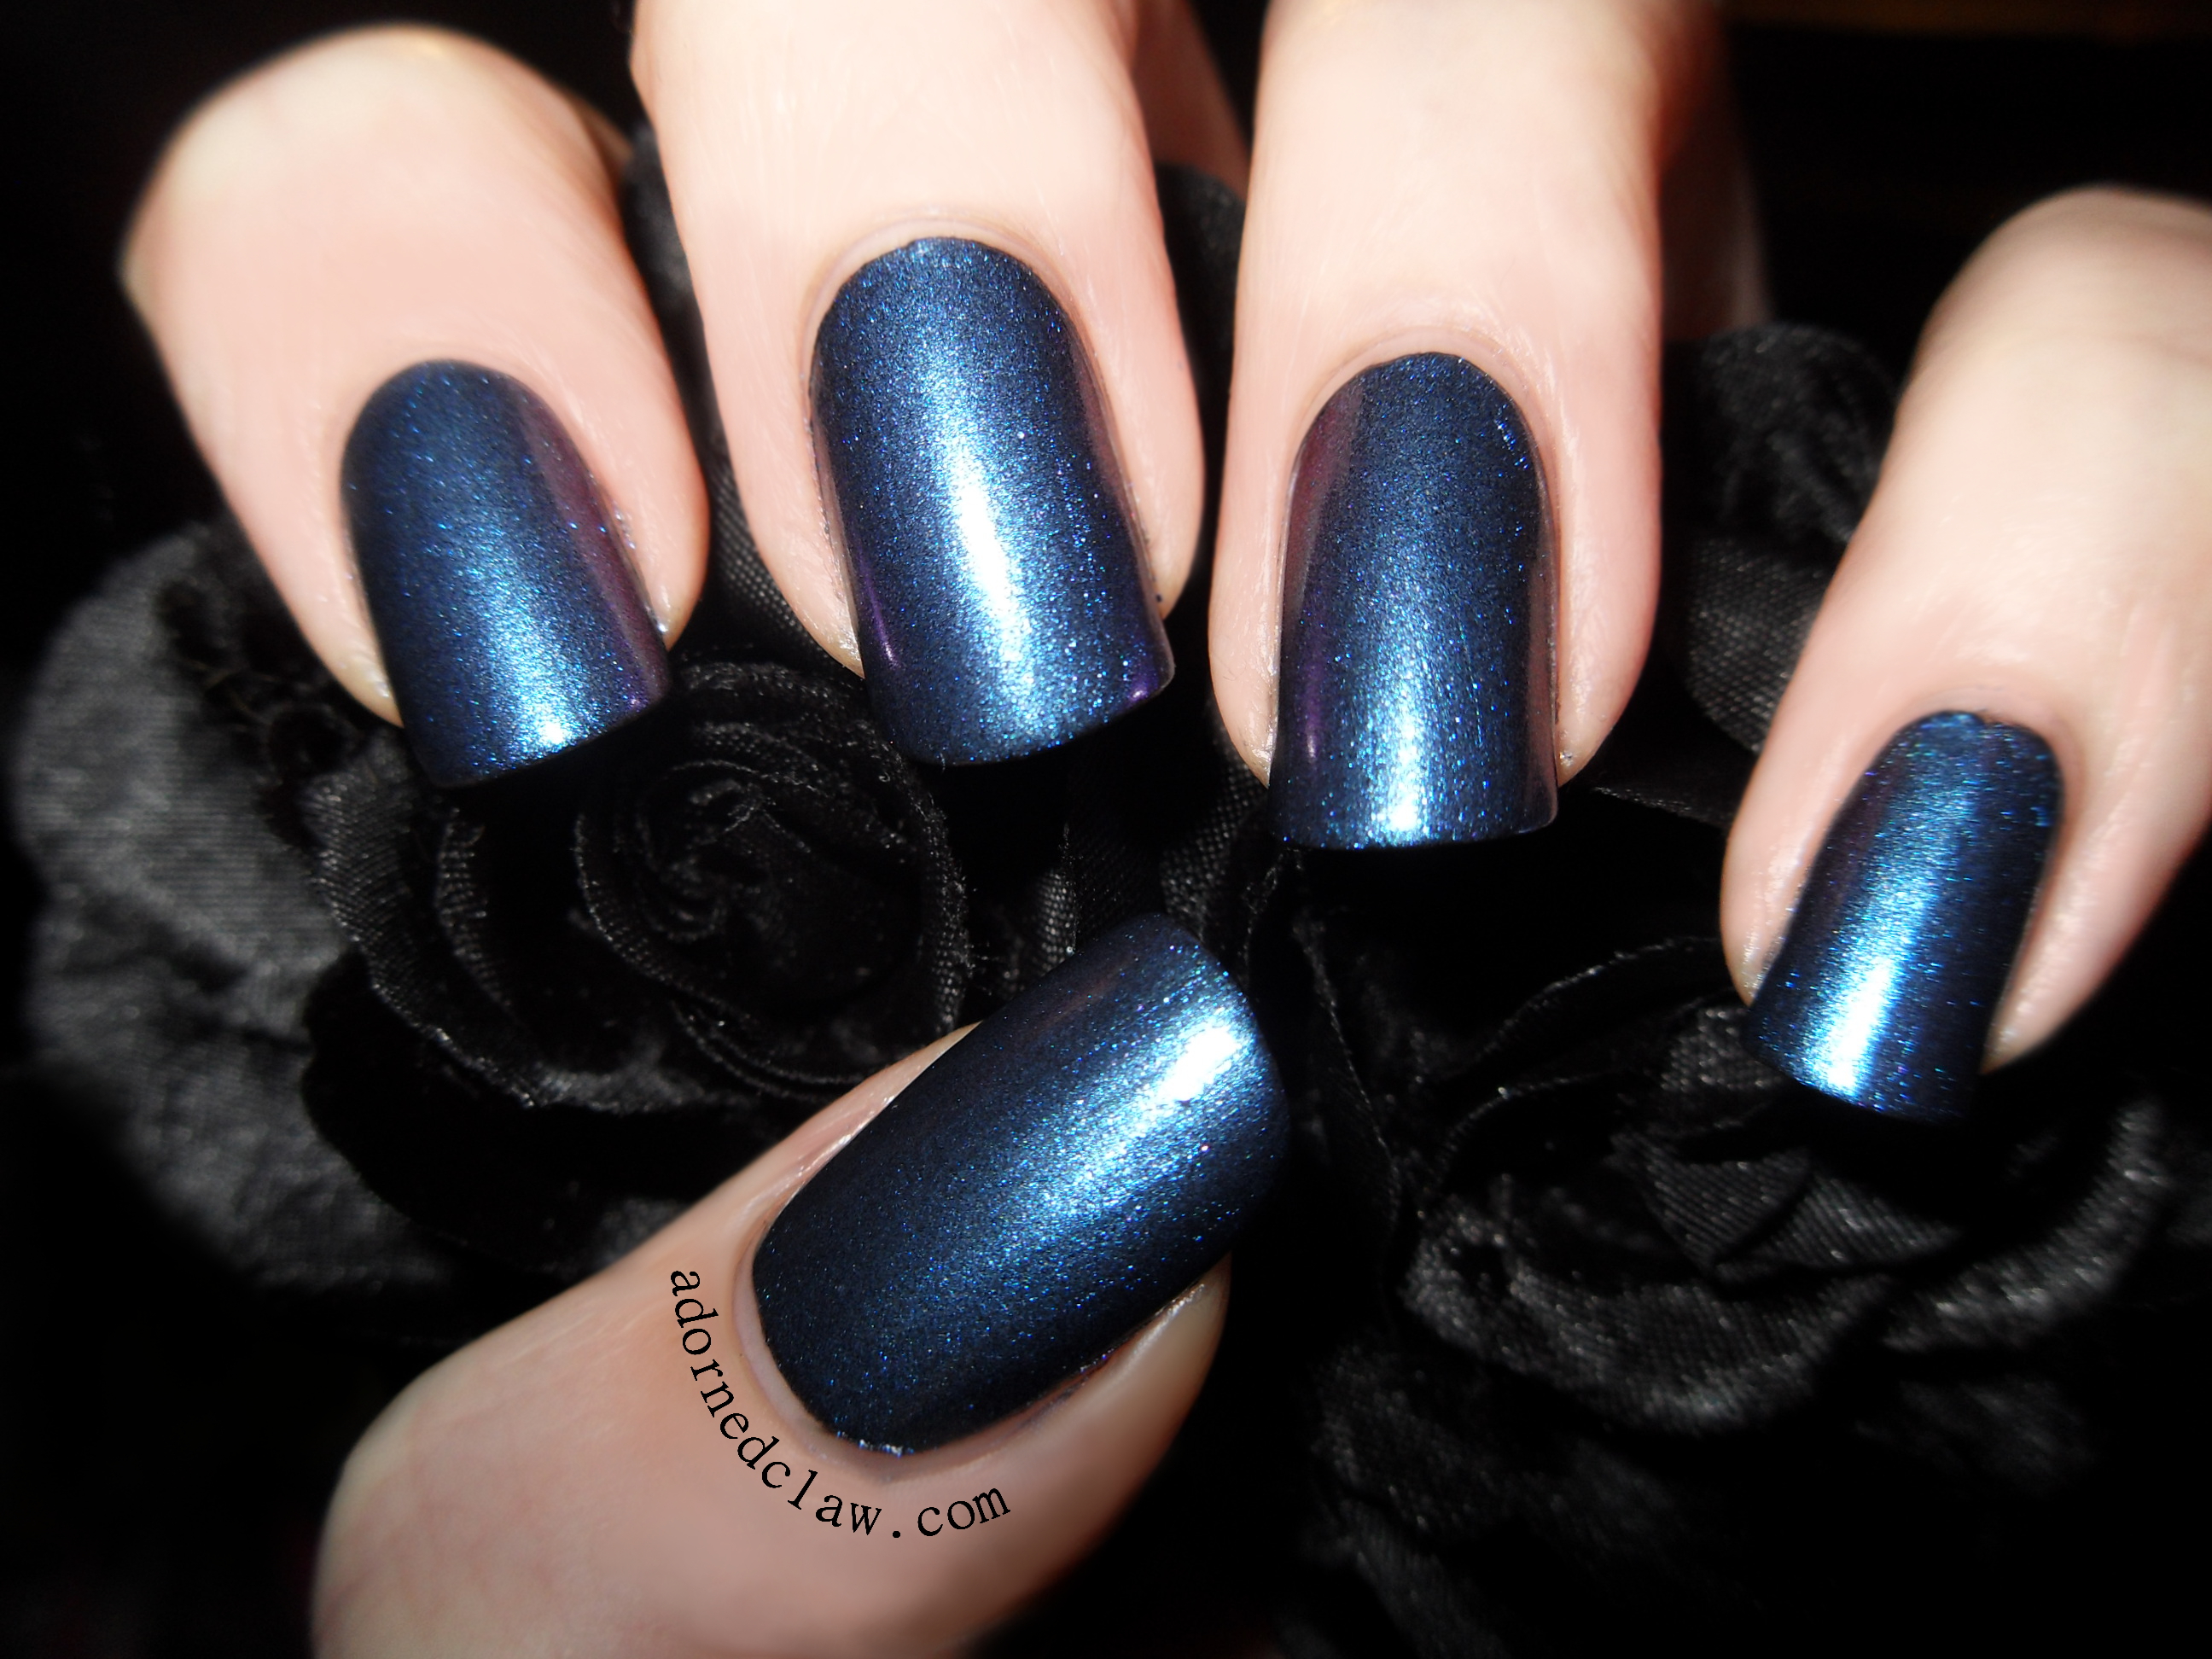
Ibiza with black undies
Finally this polish is called Ibiza it’s a dark blue glitter with a smattering of holographic glitters in a clear base.
I have to admit when I opened the bottle for the first time I was really disappointed with the amount of glitter it looked very sparse, but on application I was very surprised on how fantastic it looks over the black!
This is two coats over Black Magic from Revlon.
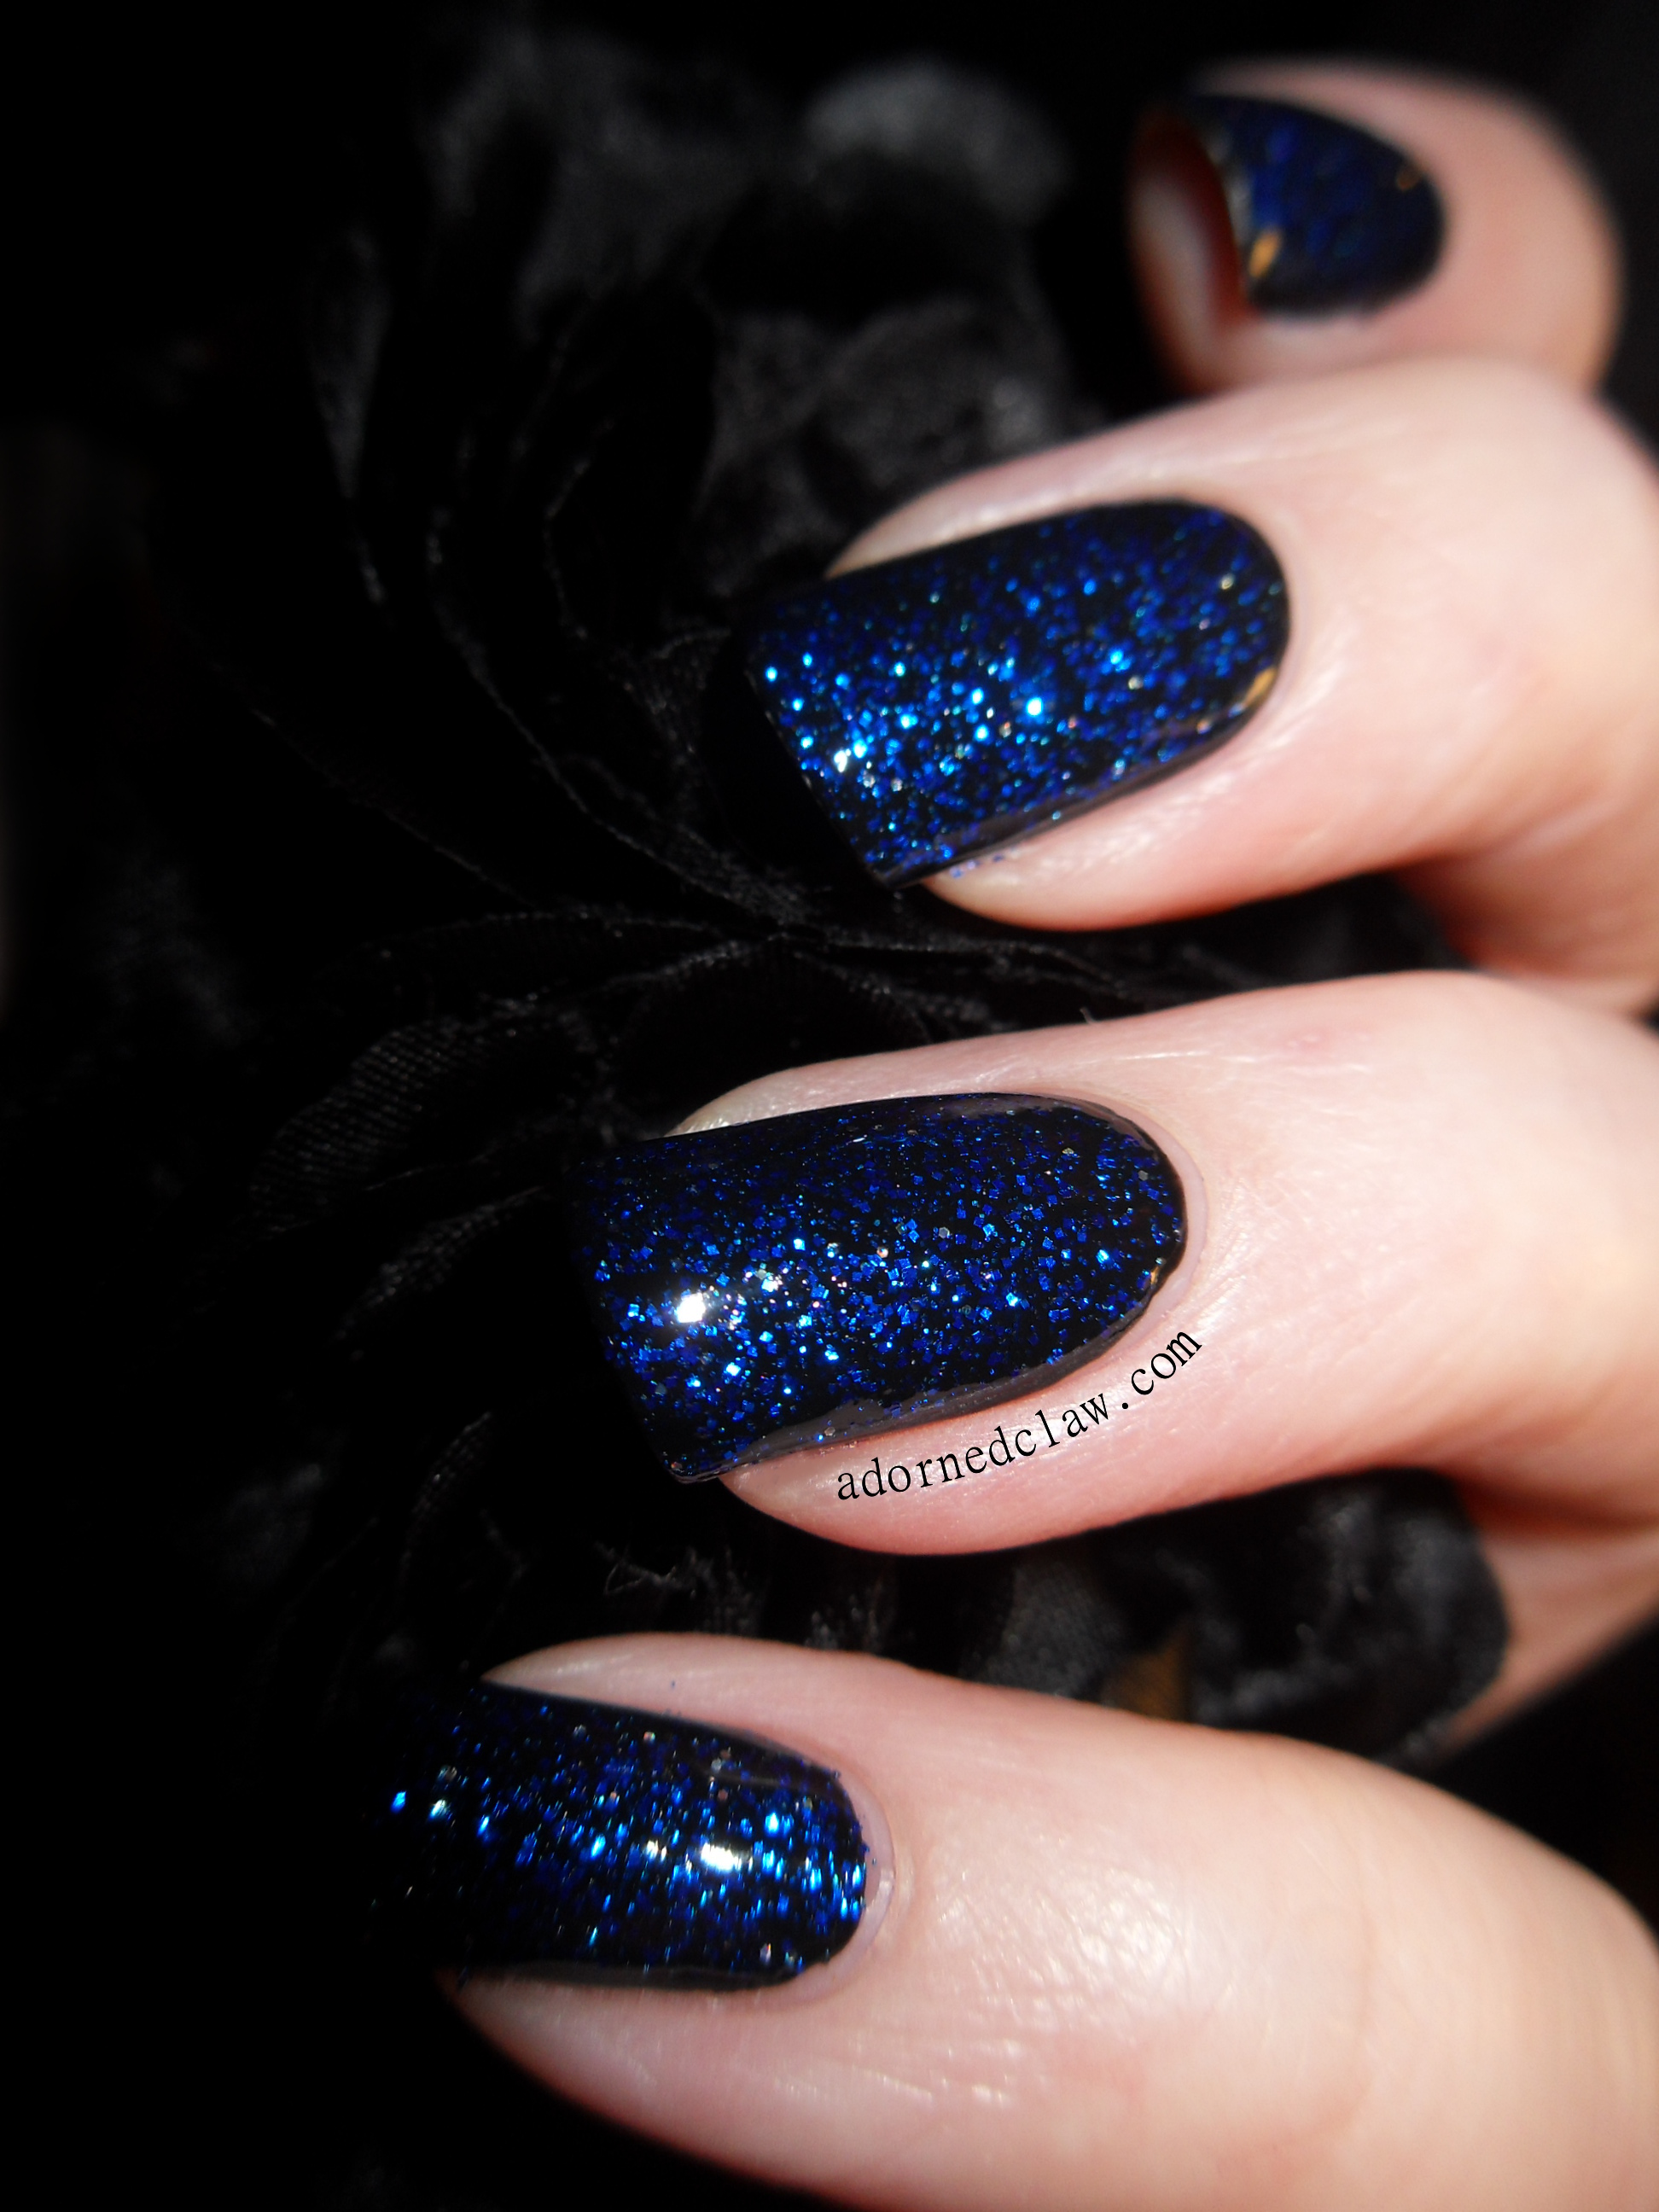
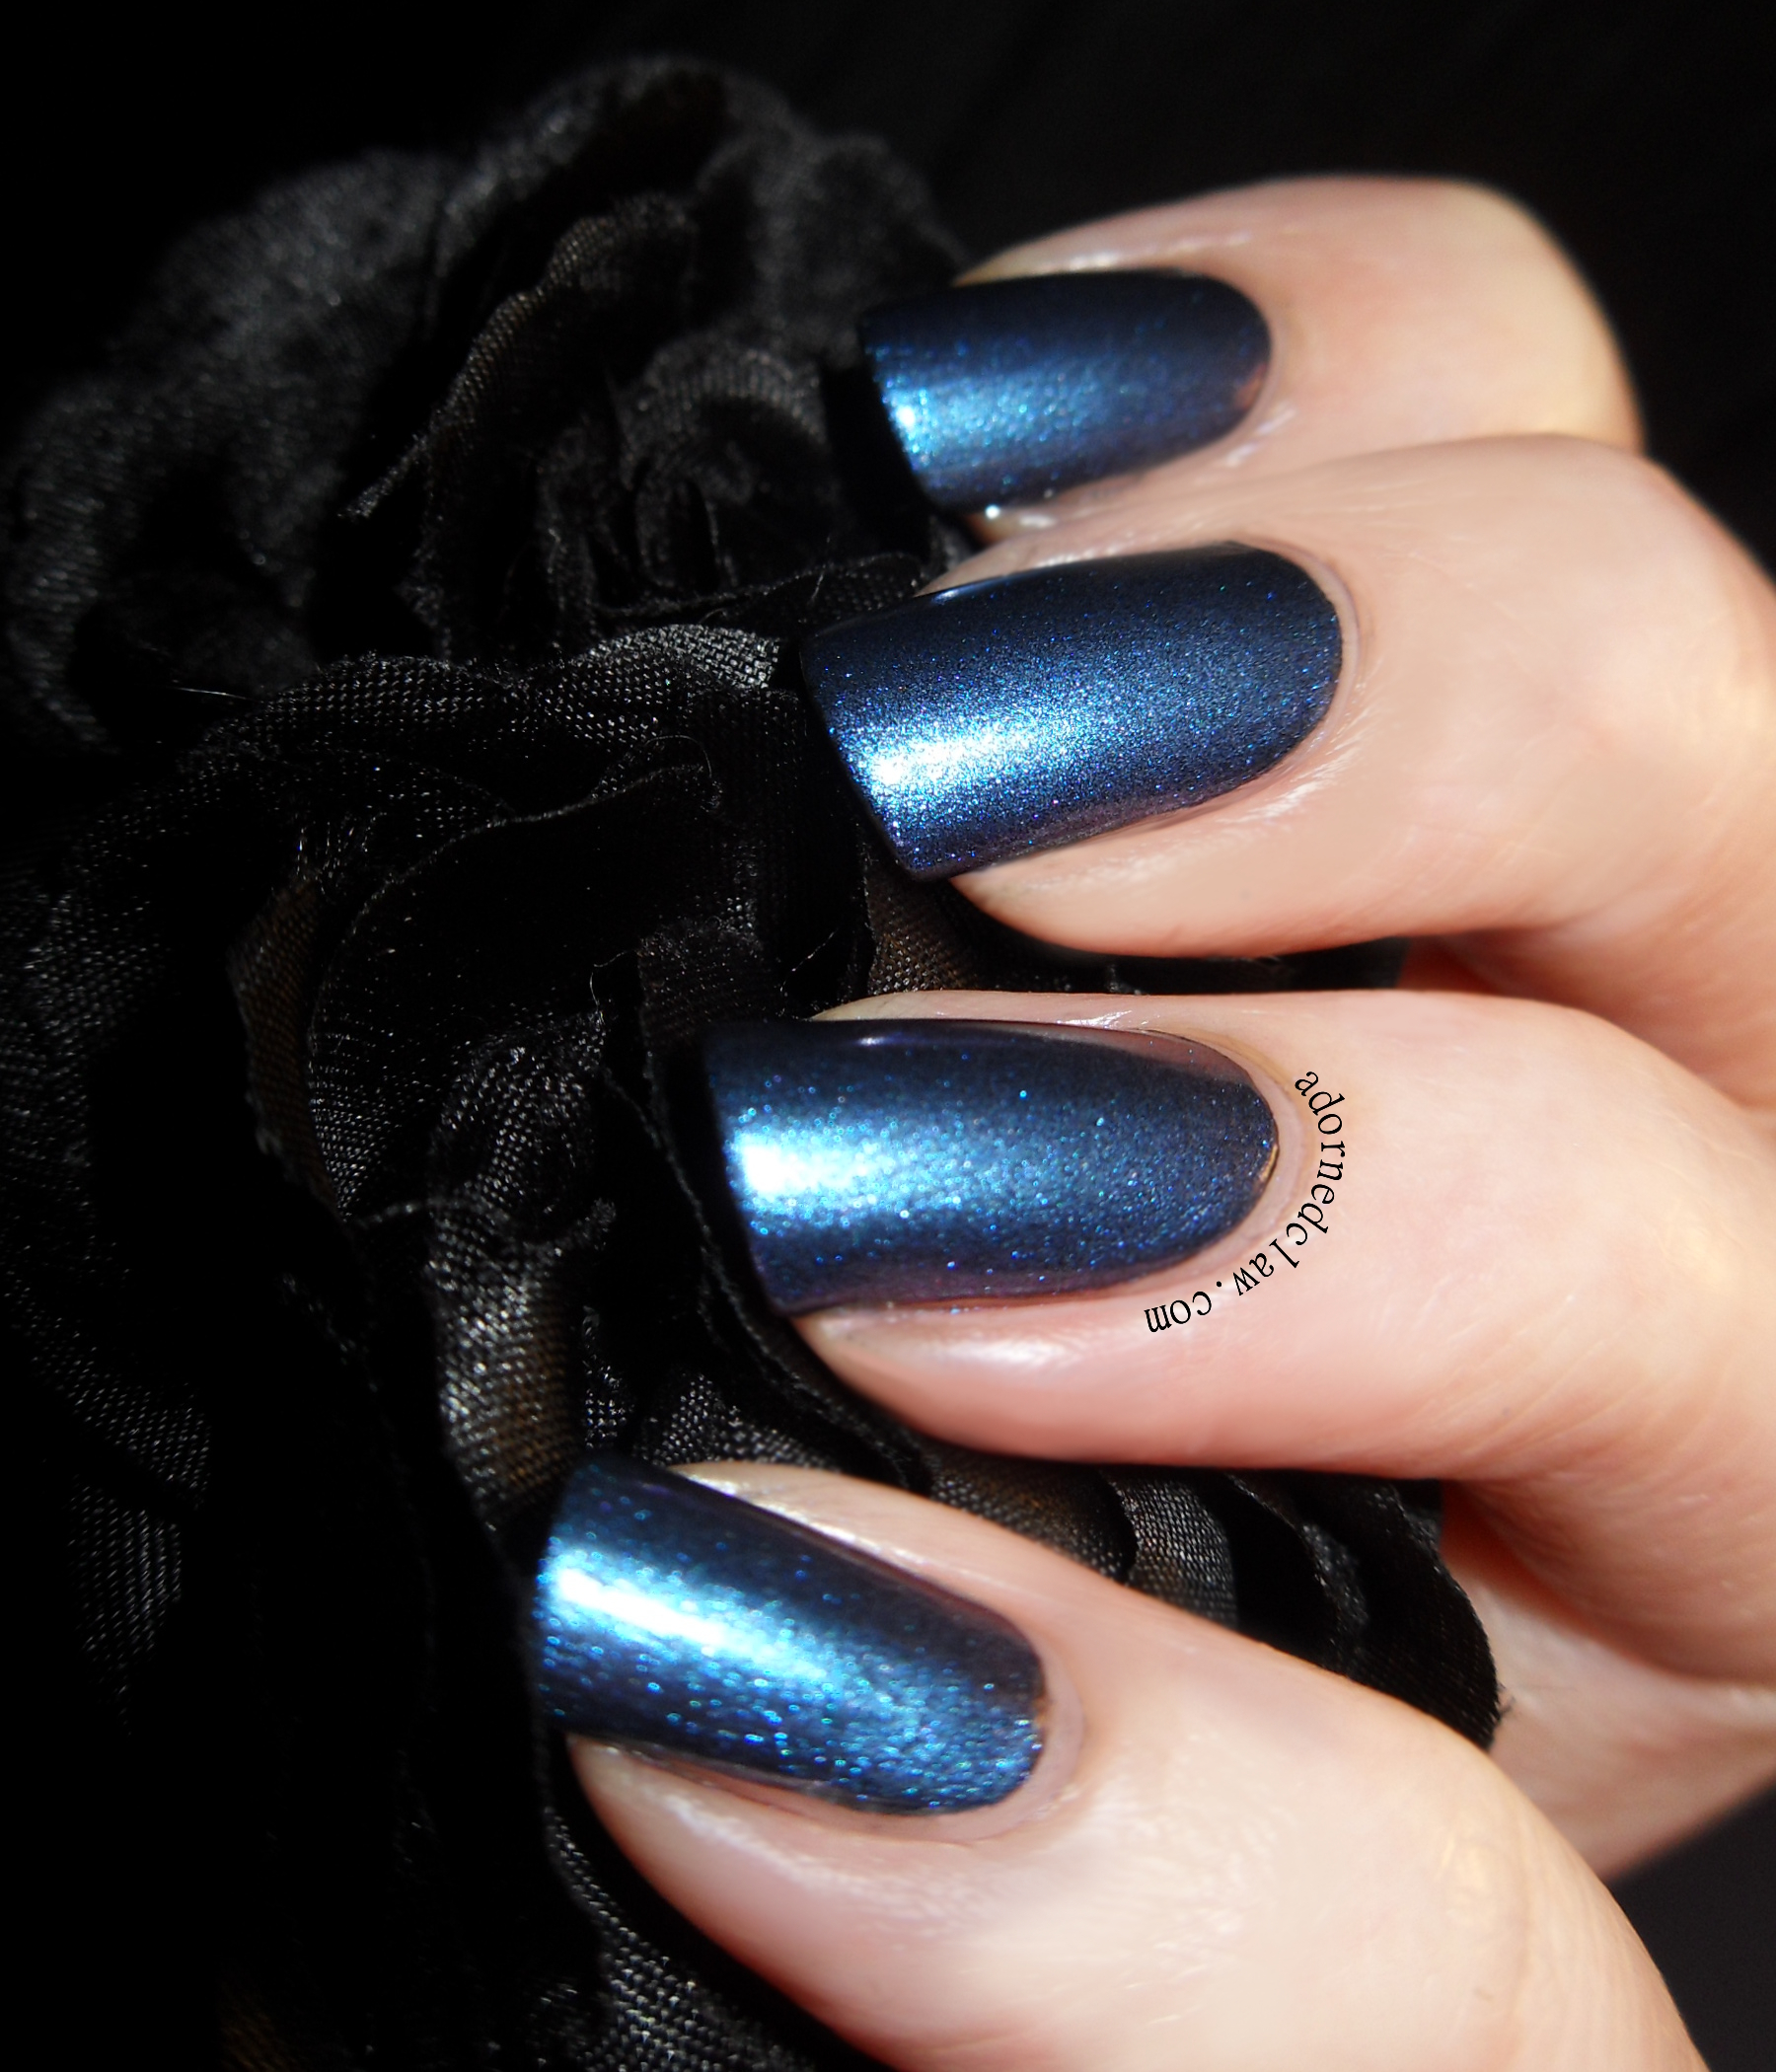
jess nail polish Ibiza
This is my favorite out of the three polishes. I think that this one is very much worth the £1 that I payed for it! 🙂