Tag Archives: Manicure

GOT Polish Challenge – Indie

Hello! 🙂

Belle Glamour Discoball

Belle Glamour Discoball

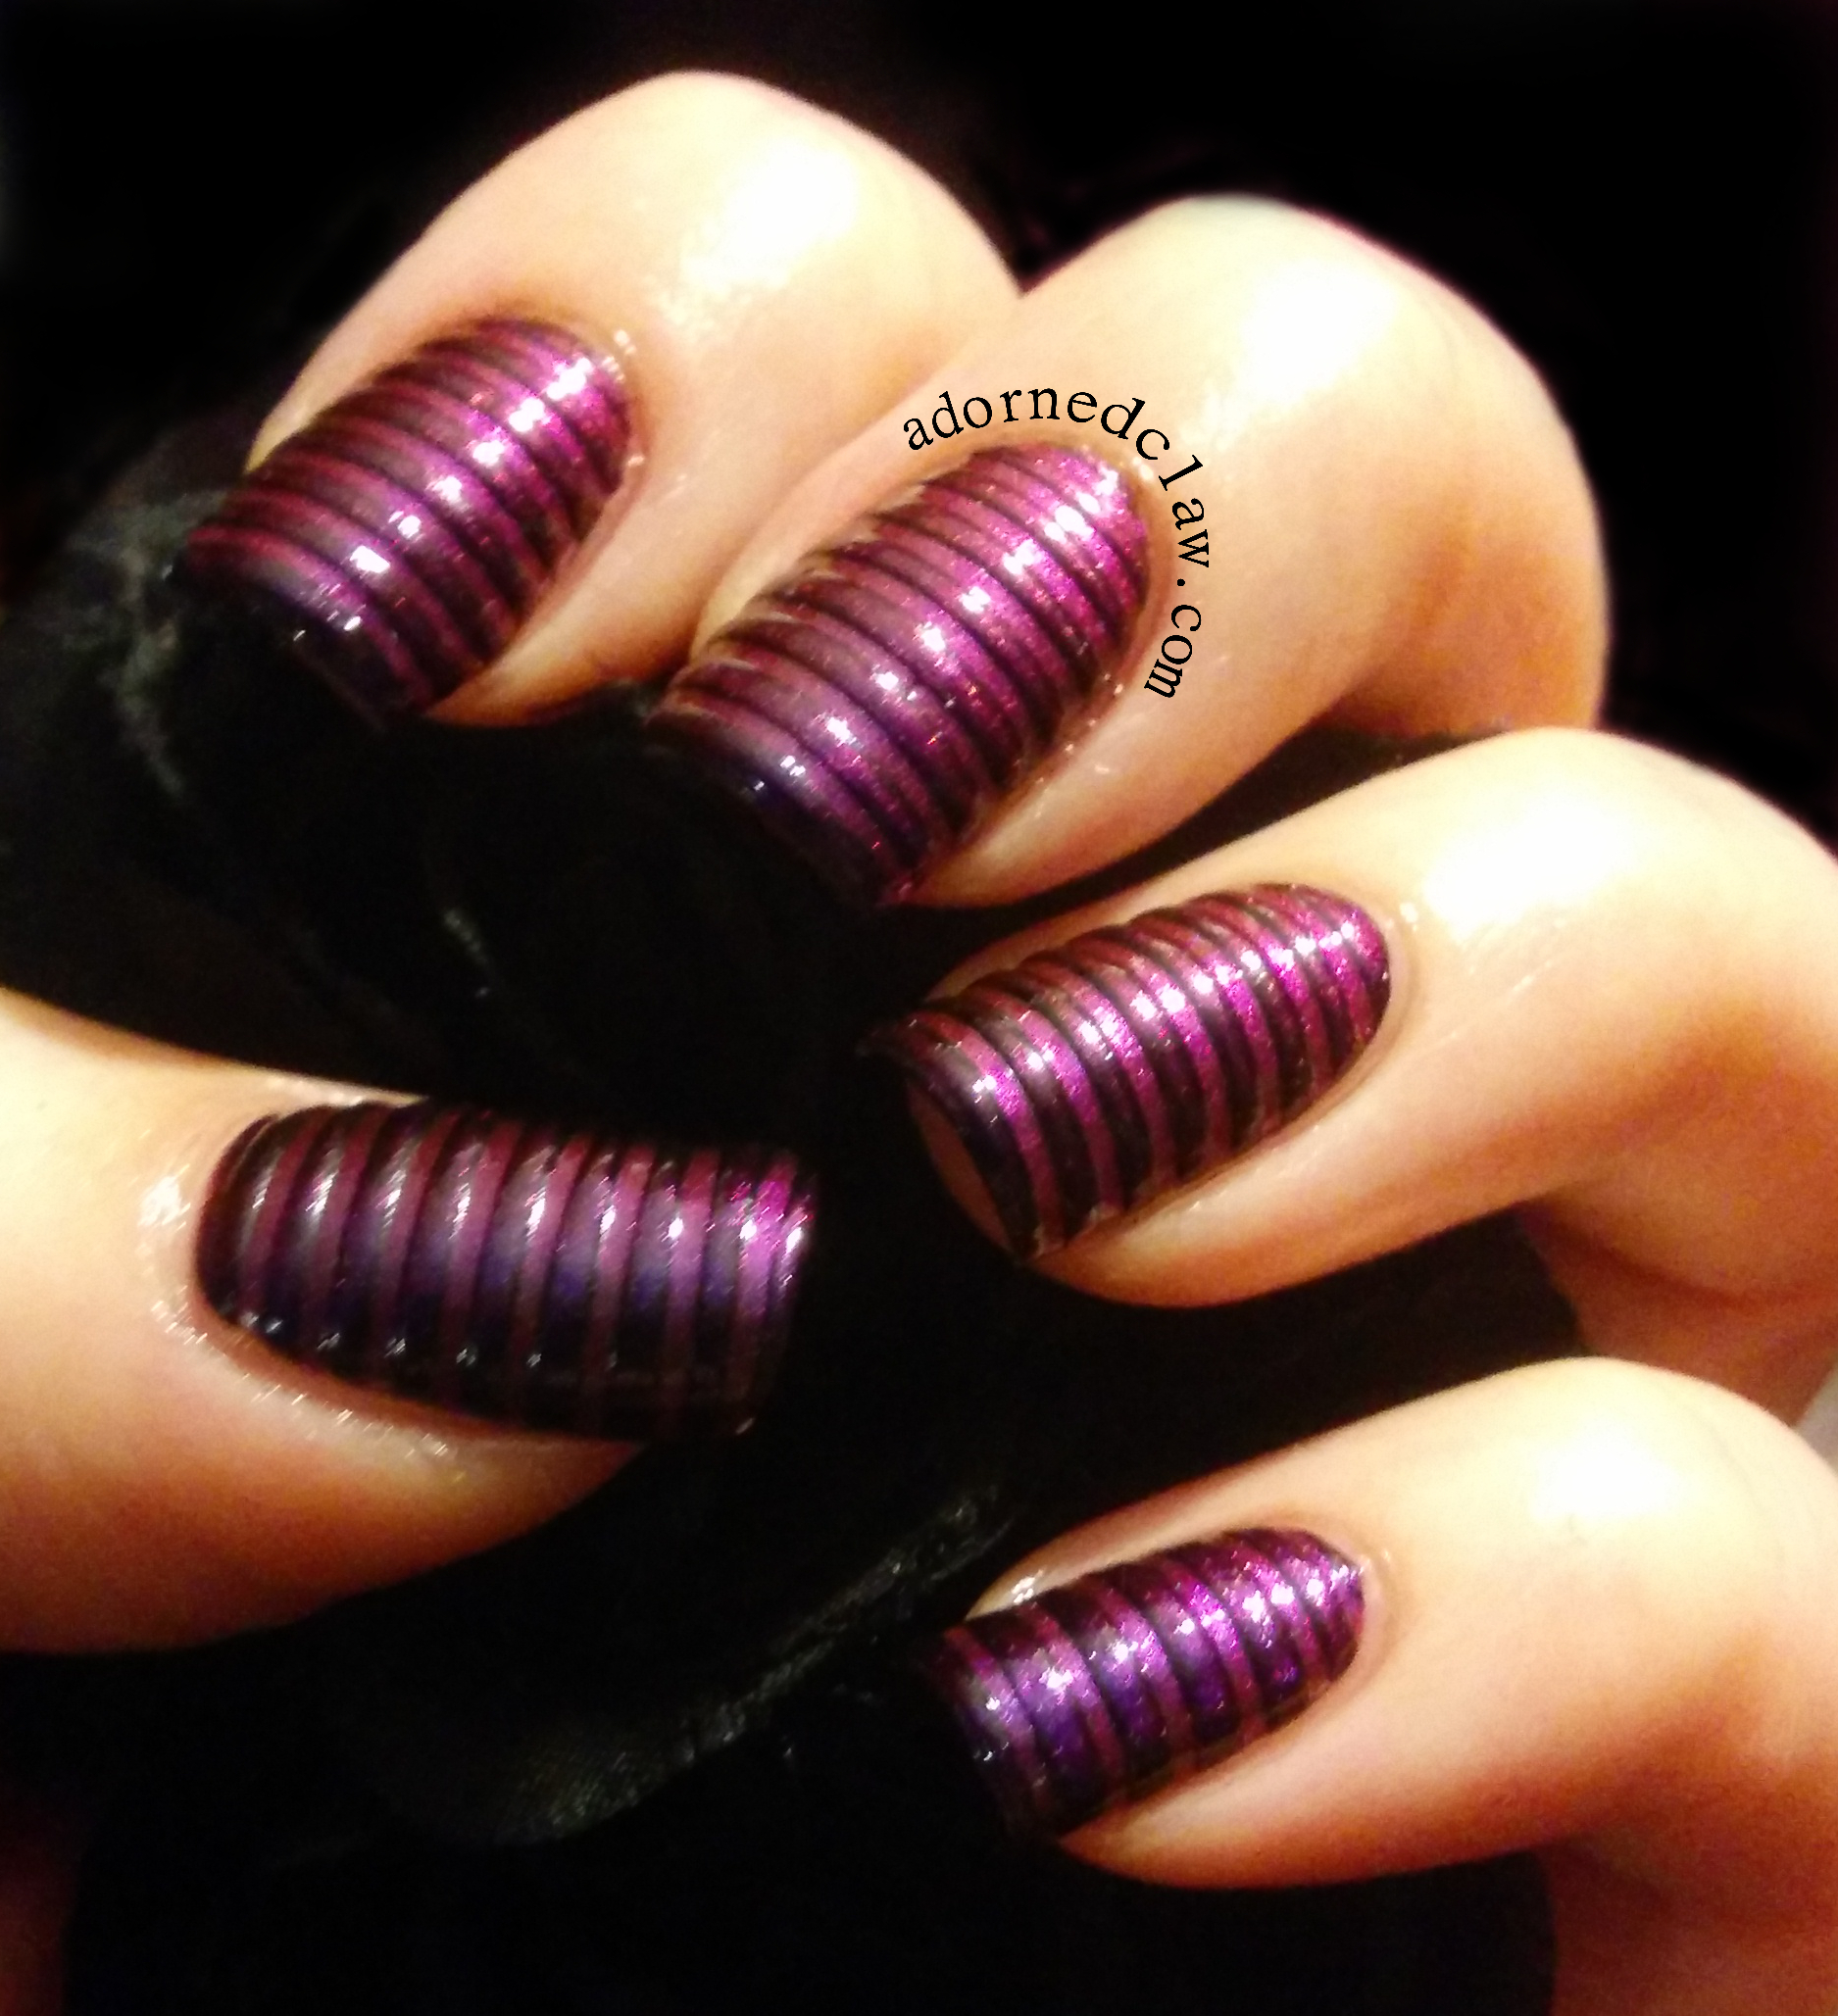
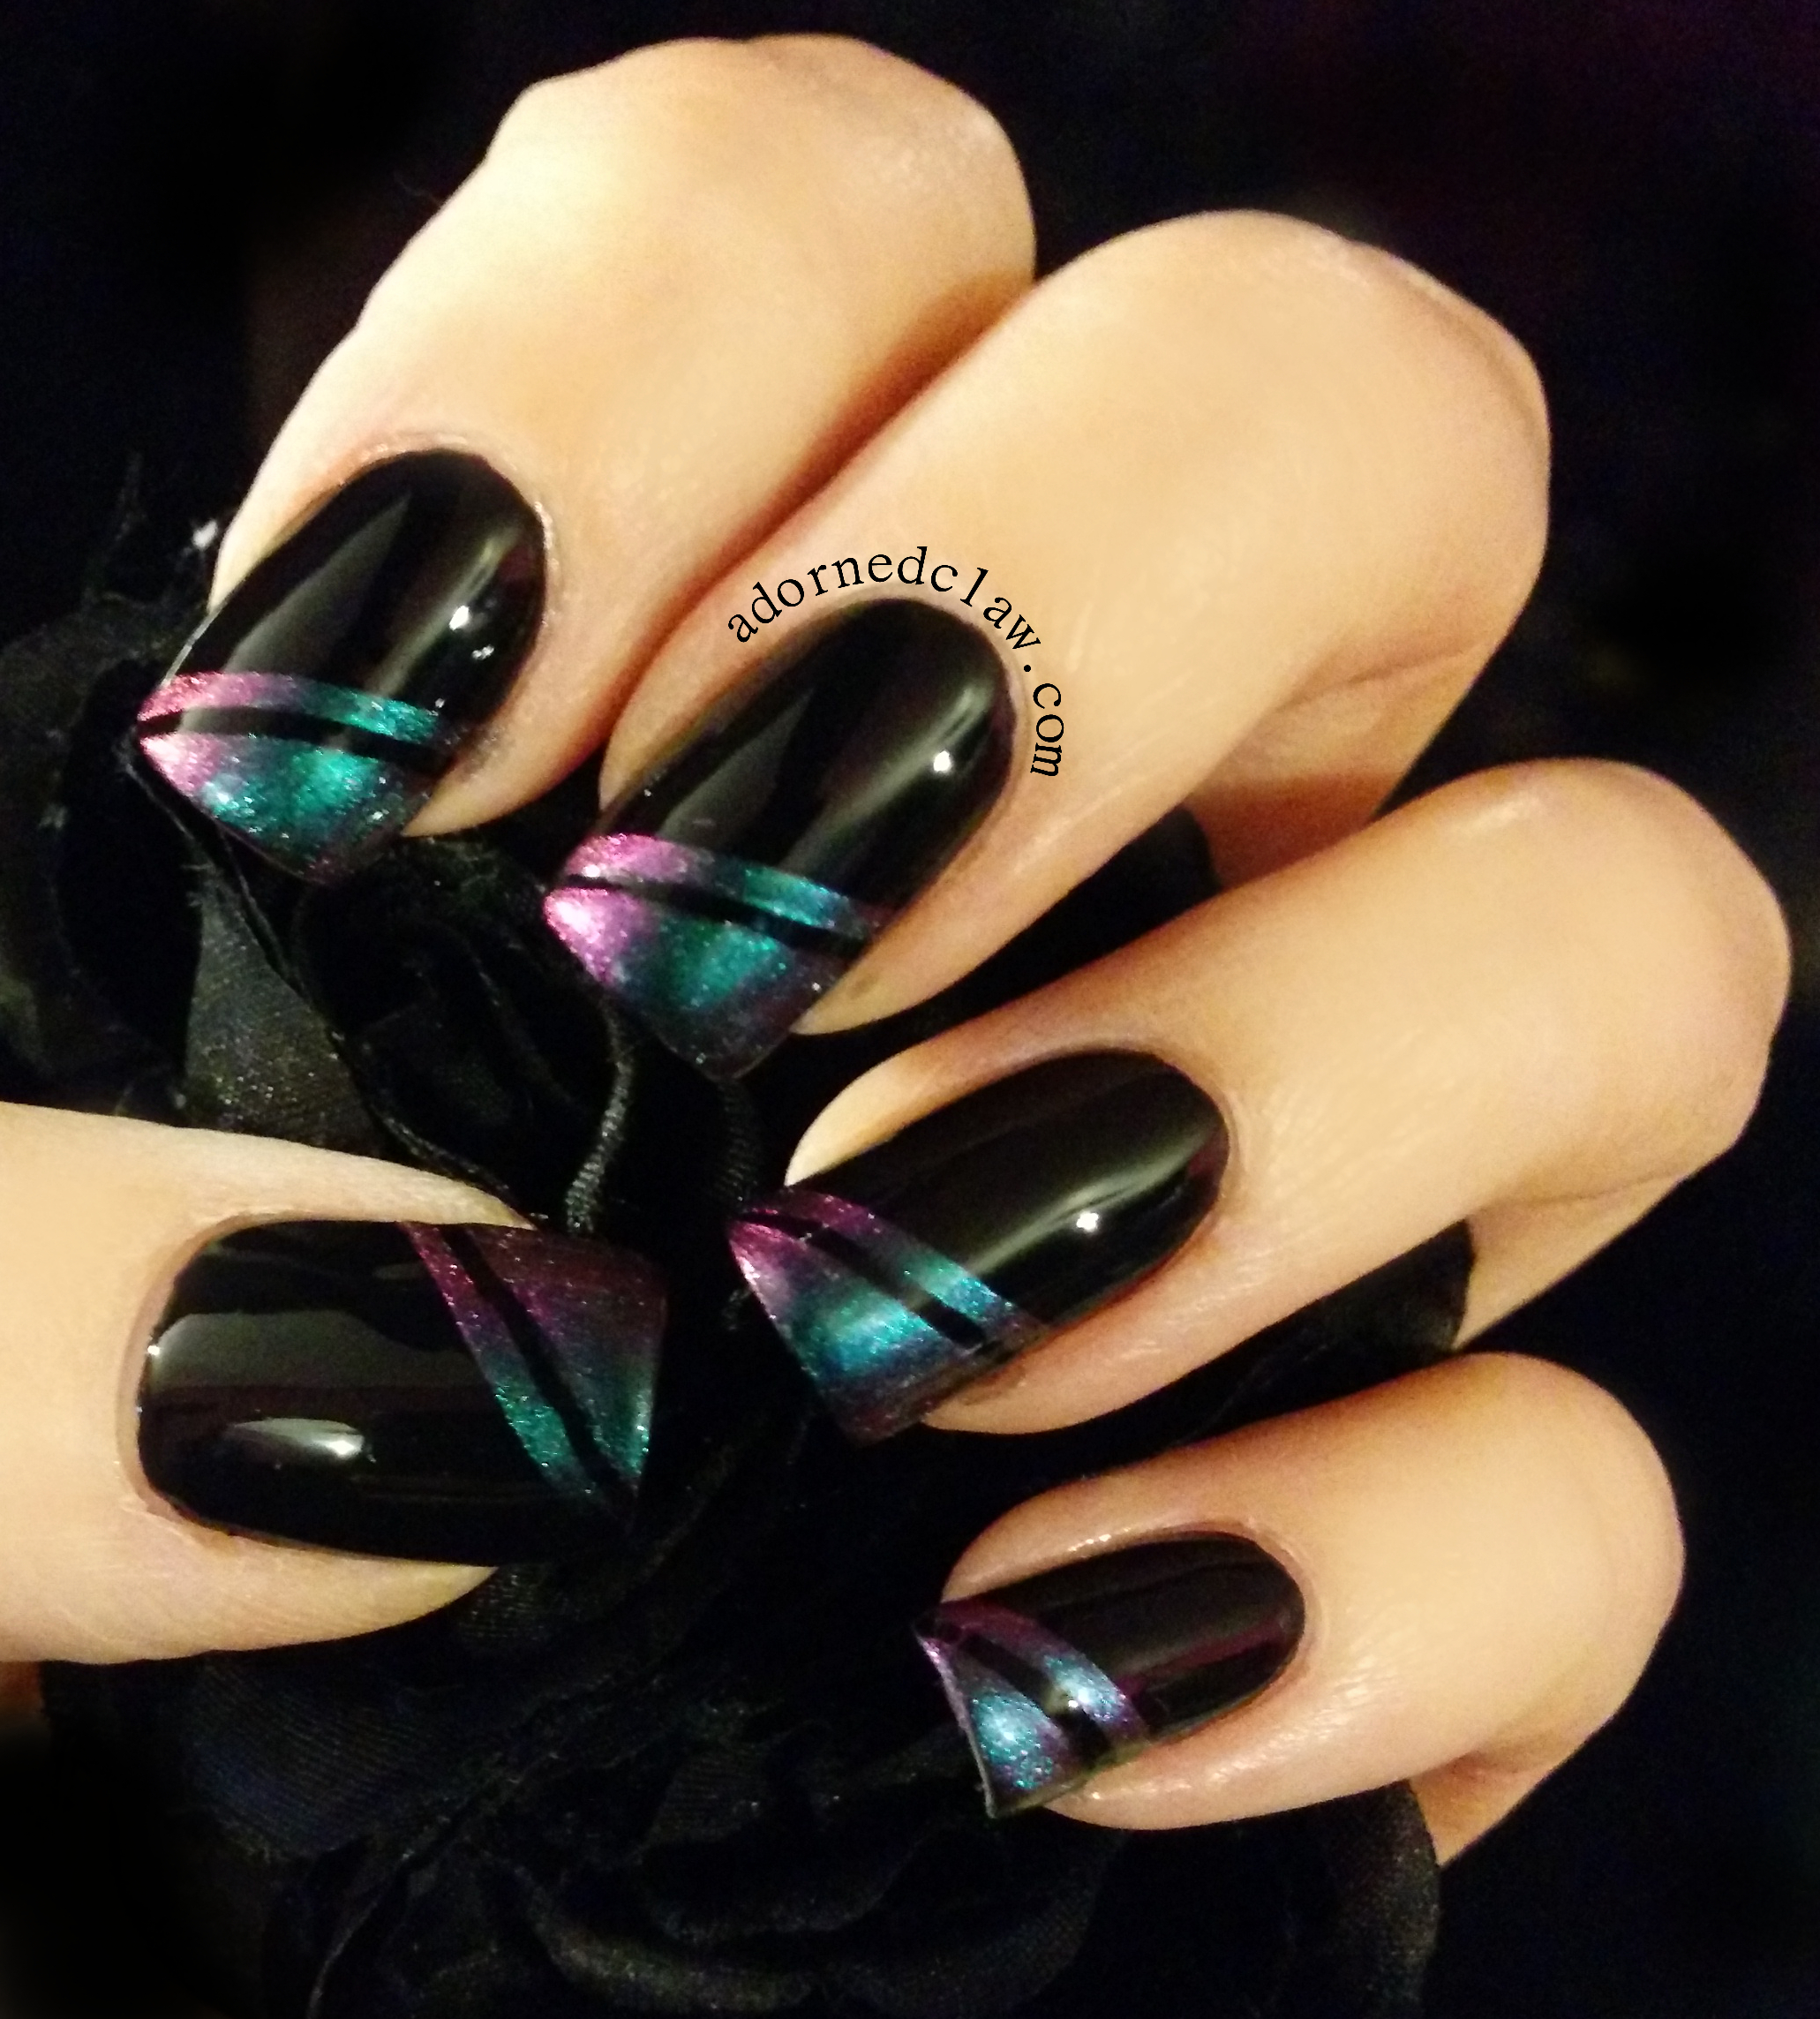
For the GOT polish challenge this week I have chosen to use Discoball from Belle Glamour, It’s a polish I have used a few times but for some reason I haven’t shown it to you all on here,  which is very odd because it’s absolutely stunning!

DiscoBall is a densely packed with micro holographic glitter in a clear base, it took two coats to be opaque!

Belle glamour Discoball sparkles

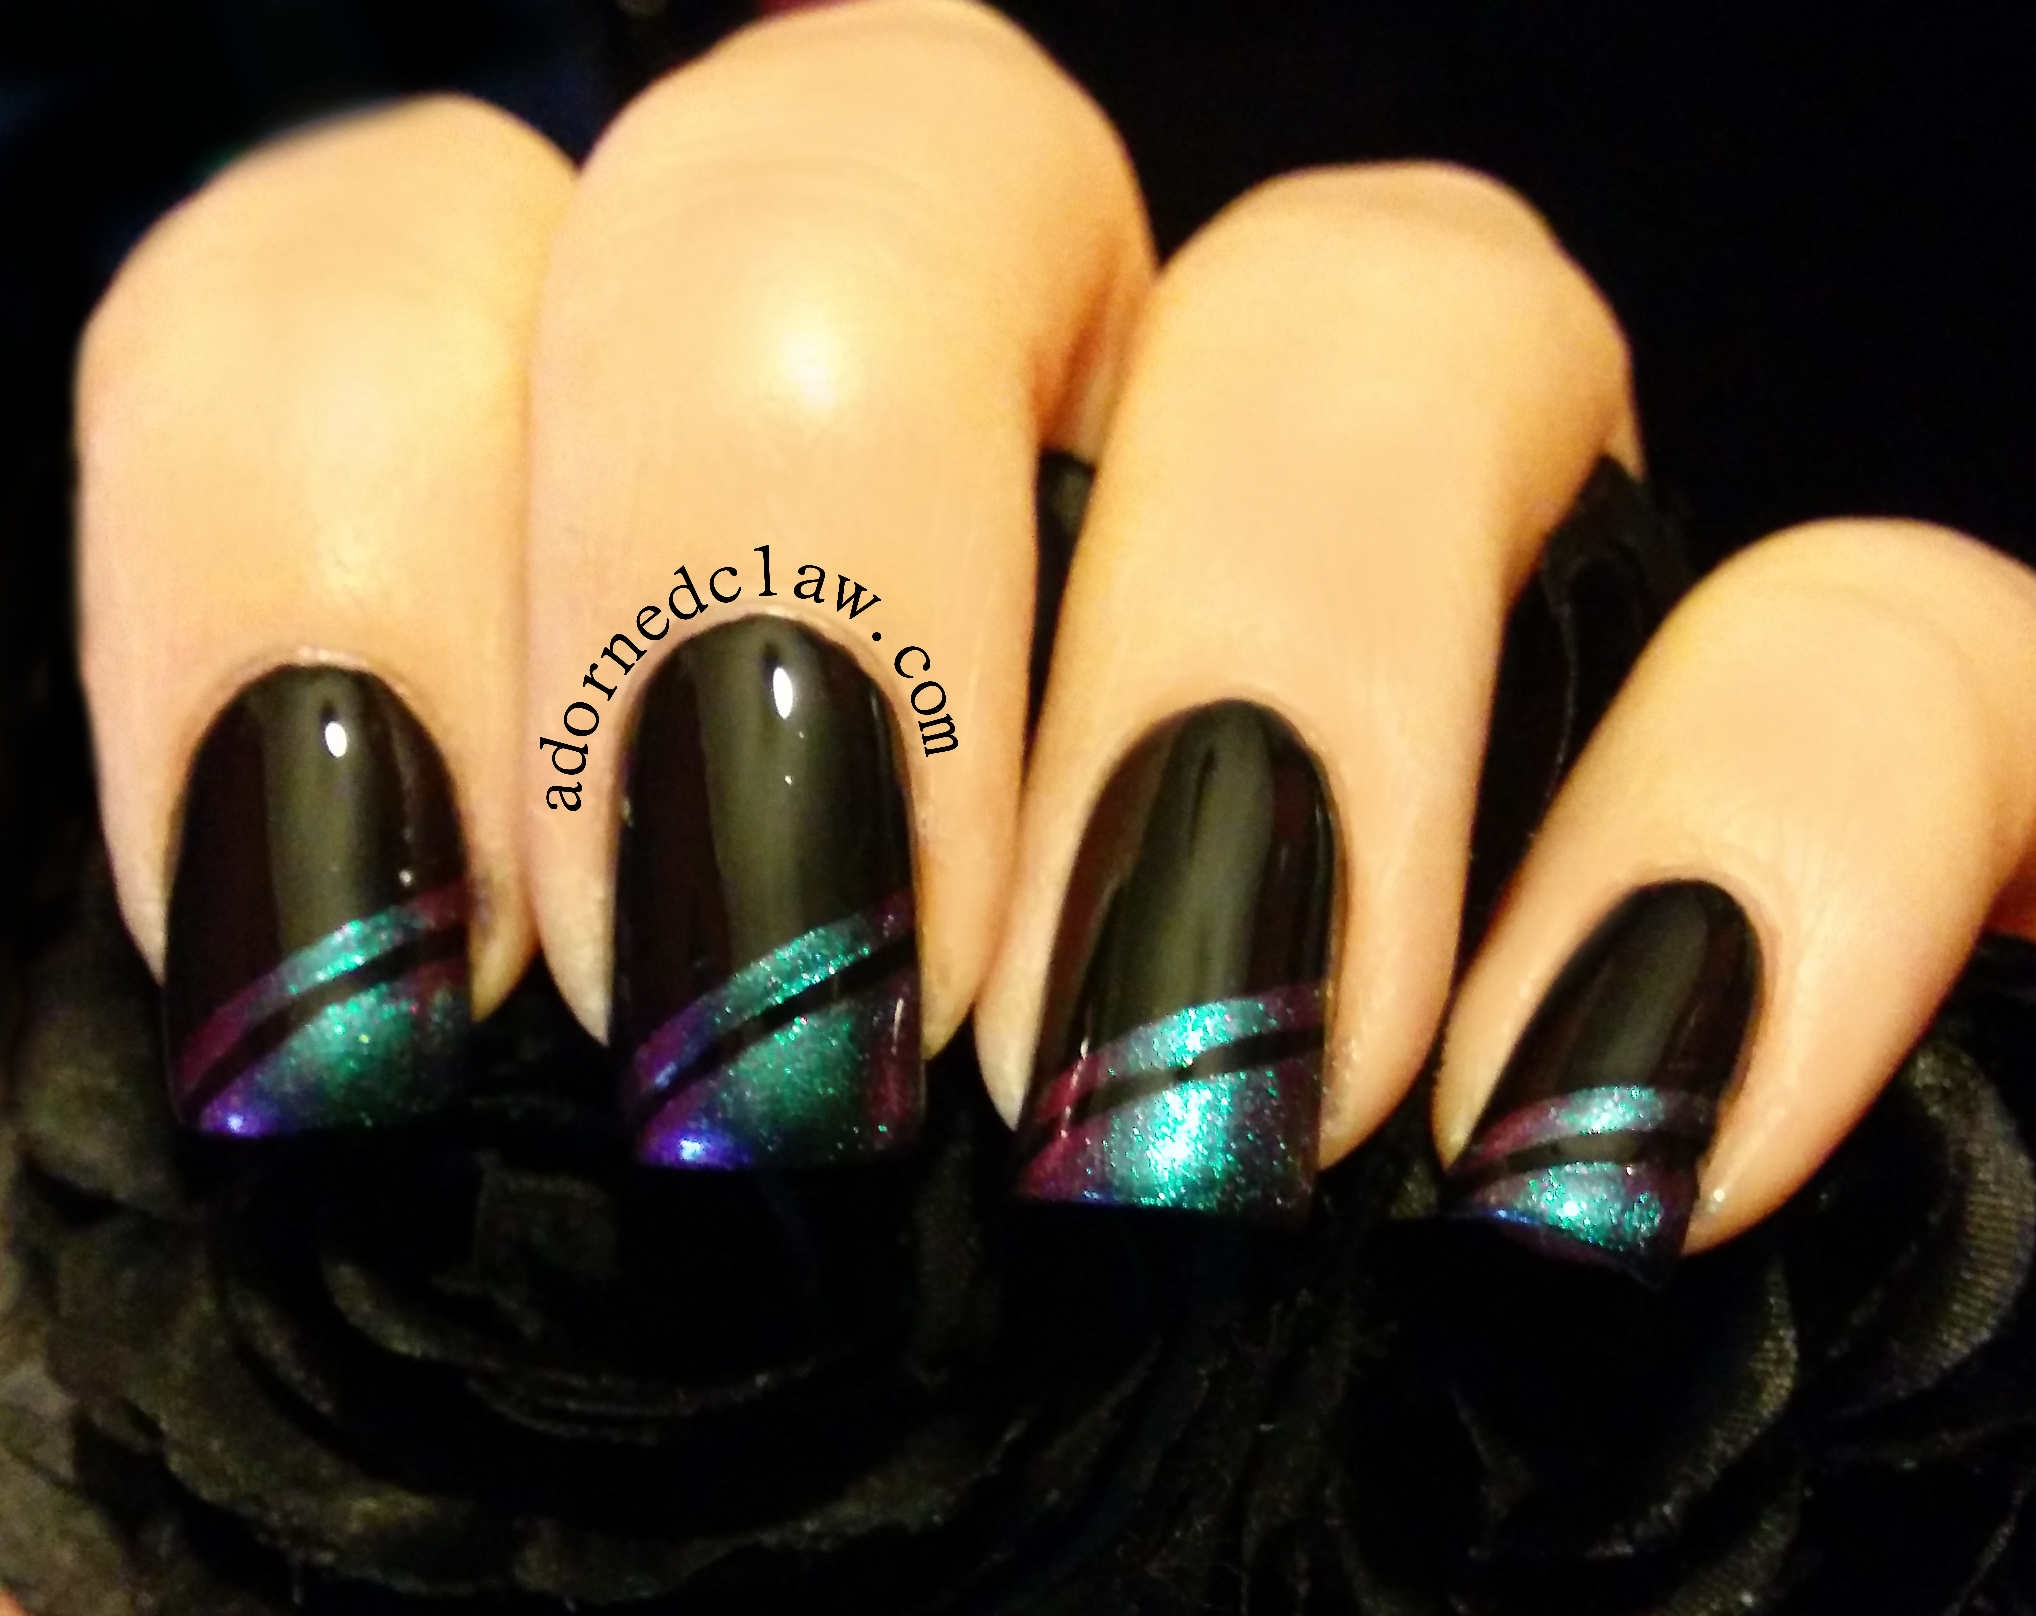
look at the sparkles!

Here it is out of focus so you can see how amazingly sparkly it is!

Pet'la Plate Peacock 2

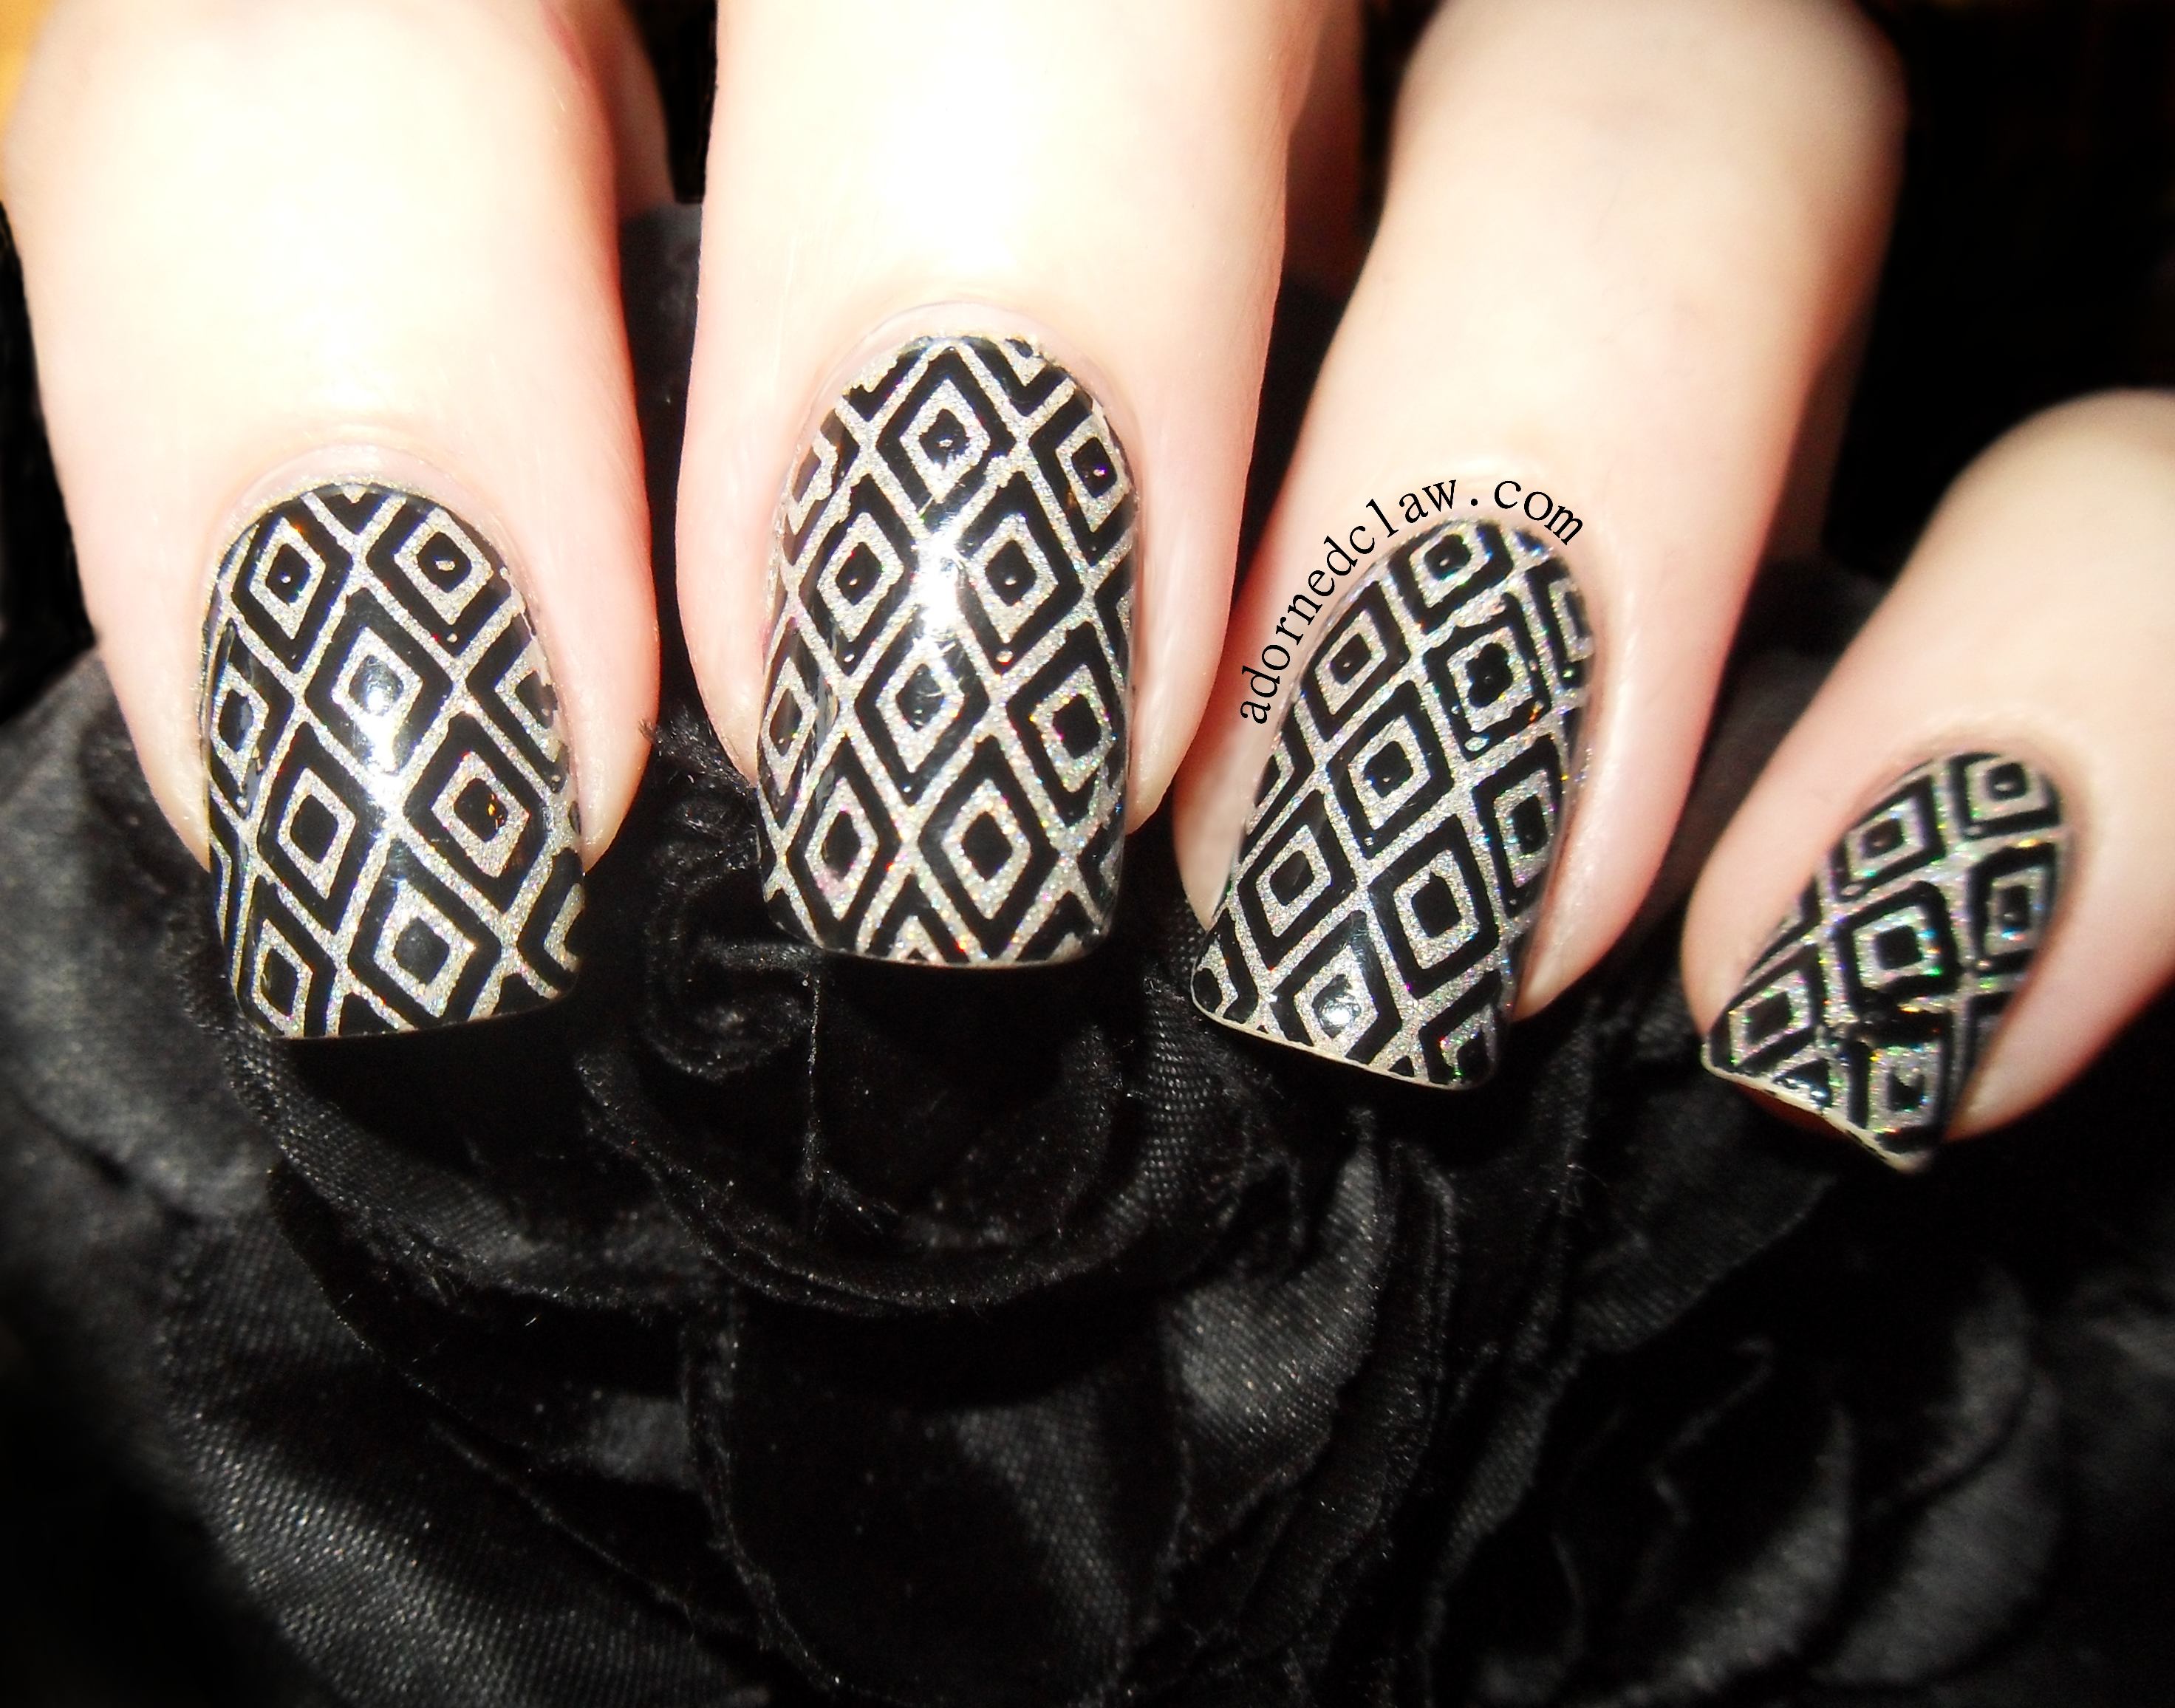
Pet’la Plate Peacock 2

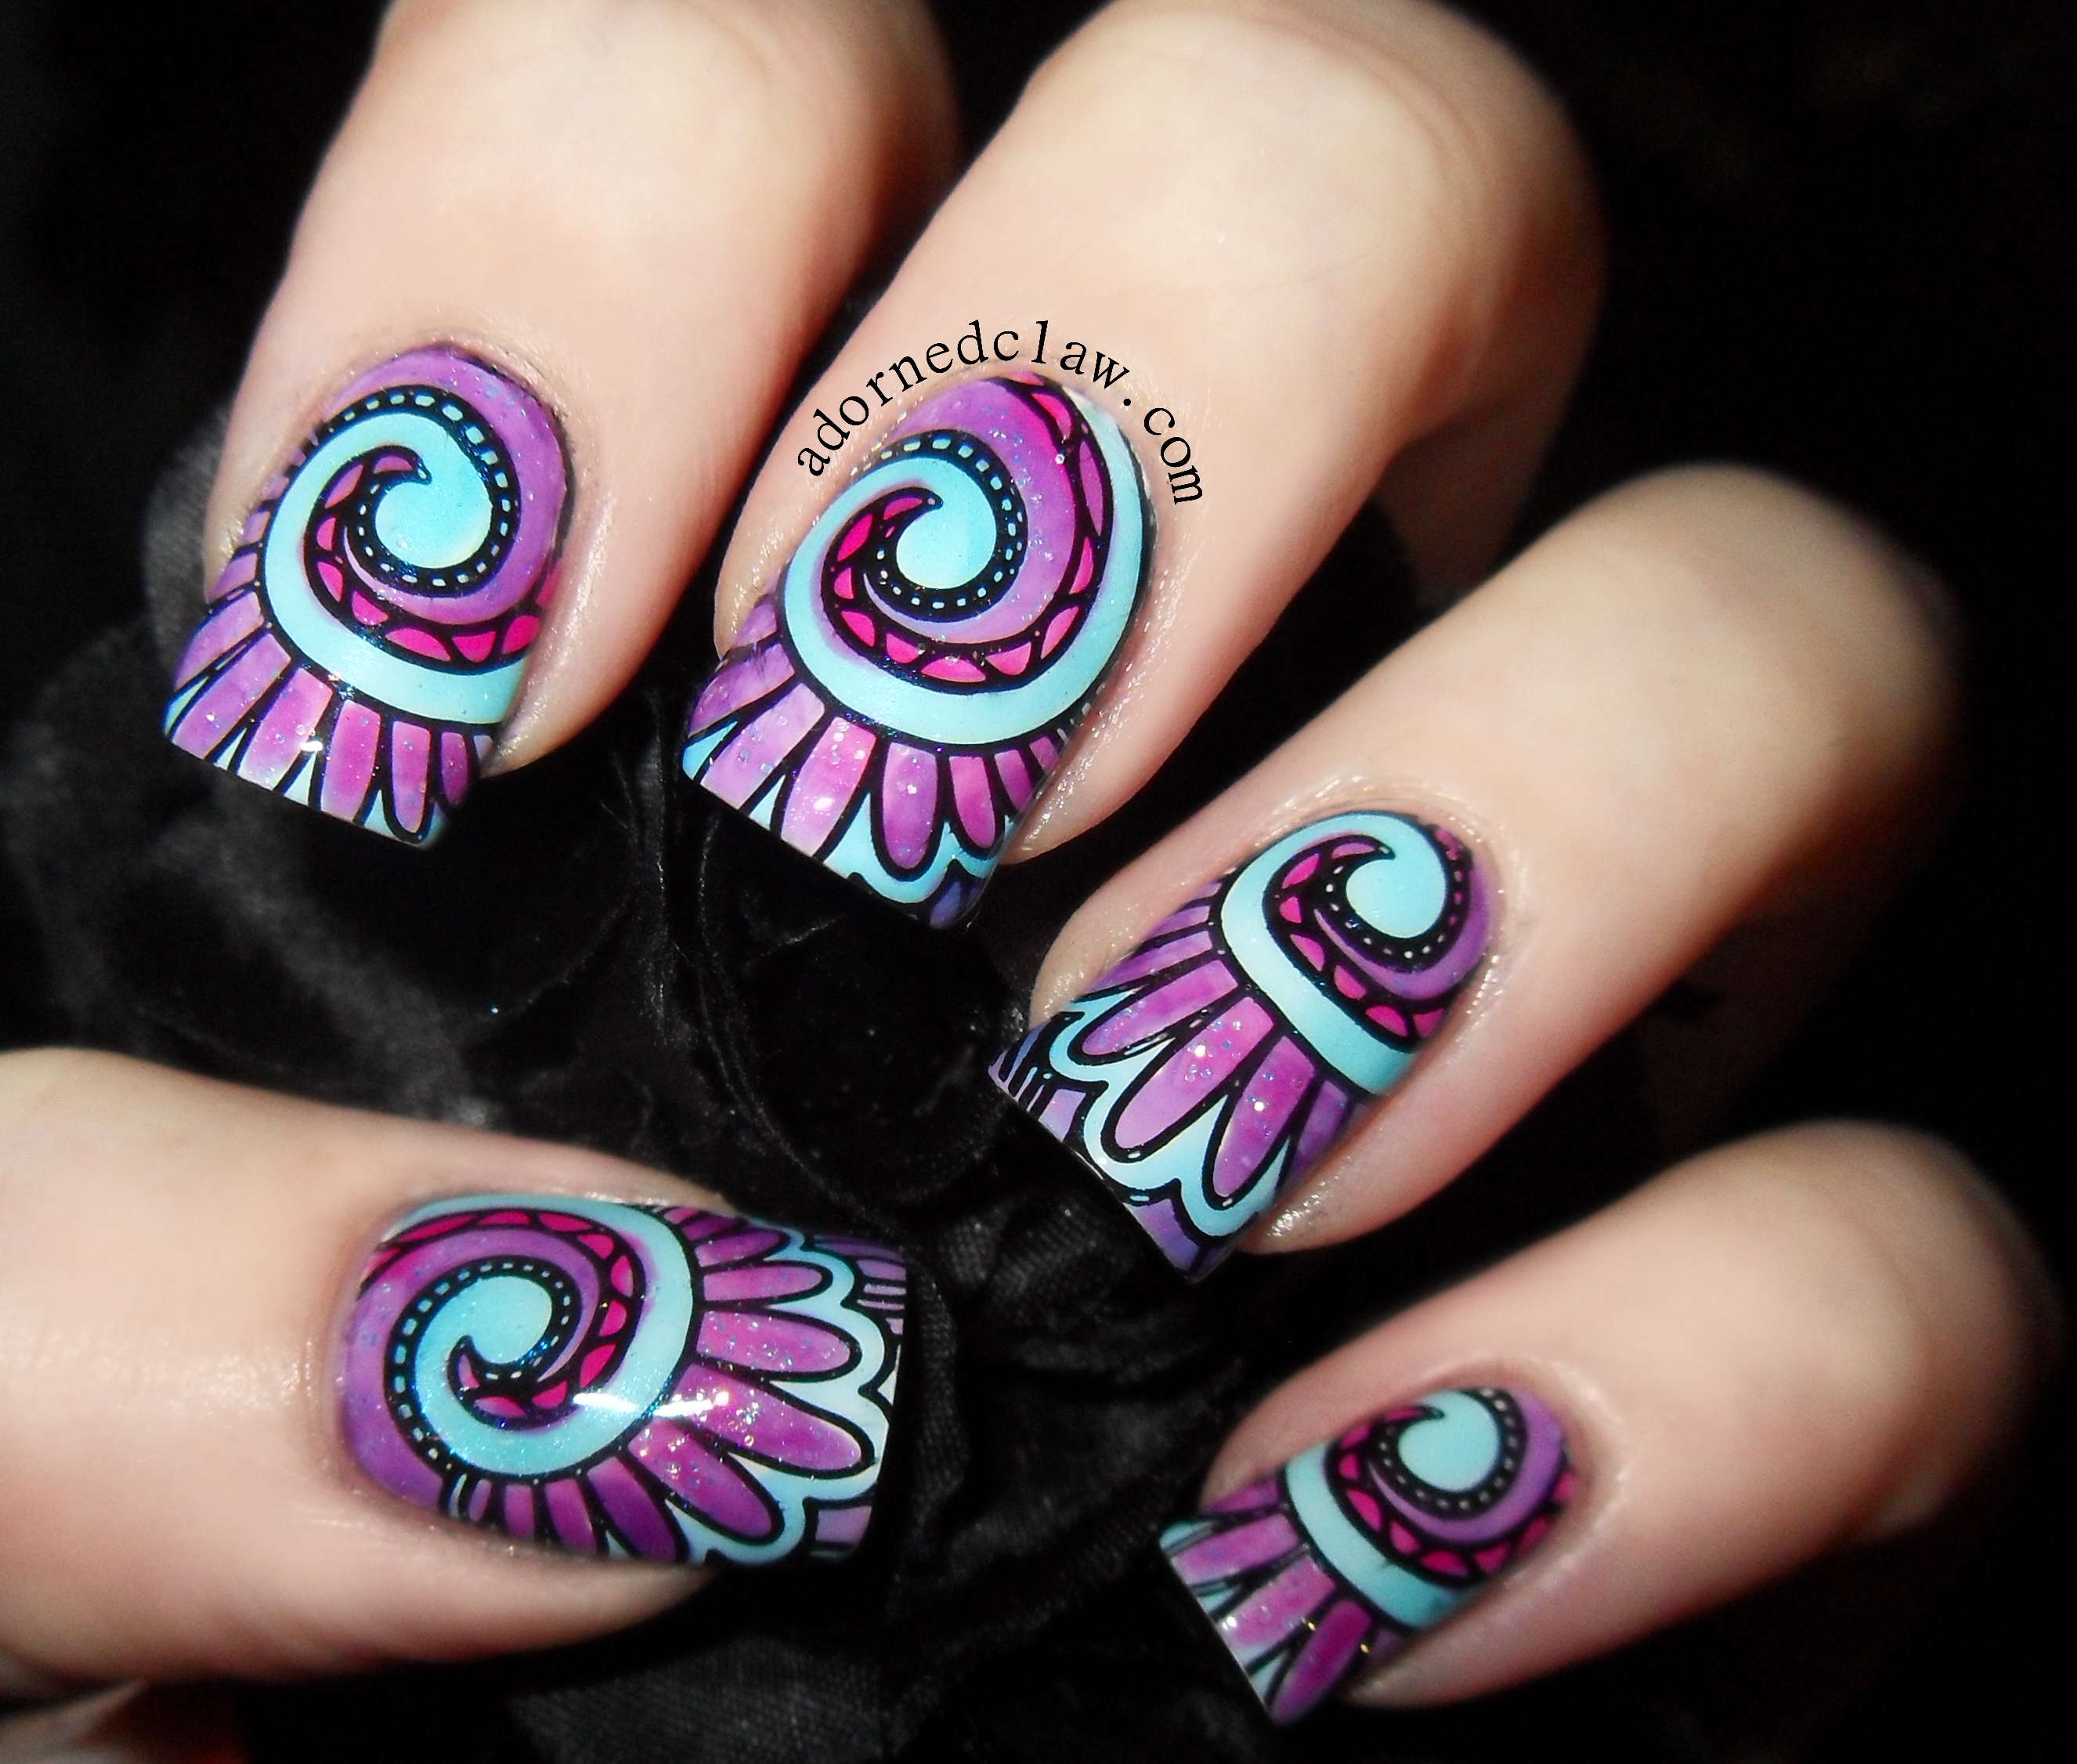
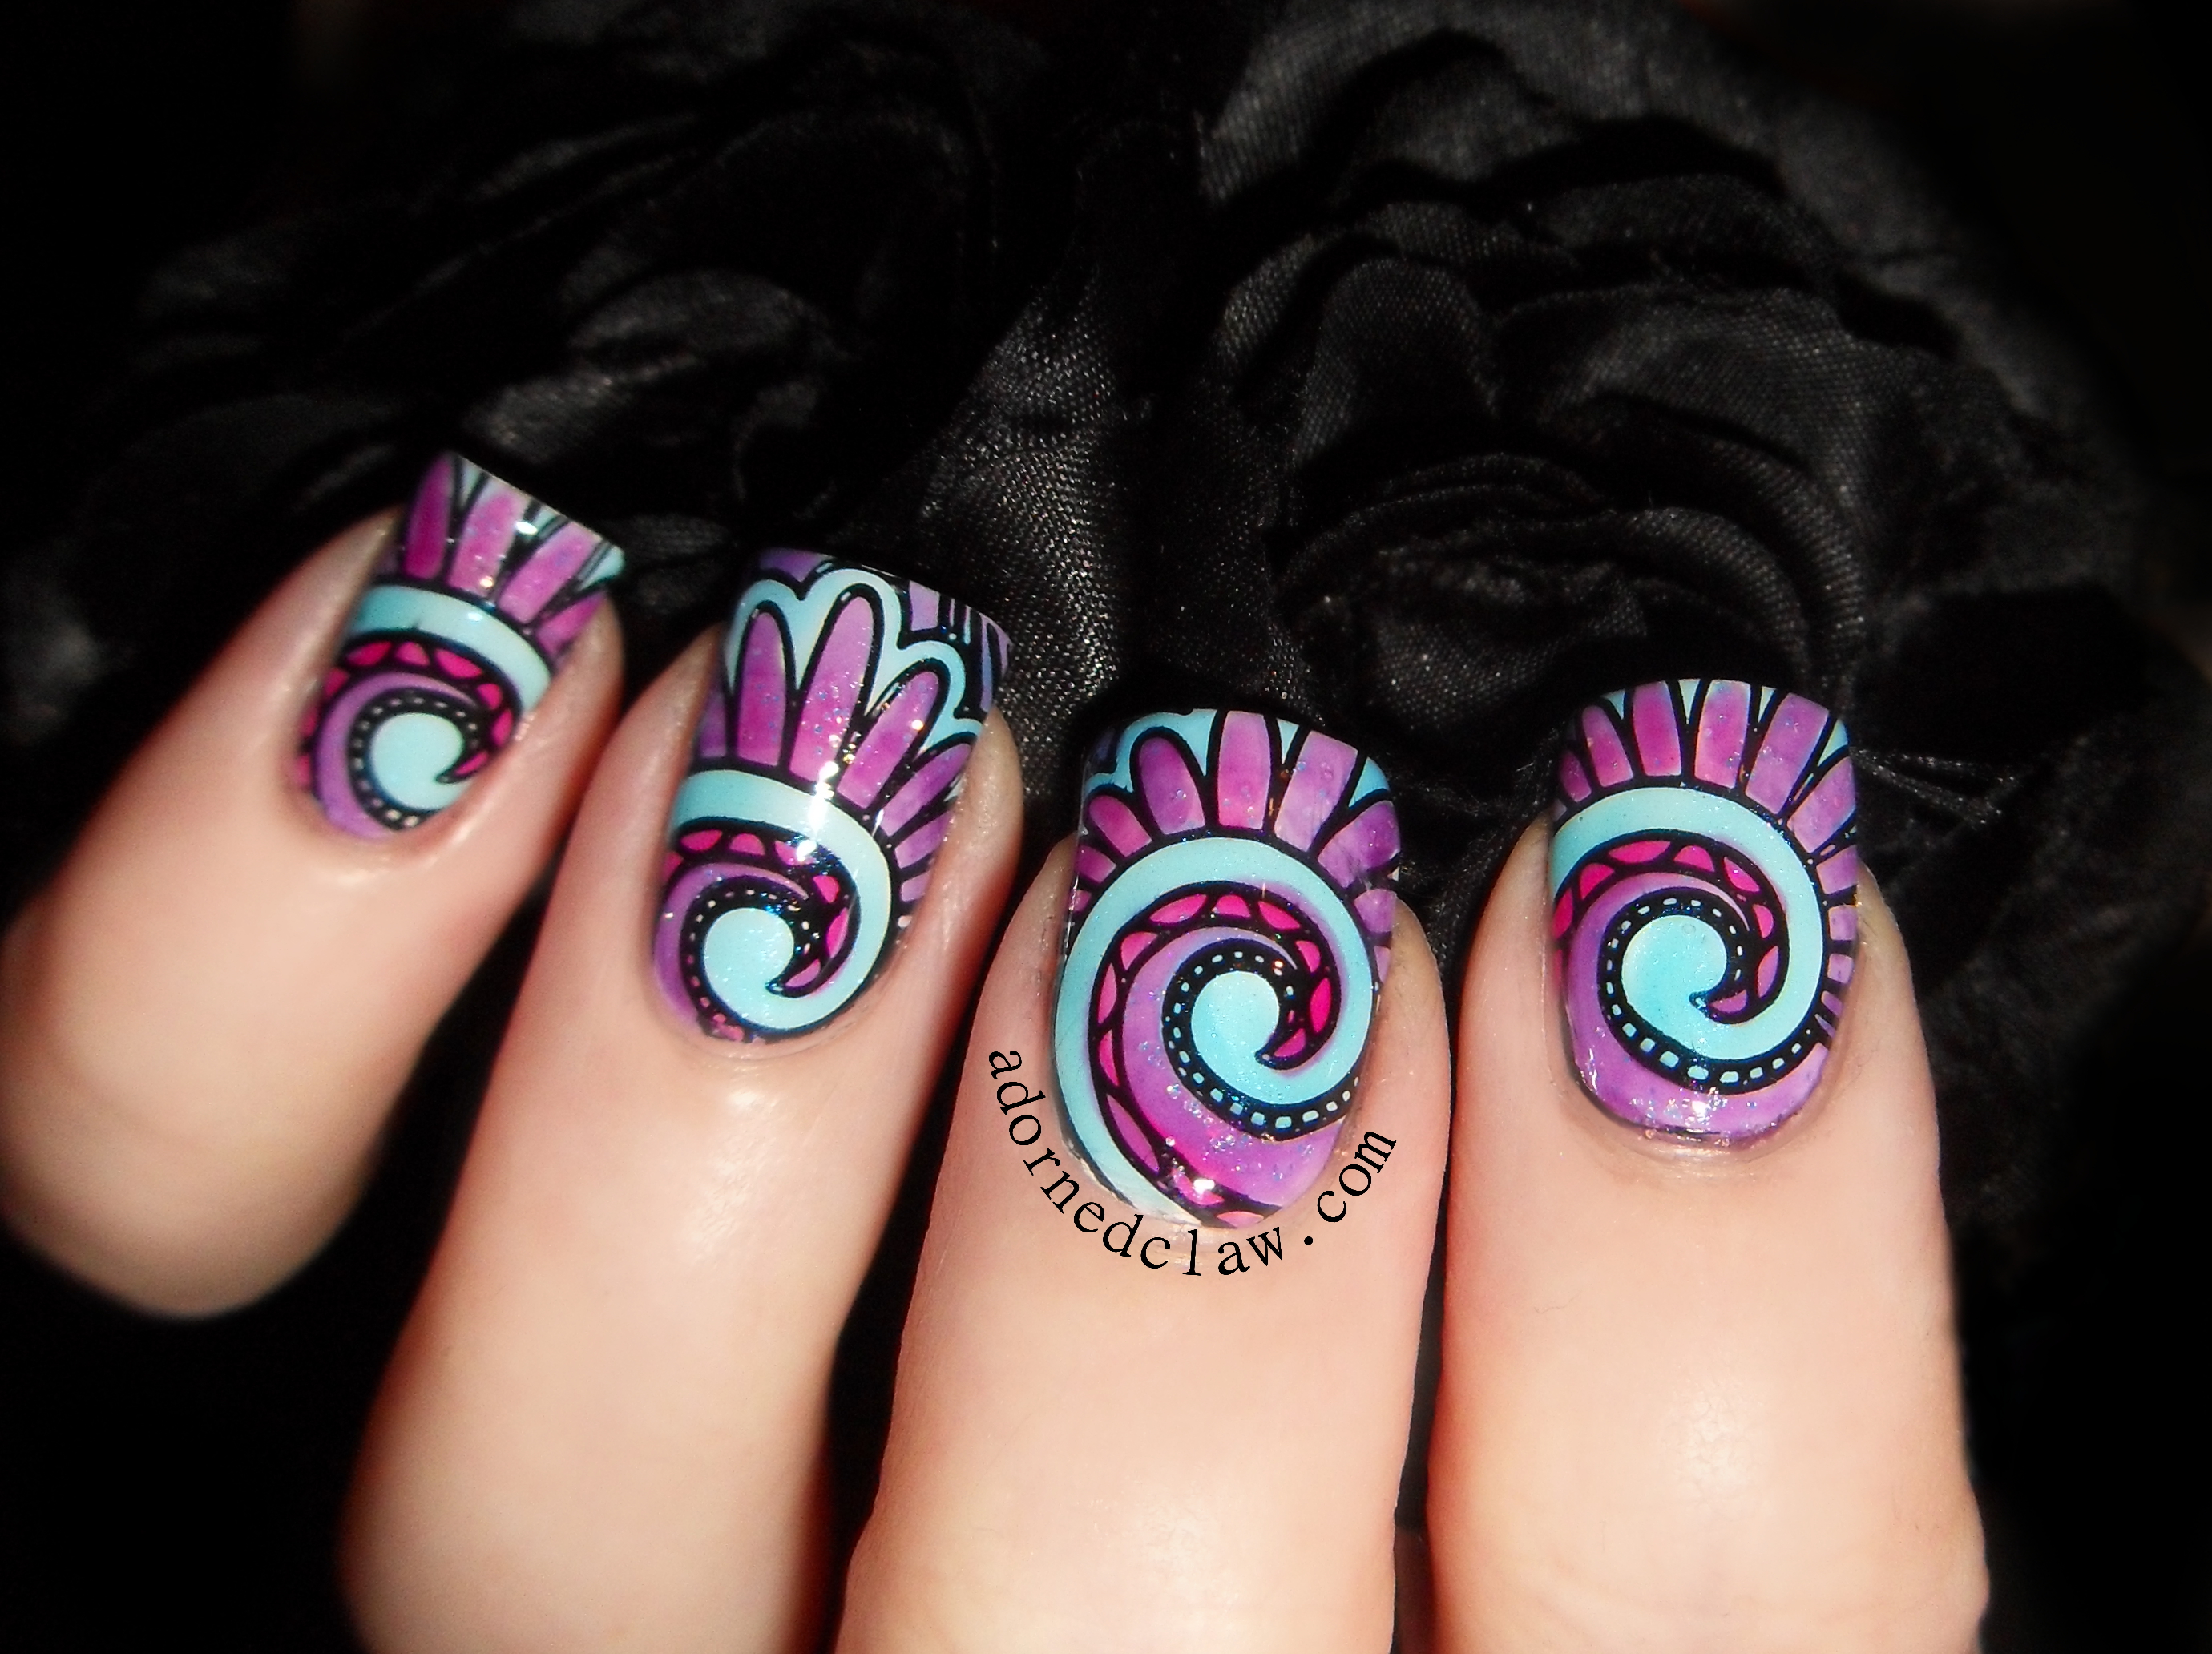
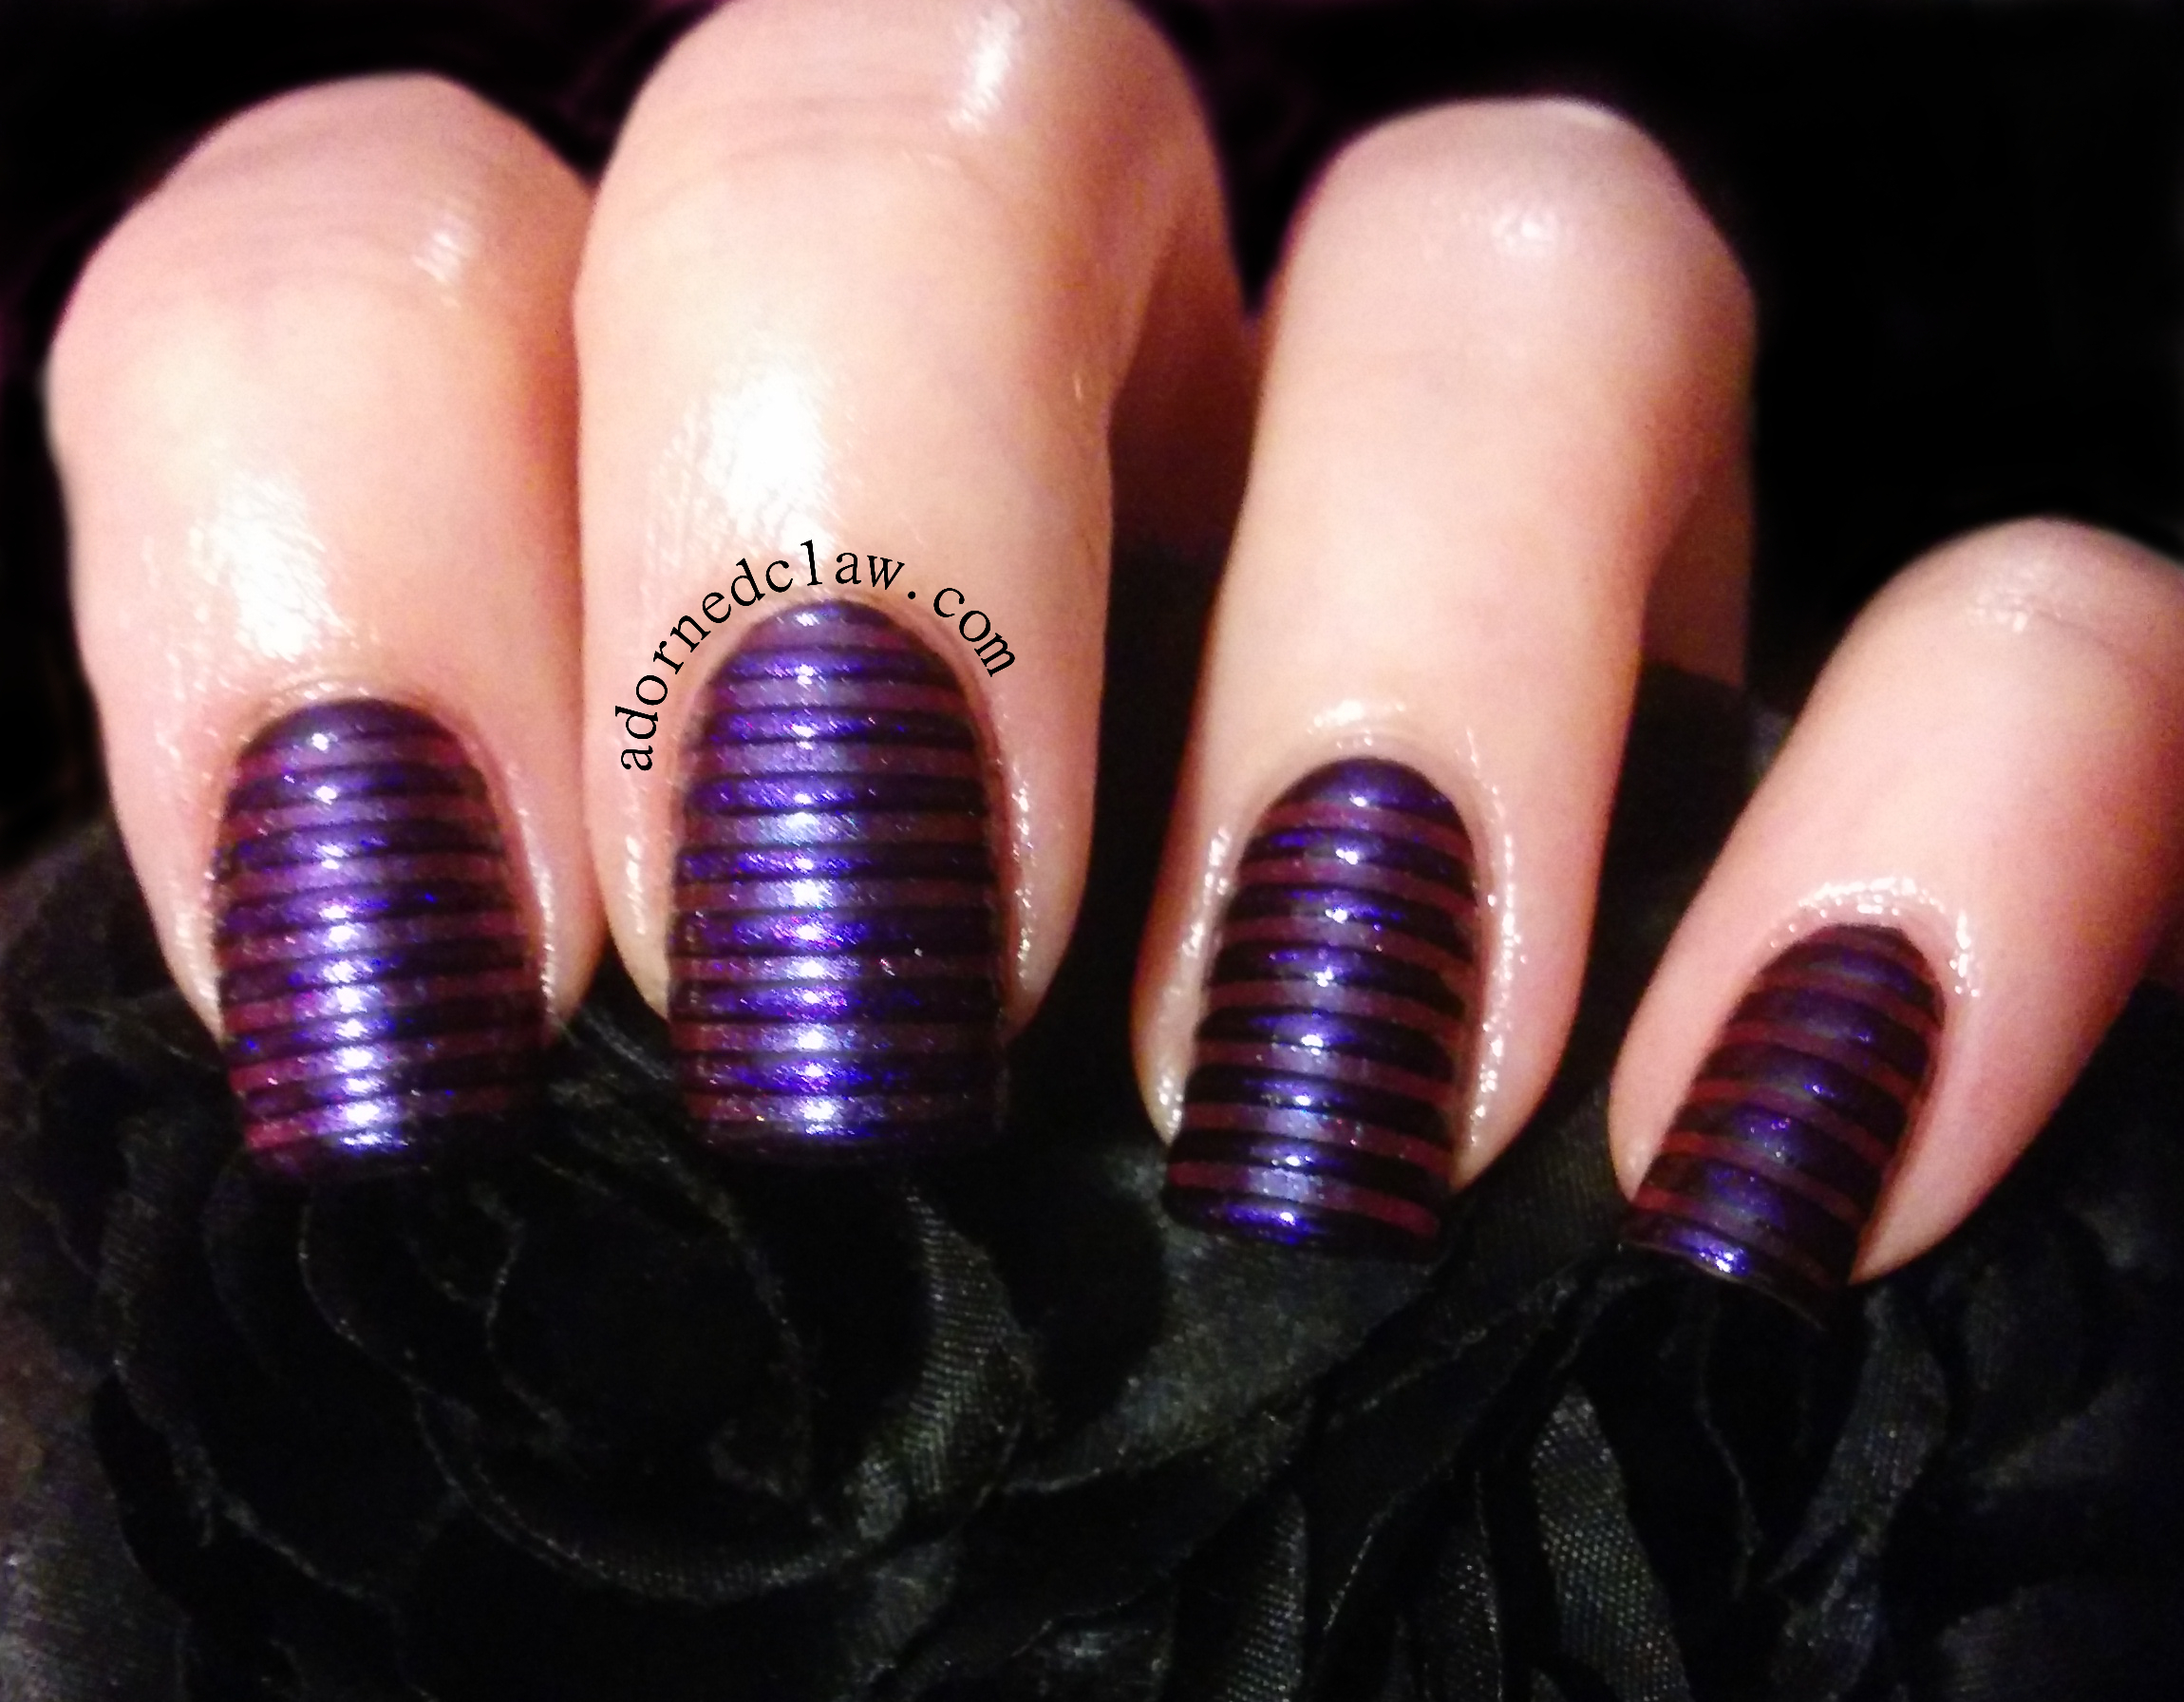
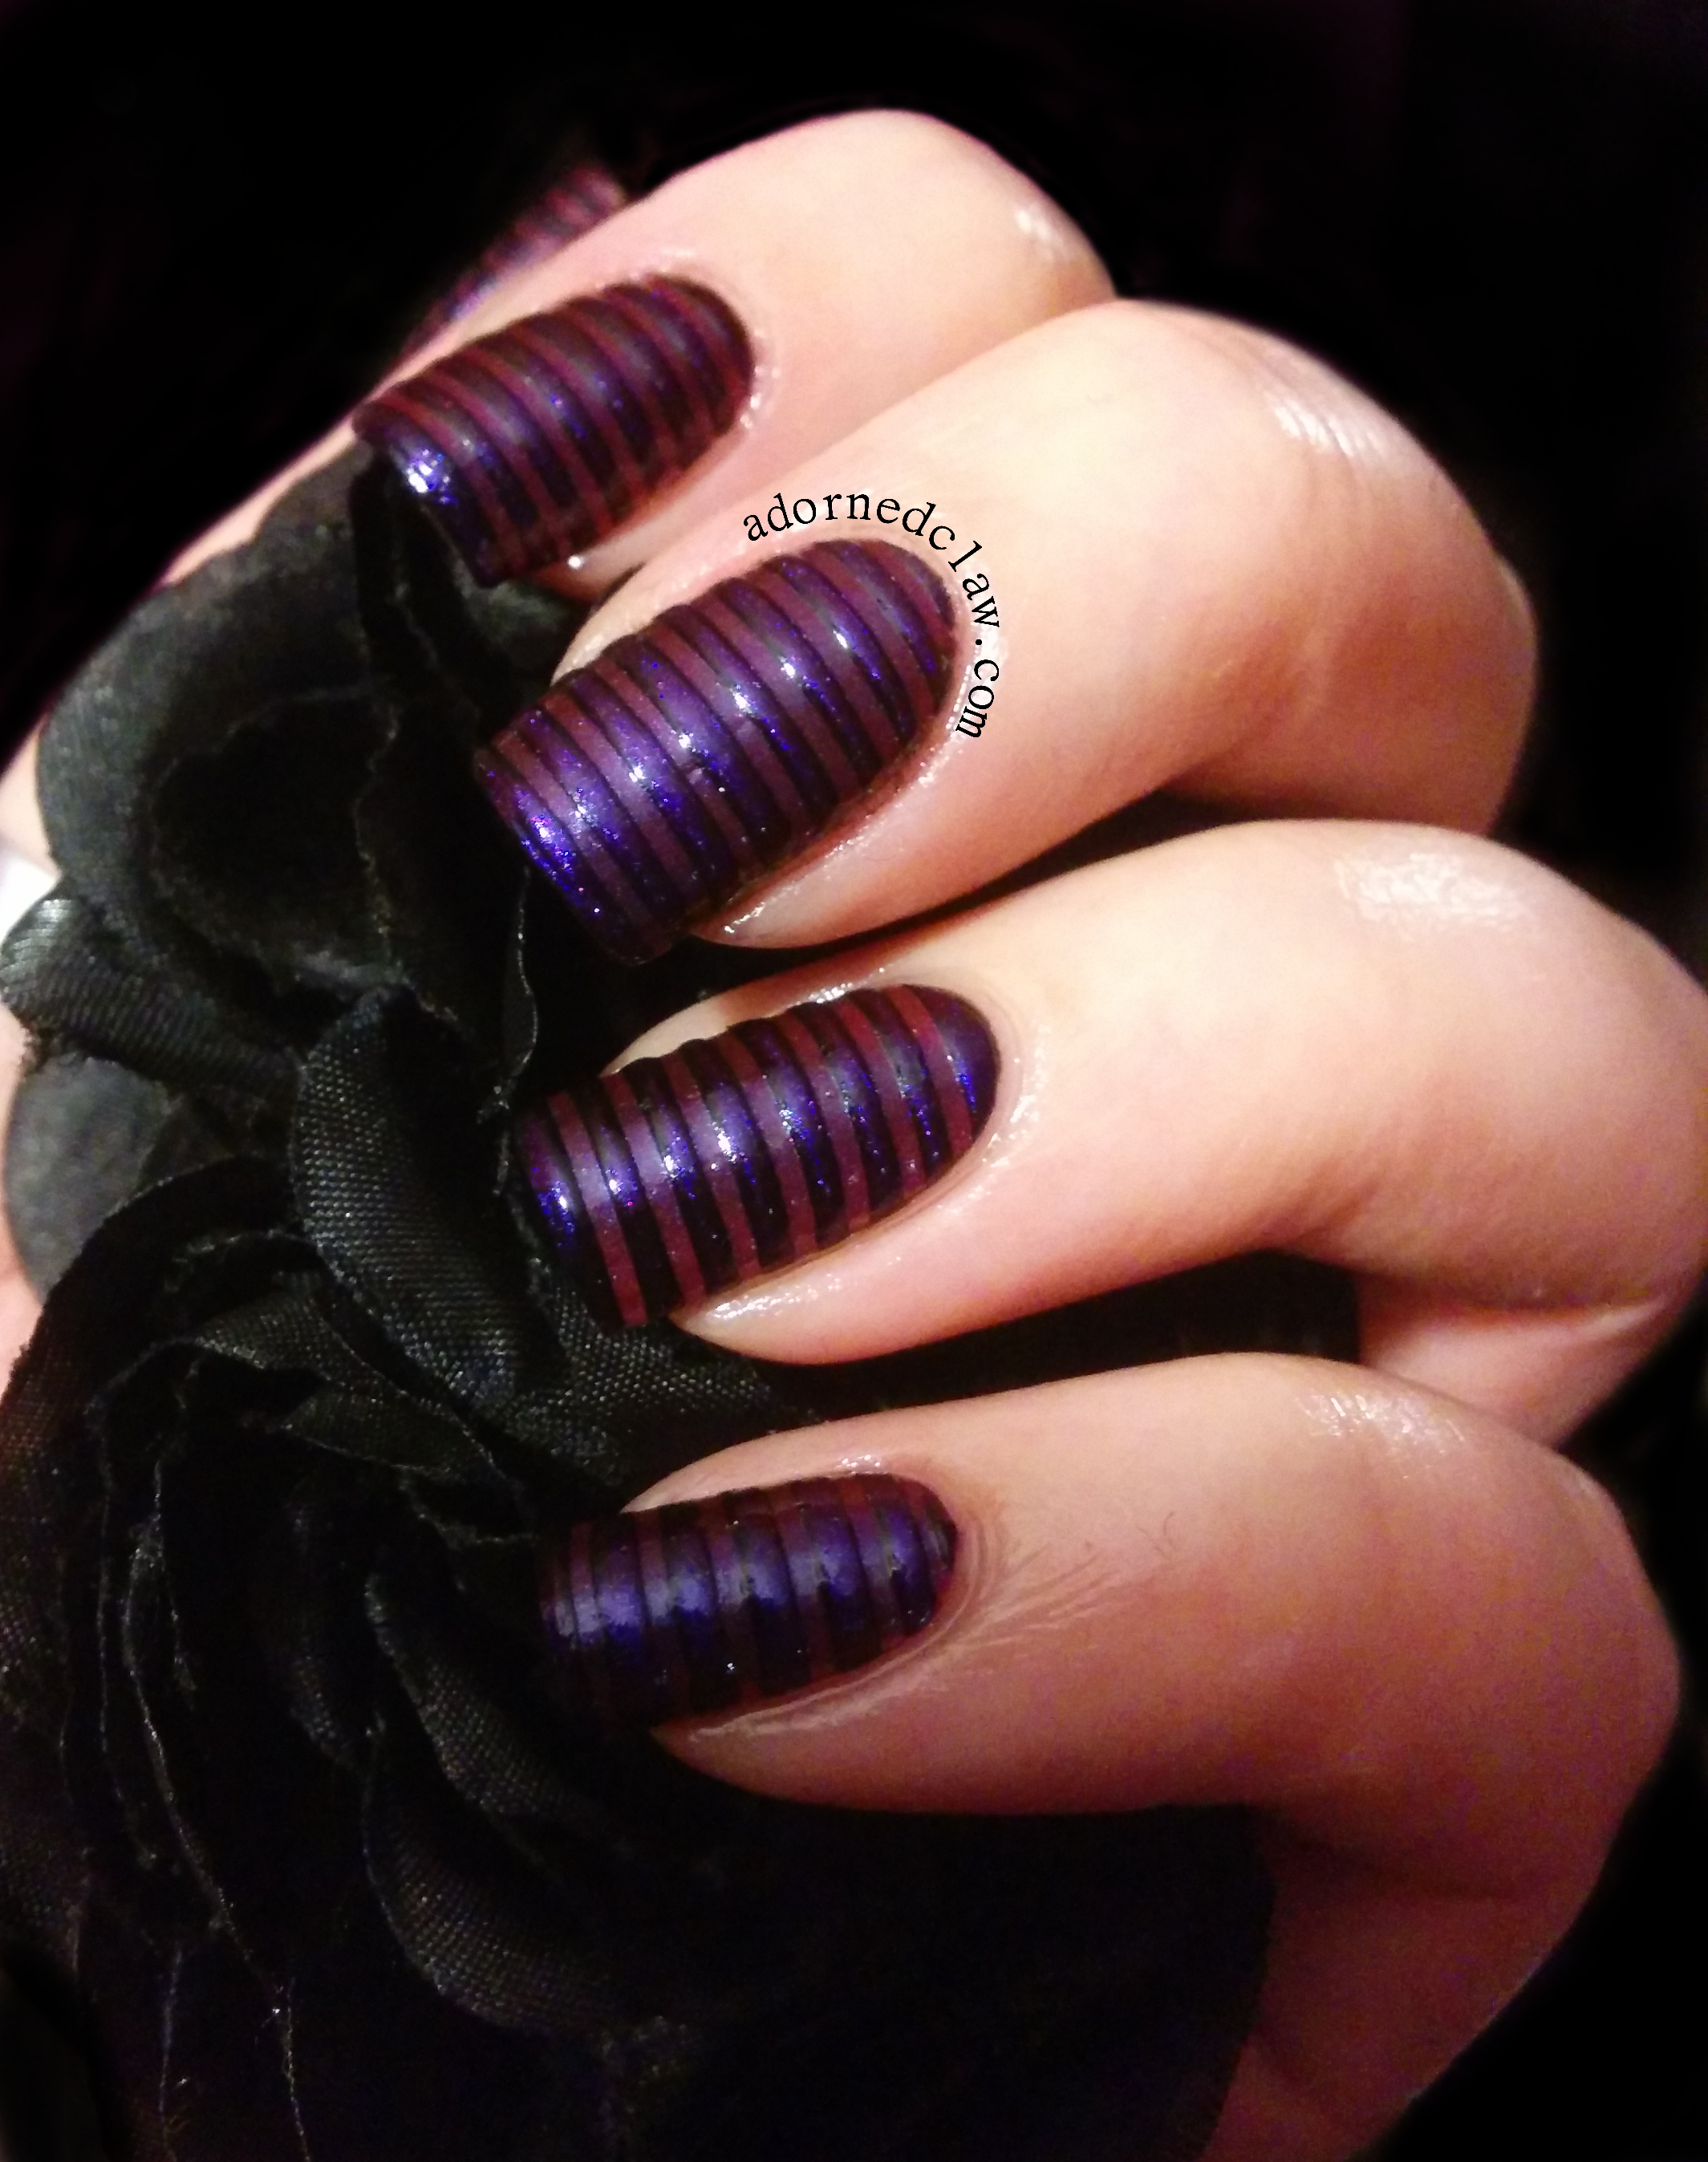
The stamping plate I used is from Pet’la Plate. These are really lovely plates from Hungary which have deeper etching than a standard stamping plate!
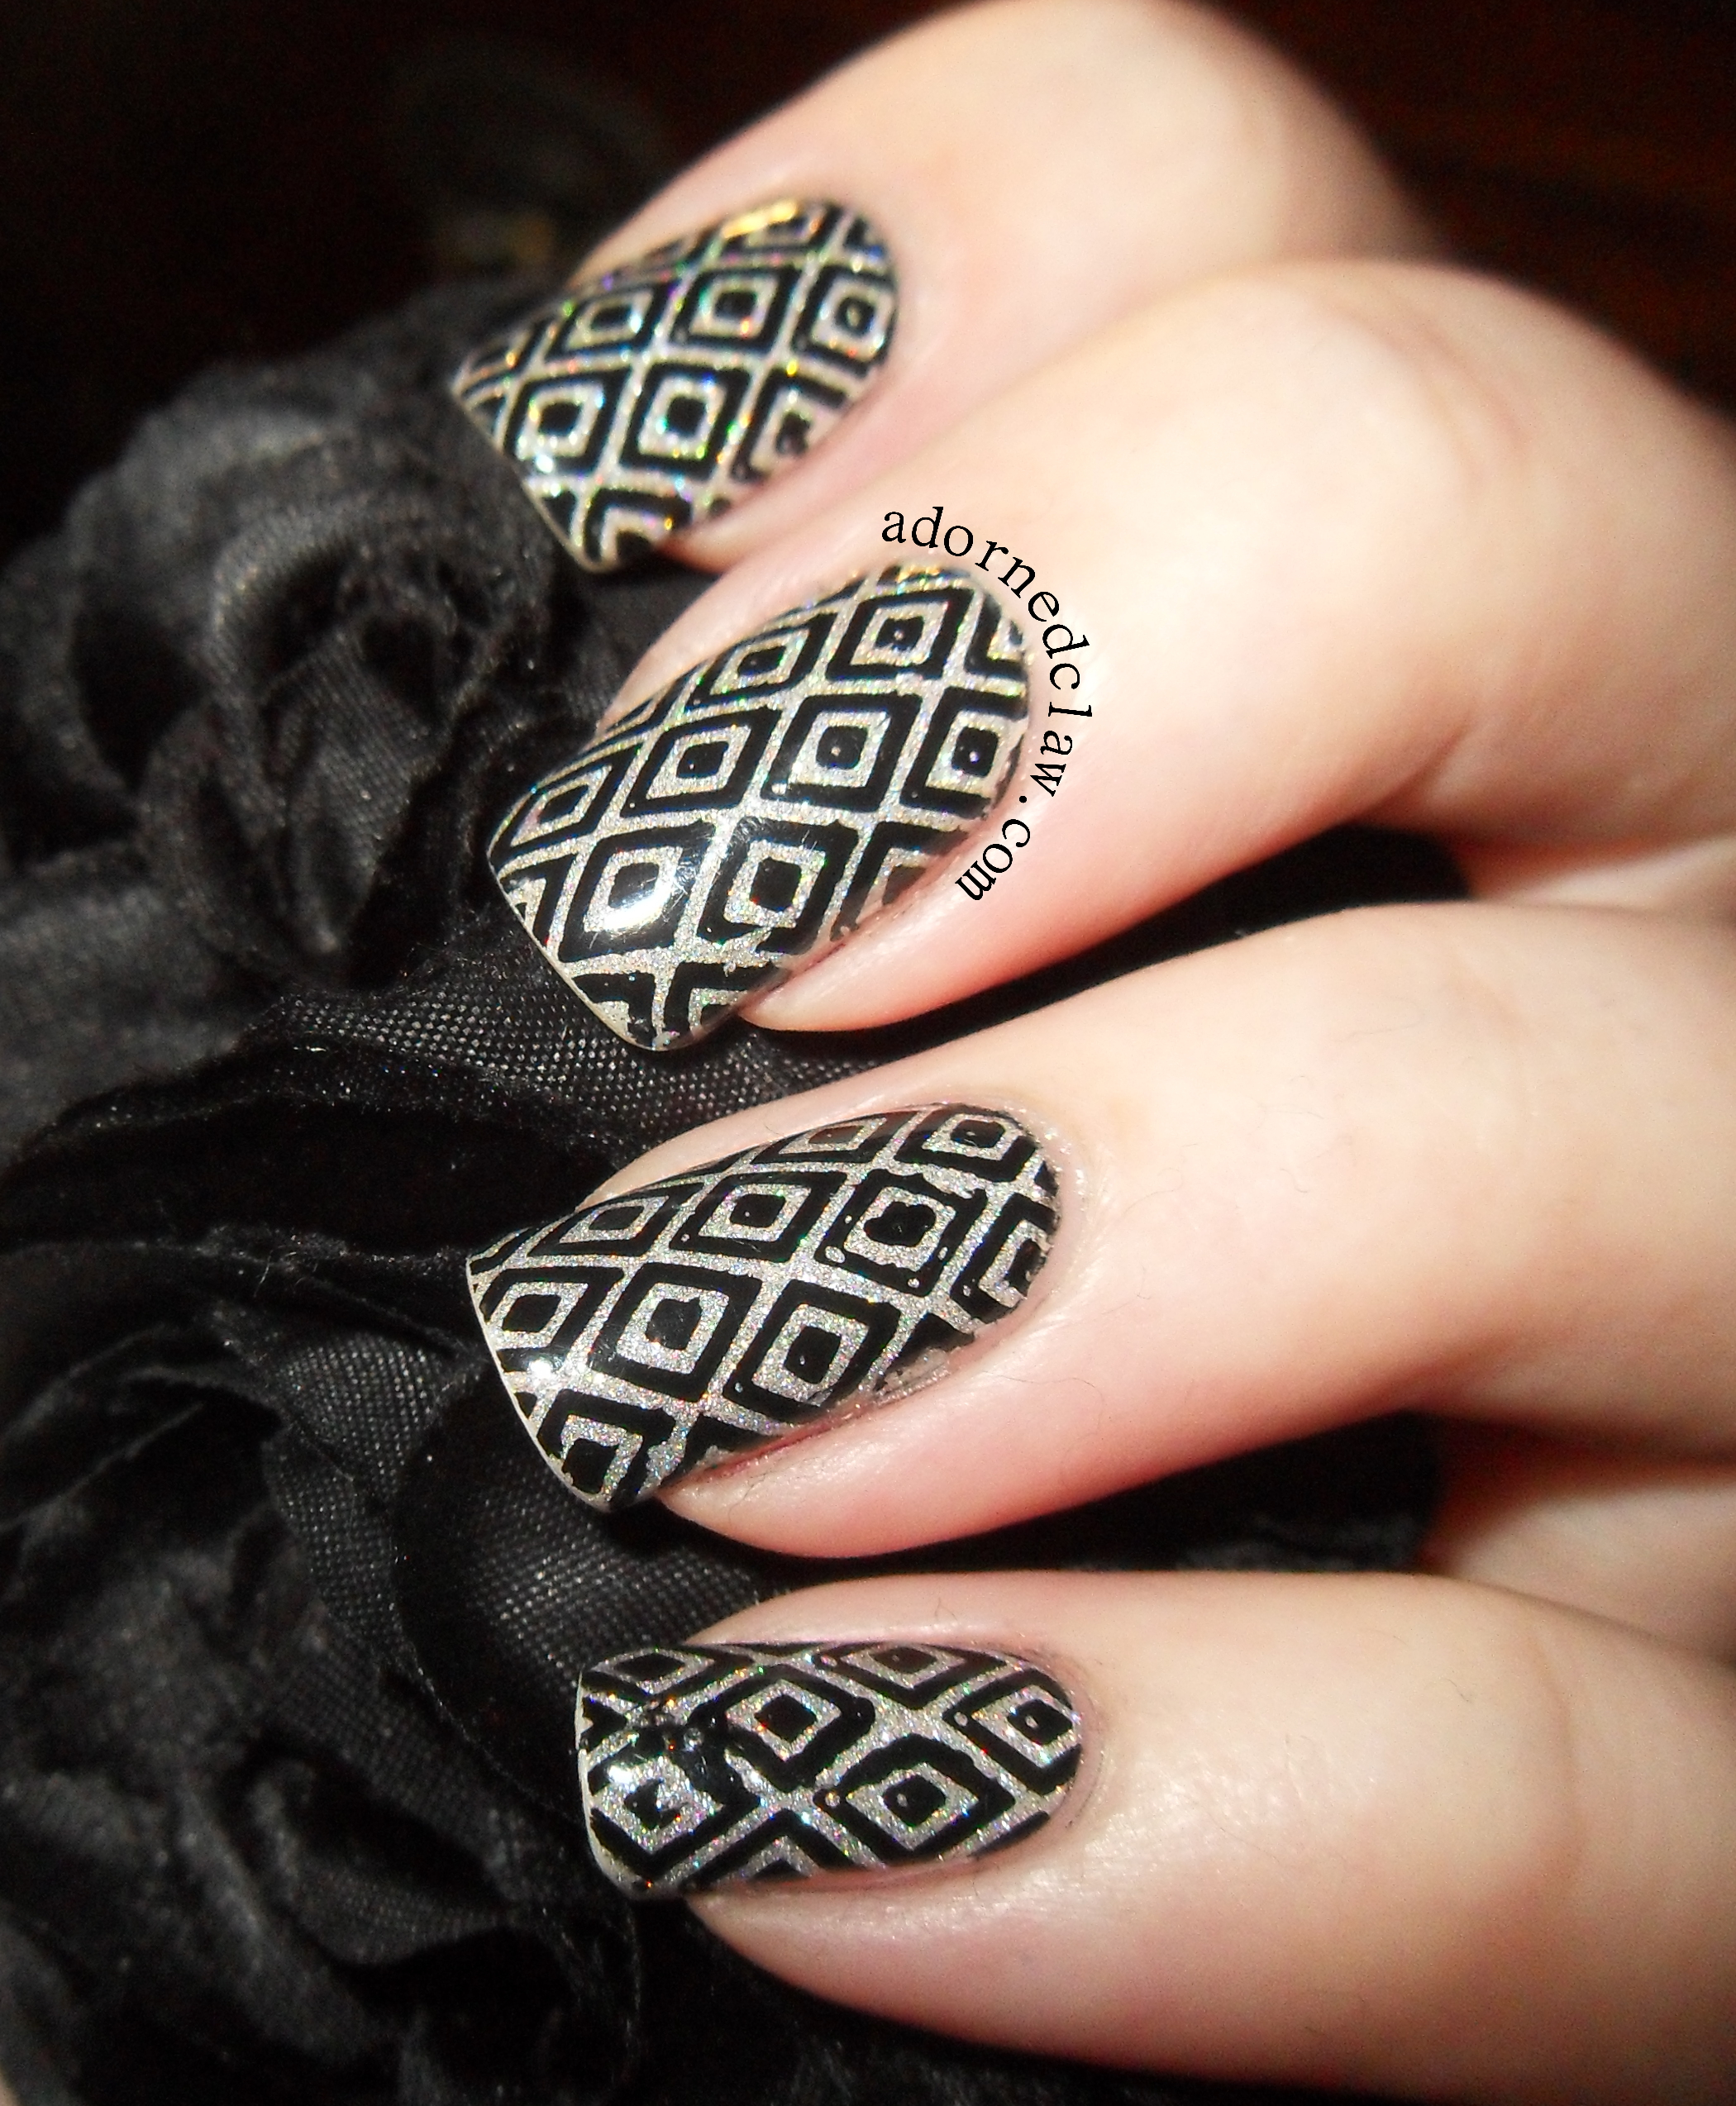
Geometric Pattern

Geometric Pattern

I really like the geometric pattern of this stamp (even tho I messed up my little finger nail a bit) 😀


Leadlight Nails!

Hello! 🙂

Today I have my first attempt at the leadlight technique to show you!

Leadlight Nail art

First attempt at leadlight technique

I started out by making my own Leadlight polishes! I brought a set of 24 mini (5ml) topcoats from Ebay, I had a few umm “issues” with the seller so it took almost a month for me to get them after ordering… Gah!

When they eventually got to me, I mixed a few drops of different coloured polish into each little bottle. I think I need to add a bit more colour to them as I found they are too sheer at the moment. Oh and I really have to invest in some mixing balls, so much shaking to get them mixed it felt like my hand might drop off :/

My Leadlight polishes

Starting from the top, the colours I have mixed so far are, magenta, pink, light blue, yellow, red, dark blue, green, black, dark purple and lavender.

Pink blue and purple lead light nails

pink blue and purple

I used Ivory skull from Sally Hansen as the base colour, then used Konad SP Black for the stamping. The plate I used was one of my new Born Pretty plates, it’s plate QA88 and you can find it right here

After the stamping polish dried I added a coat of Seche Vite, and started colouring in my nails I used the red, dark purple and dark blue polishes… I have to say the leadlight technique is a bit like paint by numbers nail art lol

When it was dry I added some Glitter top coat from Rimmel over the purple, then another thick coat of Seche Vite.

leadlight nails

leadlight nails

Even though my little polishes need a bit more work, I think for a first attempt this didn’t turn out too bad! 🙂


GOT Polish – Purple

Hi! 🙂

Purple Stripe Textured Nail Art

Purple Stripe Textured Nail Art

It’s Thursday so its GOT Polish Time again! The prompt for today is purple! Seeing as they where already on top of my polish pile I used a couple more of the Sally Hansen Nail Prisms, Burgundy Orchid And Ruby Sapphire.

purple duochrome striped nail art

Look at that colour shift!

I started out with a couple of coats of Ruby Sapphire, Then when it was dry I added the tape, then a thick coat of Black Magic from Revlon then while it was still wet I carefully applied a thick coat of Burgundy Orchid, and very VERY carefully removed the tape.

I did this one nail at a time, I think trying to do them all at once would be a world of sticky tape and polish horror…

Sally Hansen Ruby Sapphire and Burgundy Orchid

Ruby Sapphire and Burgundy Orchid

I’m having to use a hand cream that I don’t really like since I ran out of my beloved Body Shop hemp hand protector… ugh this stuff is so slimy, and bits of fluff keep sticking to me :/

Anyway I didn’t add any topcoat so the ribbed (for her pleasure *giggles*) texture would be more apparent!

Striped Purple Nails

the tape took ages!

I think this is a really fun mani, but it took ages, definitely not something to do if your pressed for time 🙂

Seeing as this is a got polish challenge mani here’s the link to the pinterest page so have a look at all the other wonderful purple nails 🙂


GOT Polish Challenge – Over a Black Base

Hi! 😀

Today’s prompt for the Got Polish Challenge is “Over a black base”

Chanel black satin with sally hansen nail prisms

Chanel Black Satin with Sally Hansen Nail Prisms

So how could I not dig out some of my favorite polishes of all time!

Nail Polish

Black satin from Chanel is with out a doubt one of the best black nail polishes ever! the formula is still glorious (I have had this bottle for around 3 years now)

The other polish, poor thing, it’s looking rather well loved, is Turquoise Opal from the Nail Prisms range by Sally Hansen. These where first released back in 2002! I have owned this bottle for at least 7 years!

Lovely, lovely striping tape

Lovely, lovely striping tape

I used one thin coat of Black Satin, then a coat of Seche Vite, when it was dry I applied two strips of striping tape, and carefully added a thin coat of Turquoise Opal.

Then I removed the tape with tweezers and added another coat of Seche Vite.

Turquoise Opal From Sally Hansen

Turquoise Opal From Sally Hansen

This mani is more topcoat than nail polish! 😀


Sparkly Striping Tape Nail Art!

Hi! 🙂

Today I have a sparkly mani I created using striping tape to show you.

Striping Tape Nail Art

Striping Tape Nail Art

for this I used

  • Rimmel Space Dust – Aurora
  • Filthy Gorgeous – Twilight
  • Striping Tape
  • Seche Vite

I began with two coats of Aurora, this is a really pretty polish! It is a slightly textured nude with loads of silver glitter, I added a thick coat of Seche Vite to even out the the texture to help stop the black polish from bleeding under the tape.

I used seven strips of tape for each nail, apart from my pinky which only needed six. Starting with my thumb nail I applied the tape, then carefully dabbed on the black polish, then using tweezers removed the tape while the polish was still wet. Then I applied another coat of Seche Vite over the top and continued with my other nails.

Glitter stripe nail art

Rimmel Aurora and Filthy Gorgeous Twilight

I never realized how much easier a decent quality striping tape is to use! There was no curling up, sticking to itself or refusing to stick to my nail!  😀

Striping Tape Glitter Manicure

Sparkly Pink And Black Nails


Red and Black and Pointy!

Hi 🙂

Just a quick post today! Some simple red and black nails created with the help of some striping tape!

Come to Bed Red from Butter London and  Barry M Black

Come to Bed Red from Butter London and Barry M Black

I started off with Come To Bed Red from Butter London, this is one from my untried pile! It’s a really lovely shade and was really easy to apply, but it unfortunately took four coats to be opaque so definitely not a polish to go for if you are in a hurry!

Then (when it was dry) I used striping tape to mark out the triangle shapes and filled them in with Barry M Black, I removed the tape while the polish was still wet so it didn’t remove the polish along with it.

For some reason I added some striping tape to my ring finger… It seemed like a good idea at the time, now I really don’t like it :/ Unfortunately I realized after I had added the top coat!

Come to Bed Red from Butter London and  Barry M Black

my nails look so much longer!

This design really makes my nails look longer so I think I’ll try to ignore the offending bits of striping tape! 🙂