
Hello! 🙂
Today I have my first attempt at the leadlight technique to show you!
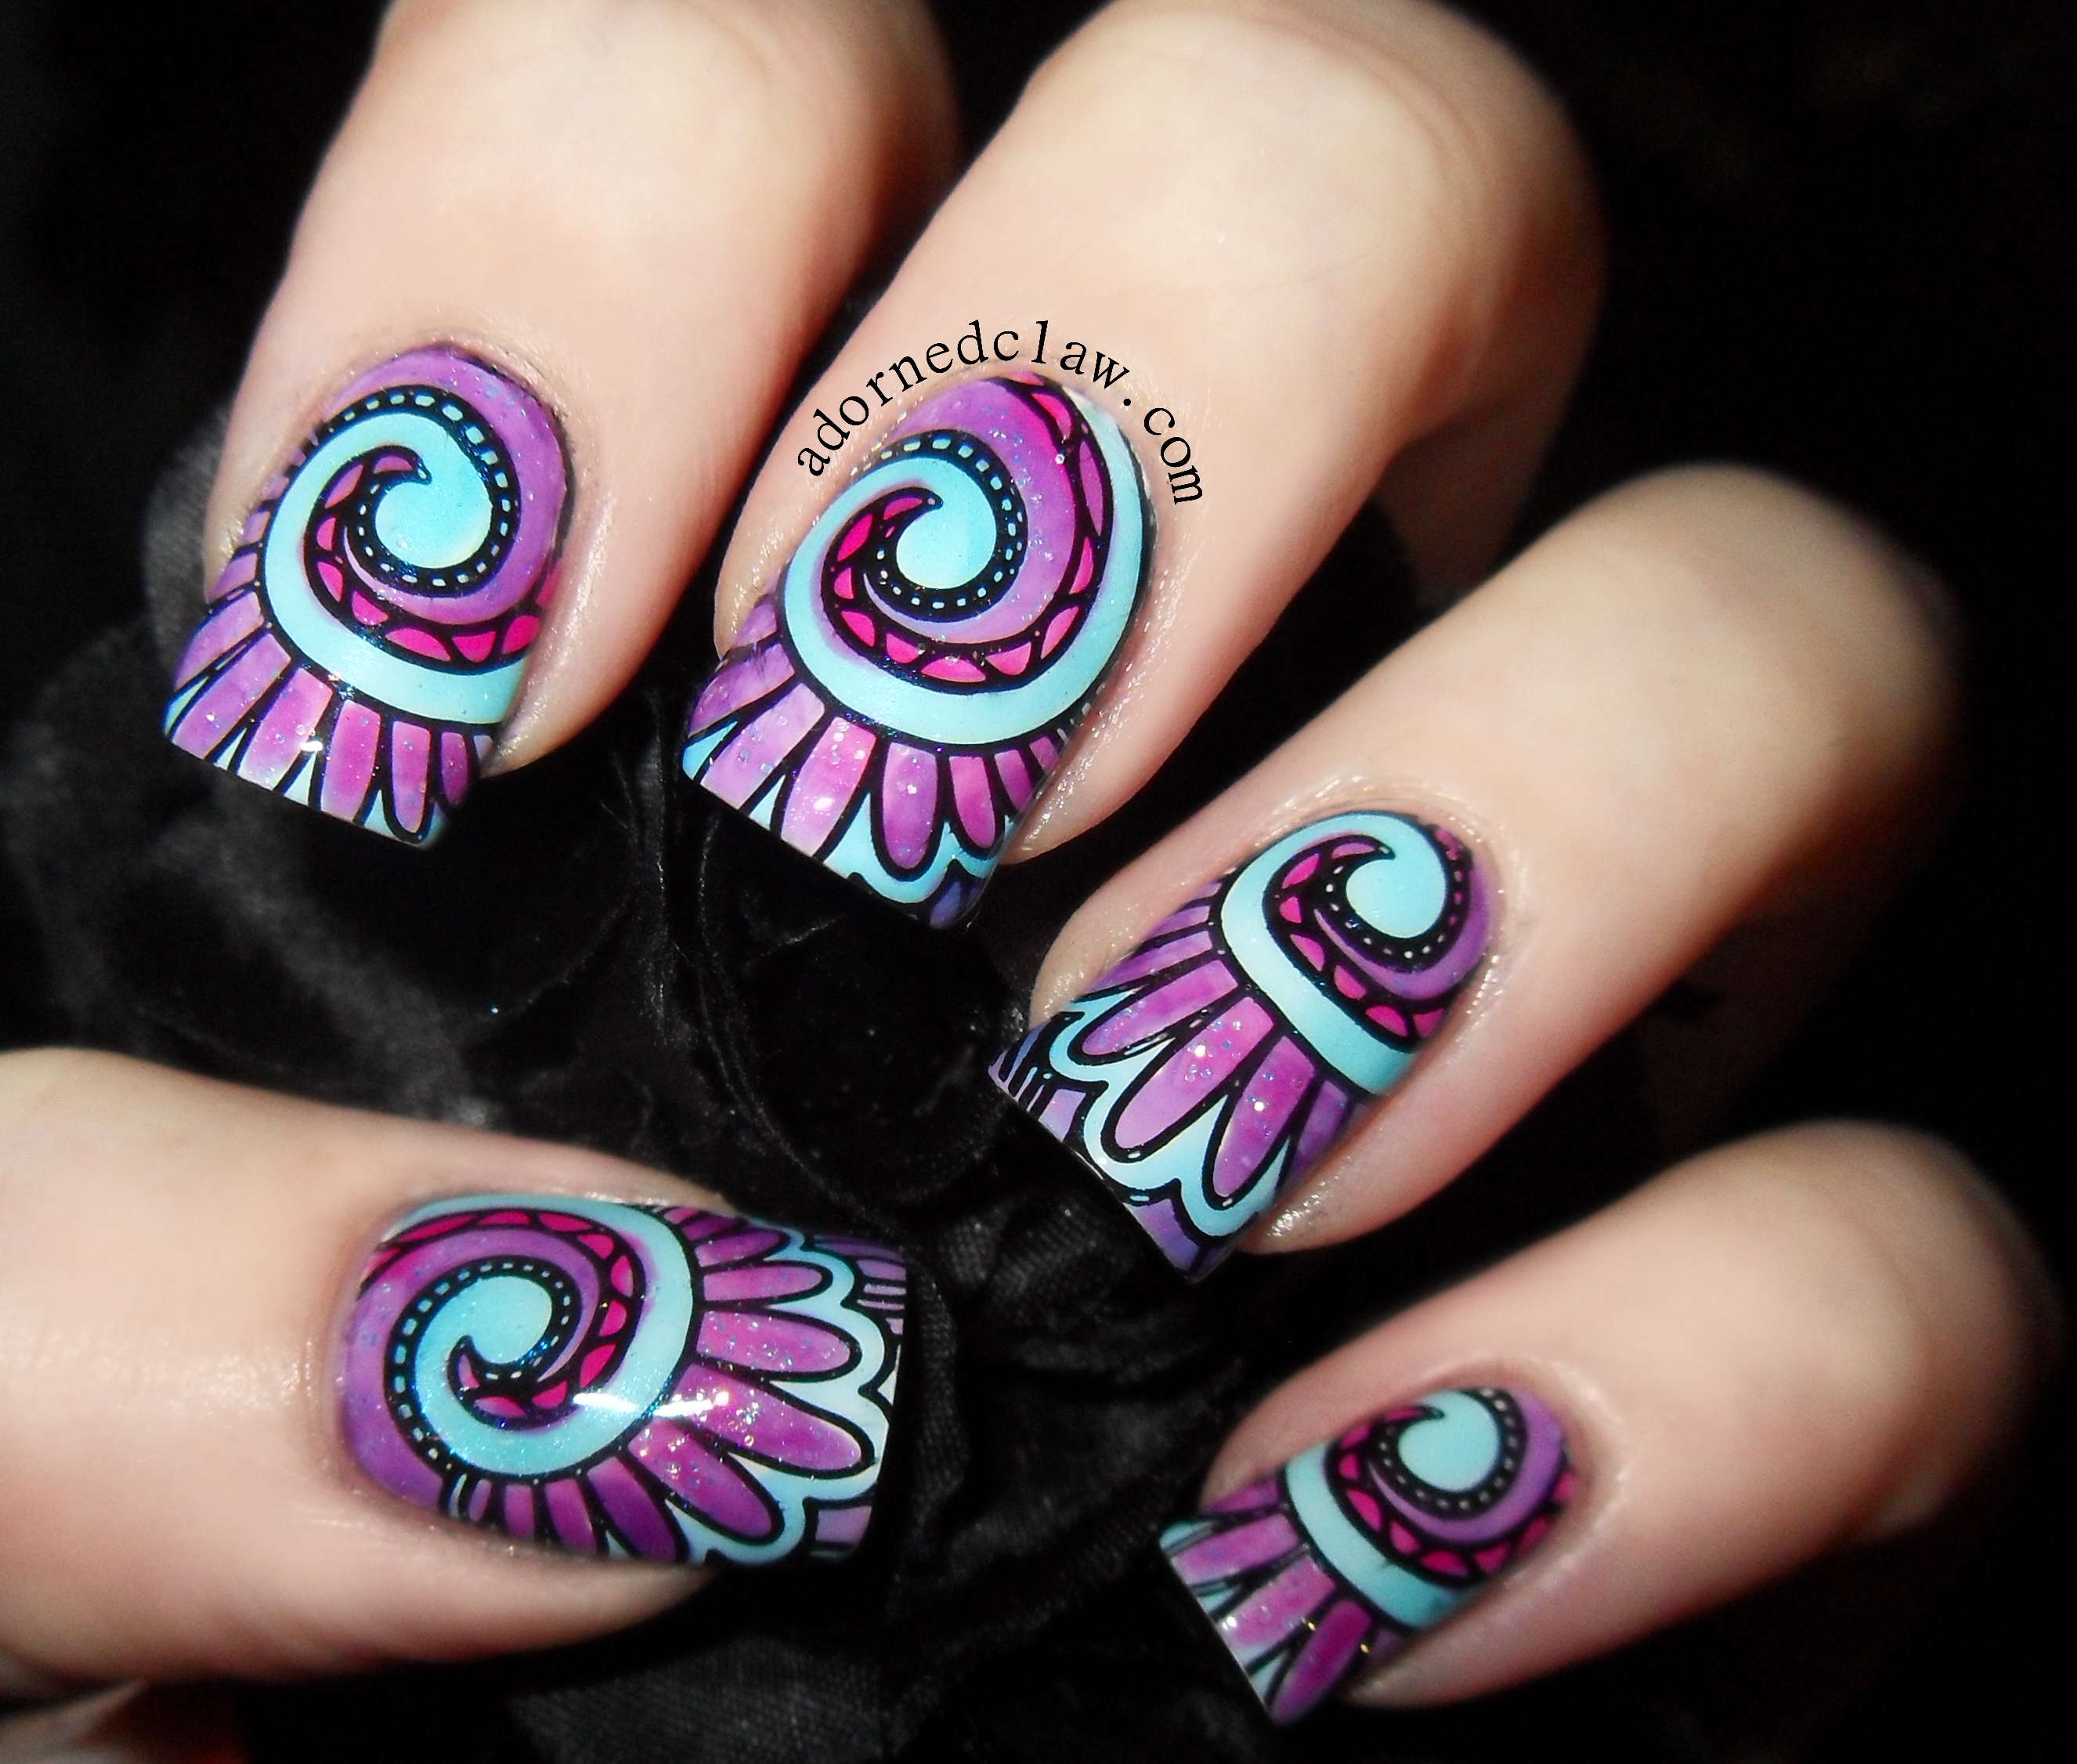
First attempt at leadlight technique
I started out by making my own Leadlight polishes! I brought a set of 24 mini (5ml) topcoats from Ebay, I had a few umm “issues” with the seller so it took almost a month for me to get them after ordering… Gah!
When they eventually got to me, I mixed a few drops of different coloured polish into each little bottle. I think I need to add a bit more colour to them as I found they are too sheer at the moment. Oh and I really have to invest in some mixing balls, so much shaking to get them mixed it felt like my hand might drop off ![]()
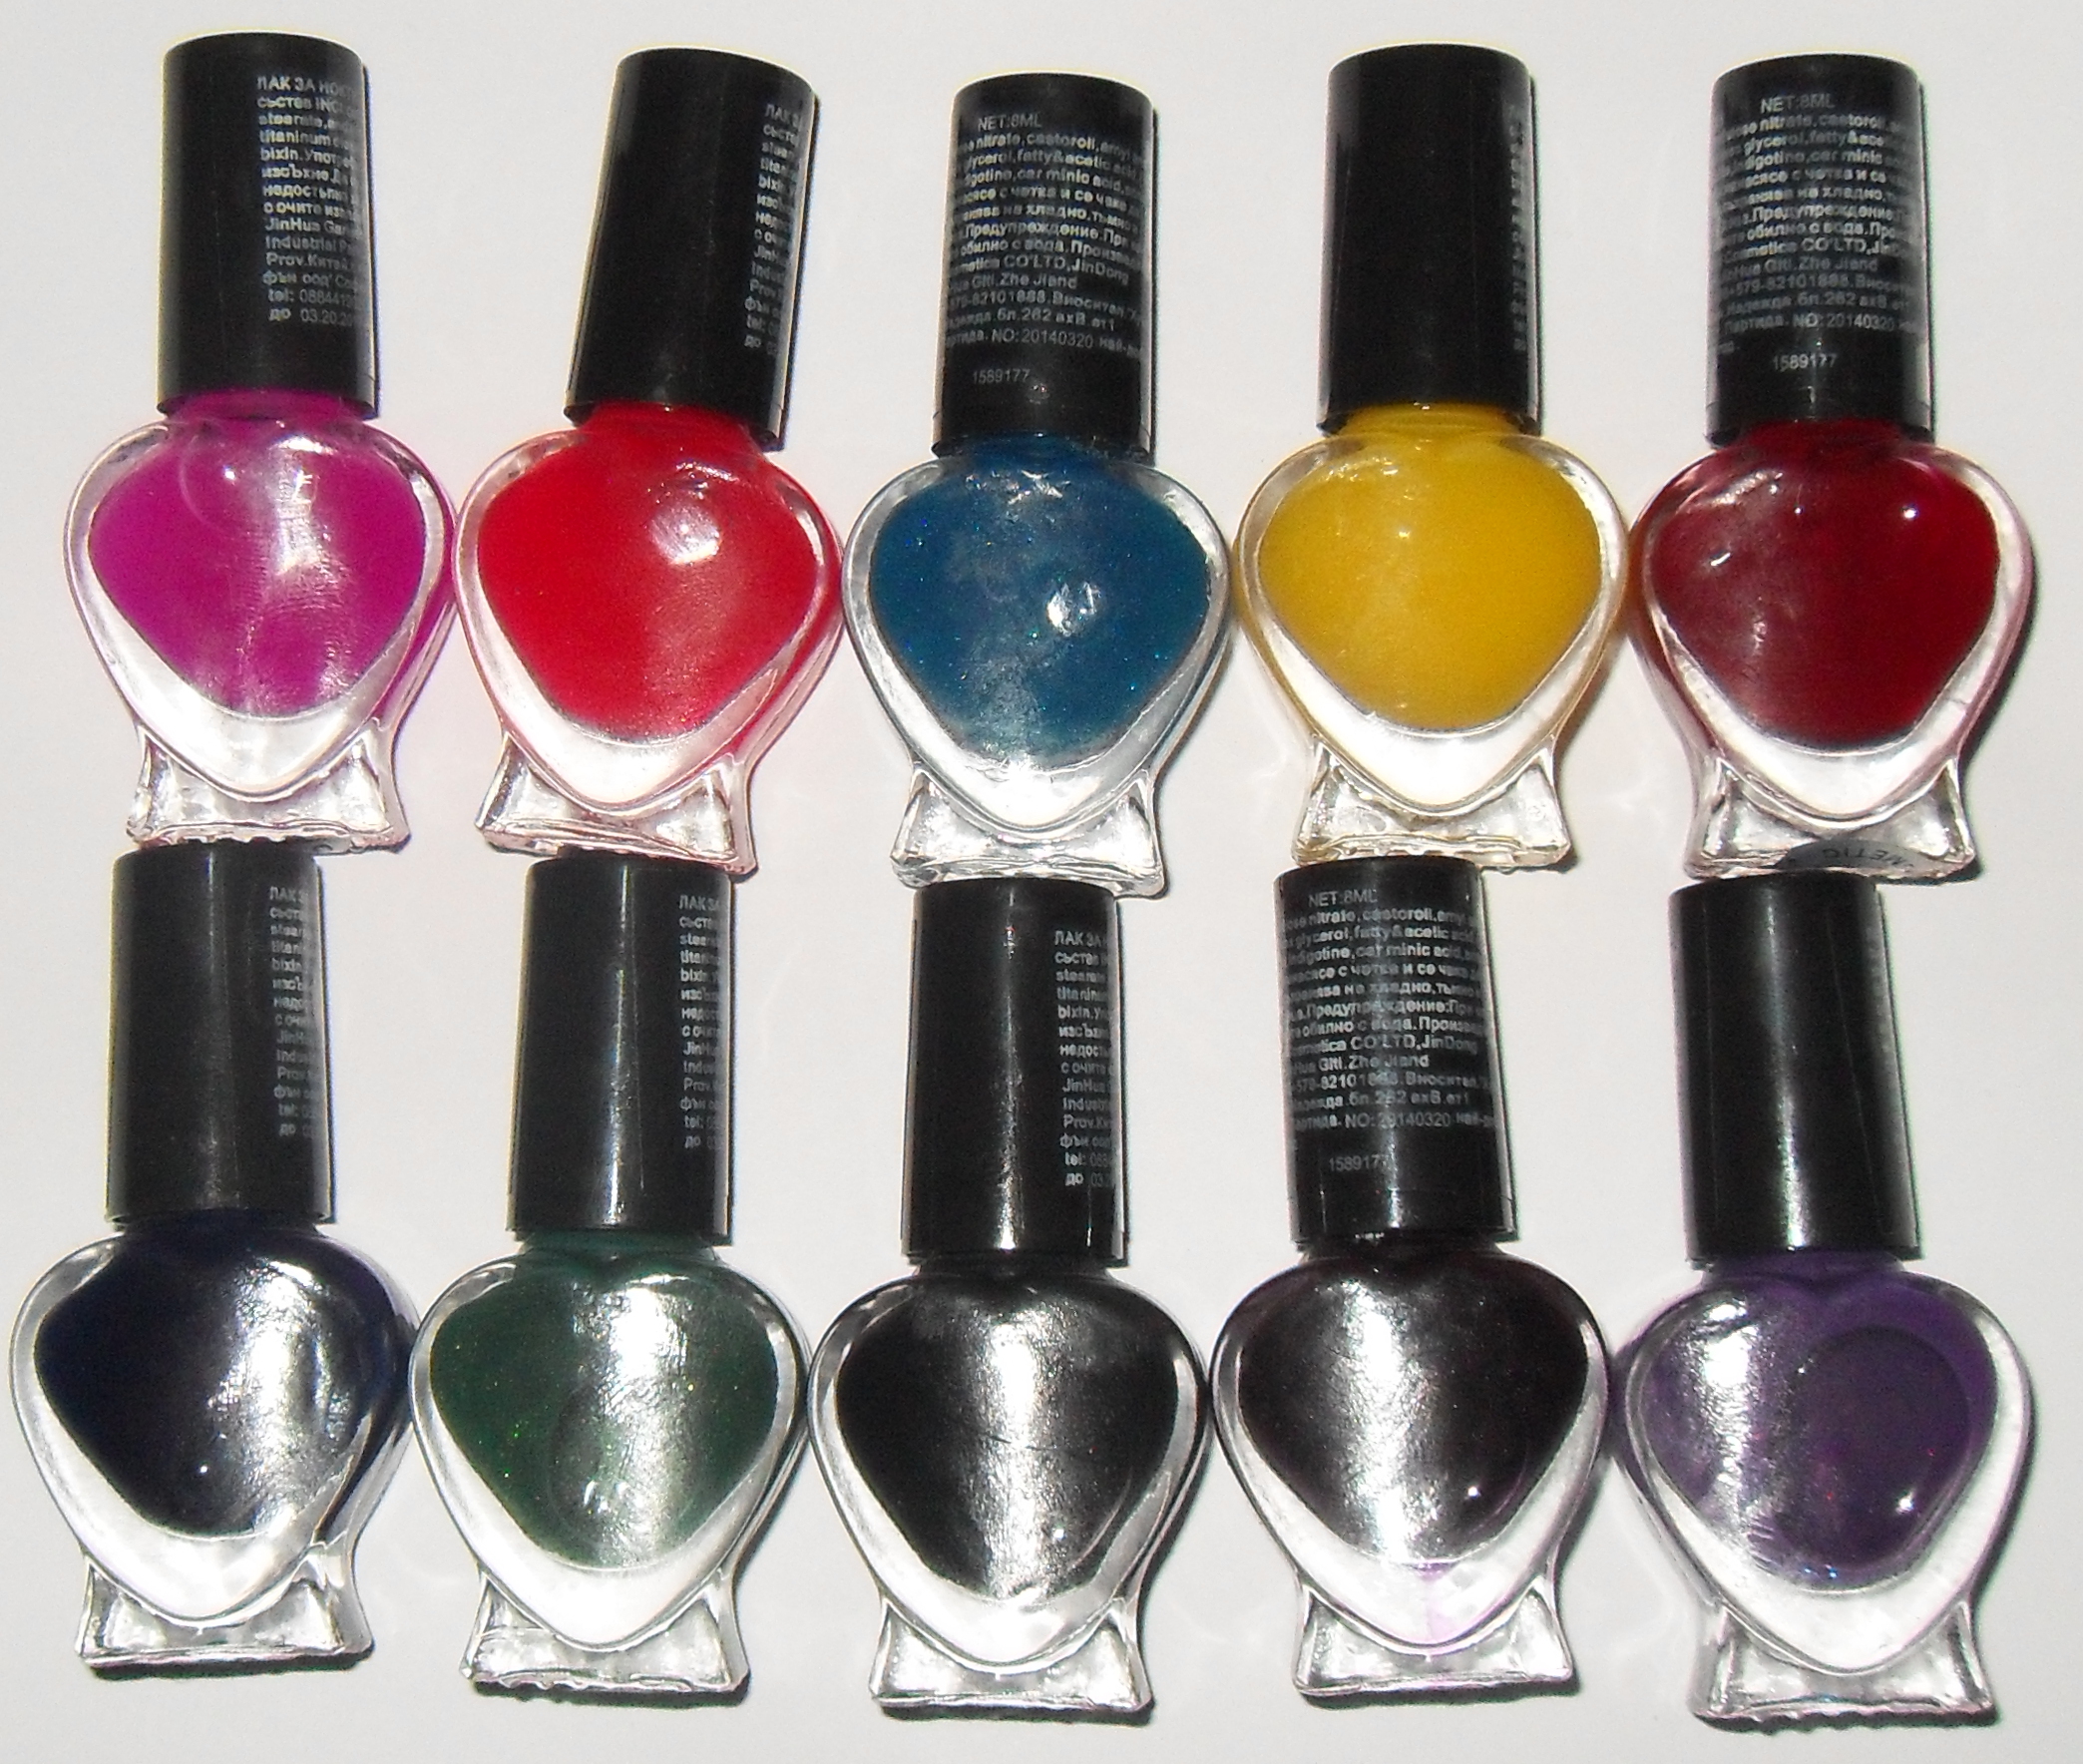
Starting from the top, the colours I have mixed so far are, magenta, pink, light blue, yellow, red, dark blue, green, black, dark purple and lavender.

pink blue and purple
I used Ivory skull from Sally Hansen as the base colour, then used Konad SP Black for the stamping. The plate I used was one of my new Born Pretty plates, it’s plate QA88 and you can find it right here
After the stamping polish dried I added a coat of Seche Vite, and started colouring in my nails I used the red, dark purple and dark blue polishes… I have to say the leadlight technique is a bit like paint by numbers nail art lol
When it was dry I added some Glitter top coat from Rimmel over the purple, then another thick coat of Seche Vite.
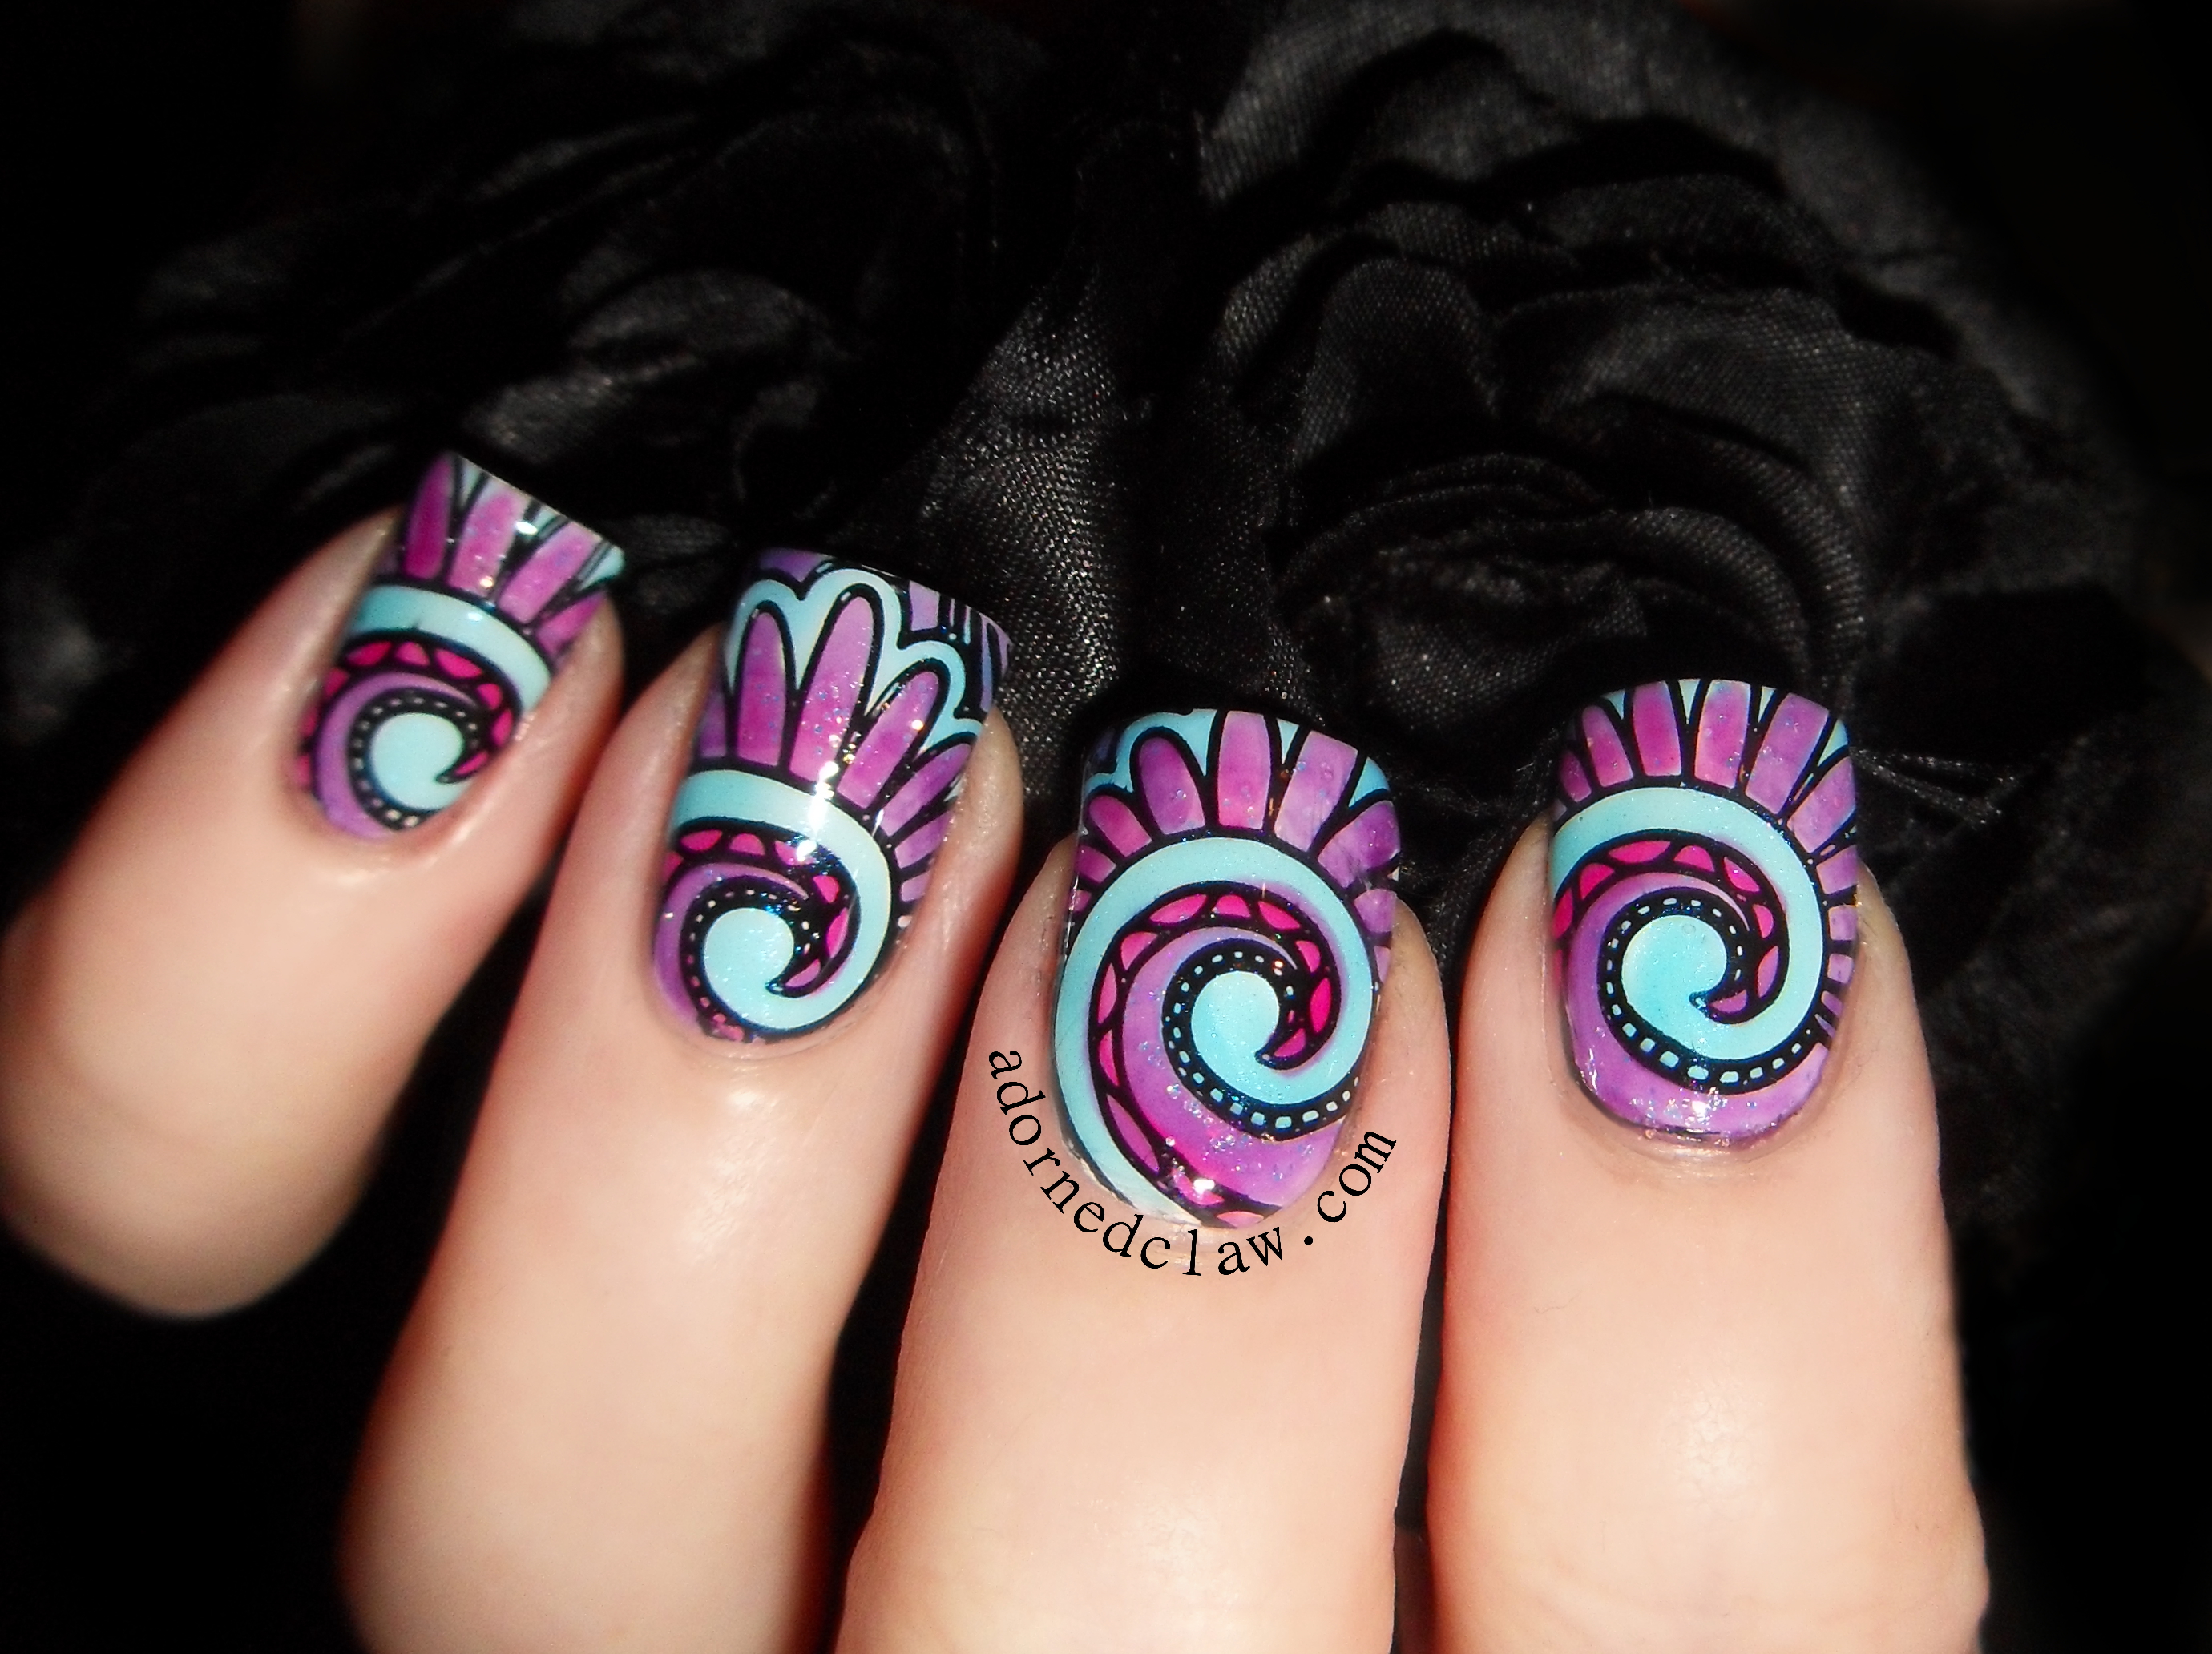
leadlight nails
Even though my little polishes need a bit more work, I think for a first attempt this didn’t turn out too bad! 🙂


