It’s not often that we get new indie polish makers here in the UK, But here is one! These polishes are from the new indie brand Belle Glamour.
I came across Belle Glamour on Facebook because Catriona was looking for people to do swatches and reviews of her new polish collections, in return for a discount… Mmmm Discount on shiny polishes, how could I possibly refuse? Originally I was only going to get a couple, but a couple kind of turned into six. Oops!
After ordering the polishes they turned up within a few days! which seeing as I ordered them over Christmas was wonderful. They where really well packaged, all individually wrapped up in bubble wrap and tissue! And Catriona has been amazingly helpful!
These polishes are available for pre-order at www.catrionascosmetics.weebly.com and the shop will officially be opening on 24.01.2014. for more info you can sign up for the mailing list here!
There is also a Belle Glamour Facebook page Here and you can also follow on Instagram and Twitter with @mrscadrysdale and on Tumblr with Belle-Glamour.
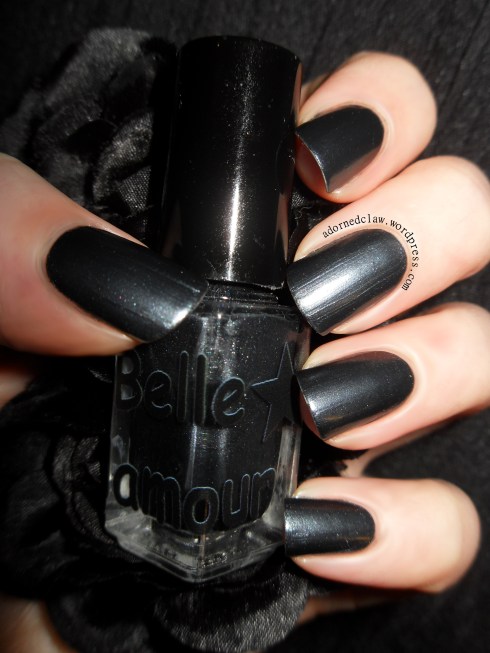
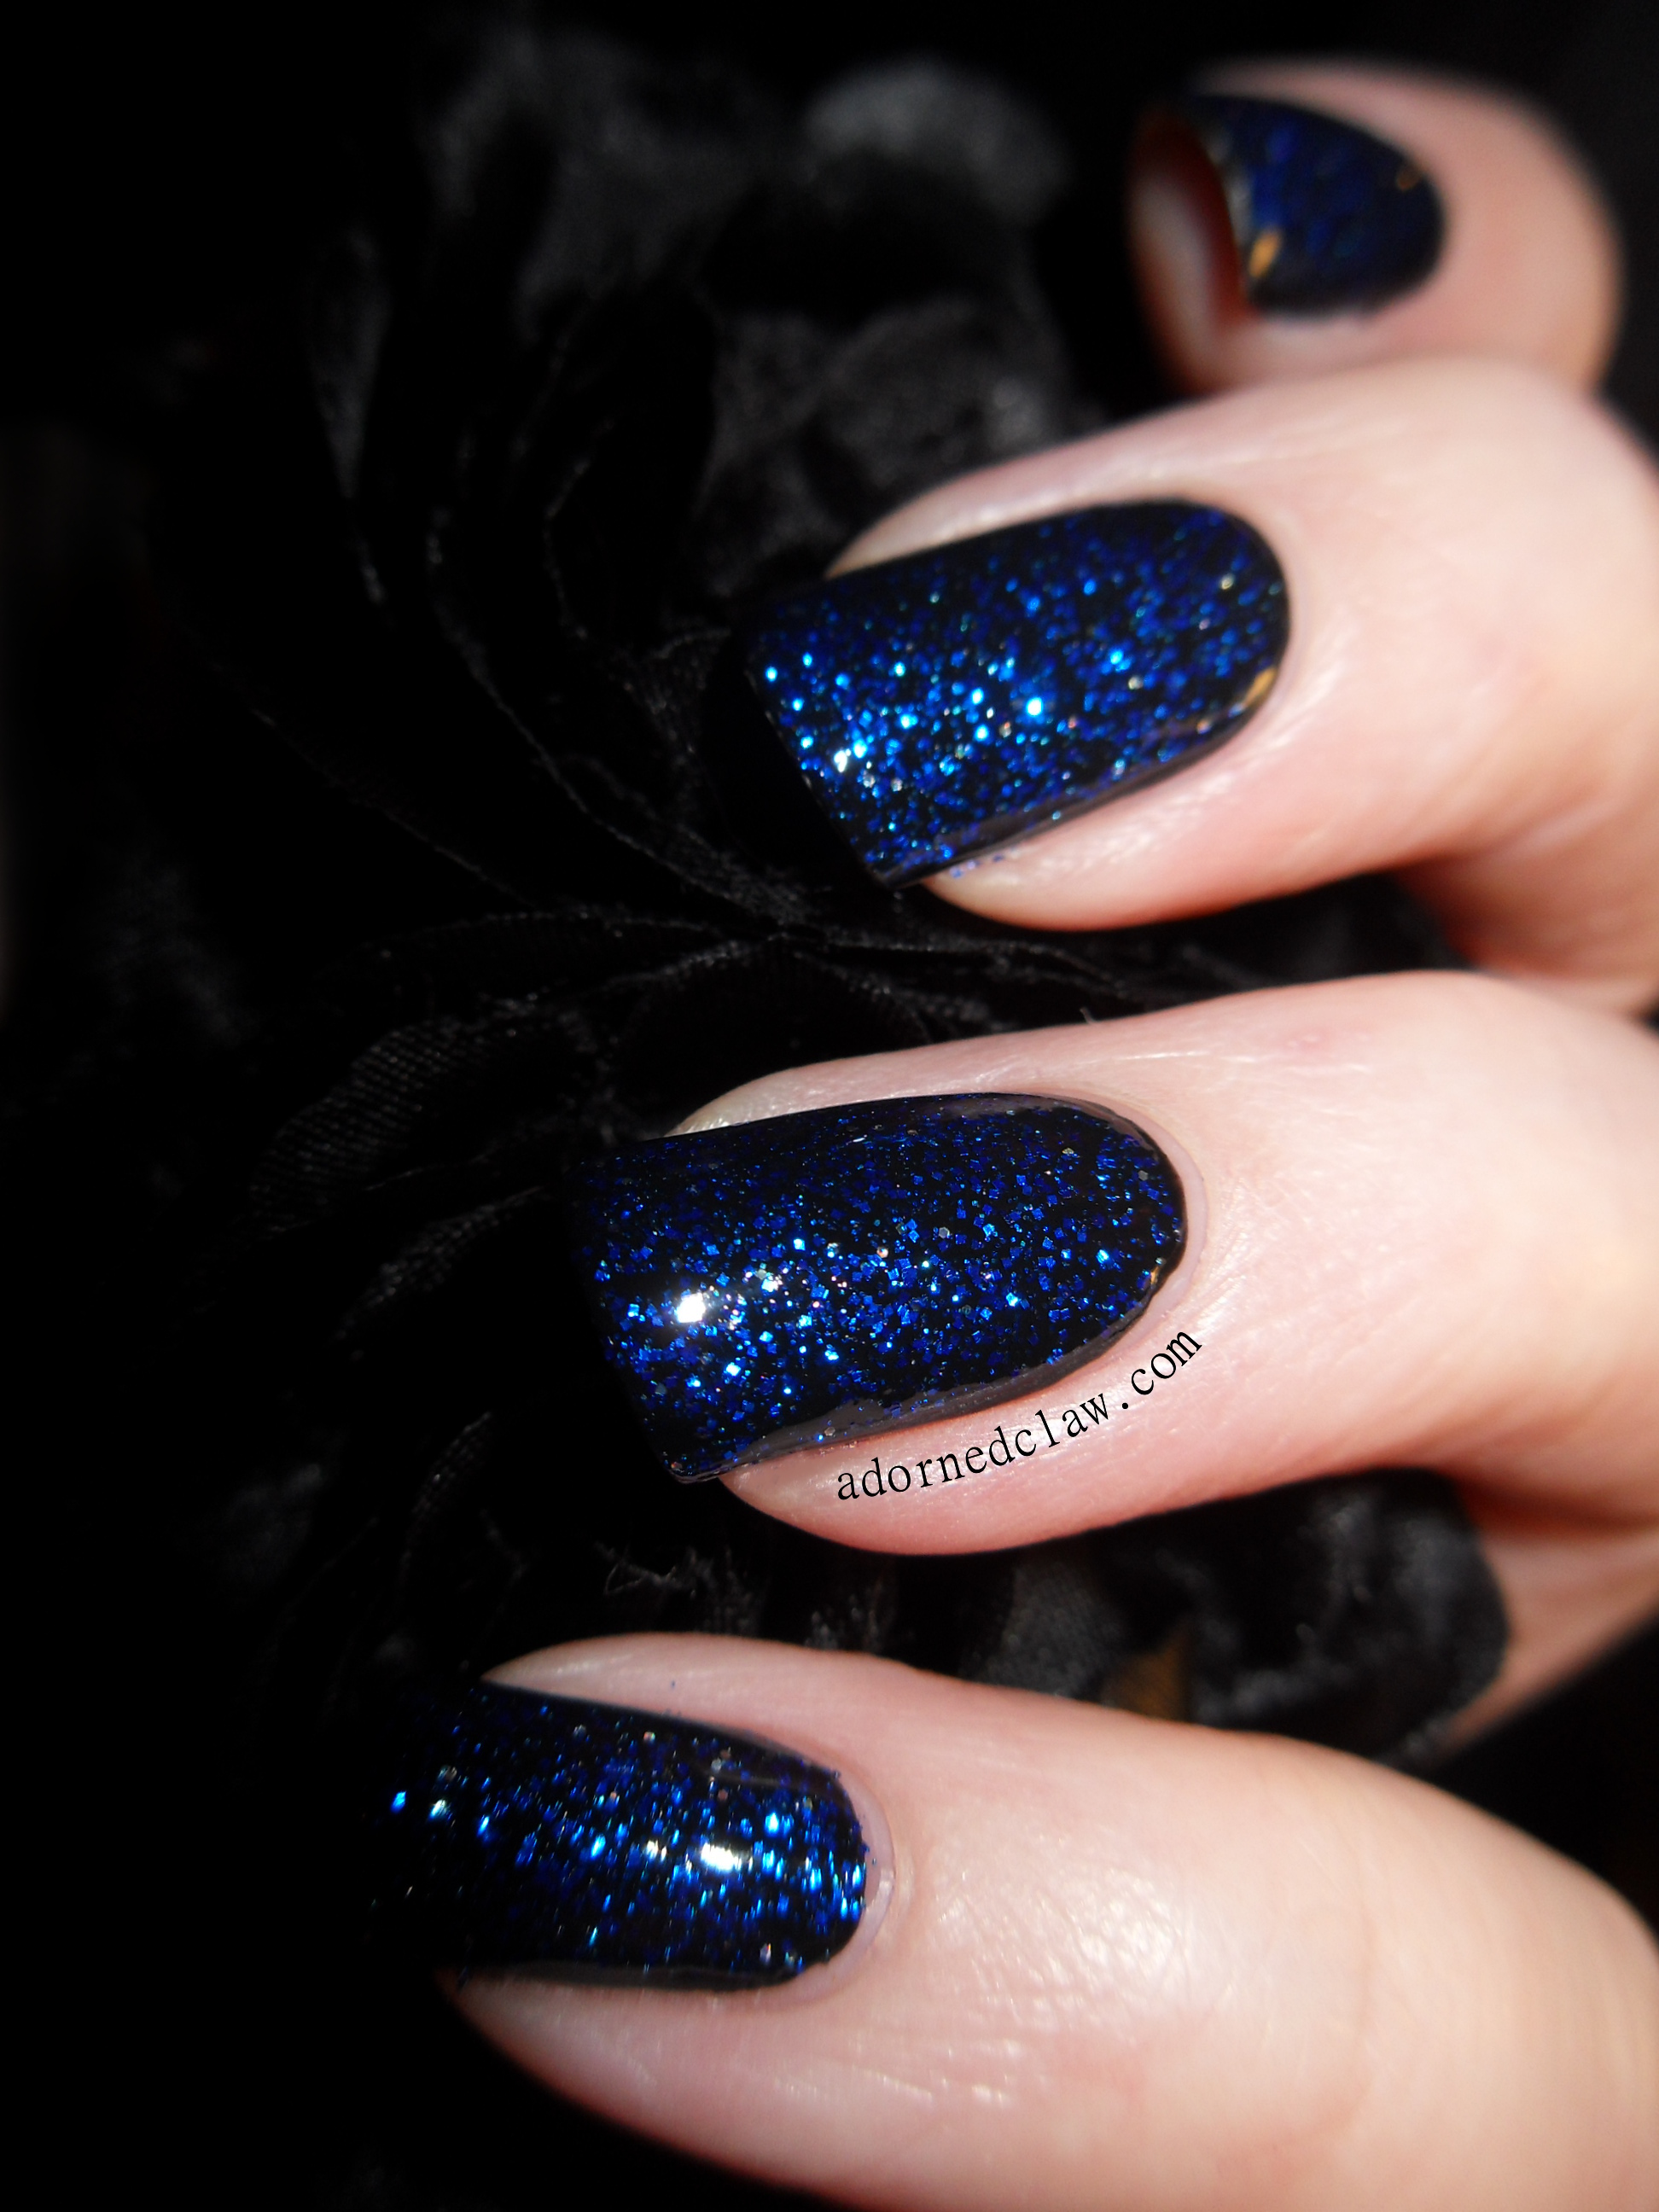
Midnight
The first polish I have to show you is called Midnight, It’s a lovely metallic frosty black, This is two coats with base coat, and the application was a breeze! It wasn’t streaky and there was no dragging at all! I did find that the formula was a little thicker than I am used to but not so much that it was a problem in any way.
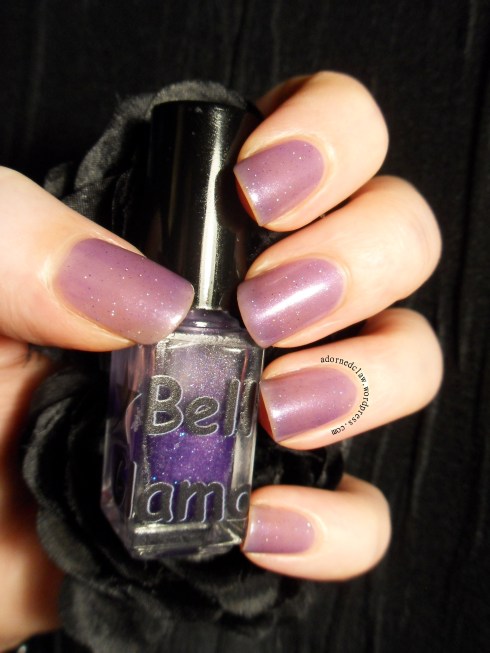
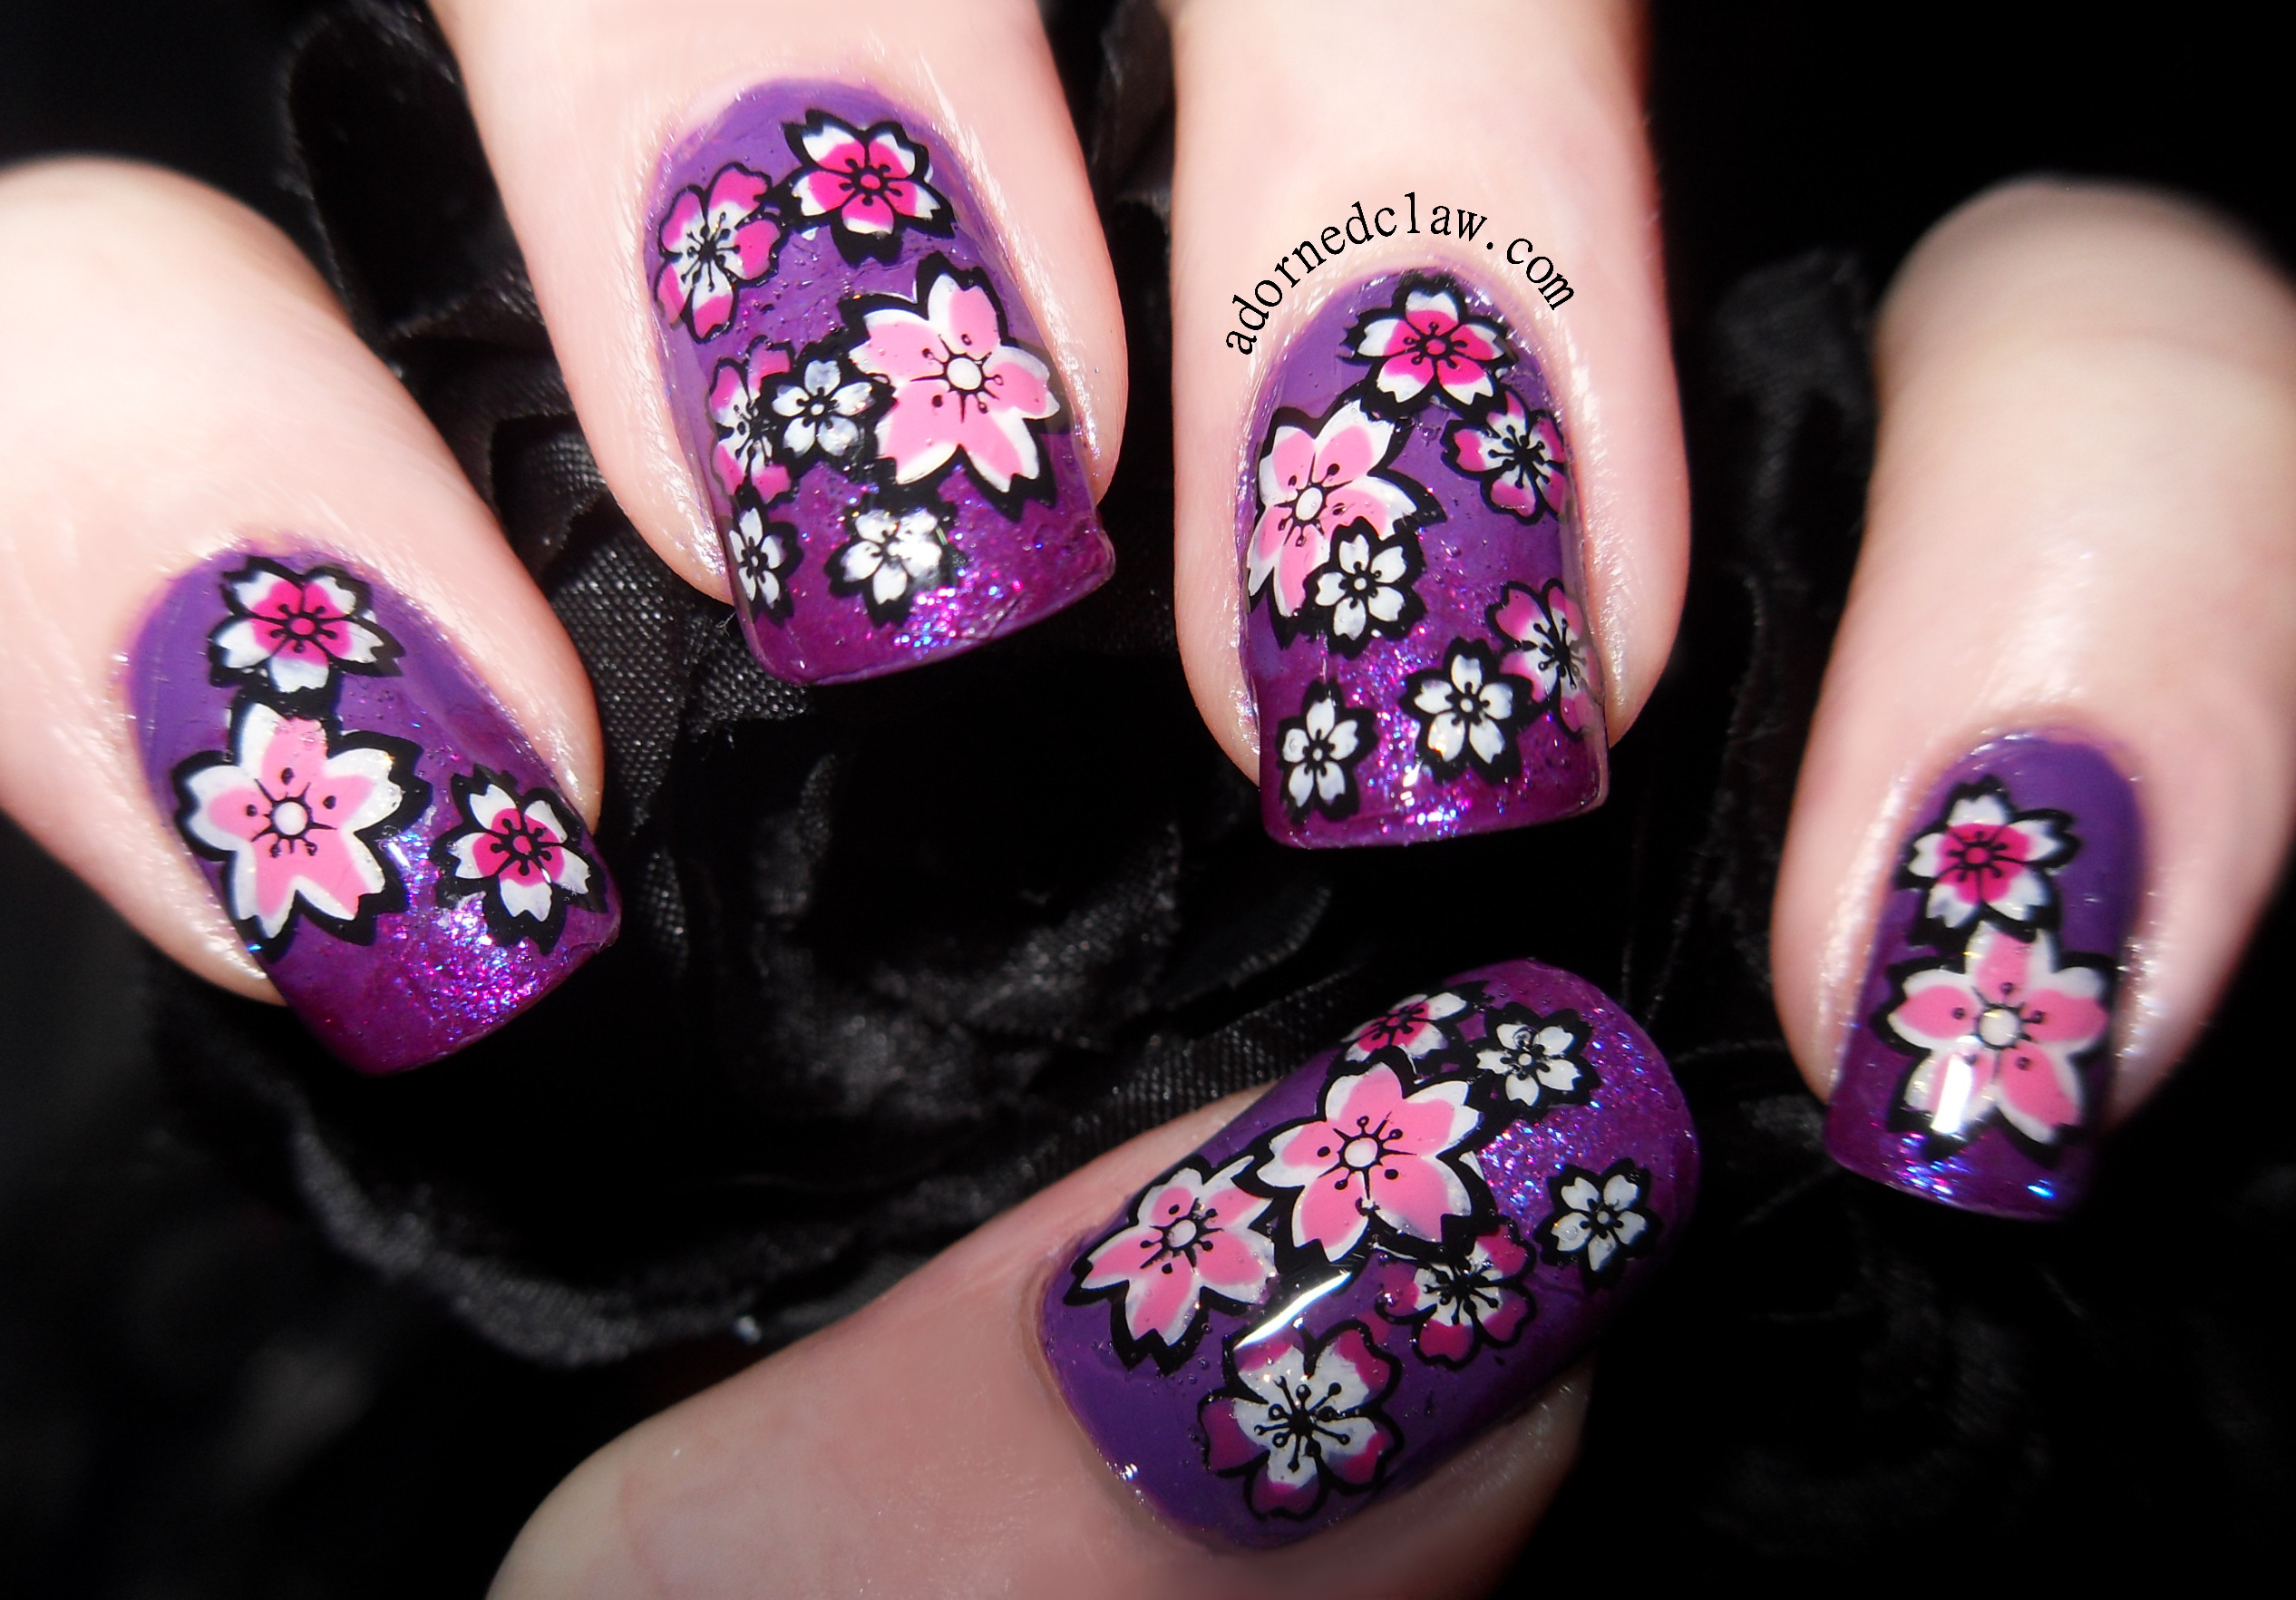
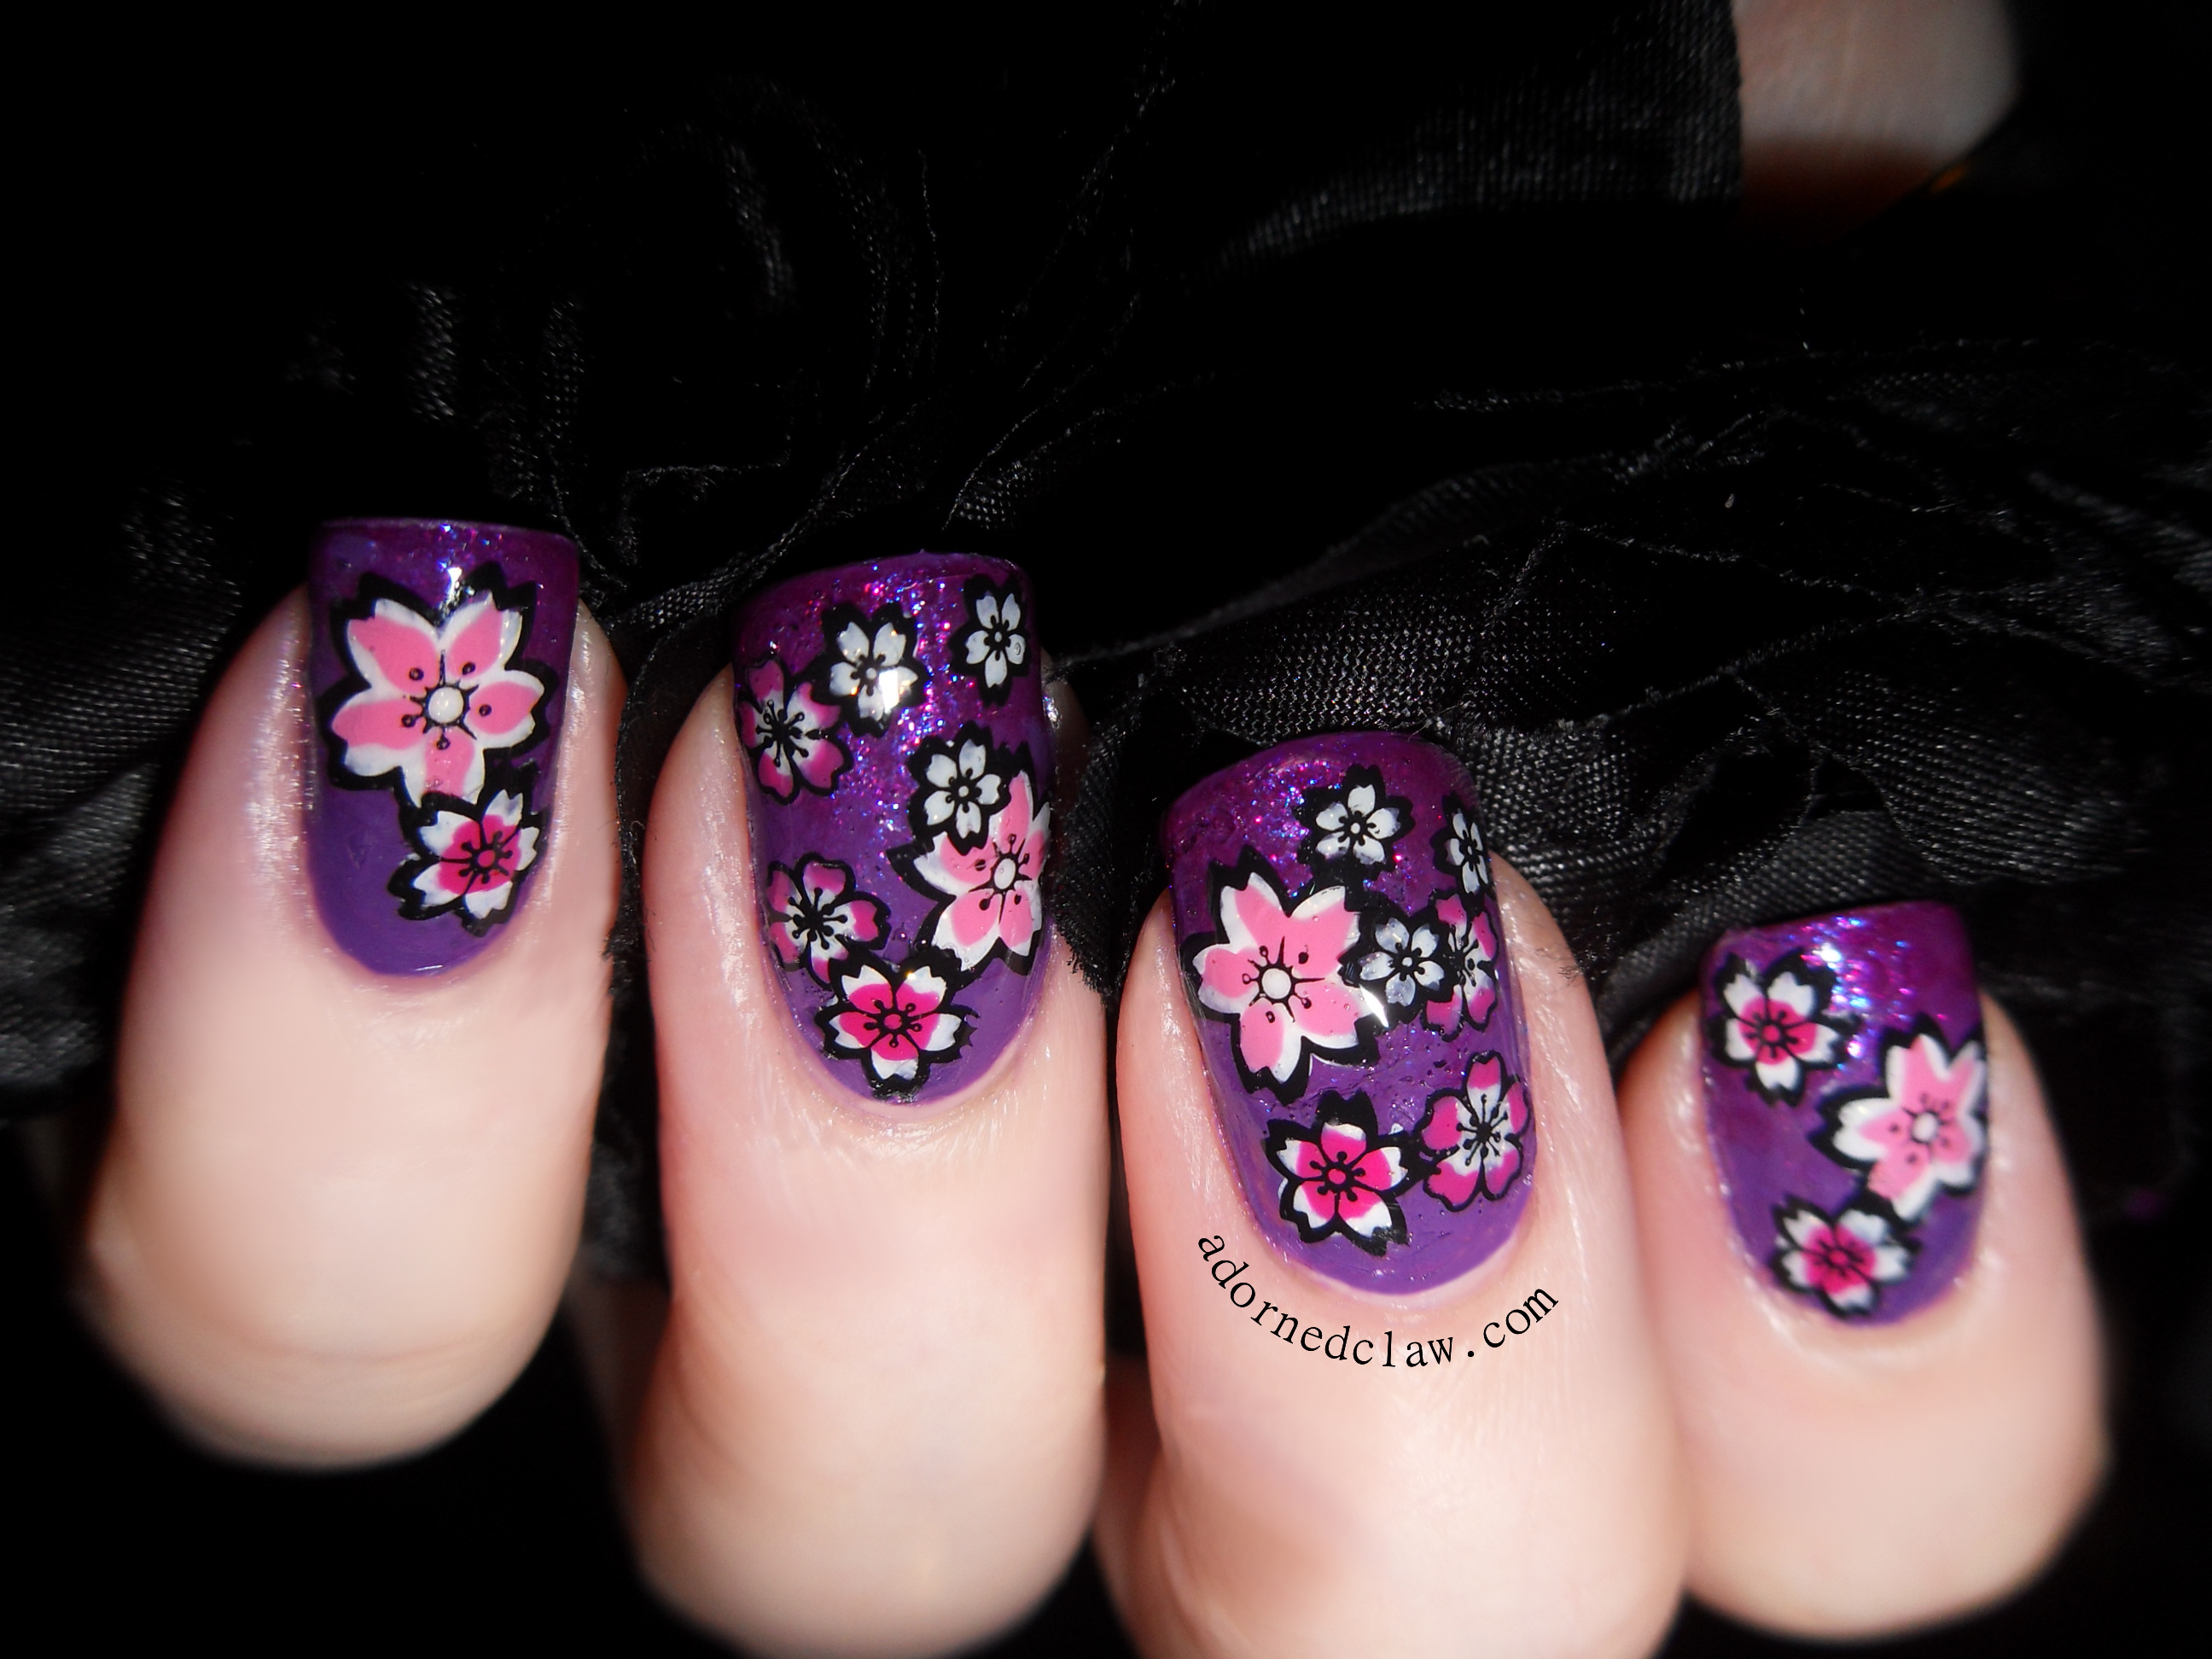
Coven
Isn’t this such a cute polish! This colour is called Coven. This is three coats with base coat, with the first coat of this polish I was thinking that there wasn’t much pigment in this polish, but it built up really nicely and evenly with the next two coats, I think this will be the perfect polish for layering or some ‘pond’ nail art. I think that the Shimmer and the subtle holographic glitters make this polish really rather lovely.
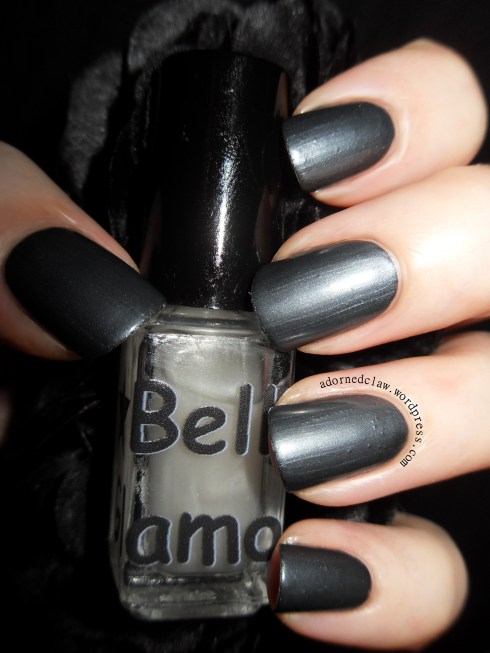
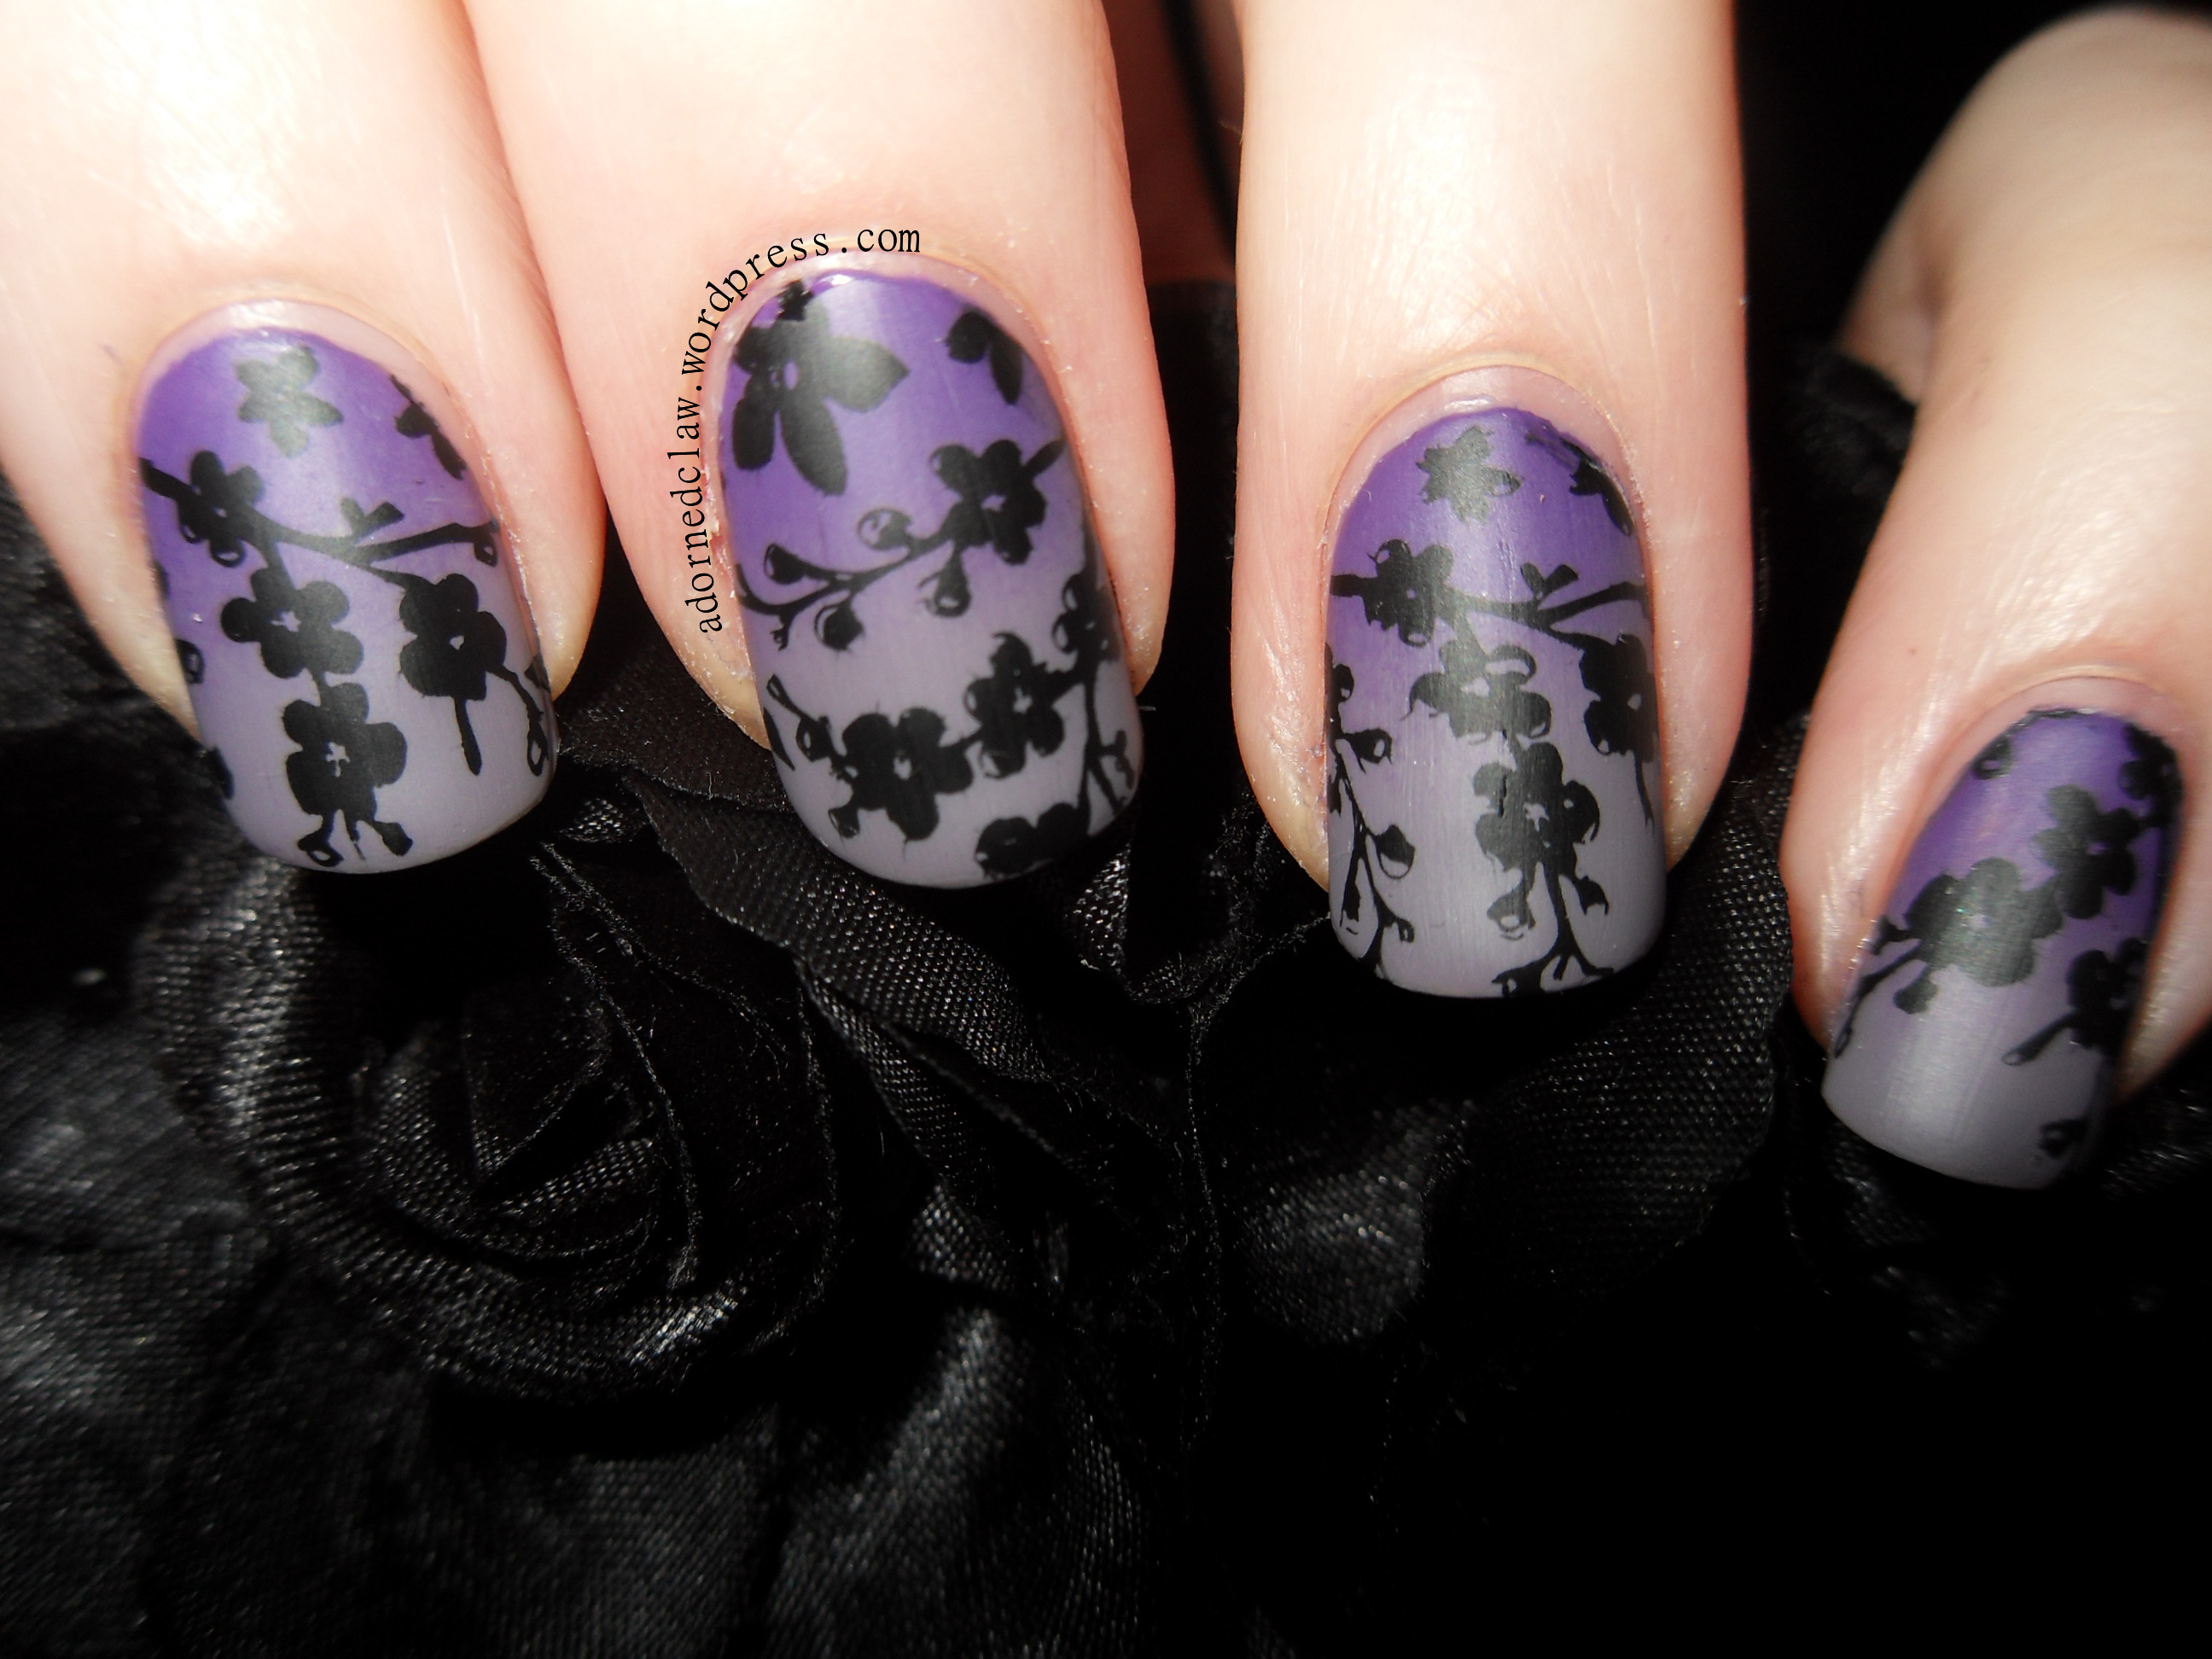
Matte Topcoat Over Midnight
Here is the Matte topcoat over Midnight, this isn’t a flat matte, I found that this has more of a satin or wax finish, I think the closest product I can describe this to is the Latex varnishes from Illamasqua! This makes me really rather happy! 😀 I really do like the finish of this top coat! the application was really nice, very smooth, it didn’t smudge or move the colour underneath at all and it didn’t crinkle or go bubbly, also it dried really quickly.
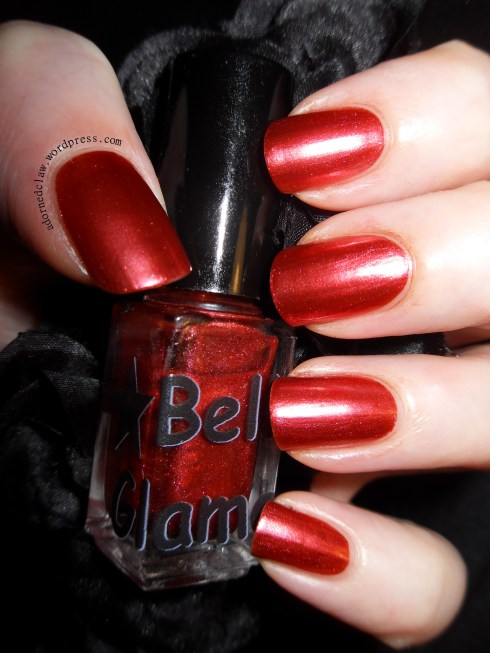
Bloody Roses
Bloody Roses is a wonderful Foxy metallic red, this was three coats with base coat, like Midnight, Bloody Roses is a tiny bit thicker than I’m used to, but it was wonderful to apply, it’s really well pigmented and the colour is simply stunning! This is three thin coats with base coat.
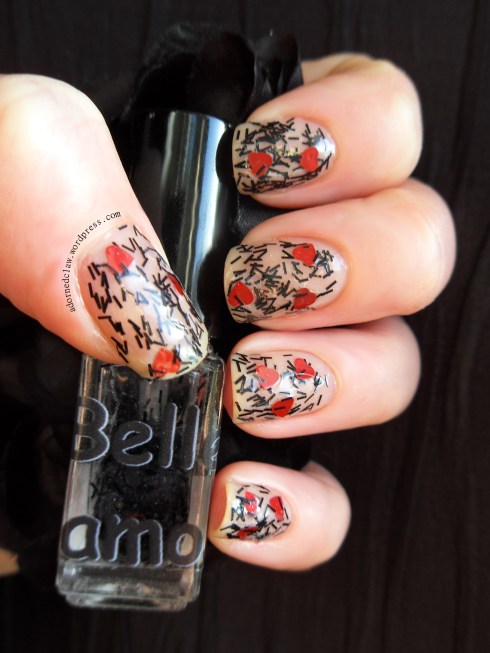
Broken Hearted
Broken Hearted is a really cute glitter topper, it has black bar glitter and matte red hearts it also has a slight shimmer but my camera didn’t pick that up, this is one coat over nude from Barry M. I did have to dig about in the bottle a little bit for the hearts but I always find that’s the case with larger glitters. It was really easy to apply and there is a good amount of glitter in the mix! It also dries quickly and is very glossy 🙂
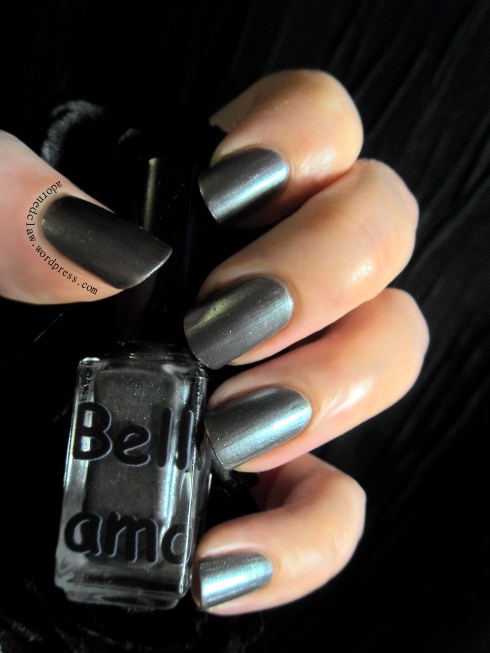
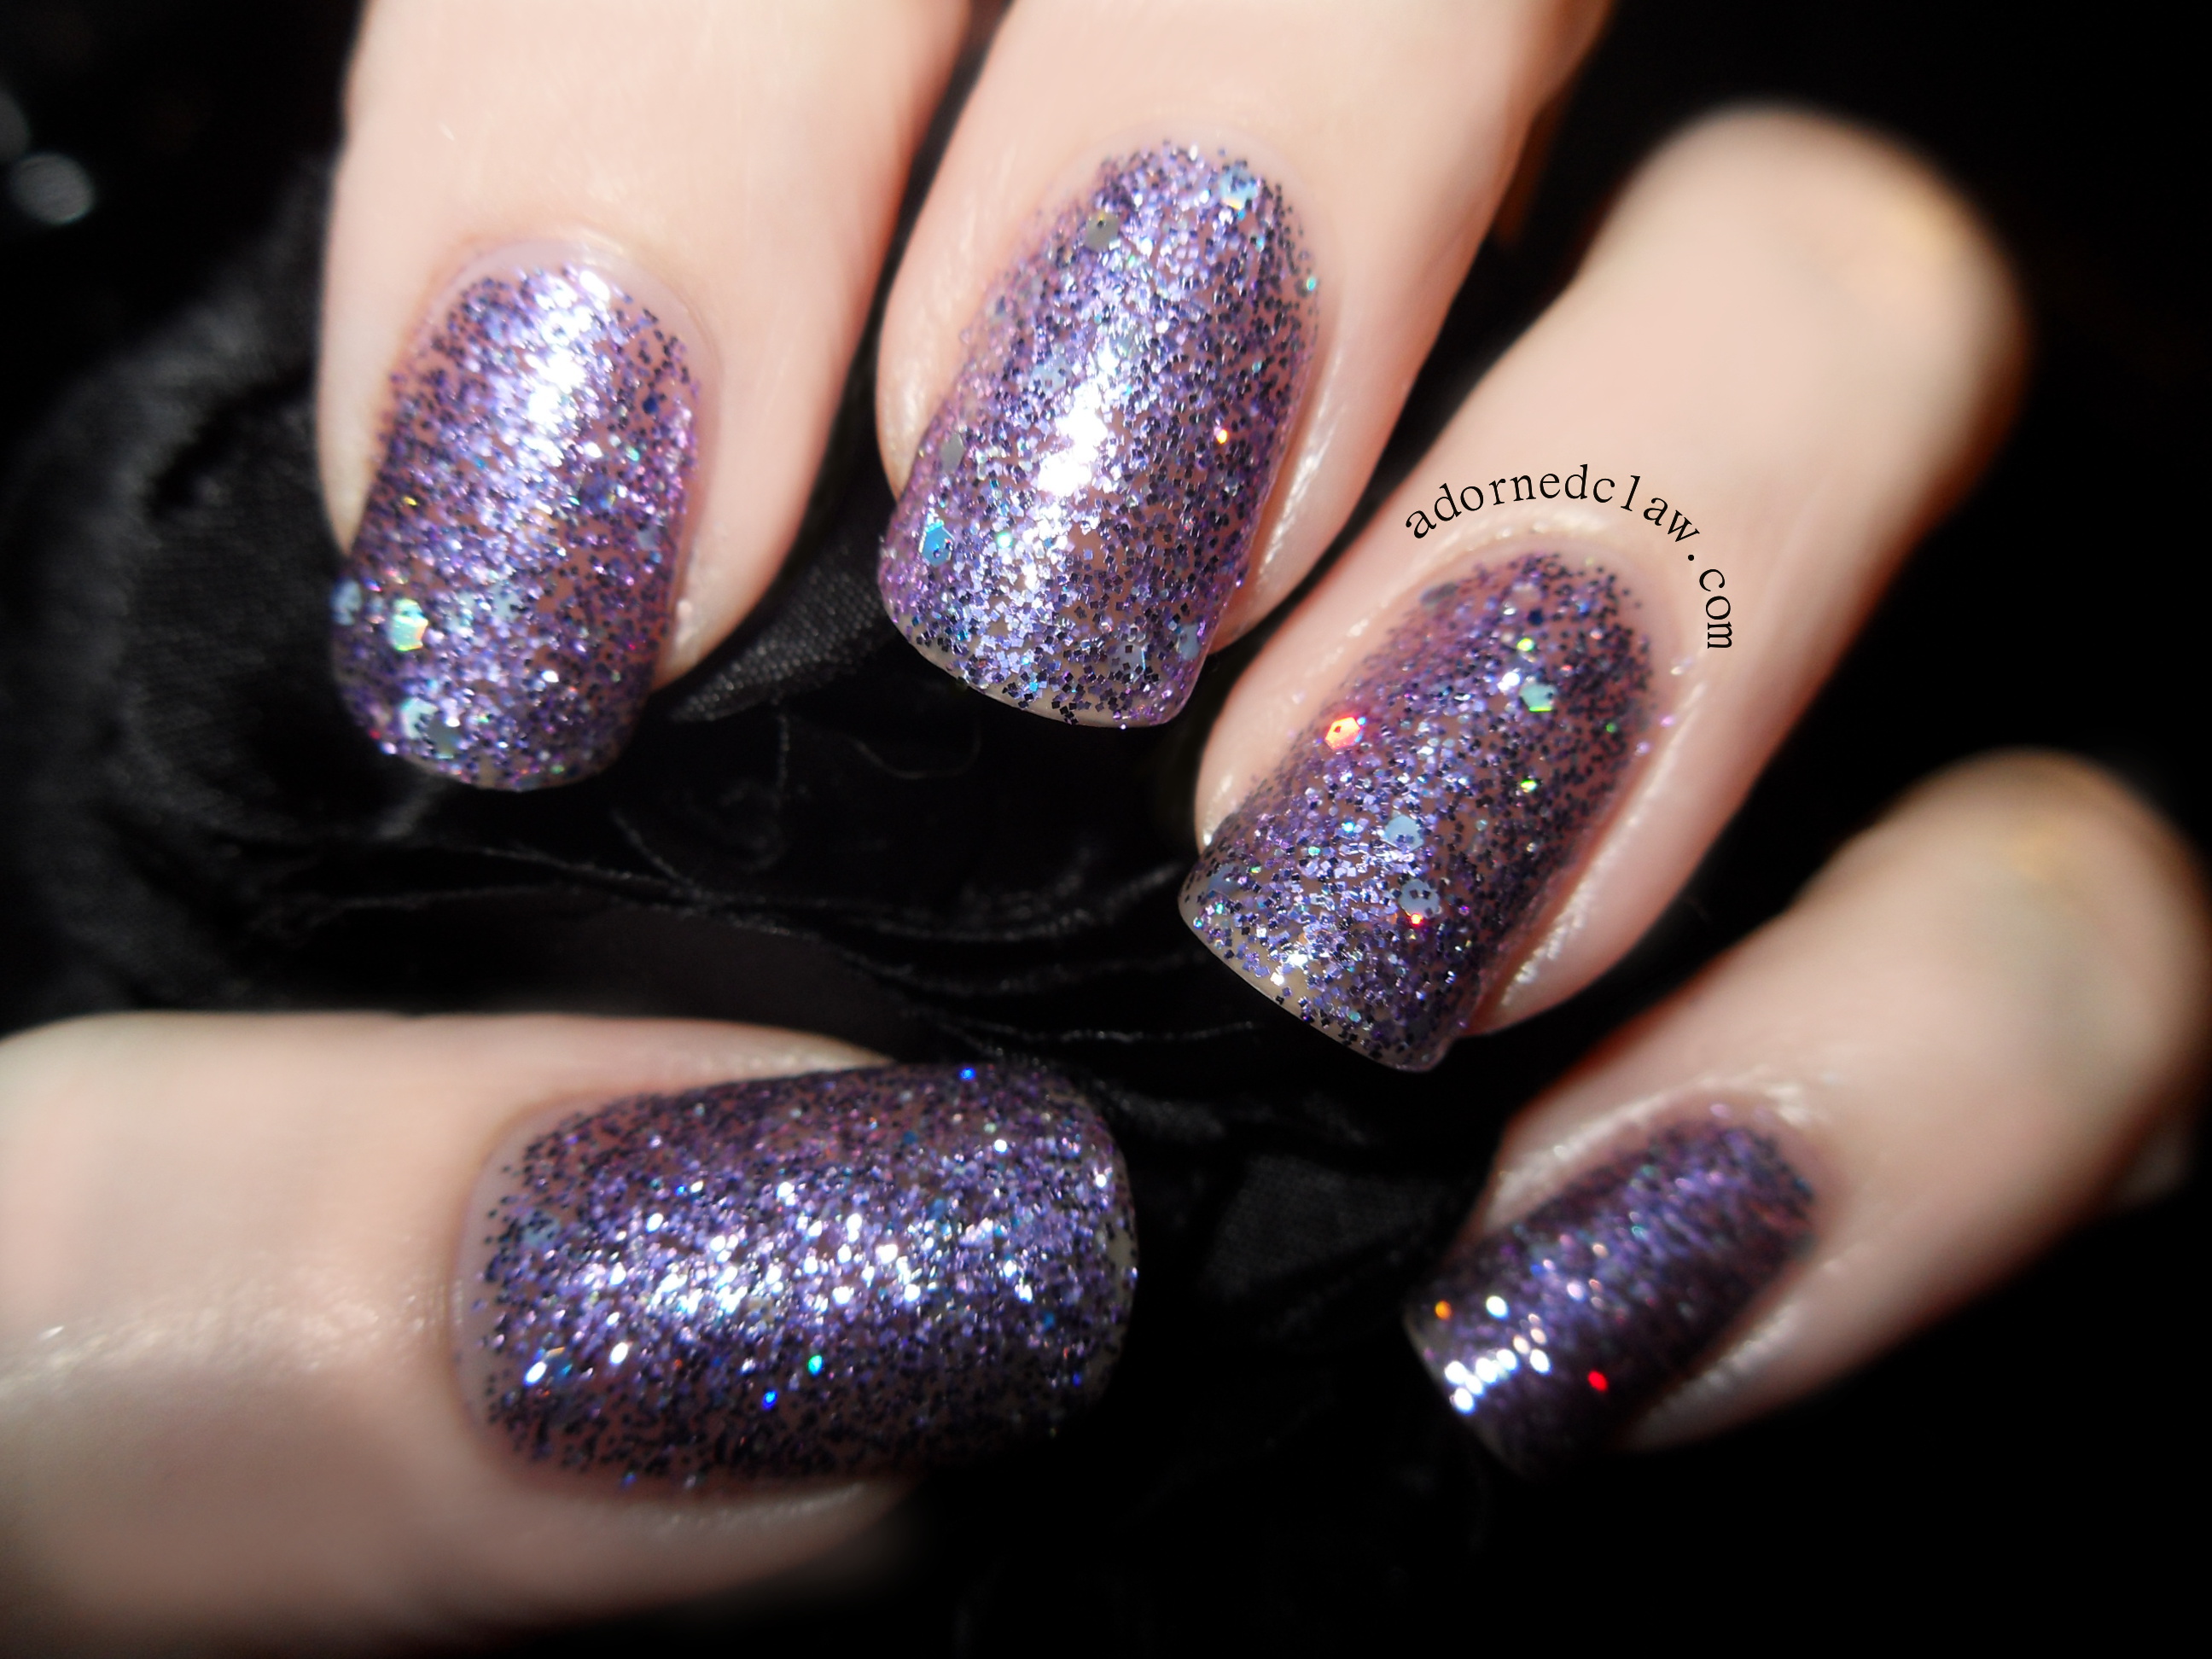
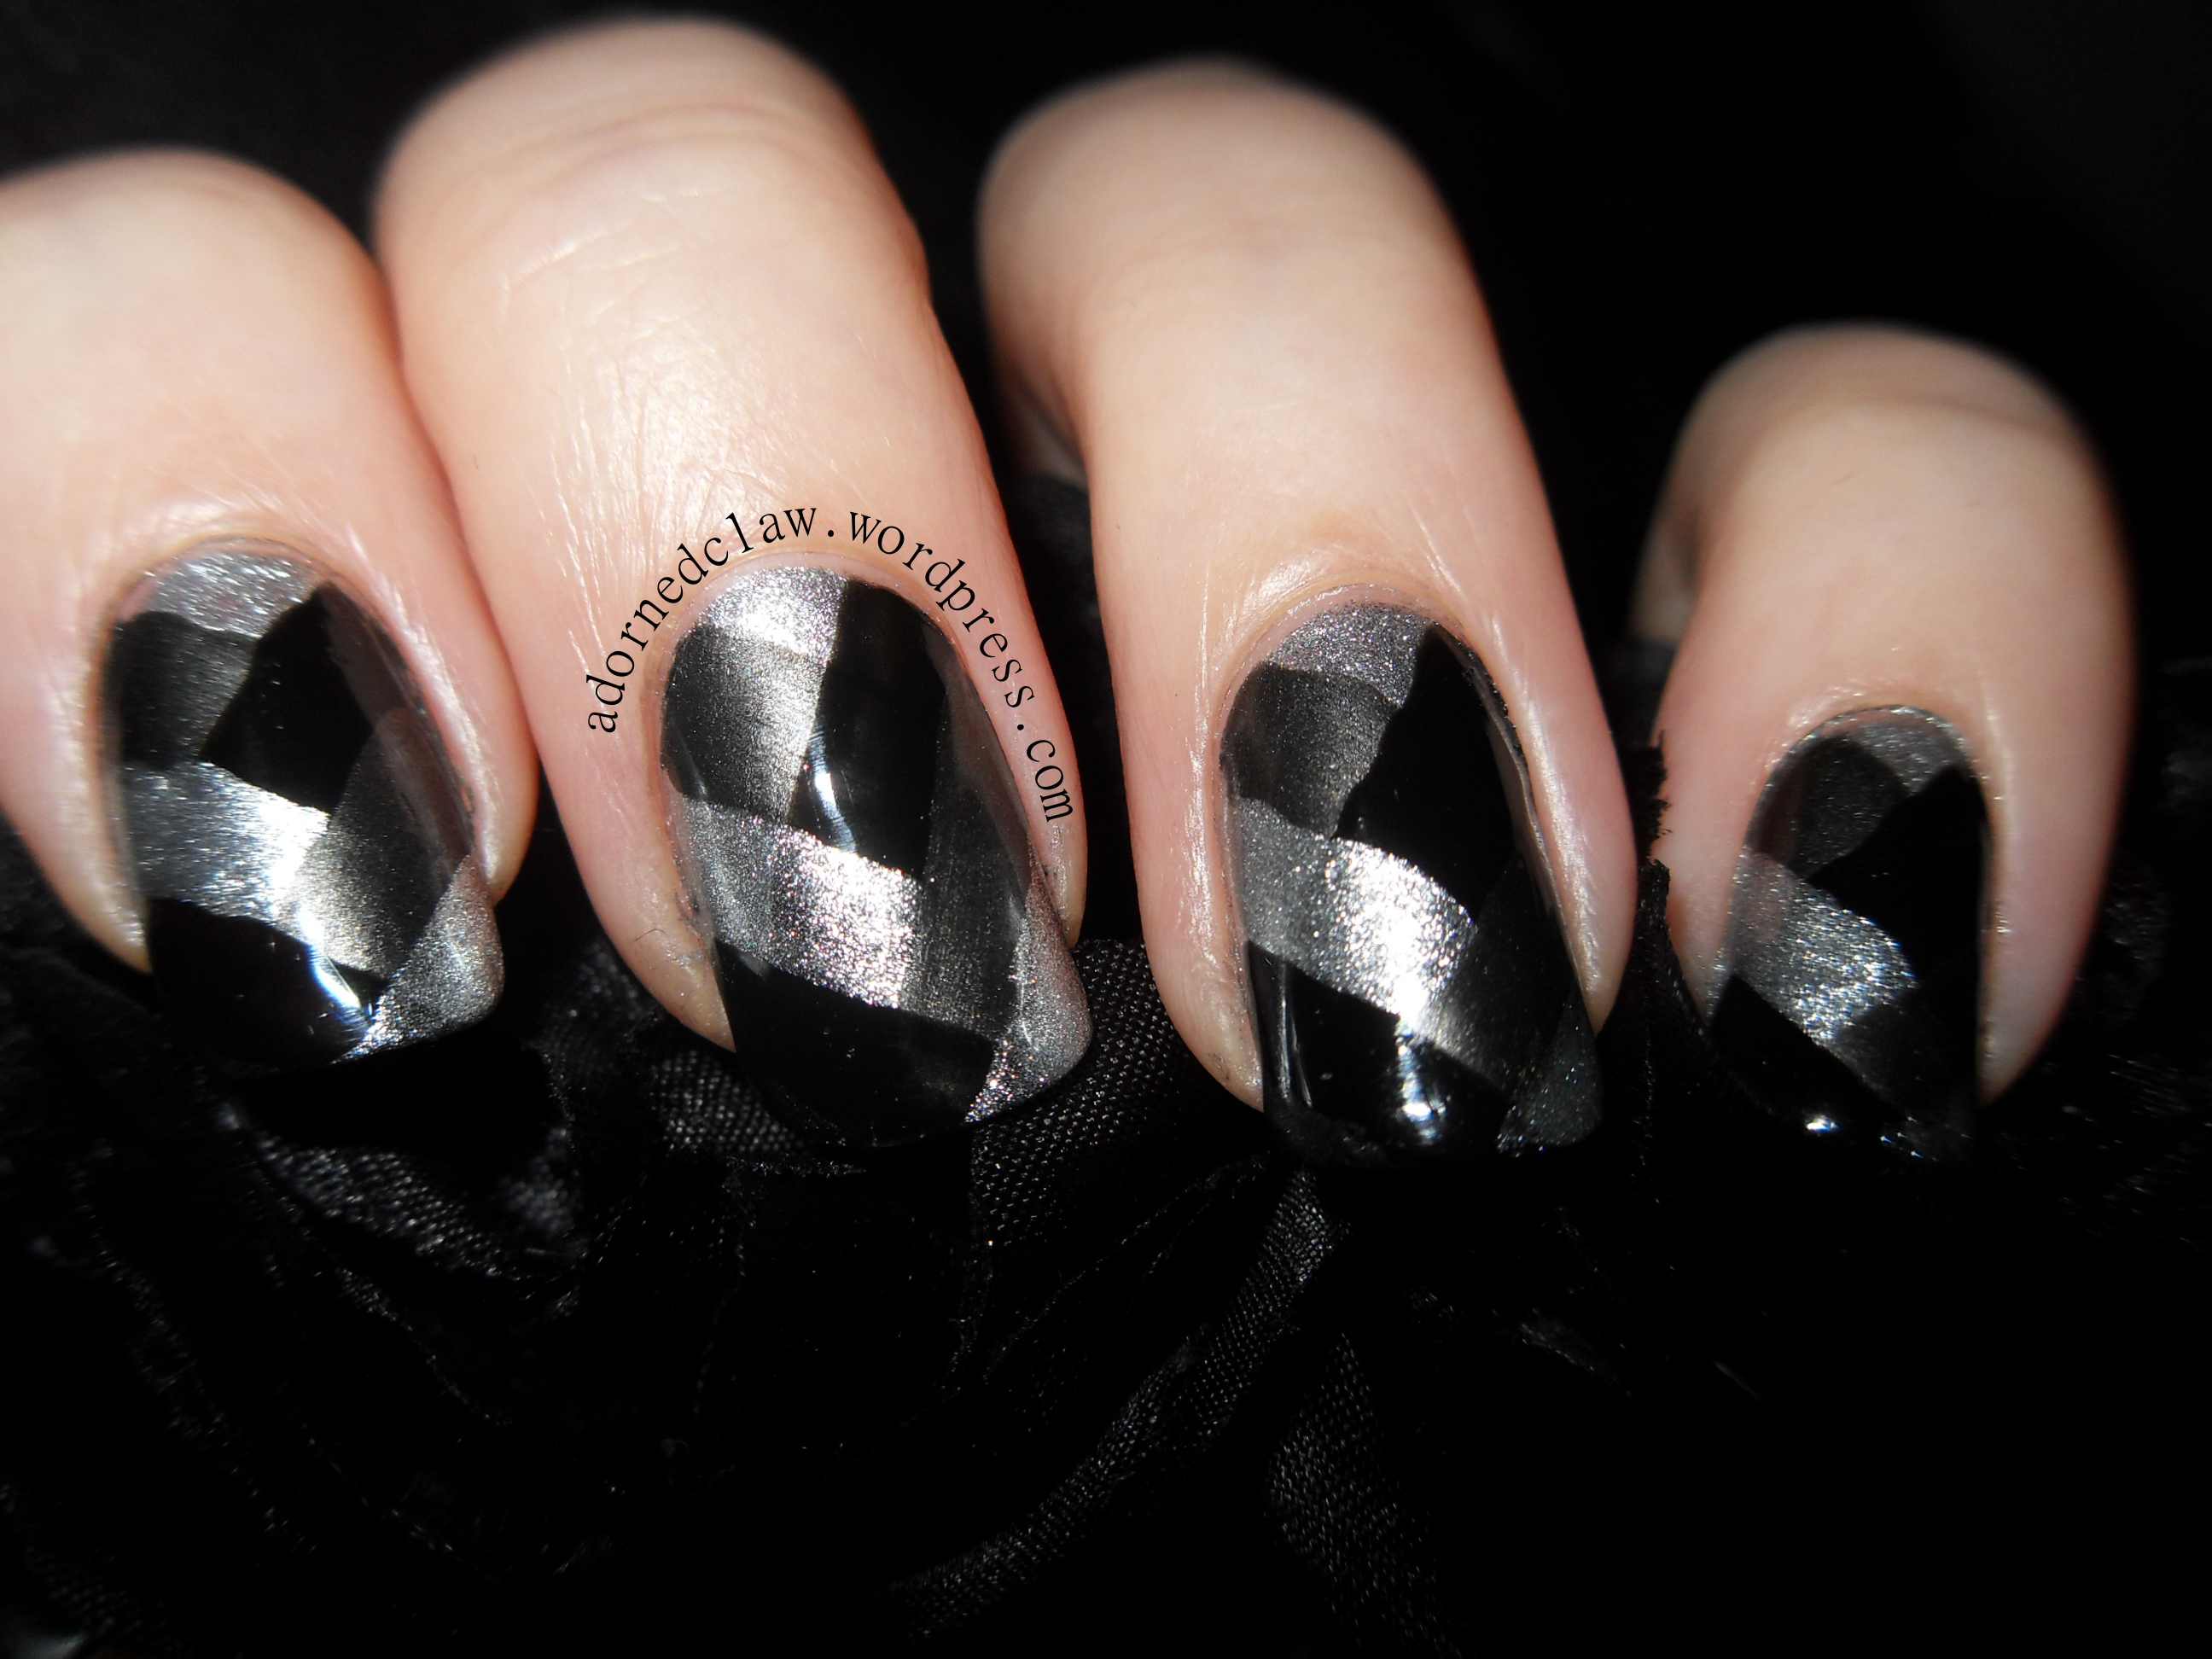
In The Barrel
In The Barrel is a lovely silver/gunmetal/pewter metallic pearl, and again the application of this polish was wonderful! there was no dragging or streaking and it dried really quickly! This is two coats over base coat.
I think these polishes are lovely, I’m looking forward to the Belle Glamour shop opening (yes i will be buying more) and I’m really looking forward to what Catriona comes up with in the future!