Here is part two of my experiments with crackle polish. Part one you can find here! 😀
Layered Crackle Polish
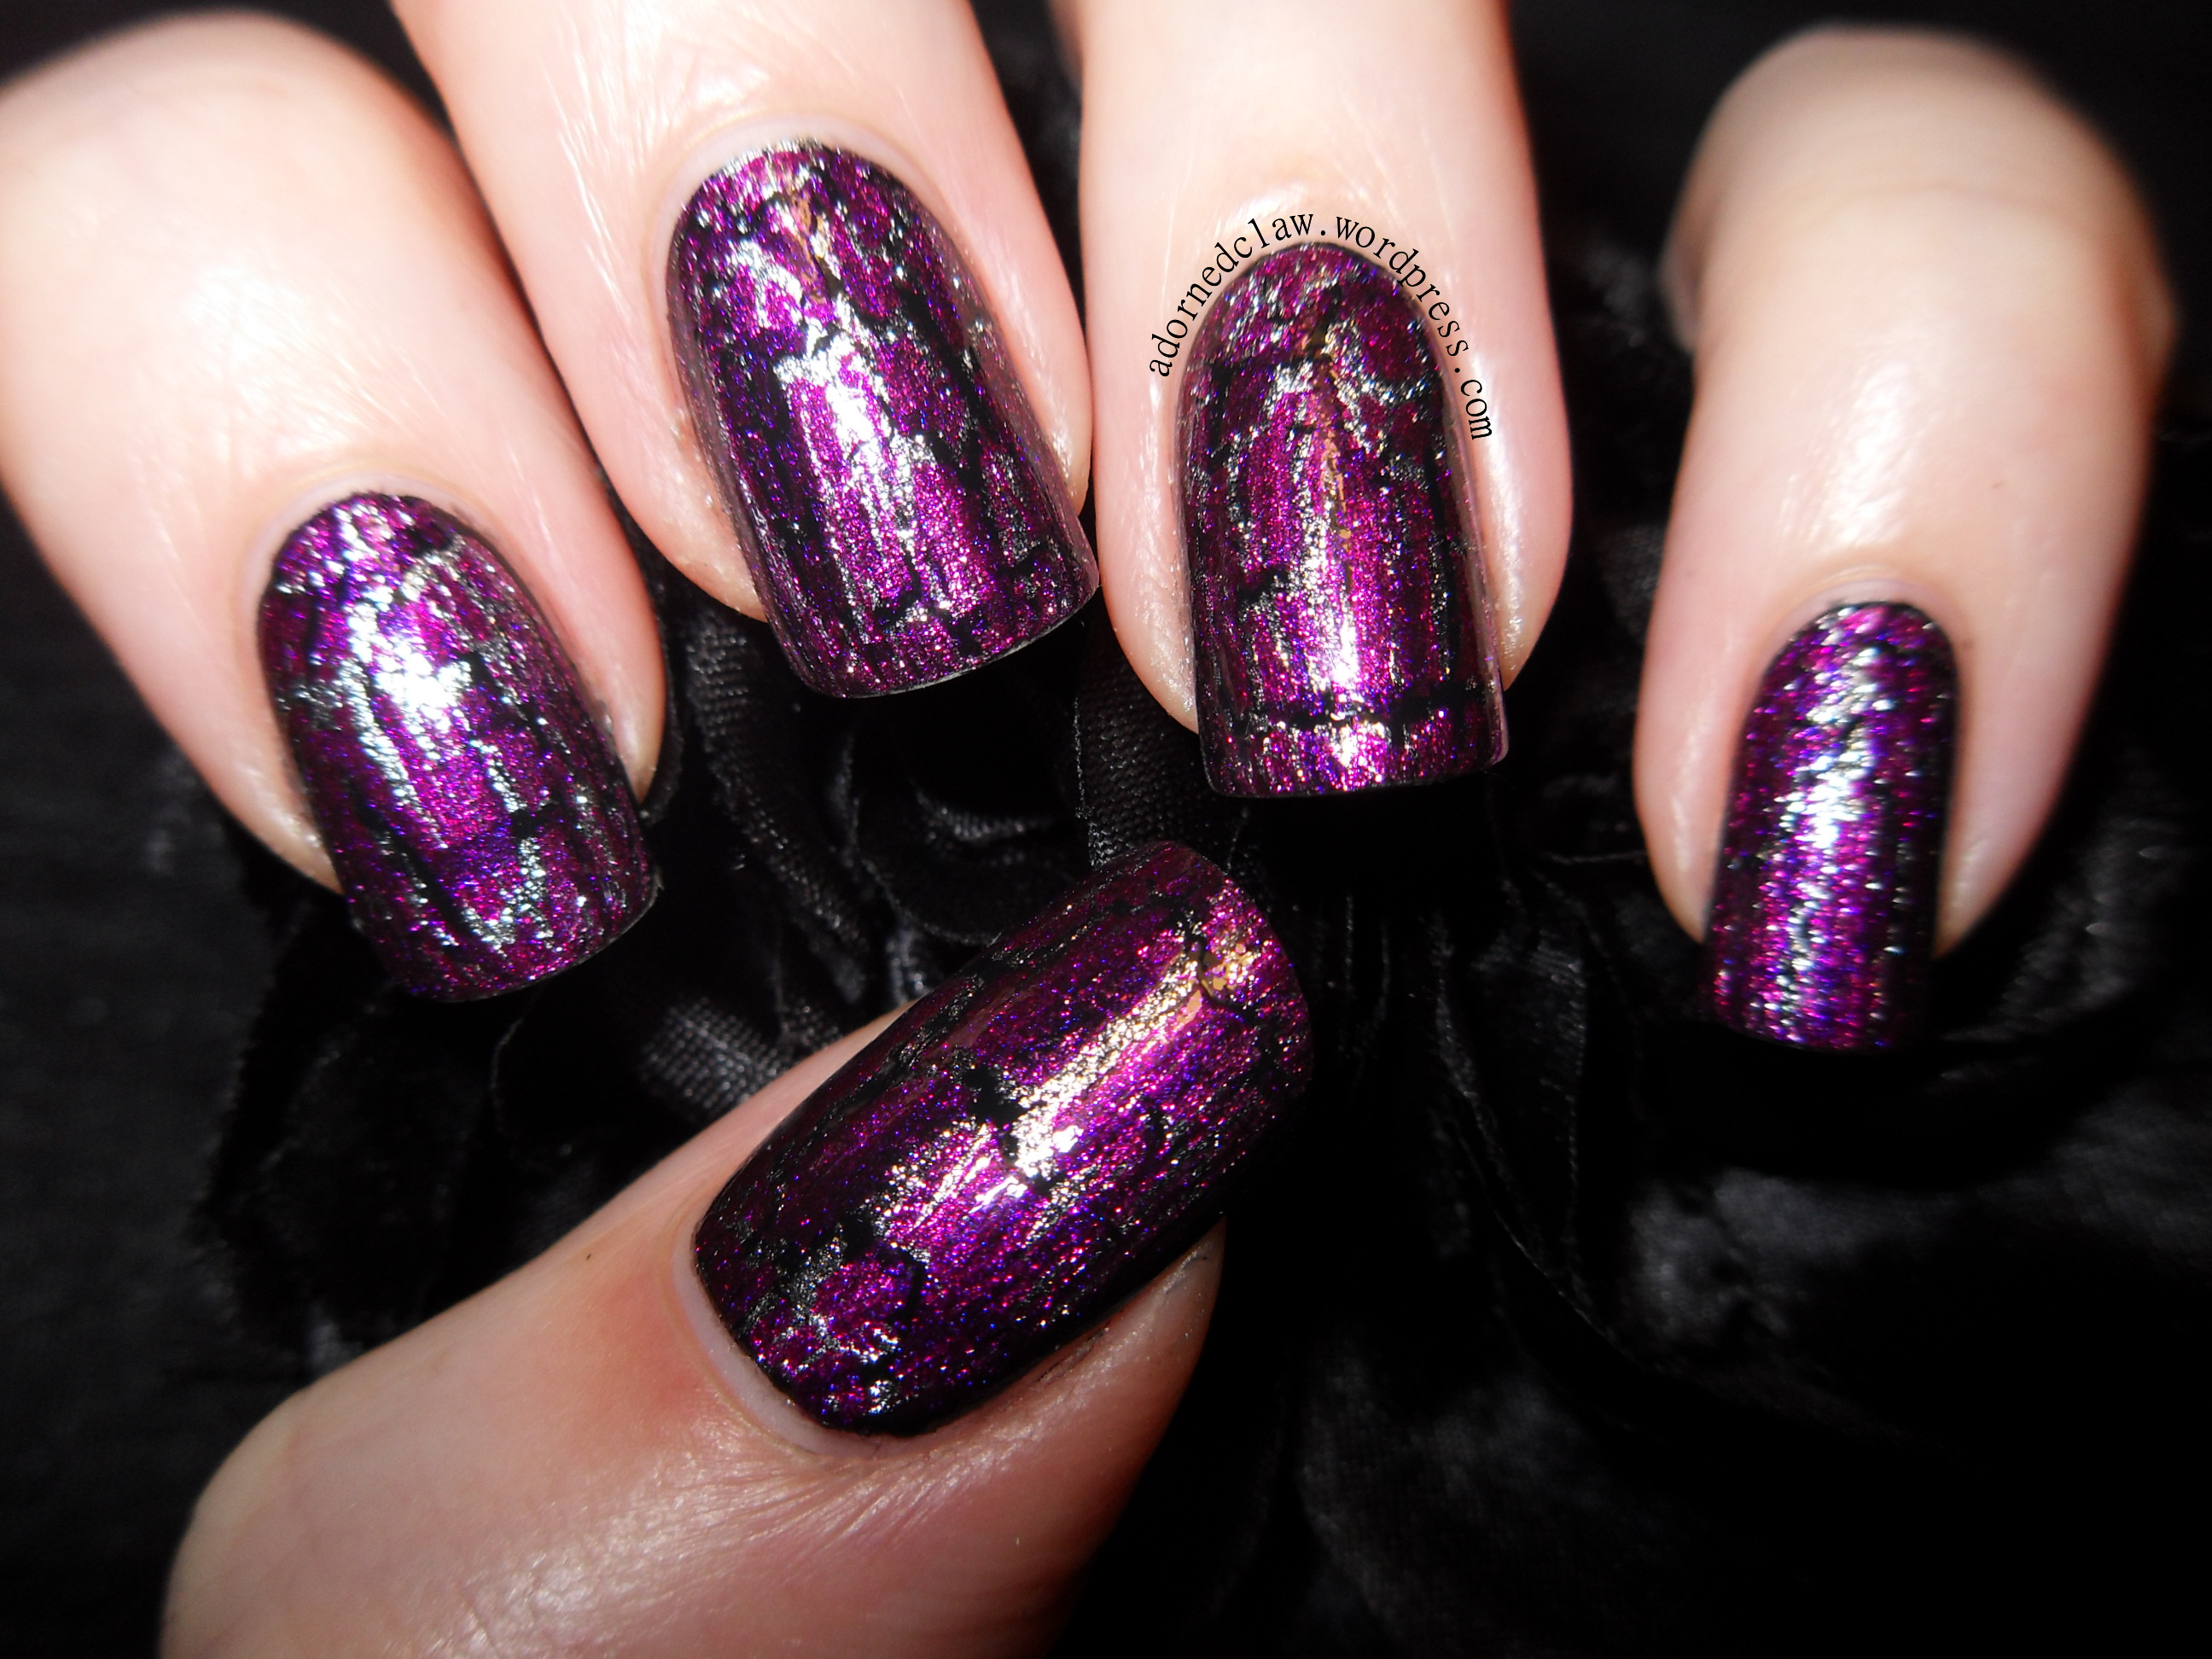
I have to say, I really like this Layered look, I started with two coats of Black Magic from Revlon, then one coat of Silver Shatter from OPI, then a coat of SV.
The topcoat here is really important, or the next layer of crackle polish will turn your nail into a horrible mess! (that happened to me the first time I tried this lol) you could even use a glitter polish for a bit more sparkle or even a gelly polish if you want to change to look of the crackle! 🙂

I am definitely going to be using this layering technique again!
Crackle Polish With Stripes

Crackle Polish Stripes
Originally I was going to add this into the my first lot of experiments, but I didn’t, so here it is now! 😀
The silver base colour is Night Moves from Barielle shades, then I added one coat of Super Bass Shatter from OPI, then a coat of 60 second fast dry top coat from color club. I used tape to mask off the stripes then Black Magic from Revlon, after removing the tape I applied another layer of topcoat.
I think that this may look better with thinner stripes (and a bit more care than I used while cutting the tape) I did find that the black polish peeled up with the tape which I found a little odd, as I took the tape off while the black polish was still wet. I think it has something to do with the topcoat.
French Tip
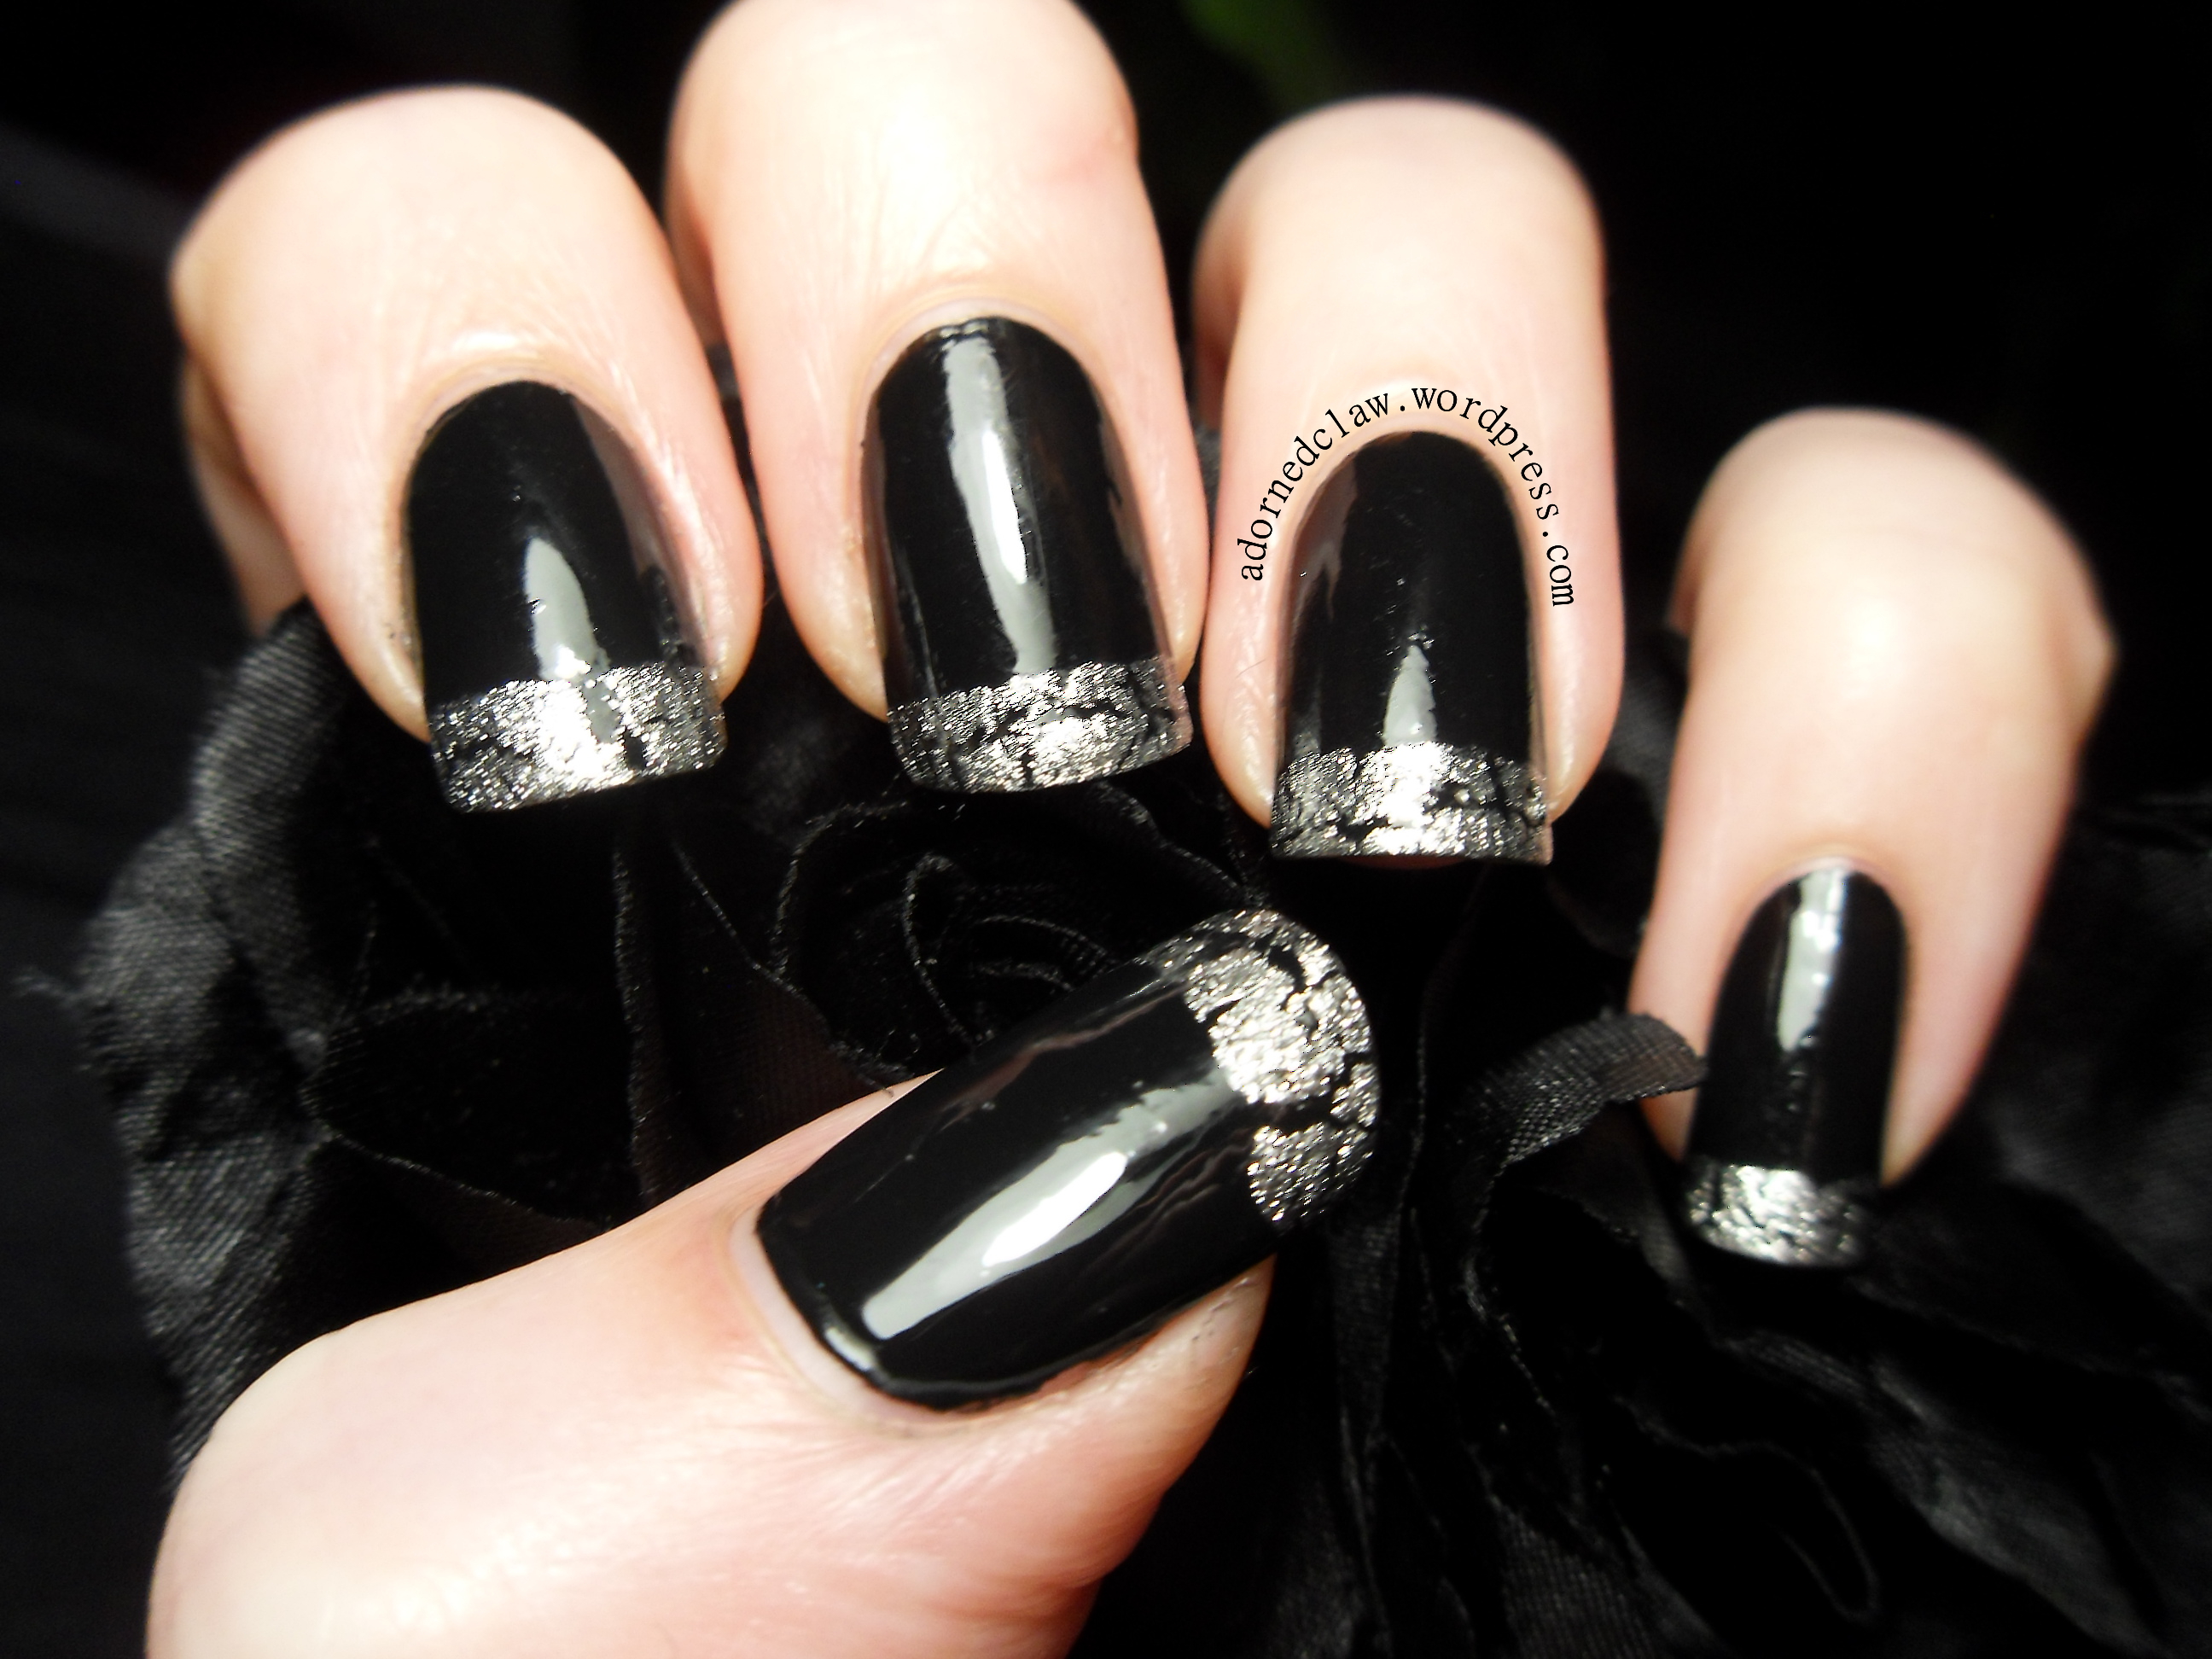
The base colour is Black Magic, the tip is OPI Silver Shatter.
I don’t like this so much, the crackle polish is a nightmare to get into a reasonably strait line for the french tip, I tried this 3 times before giving up ![]()
Crackle polish Background With Flower Stamp
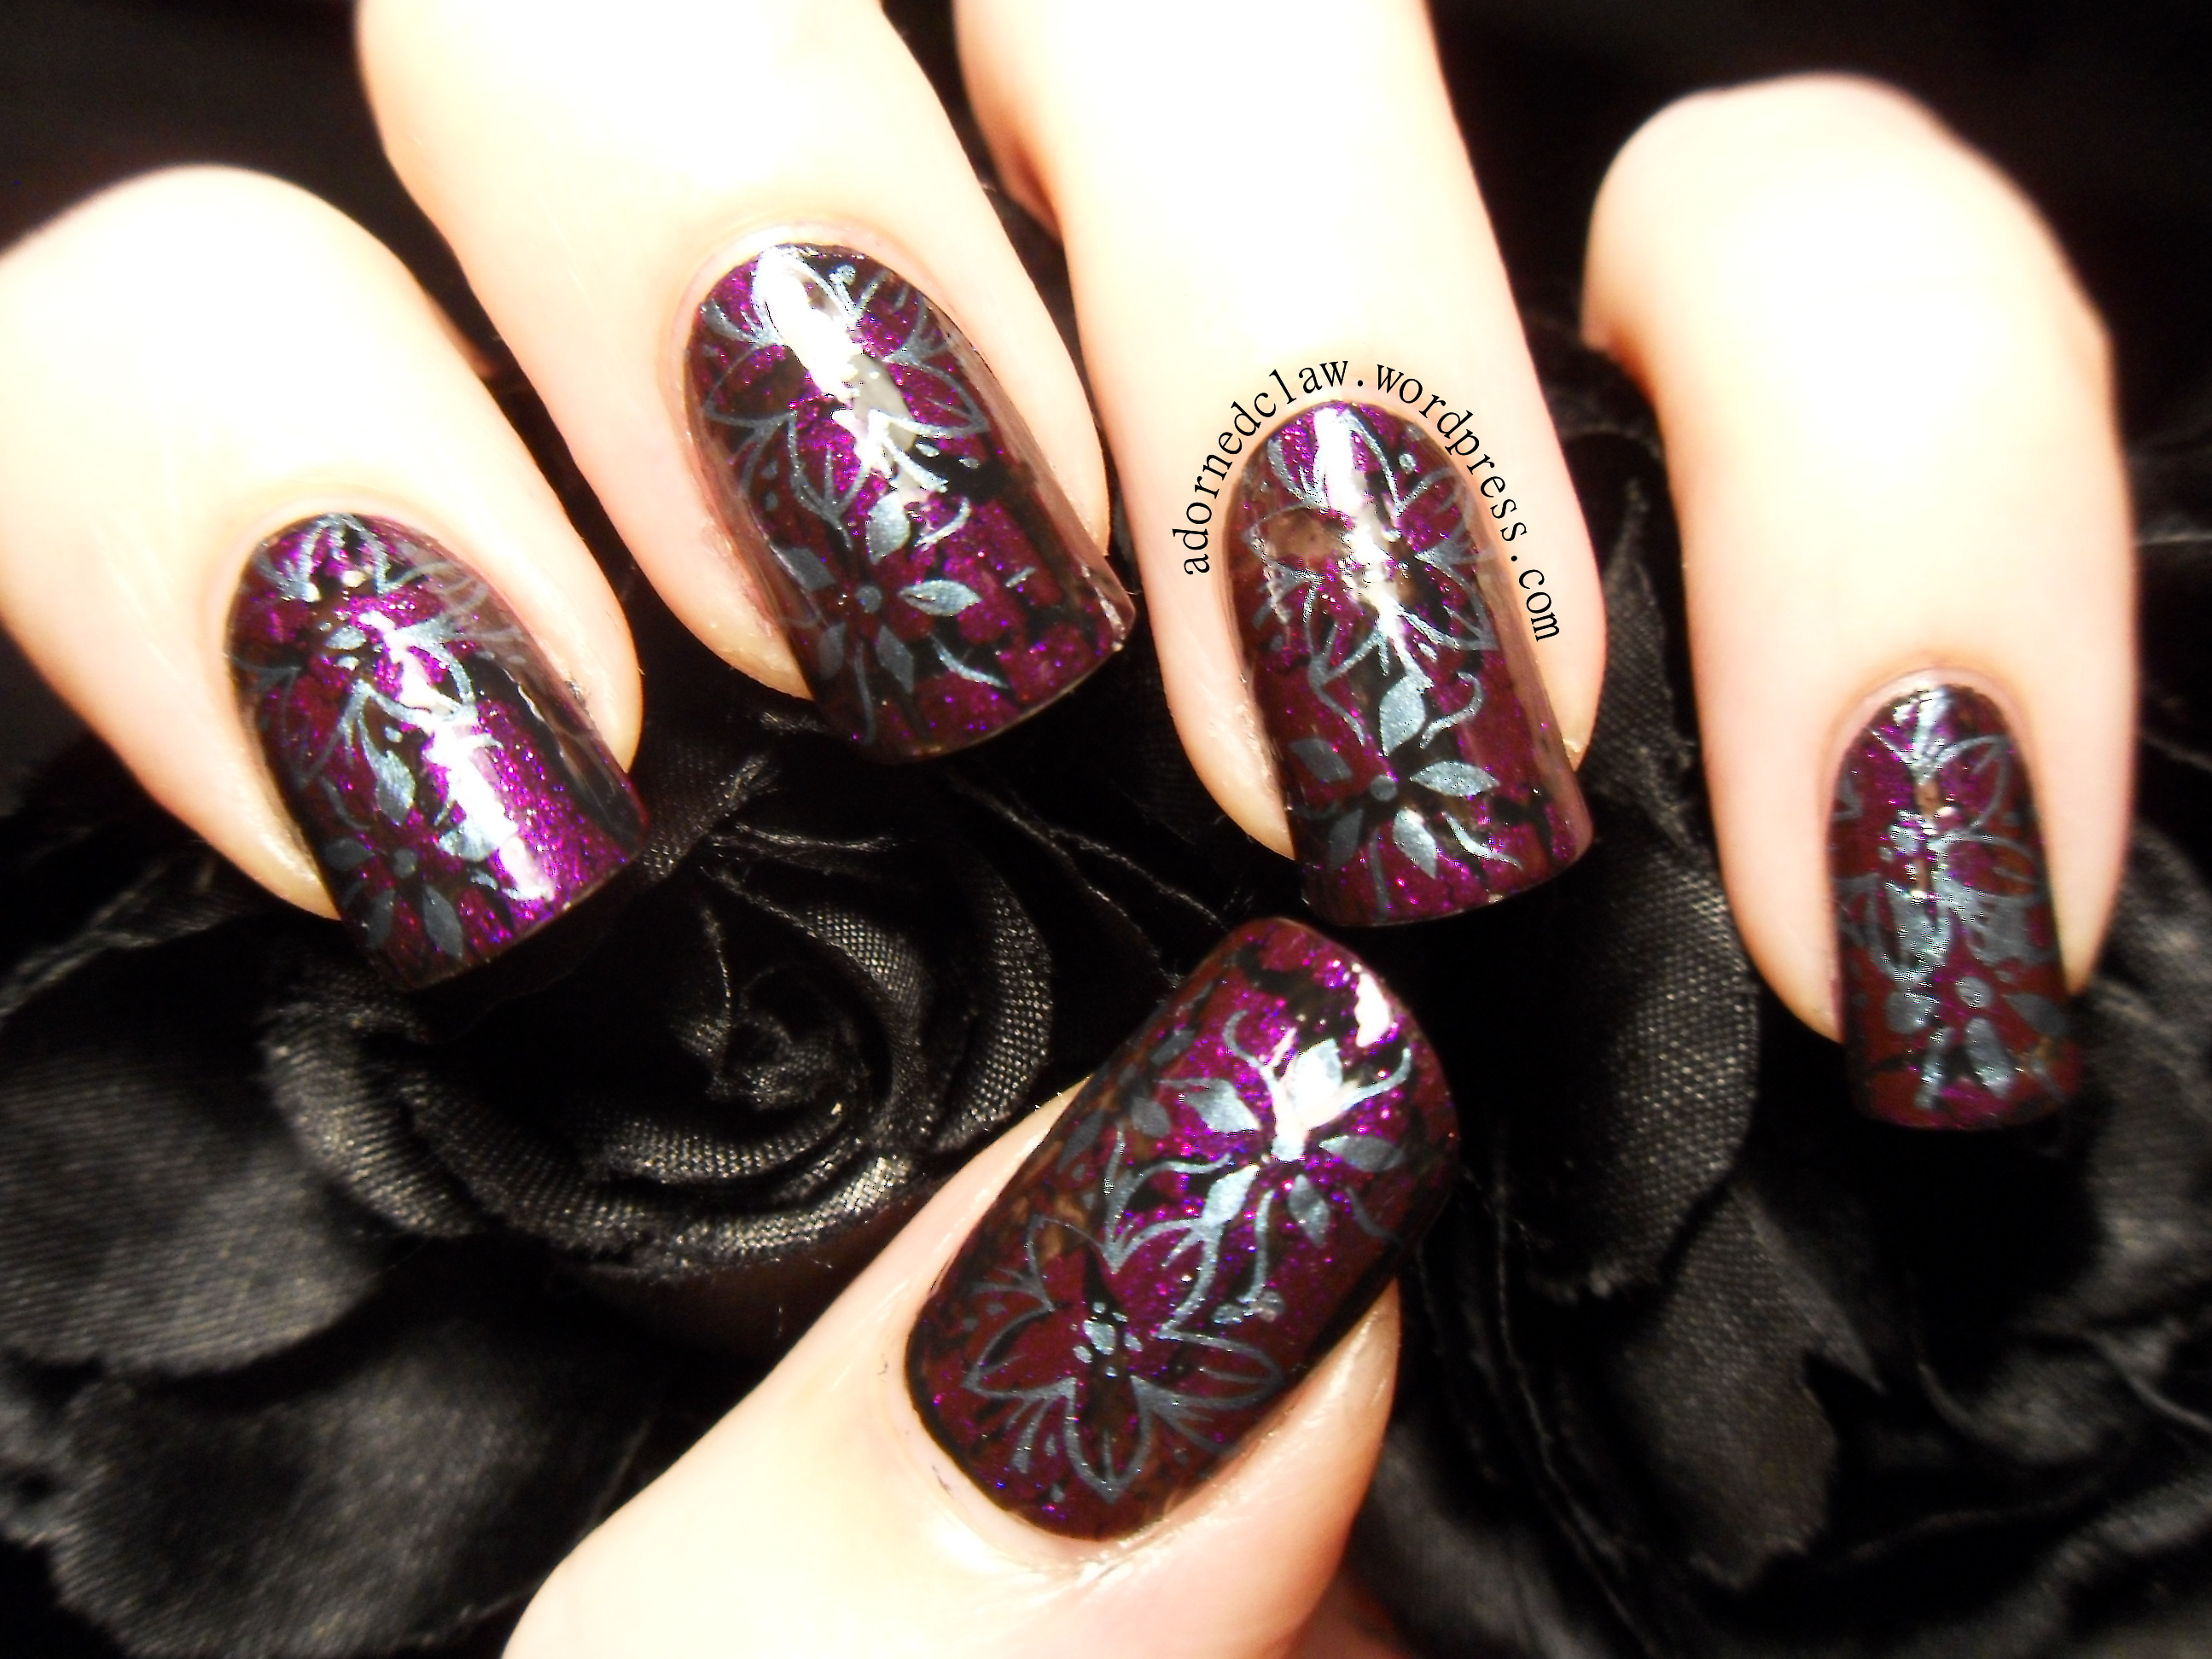
I used the same polishes as before for this, Black Magic Super Bass Shatter. I used two layers of SV to smooth over the crackles before stamping. The polish I used for the stamp is Masquerading from Color Club. The stamping plate is P21 but I actually have no idea what brand it is ![]()
Crackle polish as a base for stamping works really well! and this is another technique I will be using again 😀