Hey!
Today I have four polishes from the Darling Diva Hug My Face collection to show you! 😀
Bad Ass, In Space No One Can Hear You Scream, Long Live The Queen, and Xenomorph.

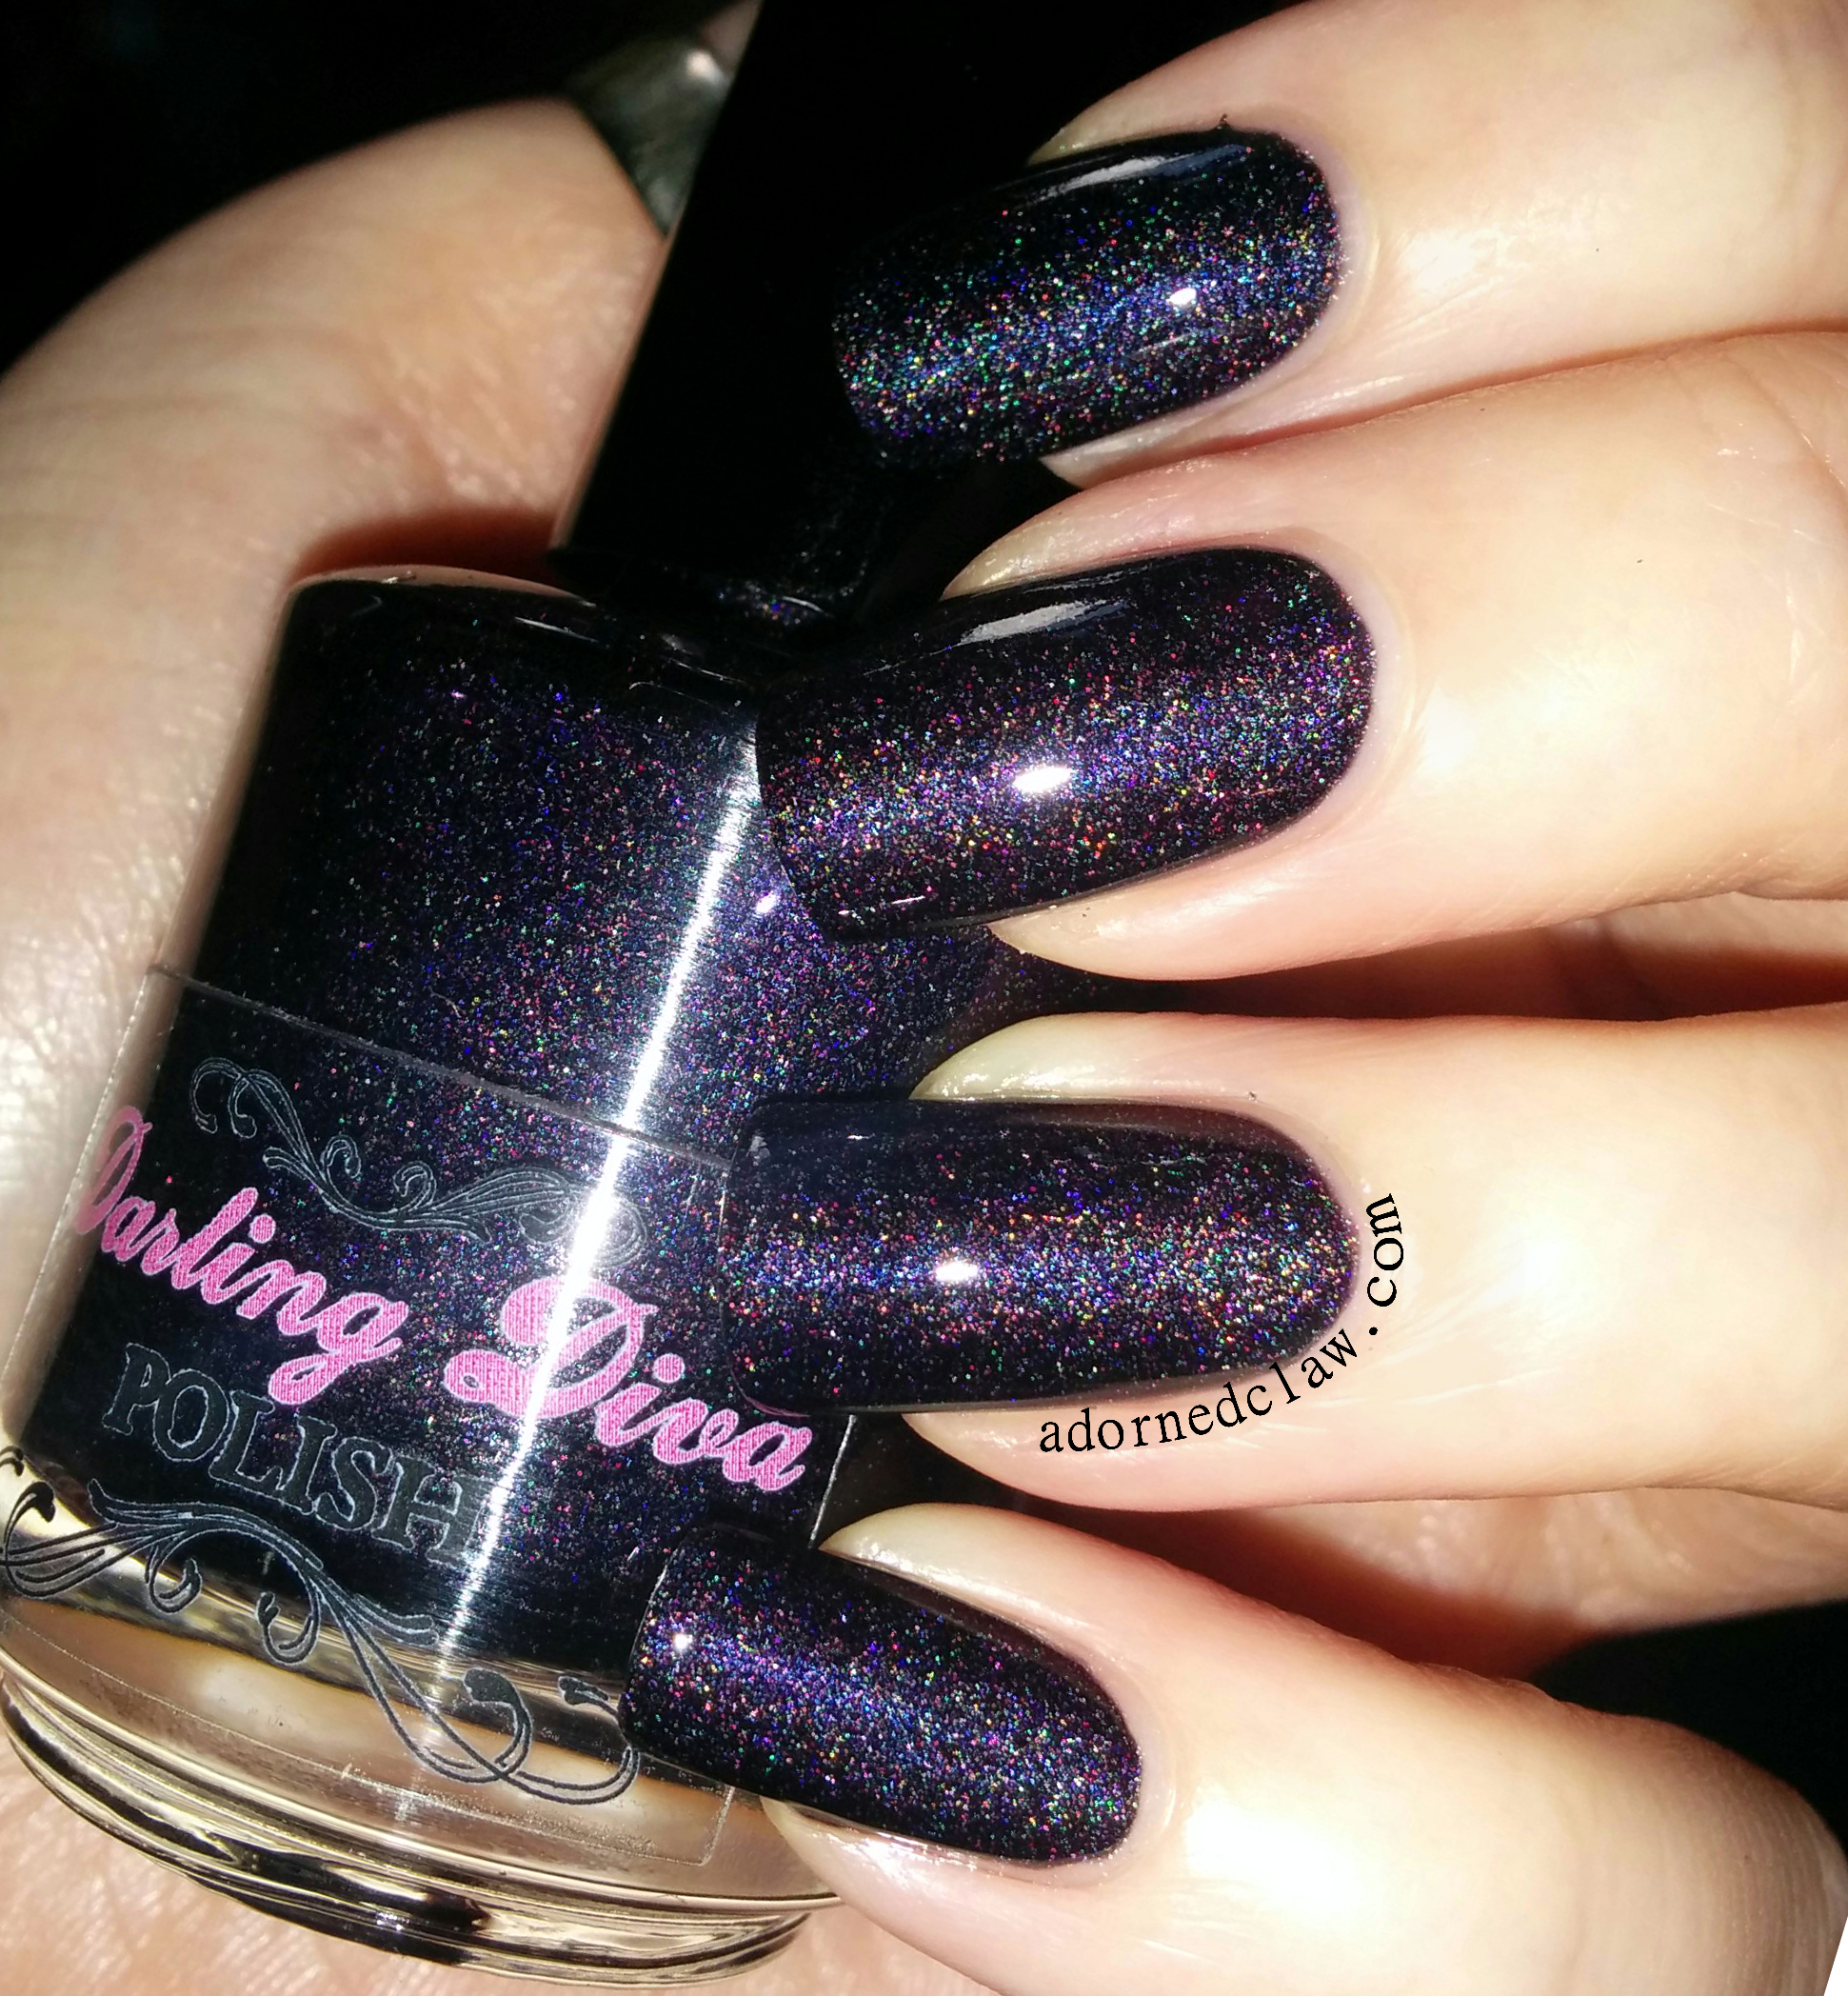
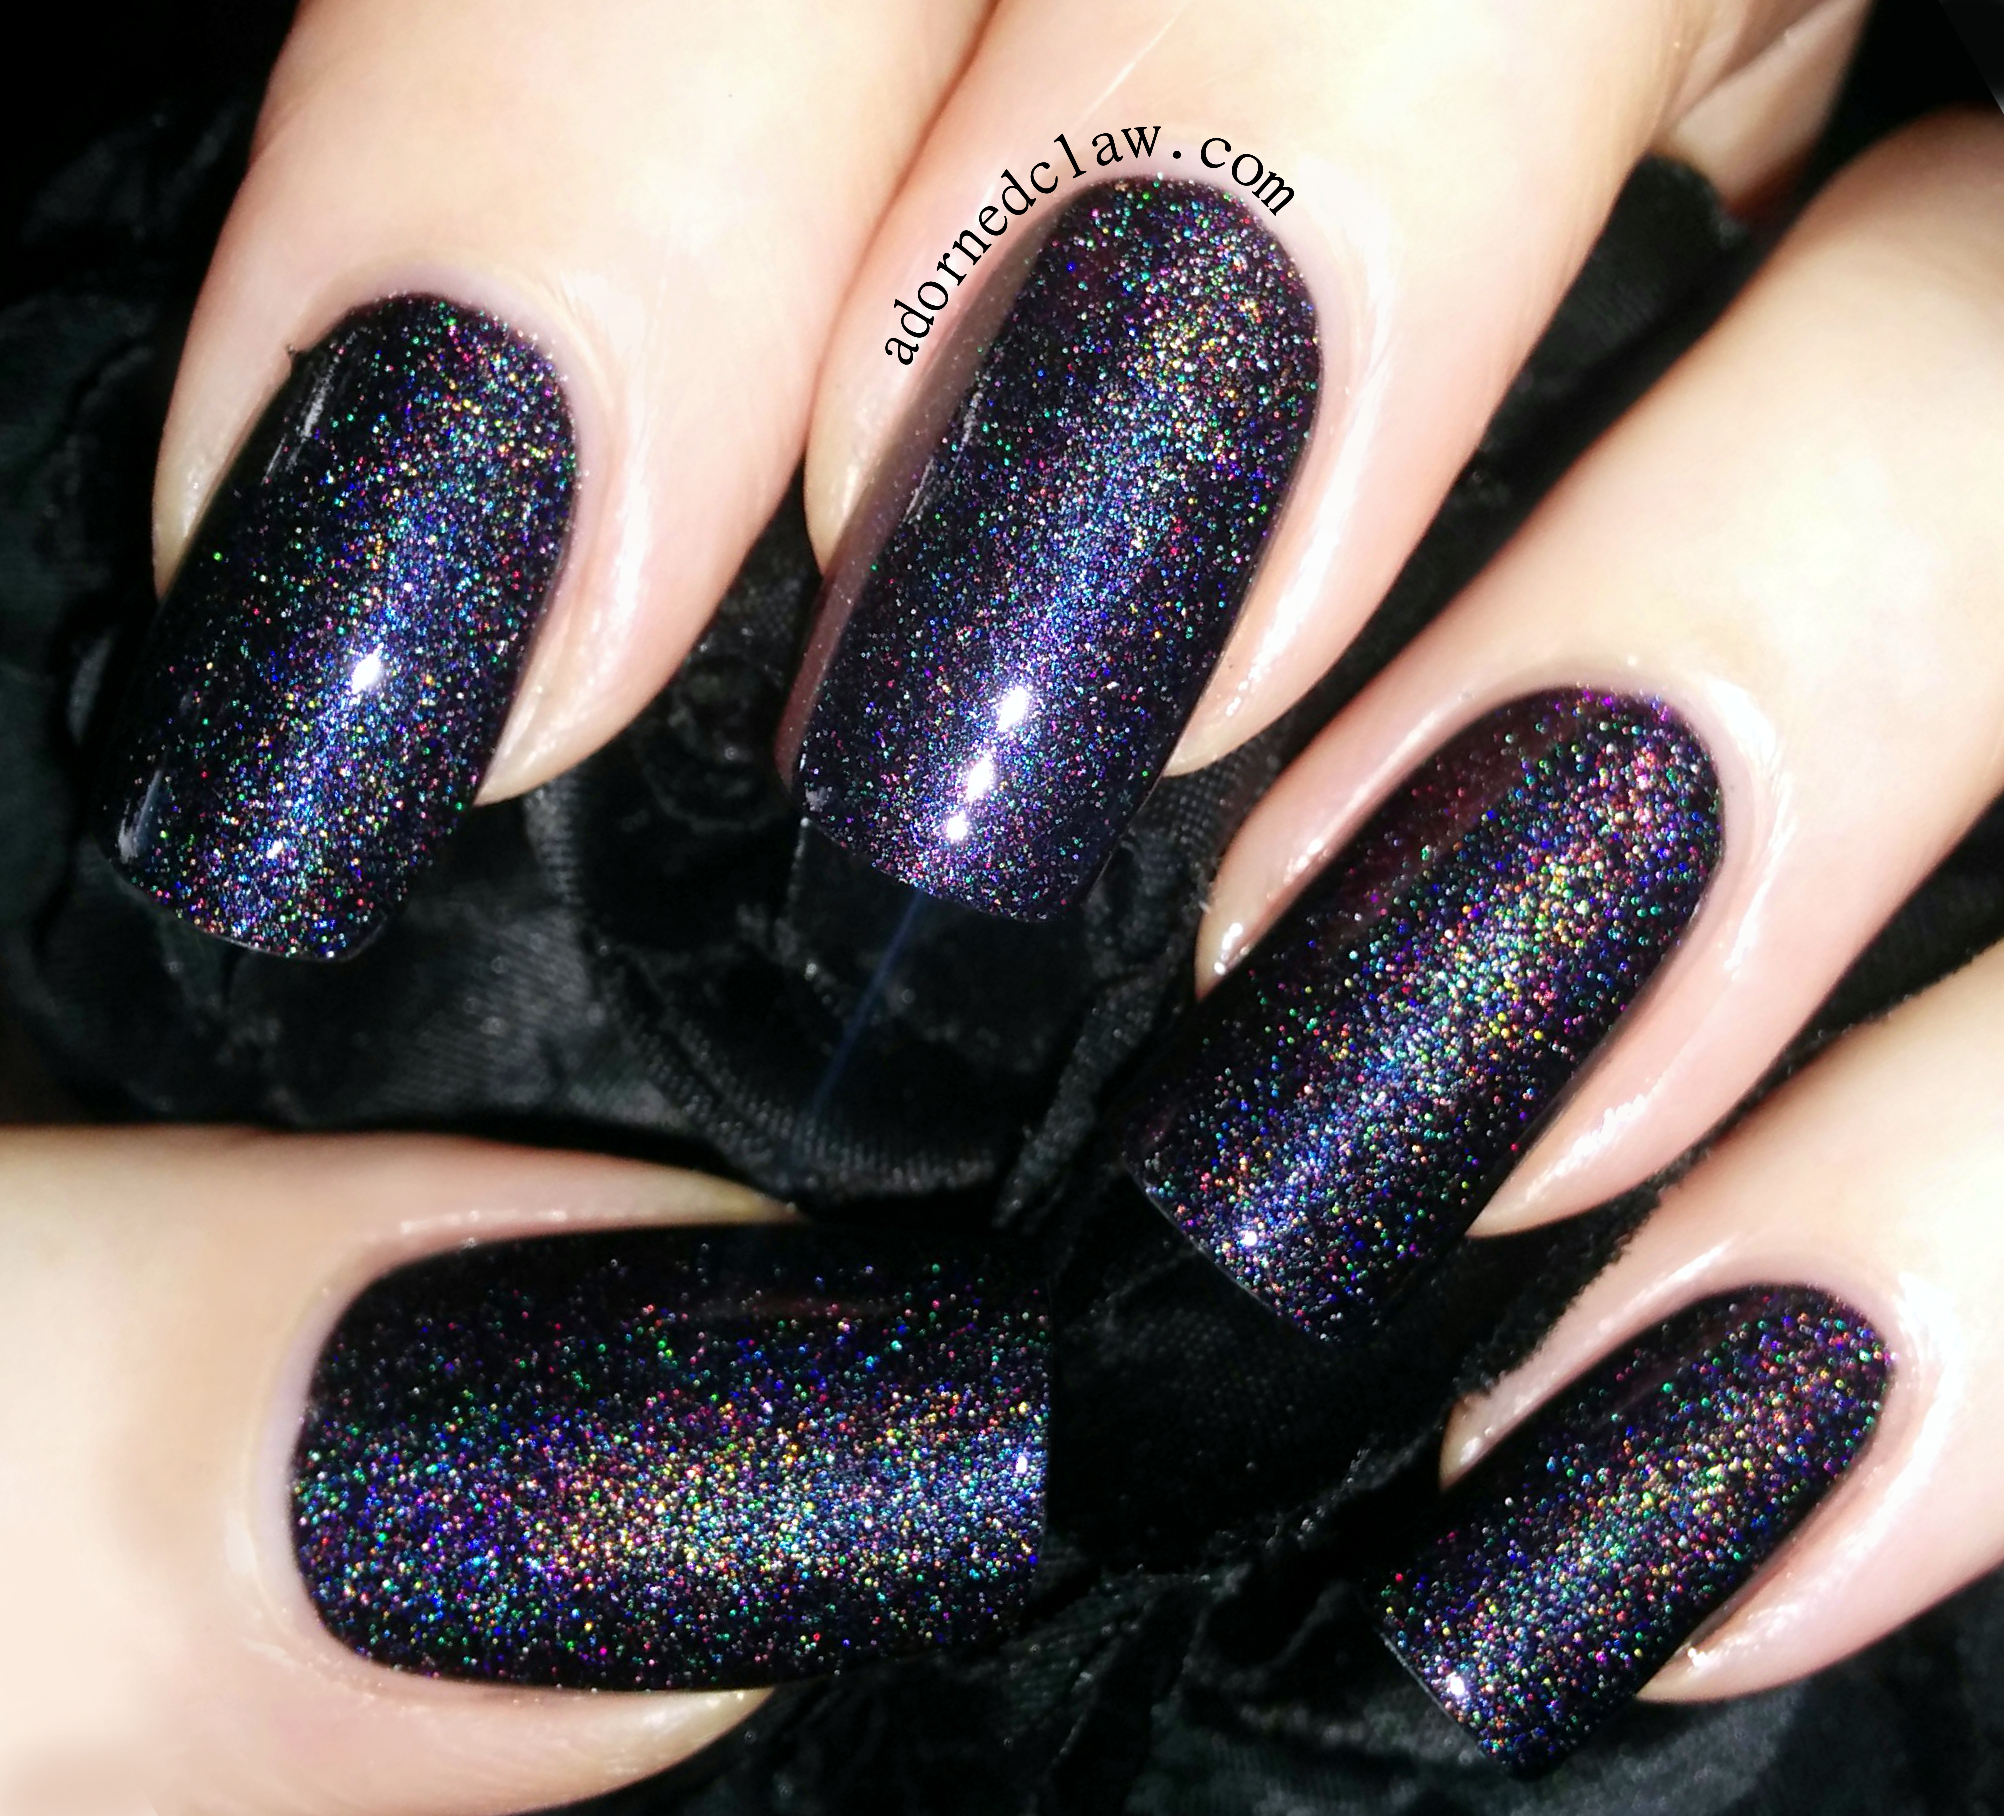
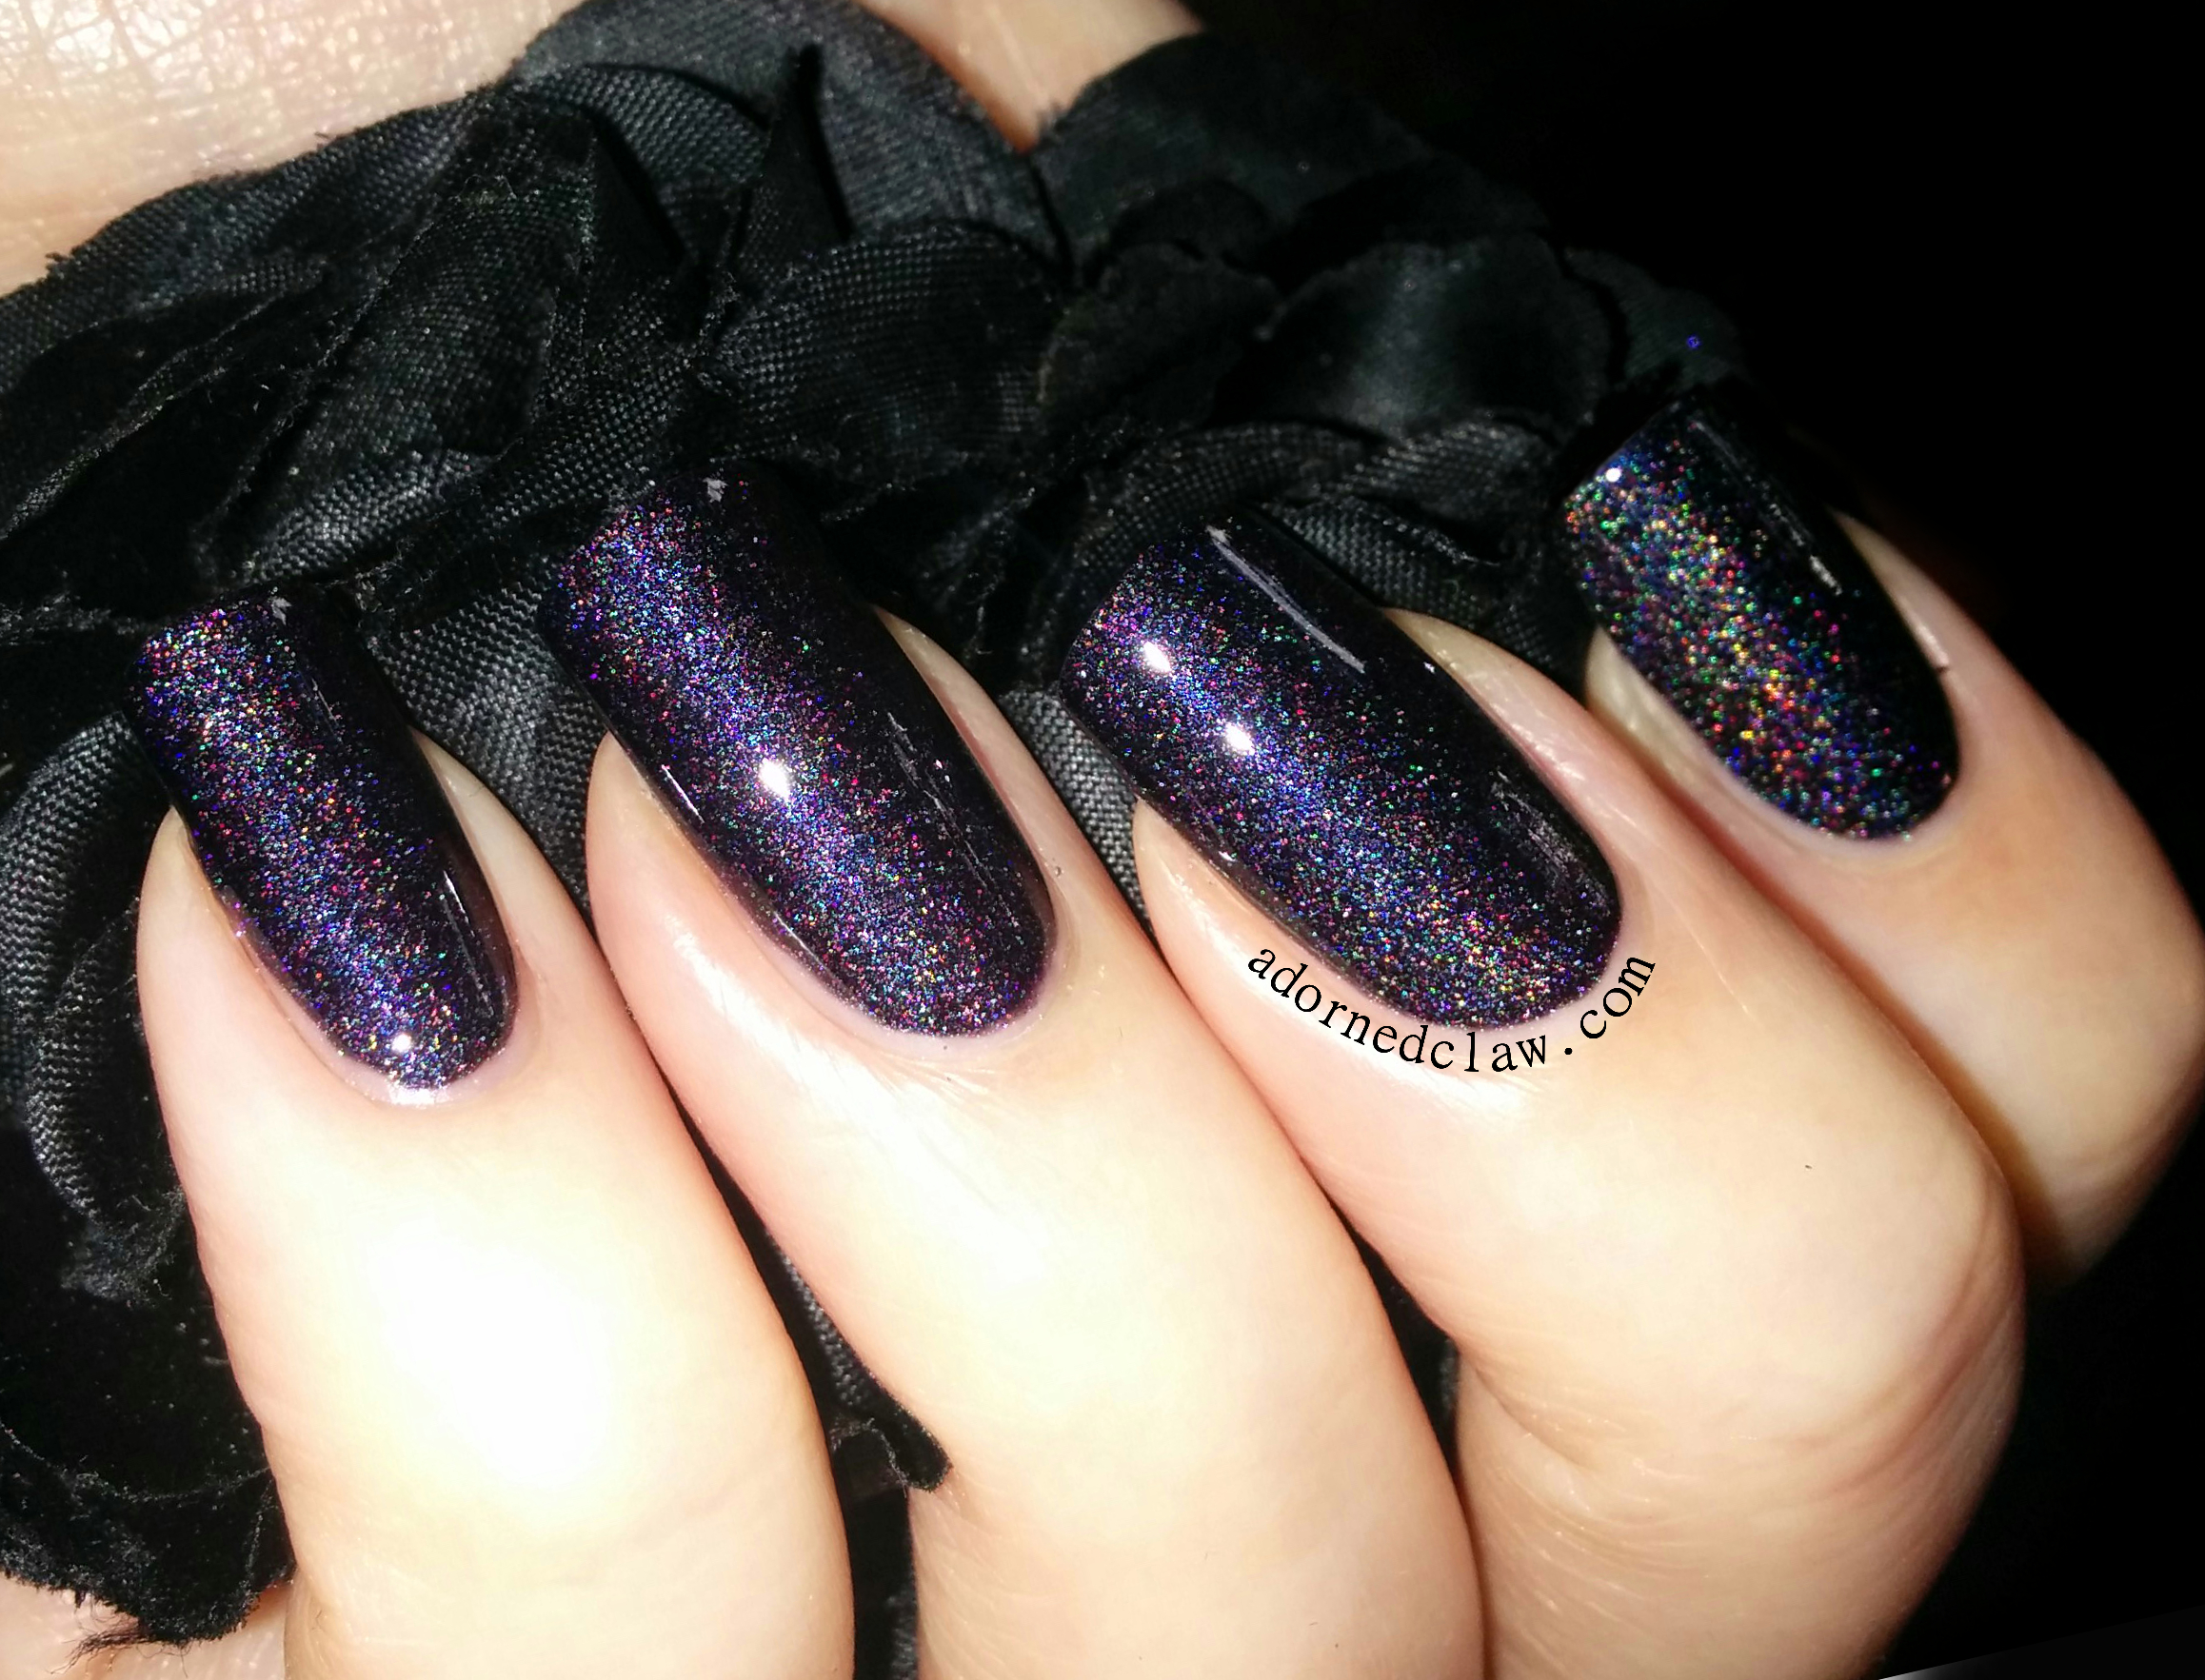
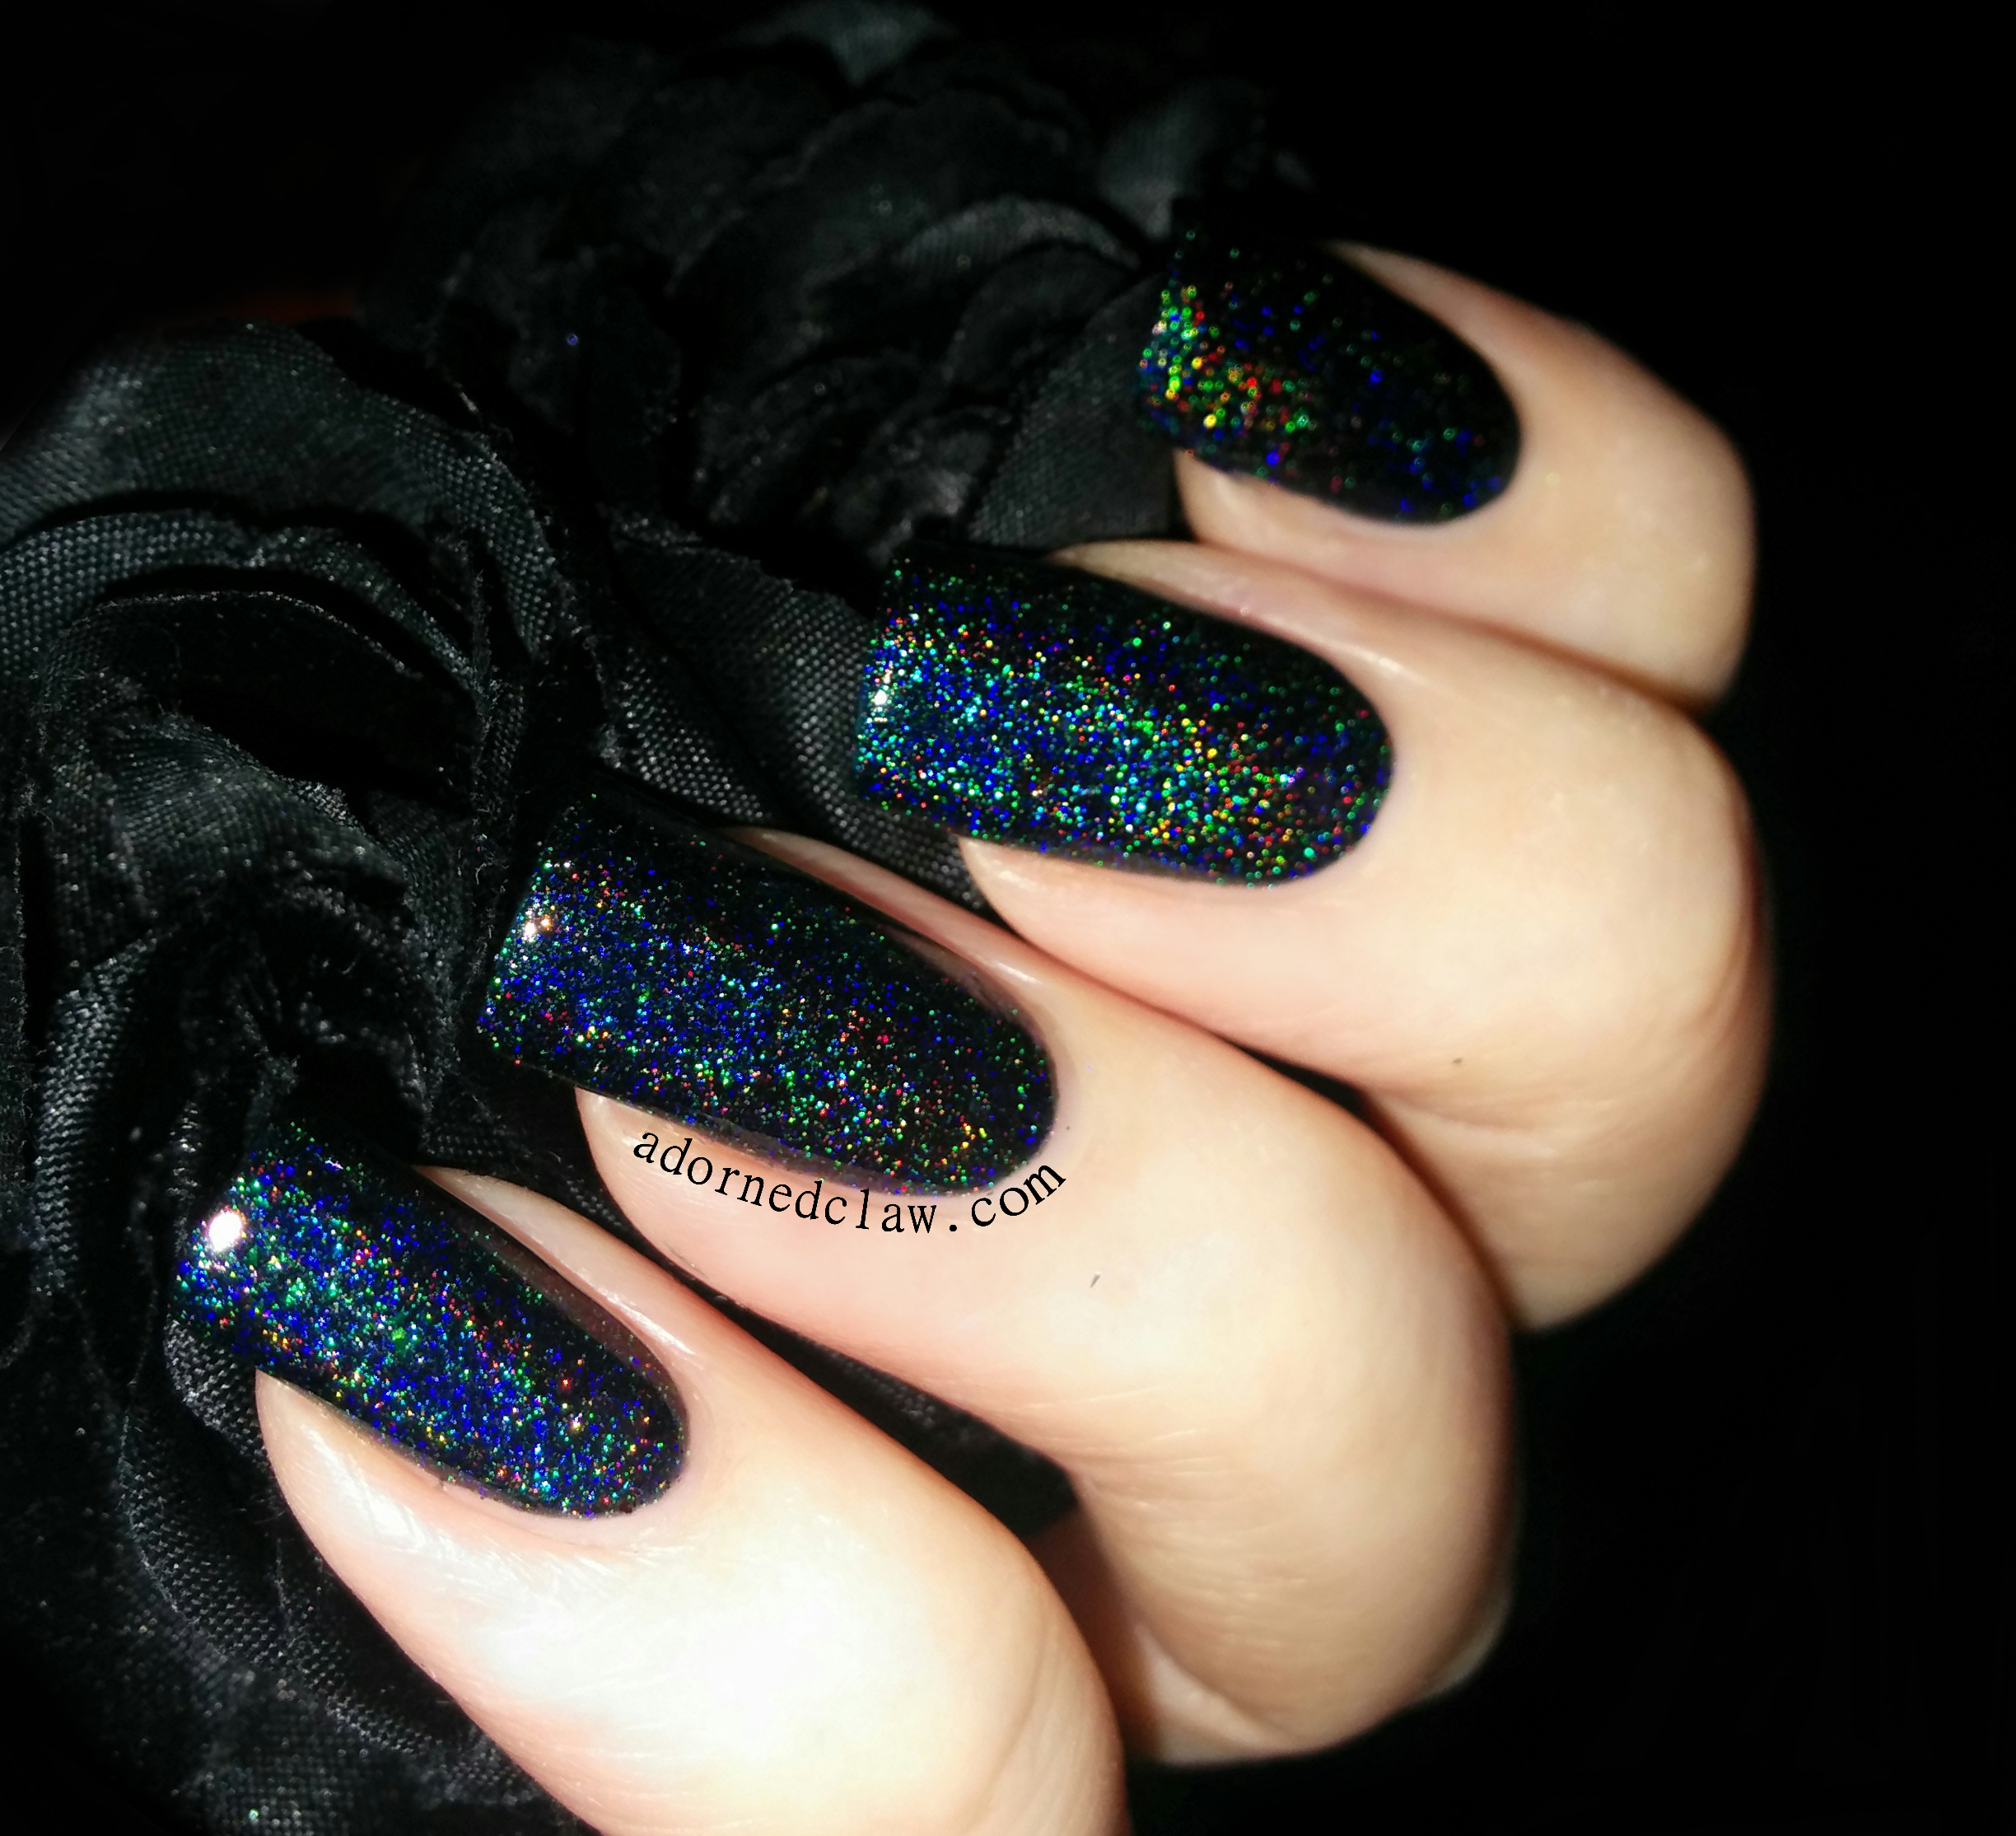
Bad Ass
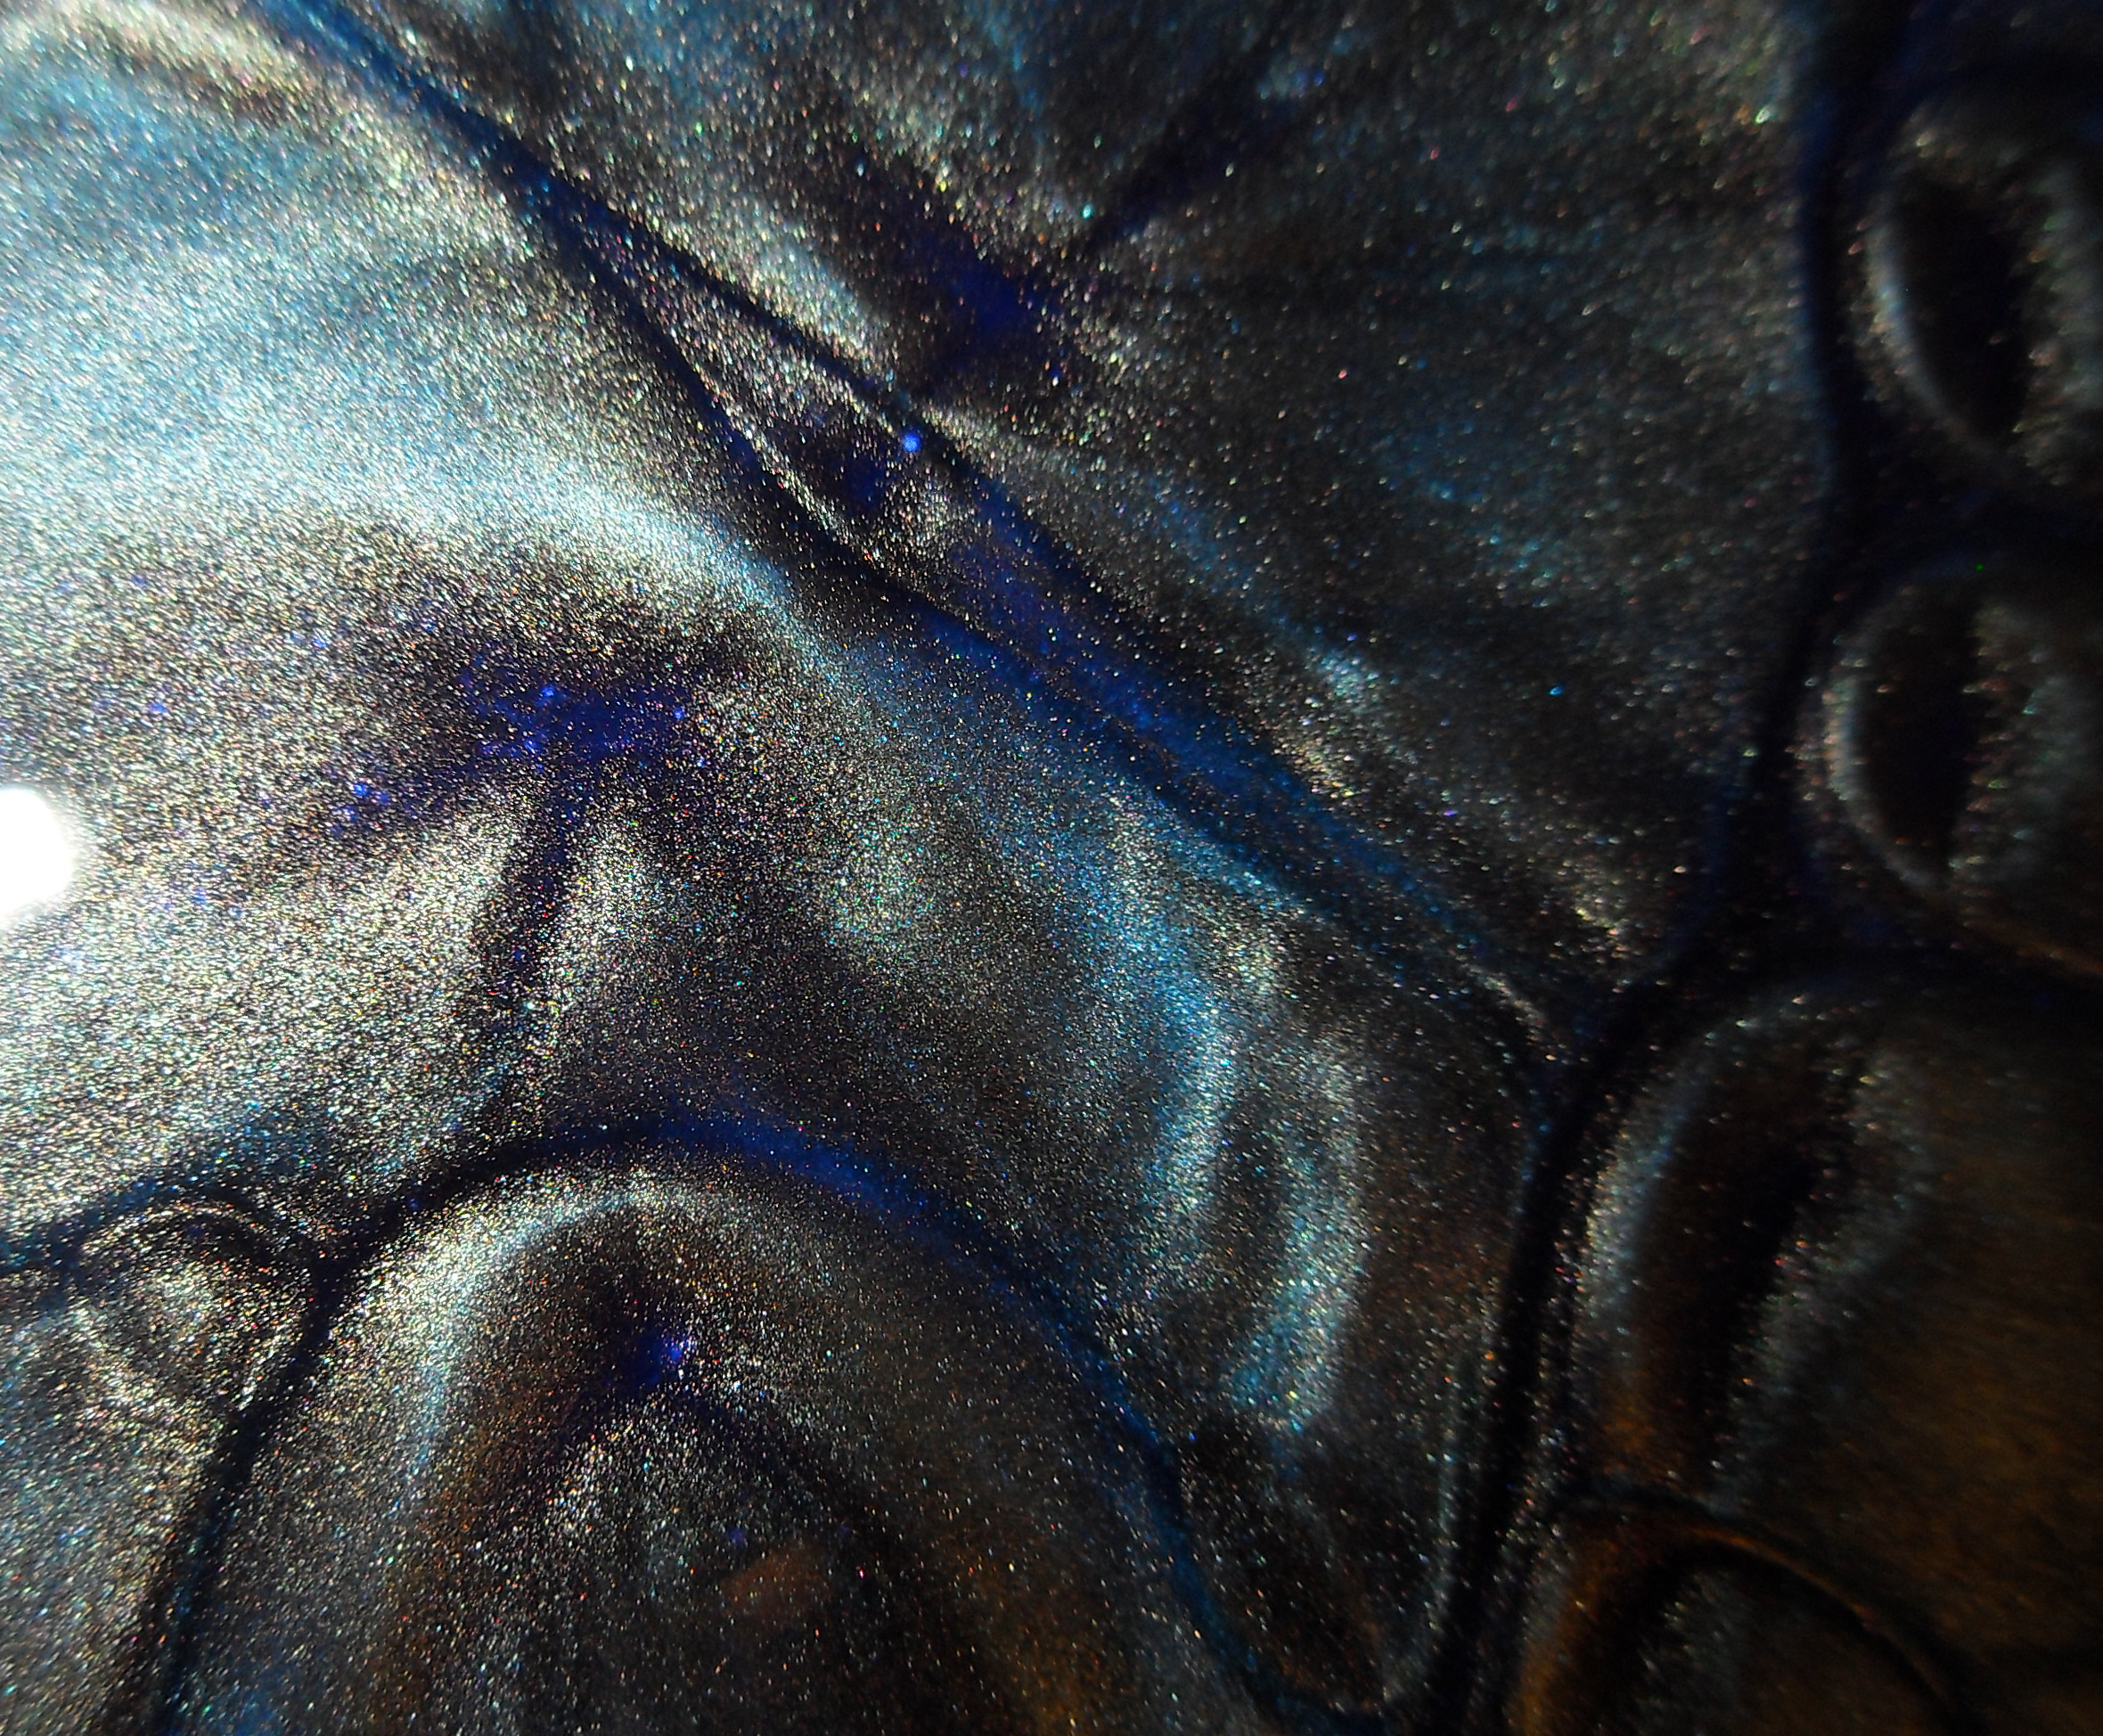
Bad Ass is black with a very slight purple tone, scattered holographic polish.

Look at that holo flare! In the bottle this polish really didn’t look too exciting… This really is a case of not judging a book by it’s cover! But when it’s on the nails this polish is lovely! but then I may be a little bias, seeing as my favorite polishes are black/purple and holographic lol
I found Bad Ass has an average drying time, it dried slightly matte, and it two coats to be opaque. The formula is creamy and self leveling and the application was a breeze!

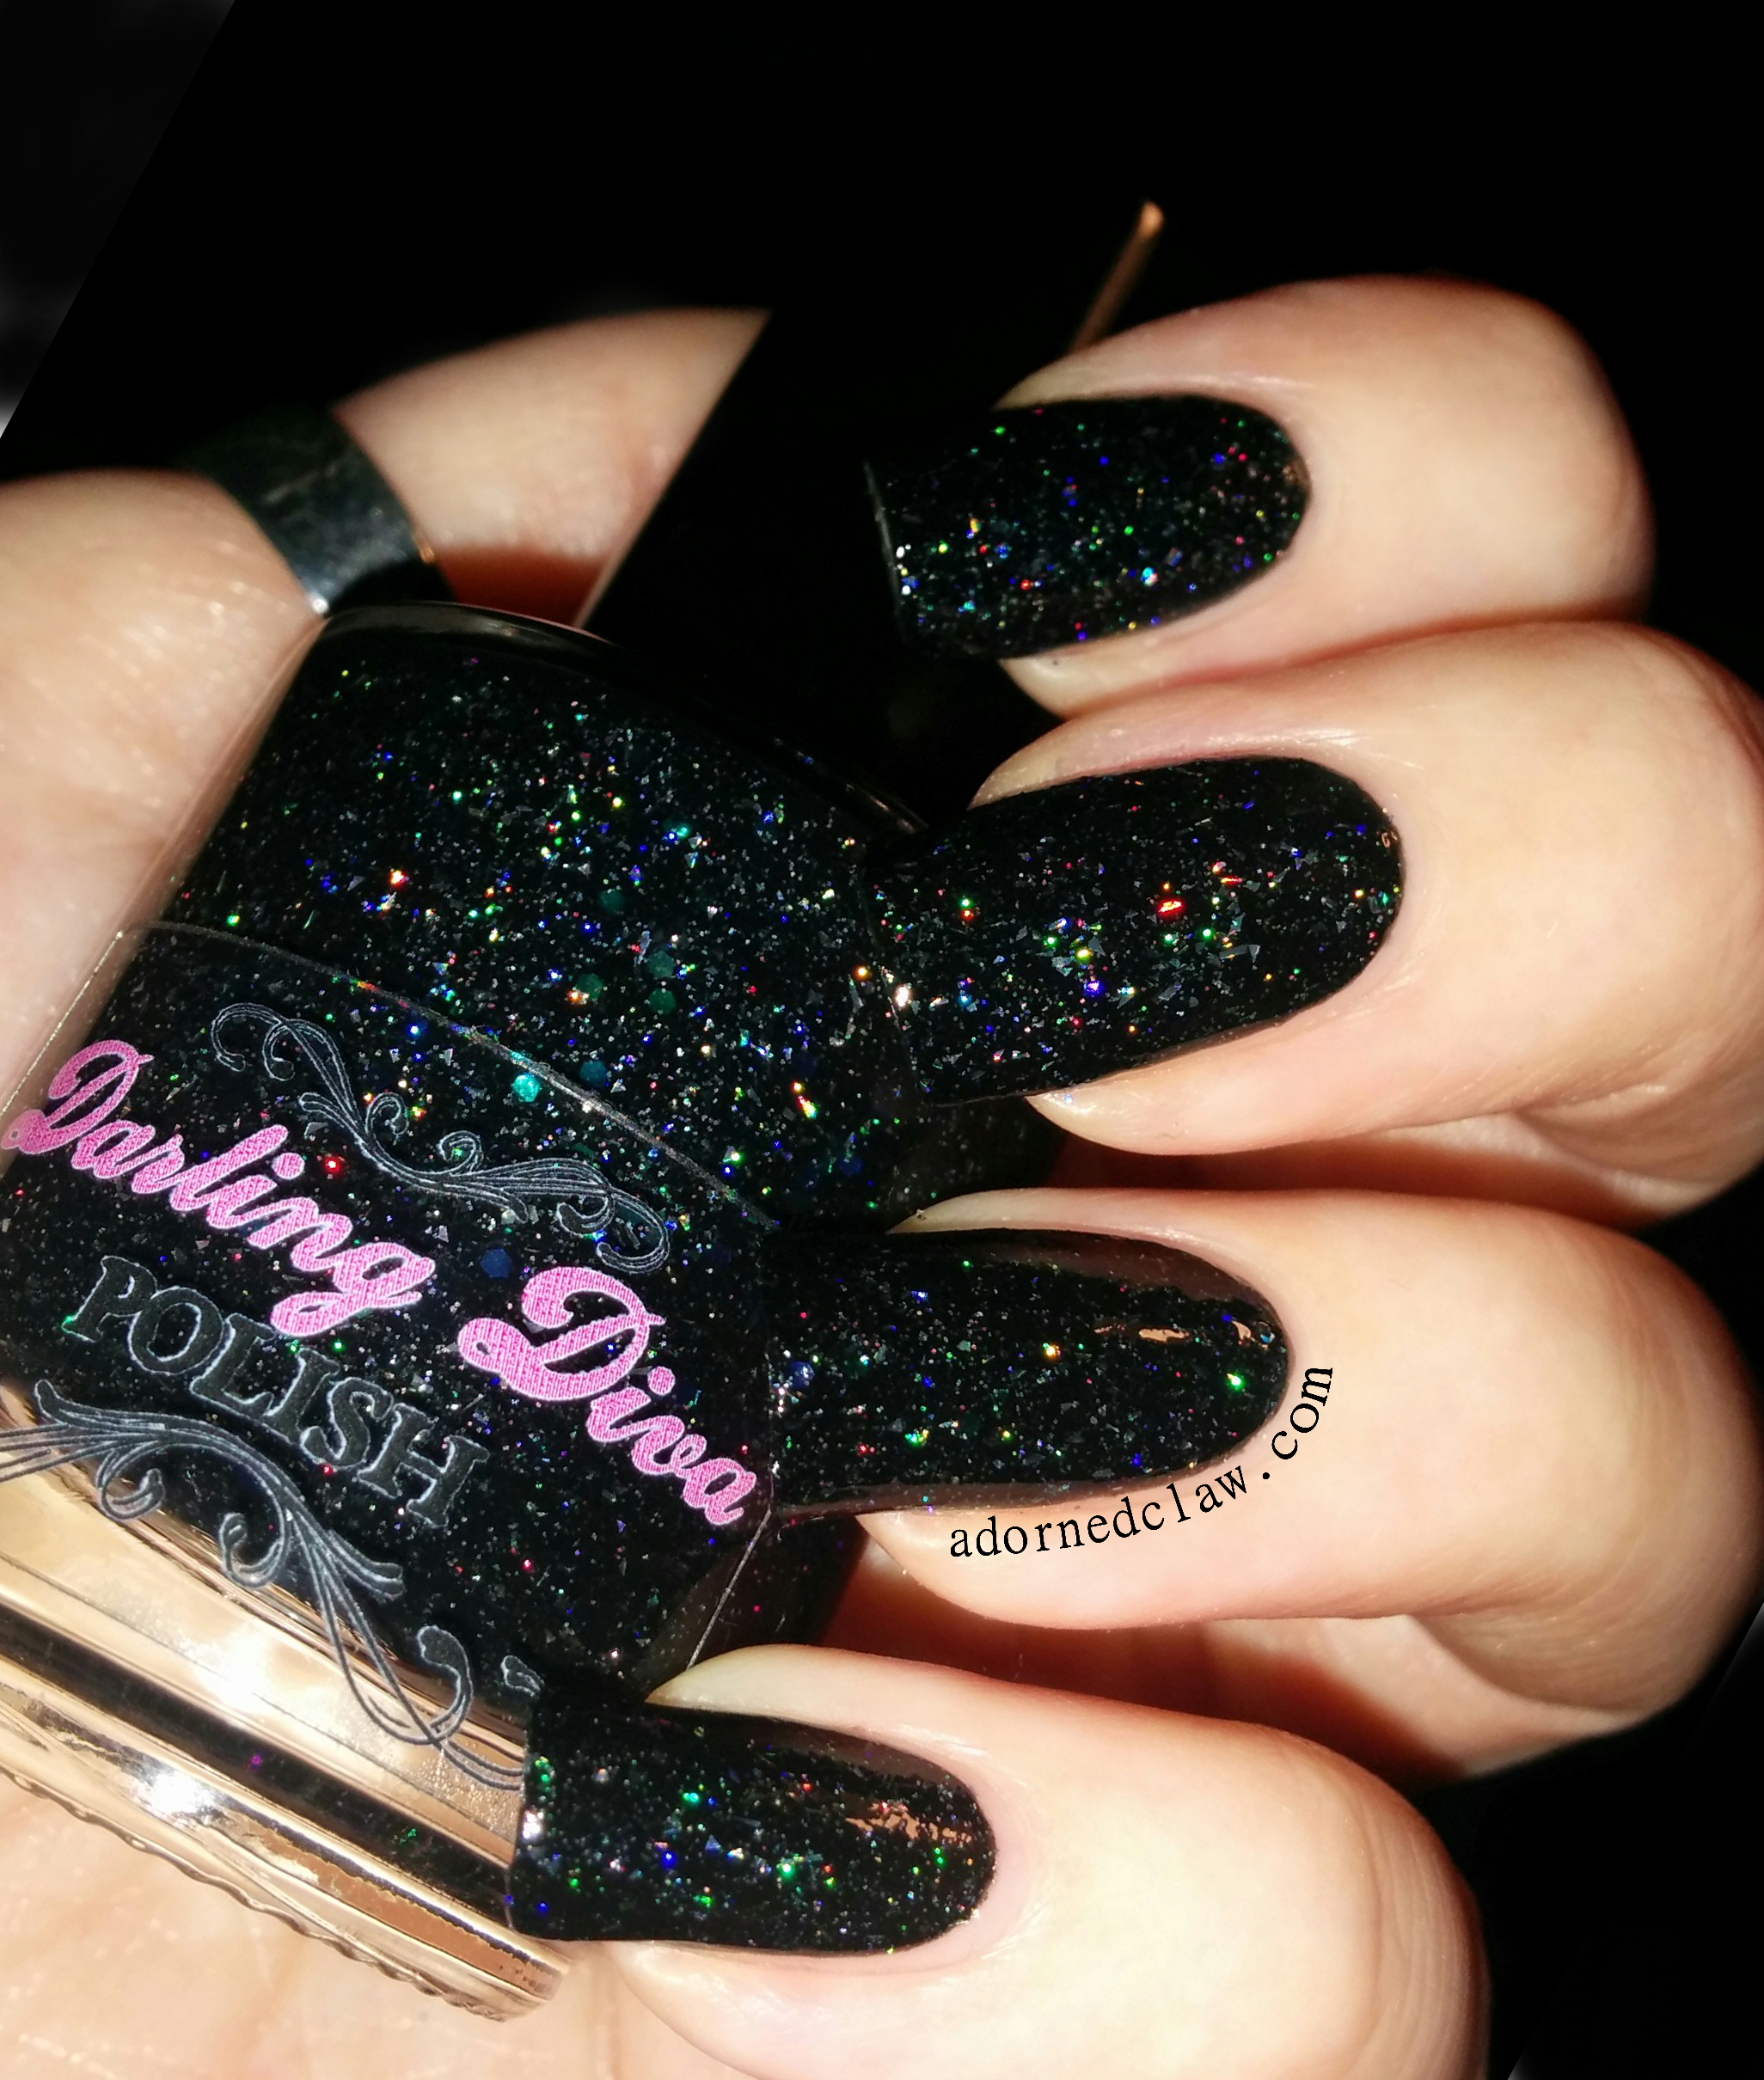
In Space No One Can Hear You Scream

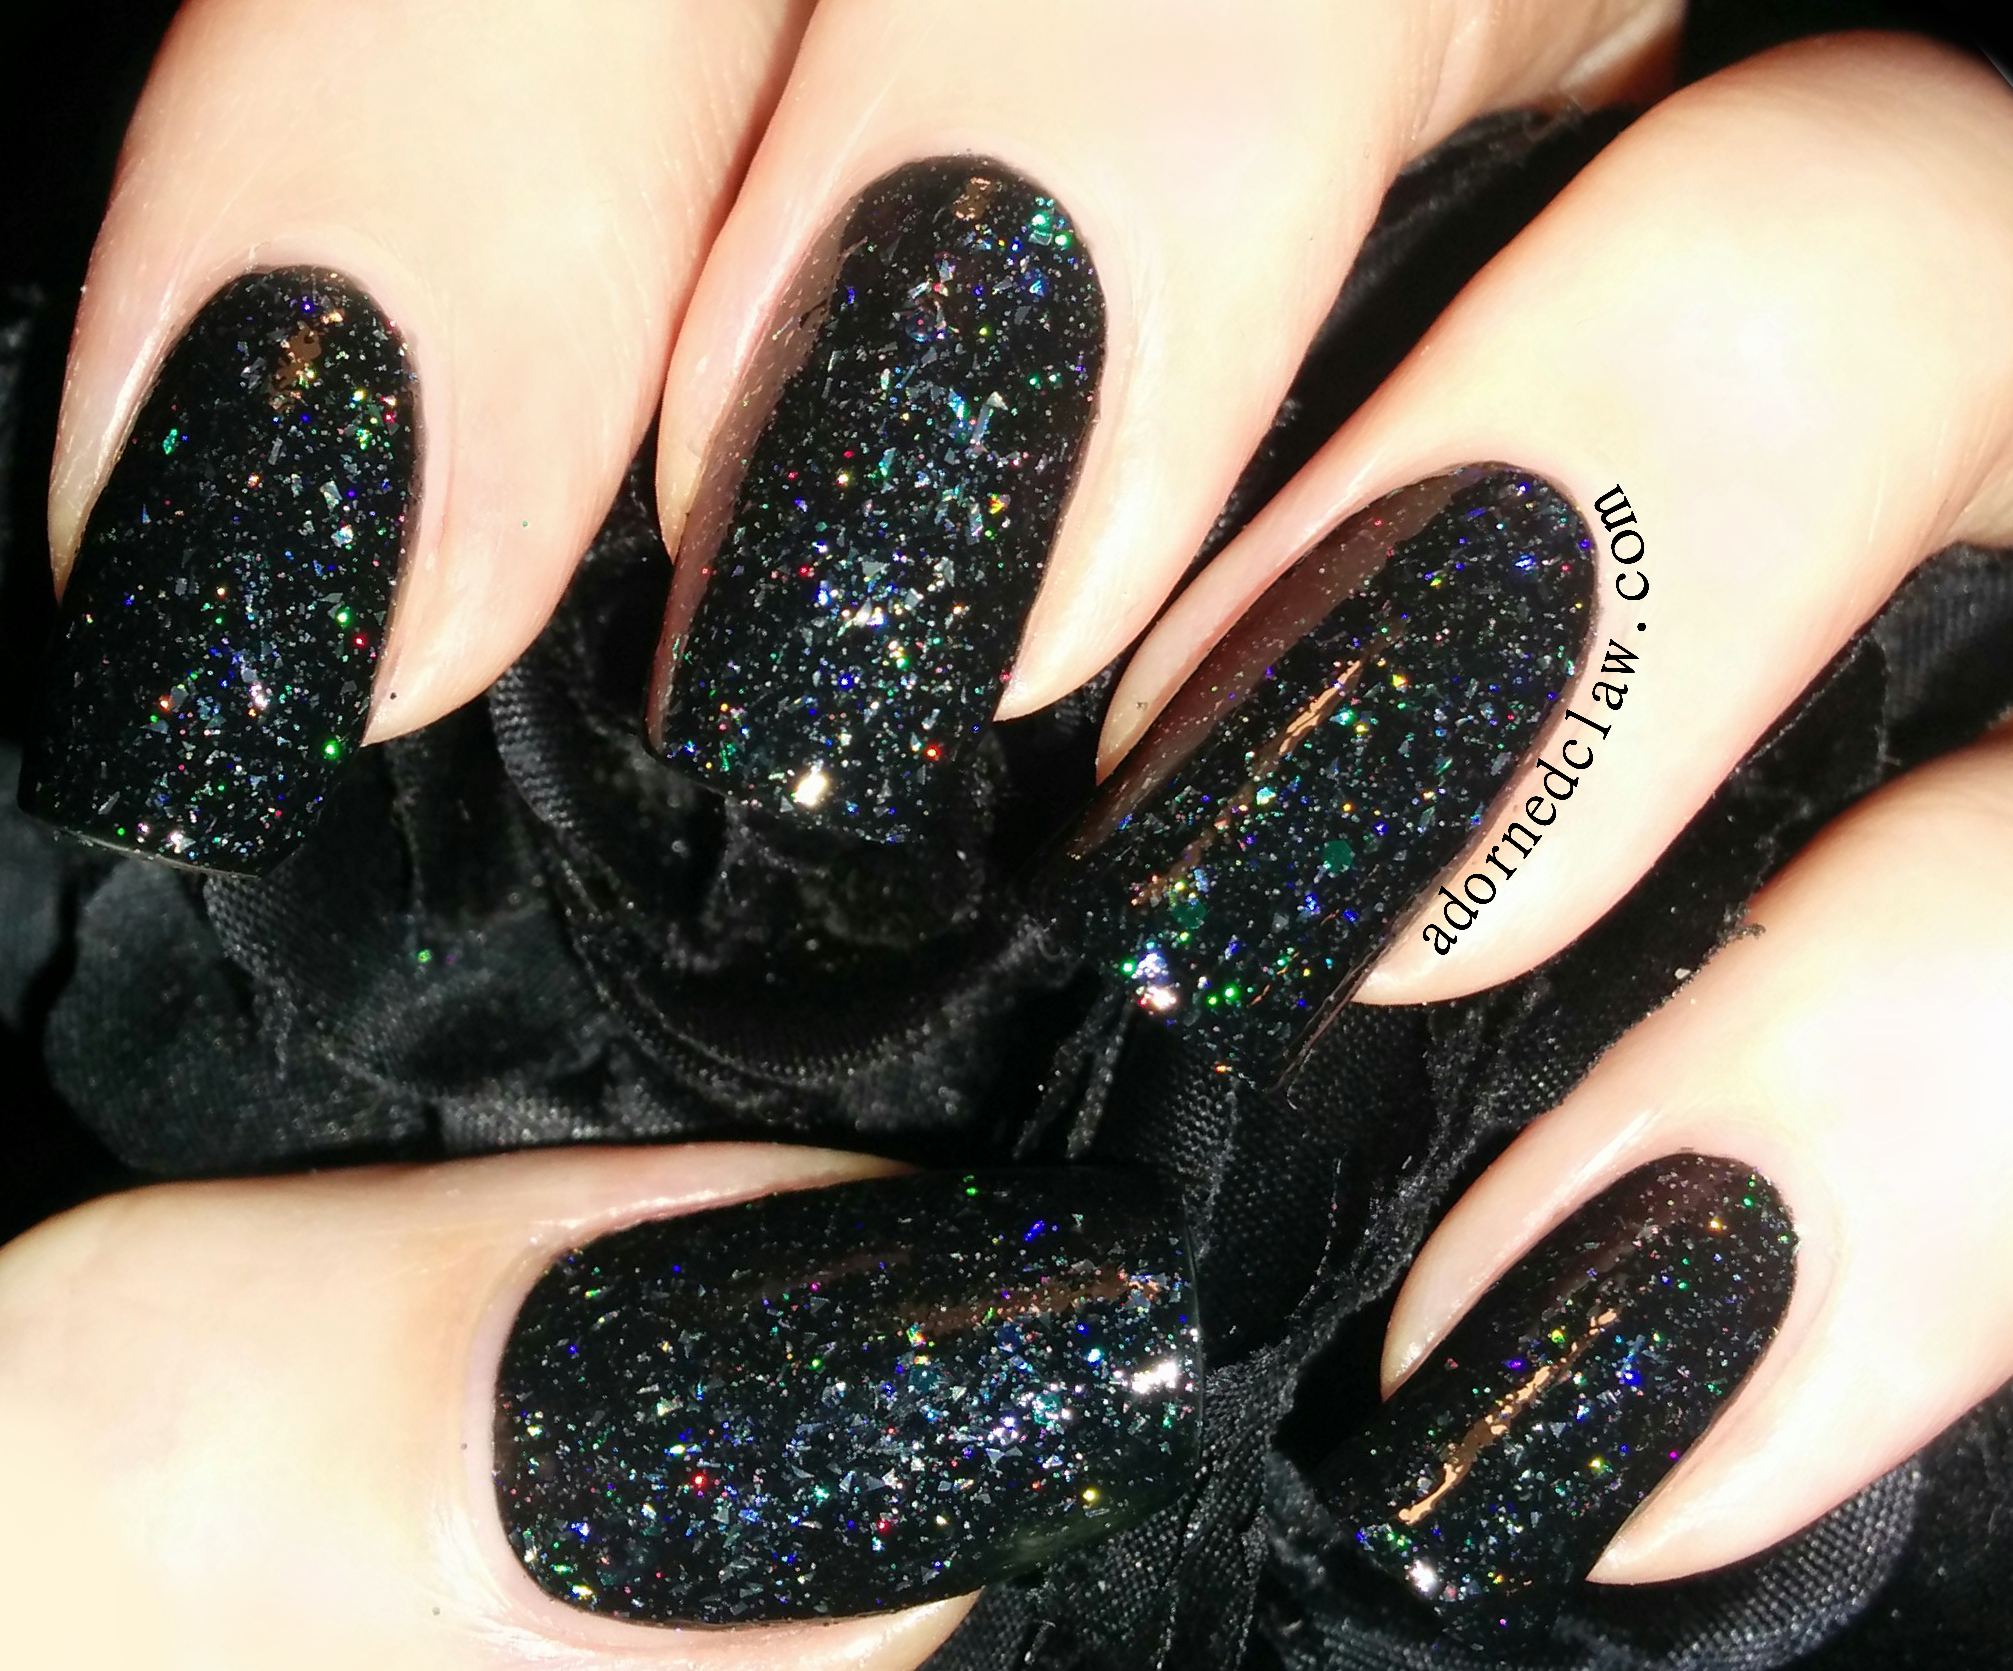
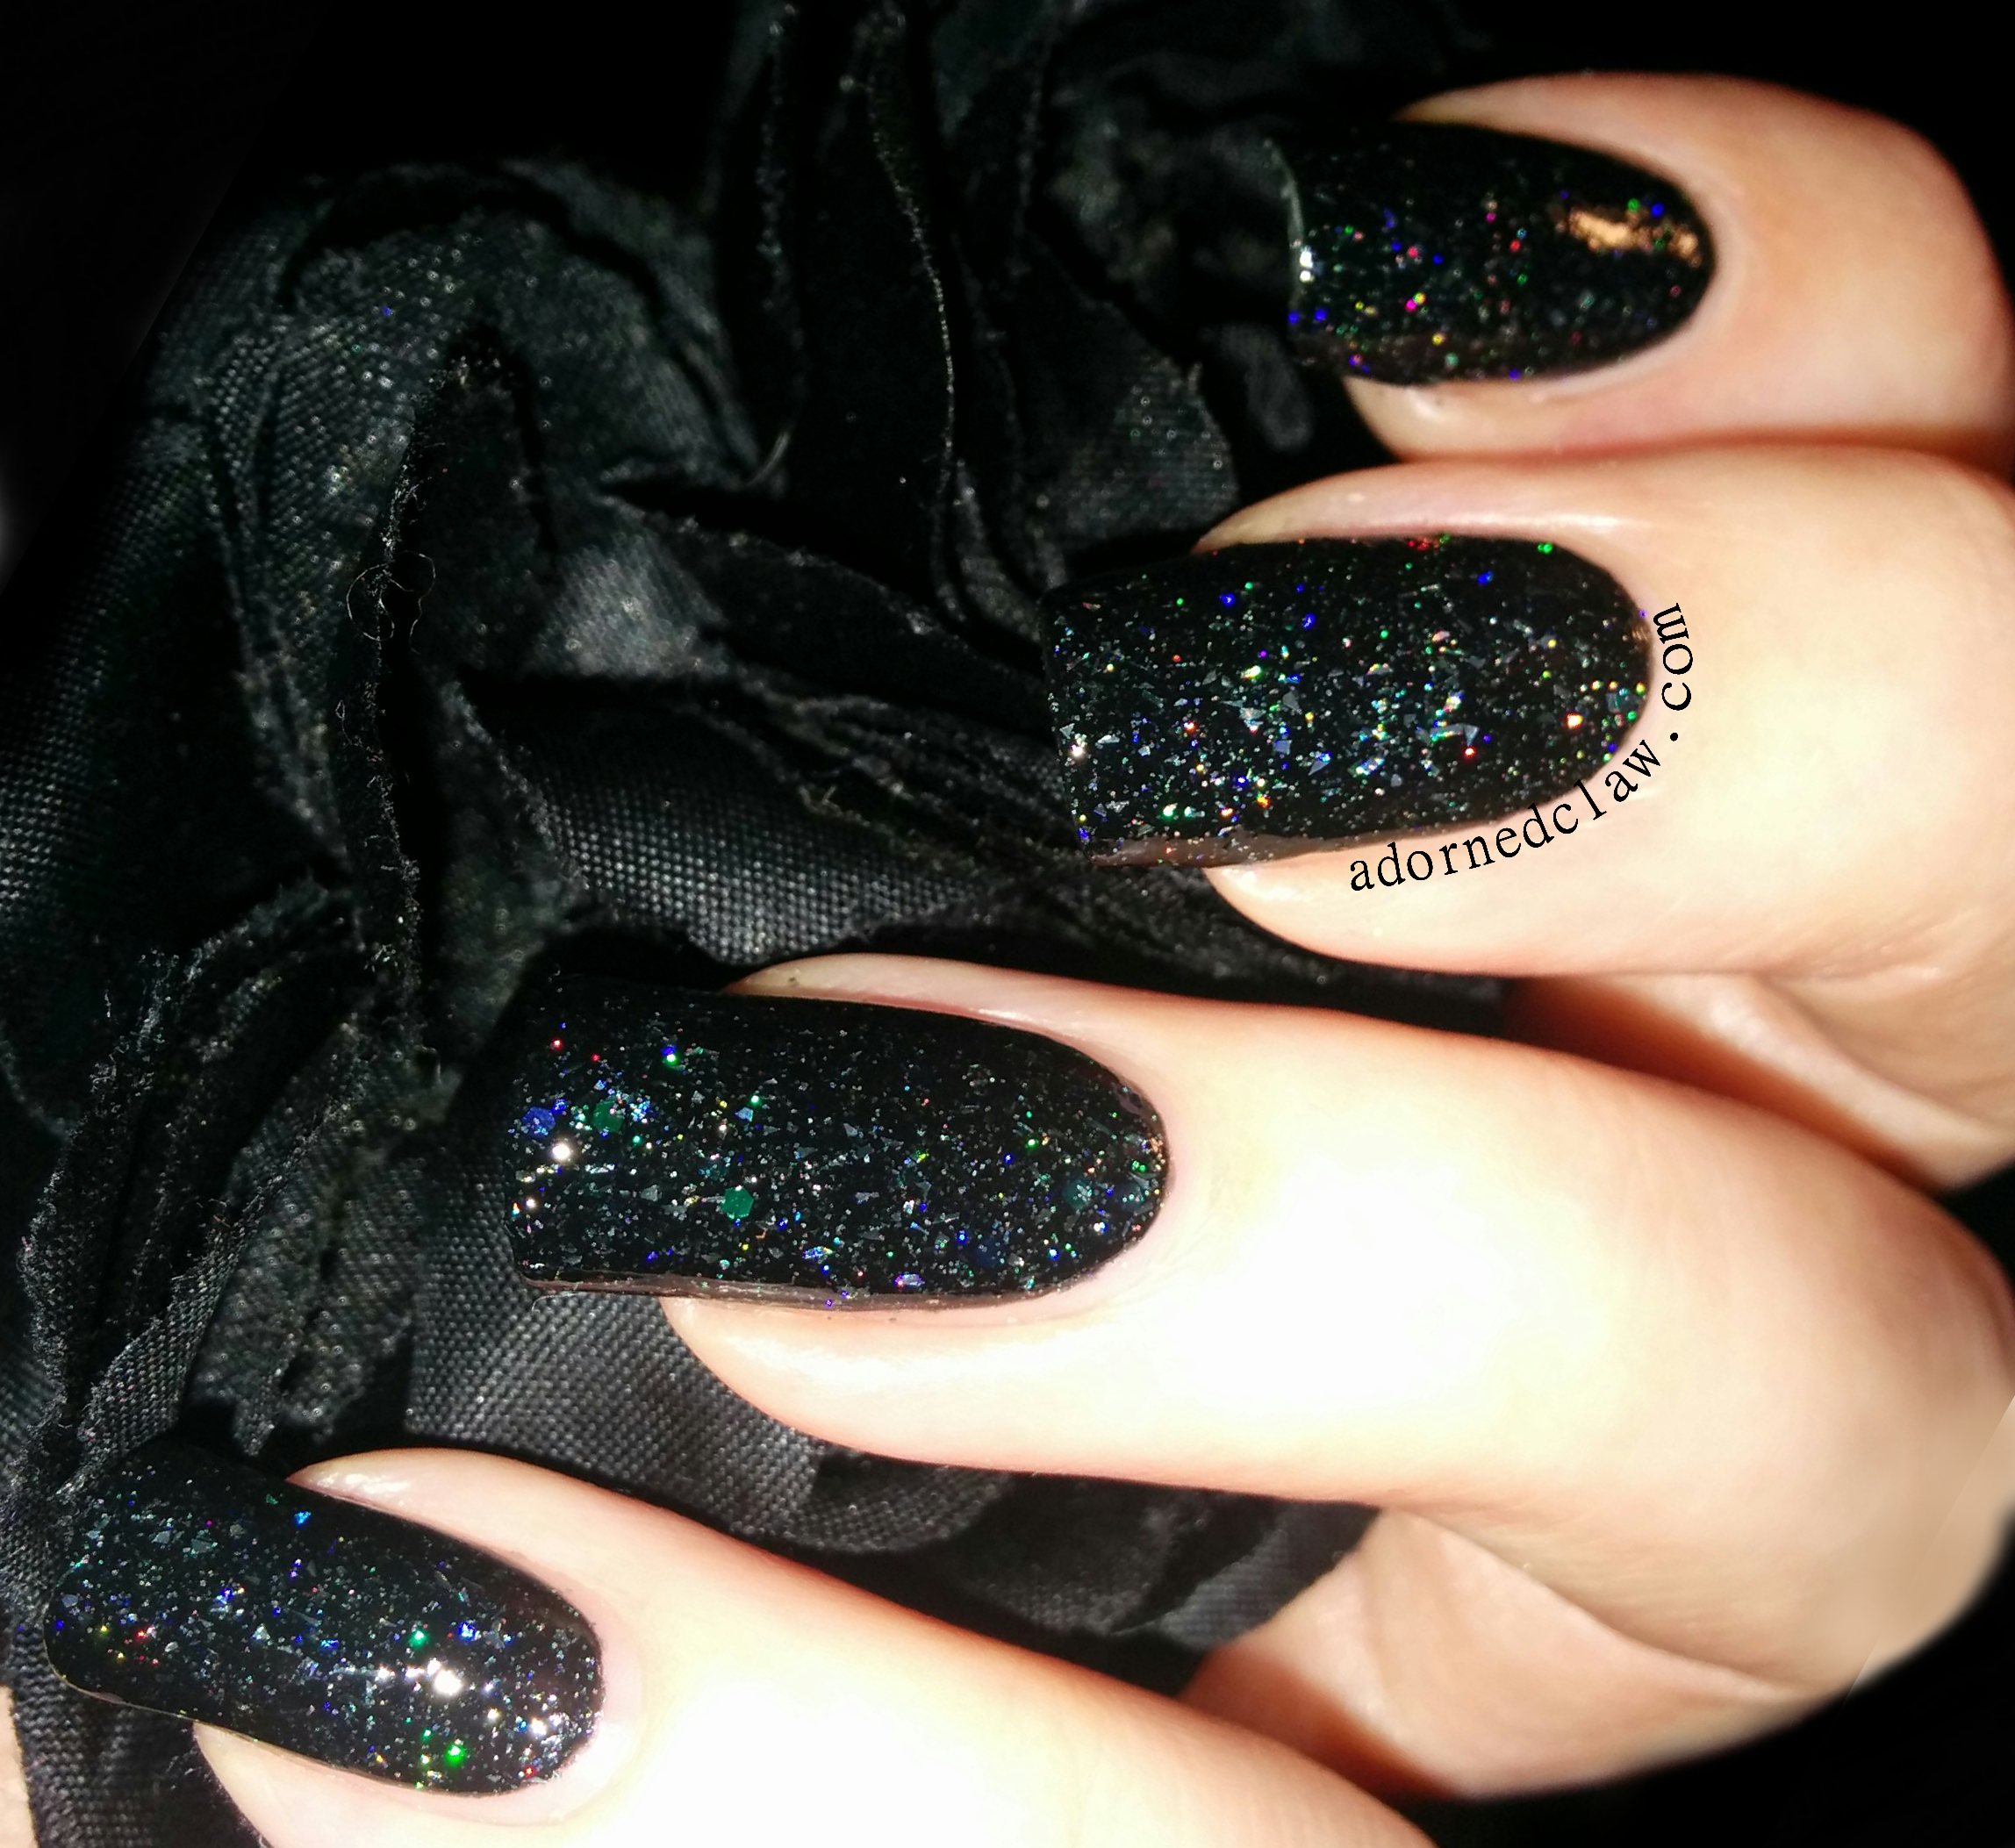
In Space No One Can Hear You Scream is packed with Micro holographic shards iridescent hex glitter and holographic glitter all wrapped in a black jelly polish!

This is a really complex glitter polish, it has so many different types of glitter in every drop!
On the nail it doesn’t look that OTT! The Iridescent hex glitters add a lot of depth!
This is three coats and it has a slightly longer drying time, it was dry in less than five minutes.
This is a thicker polish so the application was a little bit more tricky, but by no means difficult.
I have found that some shard glitter polishes can be scratchy with the little bits of glitter poking out all over the place, but that’s not the case with this one, it dried completely smooth!

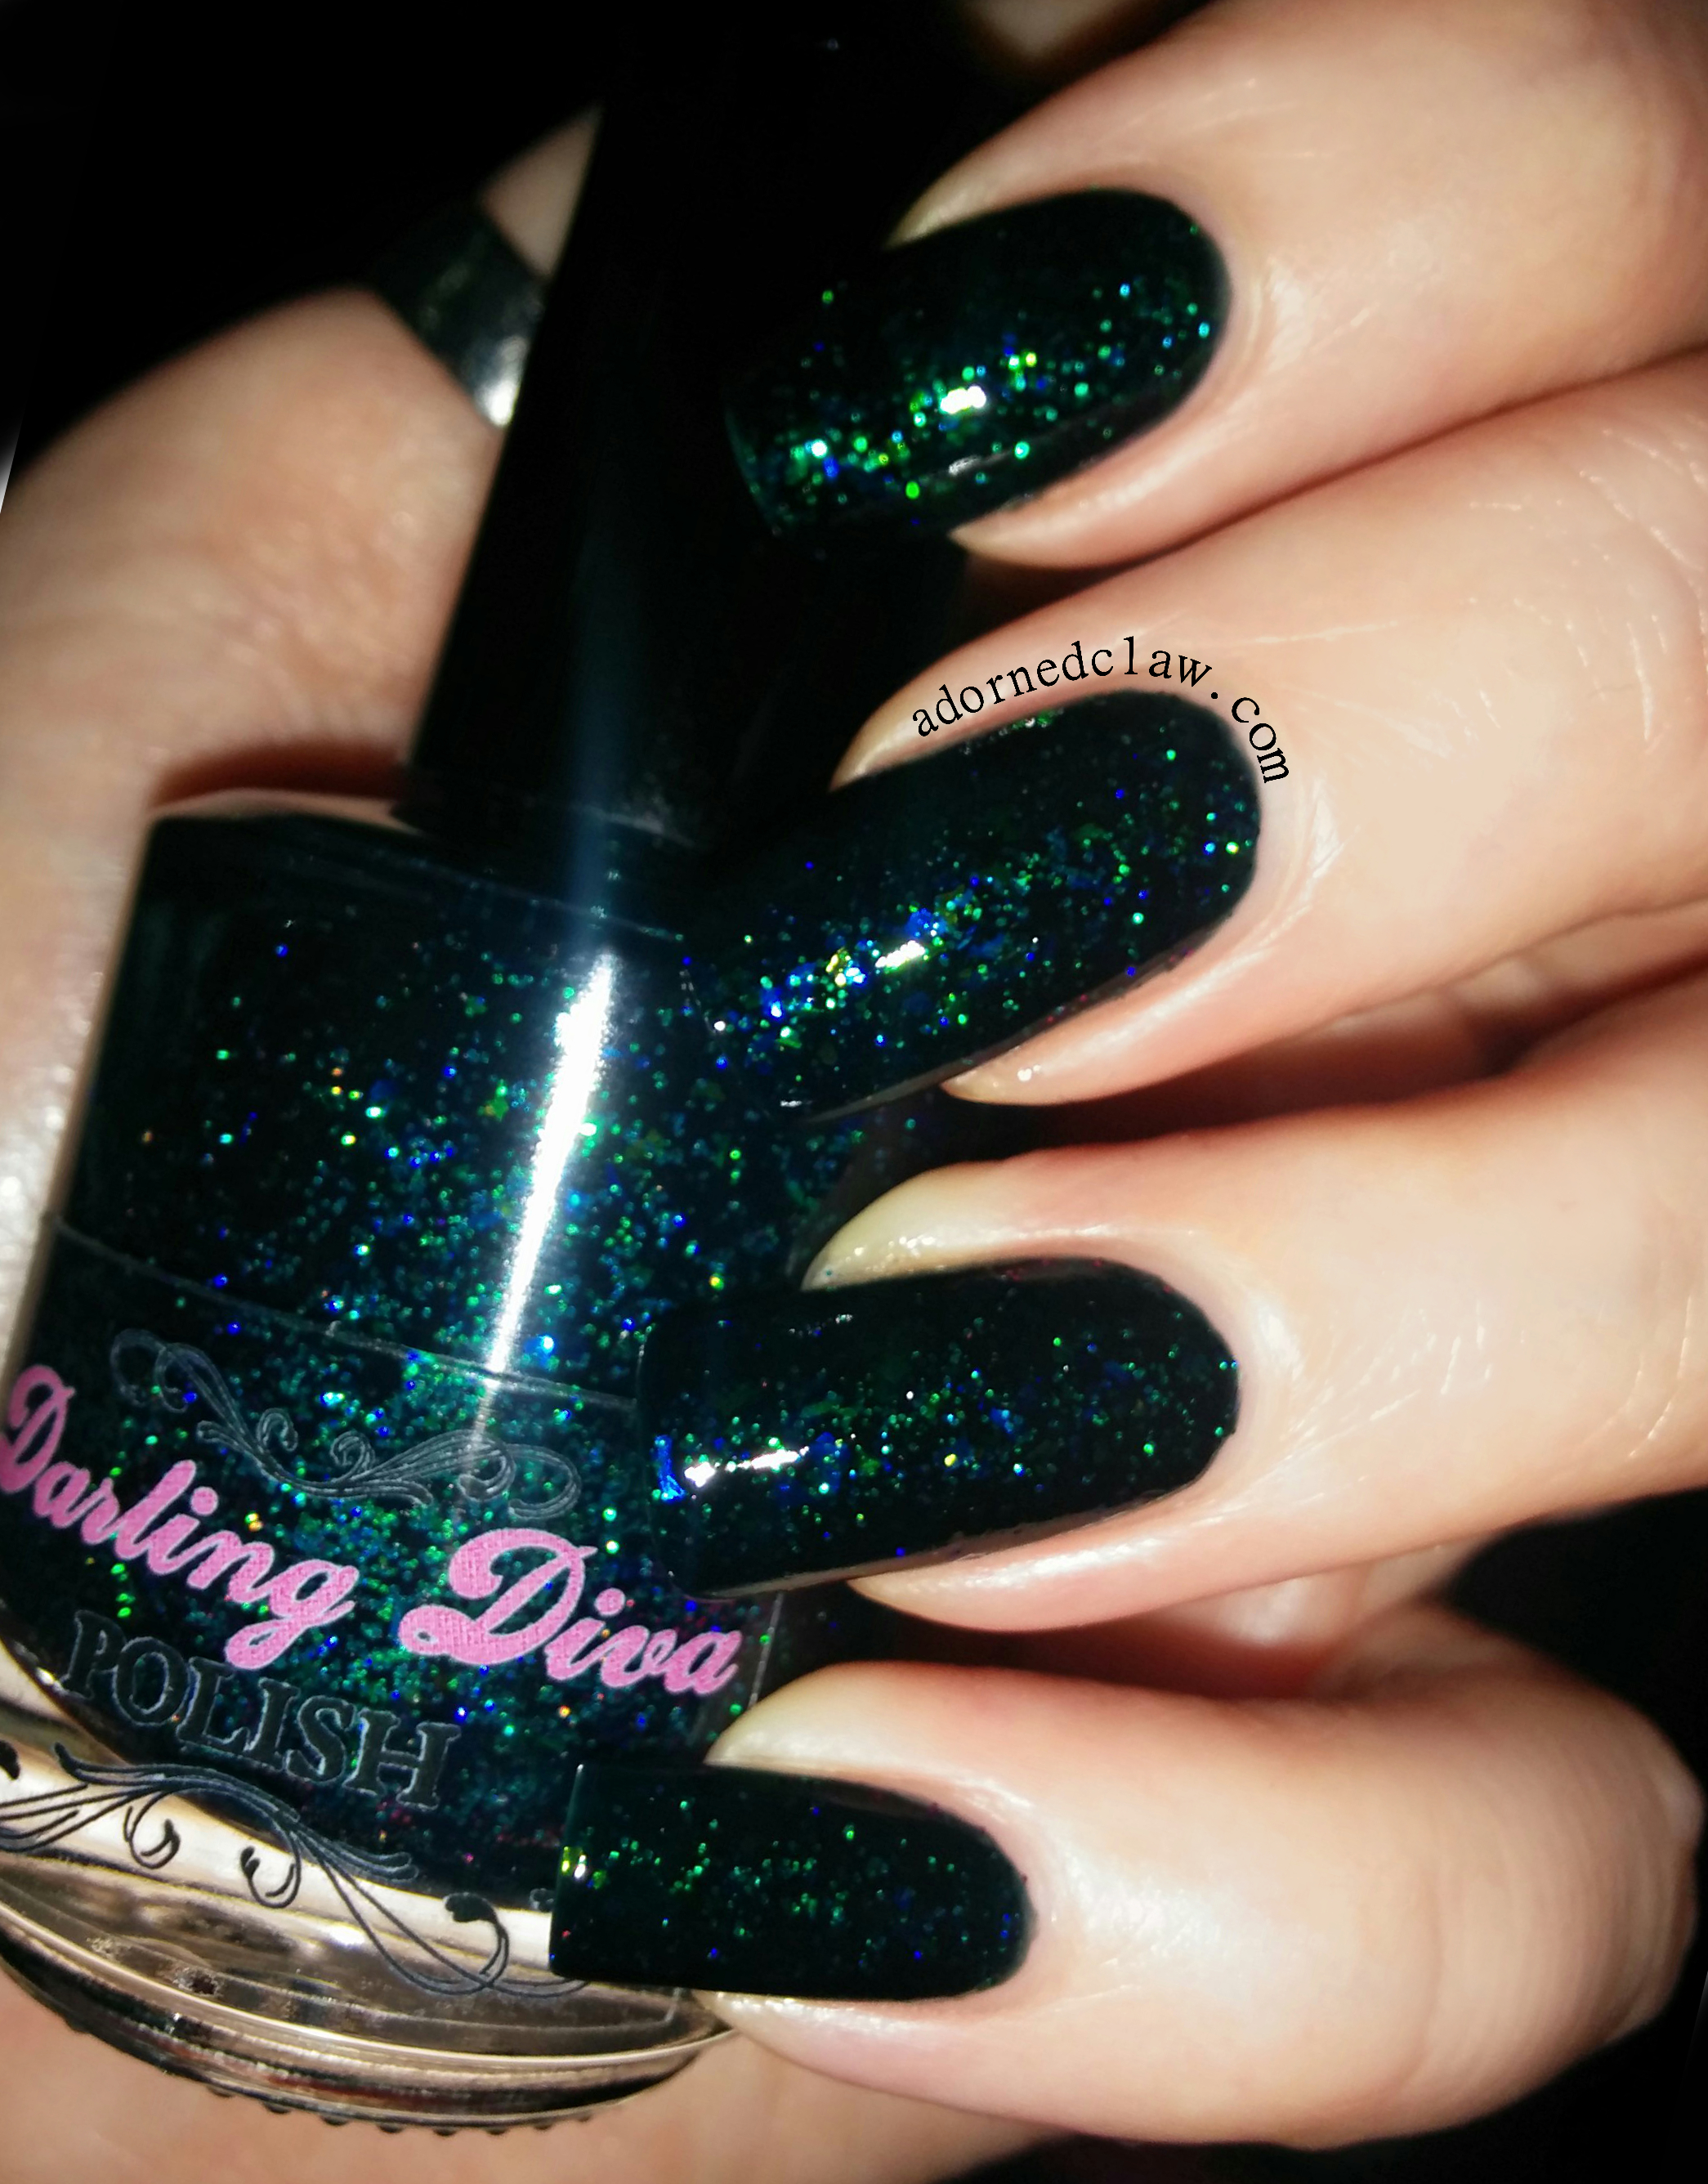
Long Live The Queen

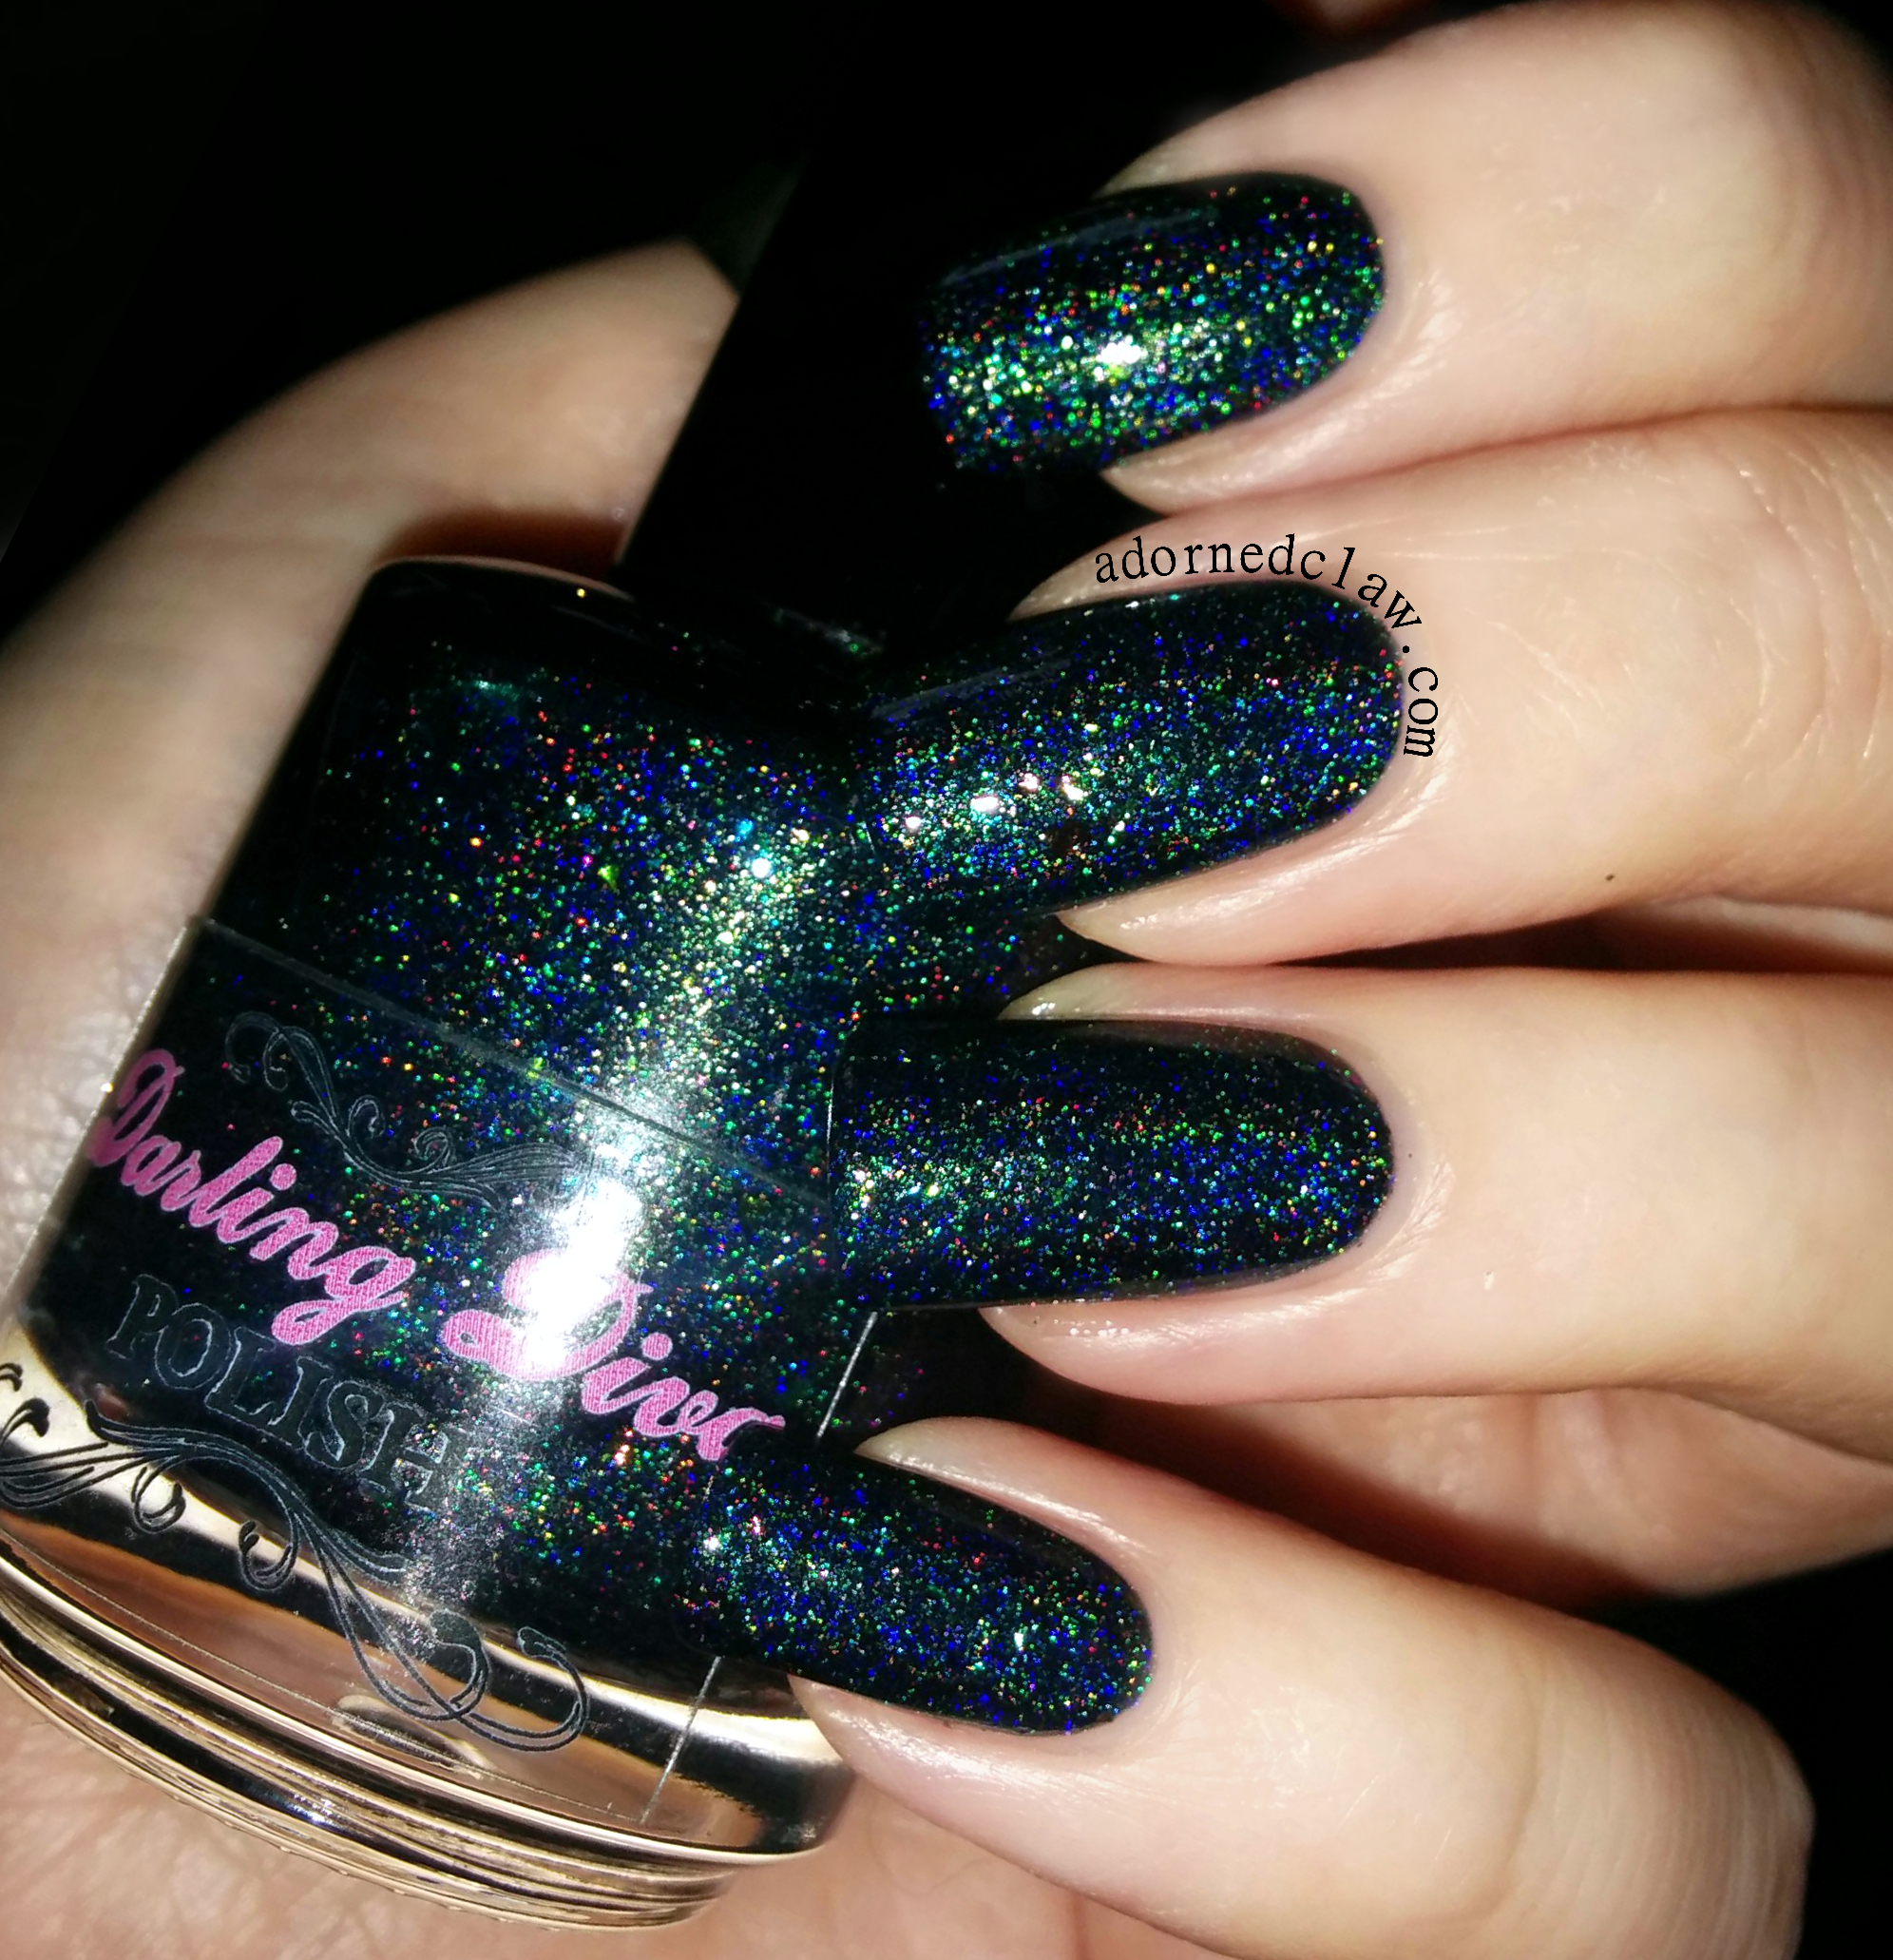
Long live the queen is a dark teal holographic polish packed with multi chrome flakies and glitter.

The base colour of this polish is a really pretty blackened teal, and it really is packed with holographic glitter, unfortunately when it’s applied I couldn’t really see much of the multi coloured flakie glitter.
This is three coats and it has a similar drying time to In Space.
This is a thicker polish so the application was a little bit more tricky. it was slightly patchy on the first couple of coat but the subsequent coats evened everything out.
This polish is so pretty I didn’t want to take it off!

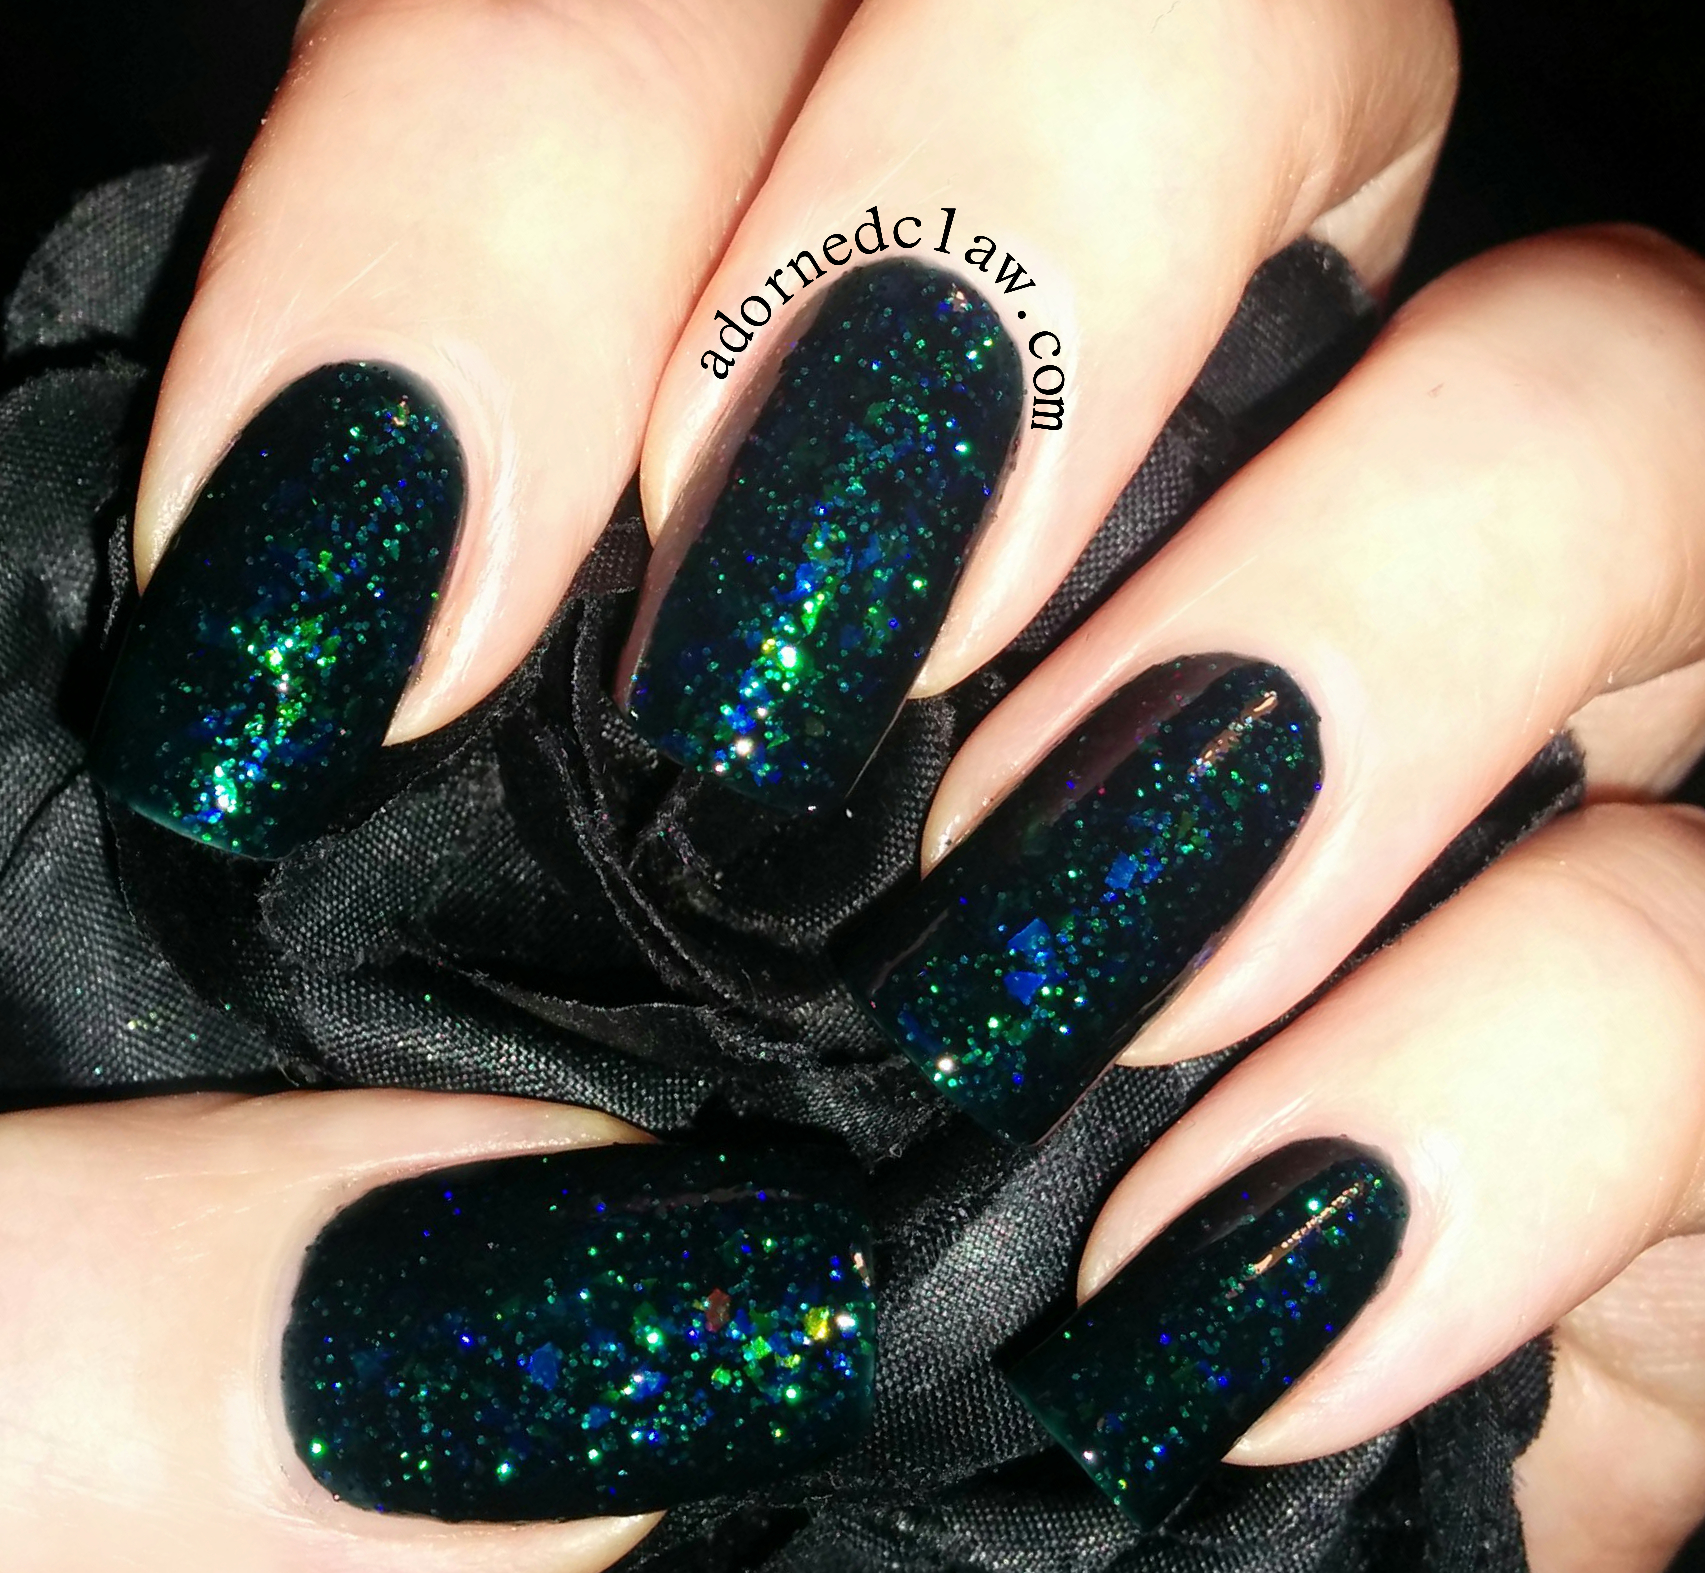
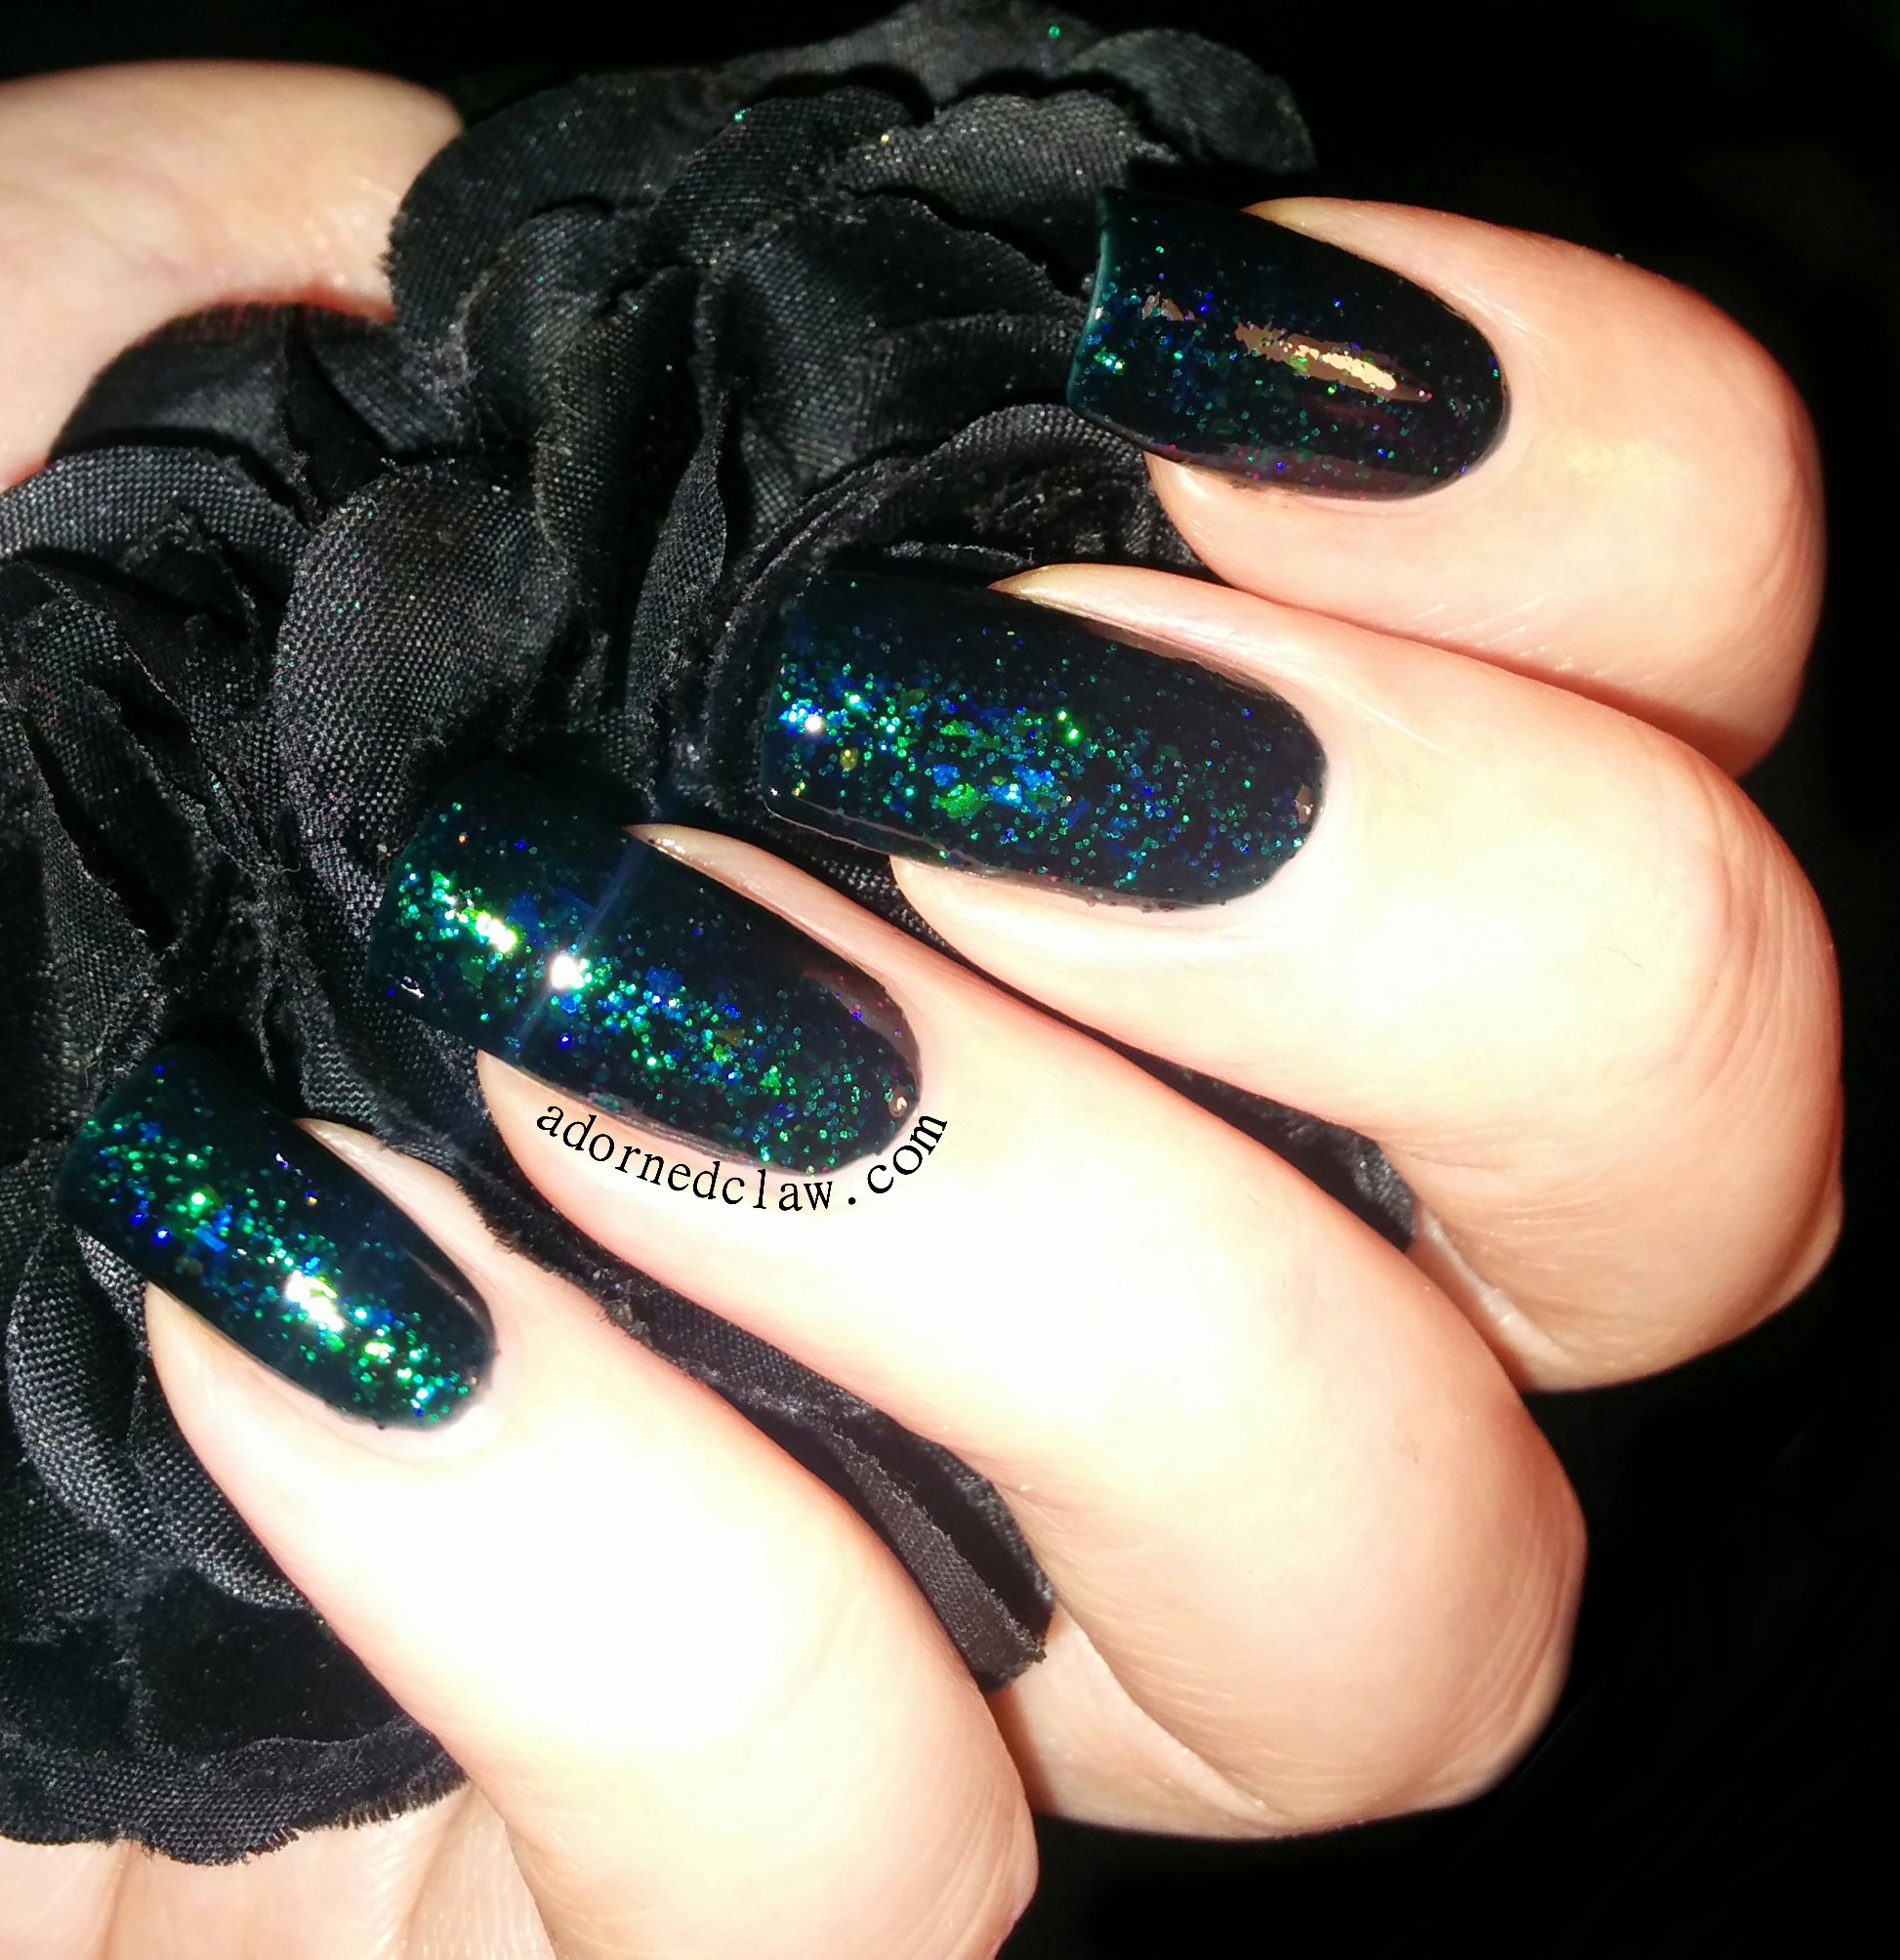
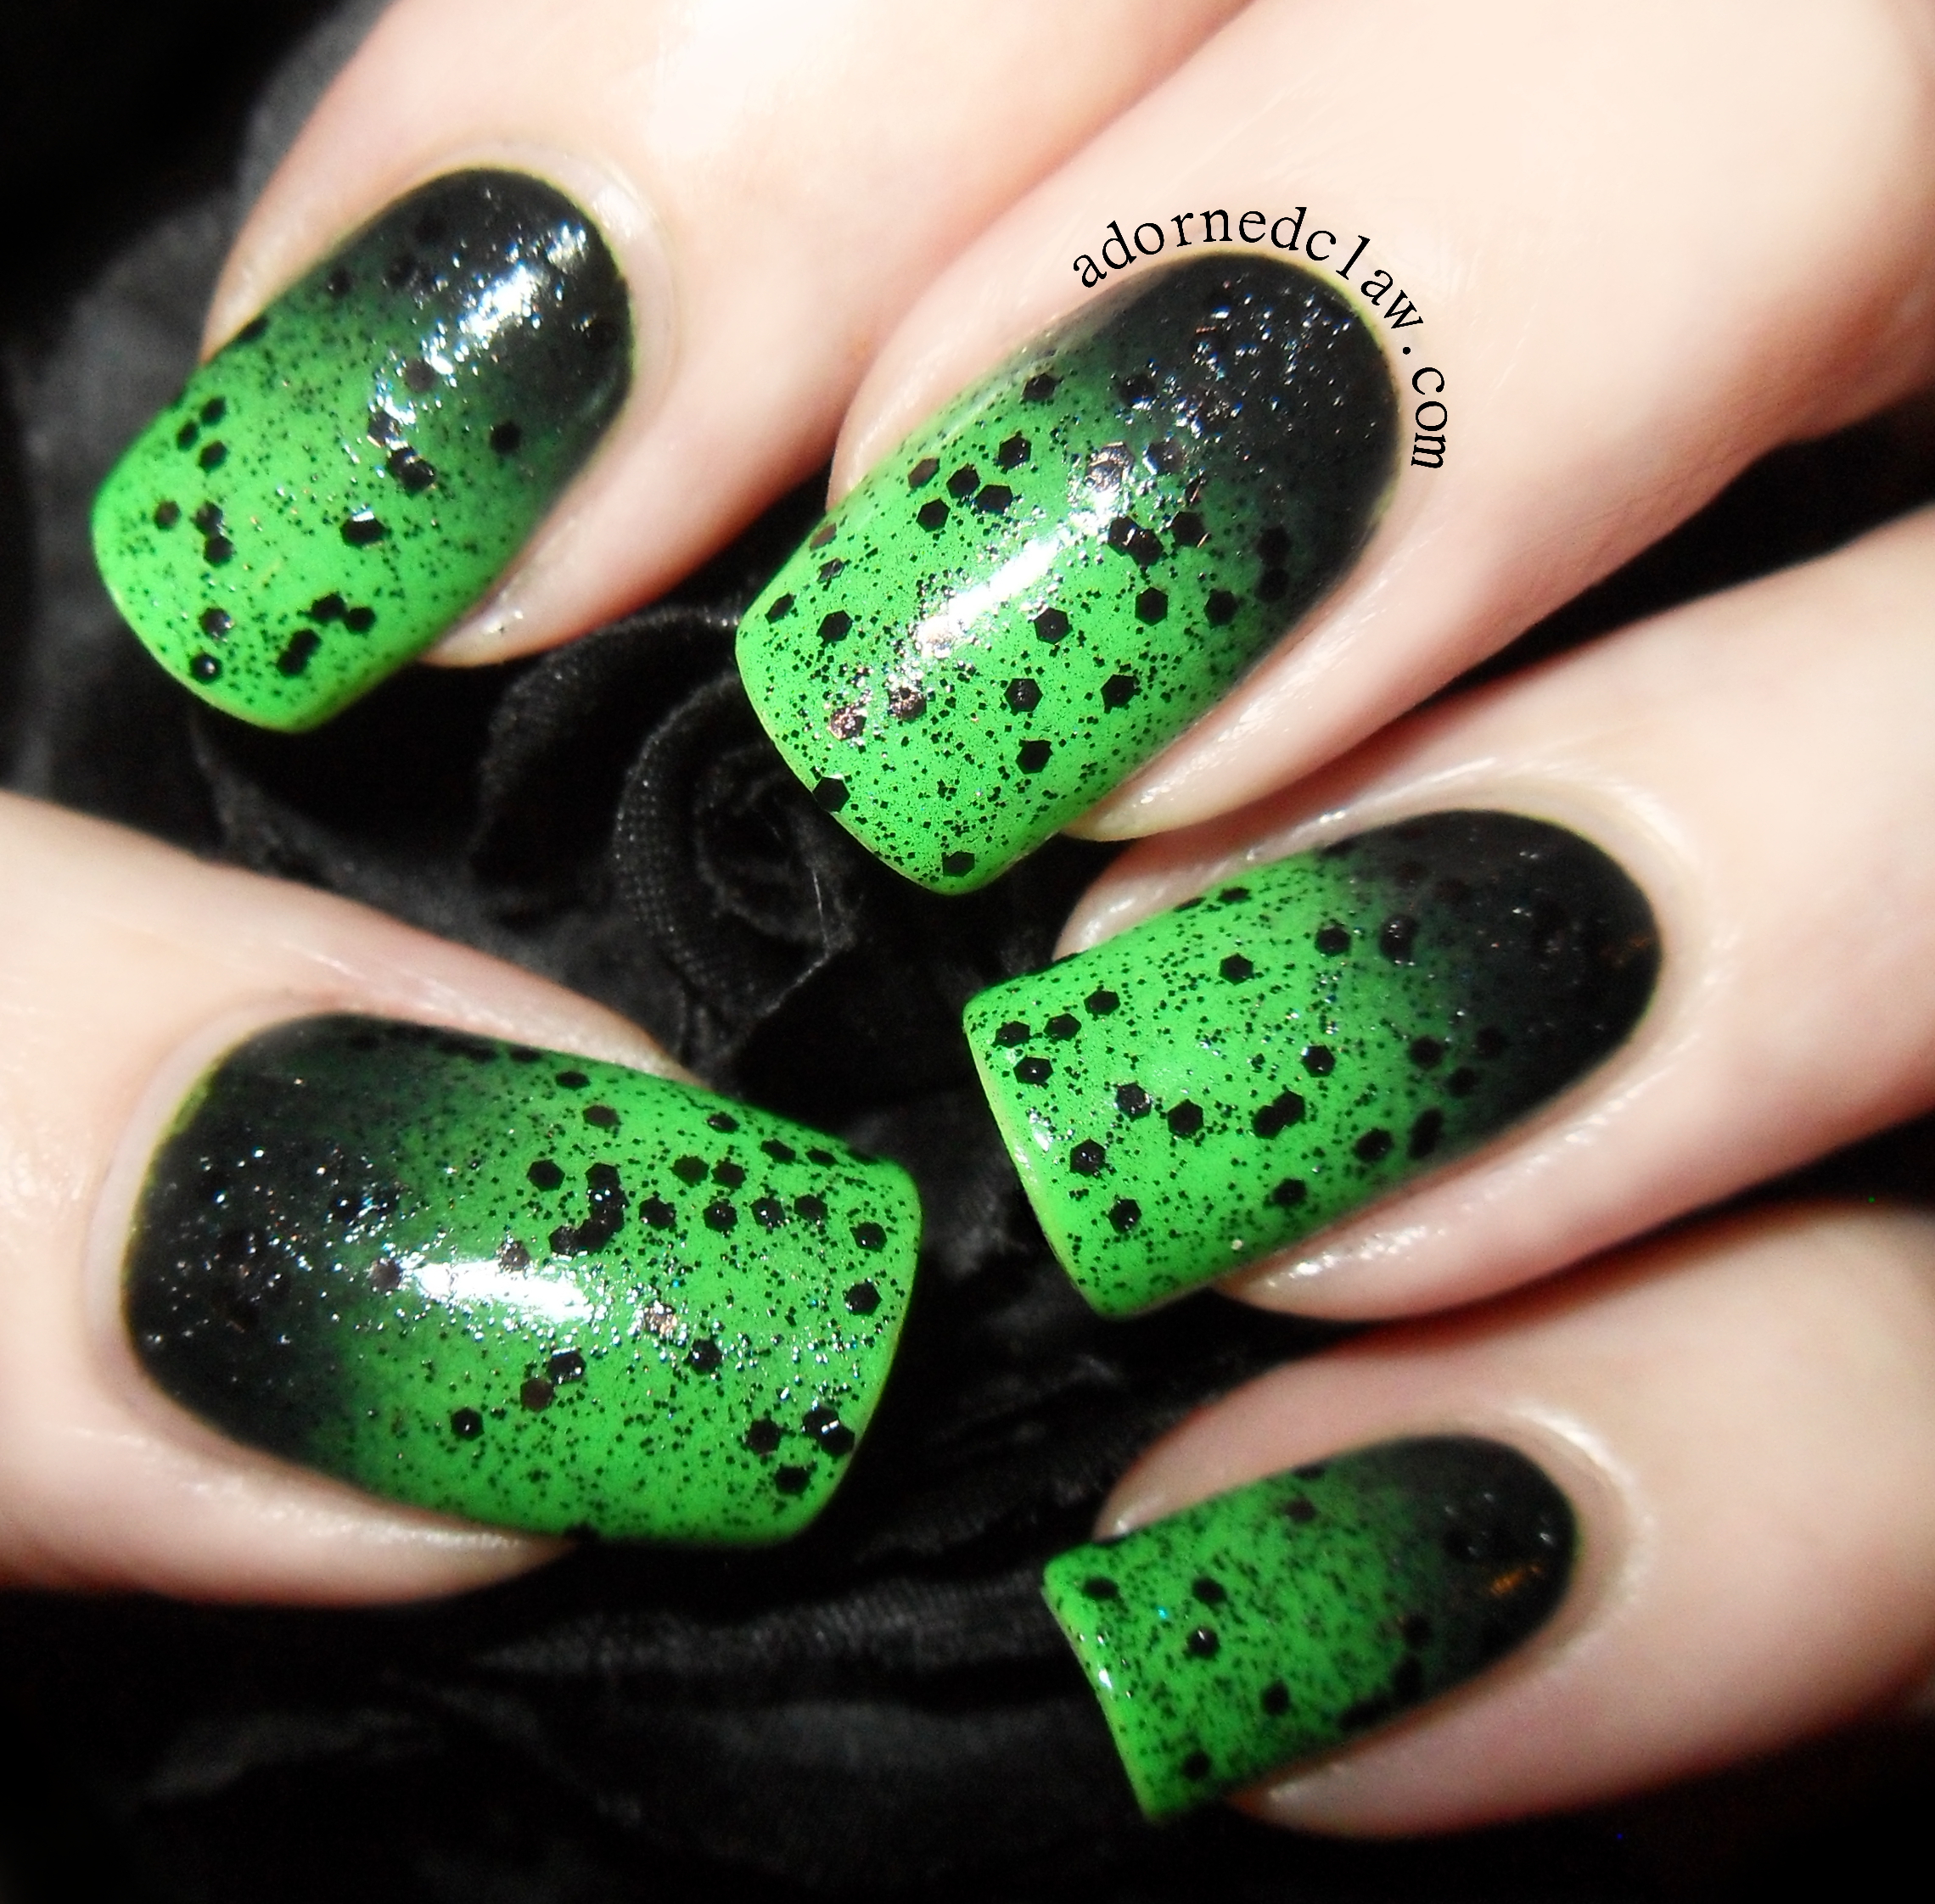
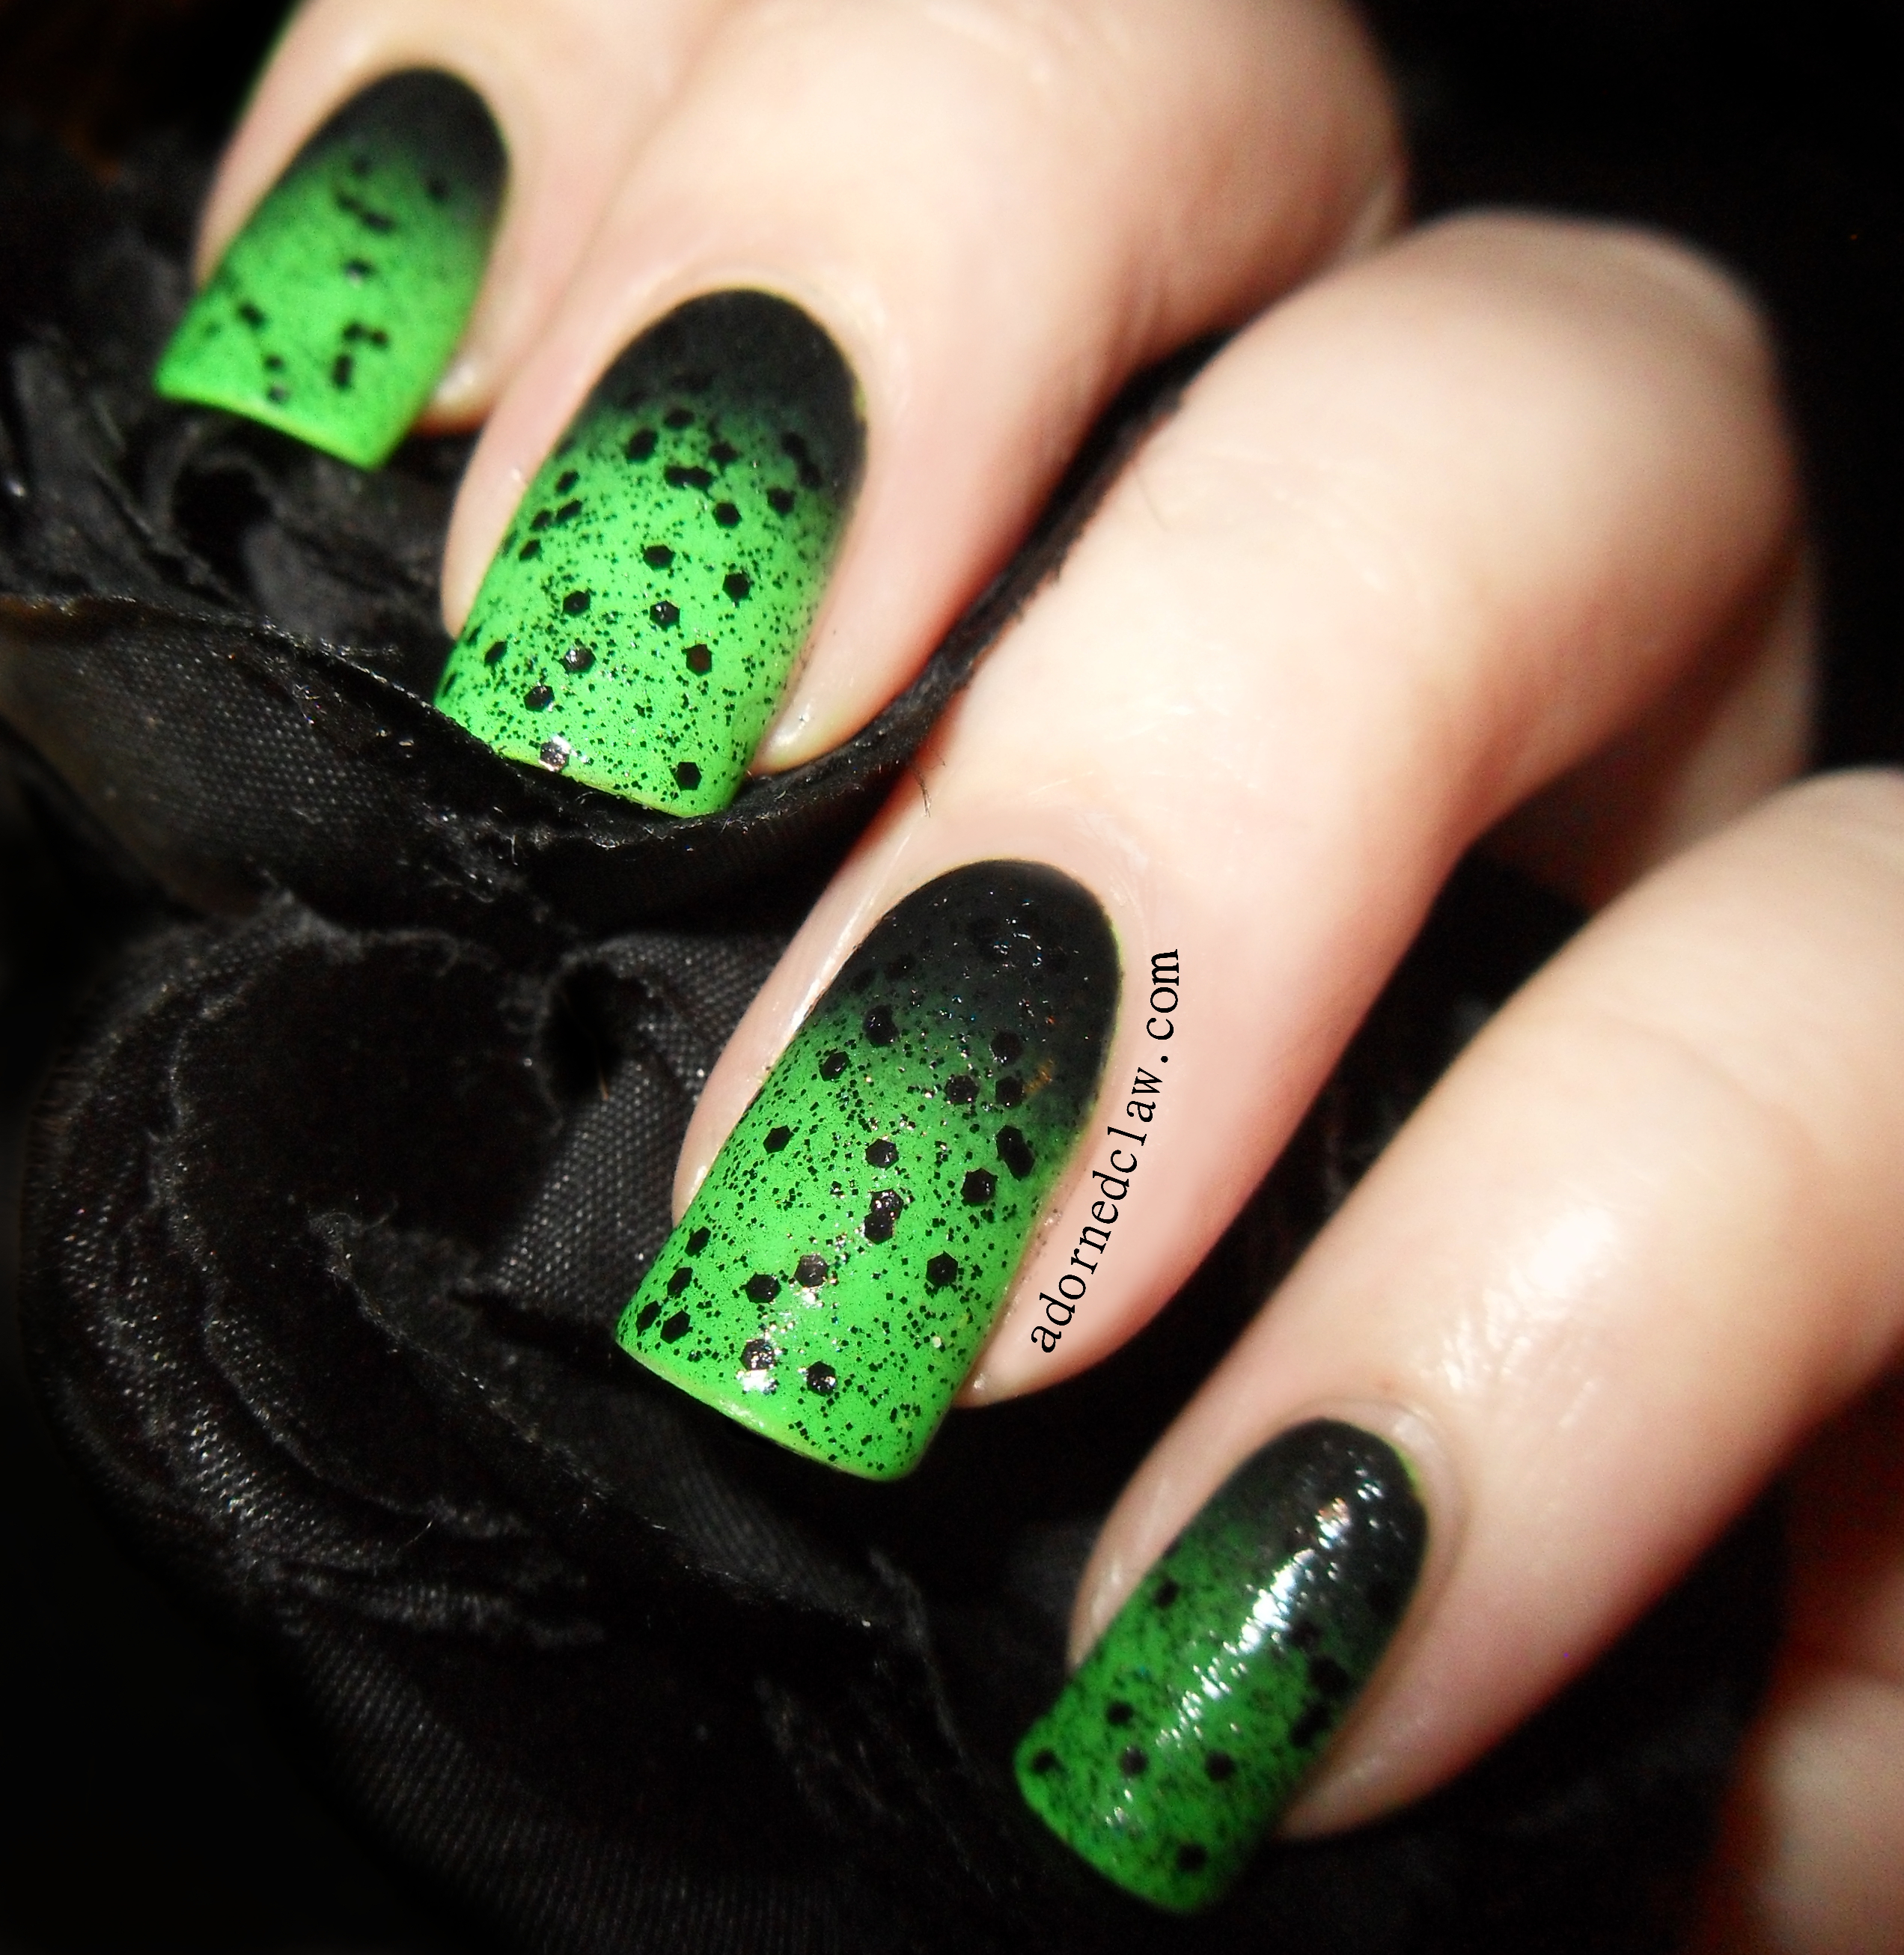
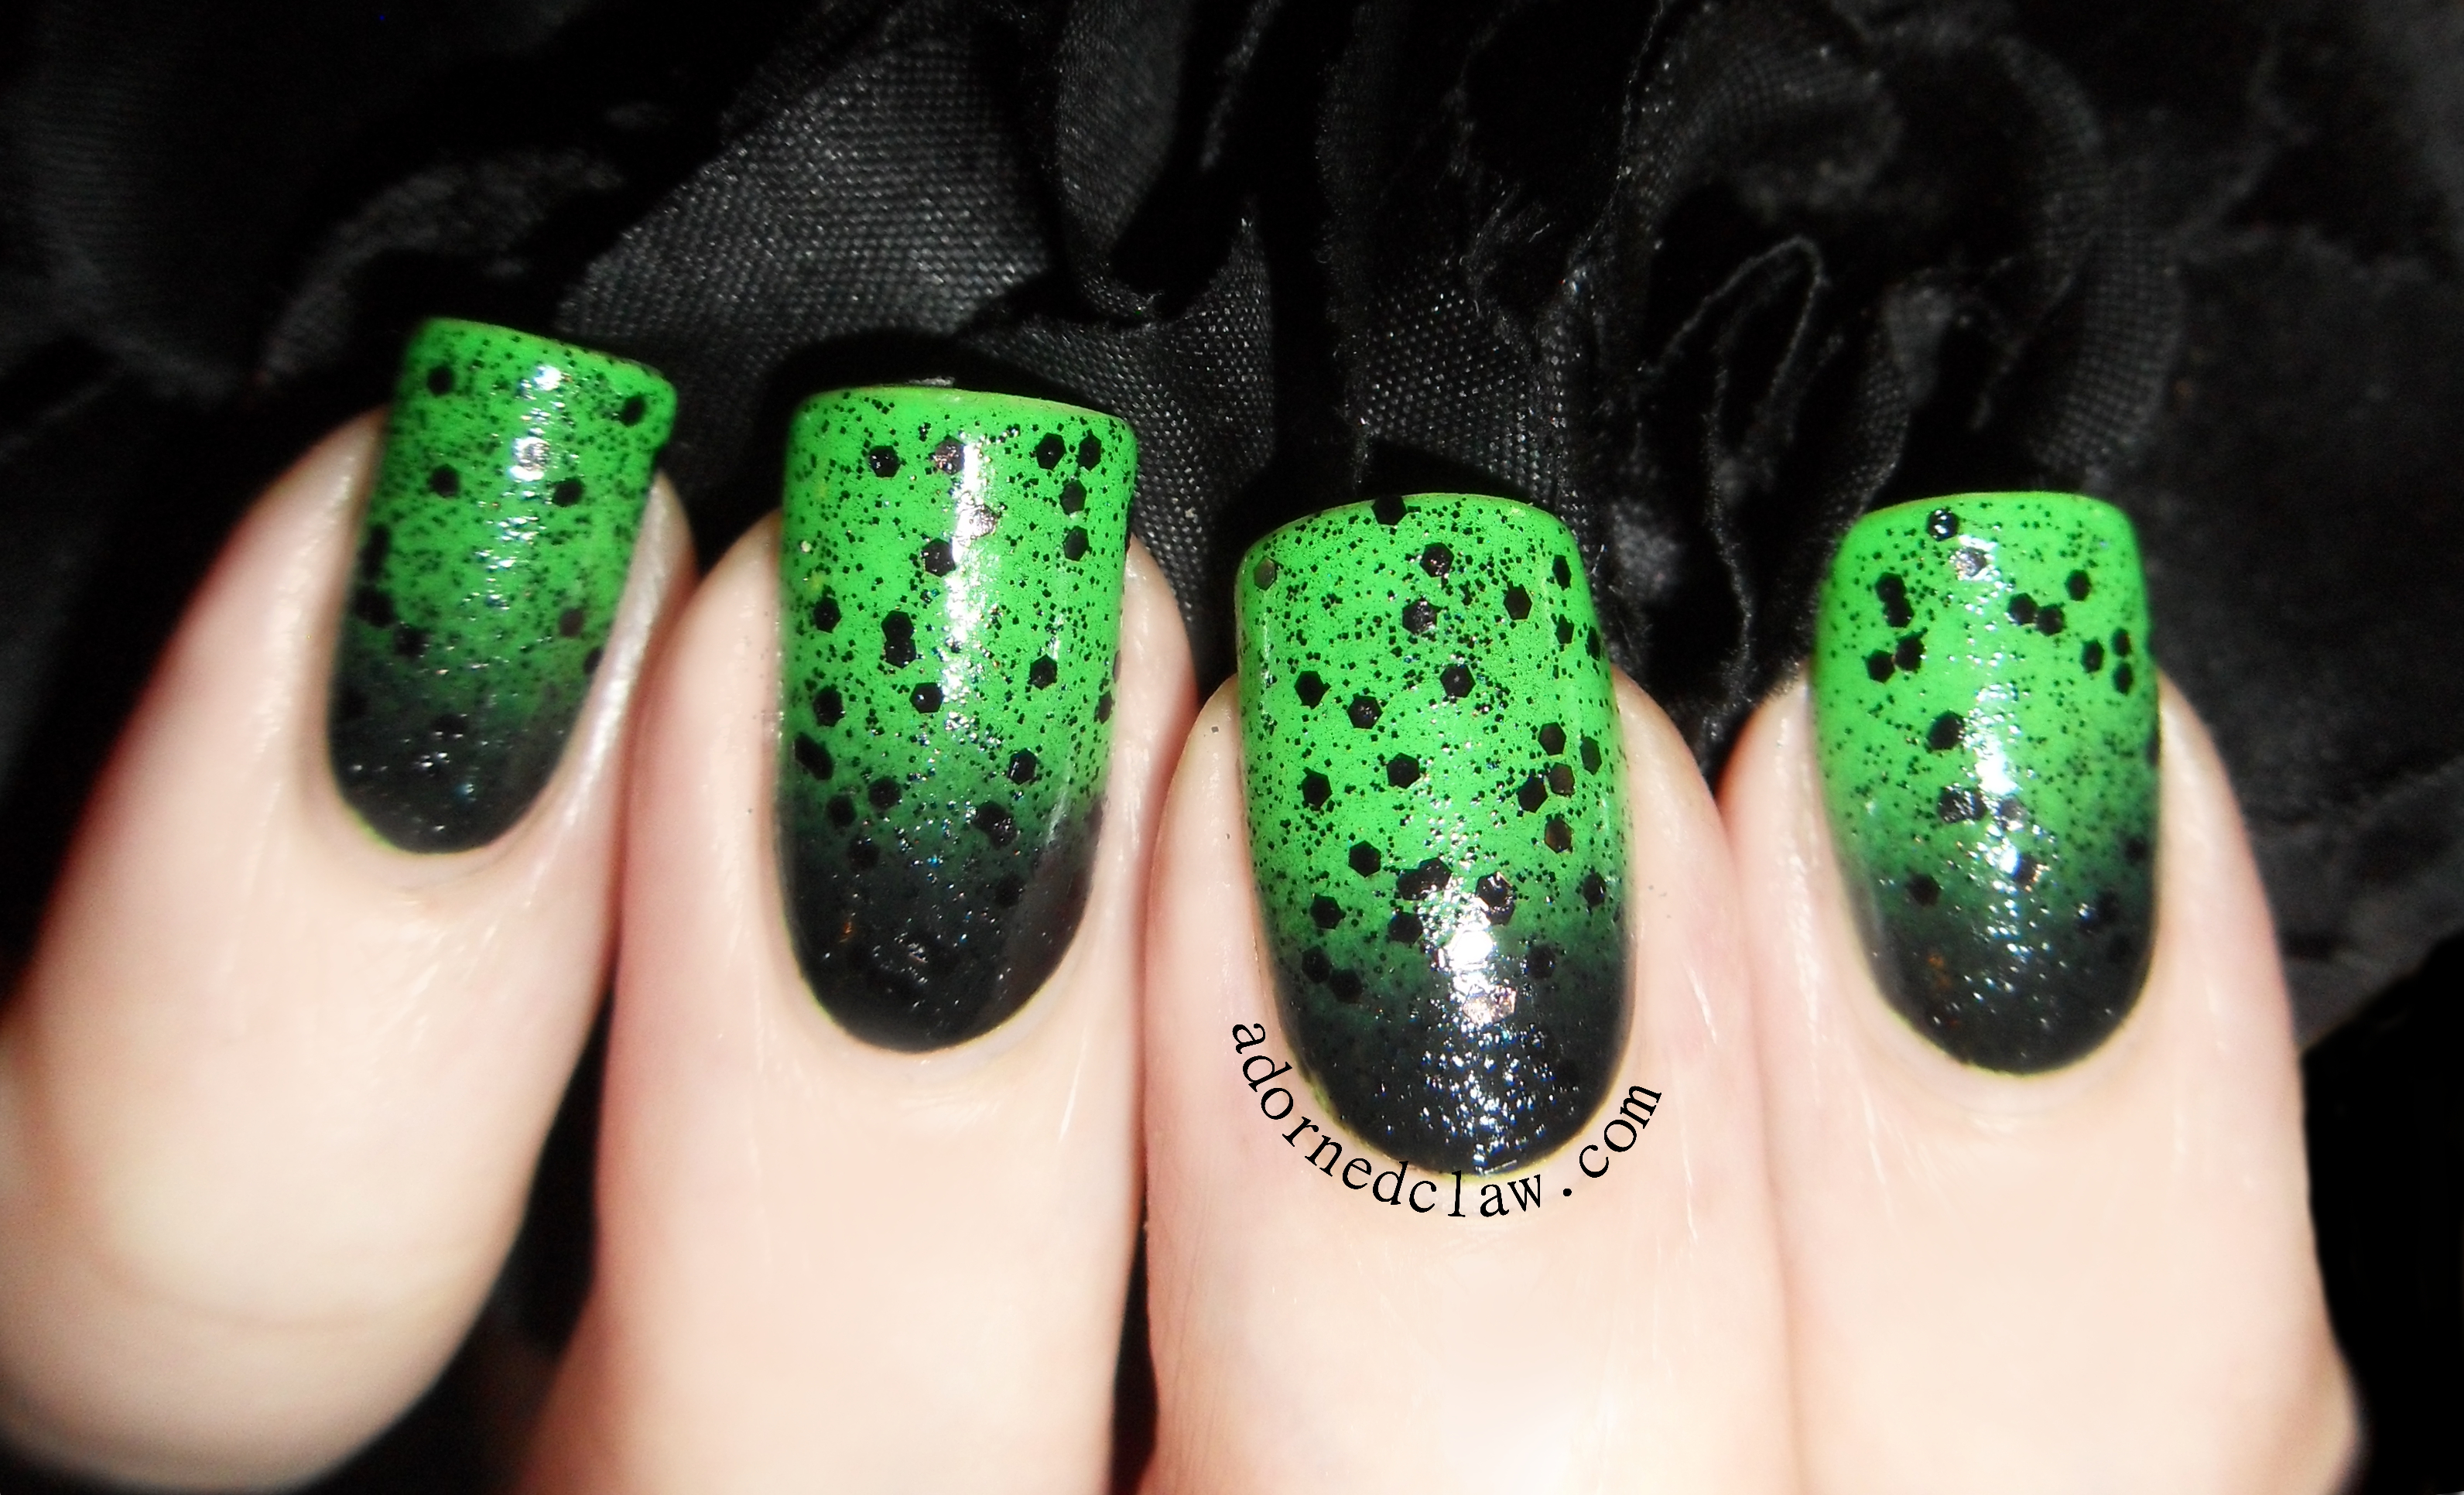
Xenomorph

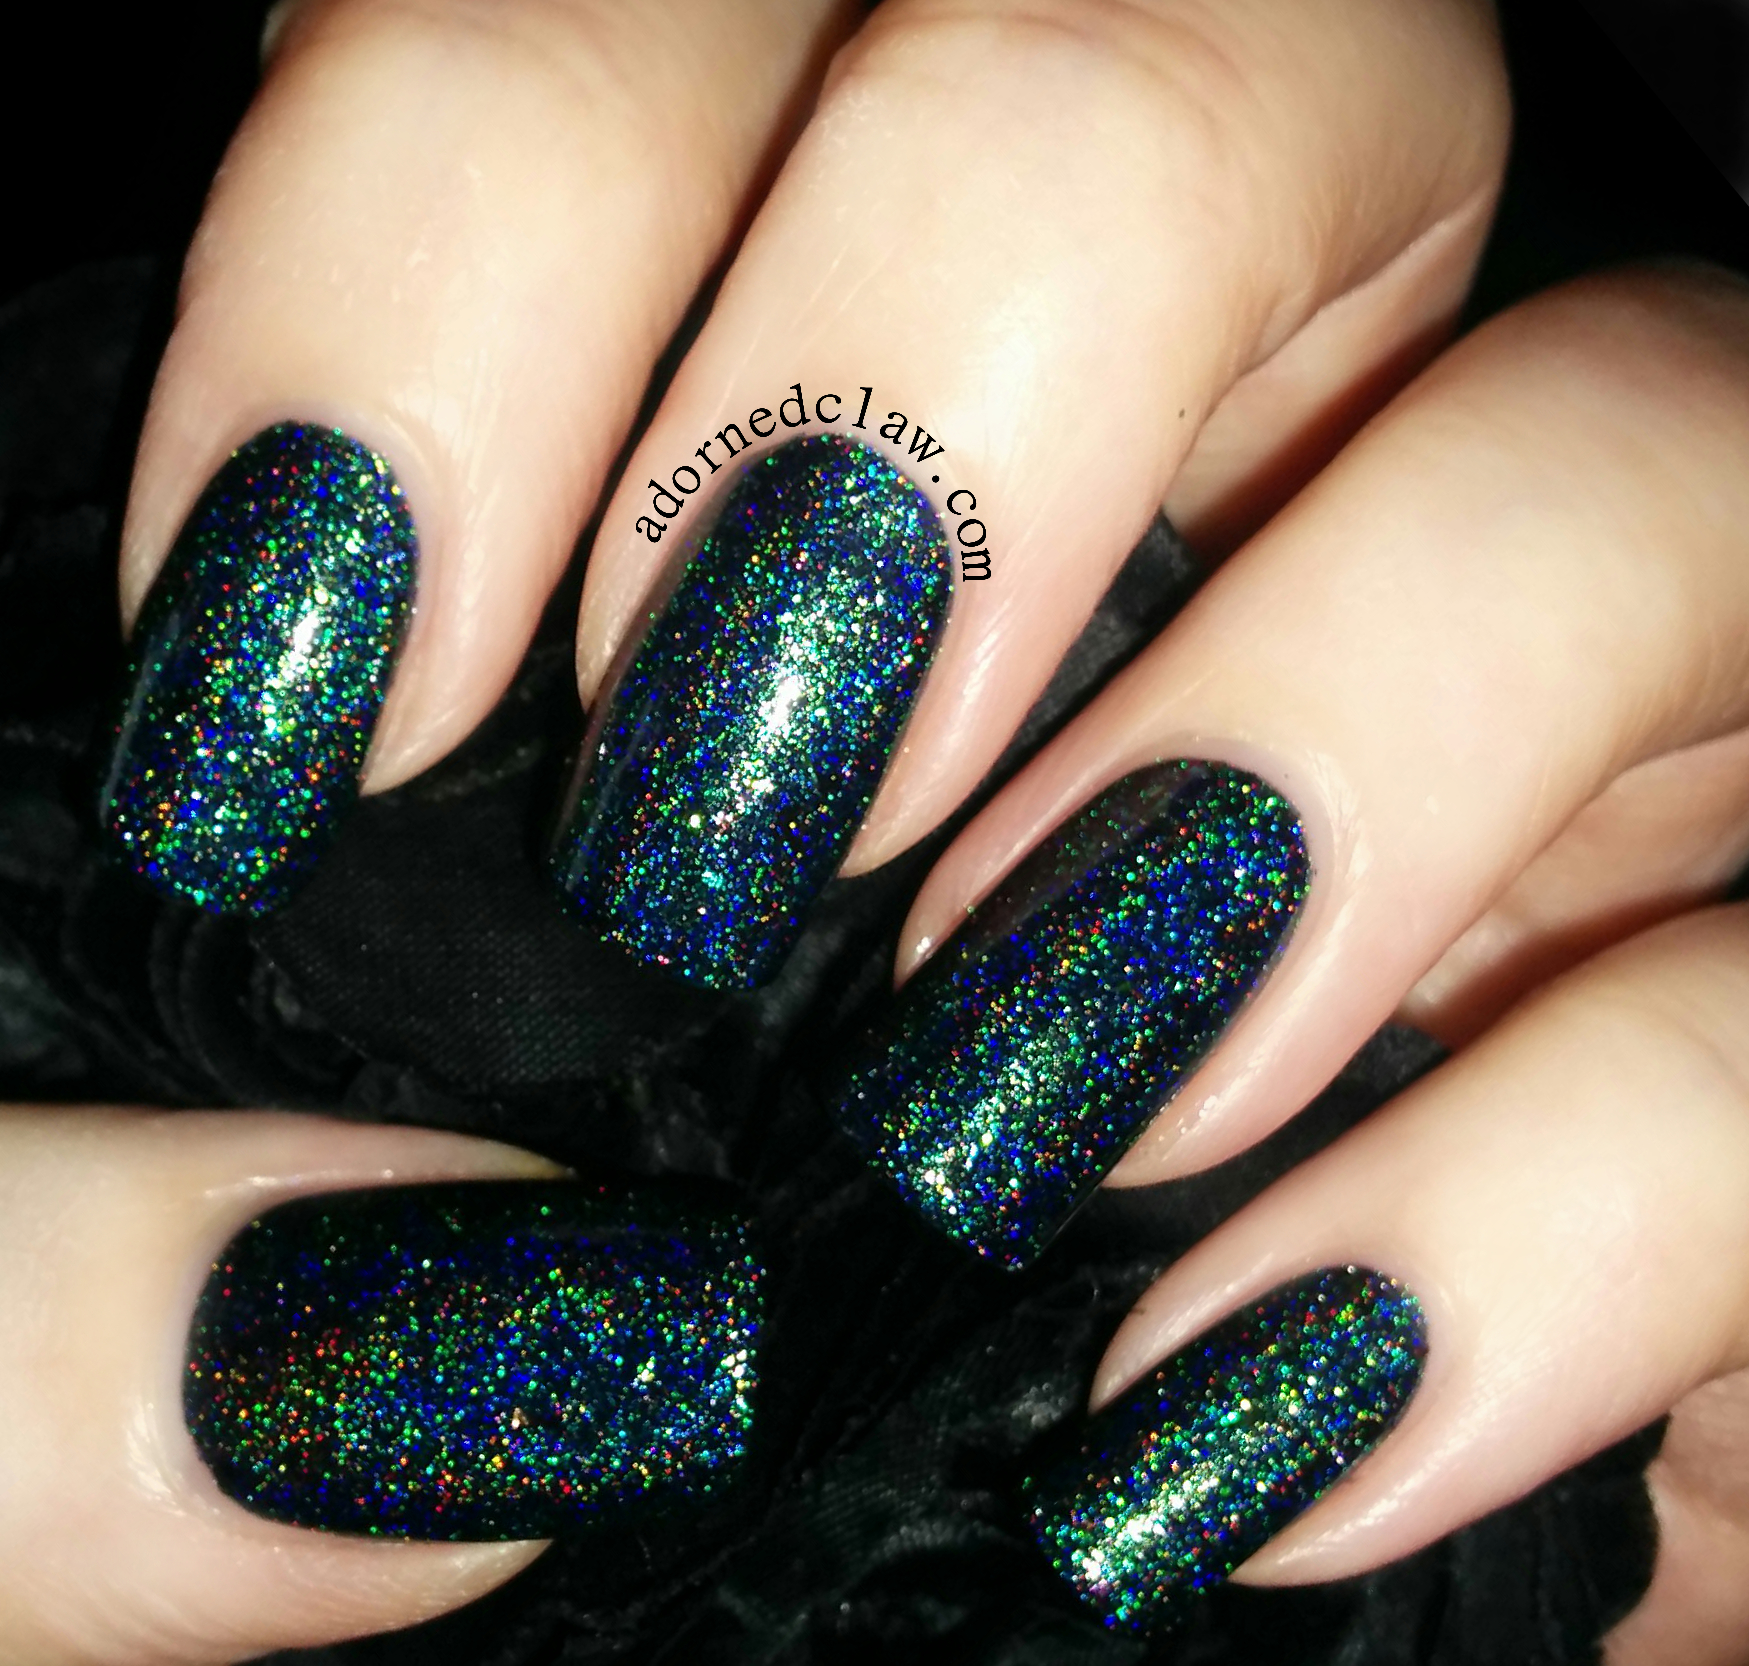
Xenomorph is a dark teal/green polish filled with both multi chrome flakie and regular glitters, holographic micro glitter, and iridescent glitter.

This really is a stunning polish, it’s so squishy and sparkly! some the multi-chrome glitters shift through red to blue while others are blue to red, unfortunately my pictures only show the green and blue, there is so much colour changing goodness going on in this polish!
the first coat was a little patchy but Xenomorph builds really nicely.

These polishes are available here at Darling Diva 🙂
I really have to get the rest of this collection, no, I need the rest of this collection in my life right now!
In all these pictures I have used my usual base coat and top coat.
😀