Hello!
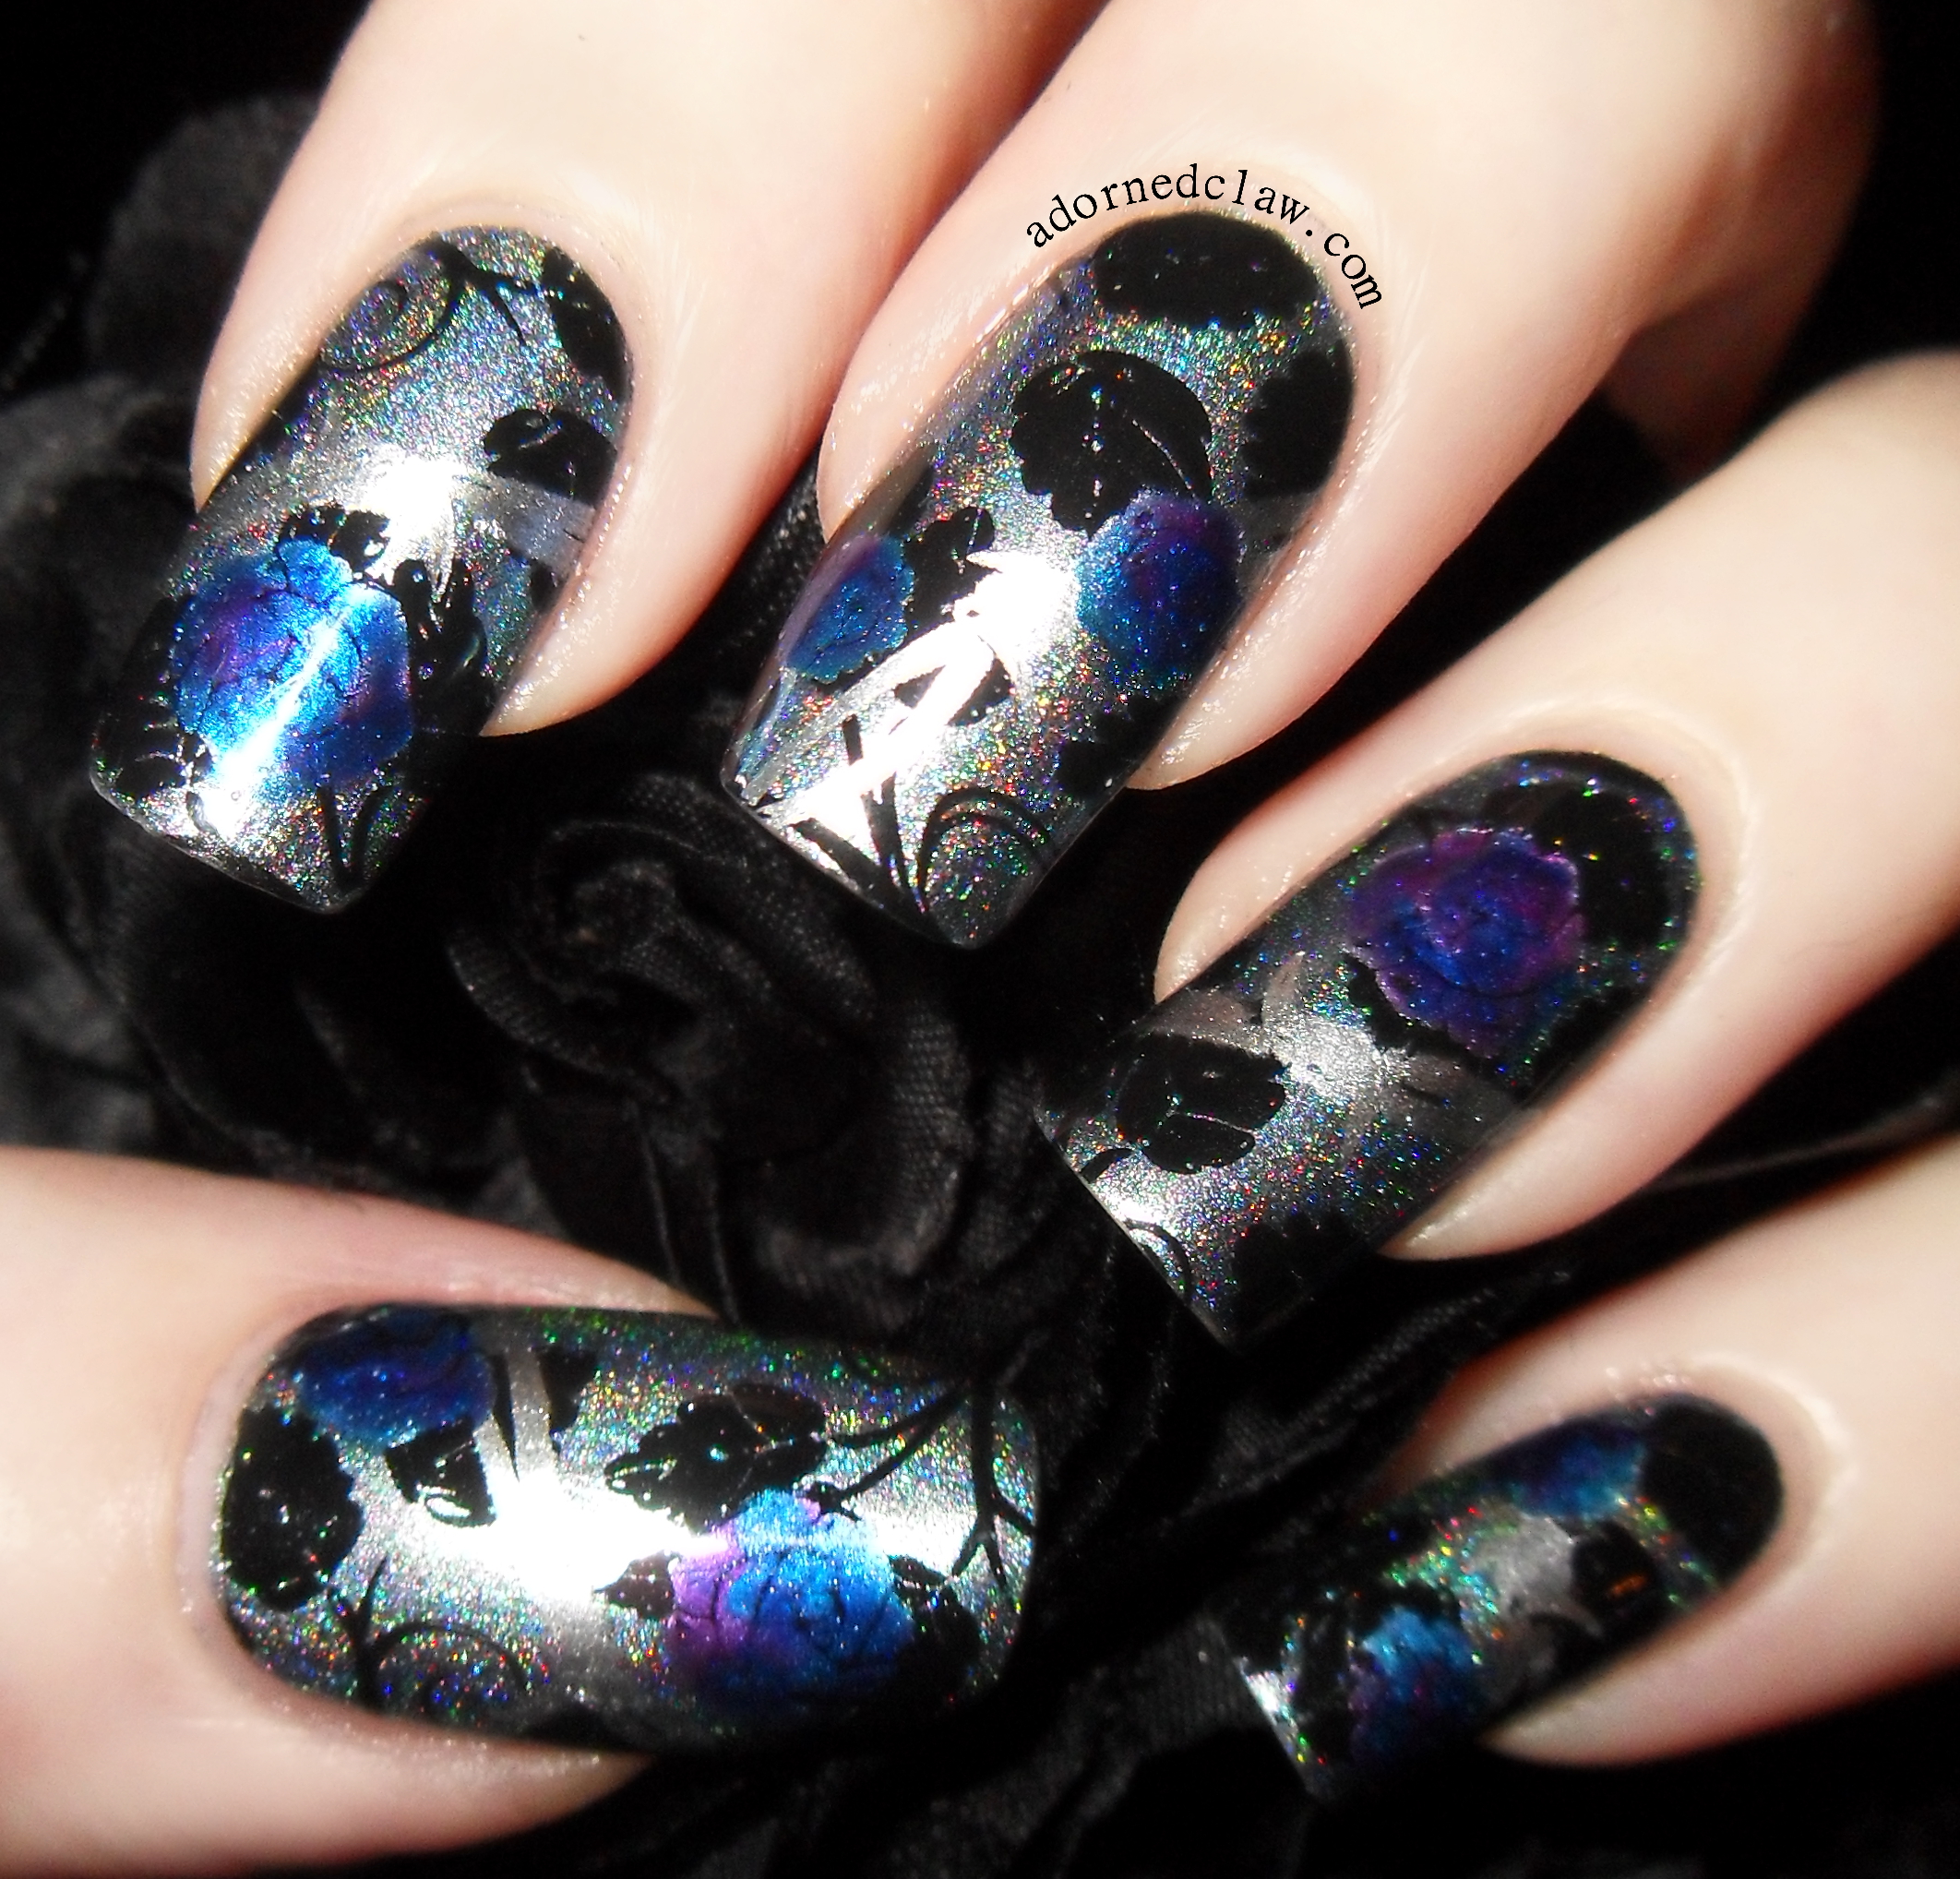
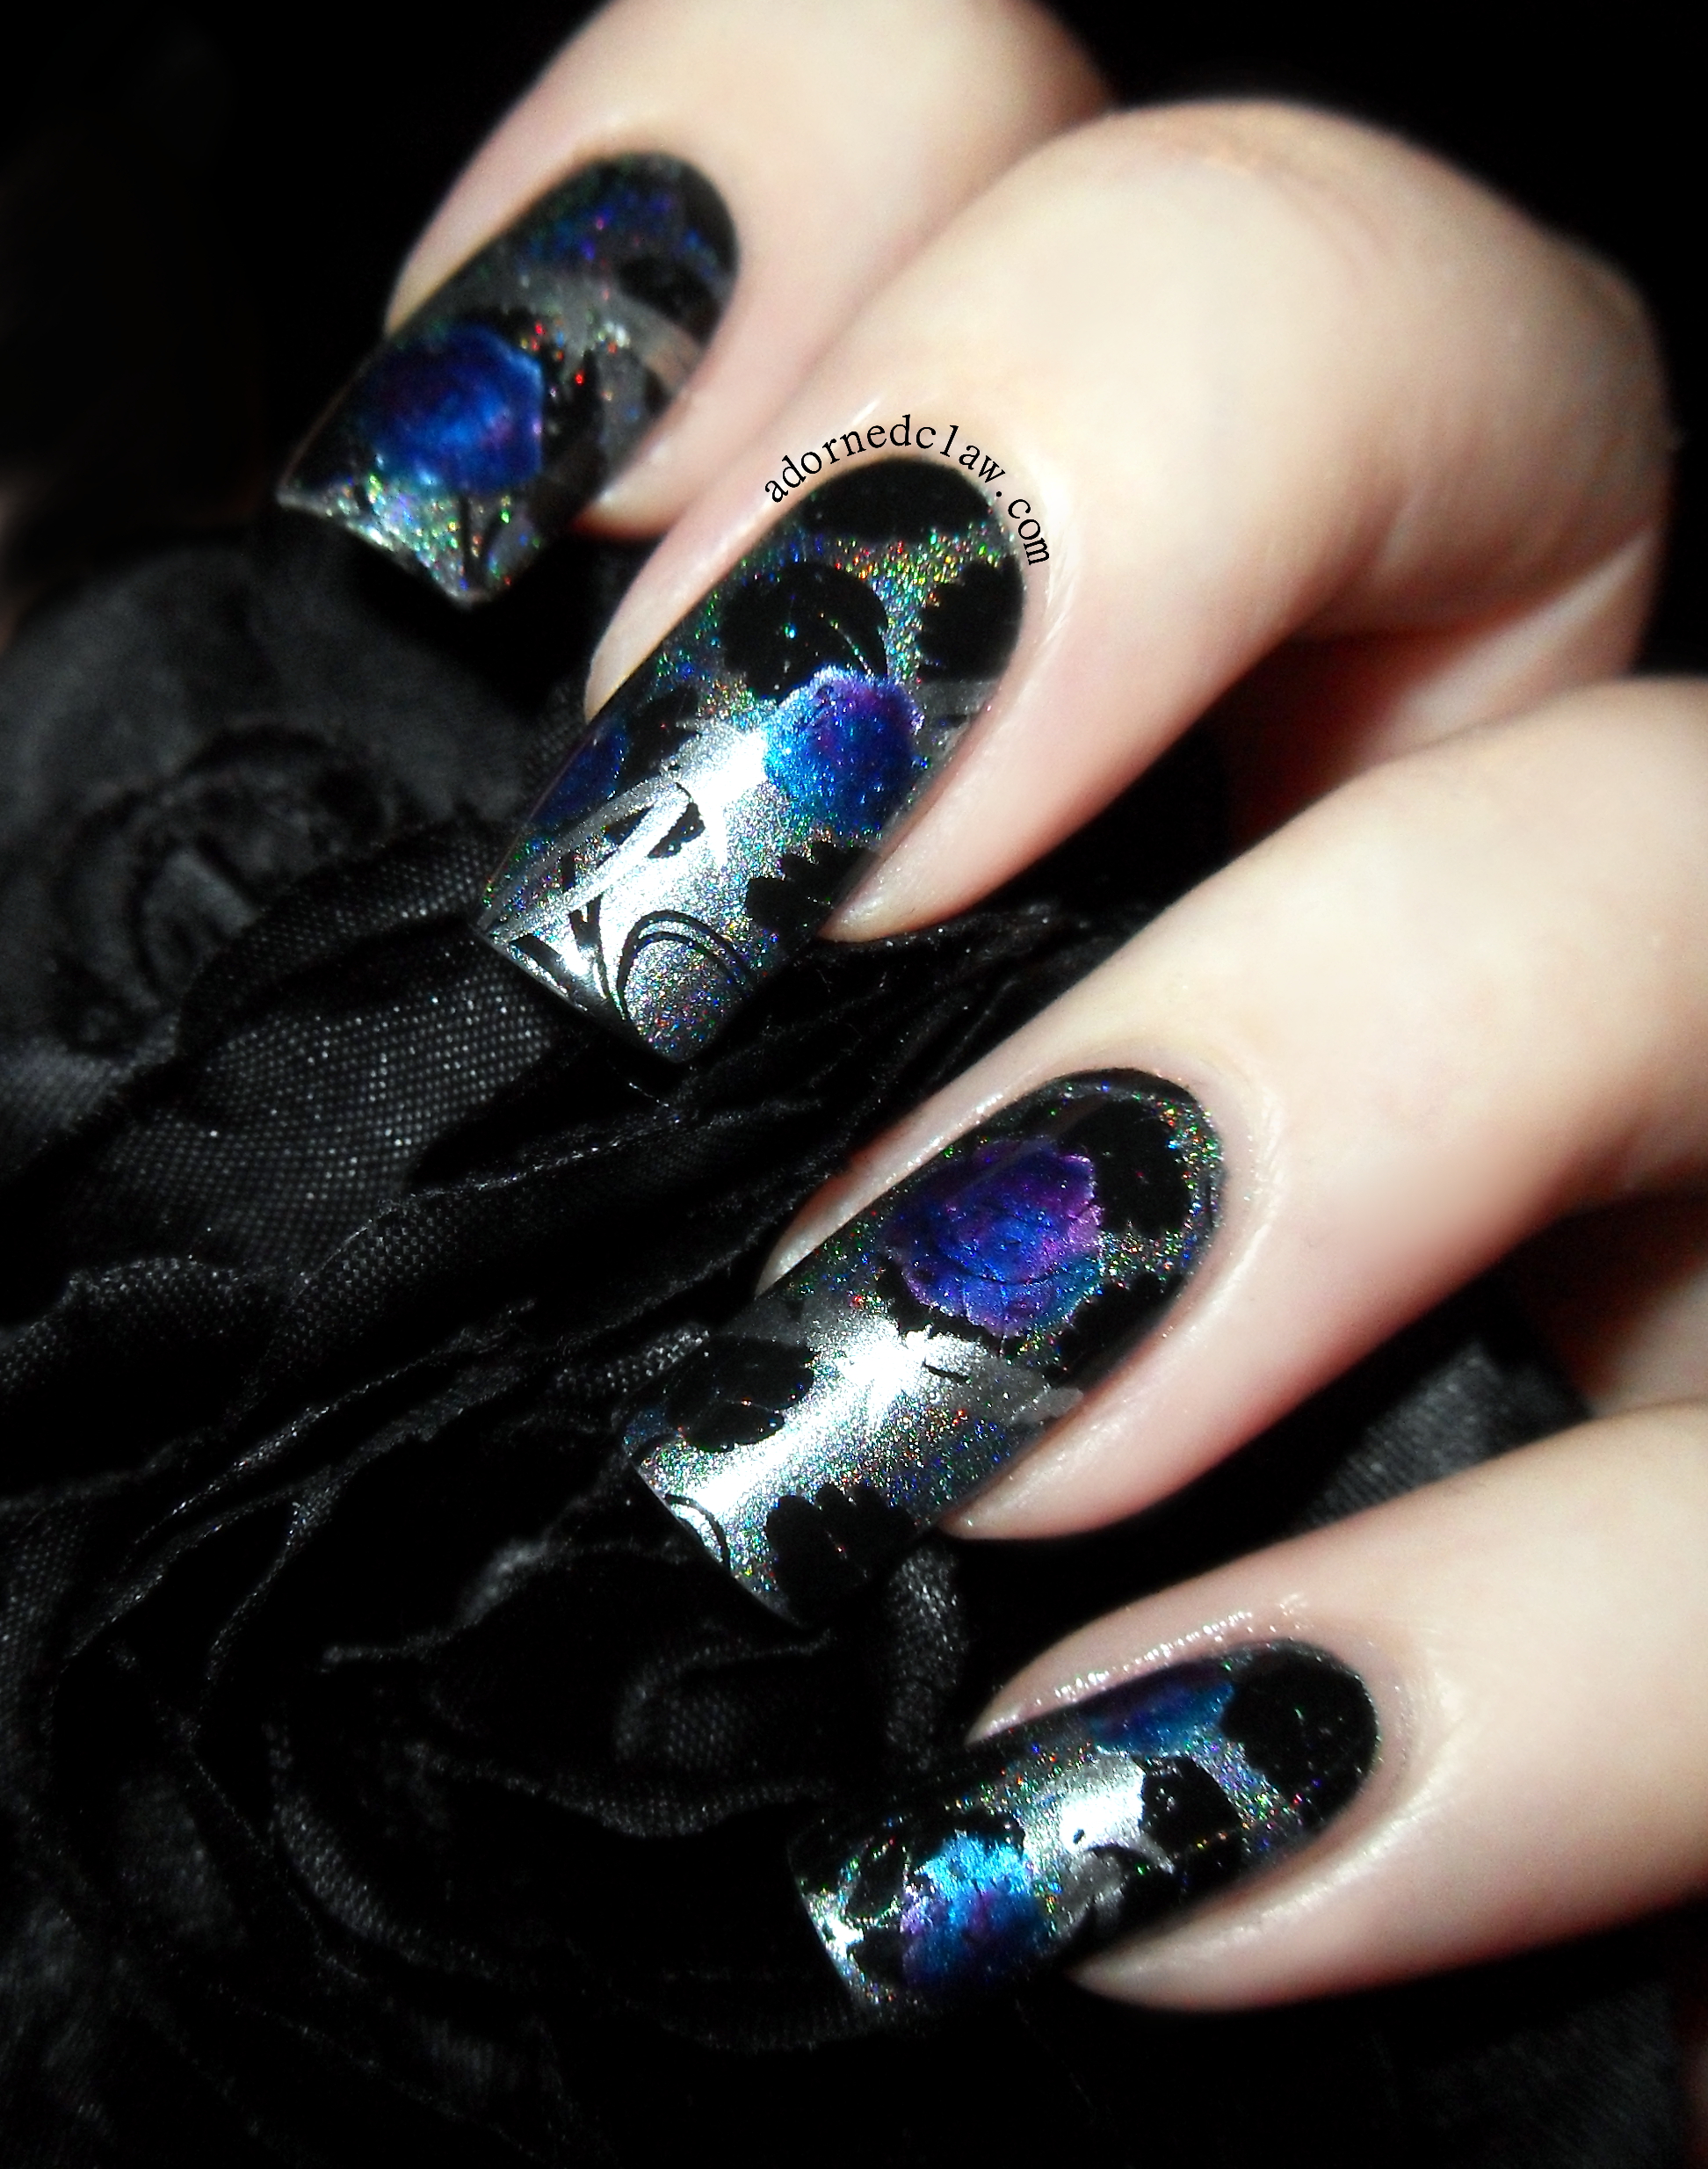
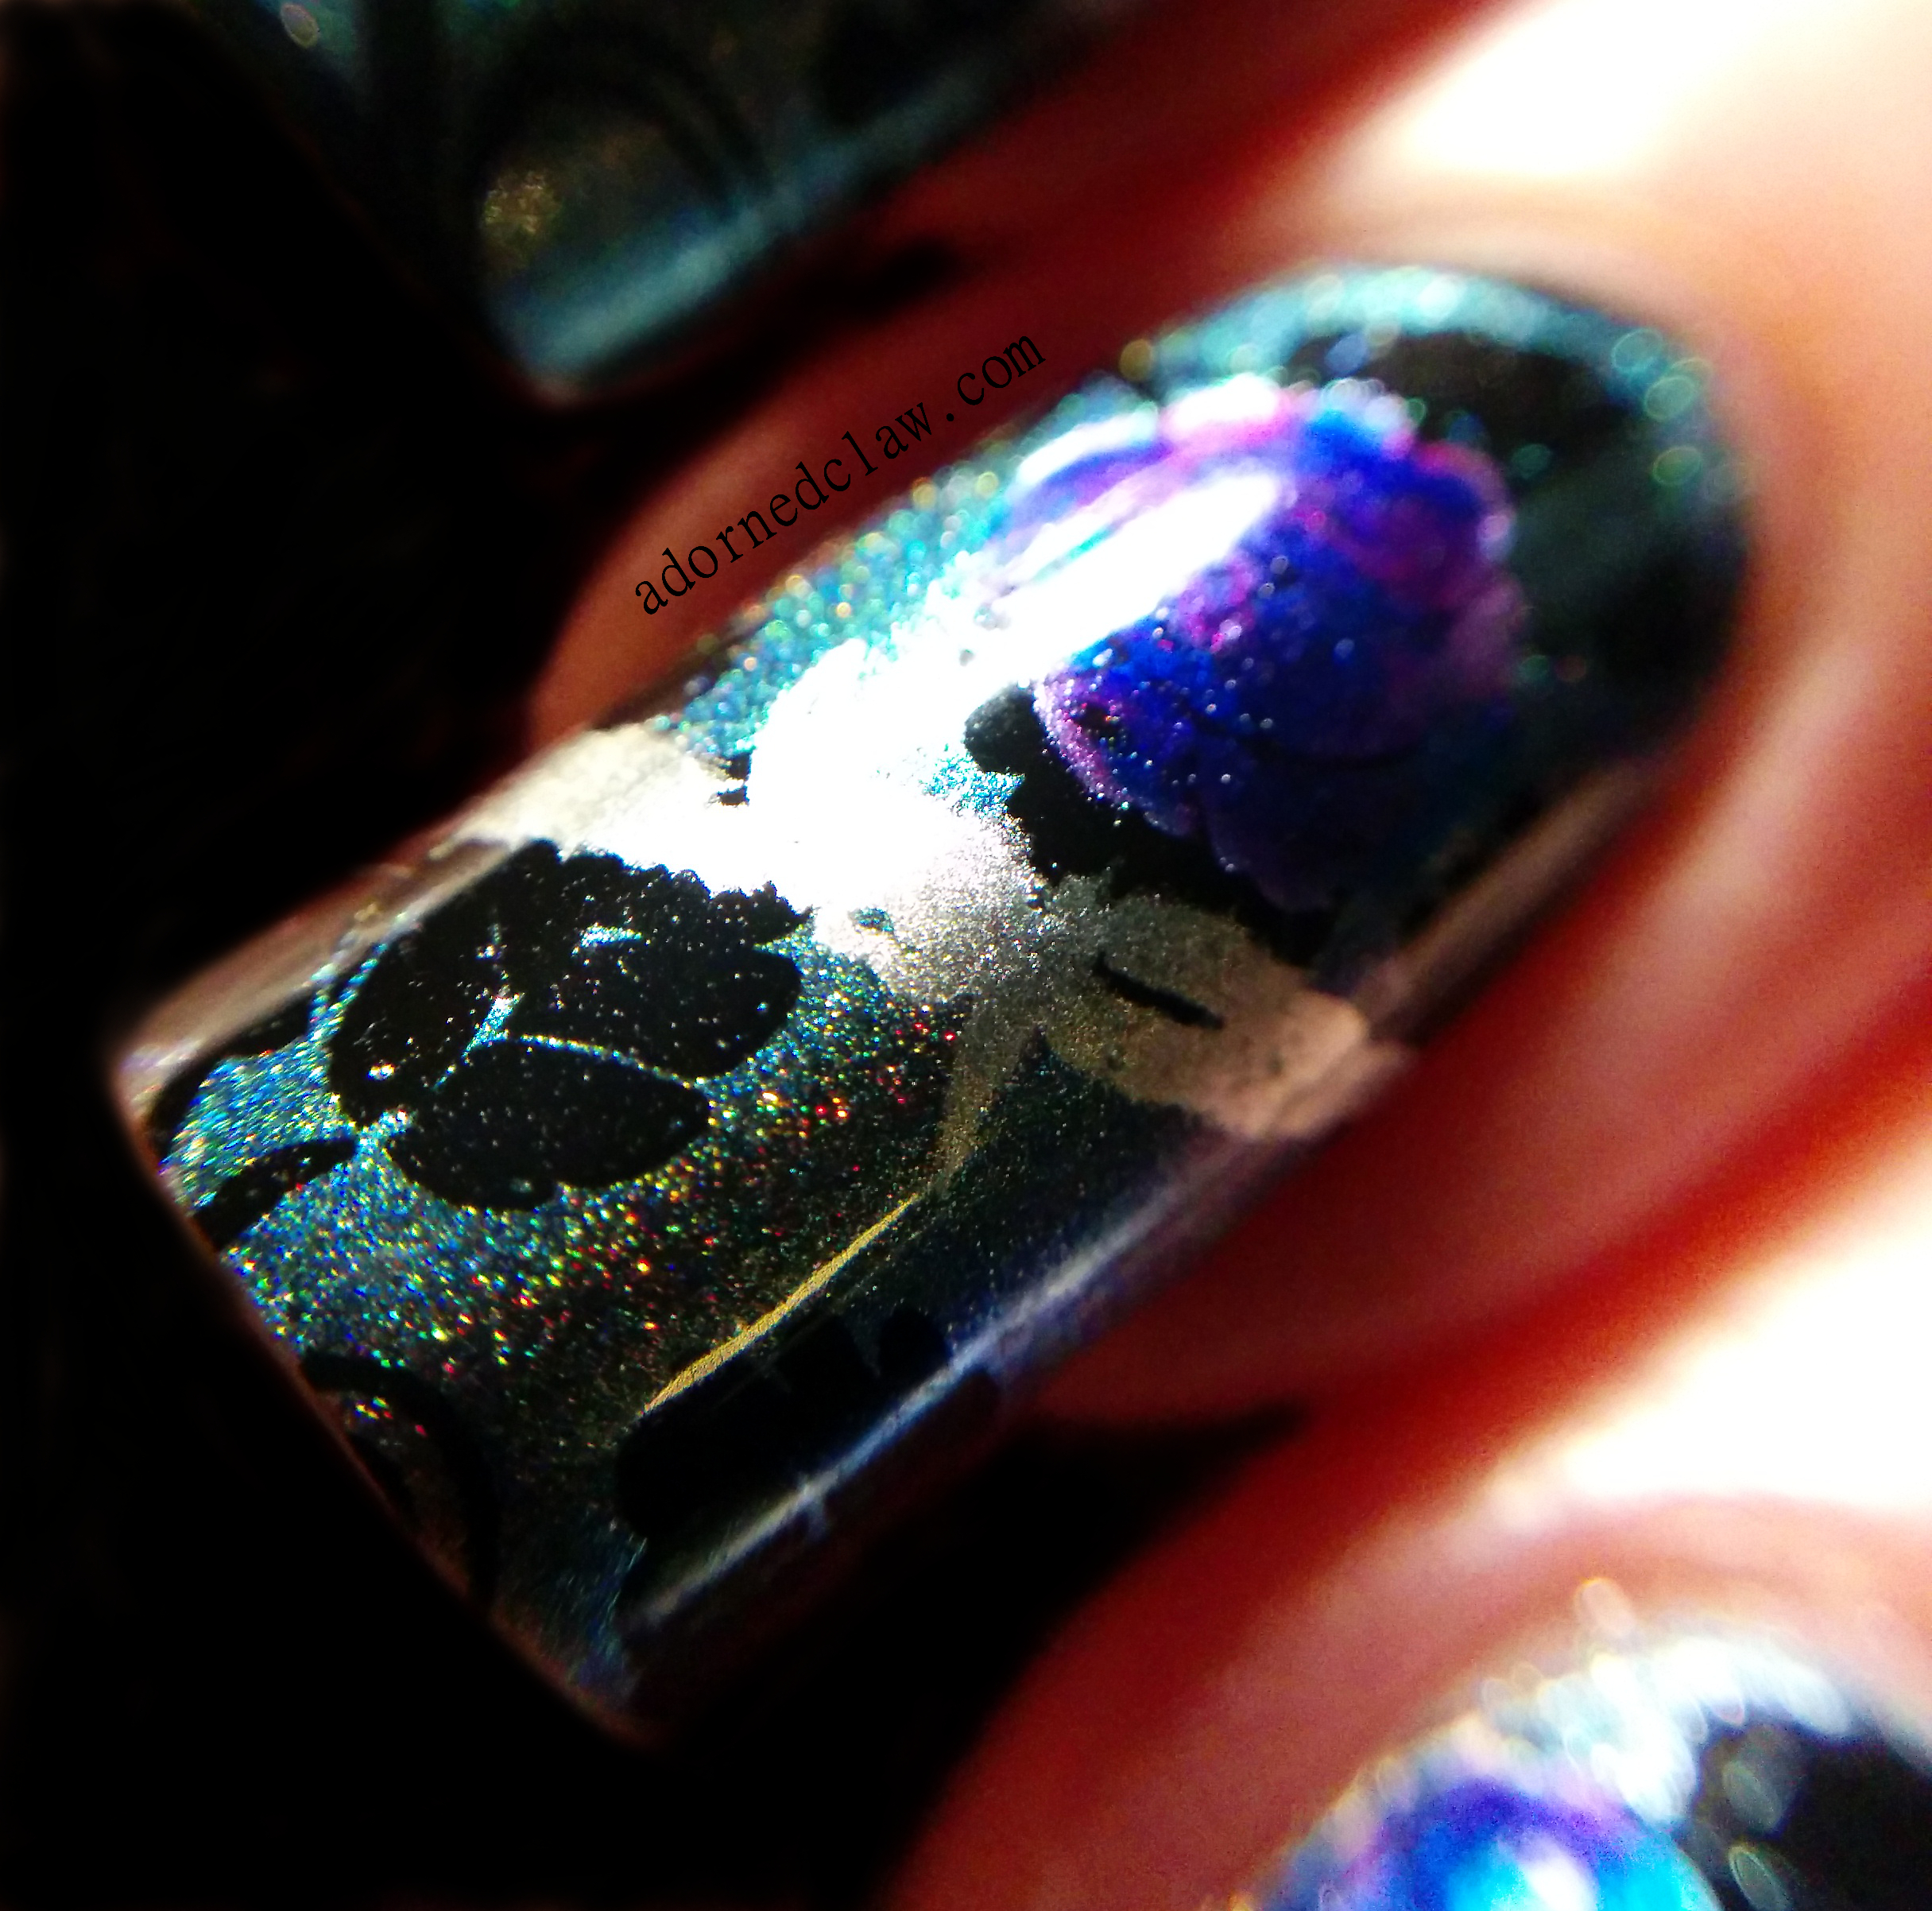
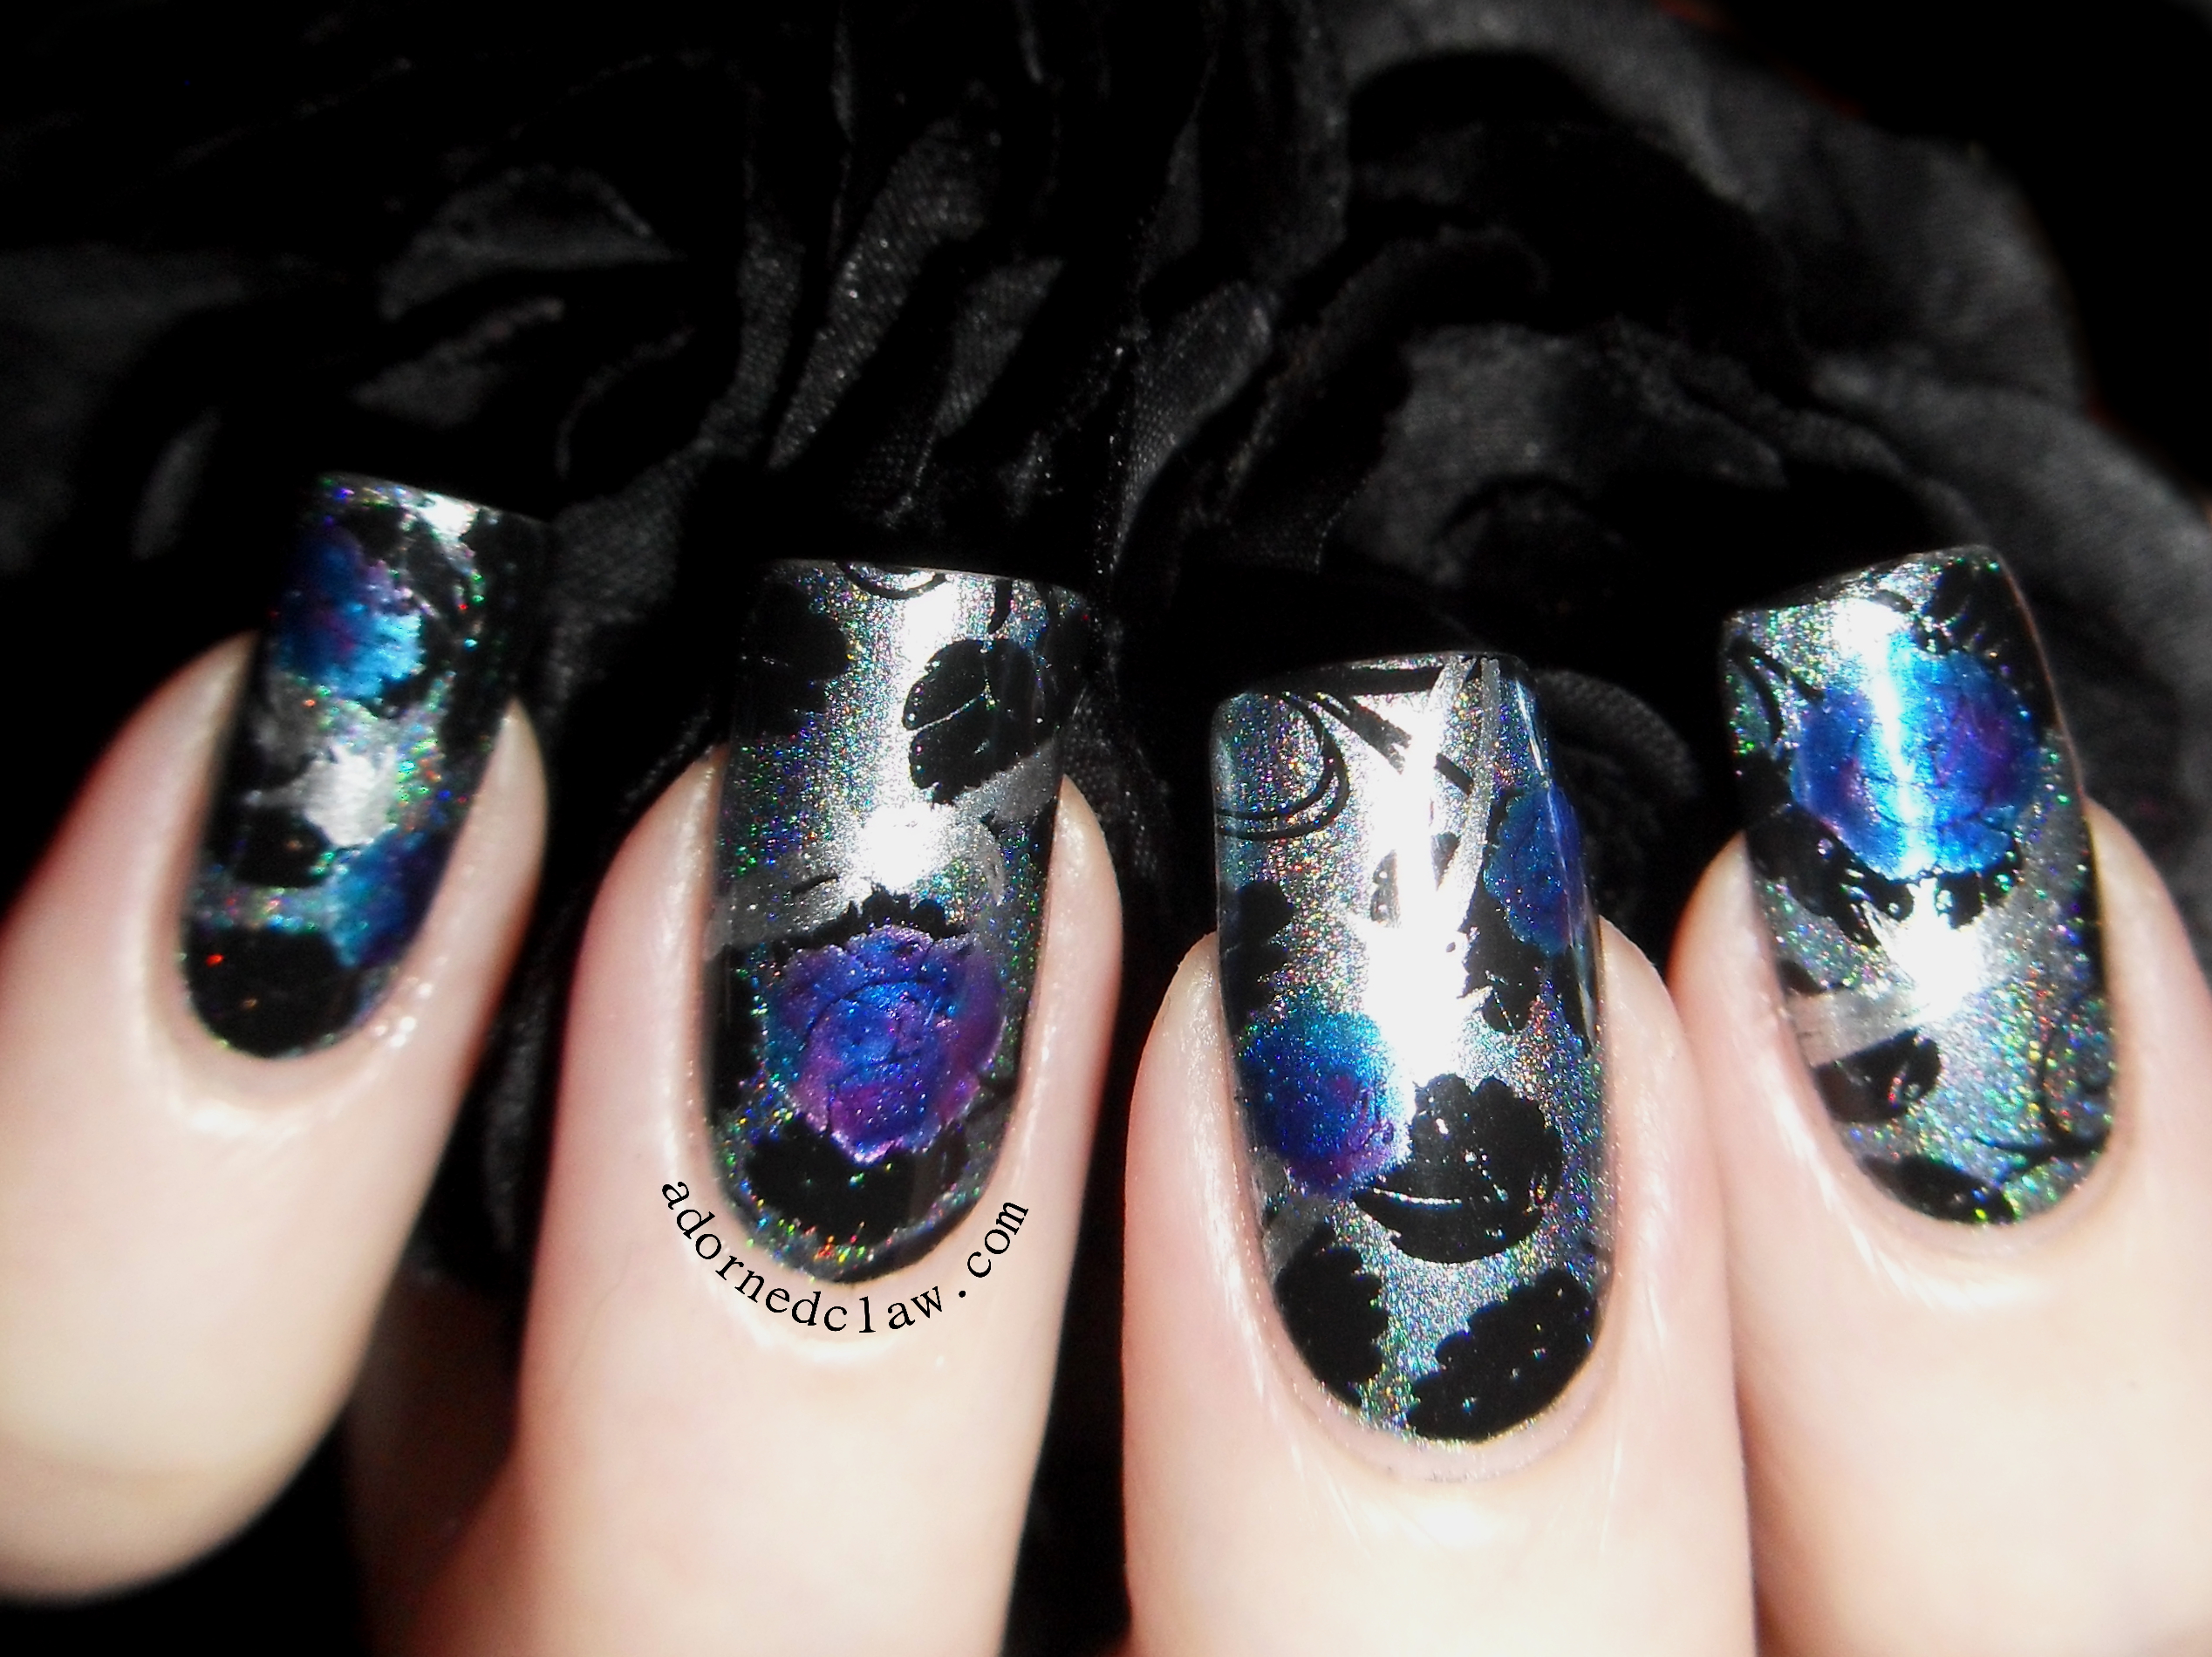
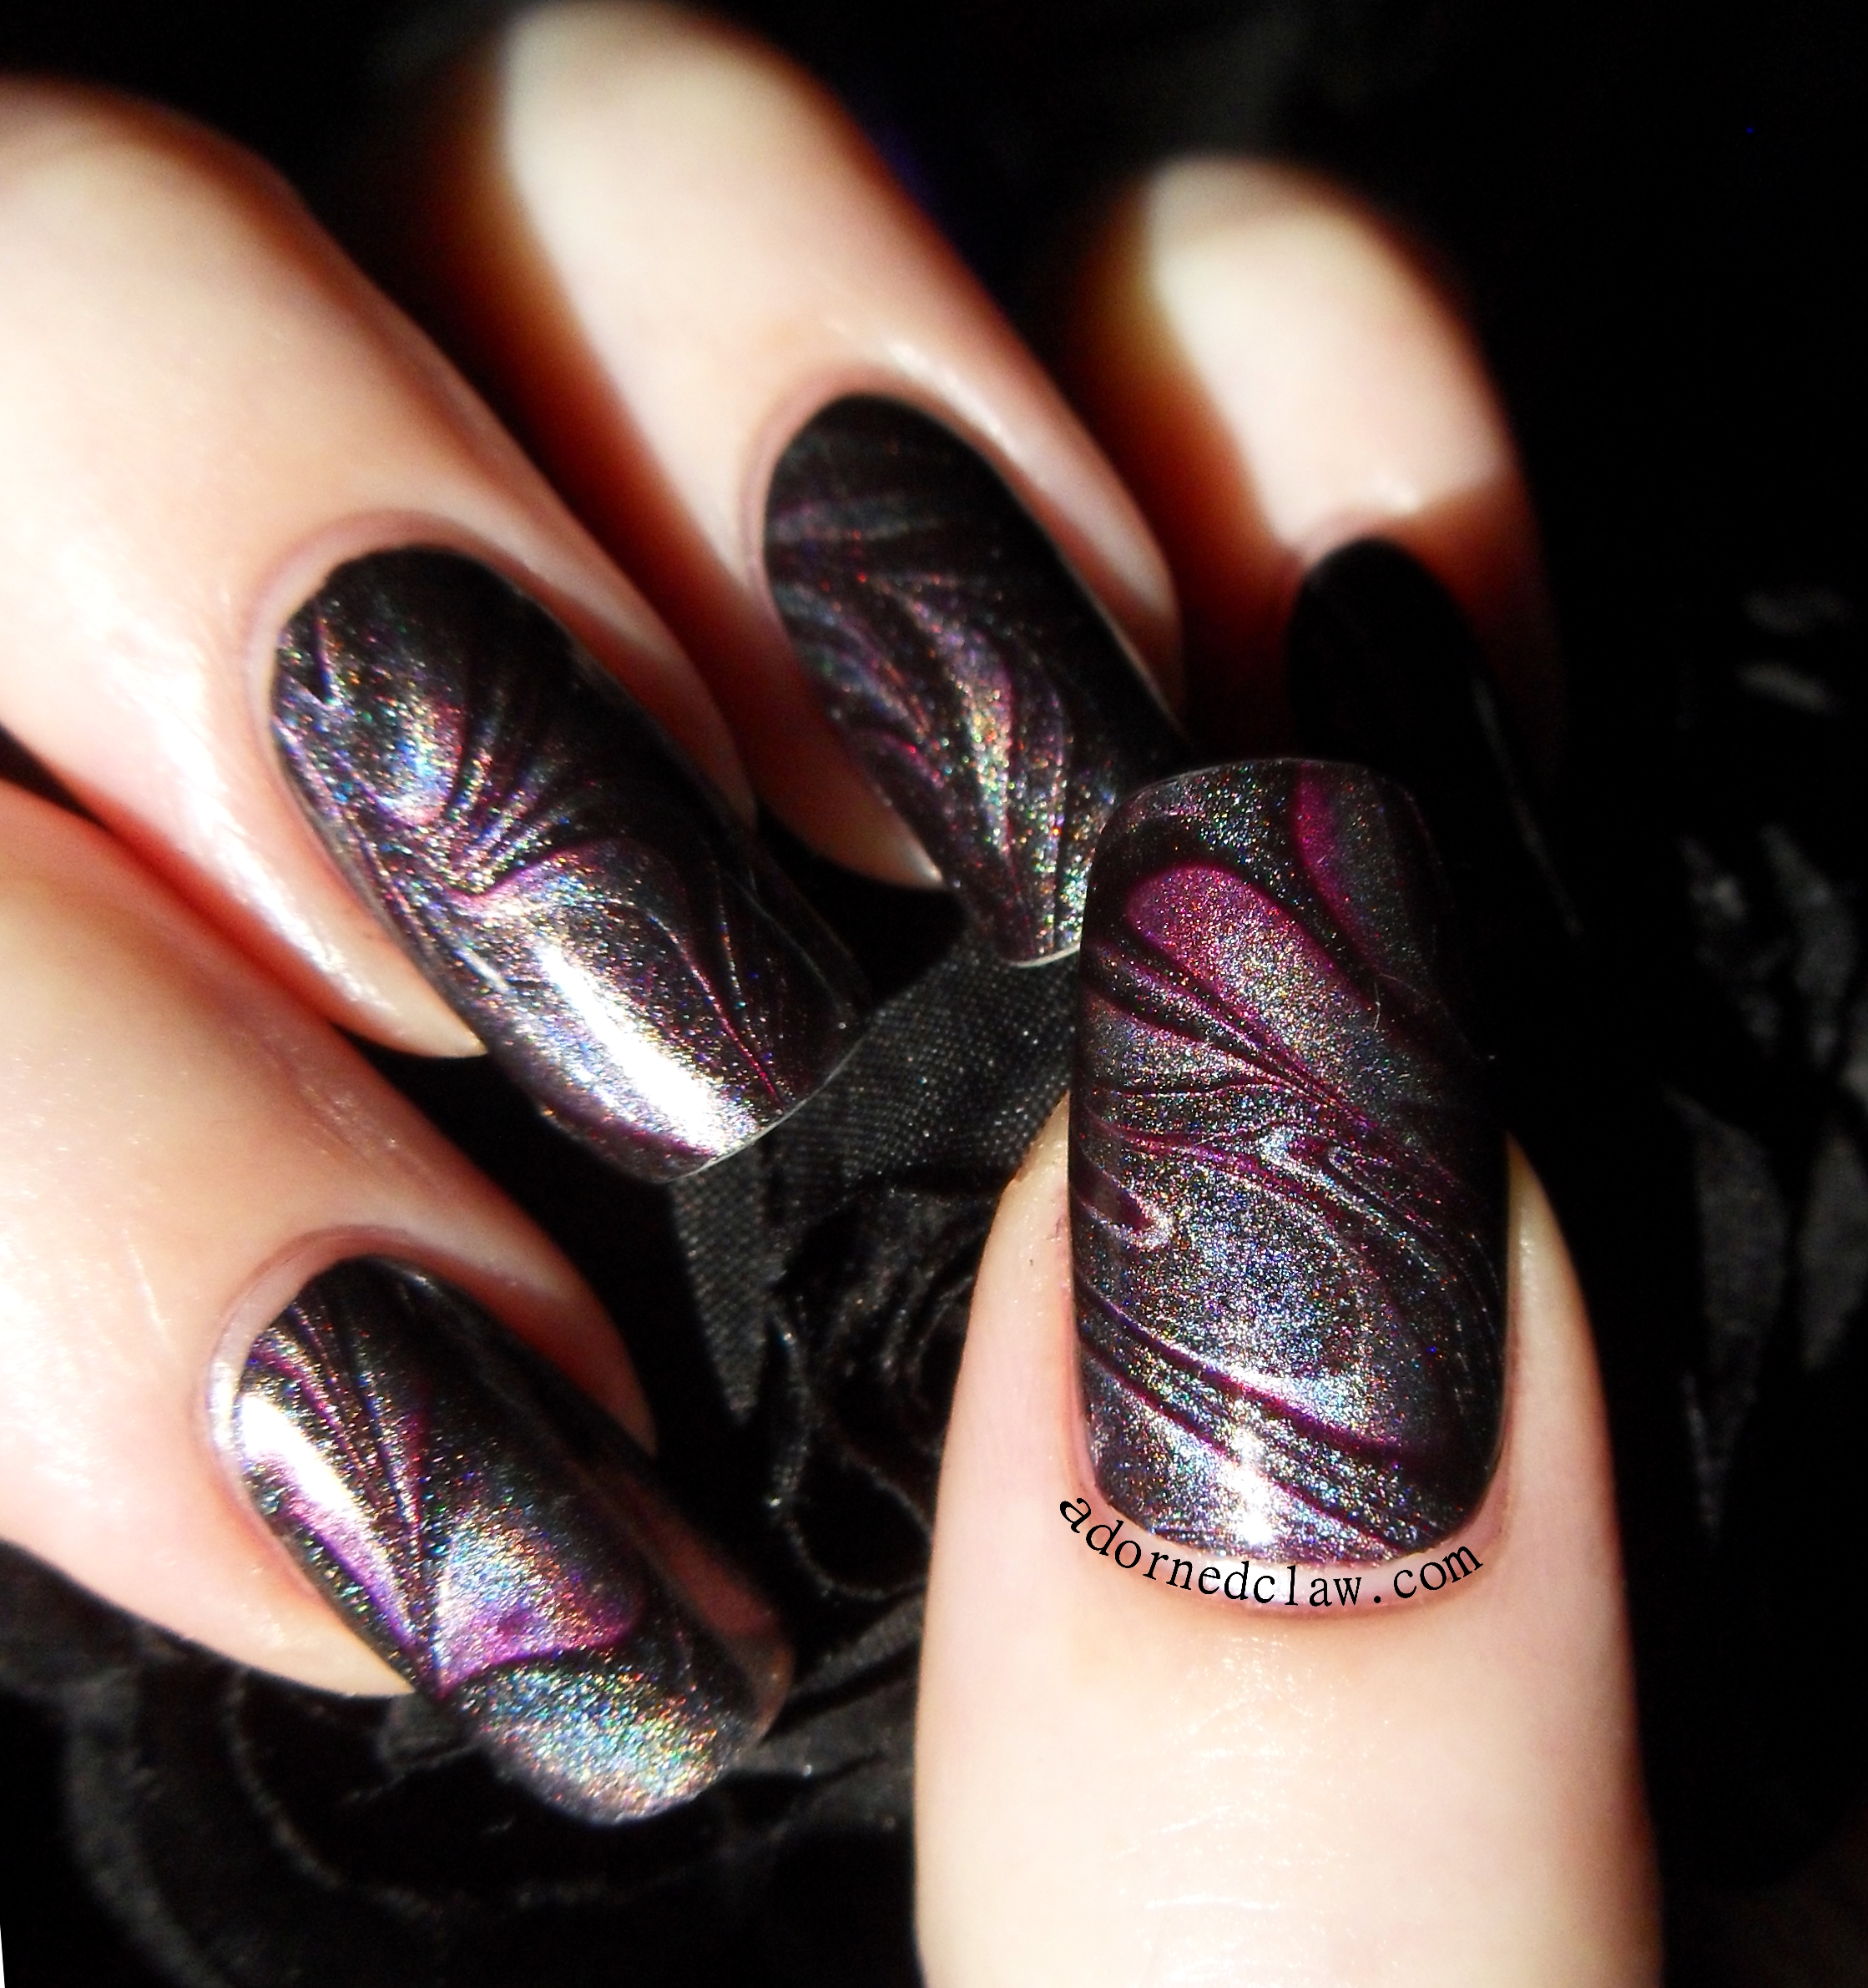
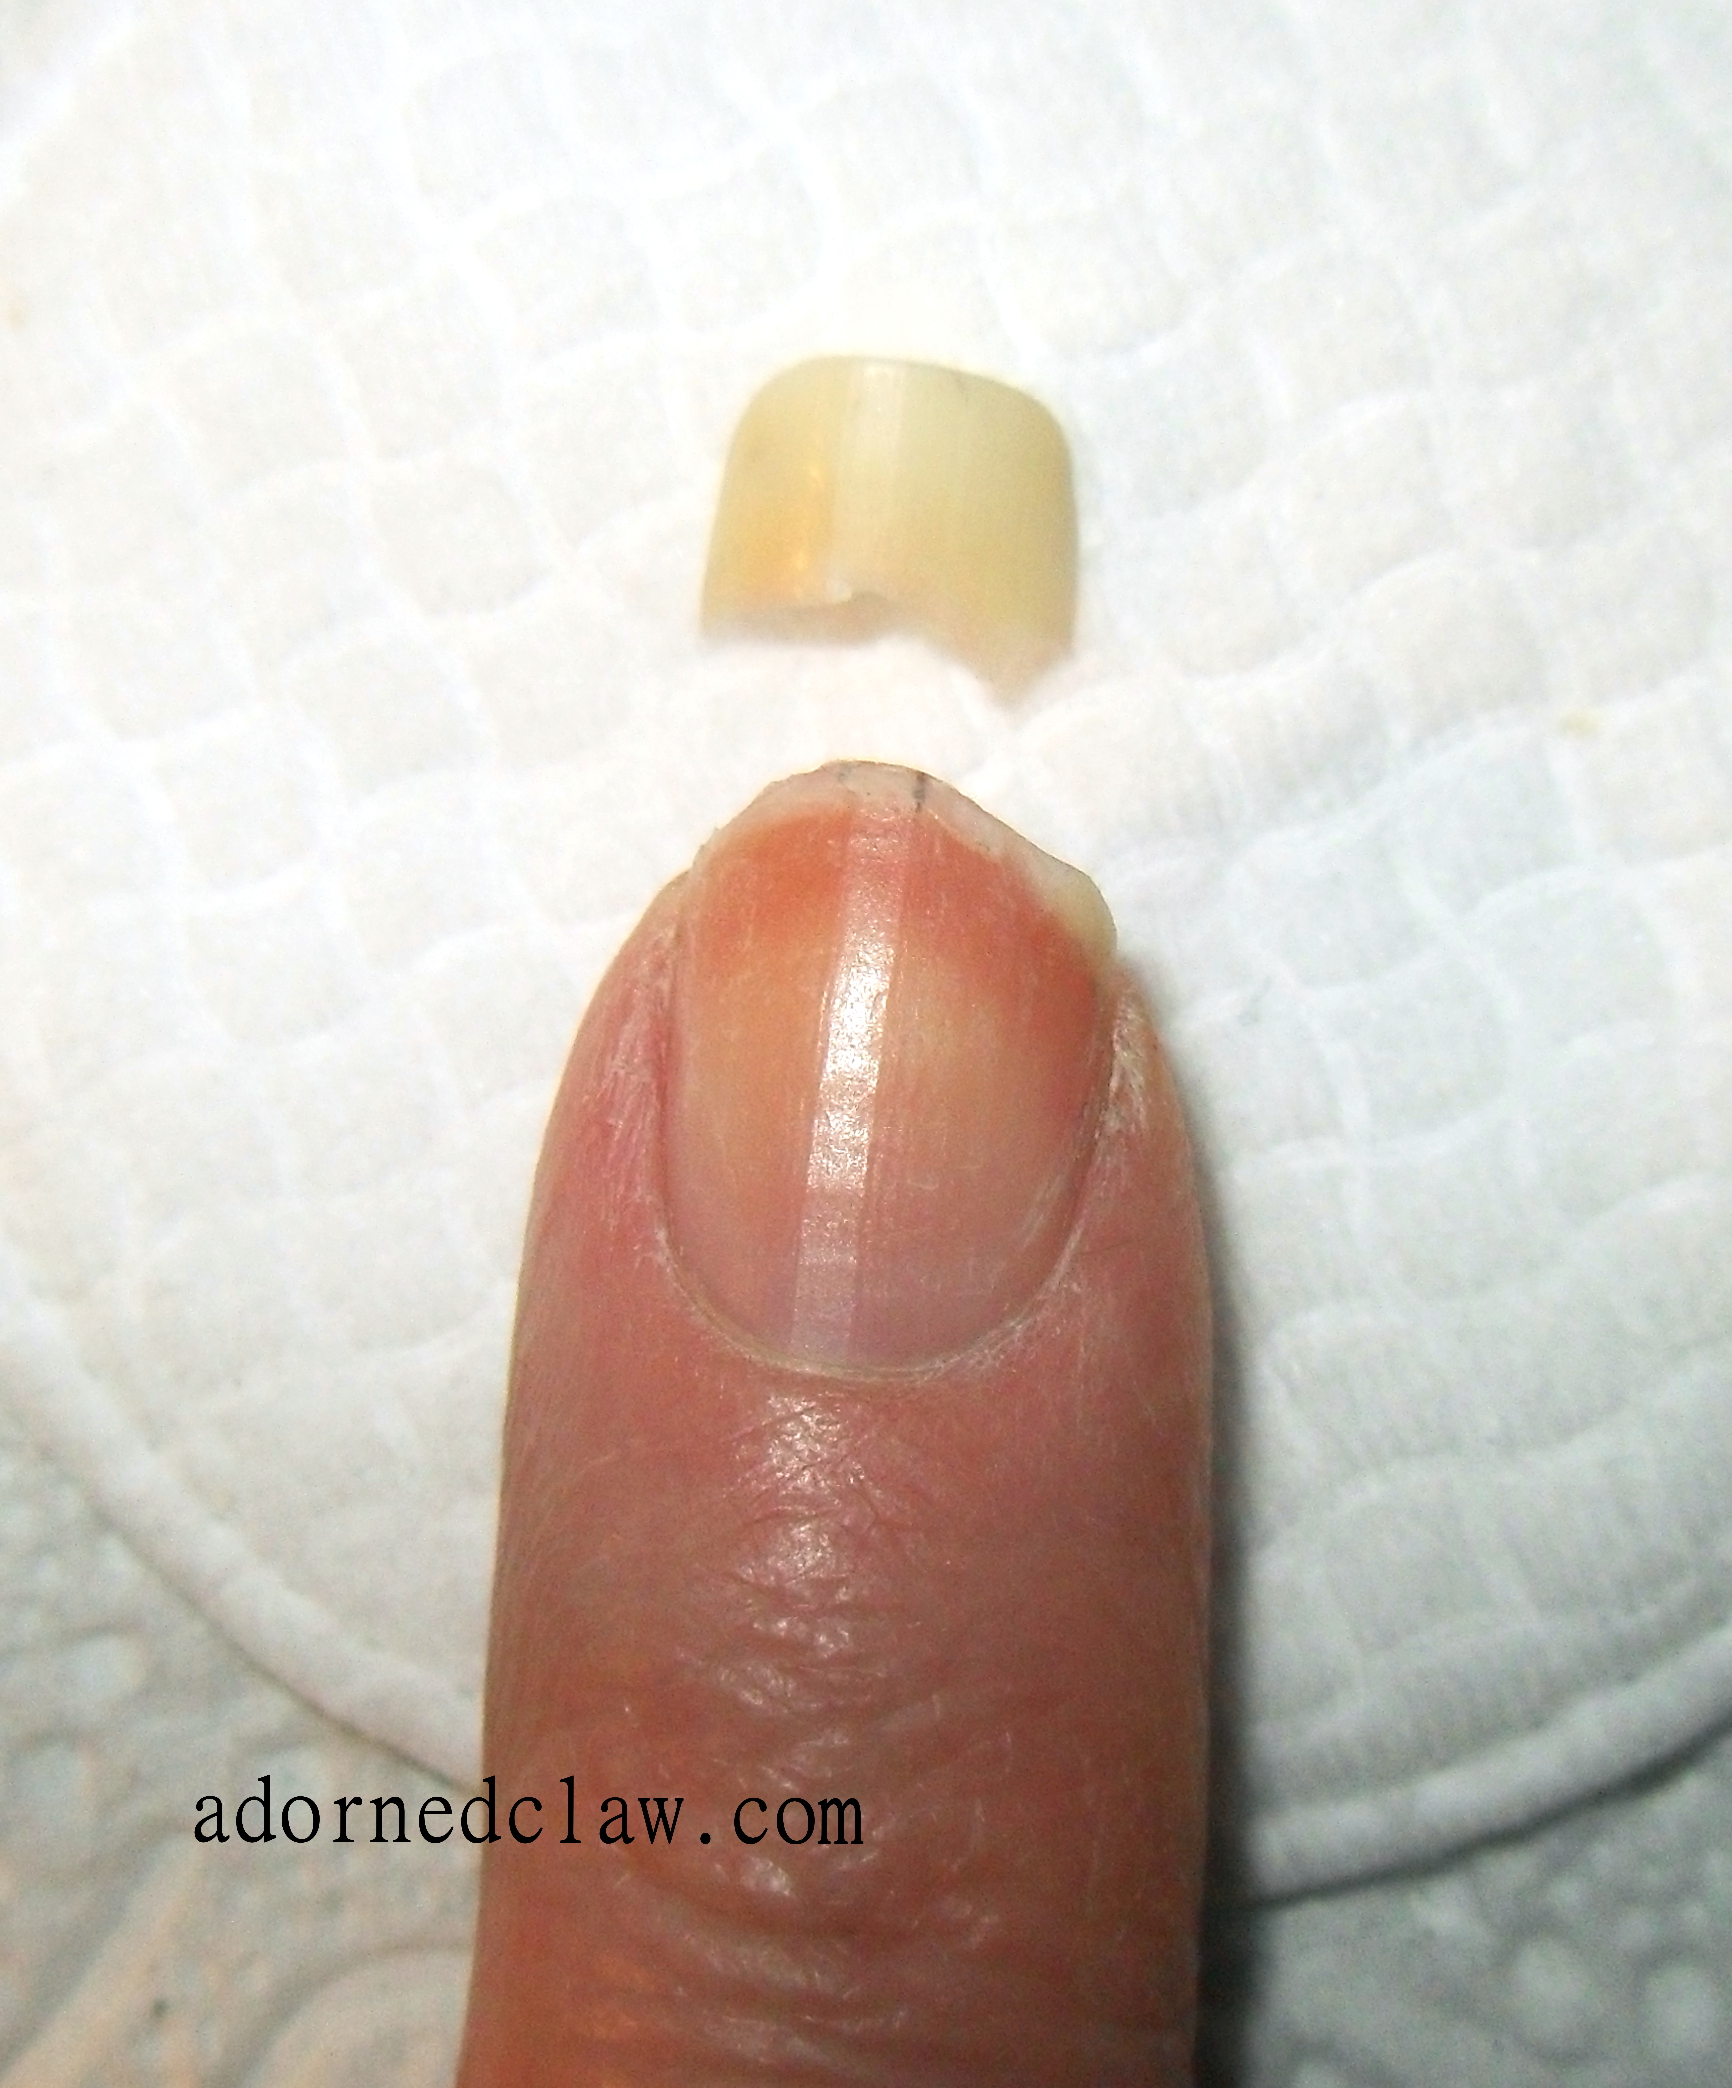
This evening I was going to to be doing swatches of all the lovely new Illamasqua polishes I picked up while I was away last week… Unfortunately this happened while I was cleaning D: And my nails are stained from the red polish was wearing D: The swatching will have to wait…
noooooooooooooooo!!!!
So instead I’m going to show you all how I fix my nails when they break like this!
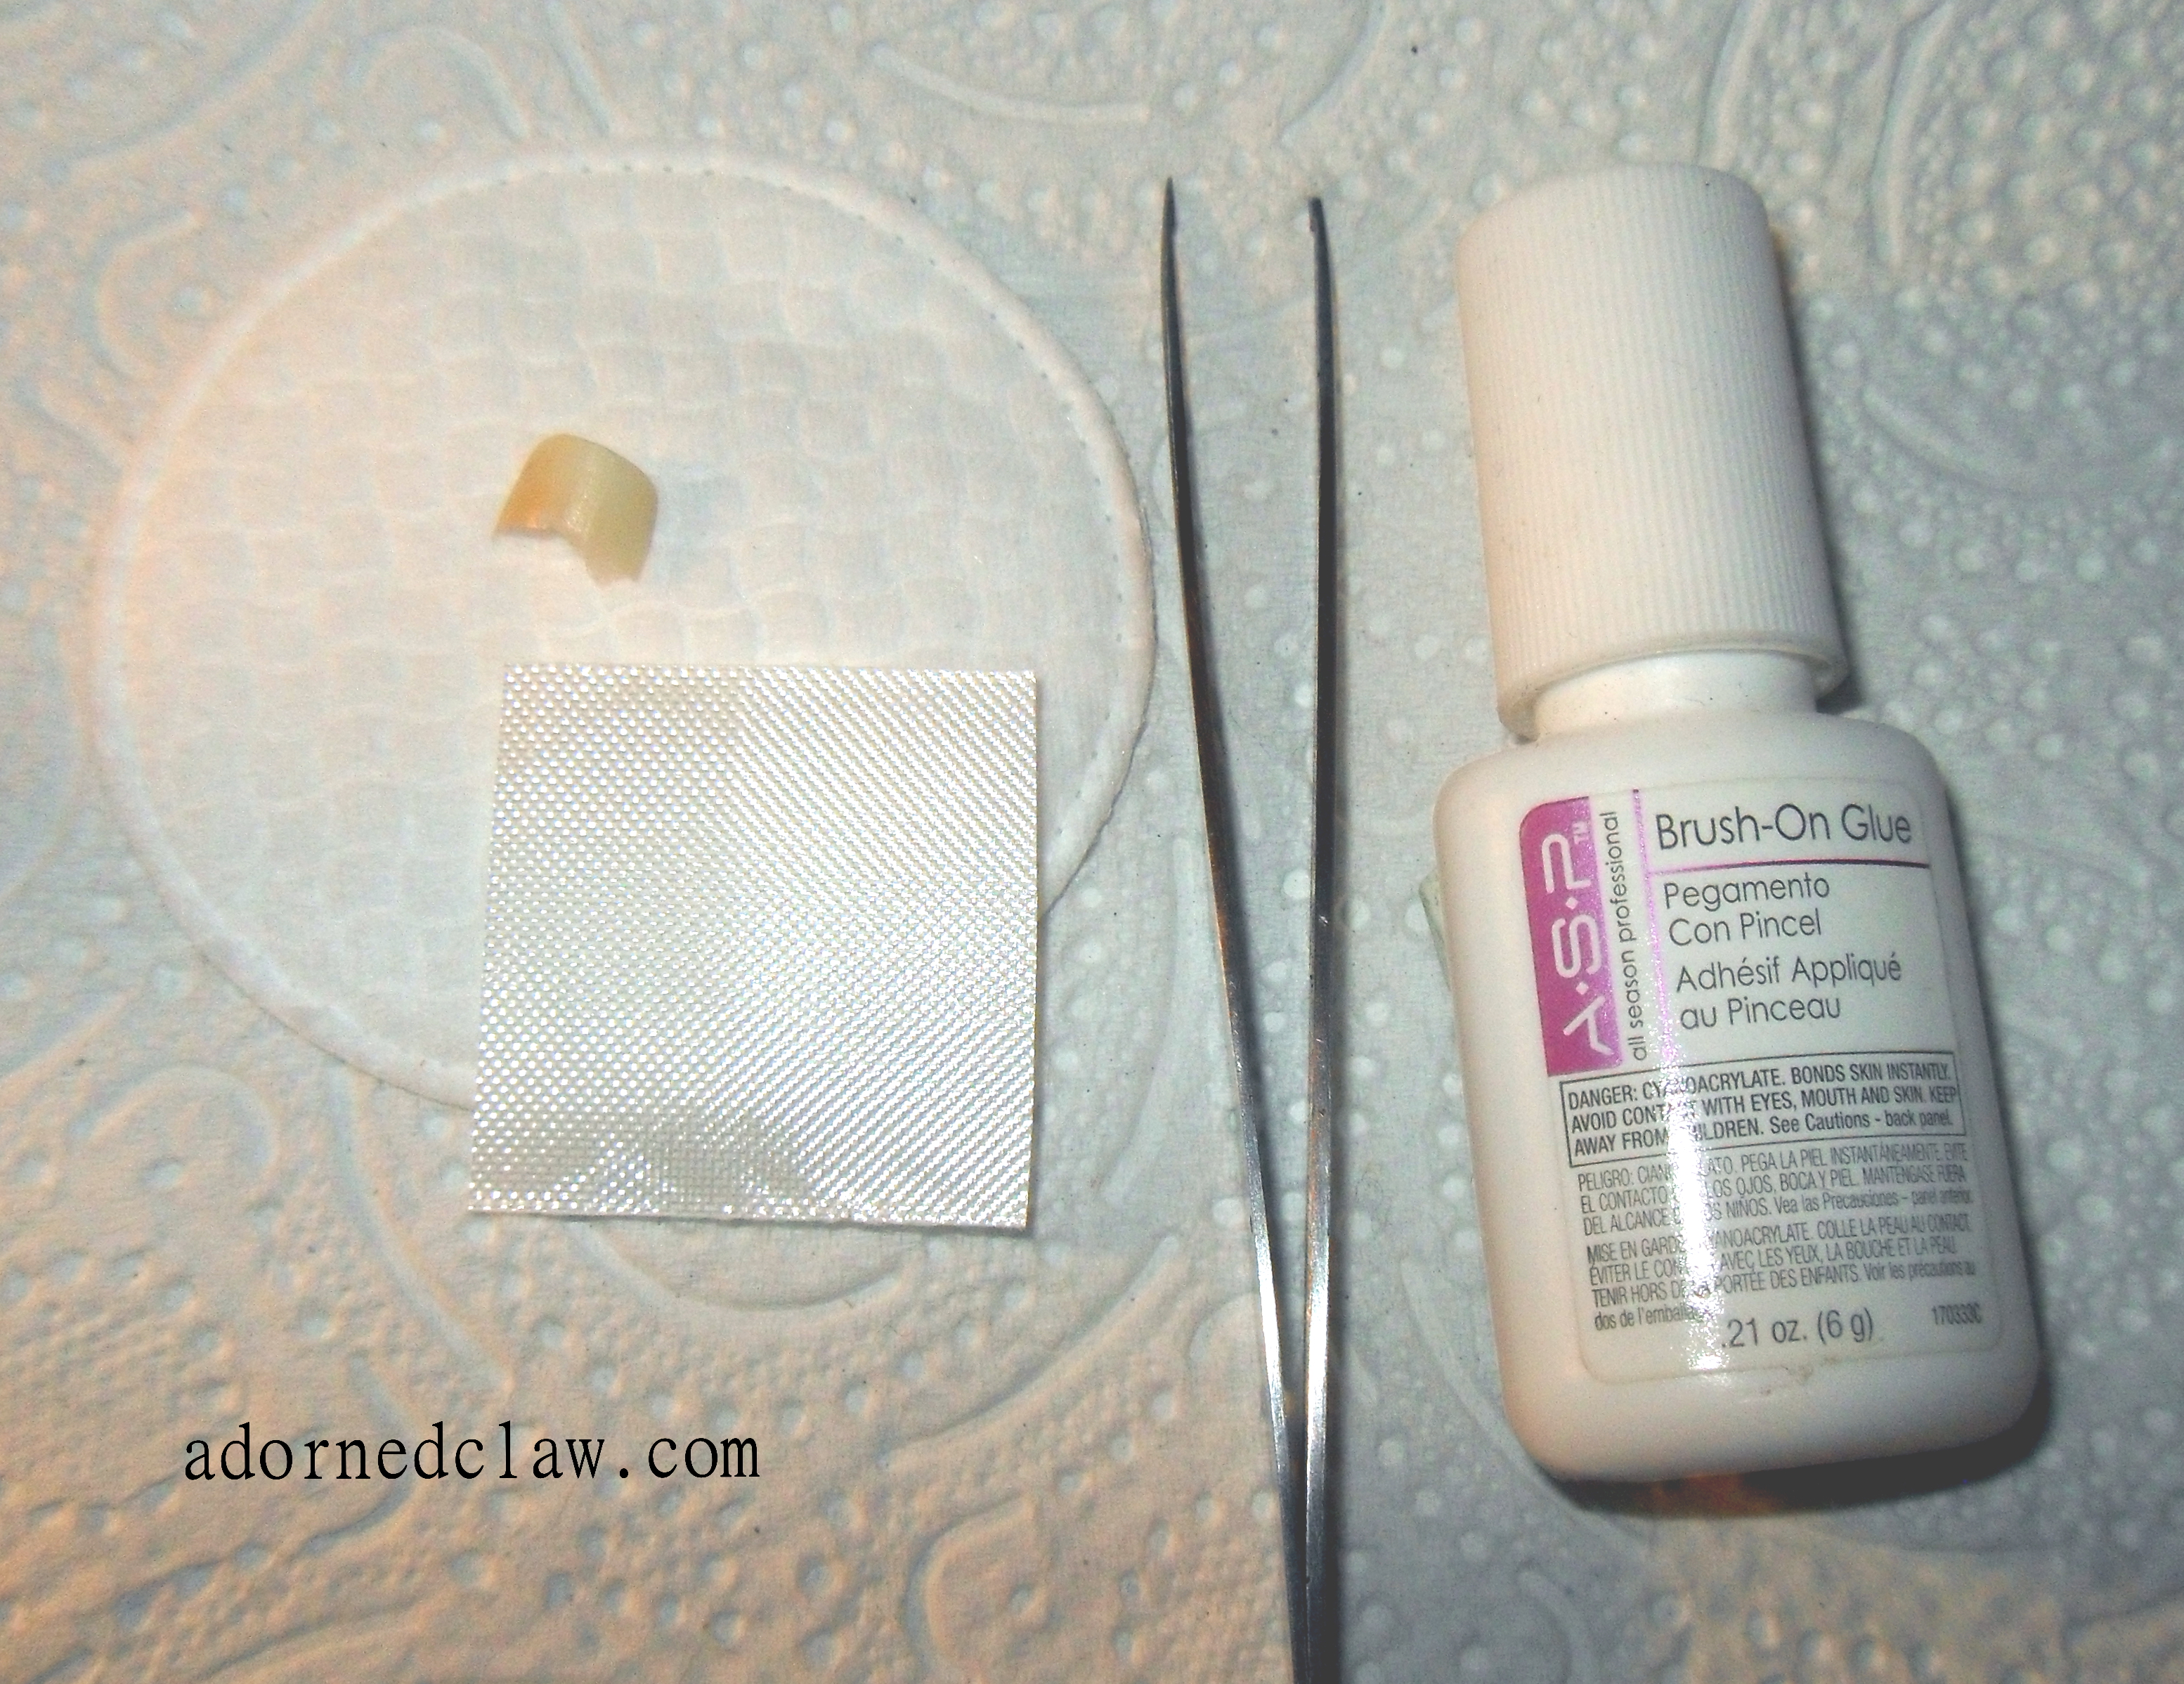
Some stuff I use to fix a broken nail
I find that it’s really important to get all of the equipment ready before I start a nail repair. There’s a lot of glue involved and I have managed to stick my nails to random stuff while looking for something (hangs head in shame)!
The tools/products I use are
- A.S.P Brush On Glue
- Scissors
- Fiberglass Wrap Strips
- Tweezers
- Buffing Block
- Nail File
- Non Fleecing Cotton Wool Pad
- Cup Of Tea
- Acetone
- Cotton Buds
- Non Moisturising Soap/ Hand Wash
- Broken Piece Of Nail!
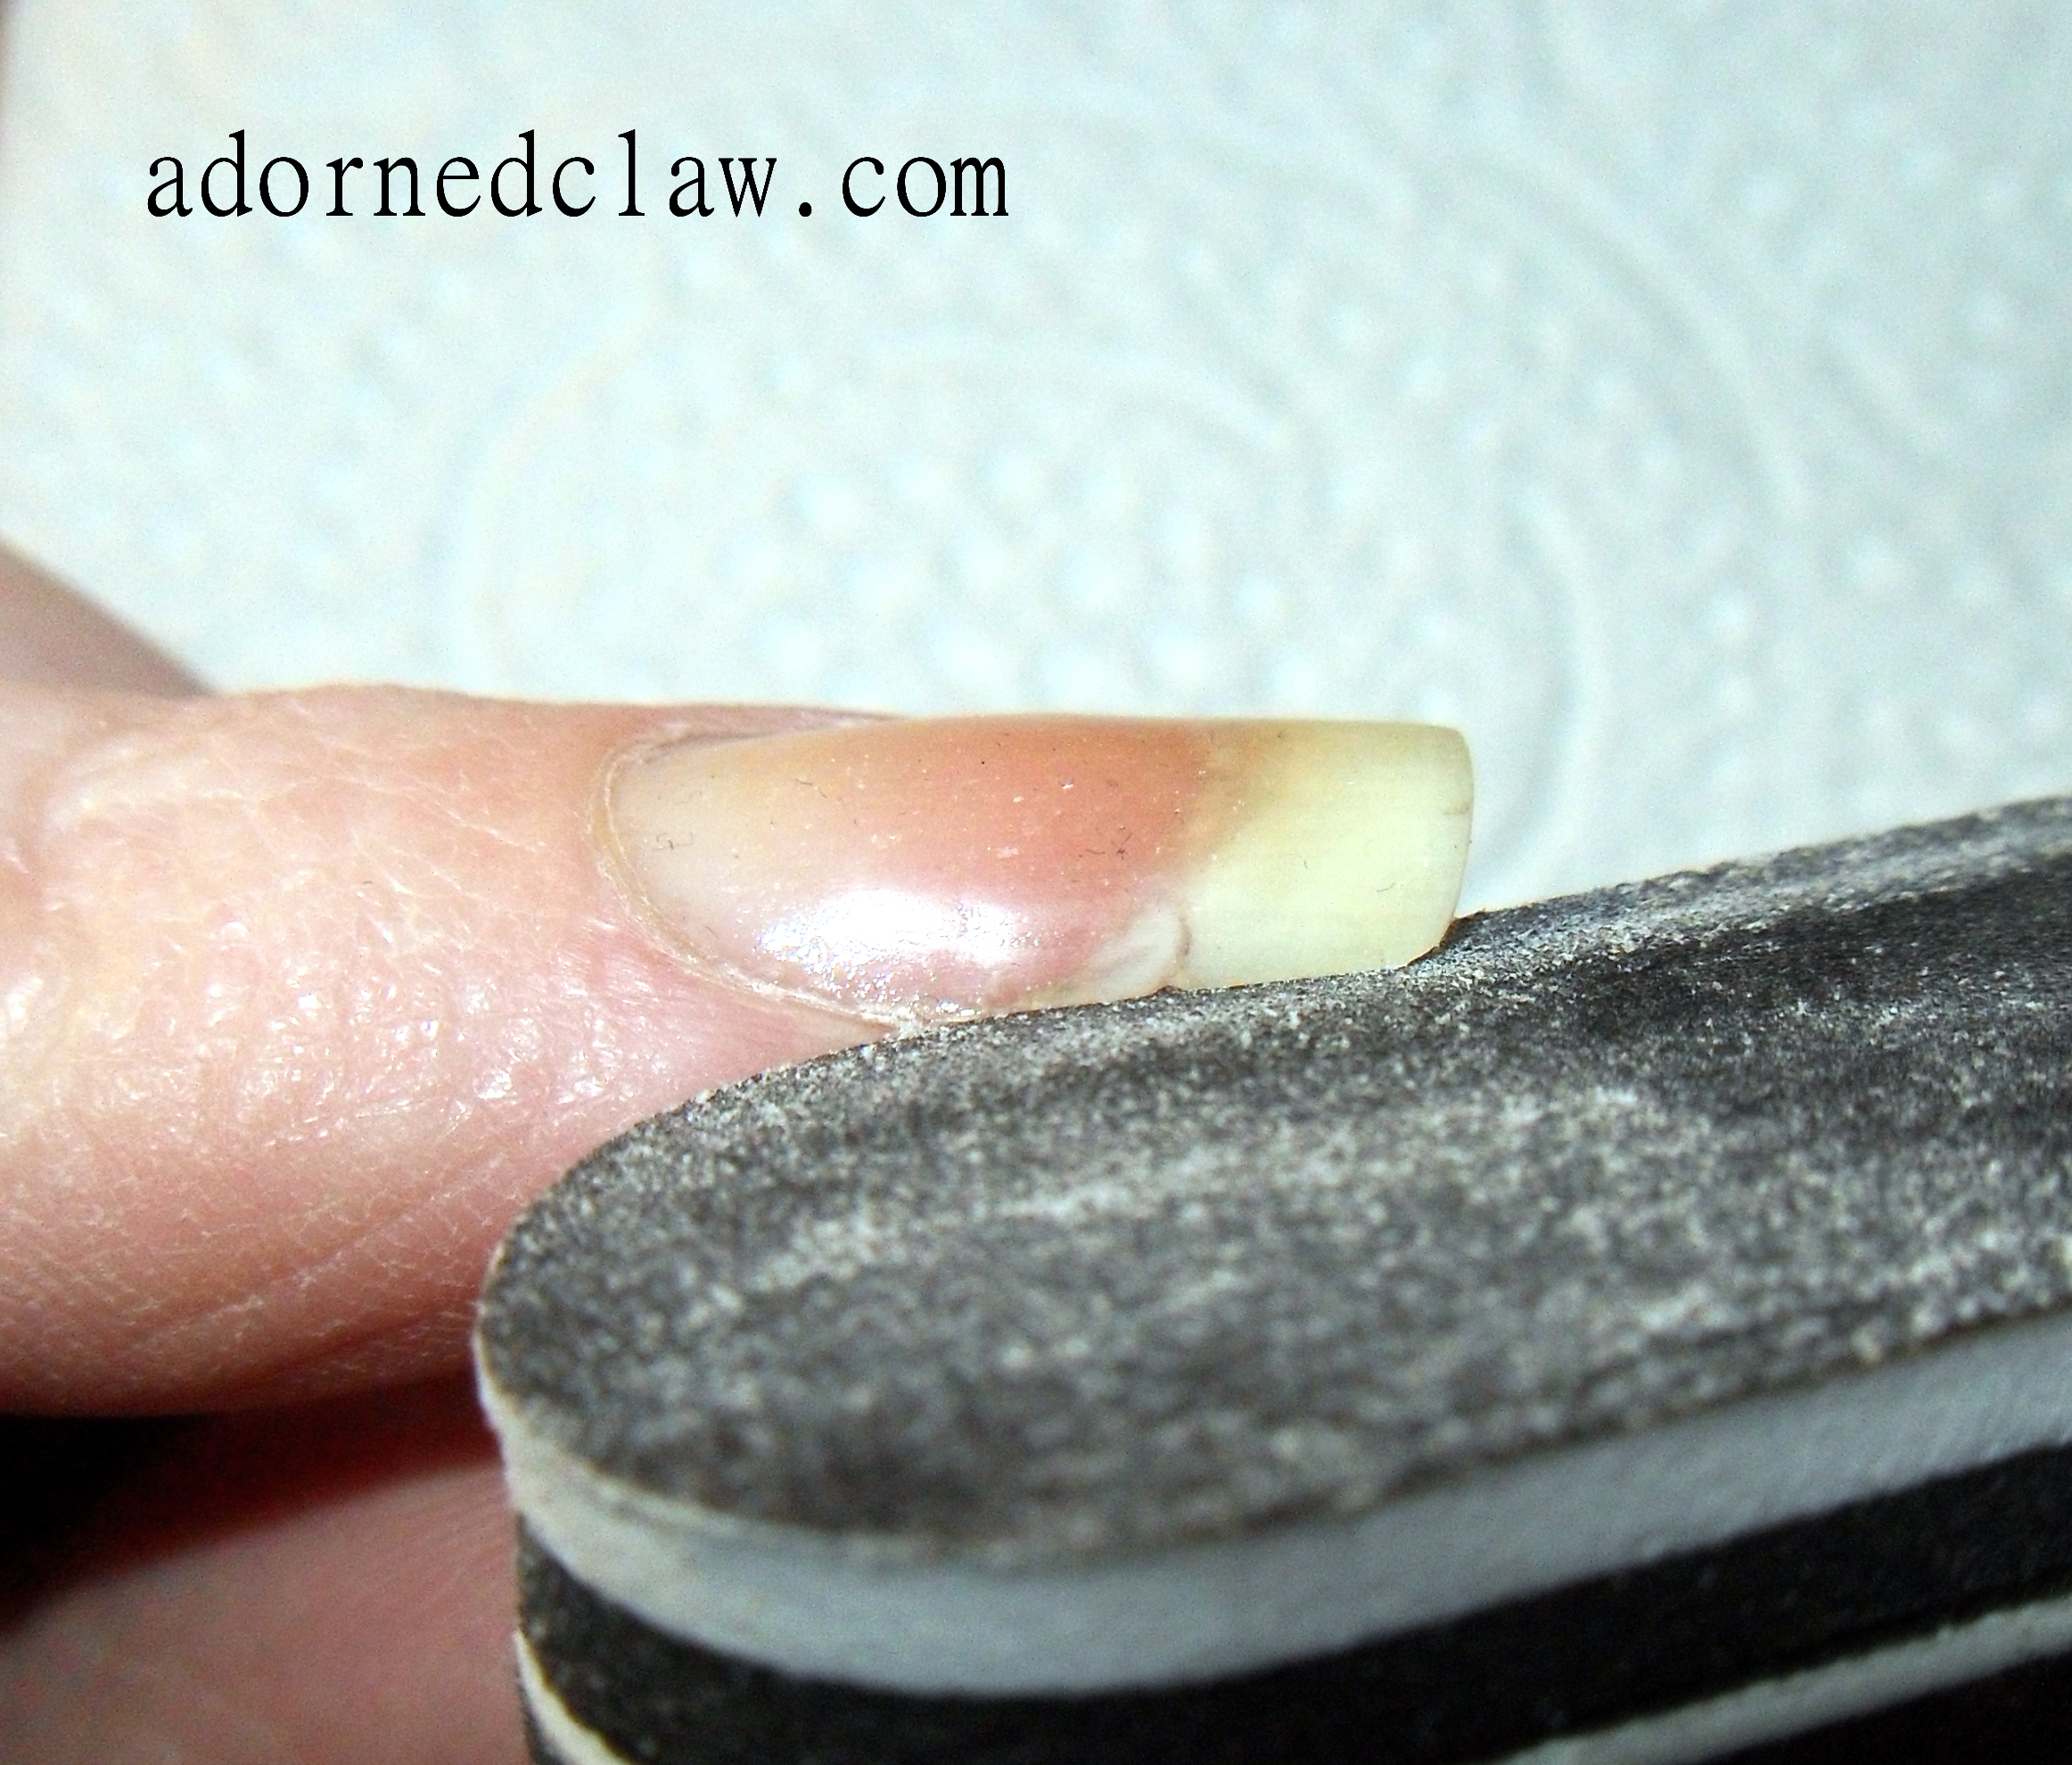
The very first thing I needed to do was to remove all the oils from my fingers and the broken bit of nail, I do this by washing my hands a couple of times with non moisturising hand wash and then applying acetone with a cotton bud to the detached nail and my fingernail. (This is why my fingers and cuticles are looking so unhappy in these pictures!)
Holding the broken piece of nail with tweezers, I find that it’s much easier to do this with the curve facing down, apply a thin coat of glue to the broken edge. Then I applied it to my nail, it was a bit like a little jigsaw puzzle so I gave it a bit of a jiggle to get the nail firmly stuck in place, then I held the nail in place with the tweezers with a firm (but not so much it hurts) pressure for around 30 seconds so the glue has time so set.
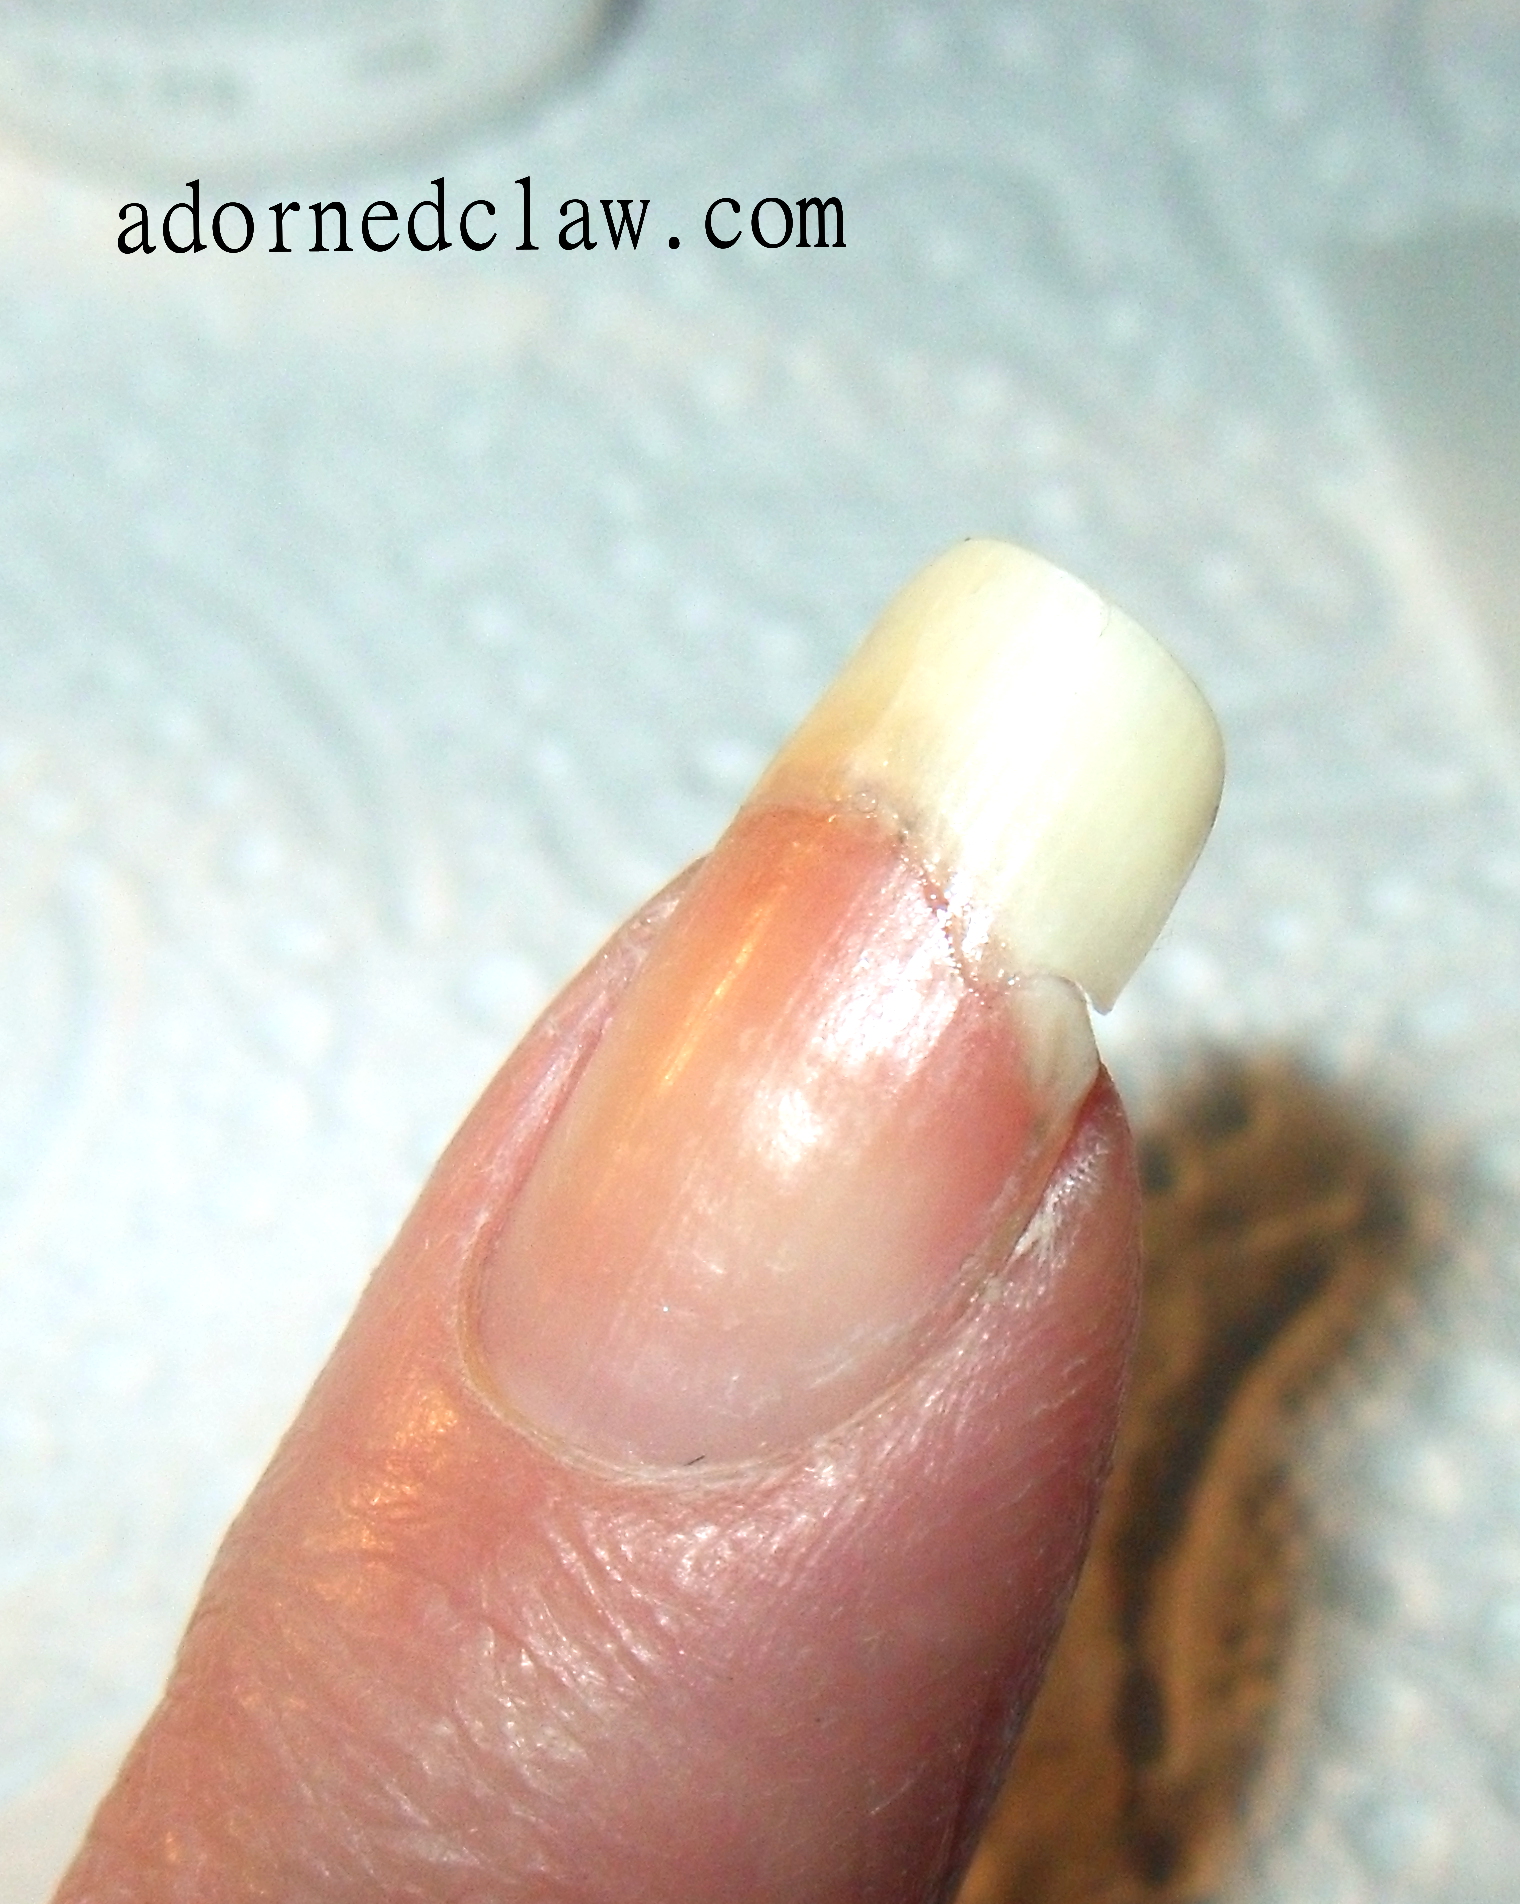
Glued on!
The next step is to apply a little glue to the seam to strengthen the join. Ugh my poor finger looks dreadful 😦
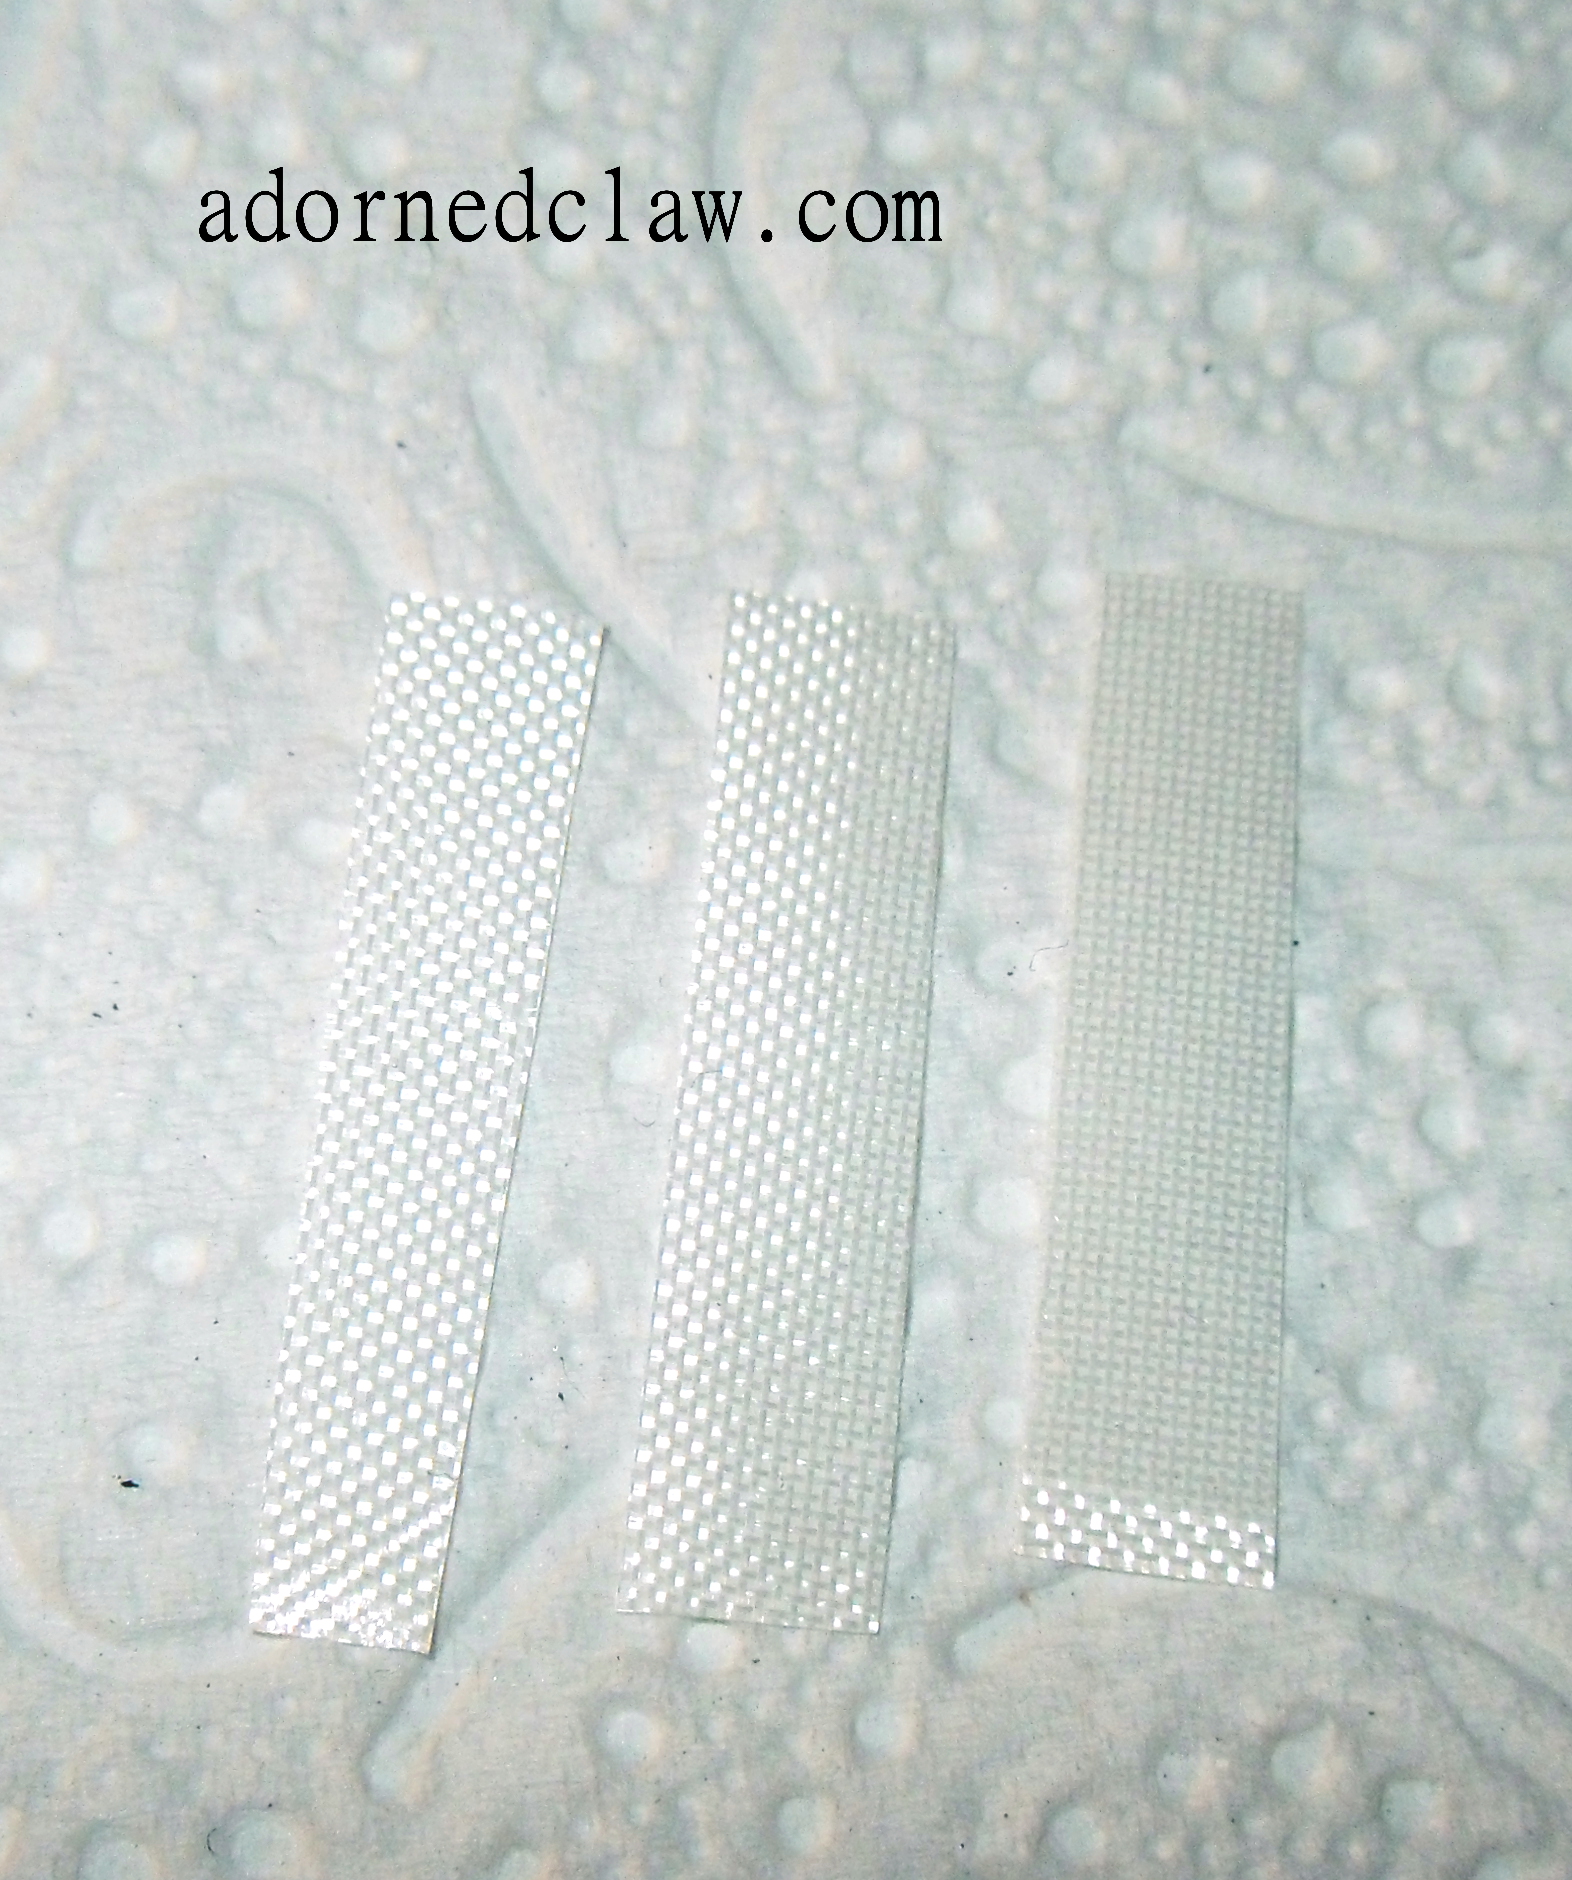
Fiberglass Strip
I picked up this fiberglass wrap strip from Sally’s, I chose to use fiberglass because silk wouldn’t be strong enough and also I really don’t like the idea of anything being boiled alive for my beauty products!
I like to cut the wrap into thin strips, I find it much easier to work with, I’m also really rubbish at cutting it to the right size for my nail, and I don’t mind having a bit of an overlap in the middle

cut to size
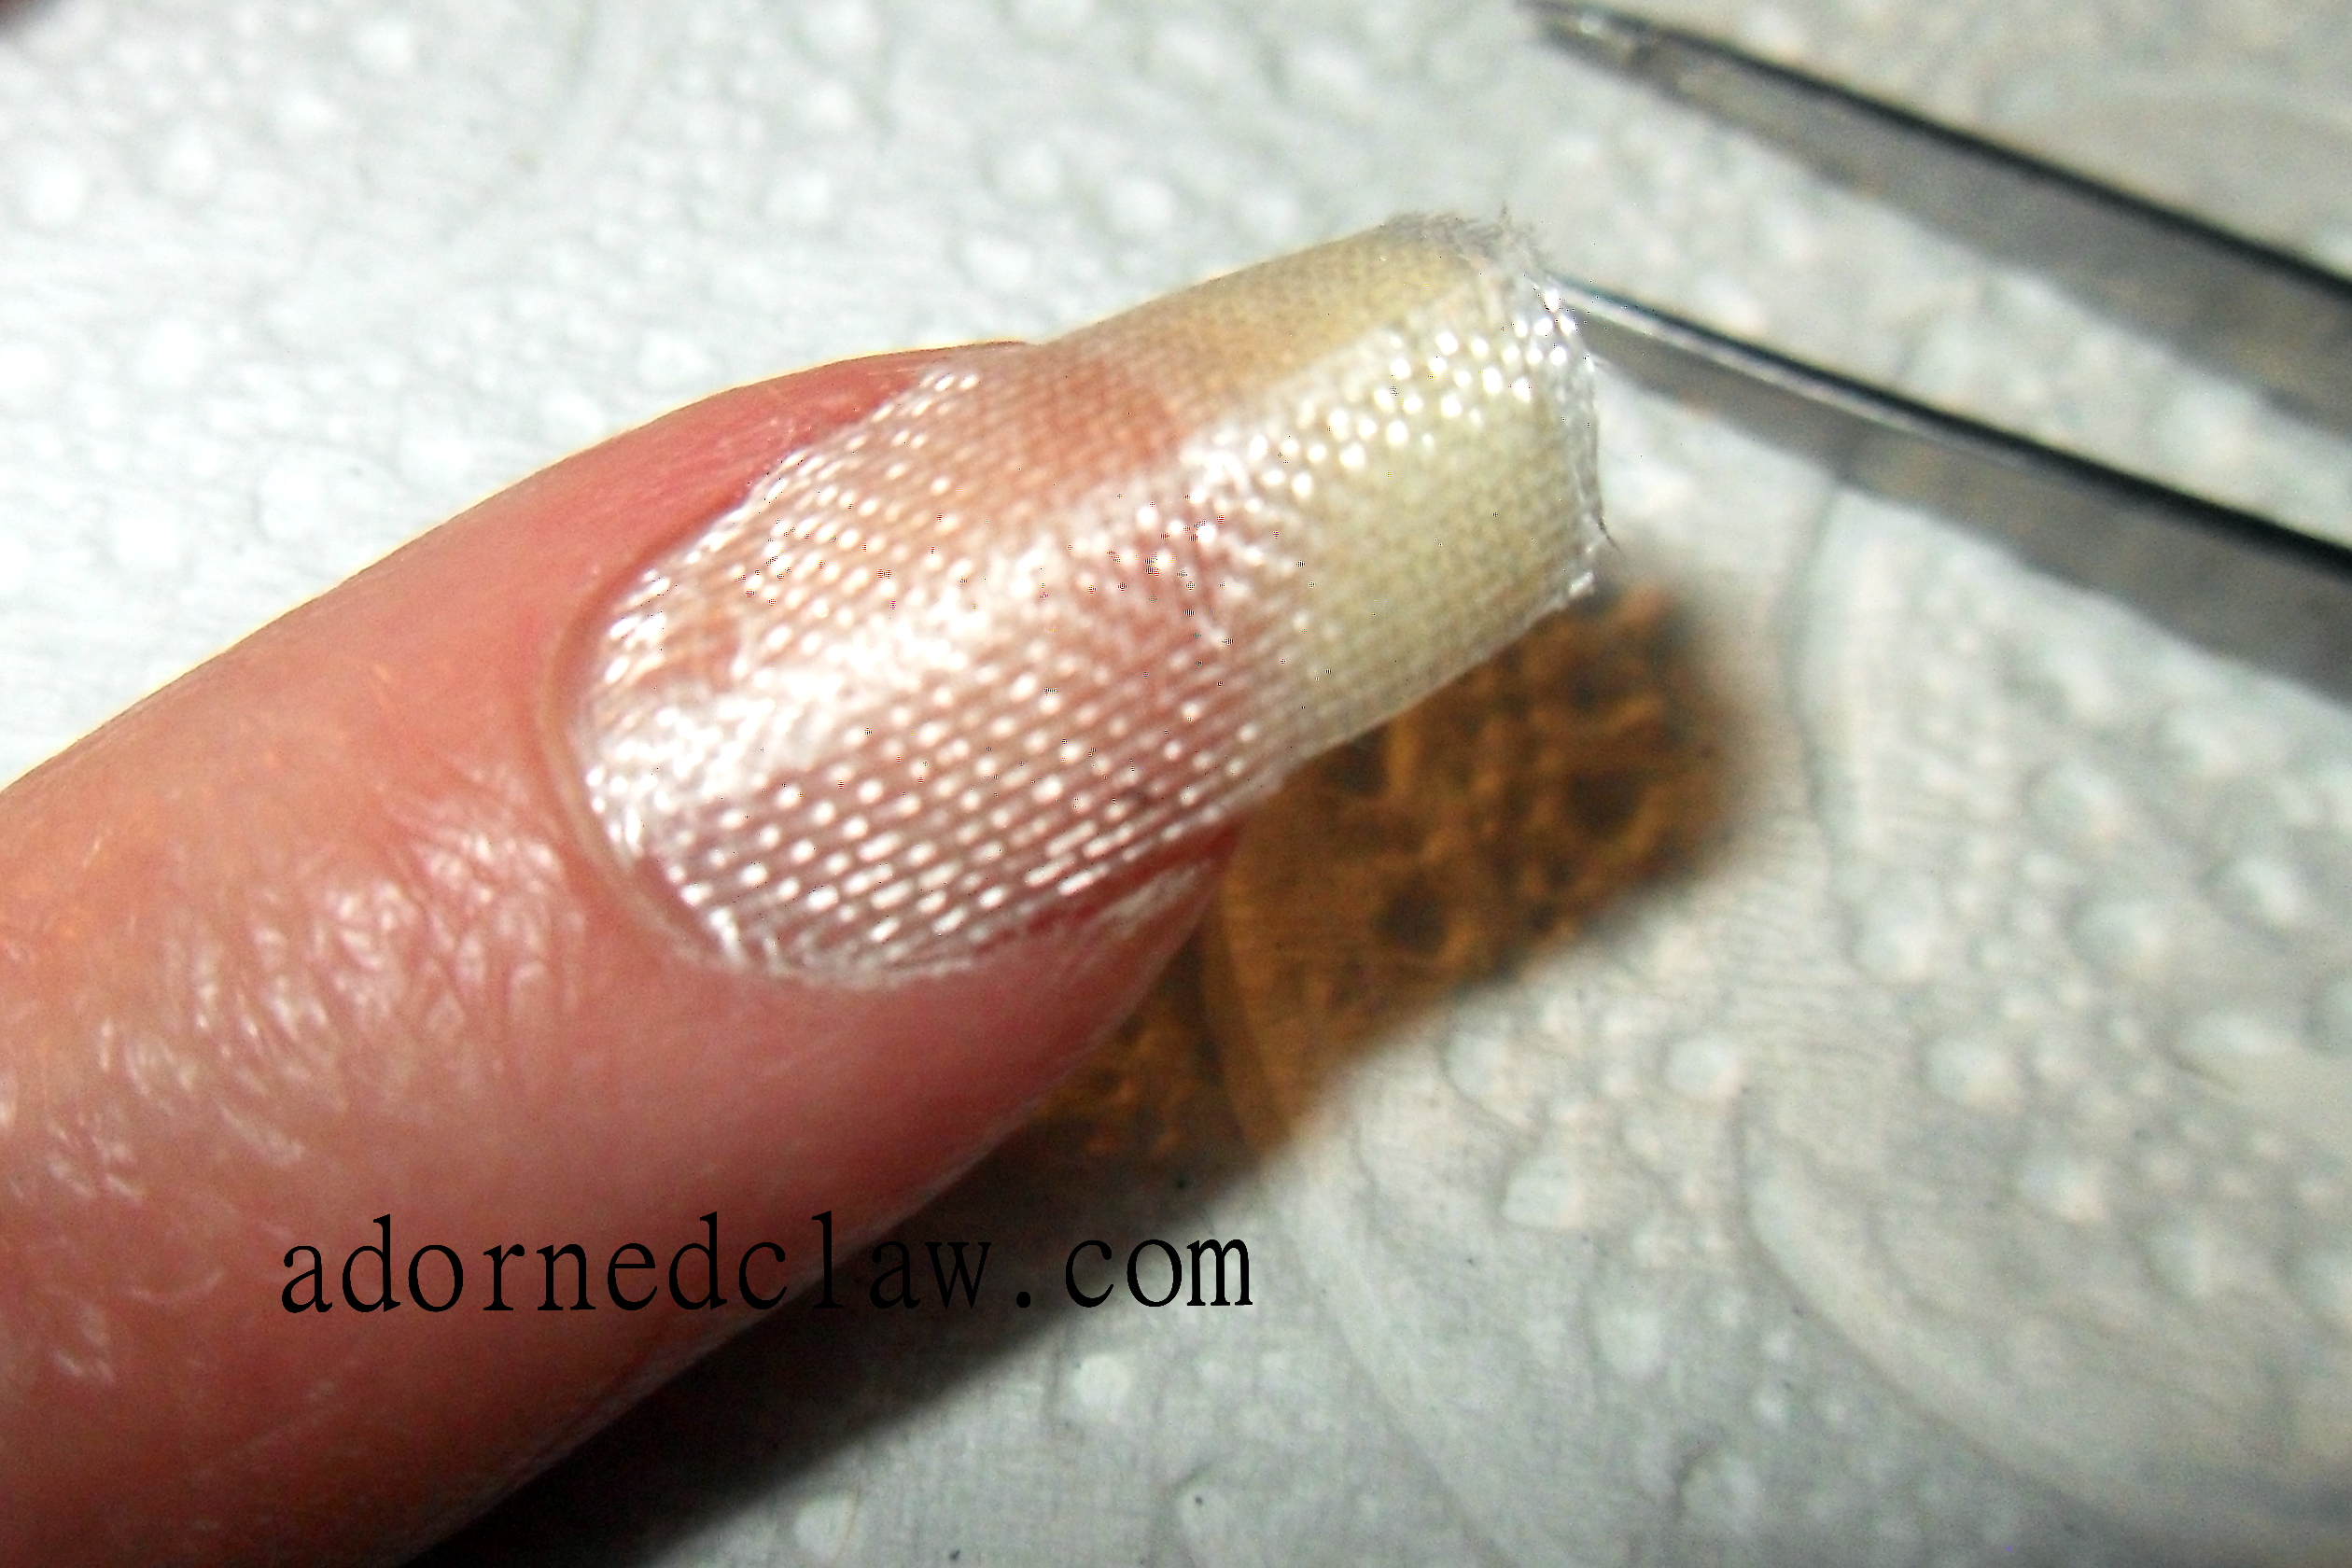
Using a really sharp pair of scissors I shaped the fiberglass to fit my nail bed. The third strip was just in case I messed any up lol!

fiberglass strips on nail
Here are the two thin strips (badly) applied to my nail.
It can sometimes be a bit fiddly to remove the backing paper and the fiberglass can disintegrate a little so I always start peeling on the unshaped edge. Once the fiberglass is freed from the backing paper, I gently lay it on the nail and reposition it with tweezers until its in the correct position, then do the same with the other strip.
Starting at the base of the nail I then gently press the strips into place.
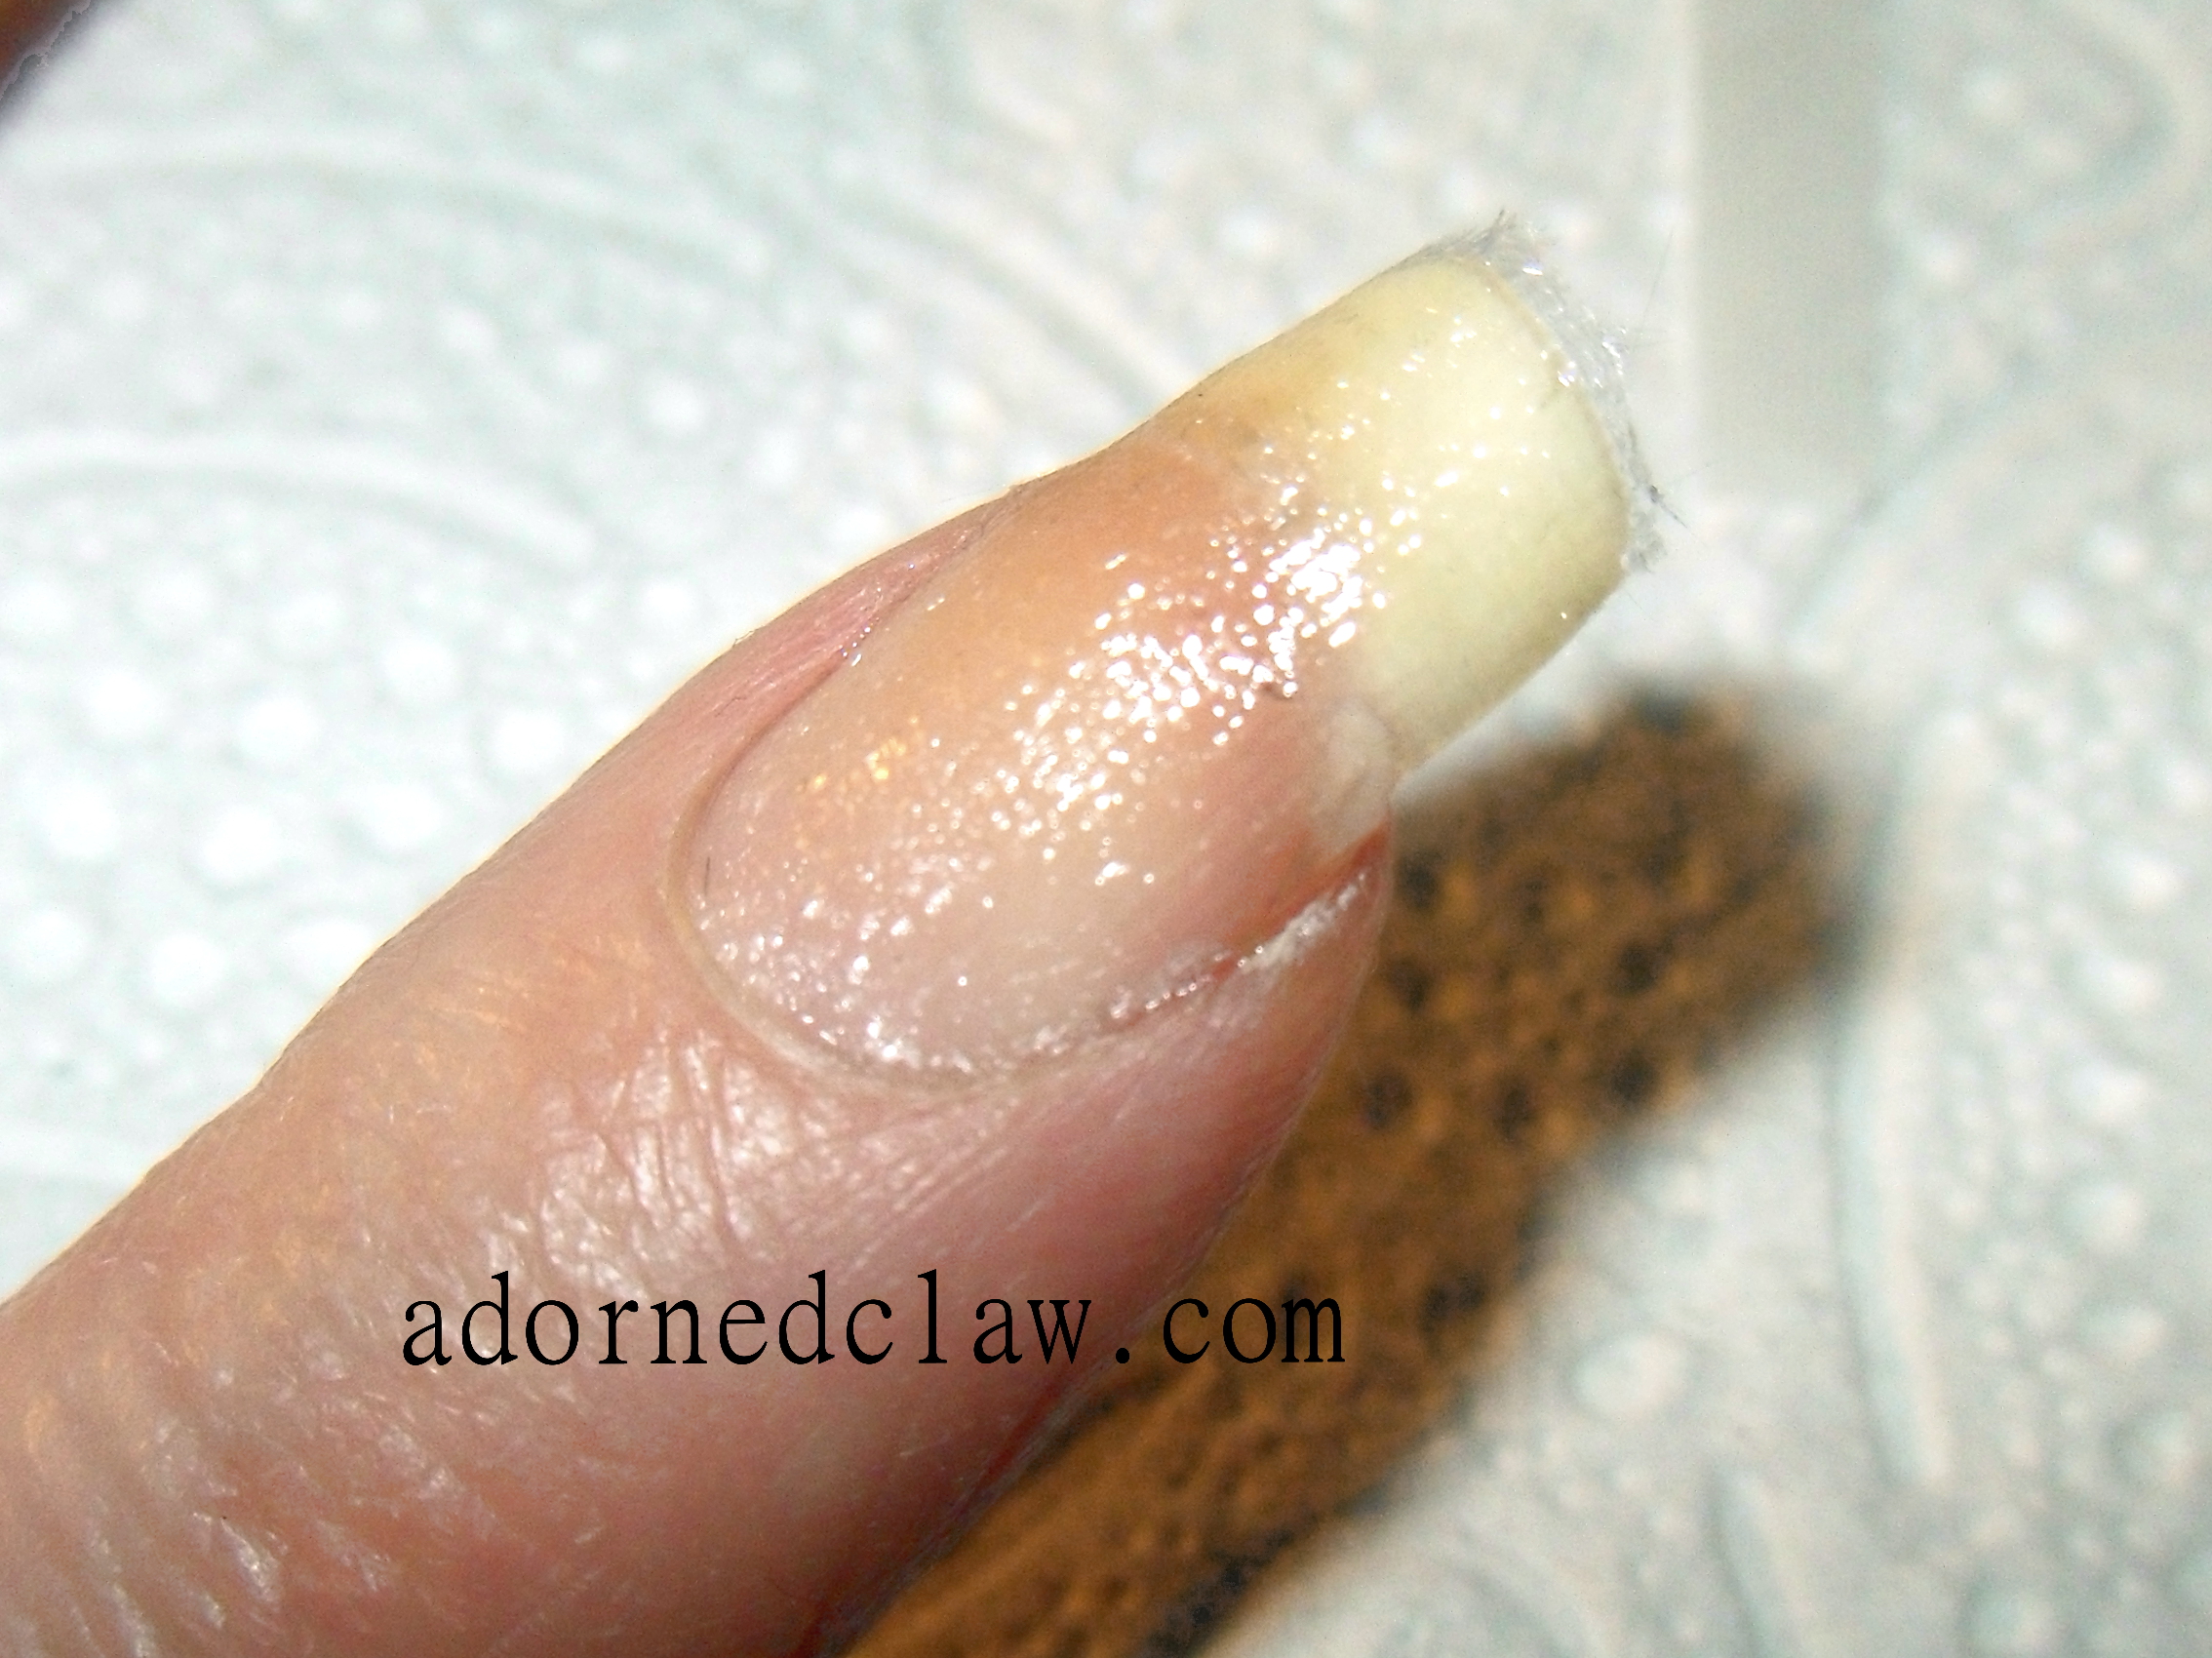
trim to a few millimeters
Then it’s time to trim away the excess, I left a couple of millimeters at the end to help stop it from lifting away from the nail when the glue is first applied.
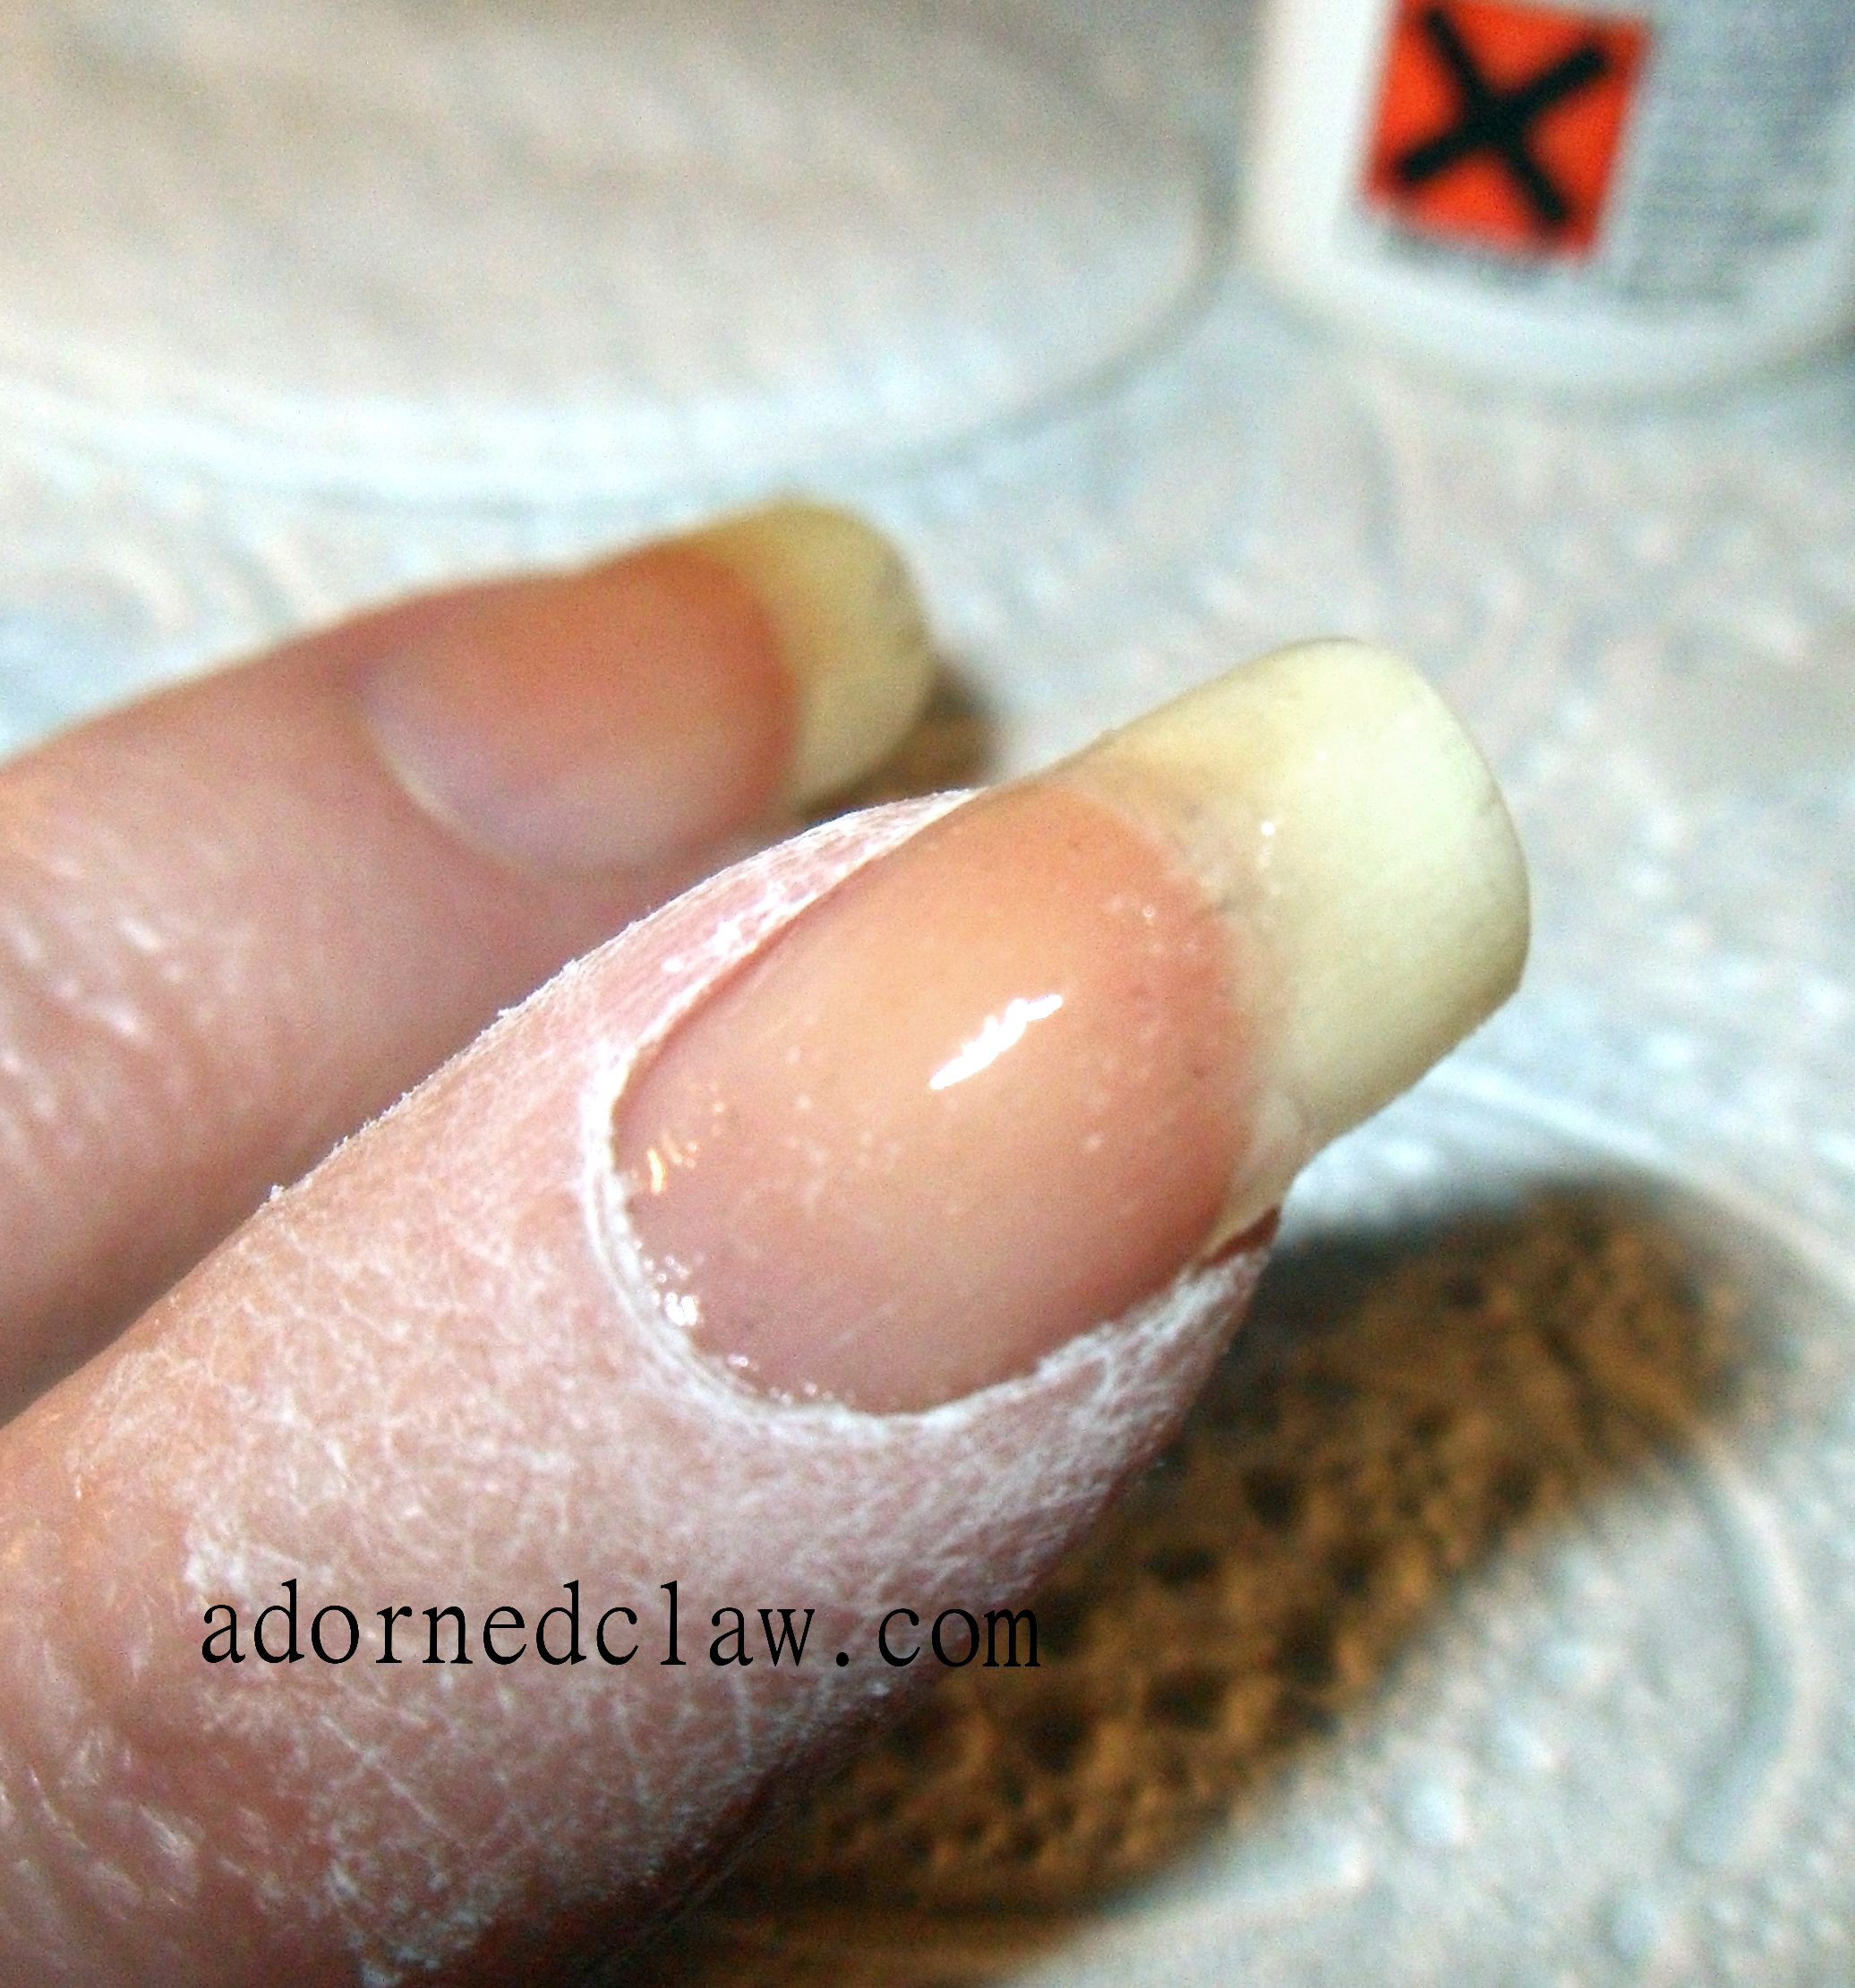
Glue over fiberglass
I then applied a thin layer of glue to the whole of the wrap, I did try to be careful to not get any on my cuticles… But the glue decided that’s where it wanted to be ![]()
When the glue had dried It really doesn’t take that long but I like to leave around ten minutes for this, I filed away the little overhanging bit at the edge of my nail, holding the file at a 45 degree angle and filing downwards or away from the nail, it’s important not to pull any bits of the fiberglass as this can damage the glue and the wrap won’t last as long.
After all the excess had been filed away it was time to start buffing!

Buffing!
Mmmm dusty zombie finger!
I used the ridge removing side of my buffing block to start removing the textured feeling from the wrap, I have found that buffing the nail too much will weaken the wrap but not enough buffing and the nail will look lumpy.
More Glue!
After the first round of buffing its time for more glue, and waiting for another ten minutes. I do have some resin activator that can be used with this glue but it really doesn’t agree with my skin. so waiting it is…

more buffing
This second lot of buffing is to see which parts of the nail need building up with even more glue, so this time I used an up and down movement so when gently I wiped away the dust with cotton wool it was easy to see which parts needed more glue. And there is a big section directly over the join! So I repeated the gentle buffing, wiping with dry cotton wool and applying glue until it was level with the rest of my nail.

even more glue
Then I had nearly finished! Yay! 😀
tidying up the edges
The last thing I needed to do was to file away that sharp point to stop it from catching on everything!
Then it was time for all of the cuticle oil and hand cream!
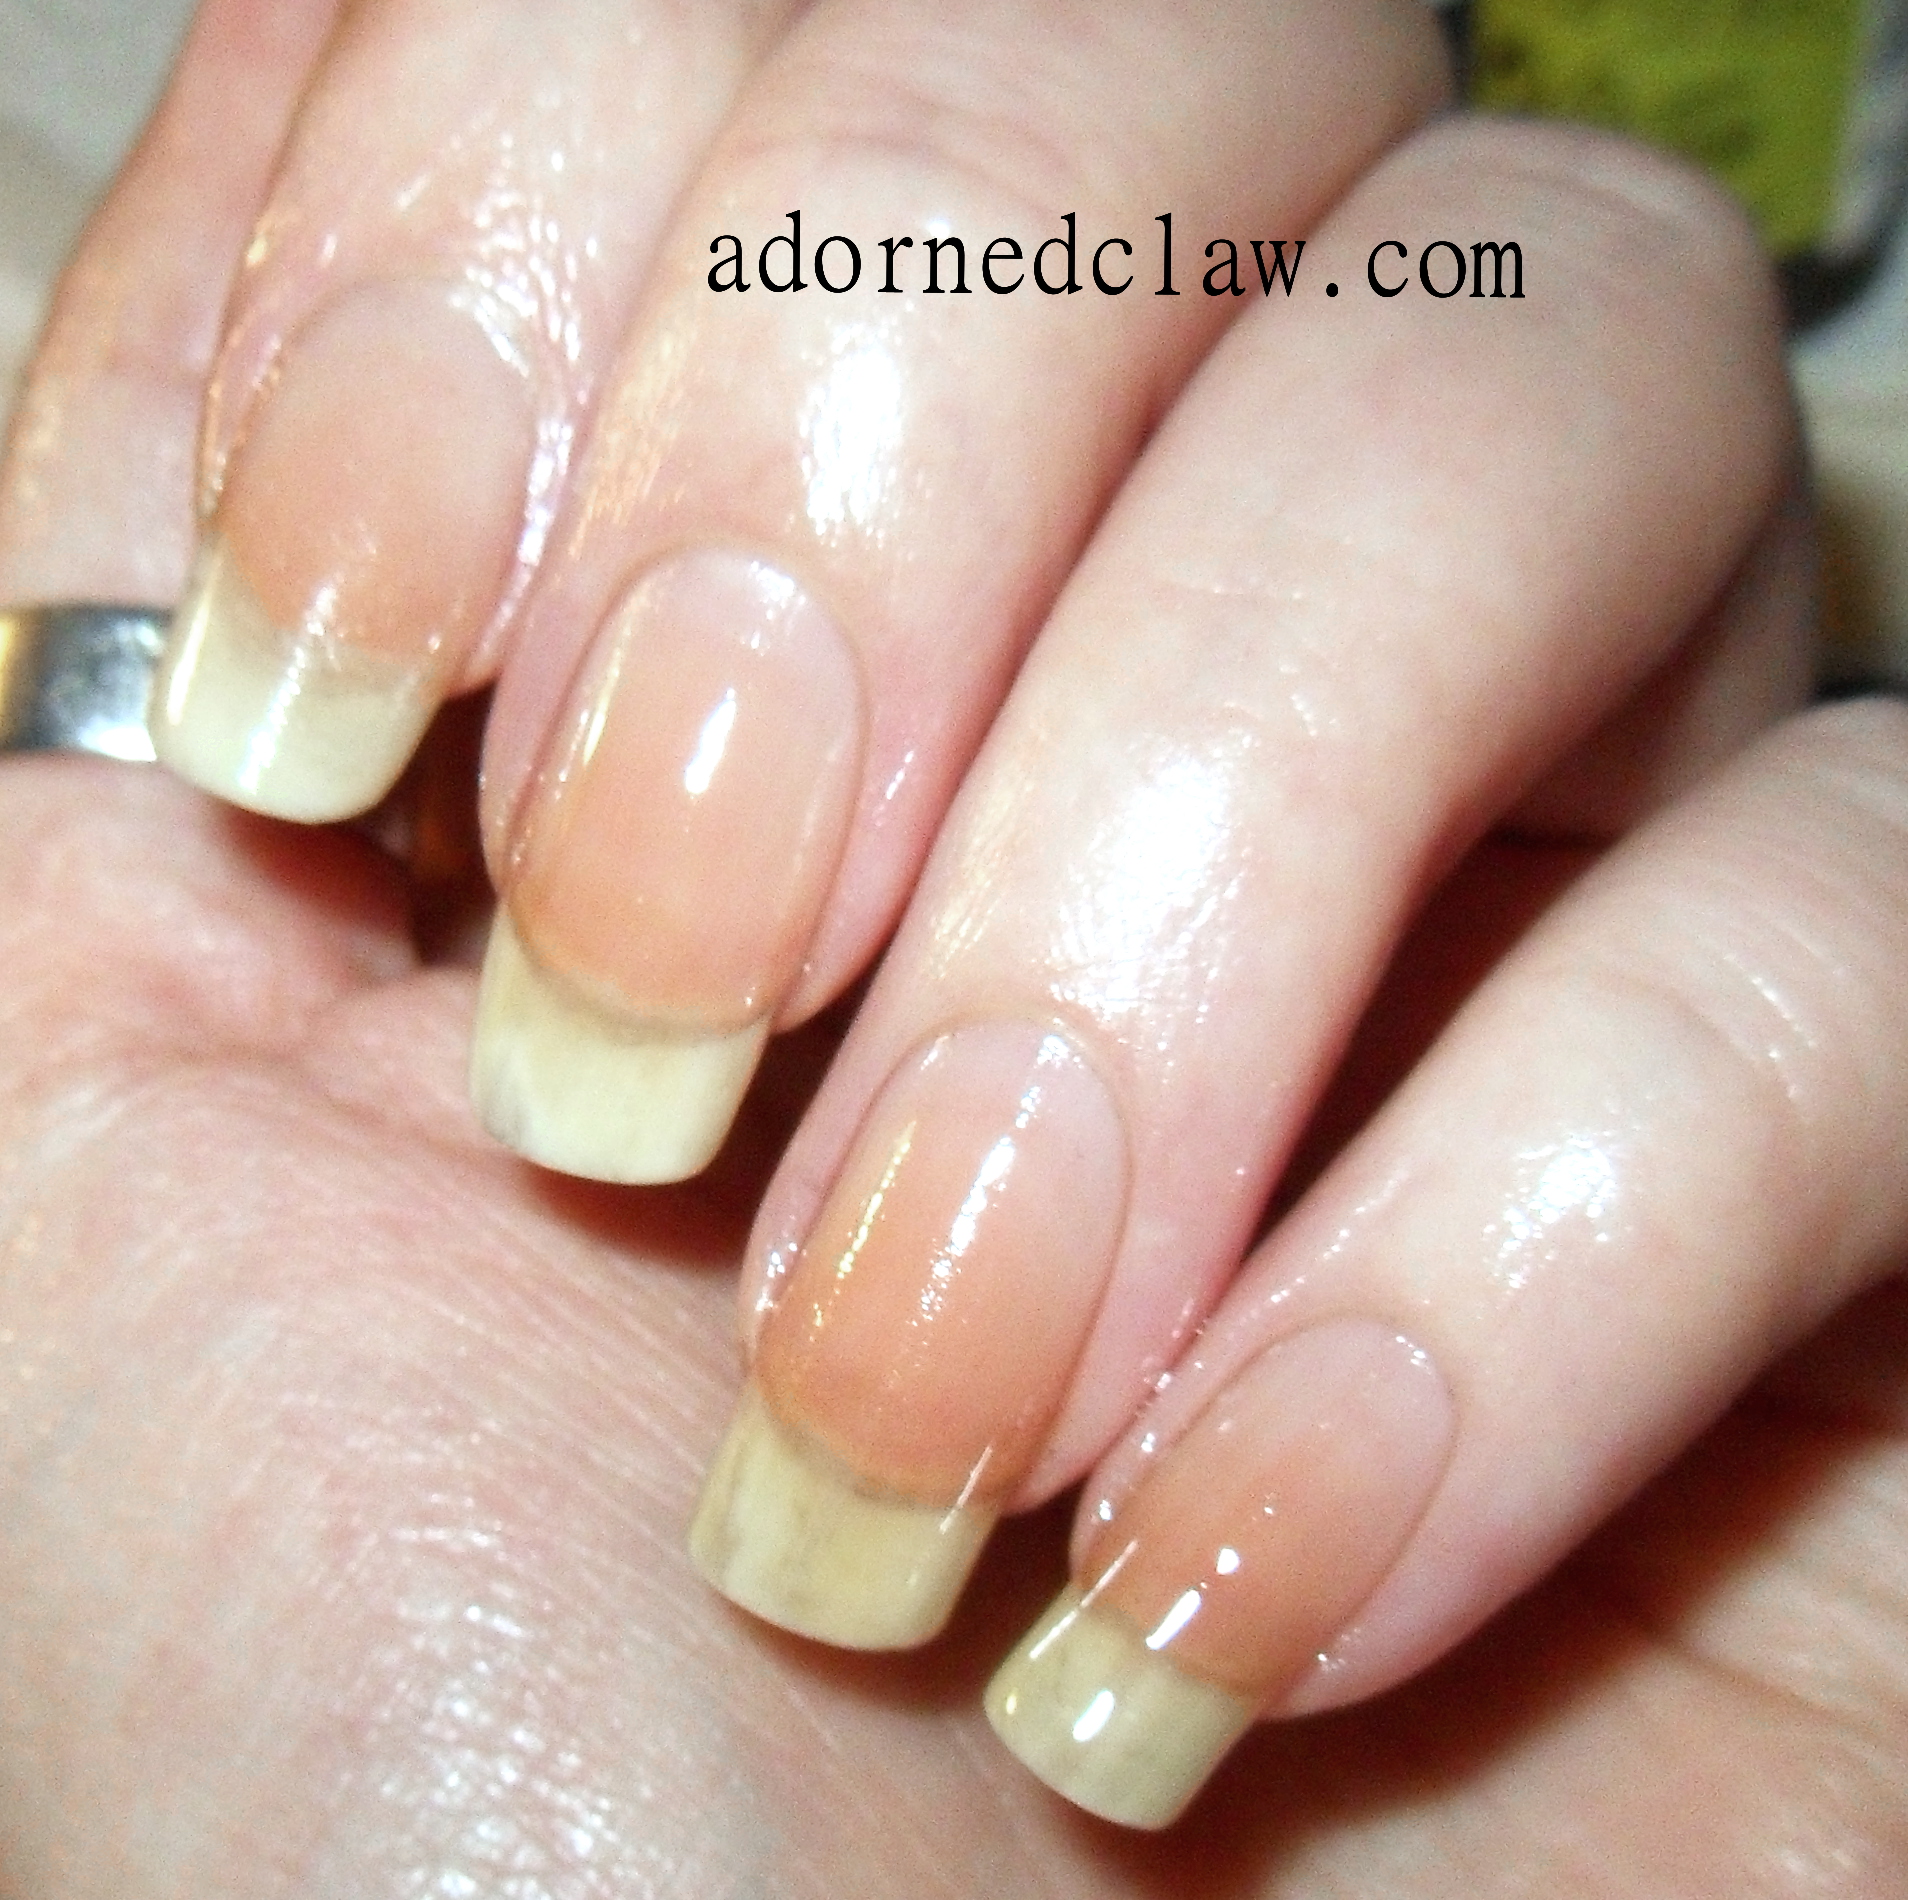
Finished!
And now I have just noticed that Ive run out of acetone free polish remover…
Oh noes I must go shopping 😀